Pan di Spagna (Biscuit Sponge/Italian Sponge Cake)
This cake is known by several different names such as Biscuit Sponge, Italian Sponge Cake or Italian Genoise, and Pan di Spagna. Whatever it’s called doesn’t matter, it’s essentially the most basic of sponge cakes and requires only three main ingredients. It’s super versatile, customizable and is the fluffiest/spongiest cake ever.
What is Pan di Spagna?
Pan di spagna is the most basic sponge cake recipe. It’s like every sponge cake out there started here and ventured out by adding/removing ingredients and tweaking methods.
Pan di spagna is Italian for “sponge cake” so it’s often referred to as the Italian Sponge Cake. I’ve also seen people refer to it as Italian Genoise, although that can be confusing because a Genoise actually has the addition of butter and this doesn’t.
Biscuit Sponge (bees-kwee) is the french name for this cake. Not entirely sure why but if I had to guess, maybe because biscuits (cookies) are often made from the same ingredients. For example, Lady Fingers, also known as Savoiardis in Italian and Boudoirs in French, are made the exact same way but with double the flour.
I’ve seen this cake made a thousand different ways. Literally…I wish I was joking but not one recipe is exactly the same. Every recipe out there has a slight tweak to the ratio of ingredients and there’s several different methods of mixing those ingredients. Who would’ve thought, the amount of versatility with just three ingredients.
I learned my way of making it from my mom who had a European cake business for over 20 years. It’s actually the exact same way I make my Genoise but without the butter (my Genoise is just adapted from this one).
How to ensure a good rise without chemical leaveners
Sponge cakes are known for using whipped eggs as the leavening agent and not using a chemical leavener like baking soda or baking powder. Unfortunately it’s quite easy to deflate the eggs when mixing in the rest of the ingredients and without baking soda or baking powder, you’ll end up with a flat dense cake if that happens.
So there’s two ways to stabilize the batter and ensure that it doesn’t deflate completely when adding in the flour.
- The first way, using the traditional method of whipping the whole egg with the sugar, is to gently cook the eggs and the sugar over a bain marie (double boiler) first, whisking until the sugar is fully dissolved. Then beat it until it’s super thick and the mixture ribbons off the whisk. This can take at least 15-20 minutes.
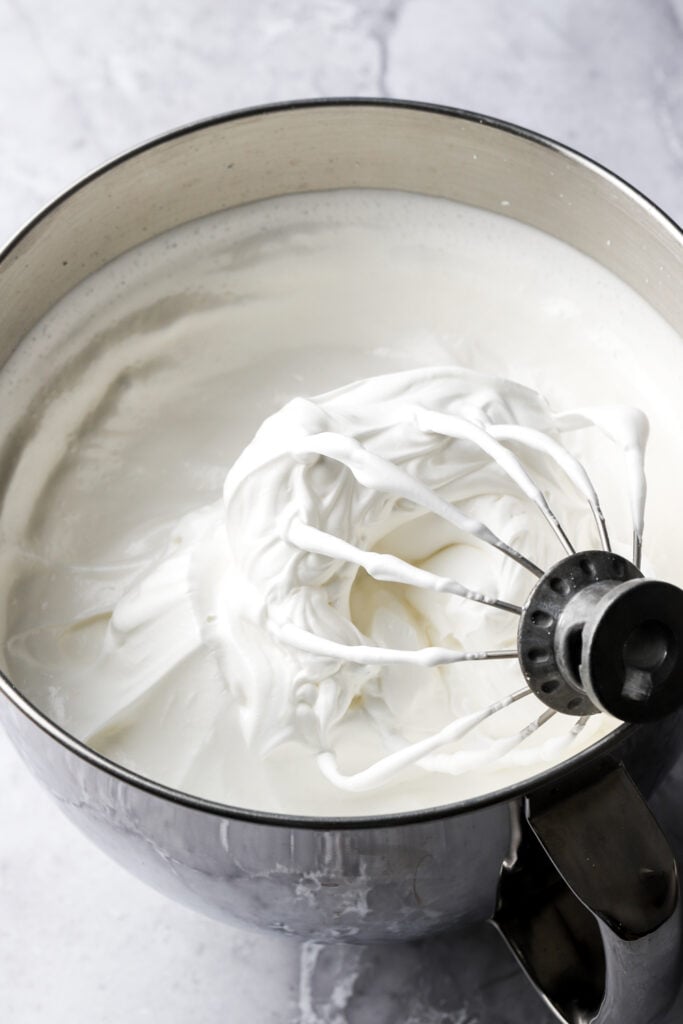
- The second way, my preferred way, is to beat the egg whites with the sugar separately, until it forms a super fluffy meringue with stiff peaks. This generally takes less than 5 minutes for me. Then when adding the rest of the ingredients, I continue with the mixer instead of folding by hand. I find that using the mixer with the whisk attachment doesn’t deflate the meringue as quickly and mixes in the flour more evenly.
- *IF you struggle with the batter deflating (and you don’t want to use a chemical leavener), then I recommend gently heating the egg whites and sugar over a double boiler until they reach 170F (77C) and then beating into a meringue.
Ingredients & Substitutions
- Flour: I use all purpose flour in most of my recipes and I HIGHLY recommend using a digital scale, as flour is so often over measured. Cake flour also works well in this recipe.
- Baking Powder: Sponge cake is known for not using a leavening agent since it relies on the eggs to lift the cake. HOWEVER, if you’re unsure or have experienced issues with the cake not rising and want a little “insurance” you can definitely use a chemical leavener. For this cake I recommend 1 tsp of baking powder.
- Sugar: I use granulated sugar in sponge cakes. I have not tested it with any other type of sugar but I assume a more “wet” sugar would compromise the structure slightly. I don’t recommend reducing the sugar in the cake as it aids in stability.
- Eggs: there are A LOT of eggs in the cake. Make sure to use room temperature, large eggs, about 55-60g each. Place them in hot water for a few minutes if they’re cold.
- Unfortunately I have not made this cake without eggs but I know some people have had success with using aquafaba for sponge cakes so try looking up a vegan sponge cake recipe.
- Vanilla: I usually just use a simple vanilla extract in cake batters but I like to use vanilla bean paste for buttercreams and frostings.
Step-by-Step Instructions
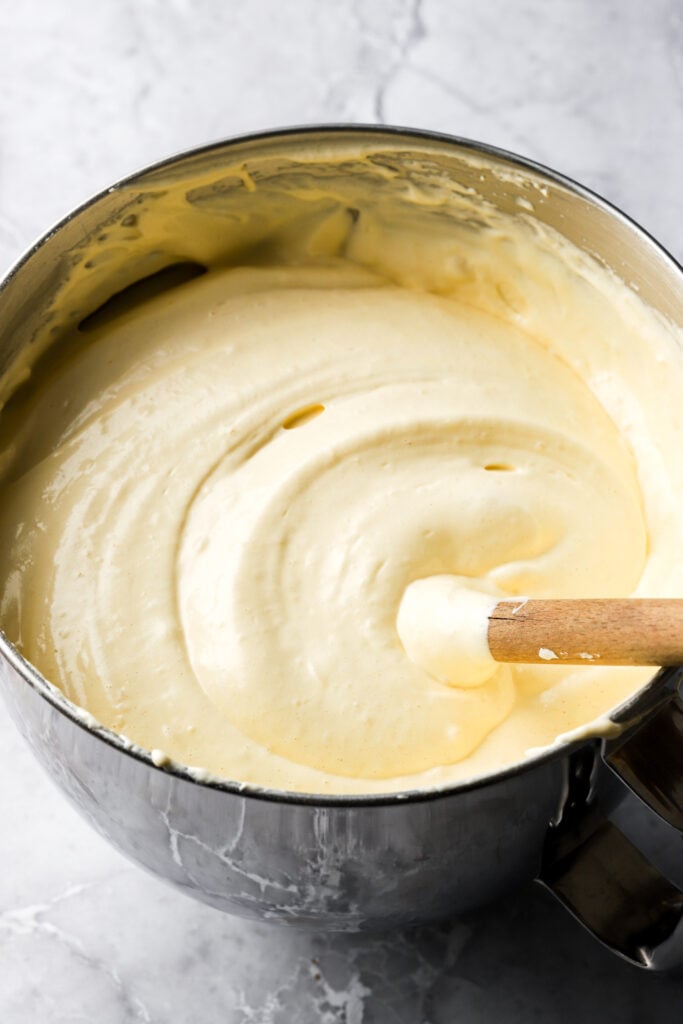
- Start by separating the egg yolks from the whites. Beat the egg whites with the sugar until it’s super thick and fluffy and holds stiff peaks. Don’t over-beat, stop when it reaches stiff peaks.
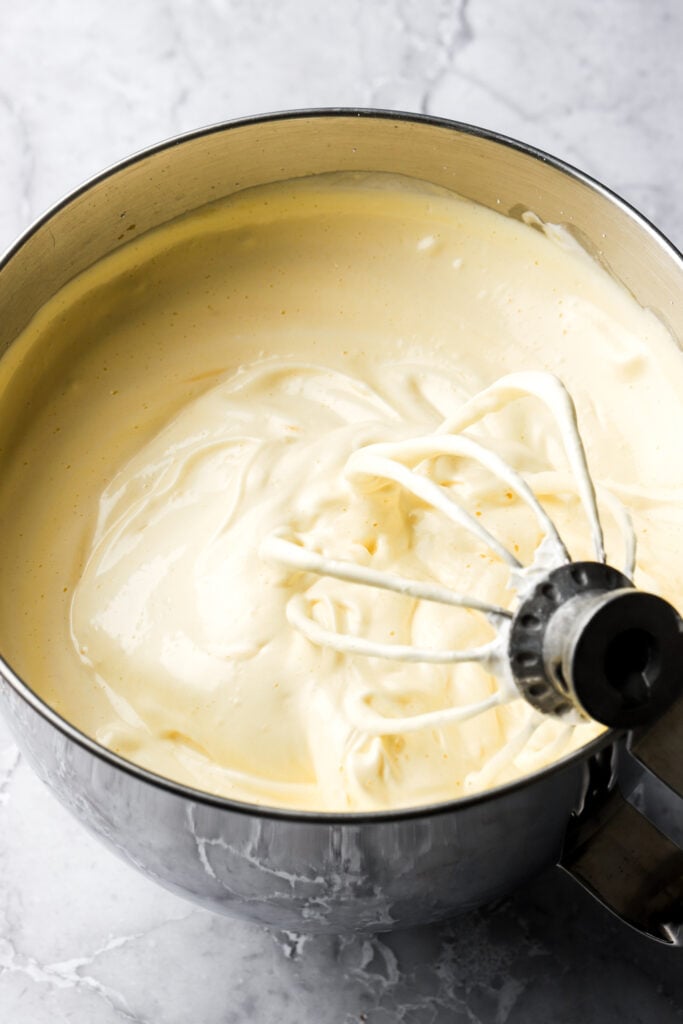
- Add the egg yolks and vanilla and beat at medium-high speed until it’s combined, just a few seconds.
- Sift in the flour and salt and beat at medium-low speed, just until the flour is mixed in. Use a rubber spatula to fold the mixture a couple of times to scrape the edge of the bowl.
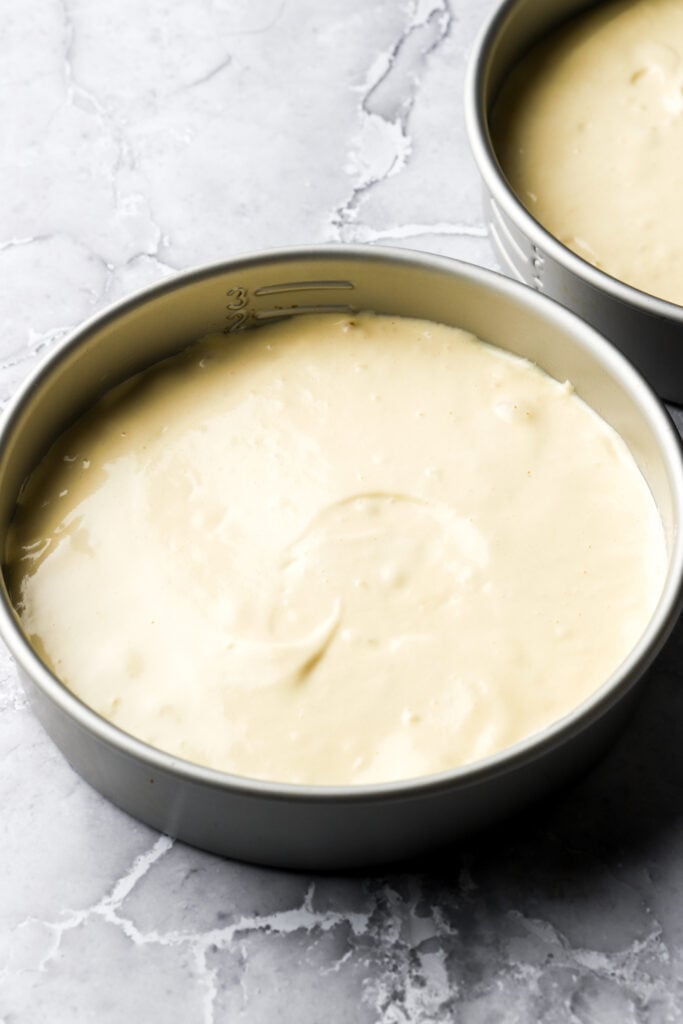
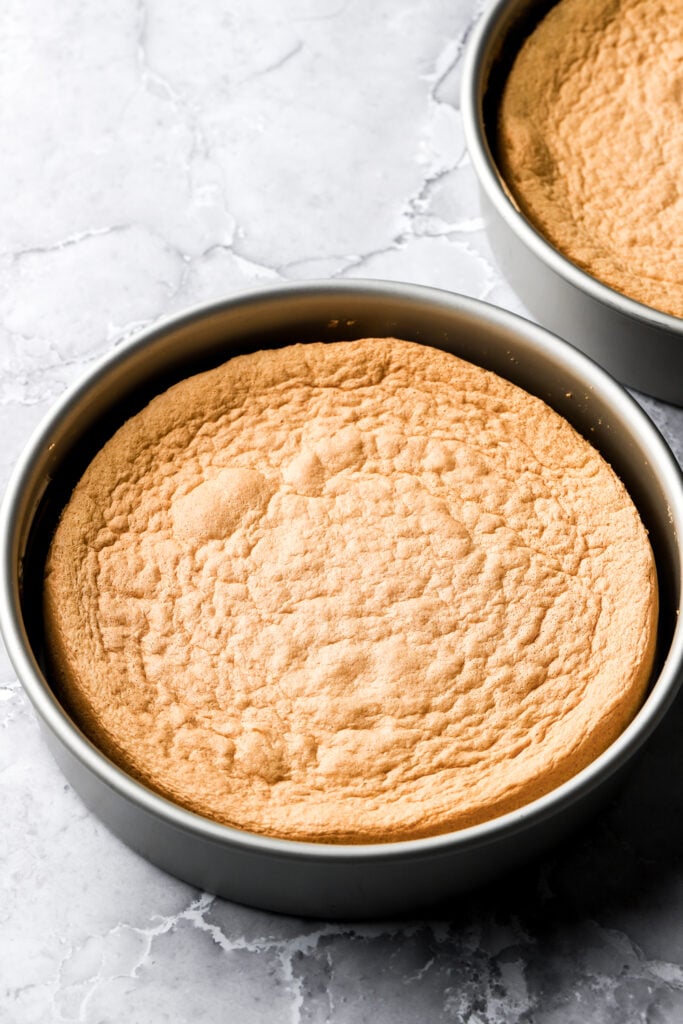
- Distribute the batter evenly among the pans lined with parchment paper, about 10 ounces each, and bake for 20ish minutes. The tops will be golden brown, no longer wet and spring back when you press on them gently.
Preparing the cake pan
Unlike the genoise, the Pan di Spagna cake has no trouble rising and rises well in a nonstick and/or a greased pan because of the lack of butter/oil in the batter, etc. Feel free to butter and flour your pan as usual.
I usually just generously grease the bottom and lightly grease the sides of the pan with baking spray. I recommend Pam or Baker’s Joy. If your cakes normally stick to the bottom of the pan, then definitely line the bottom with parchment paper as well.
What pan to bake this cake in
This cake is a lot less sturdy than any other cake I’ve made; even its very similar cousin the Genoise is much more sturdy. That’s because, again, it’s an actual sponge so it’s super squishy and flexible. And when it’s soaked in the syrup, it’s super moist and flimsy so I don’t recommend stacking this cake too tall.
I did four 8 inch layers in my Tiramisu cake and that was super risky. If you do that, work very gently, quickly and refrigerate/freeze between layers. If not, then stick to a max of three layers.
The cake can be baked in
- Full batch – three layer 6 inch cake; about 7-8 oz each and bake for about 14-16 minutes.
- Full batch – two layer 8 inch cake; about 10-11 oz each and bake for about 18-20 minutes.
- Full batch – two layer 9 inch cake; about 10-11 oz each and bake for about 16-18 minutes.
- Full batch – one layer 10 inch cake; bake for about 25-30 minutes.
- Full batch – I haven’t tested this but I would assume you could bake it in a 9×13 inch pan and bake for 23-28 minutes.
- Double batch – four layer 8 inch cake; about 10-11 oz each and bake for about 18-20 minutes (again, this is risky to stack).
- Double batch – three layer 9 inch cake; about 14 oz each and bake for about 18-20 minutes
- Double batch – I haven’t tested this but you could try a four layer 9 inch cake; about 10-11 oz each and bake for about 15-17 minutes (also risky).
How to flavor sponge cakes
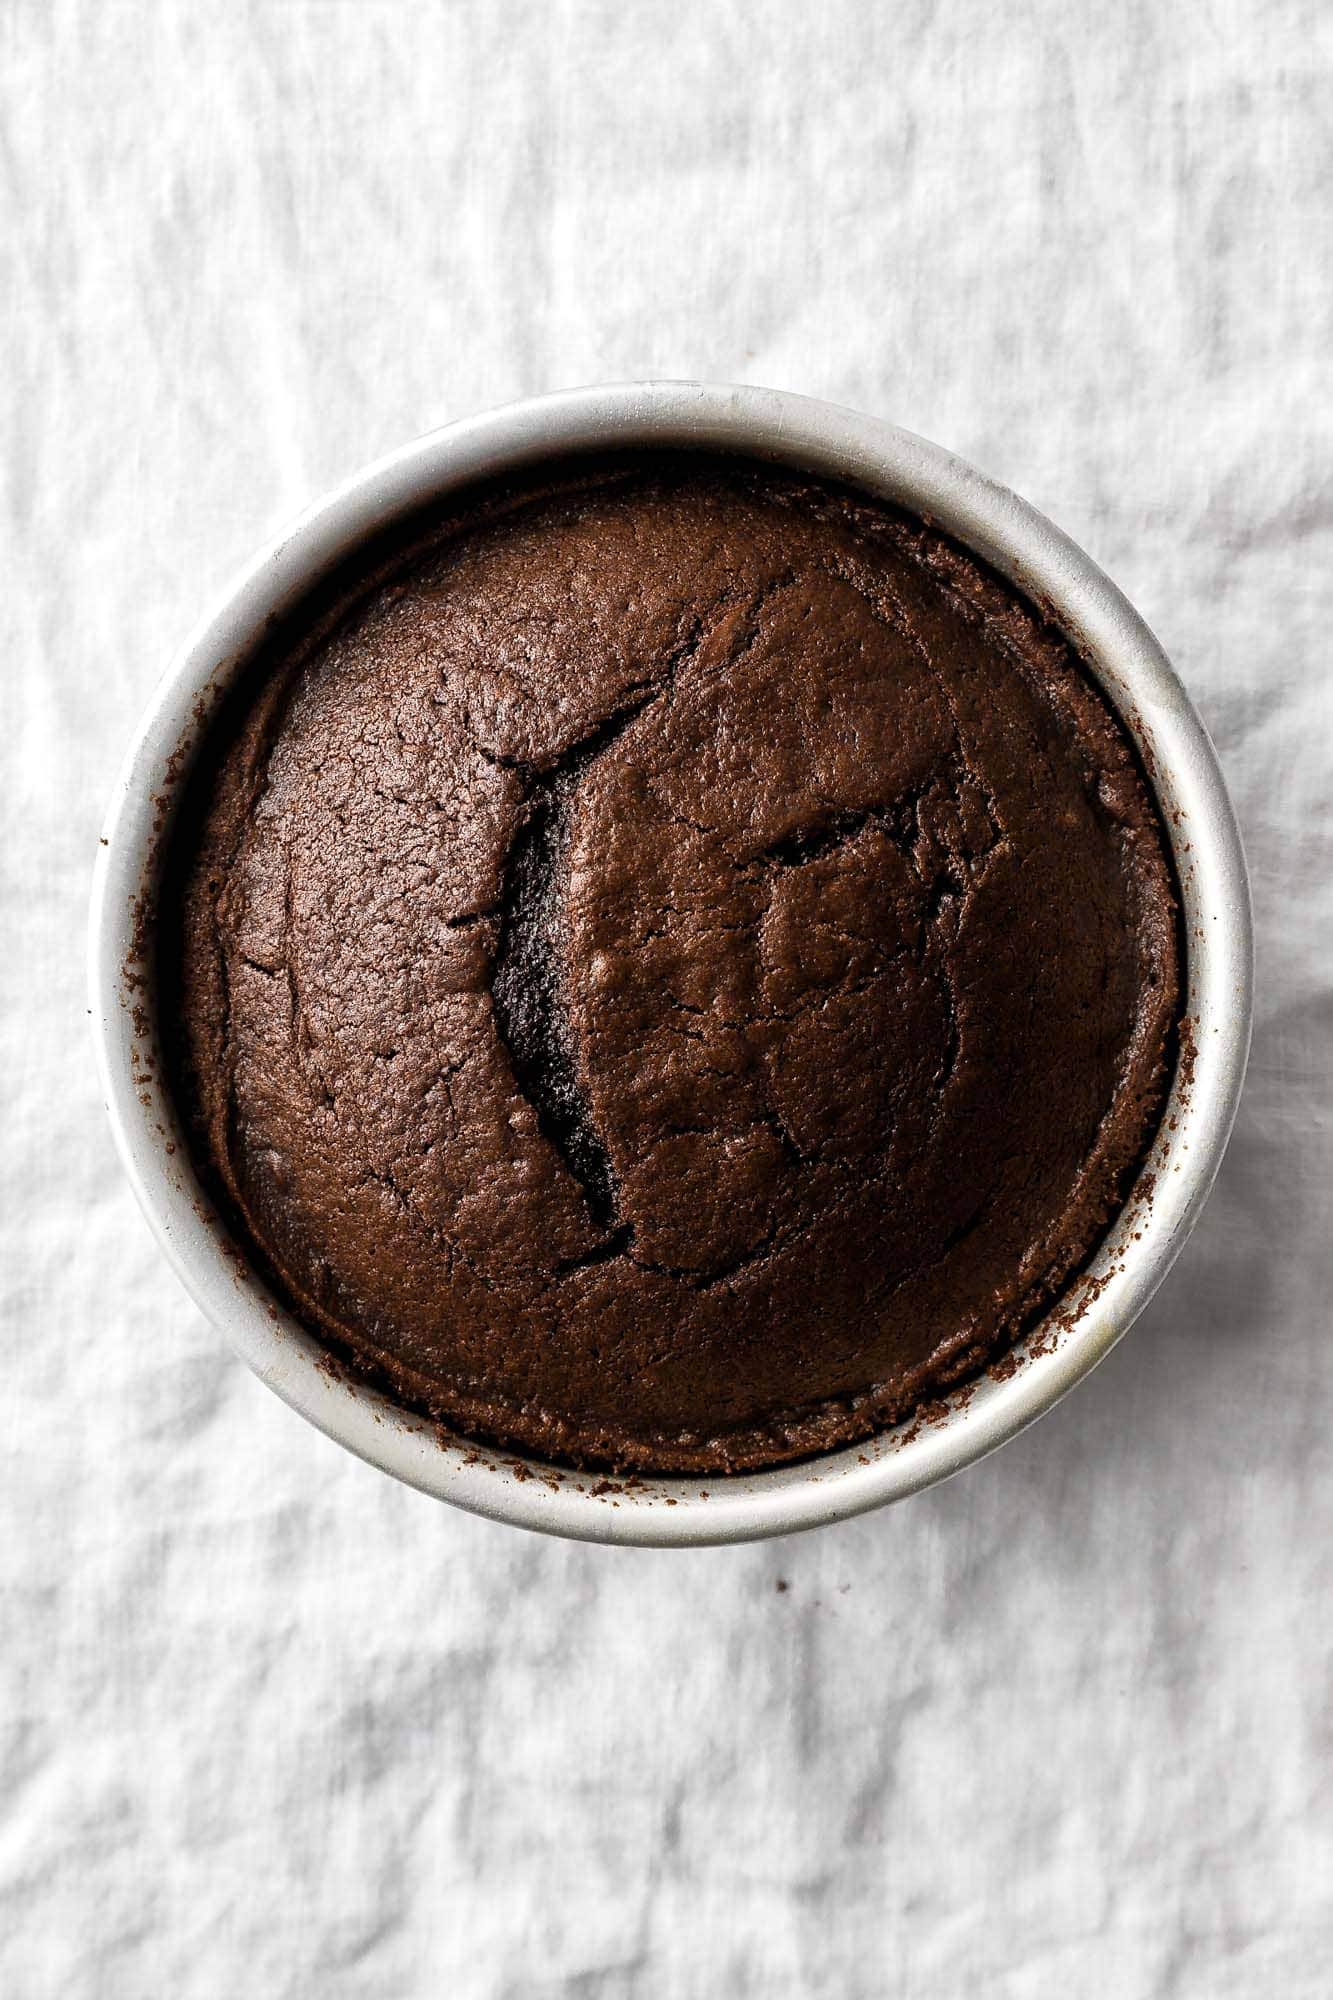
You don’t want to mess too much with the sponge itself because it’s quite delicate. You can certainly remove 2 Tbsp of flour and replace it with unsweetened cocoa powder or add 1-3 tsp of any kind of extract or spice (after the eggs are whipped).
That’s about as far as I would take it. I don’t recommend even using any citrus zest because it prevents the eggs from whipping up properly, inhibiting its rise. I recommend leaving the rest of the flavoring to the simple syrup and the buttercream/filling, etc.
If you do want to add some citrus zest, add it with the egg yolks after the meringue is whipped.
Soaking the sponge cake
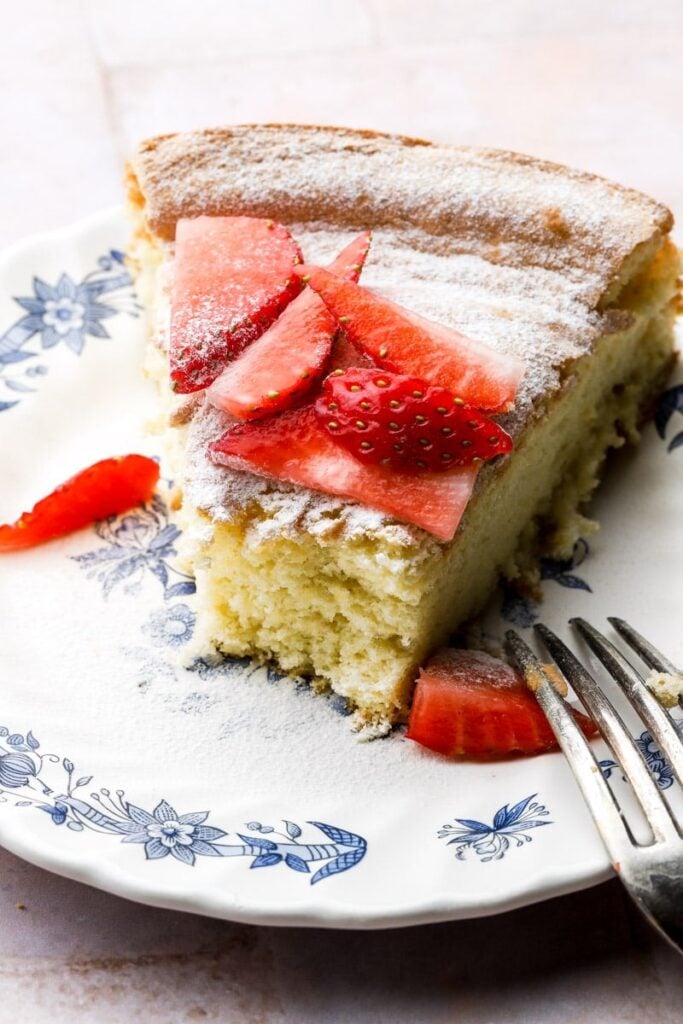
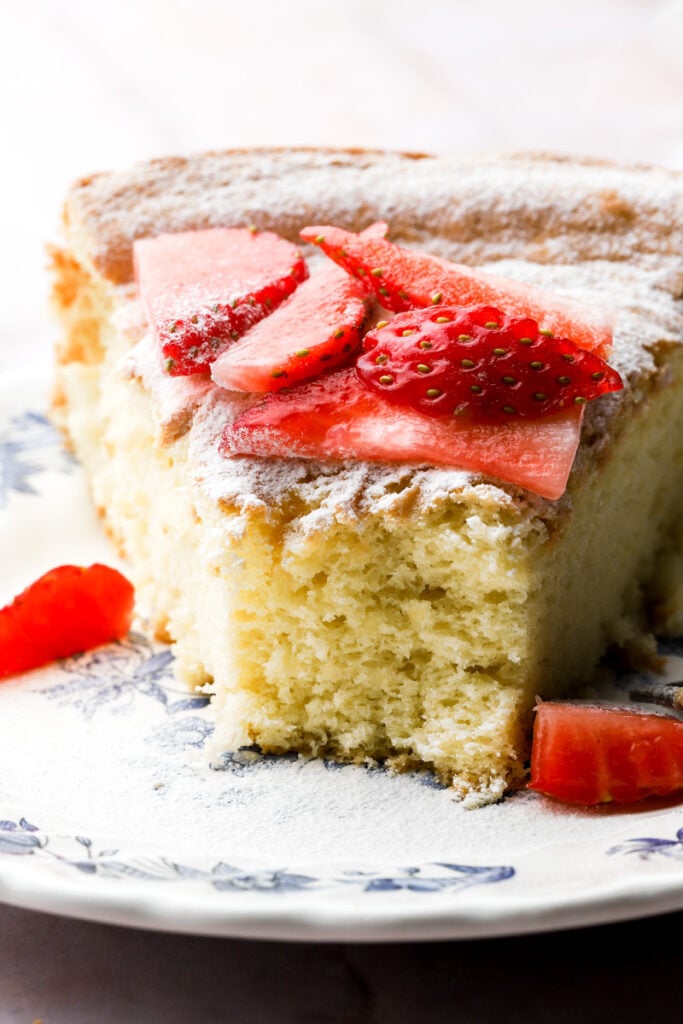
Pan di spagna/biscuit sponge doesn’t have any added fat like butter or oil so has a unique spongy texture but it doesn’t have the moisture that fats normally bring. Some recipes recommend serving the cake just topped with a little powdered sugar but I grew up eating it soaked in some sort of syrup which makes it super moist. After all, it is a “sponge cake” made to soak up the syrup like an actual sponge.
Some examples are the coffee soaks in my Tiramisu Cake and Opera Cake, cranberry orange simple syrup, a lemon simple syrup or add a little vanilla to a plain simple syrup.
I haven’t tried it on this cake yet but I think this espresso/cinnamon/honey mixture would be phenomenal as well.
How to soak the sponge
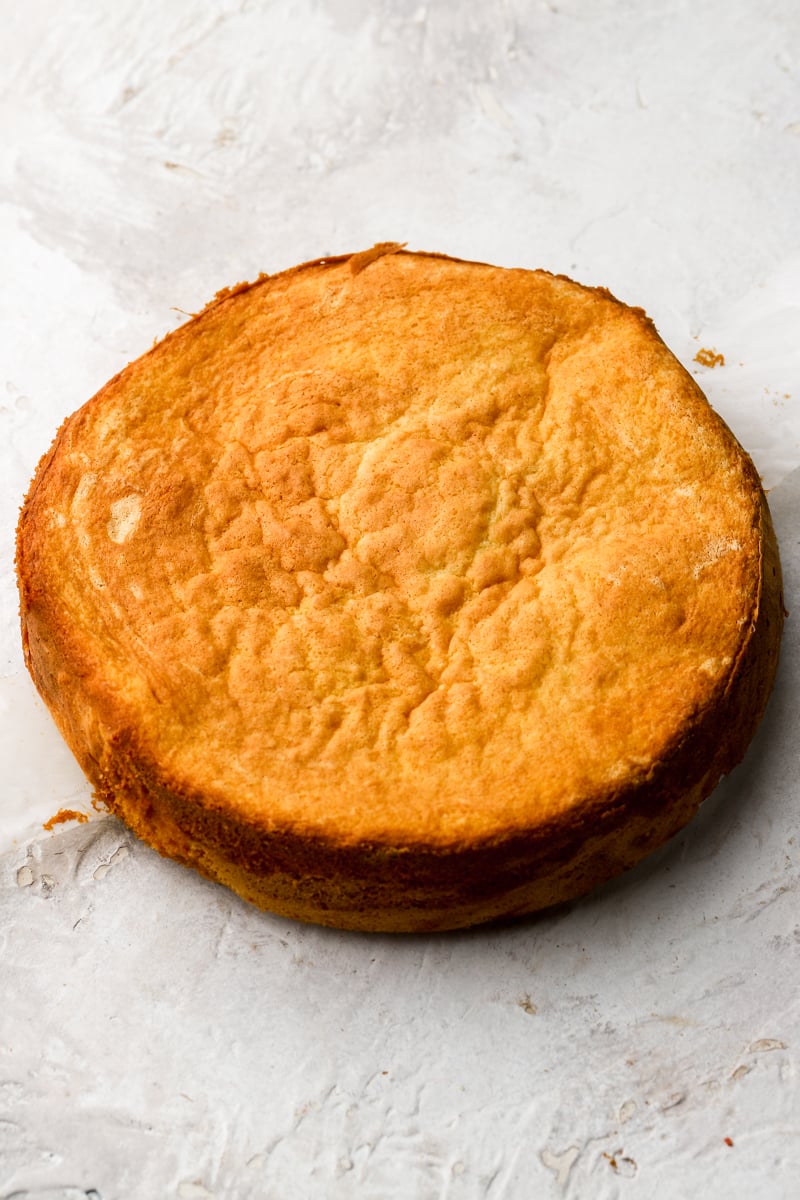
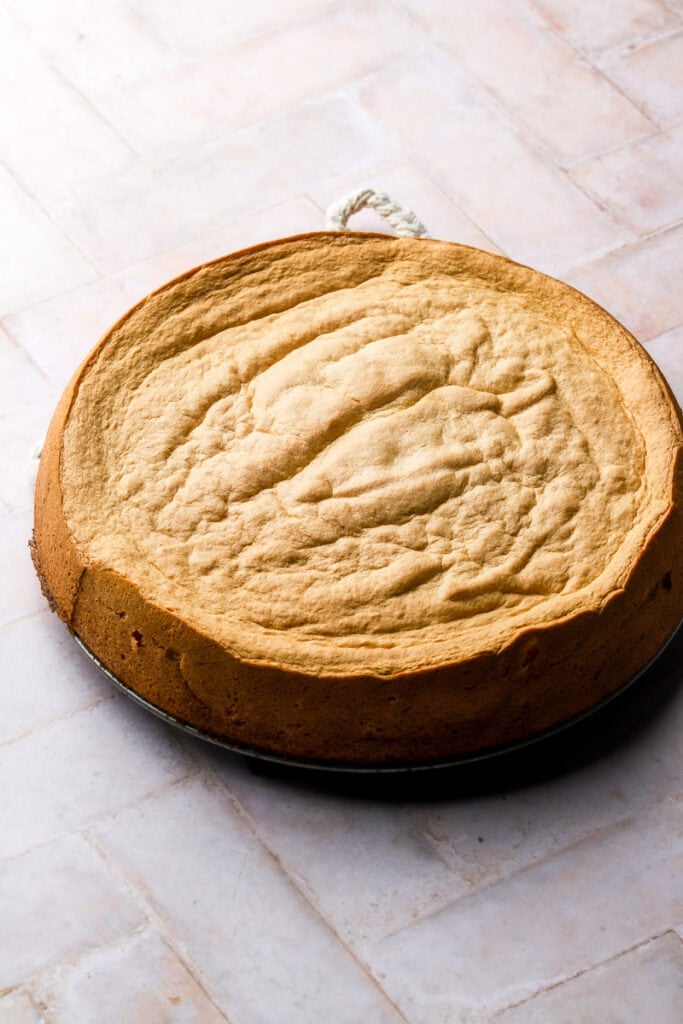
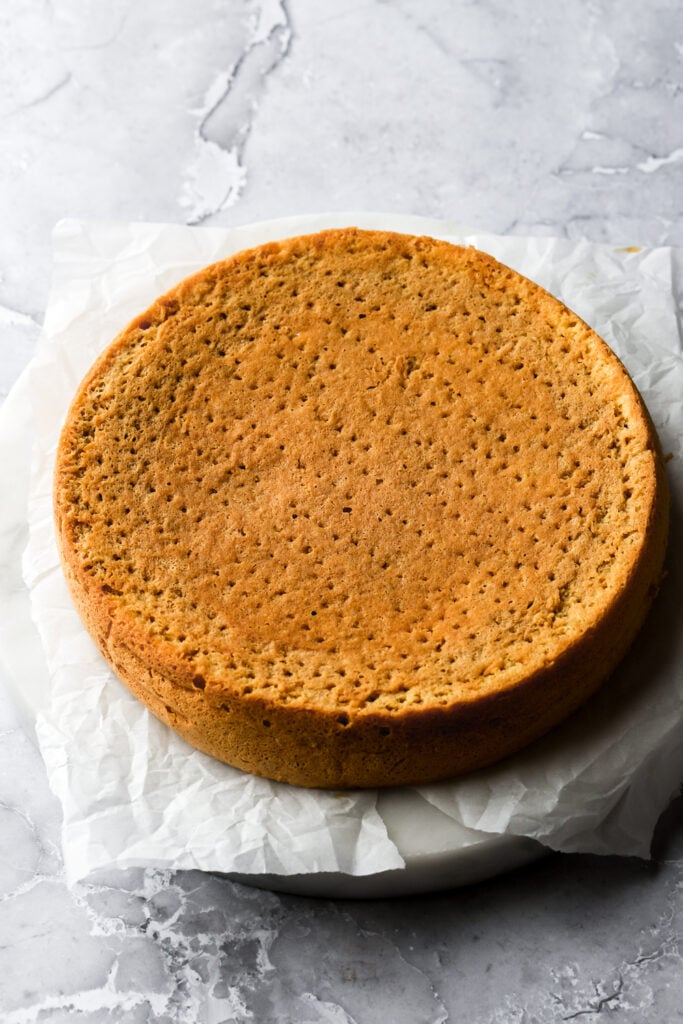
The top of the cake has a slightly more sugared crusted texture whereas the bottom of the cake has more pores so I recommend flipping the cake over and pouring your simple syrup/soak on that side.
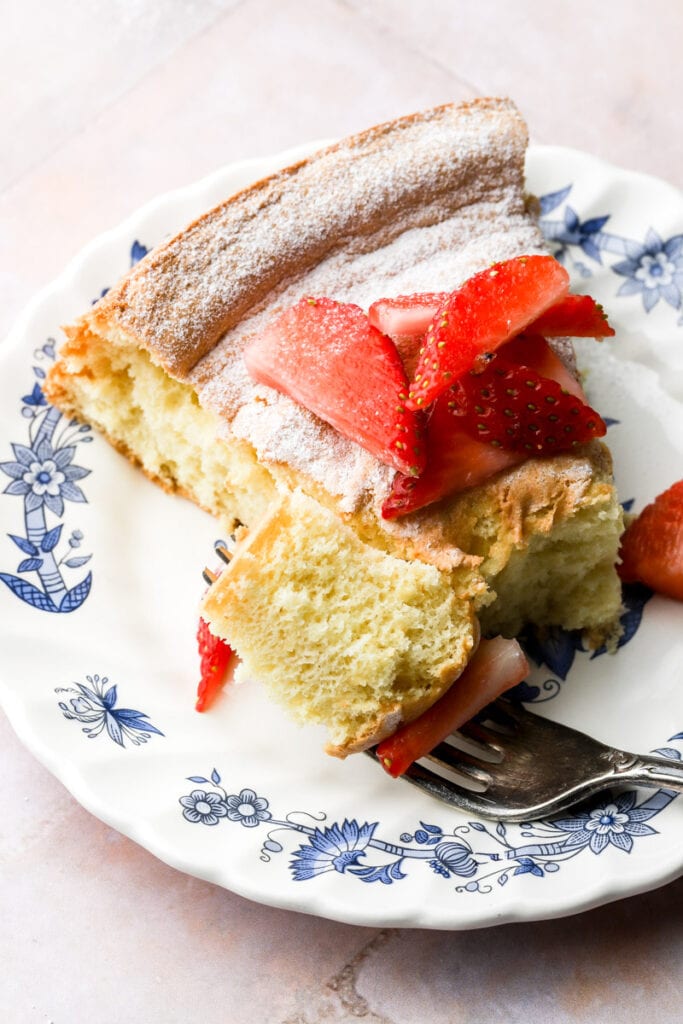
I like to poke little holes with a fork on the cake, similar to a poke cake, to help the cake absorb even more liquid. See photo below.
If you’re slicing the layers in half, poking the holes is not necessary, just make sure to soak the cut side of the cake.
How much liquid to use
The amount of liquid you need to soak the cake depends on a few factors:
- how “wet/soggy” you like it
- how long the egg whites were whipped (over whipping passed stiff peaks dries out the batter)
- how long you baked it for (over-baking also dries out the batter)
- how fresh the cake is (the older the cake is, the more dried out it is).
My recommendations:
- One 6 inch layer that is 7-8 ounces – about ¼-⅓ cup of liquid per layer of cake.
- One 8 inch layer that 10-11 ounces – ½ -¾ cup of liquid per layer of cake.
- One 9 inch layer that 10-11 ounces – ½ -¾ cup of liquid per layer of cake.
- One 9×13 inch pan that’s about 21-22 ounces – 1 – 1 ½ cups of liquid.
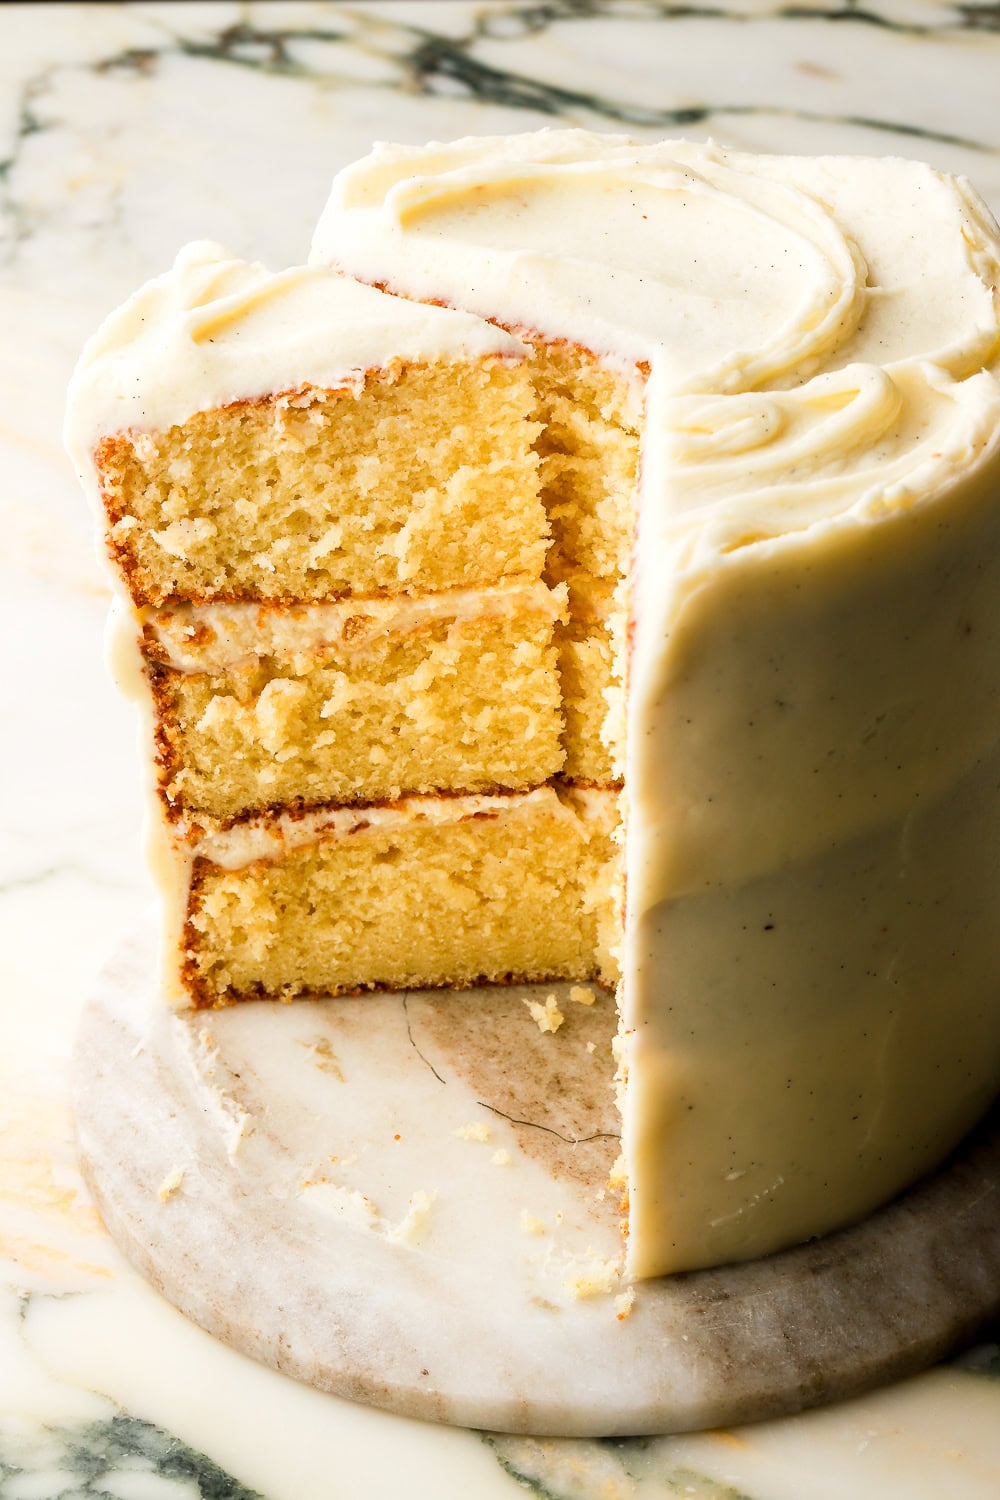
What type of Frosting to pair with a pan di spagna?
This sponge cake is incredibly soft and fluffy and to be honest, I don’t prefer it paired with a buttercream because I find the consistency of the buttercream to be too heavy for this cake.
I recommend pairing this cake with something lighter like a Chantilly Cream, Mascarpone Frosting, Cream Cheese Frosting, or my absolute favorite Diplomat Cream.
Feel free to flavor the creams with
- ½ cup unsweetened cocoa powder per batch of buttercream
- ½ cup melted chocolate (any kind) per batch of buttercream
- ½ cup cookie butter/peanut butter/nutella, etc
- ½ cup jam
- 2-4 Tbsp freeze dried fruit
- Any kind of extract
Decorating sponge cakes
Sponge cakes are not as sturdy as traditional shortened cakes (like my vanilla cake) so the taller you build your cake, the more risky it is and unstable it is. If you want to frost the outside of the cake, you can use stabilized whipped cream or diplomat cream to gently and lightly frost. Make sure to refrigerate the cake for at least 1-2 hours before frosting the outside and again 1-2 hours after frosting so it sets.
If you want to actually decorate the cake with buttercream, you can use any type of buttercream recipe you like but my favorite is Swiss Meringue Buttercream.
However, since sponge cakes are oftentimes soaked in liquid, they will settle over the next few hours so I recommend refrigerating the cake for at least 4-6 hours, preferably overnight, before decorating the outside of the cake. The cake will be a little shorter the next day and you don’t want that to ruin your decor.
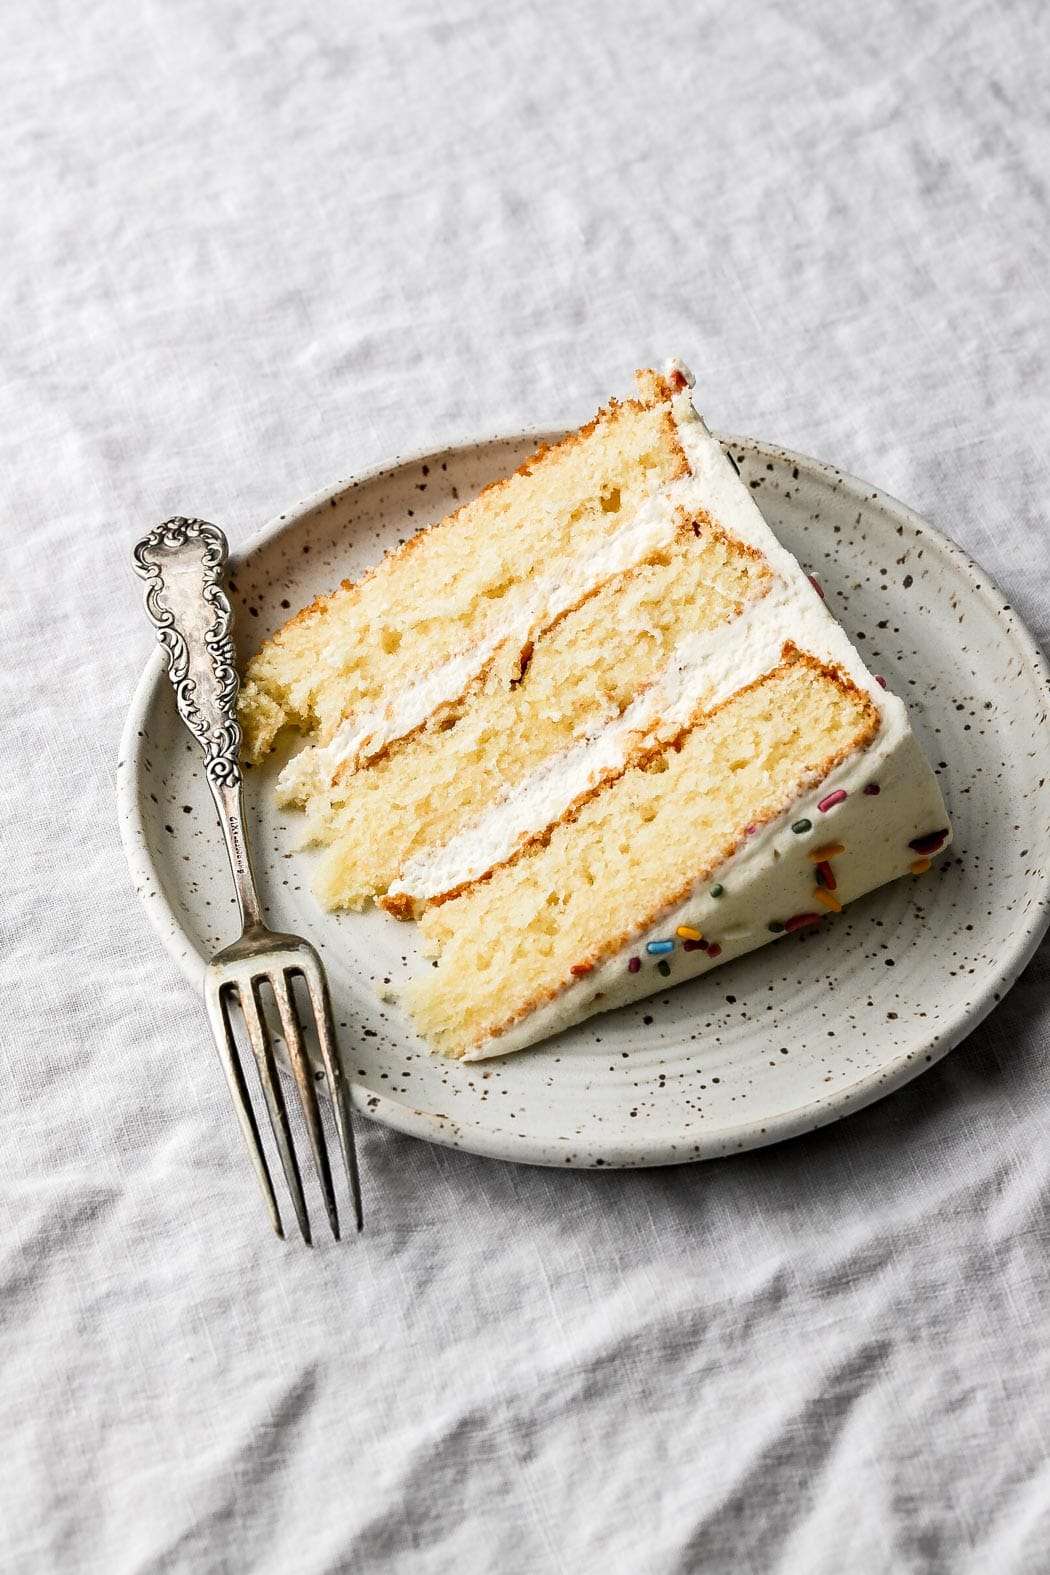
I recommend piping a border of the buttercream onto each layer of cake and using a softer cream for the filling. You can see an example of this in my White chocolate Cranberry Cake below. Refrigerate the cake for 30-60 minutes so the buttercream sets and then frost the outside.

Frequently Asked Questions
Lucky for you, pan di spagna doesn’t use any dairy so if you use a dairy free cream on it you’re good to go!
All my cake recipes work well with a 1:1 gluten-free flour like Bob’s Red Mill and King Arthur Flour HOWEVER, I have not tested this with sponge cakes so I am not entirely sure. Please let us know if you do try it!
Unfortunately sponge cakes don’t bake up well as cupcakes. They’re flat, more flimsy and oftentimes require a soak which might just make a sad, wet looking cupcake.
Sponge cakes are fairly easy to assess when they’re done baking. The top will no longer look wet, it’ll have a light golden color, not a dark golden brown color. Then gently press your finger into it and it should have some resistance and/or spring back. If it feels wet underneath the surface or your fingerprint stays indented, leave it a few more minutes.
Try not to open the oven until it’s close to being done though.
How to store sponge cakes
If you want to make the cake ahead of time you can make the cakes even a month in advance. When you remove them from the oven, let them cool for about half an hour and then wrap them individually in plastic wrap. Then place them in a freezer bag, squeezing out all the excess air.
If trimming, slicing in half or soaking the sponge in a syrup, I don’t recommend doing it before. I recommend defrosting the cake a few hours in advance and doing it before assembling.
Depending on the type of frosting used with the cake, it may need to be refrigerated. The cake itself can sit out at room temperature if unfrosted.
If it’s frosted with a buttercream, it may be best to serve at room temperature. It can be stored at room temperature for 1-2 days and then refrigerated for up to a week. Bring it back to room temperature before serving.
If it’s frosted with a whipped cream base filling, cream cheese frosting or filled with fruits/jams, etc. make sure to store it in the fridge and the cake can be served cold or just slightly chilled.
To freeze a frosted cake, double wrap it in plastic wrap or slice it and store them in an airtight container. Freeze for a couple of months and thaw at room temperature a couple hours before serving or thaw in the fridge overnight.
Thanks so much for reading today’s post, if you have any questions just comment down below. Make sure to leave it in the comment section below, those will get seen much quicker than emails or social messages.
If you enjoyed this post on the classic Pan di Spagna, I’d love it if you left a 5-star rating for me. If it’s less than five stars, please let me know why in the comments! 🙂
As always, have a blessed day and happy baking!
Love, B