
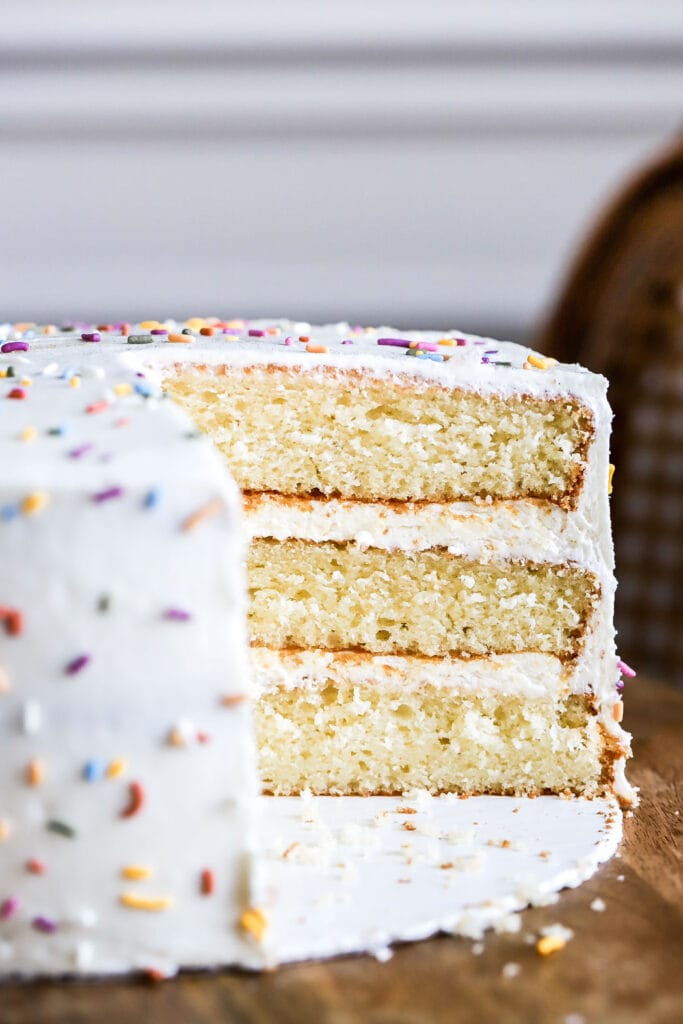
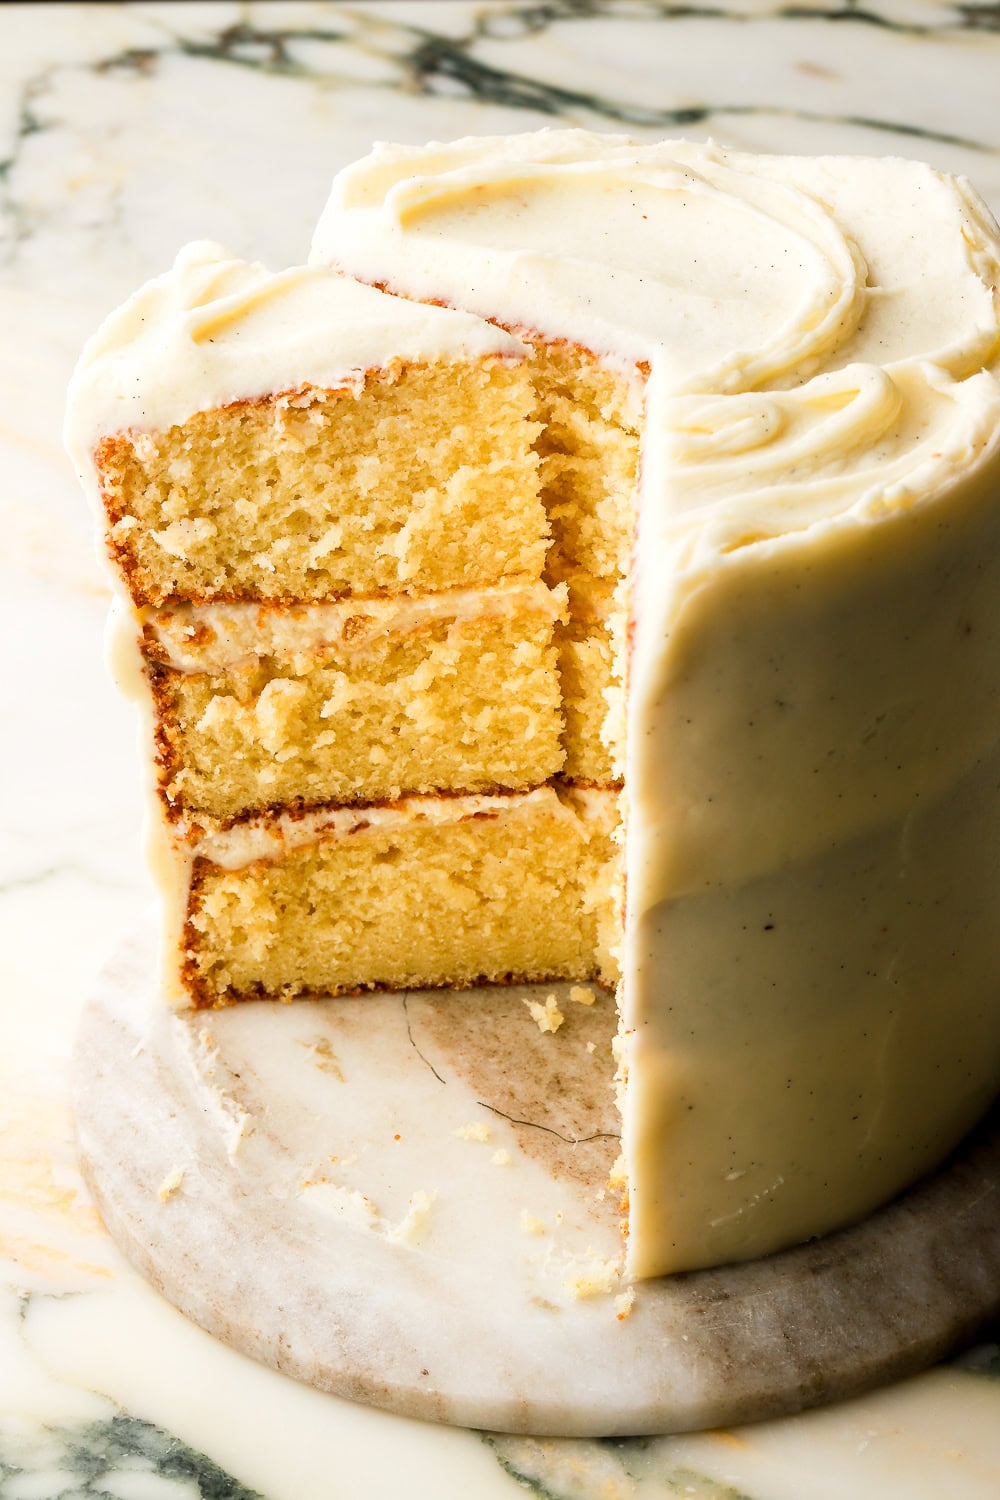
8 Inch Vanilla Cake Recipe
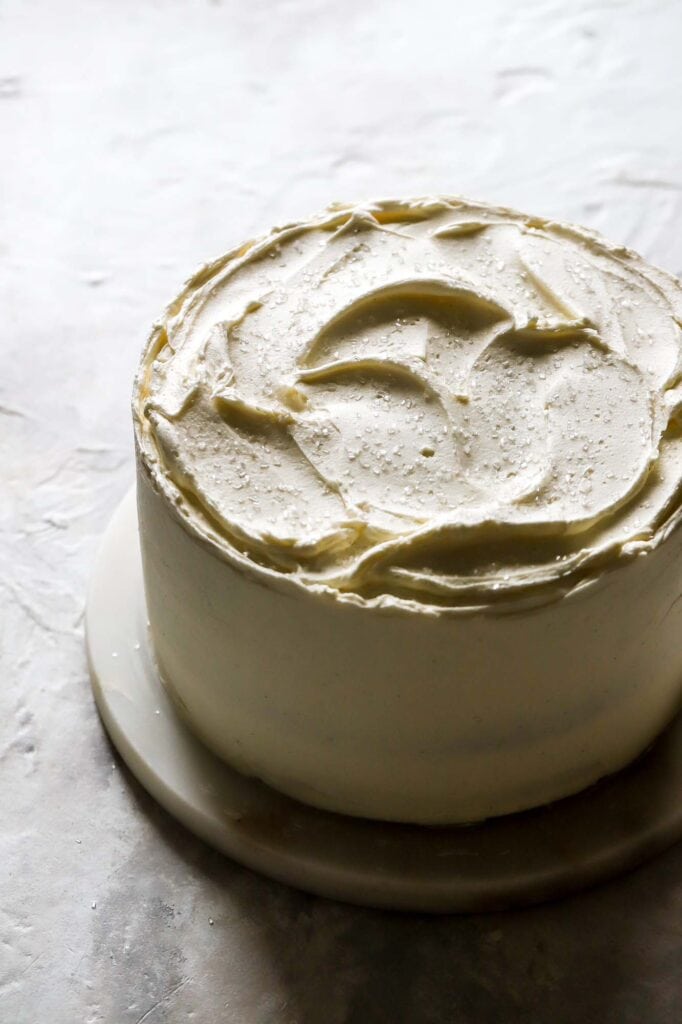
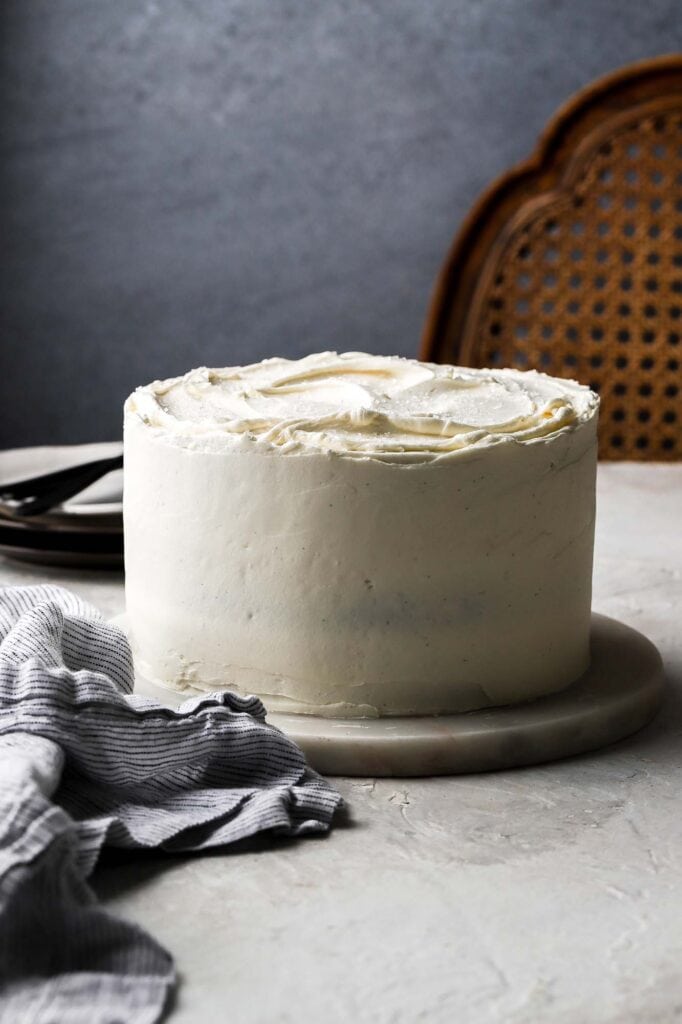
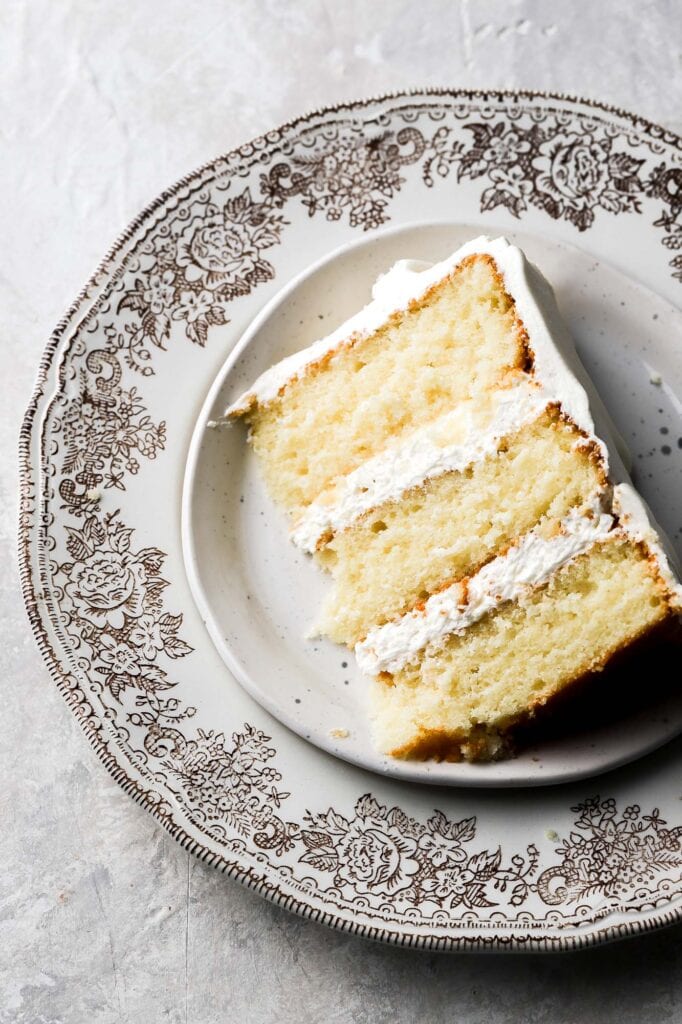
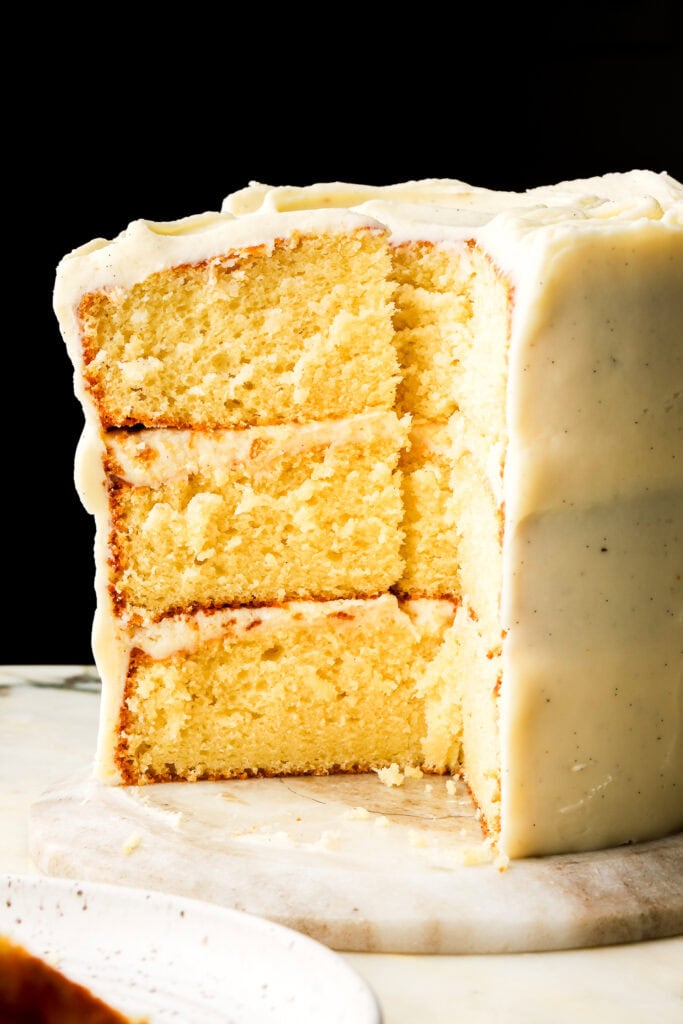
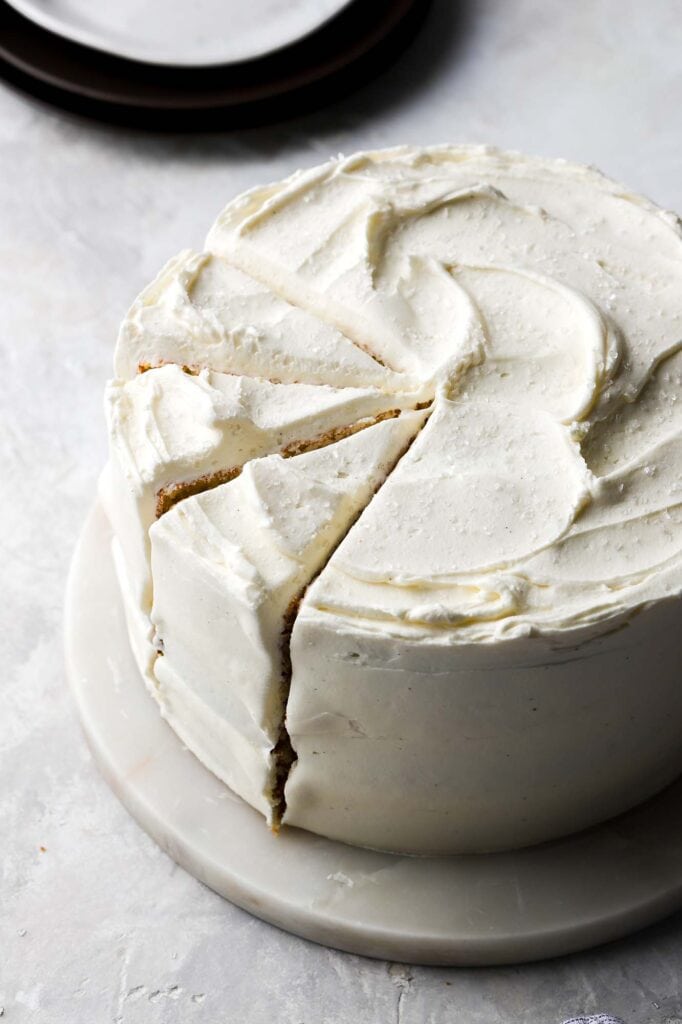
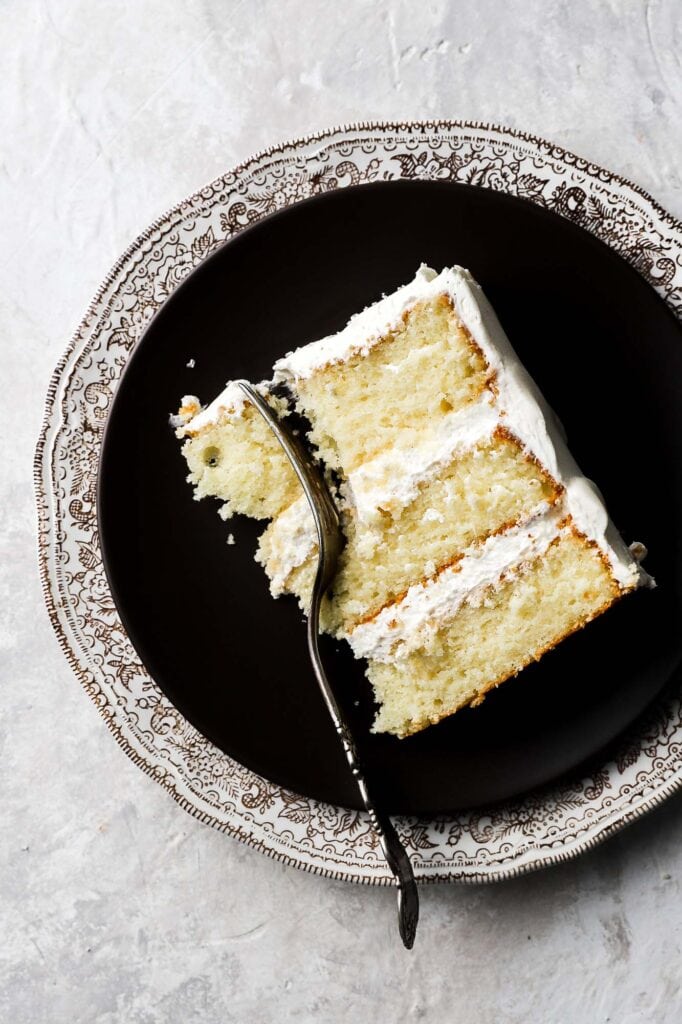
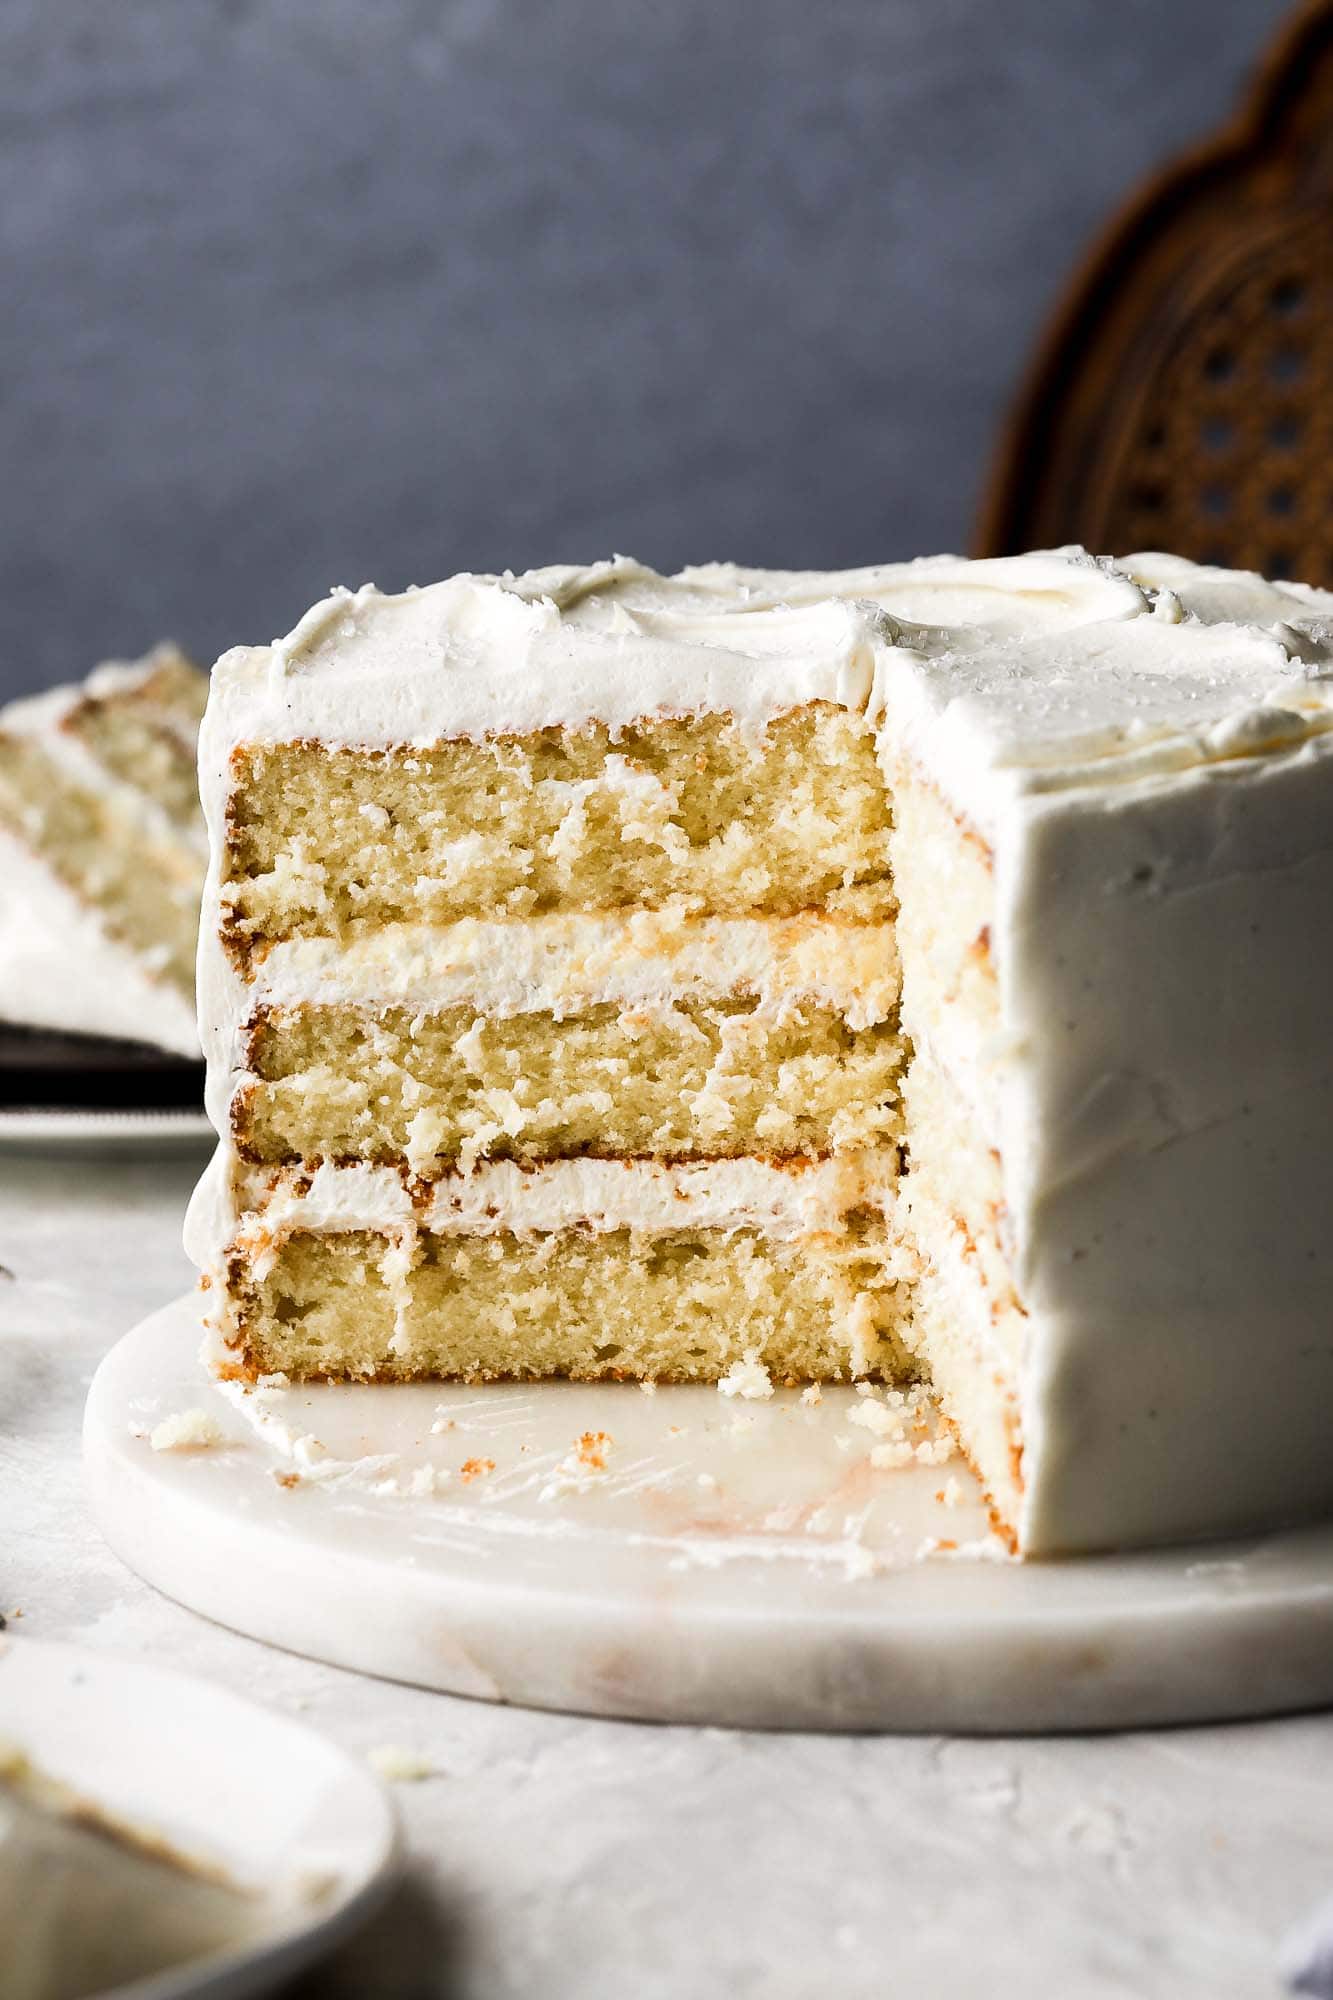
This three-layer 8-inch vanilla cake is soft, moist and fluffy, with enough structure to stack, fill and decorate. It’s made with butter for flavor, oil and sour cream for lasting moisture, and whole eggs for a rich, classic vanilla cake—not a flavorless white cake.
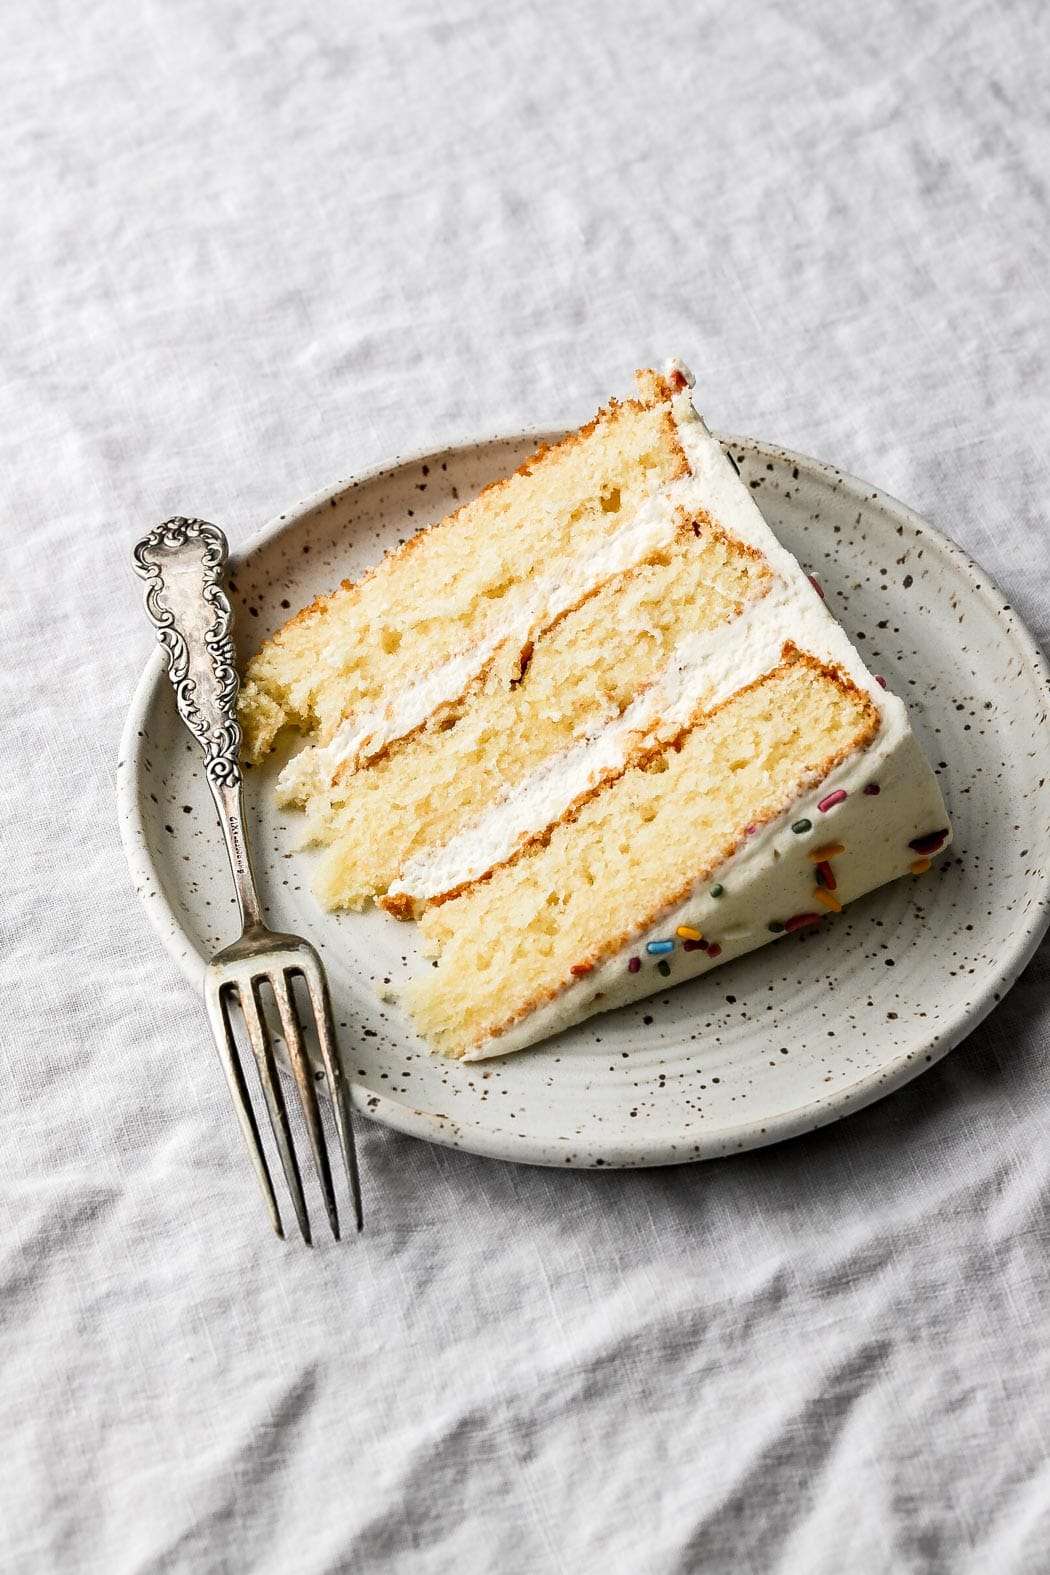
The layers are paired with a light and fluffy vanilla American buttercream, but the cake also works well with fruit fillings, pastry creams, chocolate ganache or nearly any frosting you like. It’s my go-to size for birthdays and celebrations, serving approximately 16-24 people, depending on how large the slices are.
The Details:
Flavor and texture: To me, the perfect vanilla cake has a balanced flavor of butter, sugar, vanilla, milk and eggs. The texture should be soft, moist and fluffy, but still sturdy enough to stack and decorate without feeling flimsy, crumbly, dry or dense.
Simple, accessible ingredients: No one wants to make the “best” cake recipe if the ingredient list is excessively long or difficult to find. This cake is made with familiar baking staples, and the method is fairly simple—in my opinion, lol.
Made specifically for three 8-inch pans: This recipe was adapted from my popular 6 Inch Vanilla Cake and has been tested specifically for three 8-inch pans.
Ingredient Notes & Substitutions
The full recipe is in the recipe card at the bottom of the post.
- Flour: This recipe was developed with all-purpose flour because that’s what most people keep at home. Cake flour also works well and produces a slightly more tender crumb. I have a full article on the difference between all-purpose flour and cake flour if you want to read more about the two.
- The most important thing for flour is to measure it with a digital scale for the most accurate results.
- Fat: I use a combination of butter and oil in almost all of my cake recipes. Butter provides the best flavor, while oil helps produce a softer texture that stays moist for longer. I find that oil alone can make a plain vanilla cake feel a little too spongy, while using only butter can produce a slightly firmer cake. I like salted butter but unsalted also works well. Any neutral oil works.
- Whole eggs: You simply can’t argue with the flavor and richness that egg yolks bring to a cake. This recipe was developed with whole eggs for the best flavor and texture, so that’s what I recommend. For a good emulsification, make sure the eggs are at room temperature and add them into the batter 1 at a time, mixing fully between each one.
- Sugar: Sugar isn’t included only for sweetness. It also contributes to browning and flavor, tenderizes the crumb and helps the cake retain moisture, so I don’t recommend reducing it. For a cake that tastes less sweet overall, pair it with a European-style buttercream, such as Swiss or French buttercream, instead of American buttercream.
- Liquid: I was a firm believer in buttermilk until I started testing sour cream and milk together. The difference in both the texture and flavor was noticeable from the very first test. If you don’t have sour cream, replace it with an equal amount of plain full-fat yogurt or Greek yogurt.
Step-by-Step Photos
This vanilla cake is fairly straightforward, but properly emulsifying the batter is important for achieving a soft, fluffy and even crumb.
- Emulsification – Add the eggs one at a time, mixing until each one is fully incorporated before adding the next. Adding them too quickly can cause the batter to split and prevent the ingredients from emulsifying properly.
- Temperature of Ingredients – The butter, eggs, sour cream and milk should all be at a cool room temperature. Ingredients that are significantly different temperatures don’t combine as easily and are more likely to produce a curdled batter.
Vanilla Cake
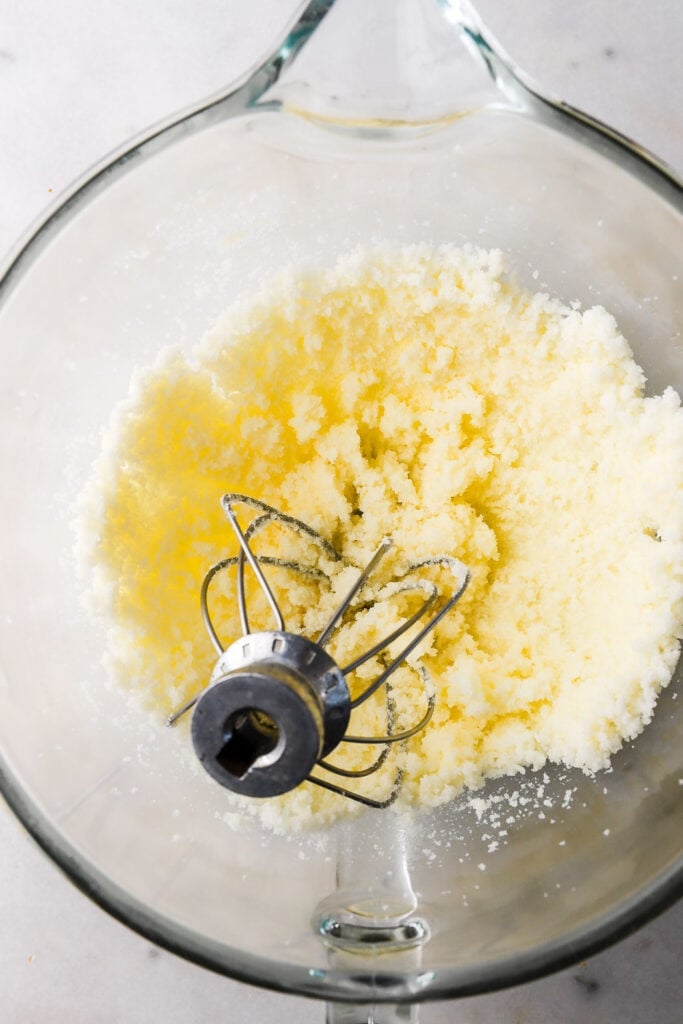
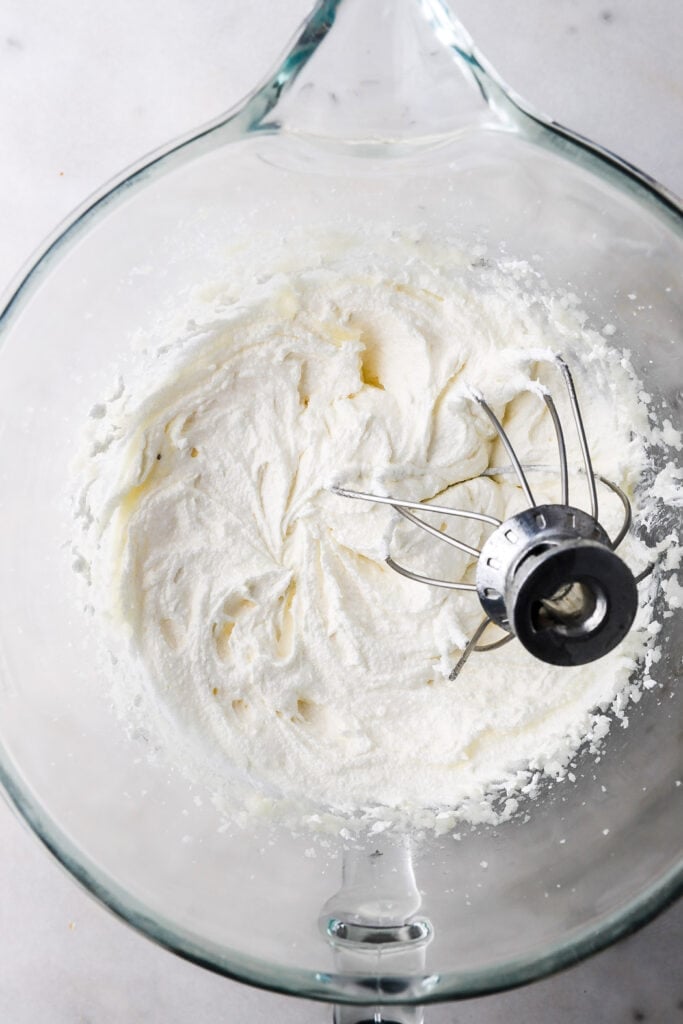
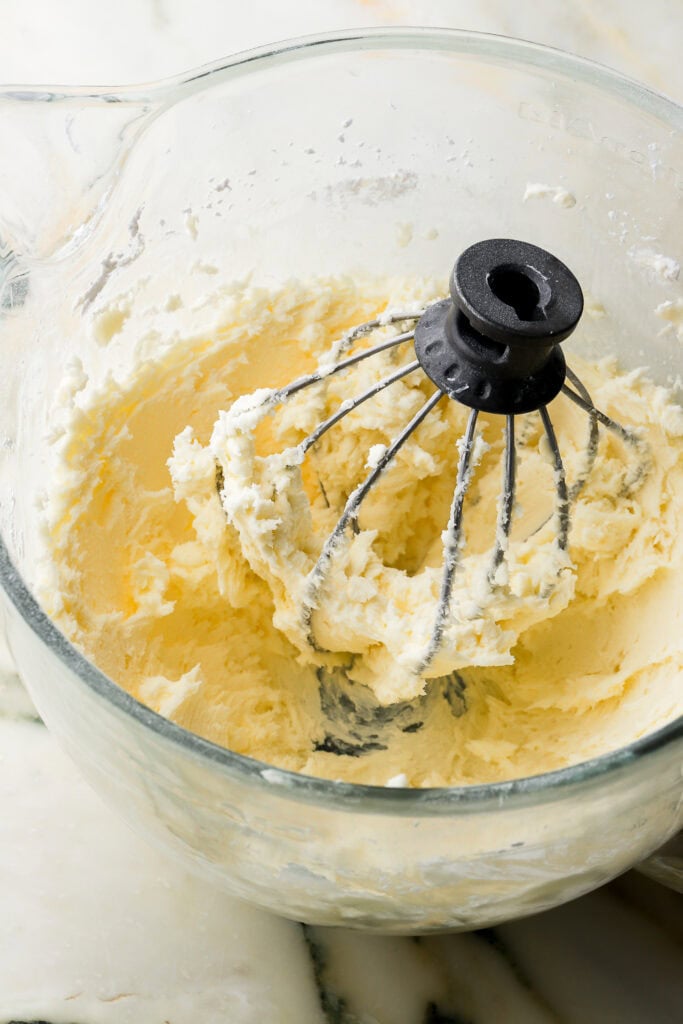
- Beat together the butter and sugar for 1-2 minutes with the whisk attachment.
- Add the oil and continue beating for another 1-2 minutes.
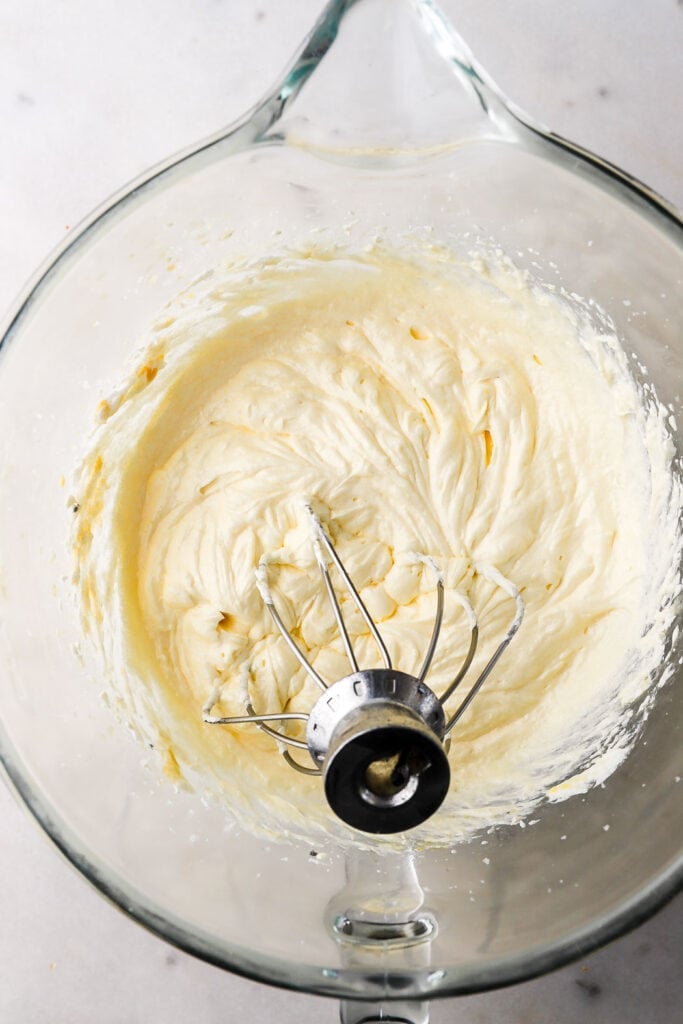
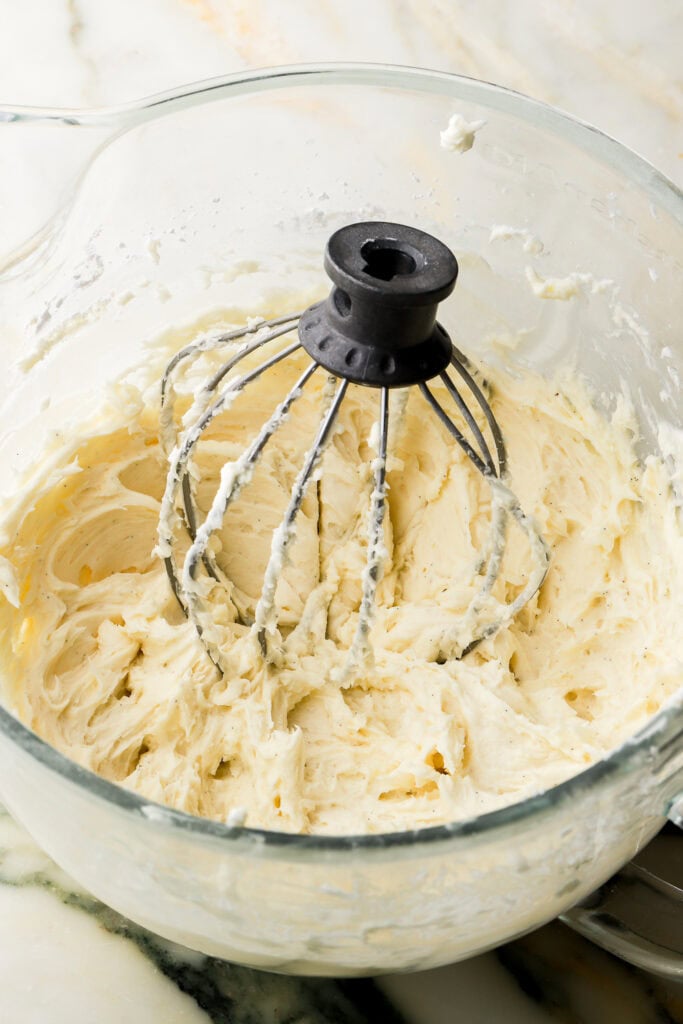
- Add the eggs, one at a time, beating for at least 30-60 seconds between each addition, until each one is combined. Add the sour cream and vanilla and mix just until they’re incorporated.
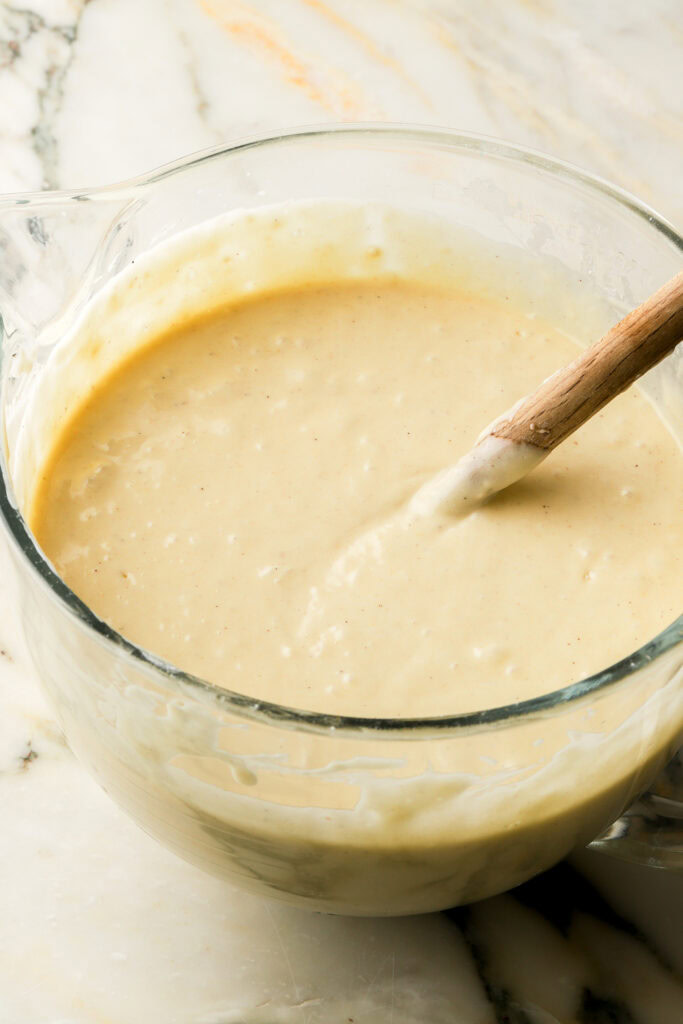
- Add in half of the dry ingredients, followed by the milk and then the other half of the dry ingredients. Mix just until the last streak of flour is combined.
- Distribute the batter evenly between three round 8 inch cake pans, about 22 ounces of batter in each one.
- Bake for 30–35 minutes, until the tops are golden brown, the edges begin to release from the pans and the centers spring back when gently pressed.
- Allow the cakes to cool in the pans for 5–10 minutes before turning them over onto a wire rack or clean tea towel to cool completely.
Pro Tip: lighter colored baking pans will reduce the amount of browning on the outside while darker pans will brown more.
Vanilla Buttercream
I used American buttercream for simplicity here but this cake pairs well with any buttercream. The included recipe makes just enough buttercream to fill and frost the cake as pictured. For additional piping or a thicker layer of frosting, make 1½ times the recipe or 2x for intricate piping and decorating.
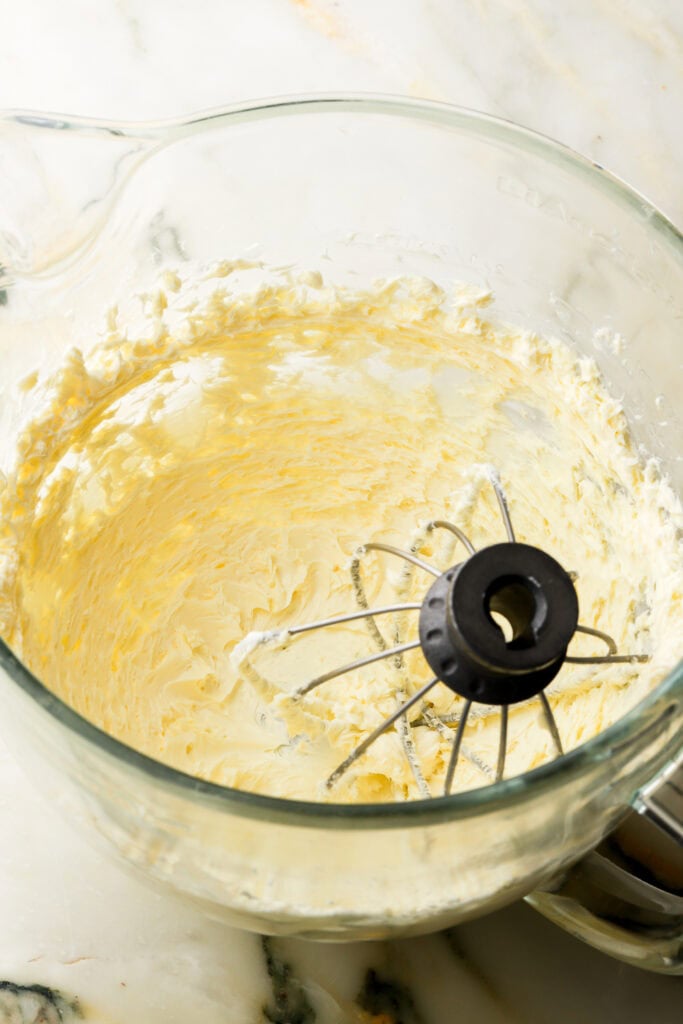
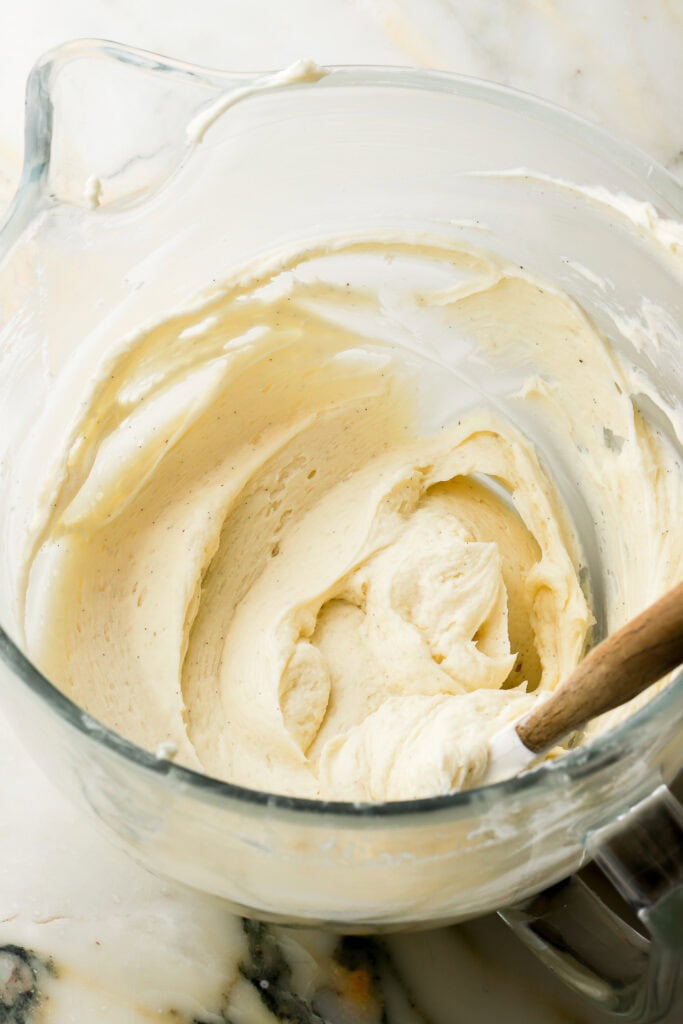
- Beat the butter until it lightens in color and gets fluffy.
- Add the powdered sugar and salt and beat for about 5 minutes until it’s completely smooth.
- Add the vanilla and stream in the heavy whipping cream, beating until the frosting is light and fluffy.
Pro Tip: Start with a whisk attachment on low speed to avoid the cloud of sugar, then switch to a paddle attachment if you want to beat the air out and make it smooth.
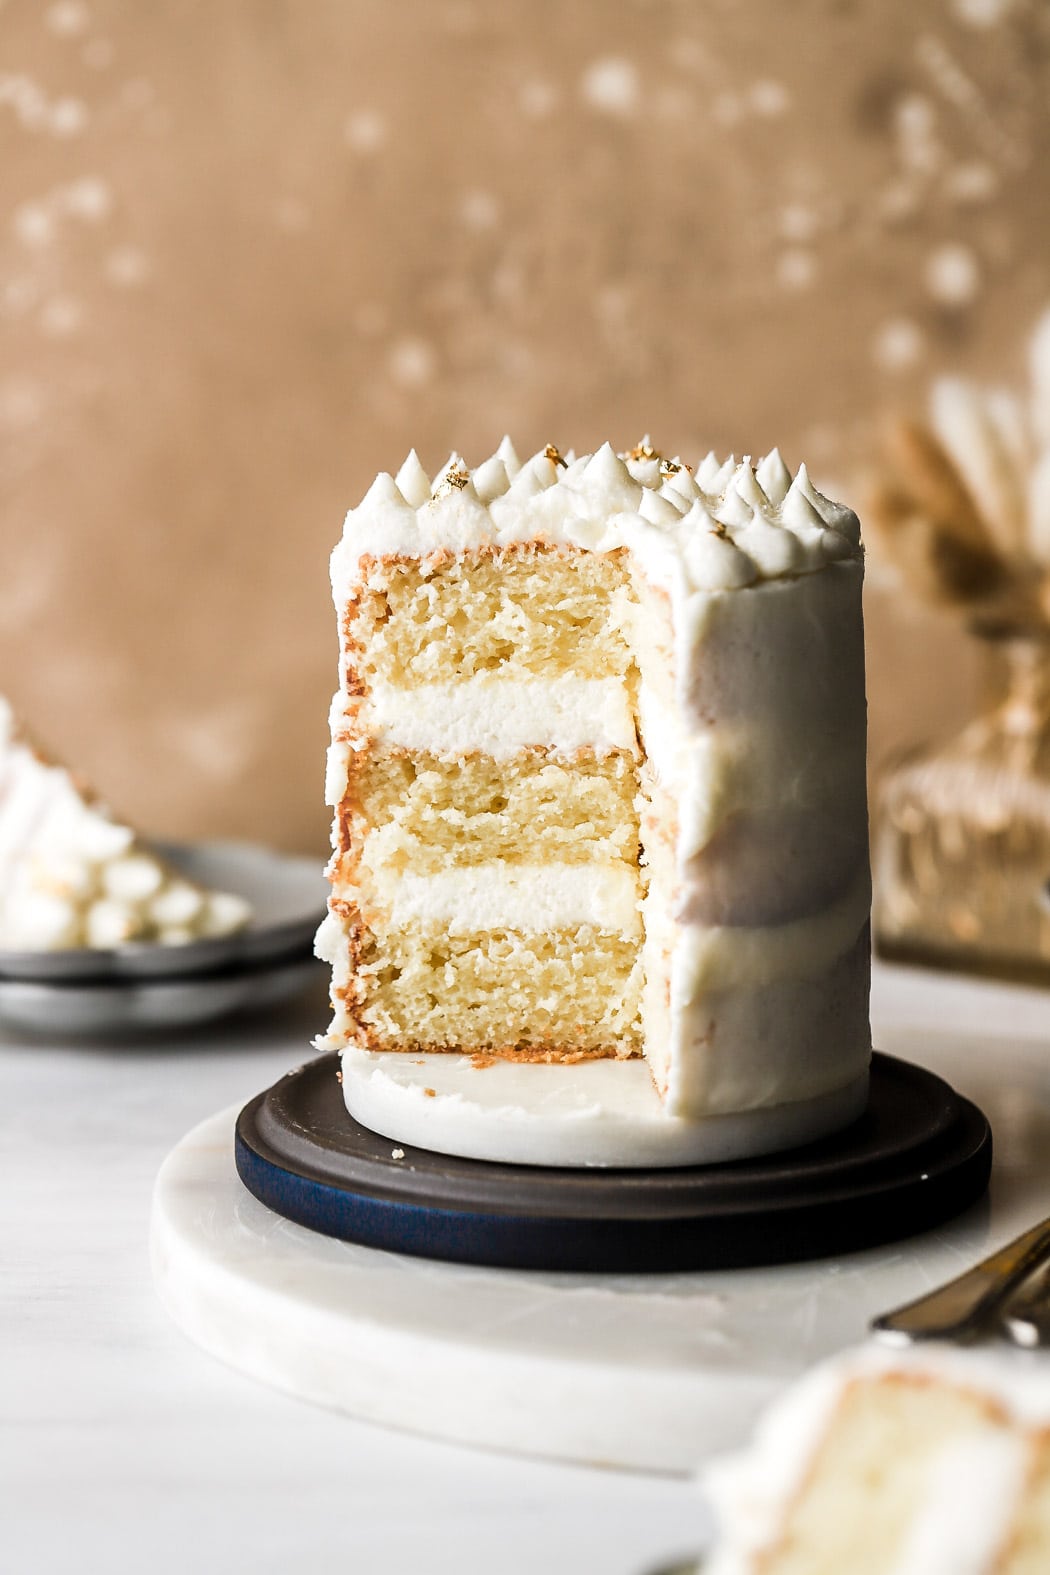
This cake in other sizes
This recipe was adapted from my original 6-inch vanilla cake and scaled into other commonly used cake sizes.
- 4-Inch Cake
- 6-Inch Cake
- 10-Inch Cake
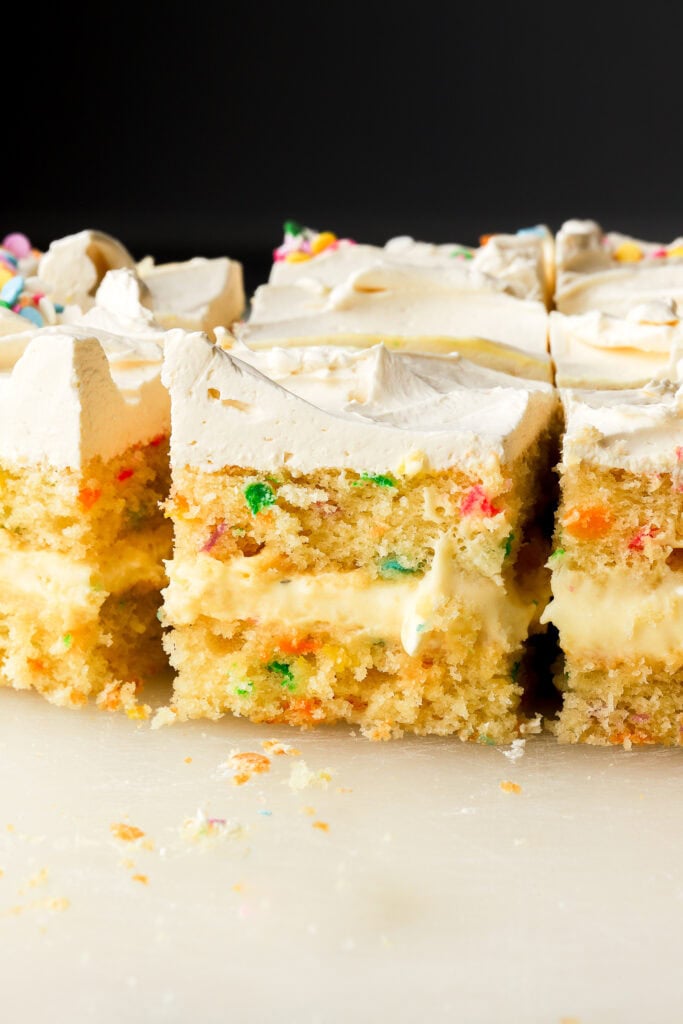
The 6-inch version of this cake can also be baked in a 9×13-inch pan for about 45 minutes, or in a large sheet pan to cut out Mini Cakes.
I also use it as the base for my Birthday Sheet Cake, which is baked in a half sheet pan.
Can I turn this cake into cupcakes?
This cake recipe is not my favorite for cupcakes. It was developed to dome less and created a flatter top so the cupcakes would be kind of sad looking. You would also probably get a lot of cupcakes, about 35.
BUT, here’s my favorite vanilla cupcake recipe, it makes 13 cupcakes and can be scaled up for more!

Customizing this cake
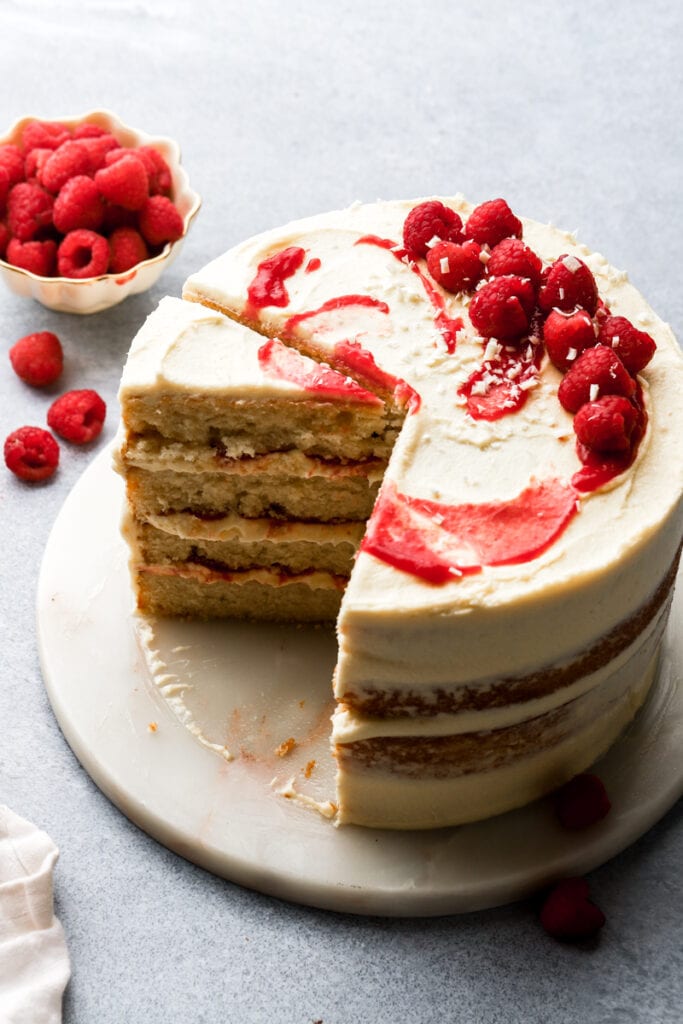
This 8-inch vanilla cake is versatile enough to pair with a variety of frostings, fillings and flavors. You can keep it classic with vanilla buttercream, layer it with fruit filling or lemon curd, or pair it with chocolate ganache, pastry cream, Swiss buttercream or French buttercream.
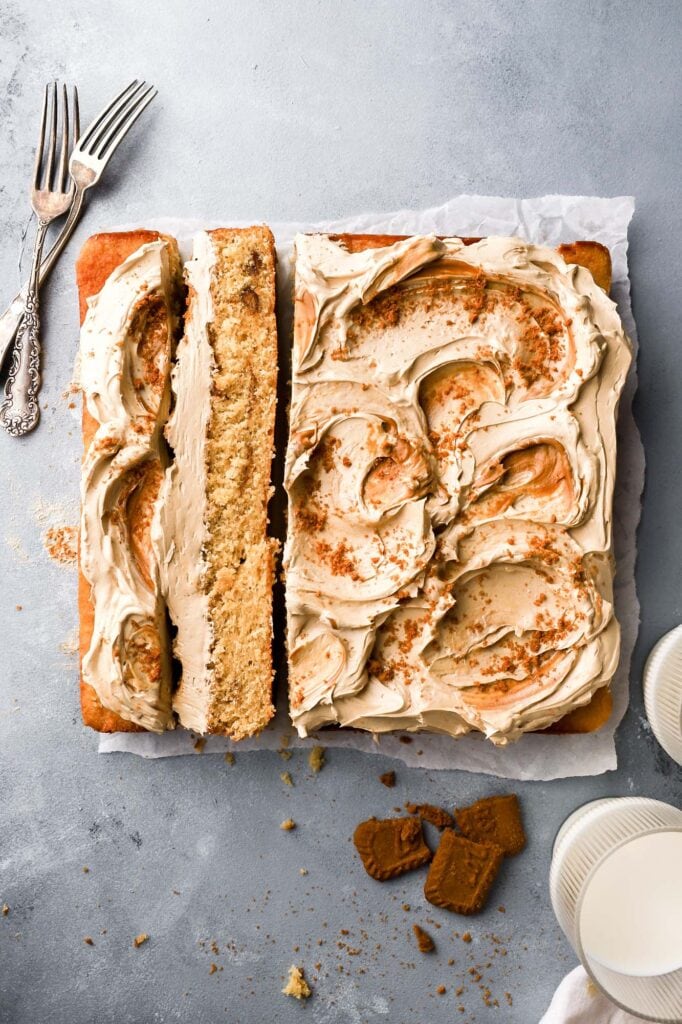
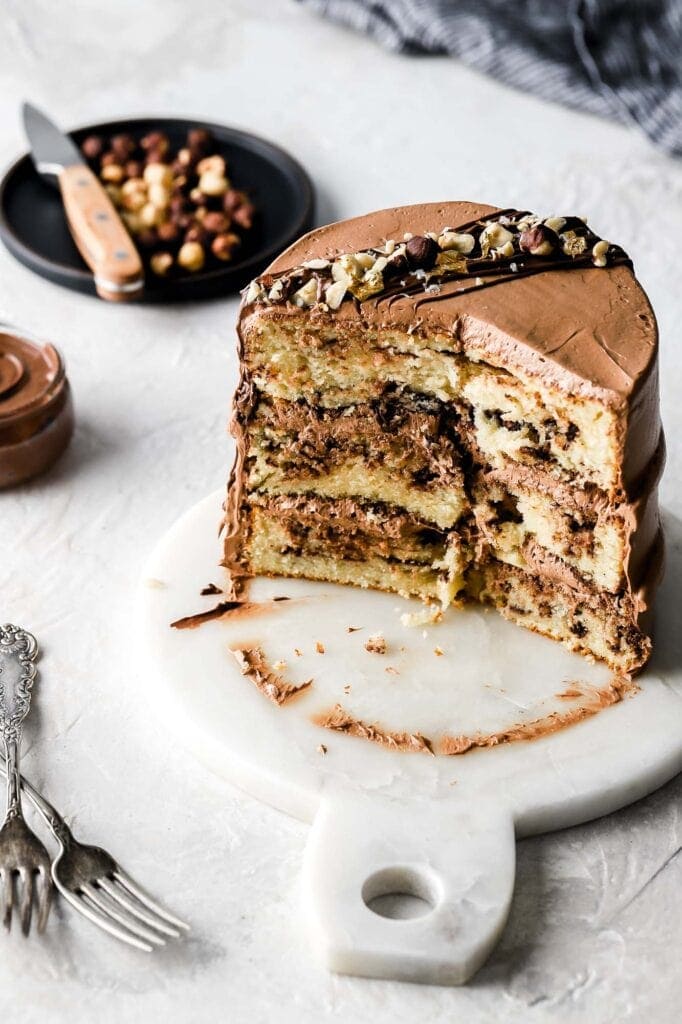
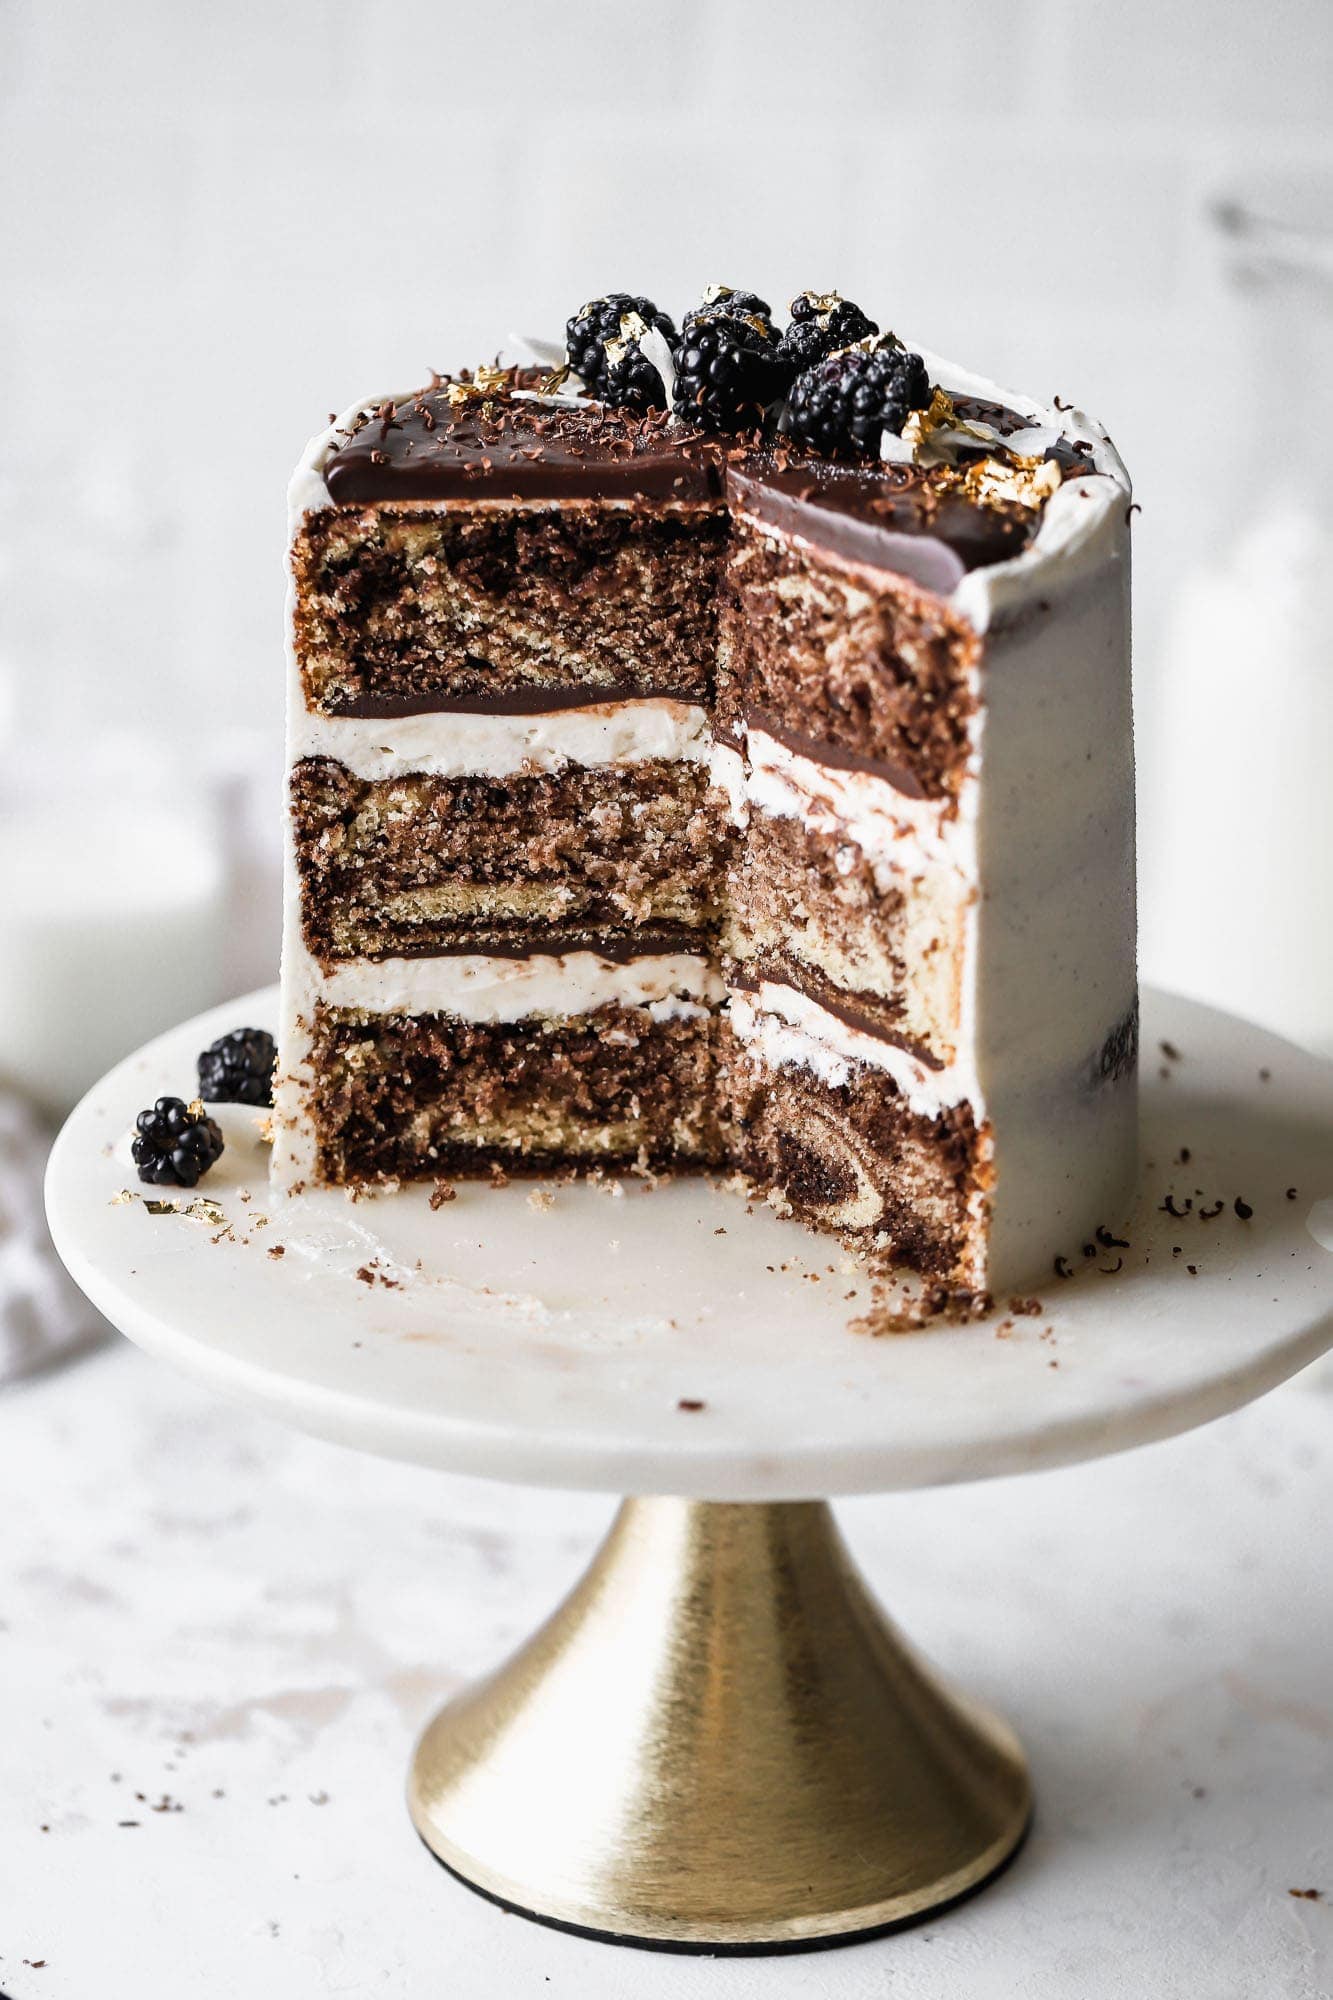
If you’re looking for more flavor variations, I’ve also used my original 6-inch vanilla cake as the base for recipes like my White Chocolate Raspberry Cake, Biscoff Layer Cake, and Nutella Swirl Cake and those same concepts can be applied to this cake as well.
I also developed an 8-inch chocolate cake using this vanilla cake as a starting point, if you love the texture of this one.

Serving and Storing
This cake is best served at room temperature. If it’s been refrigerated, let it sit at room temperature for 1–2 hours before serving so the cake and buttercream can soften.
A fully frosted cake can be stored covered at room temperature for 2–3 days, as long as it doesn’t have a perishable filling. Once sliced, cover the exposed cake tightly with plastic wrap or store slices in an airtight container.
For longer storage, refrigerate the cake for a few more days or freeze it to keep it as fresh as possible. To freeze, wrap individual slices or cake layers tightly in plastic wrap and place them in a freezer bag. Freeze for up to 2 months, then thaw at room temperature before serving.
If you make this cake, please leave me a 5-star rating or a review as well!
As always, happy baking and have a blessed day!
Love, B

This looks amazing and I can’t wait to try it for my grandchild’s birthday. I’d like to make a 6” cake with 4 layers. Which calculation would you suggest?
Hi Kim, I would use the 6 inch cake recipe and just bake it into four layers.
https://baranbakery.com/6-inch-vanilla-cake-recipe/
My batter curdled after I added the sour cream and never really came back together after I added the flour. Everything was at room temp. Is there something I can do to prevent this? Also, do you ever change from the whisk attachment to a beater attachment? Thankyou
Yes, this can happen! Sour cream is acidic and has a lot of moisture, so it can make the butter/sugar/egg mixture look split or curdled, even when everything is room temp. It usually bakes up fine as long as the ingredients were measured correctly and the batter isn’t overmixed after the flour goes in.
To help prevent it, make sure the sour cream is truly room temp, add it a little more slowly, and scrape the bowl well. You can also alternate the sour cream with the dry ingredients if your batter tends to split.
I use just use the whisk attachment until it’s all mixed and then a rubber spatula at the end to scrape the bottom and mix it in.
I love using your recipes! It’s been so easy adjusting from 6”, 8” and 10” cakes. I would love to make a 9×13 version but am unsure how much batter I would need, and if it would affect the bake time?
Hi Syd! Thank you so much!! I’m so glad you like the cakes 🙂 I use the 6-inch version to make a 9×13” cake. I usually takes about 45ish minutes to bake. In my oven, if I bake it at 325f I usually get less doming with sheet cakes but 350f also works fine!
Hi! Excited to try this recipe. I want to add diplomat cream (a thick almond pastry cream with whipped cream folded in) and raspberry jam between the layers. Do you think this cake would support thick layers of the diplomat cream? Thank you!
Hi Laura, yes the cake is sturdy!
Okay, thanks Bernice!
Would you suggest these recipe amounts for a two layer 10″, or should I use your 6″ recipe and double it for 2 layer 10″?
If you have the equivalents online for 10″, I couldn’t find it.
Thank you!
Hi sally, you can use this recipe for two 10” cakes but I think the layers would be fairly thin or I have a recipe for a three layer 10” cake. You can bake that recipe in two layers as well and those should be thicker layers
I LOVE the 6 inch recipe and it’s my GO TO for all sponge bakes. But I’d love this recipe in a 8 inch for two tins not three? I tried dividing this mixture between two 8 inch tins and the mixture was so big, and heavy. Have you any advice on how this recipe could be adapted to two 8 inch tins please? Sorry I know so many people ask about the tin sizes ?? I just love it so much and want it to work in 2 tins for 8 inch as three layers means more buttercream and sometimes too big !
Hi Katherine! I actually would just bake the 6 inch cake recipe in two 8 inch pans if you want just two layers!
Ah I will try it and see! Thank you 🙂
Love this recipe, a winner! Can I use this for cupcakes?
Love this recipe, everyone I baked it for were super pleased. Can I use this recipe for a bigger batch cupcakes?
So glad you liked it, thank you for the review!
I don’t love it for cupcakes just cuz sometimes they sink when they cool but if you do make it, it should make about 35ish cupcakes.
I would recommend my vanilla cupcake recipe instead though, you can make a double or triple batch of those if you need a bigger quantity.
https://baranbakery.com/vanilla-cupcakes-with-vanilla-buttercream/
Everytime i do this same recipe my cake doesn’t grow i want my 8 inch cakes to be tall! How can i make it more tall?
I will make the raspberry jam tomorrow I hope it won’t make the swiss meringue buttercream runny indie the layers. Please advice. I have baked the cake and frost them. tomirrow
I baked this amazing recipe three times already. I would love to add strawberry or raspberry jam. I can’t find your strawberry jam recipe. Please advise
Thank you Merriam, I’m glad you enjoy the cake 🙂
I have both used in other recipes:
https://baranbakery.com/strawberry-turnovers-with-phyllo-dough/
https://baranbakery.com/chocolate-raspberry-cake/
https://baranbakery.com/rhubarb-vanilla-cake/