8 Inch Chocolate Cake
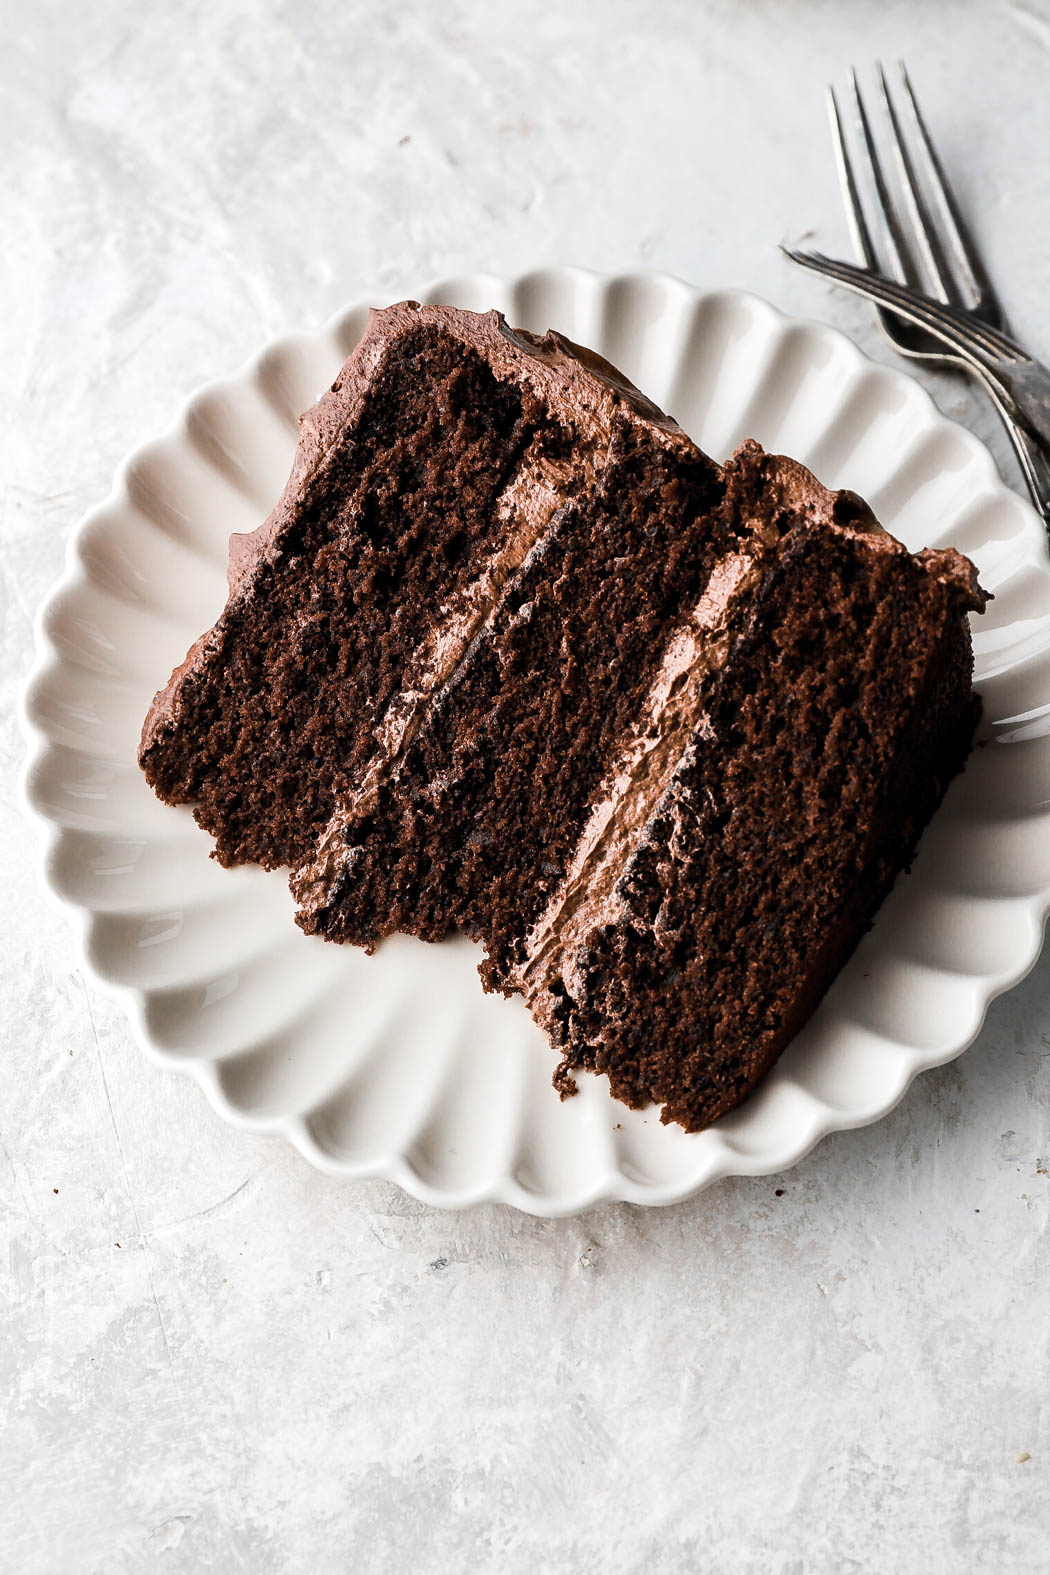
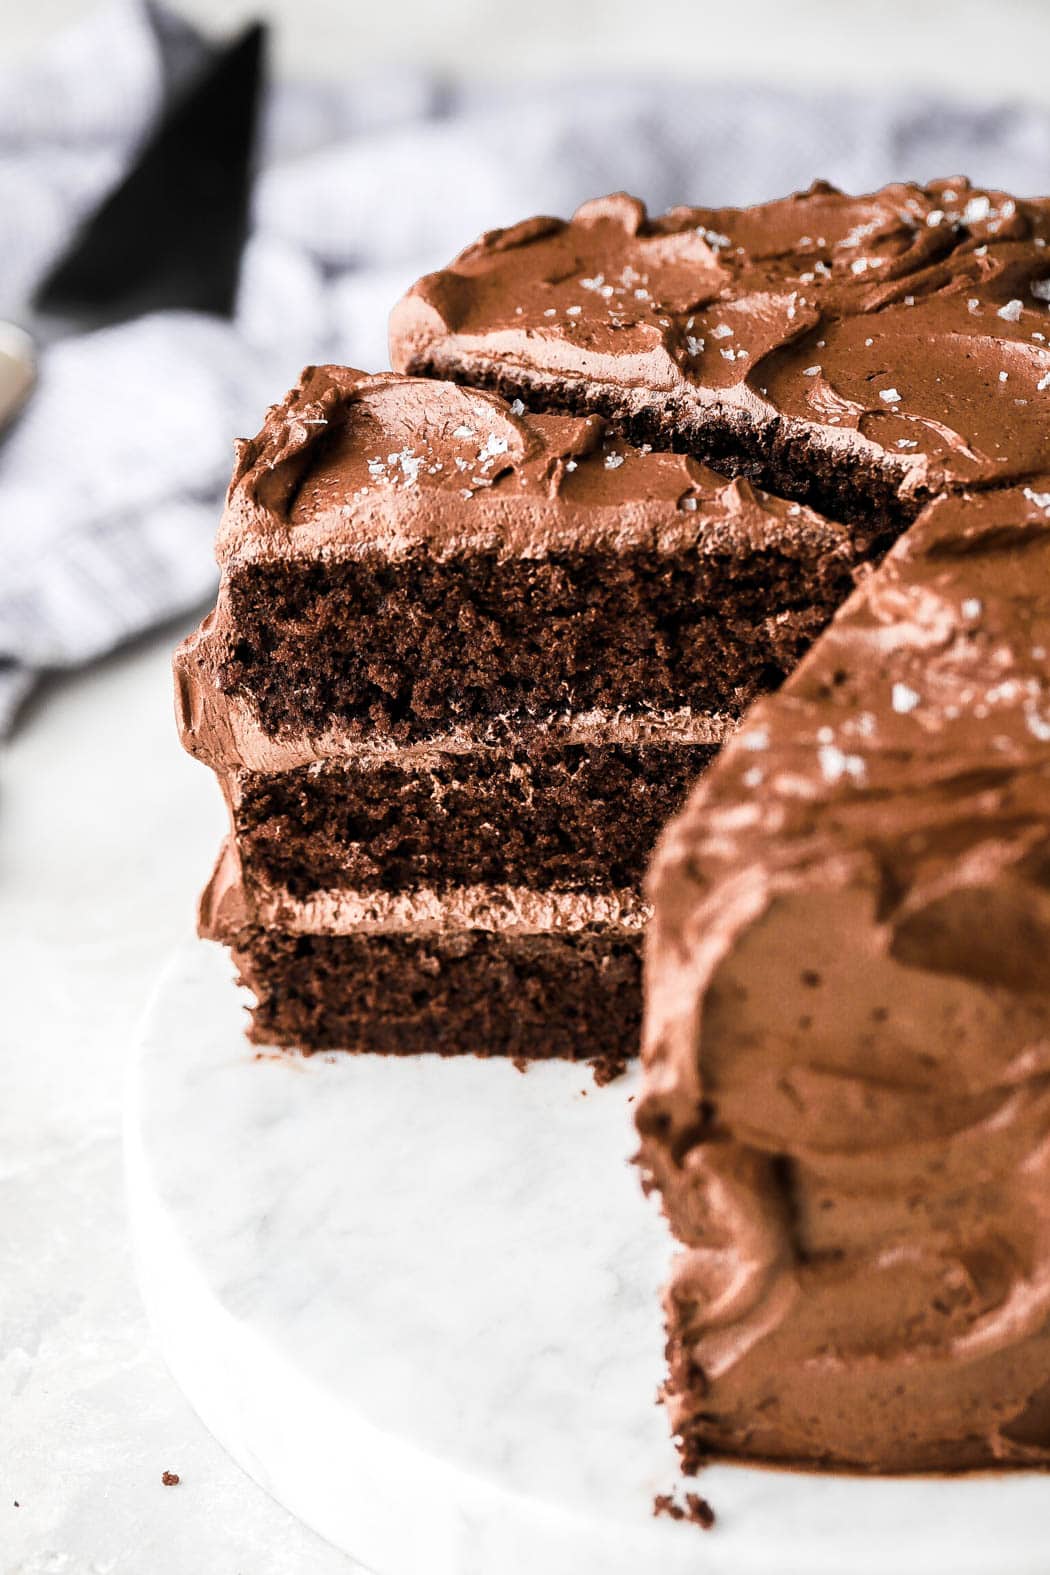
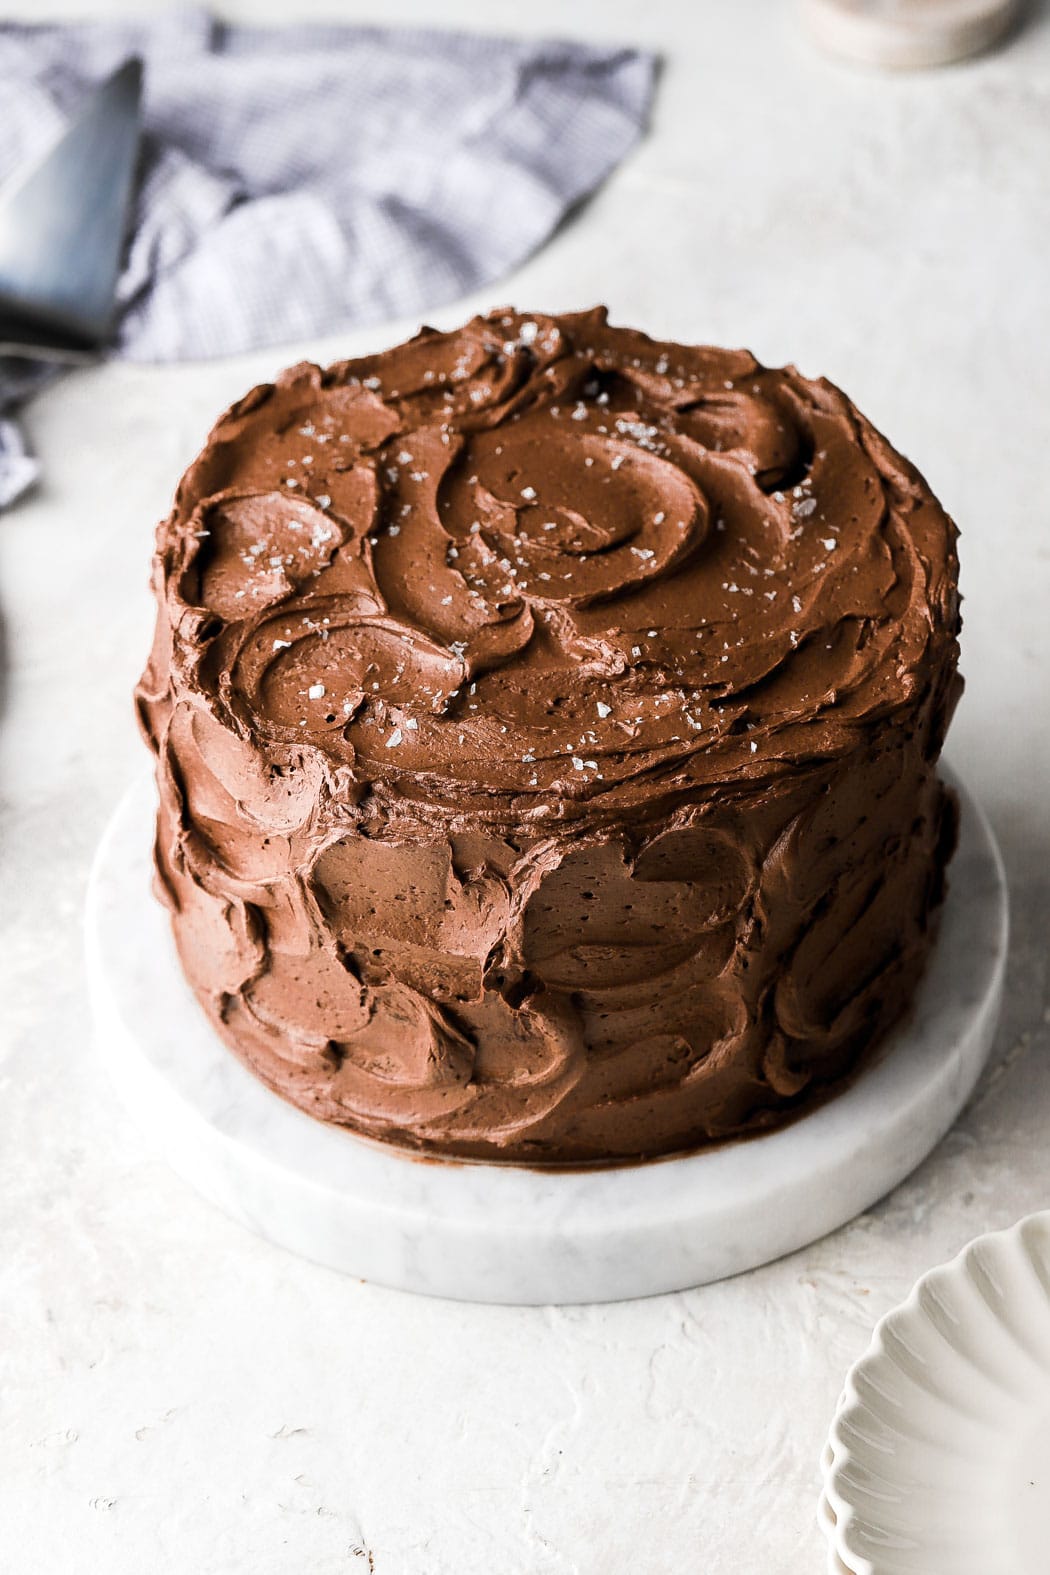
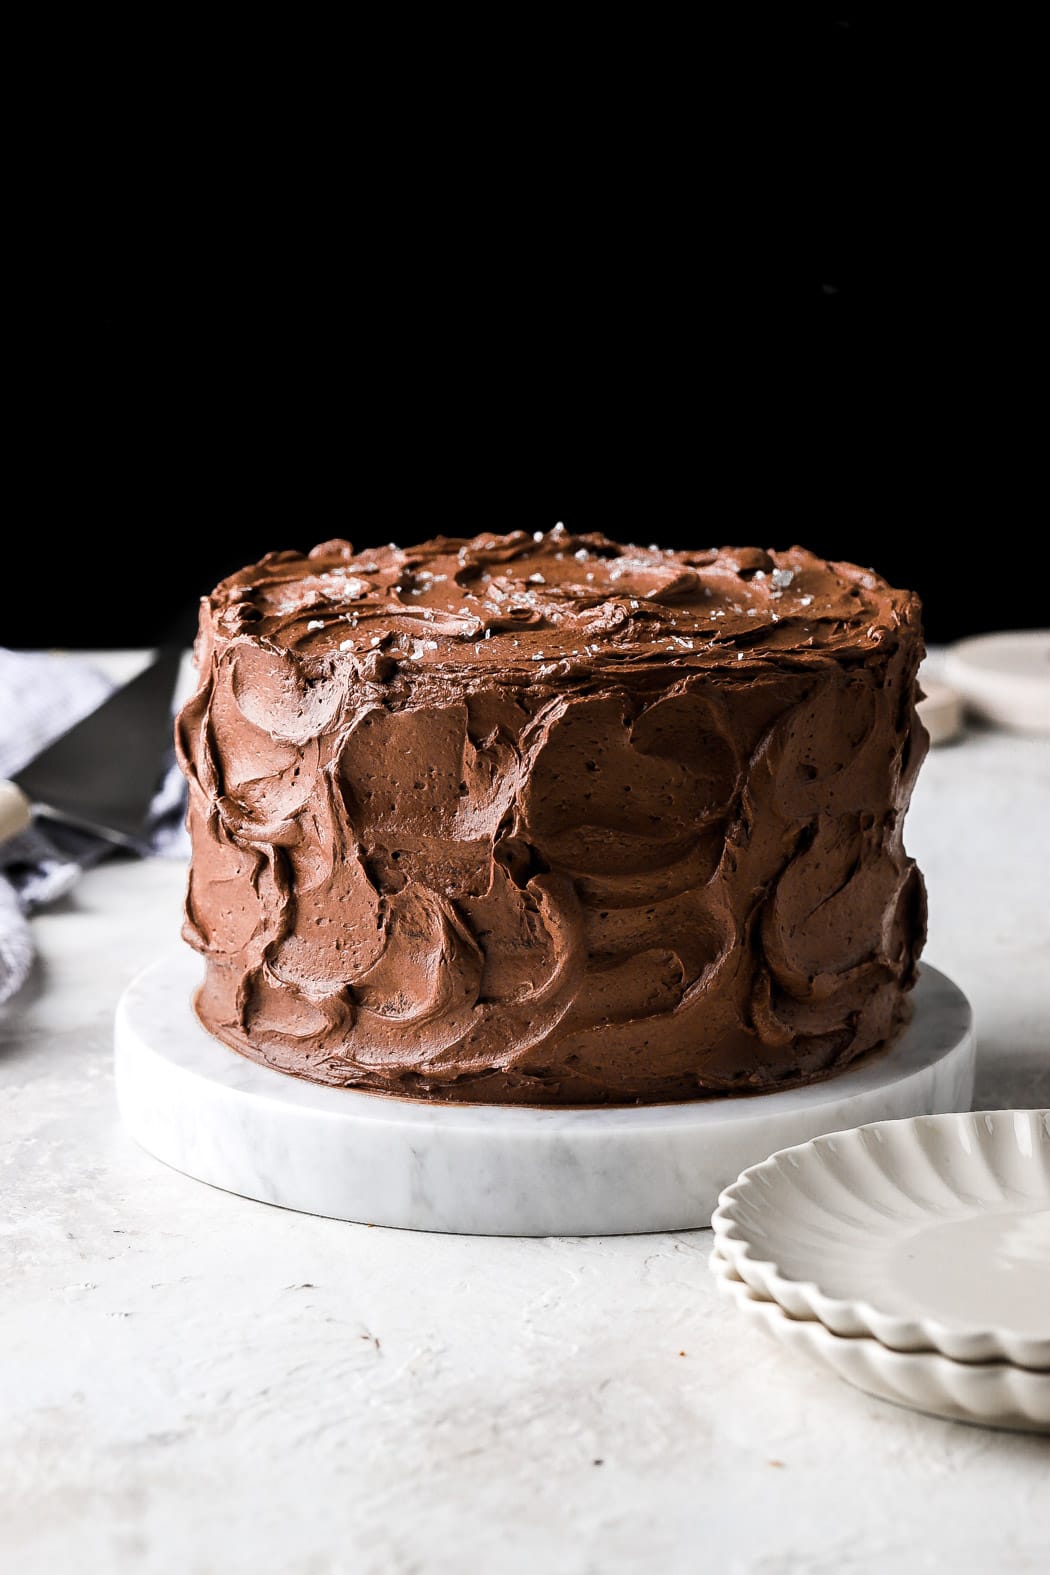
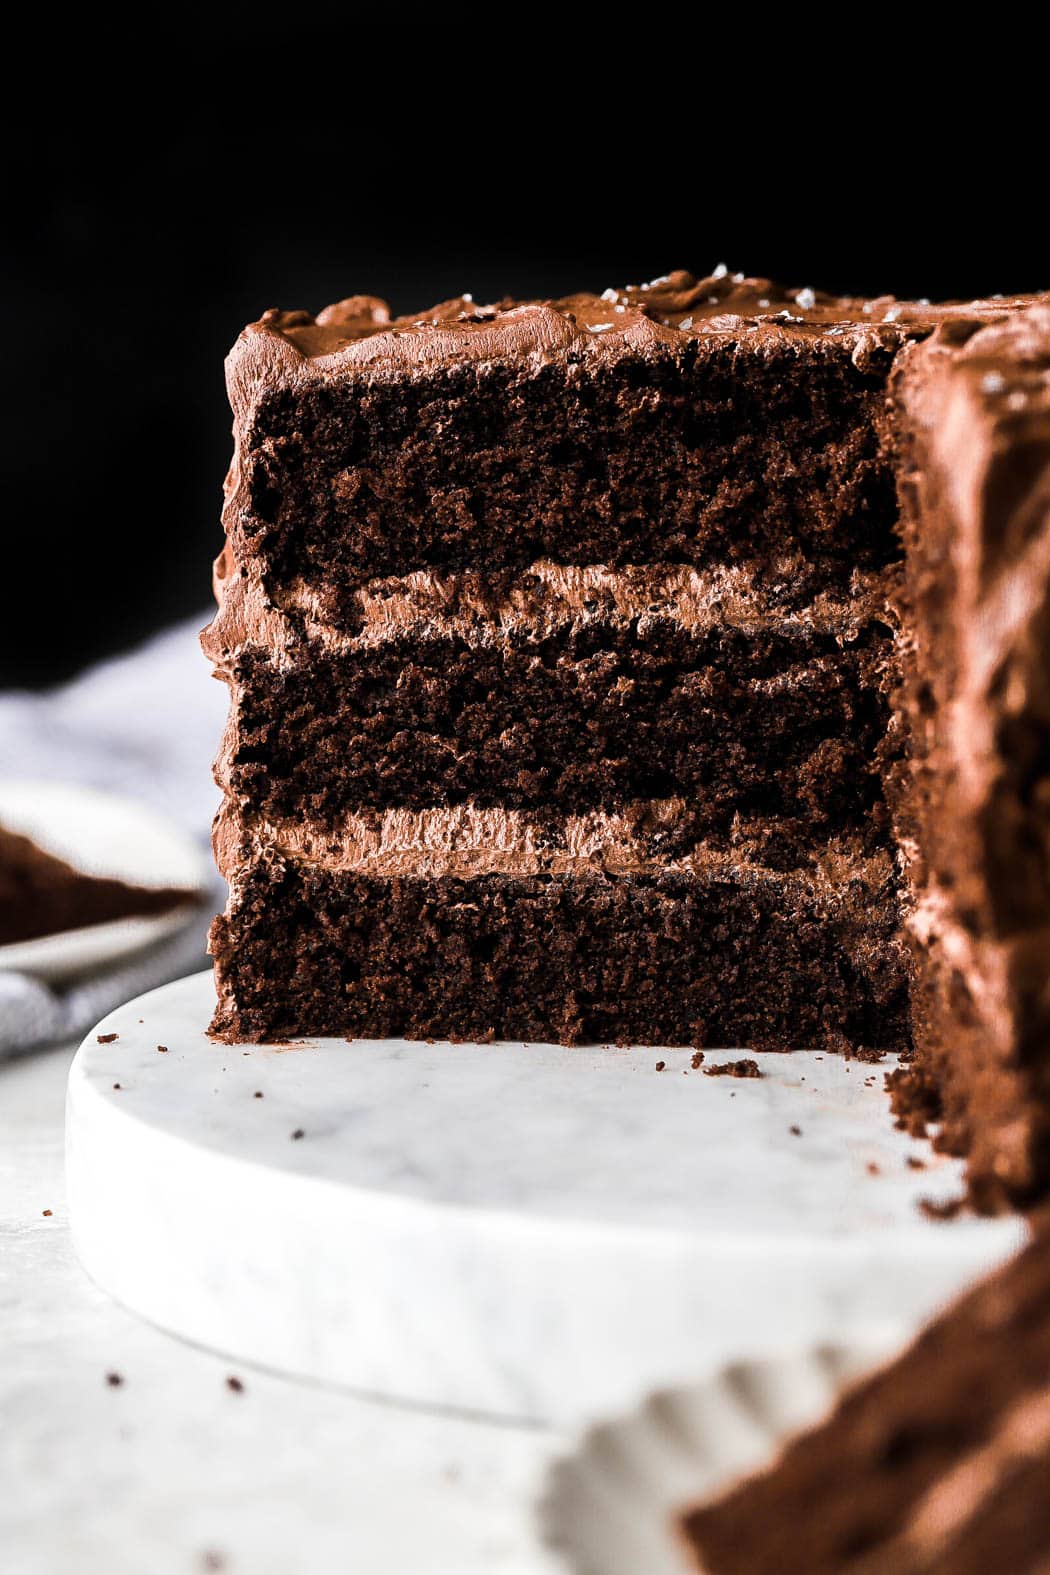
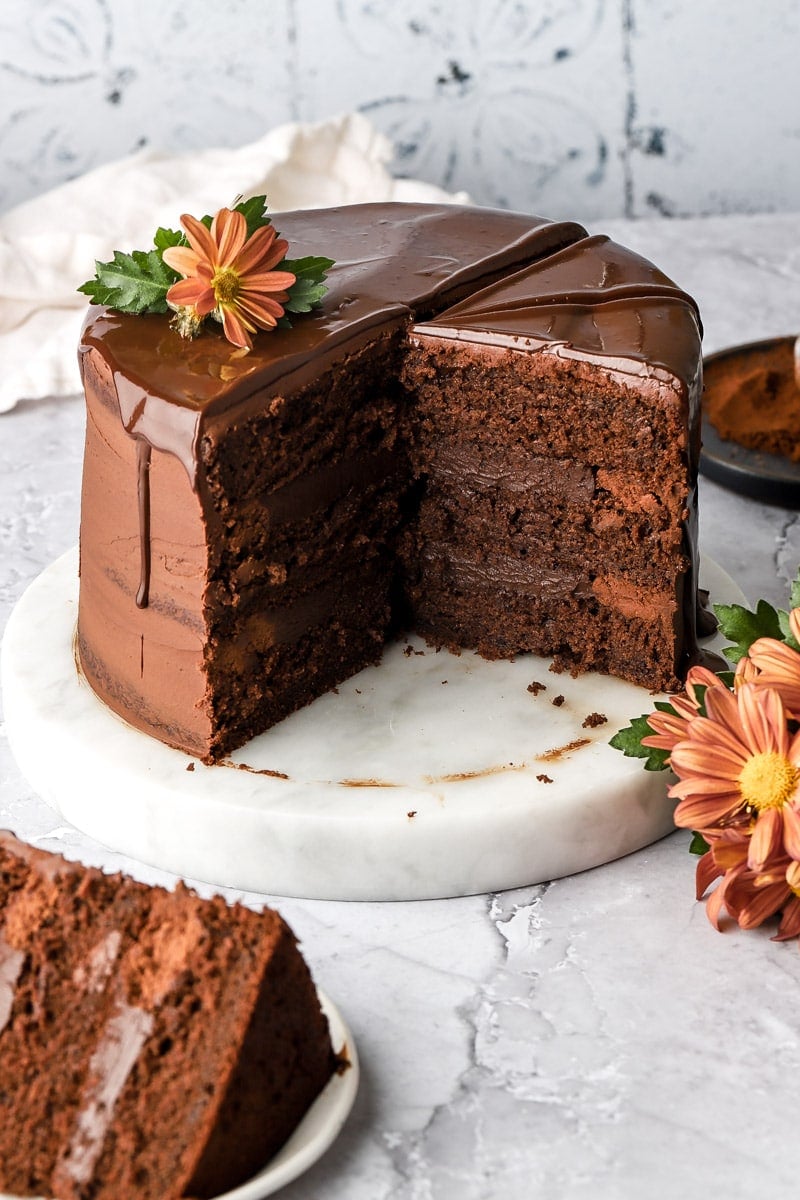
Sturdy and moist 8 inch chocolate cake layers frosted with silky chocolate buttercream. This recipe makes three 8 inch layers and is a great base chocolate recipe for so many variations.
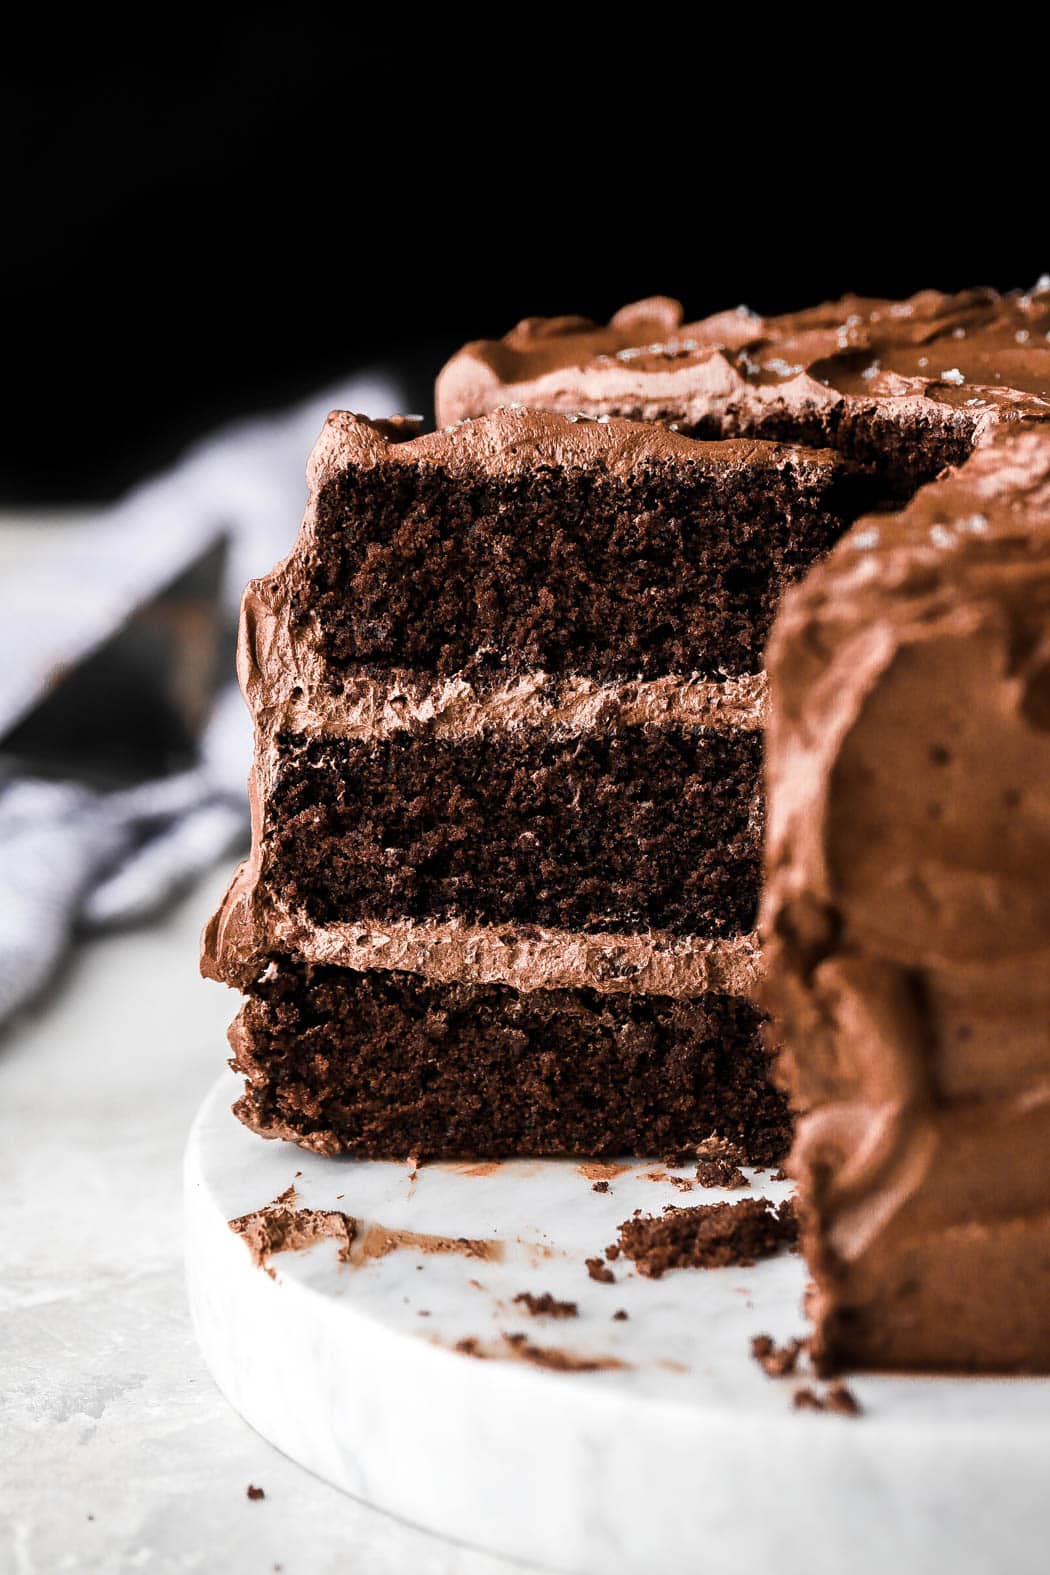
Why you’ll love this 8 inch cake
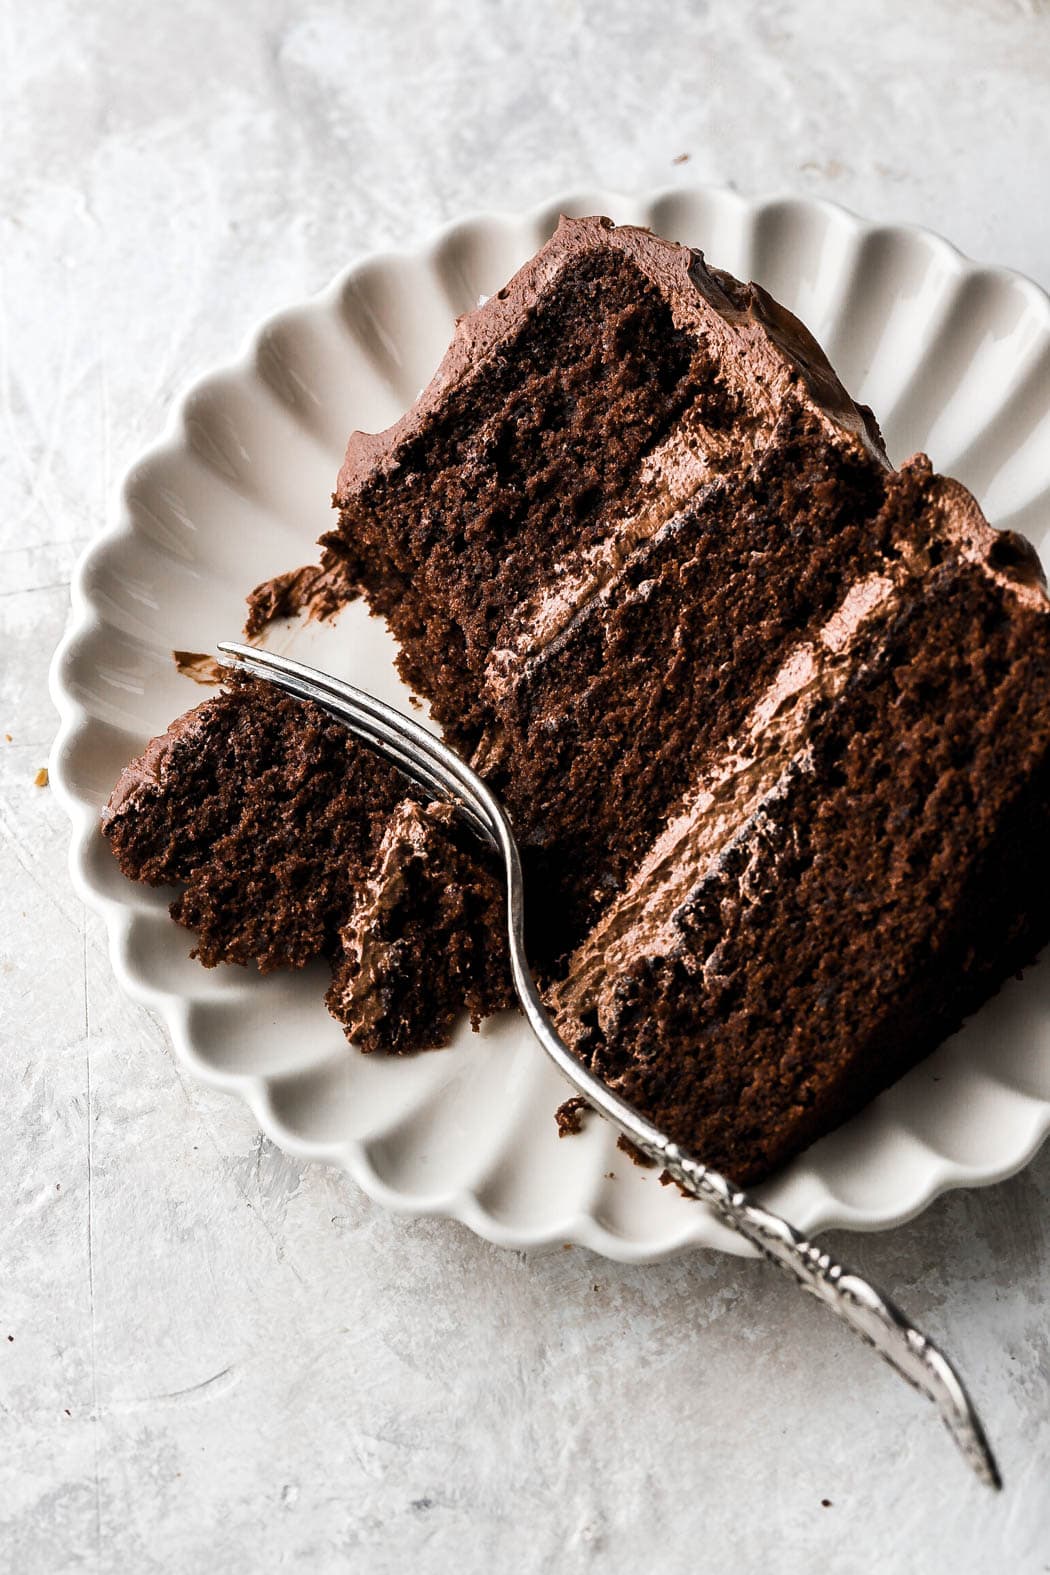
- It’s super moist and fluffy with a strong chocolate flavor.
- The cake is sturdy enough to easily stack and not too flimsy or crumbly.
- Can be frosted with any type of frosting
- The chocolate cake recipe is very forgiving and allows for many substitutions and dietary restrictions.
I adapted this base recipe from my 6 inch chocolate cake and if you’re in need of a vanilla version, I have my 8 inch vanilla cake as well. I use this 8 inch chocolate cake recipe in my ferrero rocher cake and chocolate ganache cake.
I also have another SUPER MOIST 8 inch chocolate that I use in my chocolate mousse cake recipe. That one is definitely a little more flimsy so it requires more gentle handling. They’re both great, I prefer them for different textures.
Ingredients & Substitutions
- Flour: I use all purpose flour in most of my recipes and I HIGHLY recommend using a digital scale, as flour (and cocoa) is so often over measured.
- Cocoa Powder: make sure to use unsweetened cocoa powder. I use dutch process but natural cocoa powder also works. The color and flavor will be slightly less intense with natural cocoa powder.
- Baking Powder: I used just baking powder here. If you only have baking soda, you can just use 1 tsp of that instead.
- Sugar: I used granulated sugar and I don’t recommend cutting any out as it affects the texture and the flavor. The buttercream is not overly sweet so it balances well.
- Butter: I like to use salted butter in my cakes and unsalted butter in my buttercream but you can also use unsalted butter in both if you like.
- Dairy free butter also works well for the cake and the buttercream.
- Oil: I usually use a neutral oil like sunflower, vegetable or canola oil but olive oil also works well here as it pairs well with chocolate and is hardly noticeable.
- Eggs: make sure to use room temperature, large eggs.
- Pop them in hot water for a few minutes if they’re cold.
- Sour cream: I love the combination of sour cream and milk for cakes. The sour cream can be replaced with plain yogurt or greek yogurt. Make sure they are unsweetened.
- Milk: I use whole milk or 2% milk but any milk works fine, even dairy free milk.
Step-by-Step Instructions
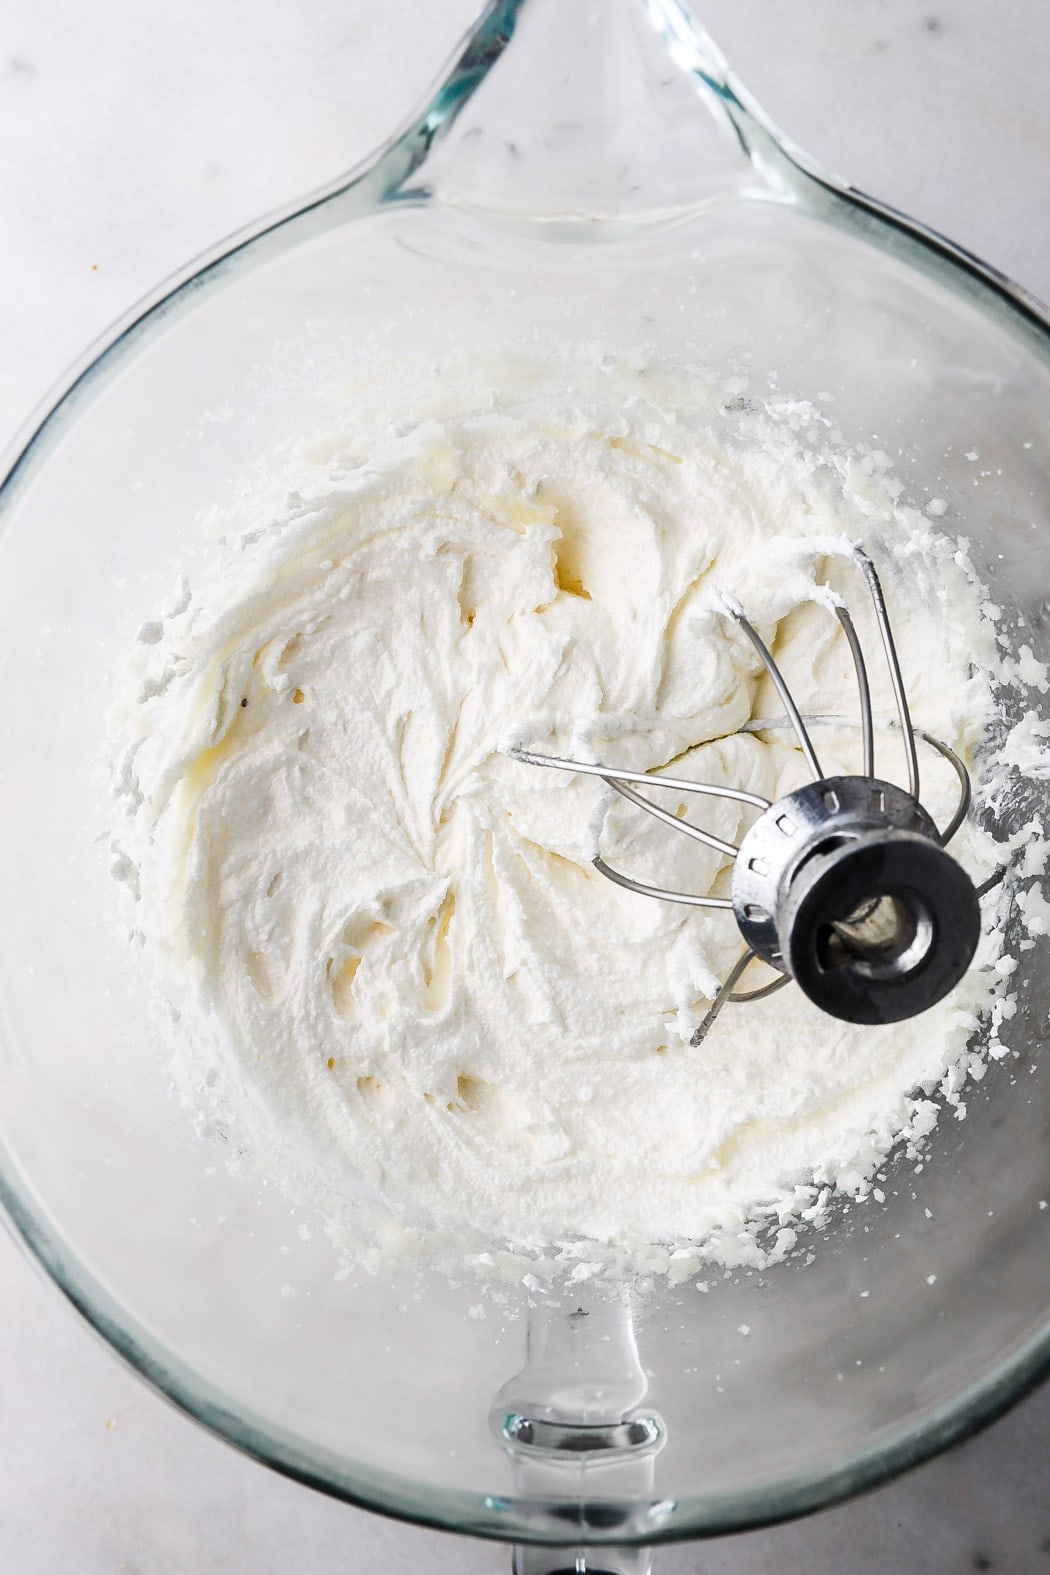
Step 1: Make the cake first. Start by creaming the butter with the sugar for 1-2 minutes. Then add the oil and beat at full speed until it’s pale and fluffy.
Step 2: Add the eggs one at a time. Make sure each egg is fully incorporated before adding the next egg. Then add the vanilla and sour cream, mixing just until they’re combined.
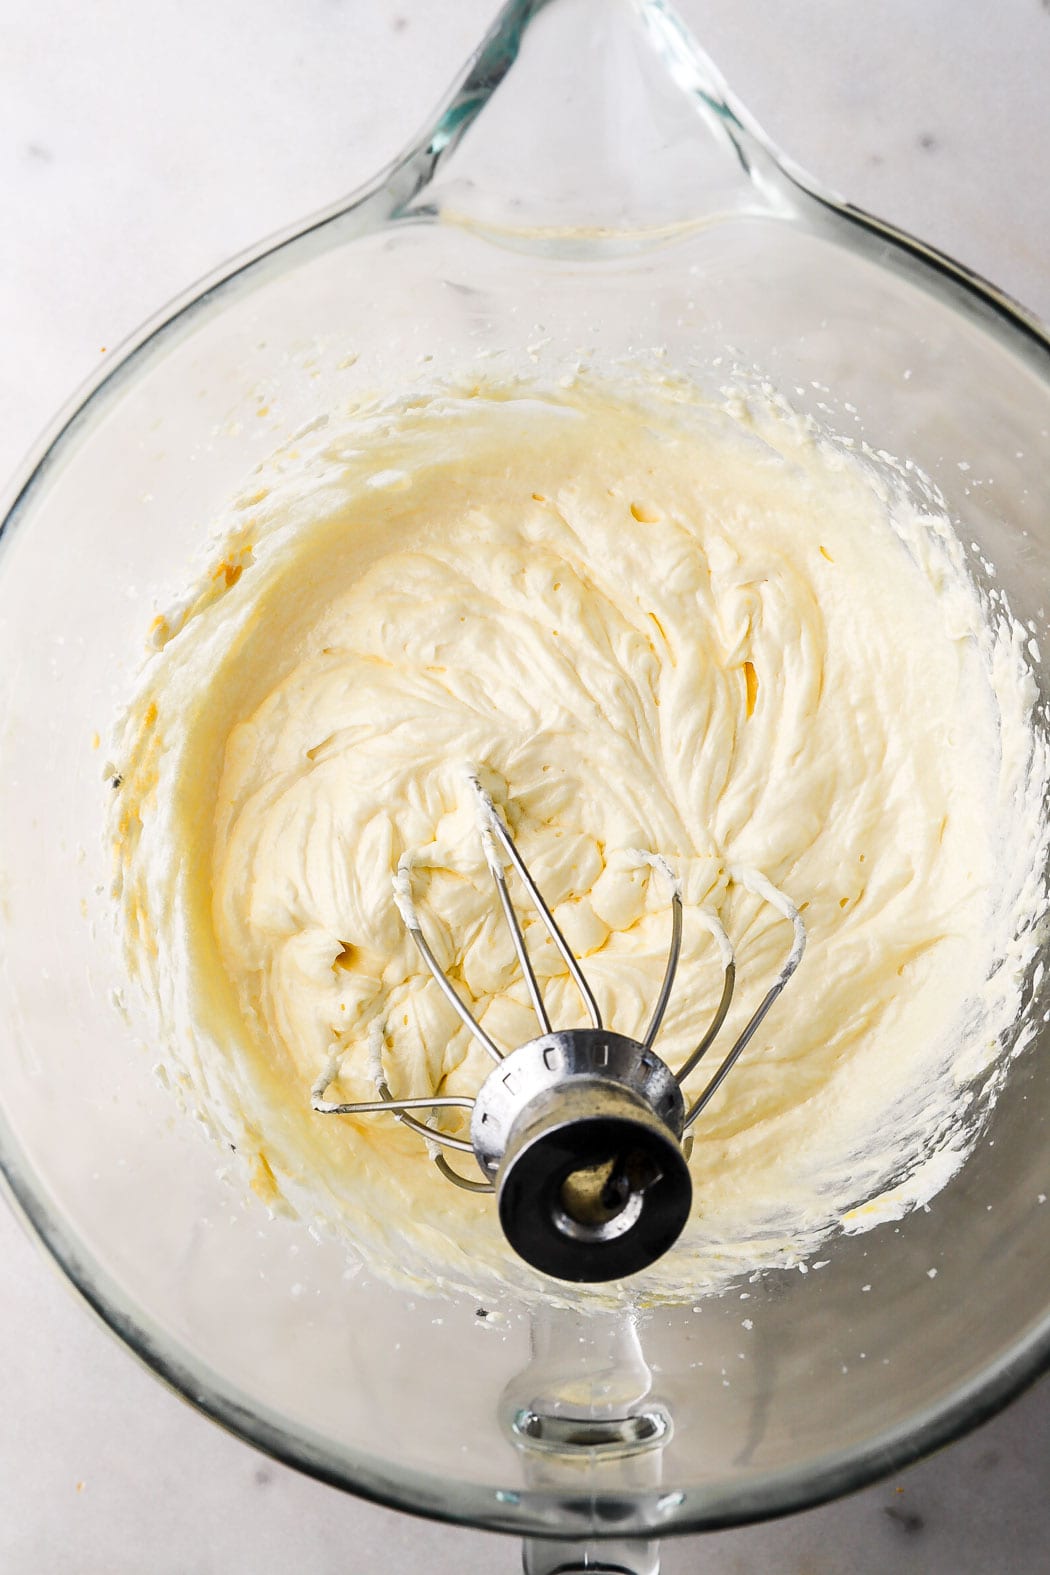
Step 3: Add half of the dry ingredients, followed by the milk and the other half of the dry ingredients. Make sure to scrape the bottom and sides of the bowl well so it’s evenly mixed.
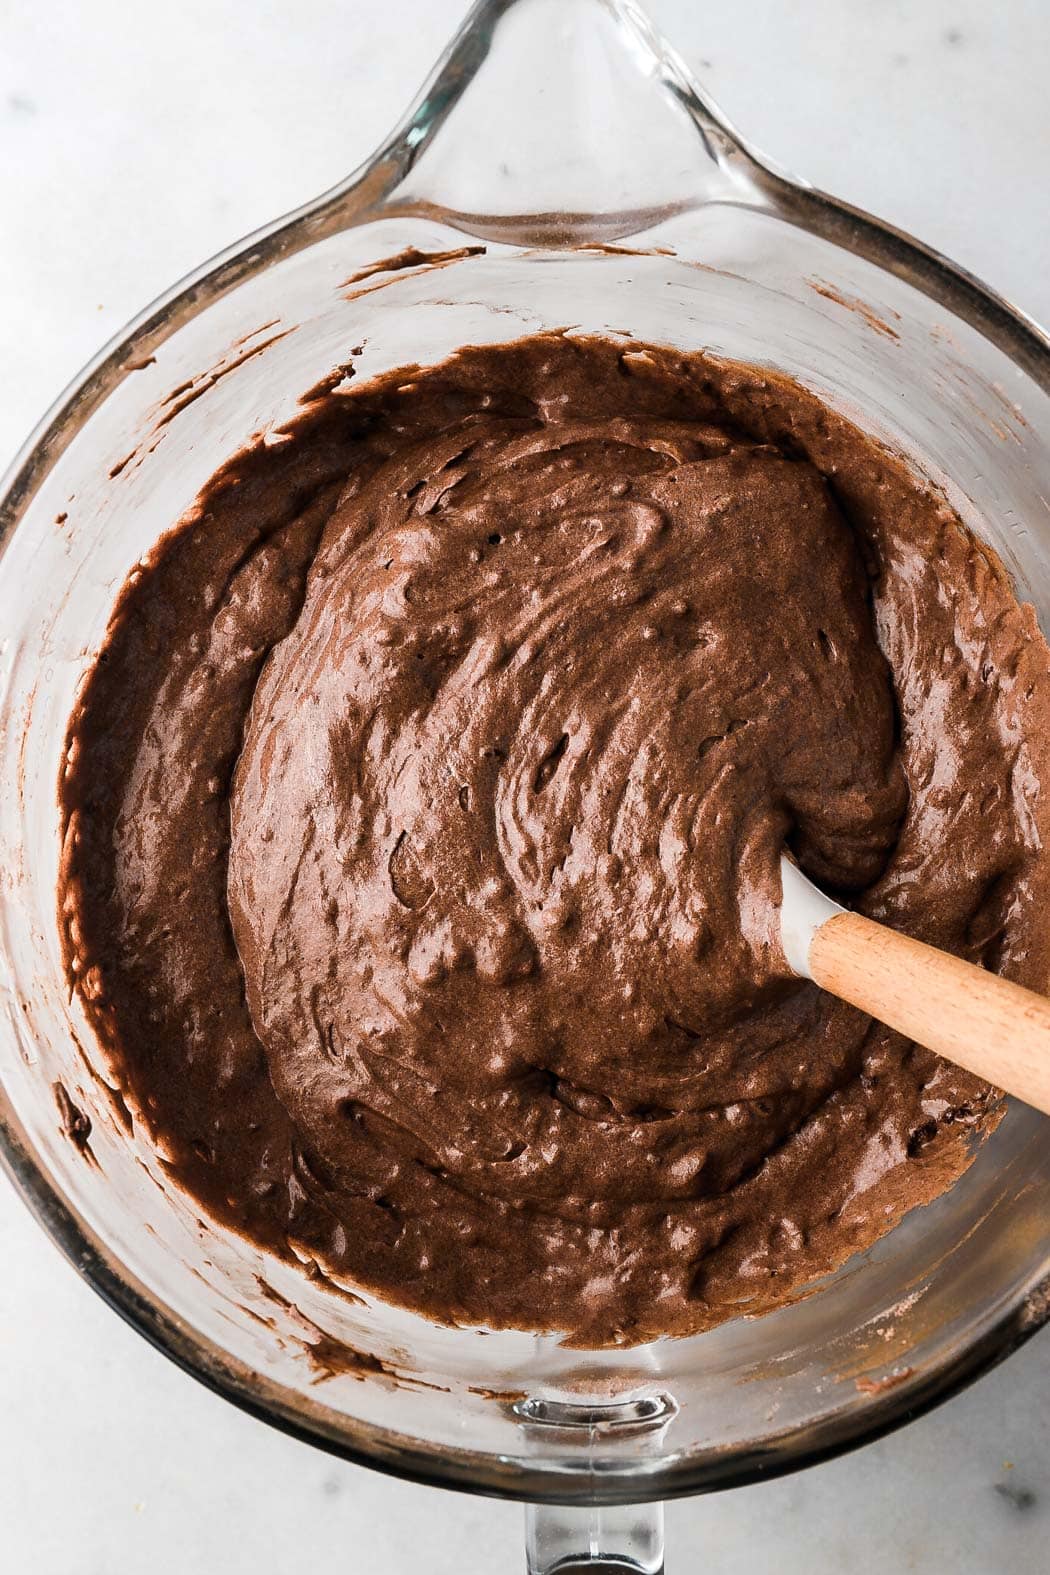
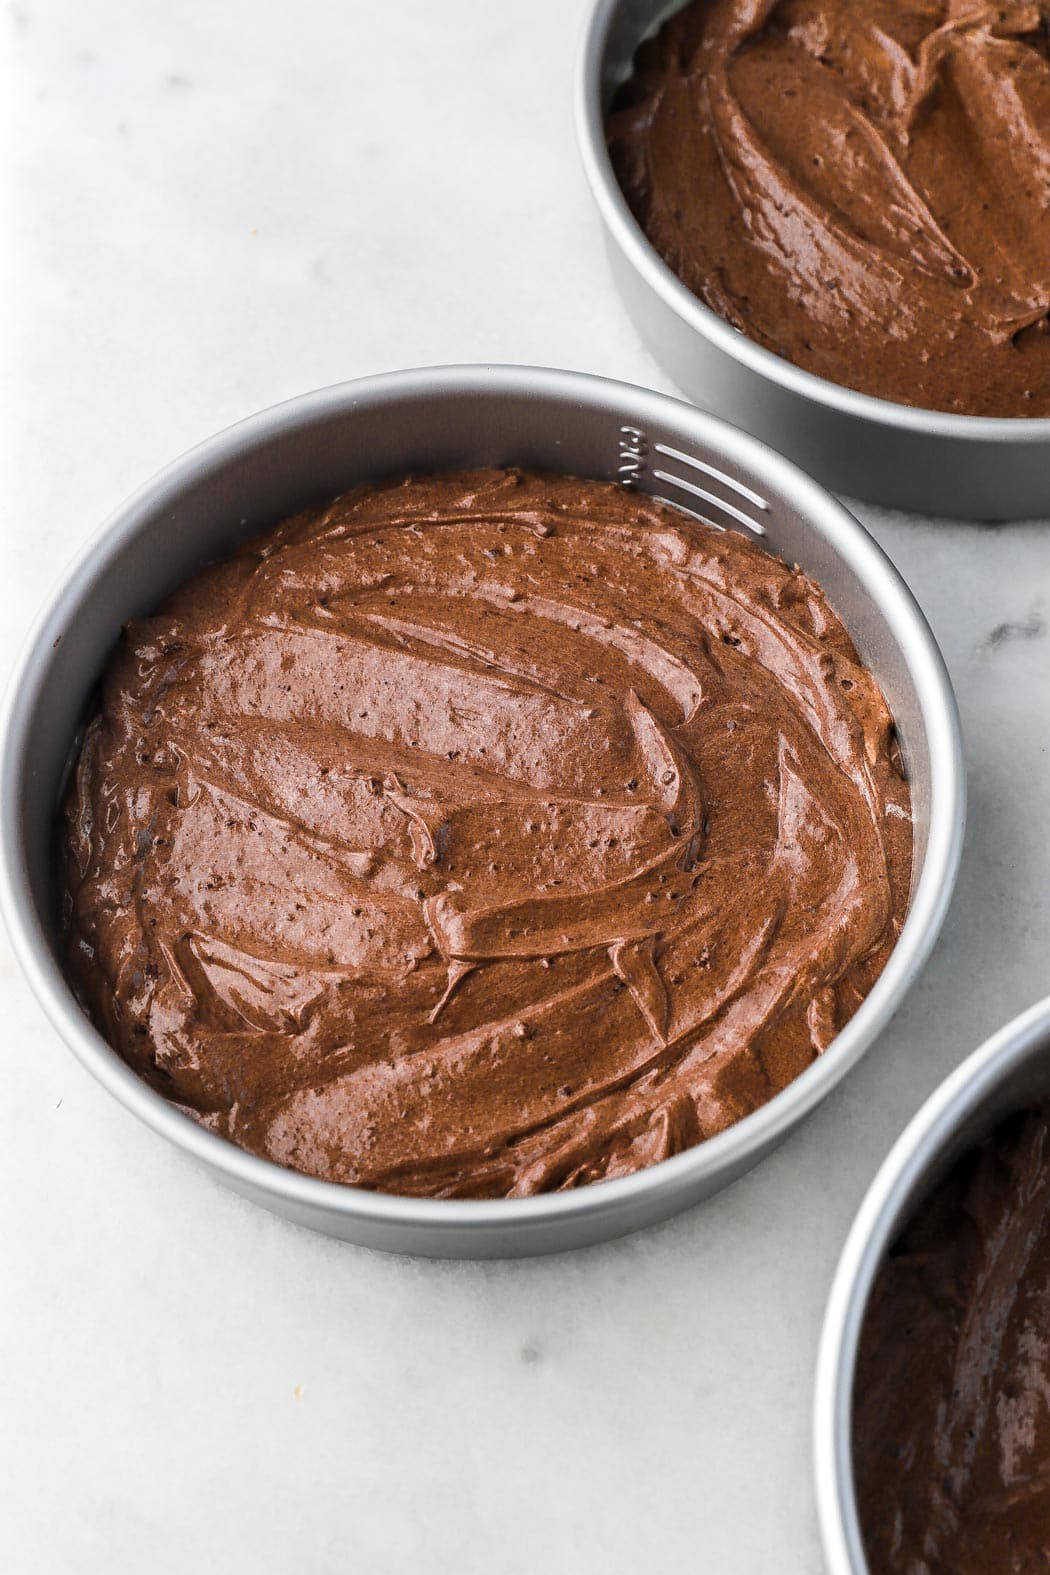
Step 4: Distribute the batter evenly. You should get about 18oz in three 8 inch cake pans.
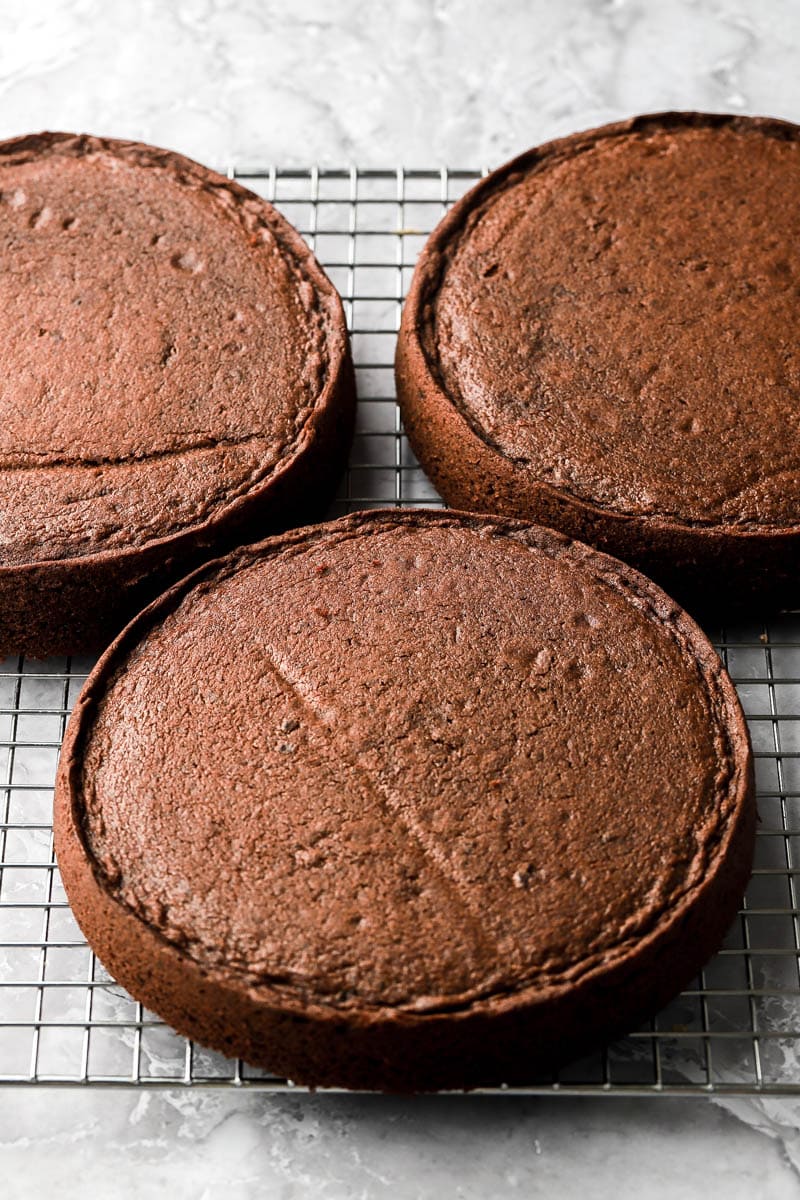
Step 5: Bake for about 30-35 minutes. When the cake is done baking, it will release itself from the edge of the pan and spring back when you press on the center. Flip the cakes over onto a cooling rack or a tea towel right away. Allow them to cool completely to room temperature.
Step 6: Make the chocolate buttercream by heating the sugar and water in a saucepan until it reaches 240F (115C).
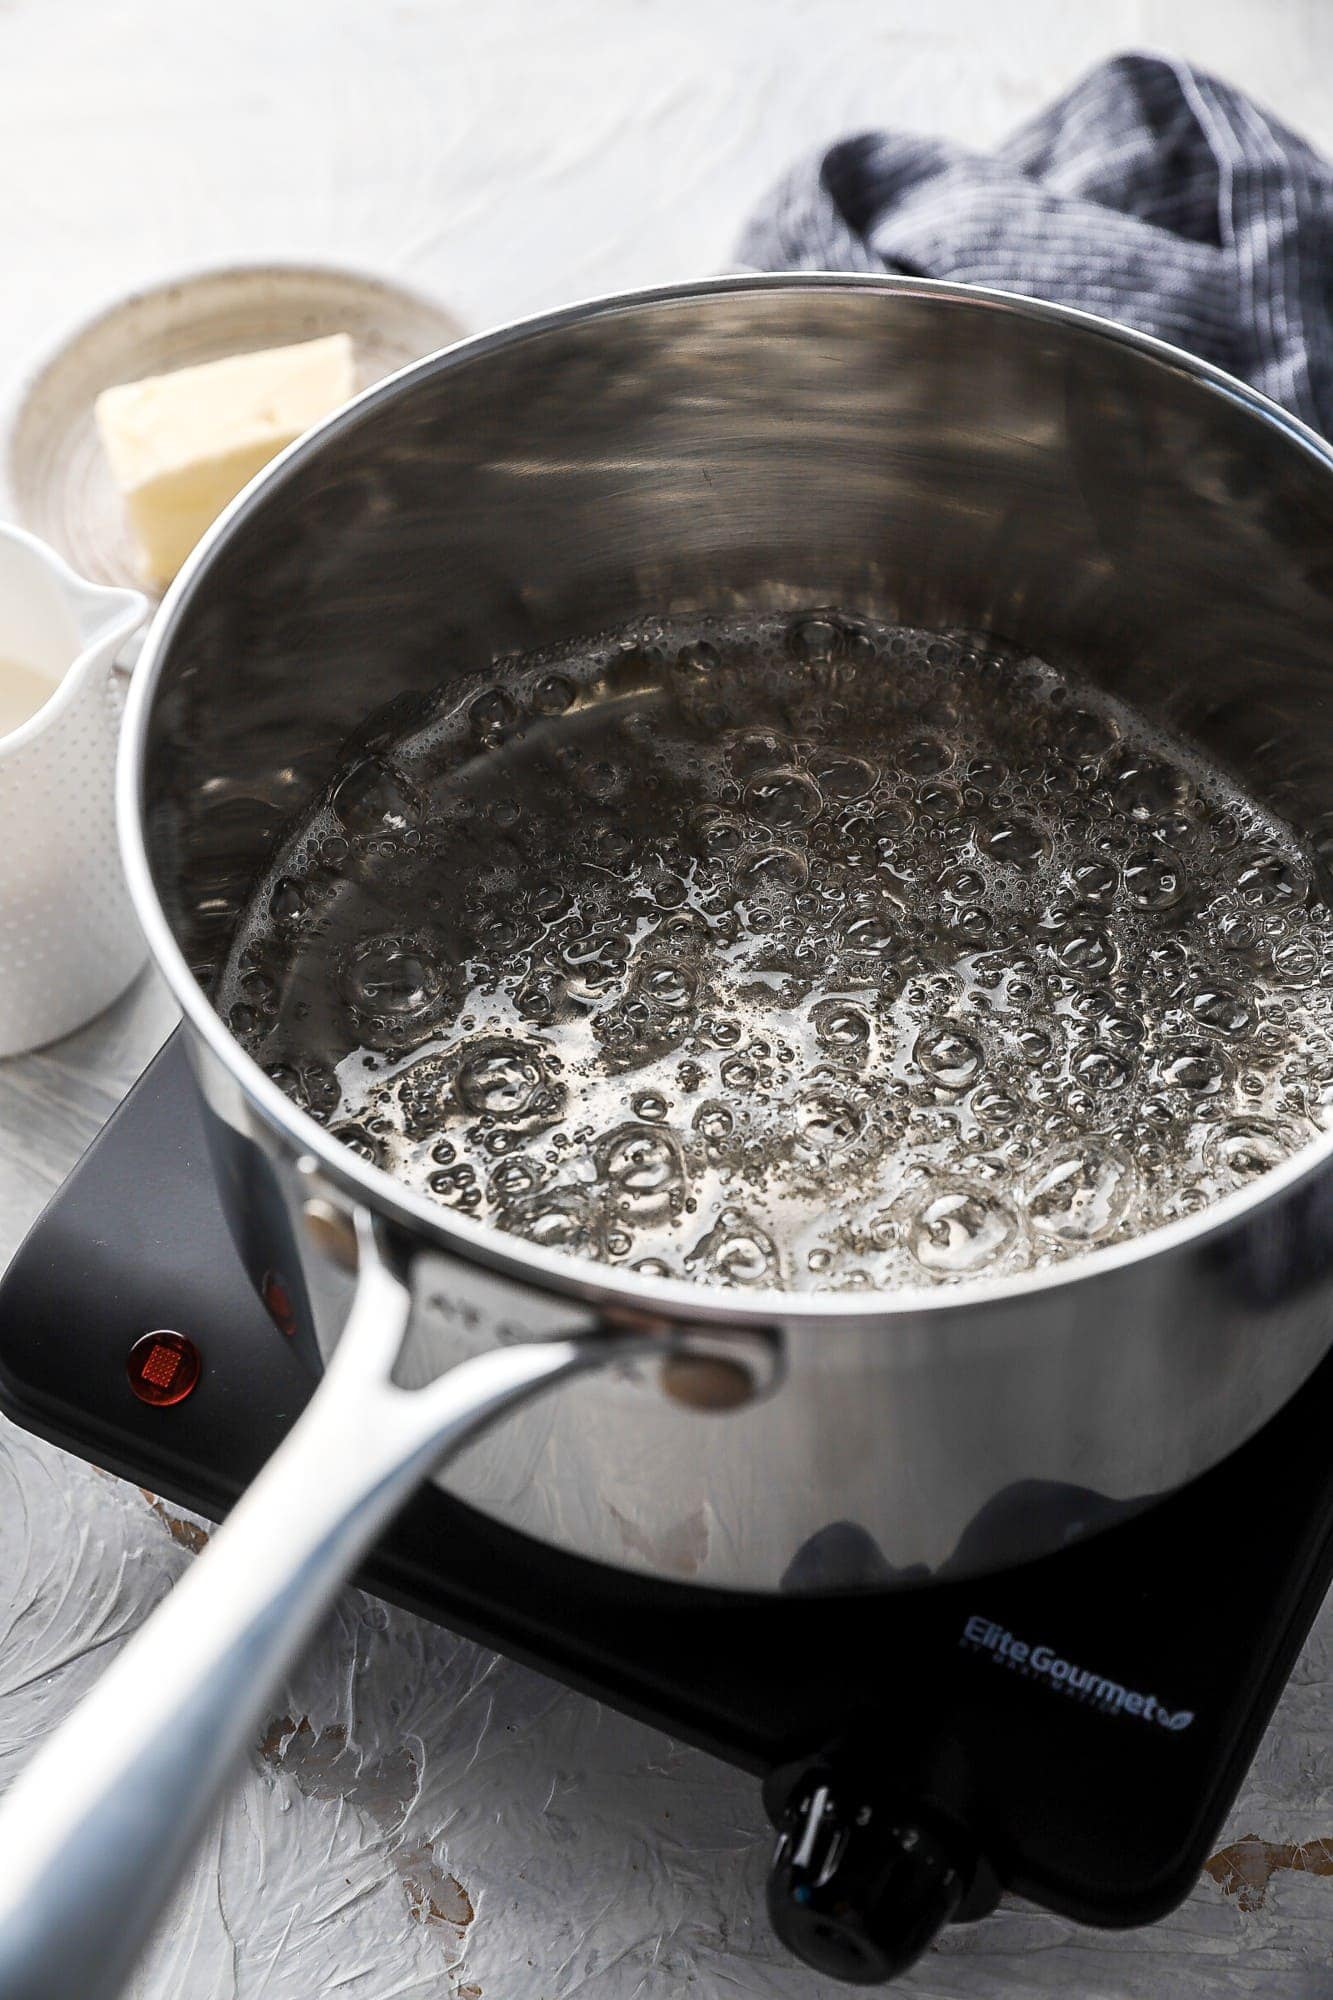
Step 7: Whip the eggs in the bowl of a stand mixer, at full speed, while the sugar is heating. Then stream the sugar in and whip for about 10 minutes, until the egg mixture is no longer warm.
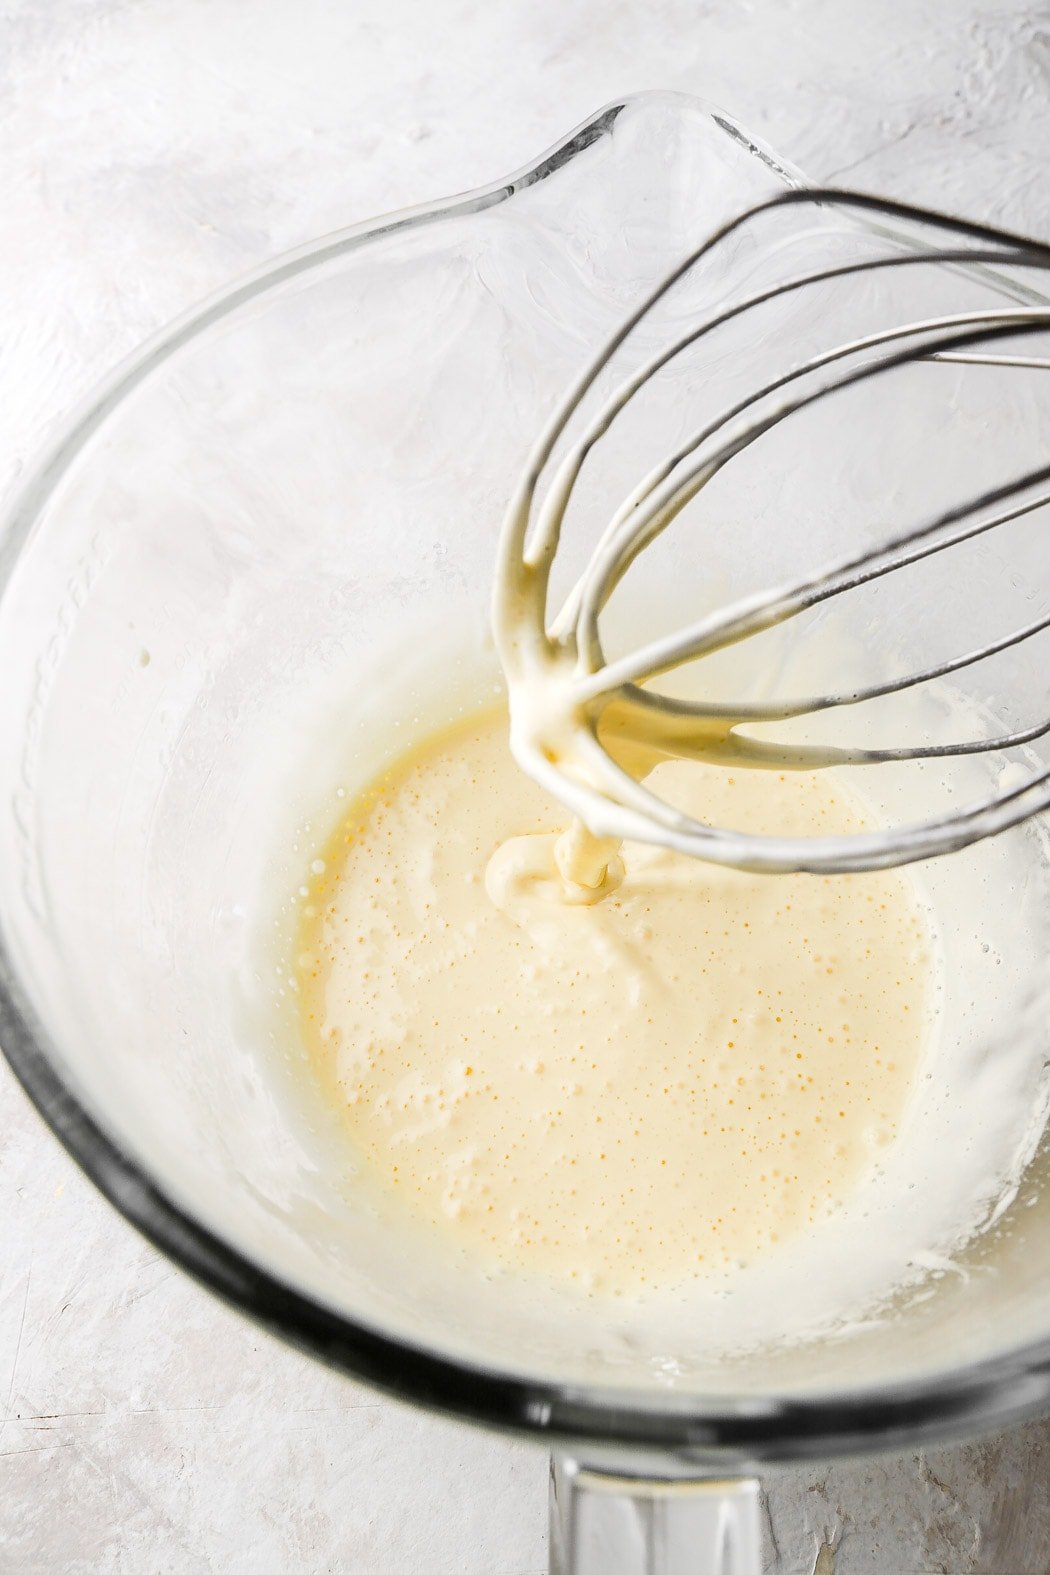
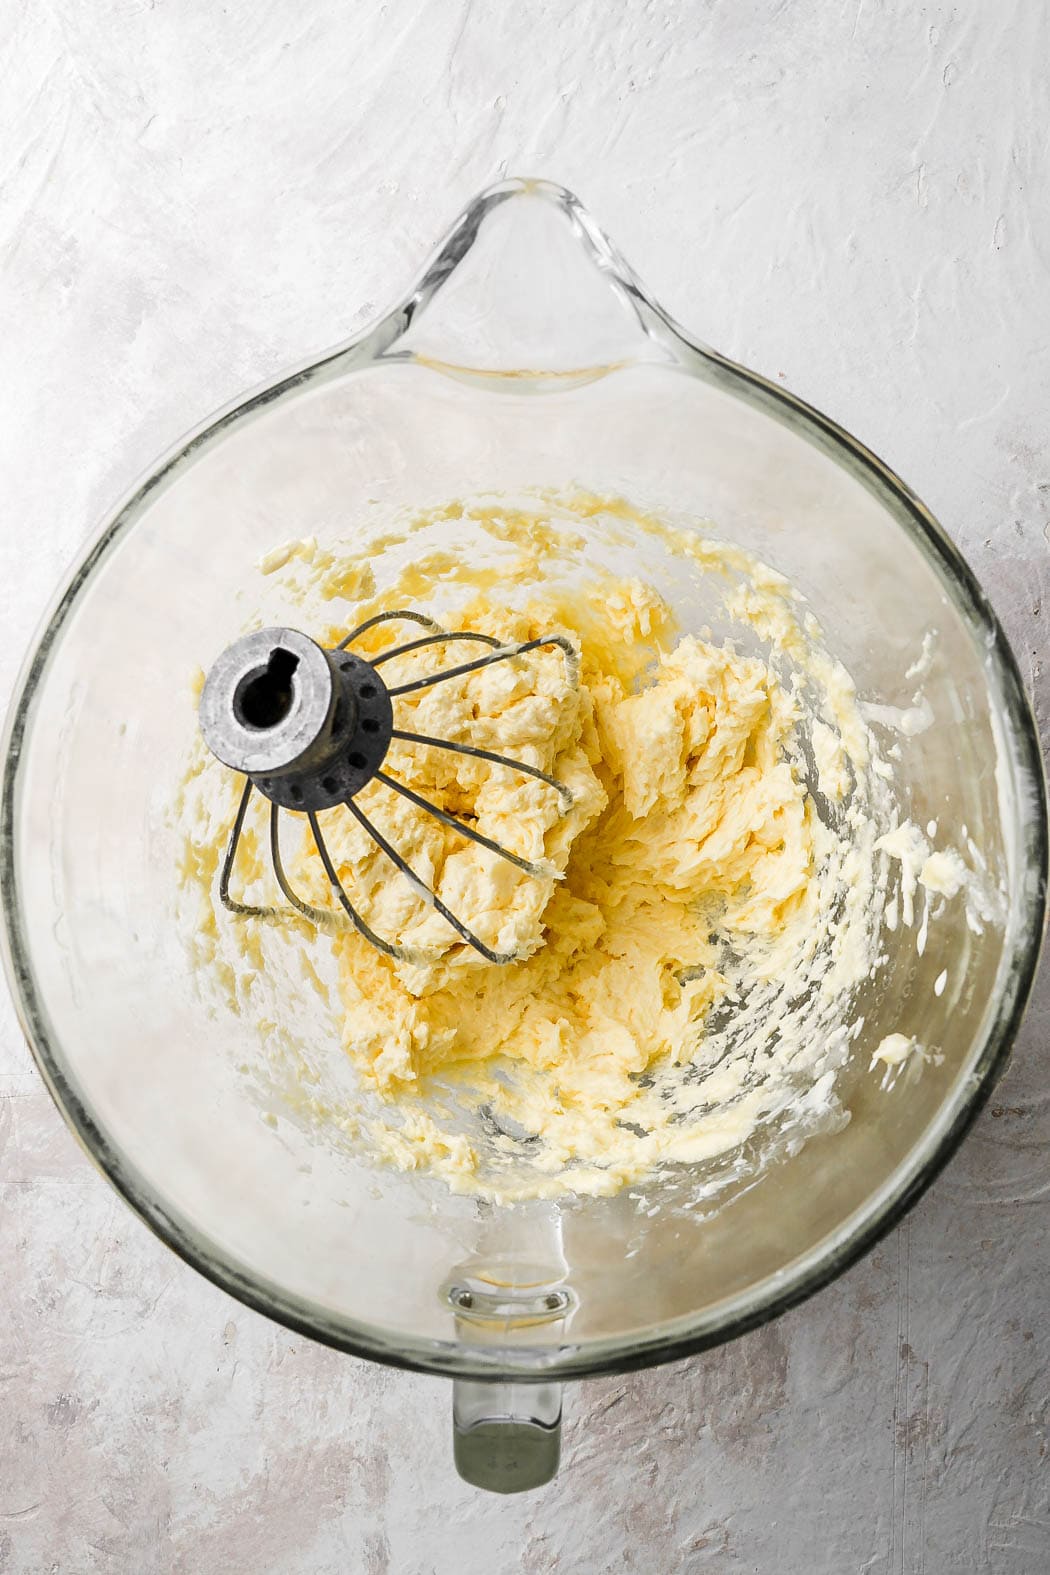
Step 8: Add the butter, 2 Tbsp at a time and beat until it’s fully incorporated.
Step 9: Add the cocoa powder and vanilla and mix until it’s smooth.
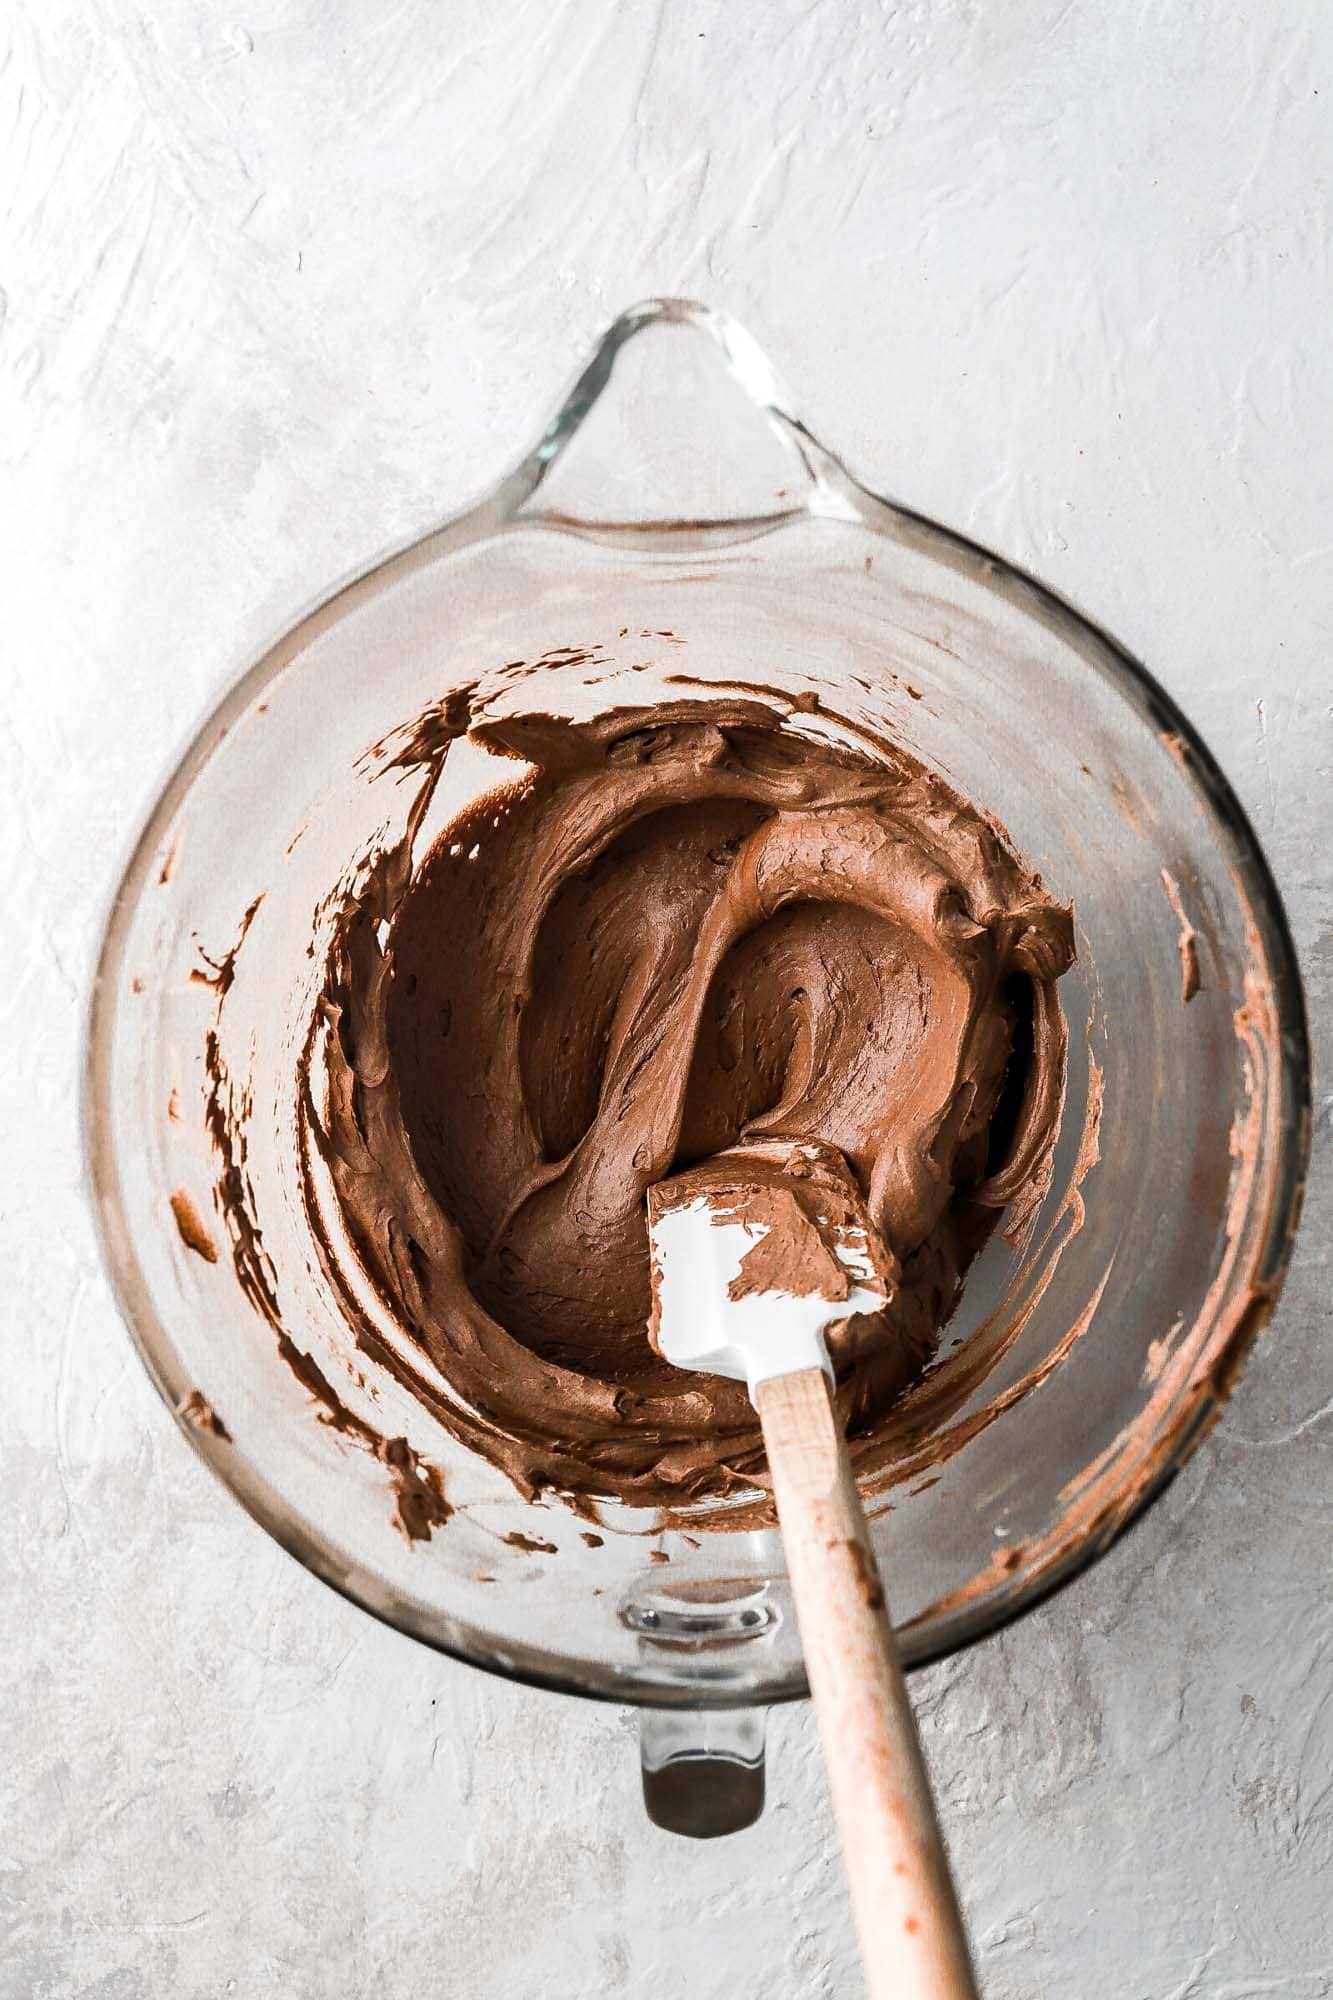
Step 10: Use the buttercream to frost the cake generously and create swirls. *optional, top with a pinch of sea flakes because you’re as obsessed with salted chocolate as I am (I may have overdone it a bit).
Frequently Asked Questions
You can use dairy free butter, dairy free milk/cream to make any of my cakes. You can also use a dairy free butter for the buttercream.
All my cake recipes work well with a 1:1 gluten-free flour like Bob’s Red Mill and King Arthur Flour.
You can make this cake in:
– Three round 8 inch baking pan – what I used
– Three square 8 inch baking pan – reduce bake time by about 5 minutes
– Two or three round 9 inch baking pan (two will be thicker and three will be thinner than the cakes in the photo) – increase bake time by 5-10 minutes
– Two or three square 9 inch baking pan (two will be thicker and three will be thinner than the cakes in the photo) – increase bake time by 5-10 minutes
– Cupcakes – Should make about 36 cupcakes, bake for 16-19 minutes.
Just like all the rest of my cakes, I test if it’s done baking by pressing gently on the tallest part of the cake. The cake will spring back if it’s done baking. If it stays indented, give it a few minutes in the oven, before testing again.
You can also insert a toothpick into the center of the cake (the tallest part) and make sure it comes out clean or with a few crumbs but without any batter on it.
I used a double batch of my favorite whole egg buttercream and just added cocoa powder.
Alternatively you can also use a double batch of swiss meringue buttercream, french buttercream or american buttercream (flavor it the same or however you like).
I also used two forms of chocolate ganache in my ganache cake.
How to make the cake ahead of time
To make the cake ahead of time you can make the cakes even a month in advance. When you remove them from the oven, let them cool for about half an hour and then wrap them individually in plastic wrap. Then place them in a freezer bag, squeezing out all the excess air.
Bring back to room temperature before frosting. If you frost them while they’re frozen, the whipped ganache will set way too quickly from the cold cake and make it difficult to spread.
To make the frosting ahead of time just follow the instructions until it’s done, cover it and let it sit at room temperature (68F-72F, not too warm) for 1-2 days.
If it’s too warm or you want to make it sooner place the frosting in an airtight container and refrigerate for a few days or freeze for a few months. Bring back to room temperature before assembling the cake.
I do prefer to work with fresh buttercream but if you make it ahead of time, bring it back to room temperature and then give it a good mix to smooth it out again.
How to store finished cake
I usually just cover it with a cake dome or place it in an airtight container and store it at room temperature for 2-3 days.
Refrigerate for an additional up to a week but I recommend freezing it to keep it more fresh.
To freeze the whole cake, refrigerate it until it’s firm. Then wrap it in plastic wrap so it’s completely covered. Then wrap it in aluminum foil and freeze.
To freeze slices, place the slices in an airtight container and then place the container in a freezer bag, squeezing out all the excess air.
Bring it back to room temperature by thawing at room temperature for a few hours before serving.
Thanks so much for reading today’s post, if you have any questions just comment down below. Make sure to leave it in the comment section because I can’t answer in the rating section.
If you make this, I’d love it if you left a star rating for me. If it’s less than five stars, please leave a comment with the rating so I know why! 🙂
As always, have a blessed day and happy baking!
Love, B

For the buttercream you mention thick and foamy egg yolks, do you mean egg whites? Thanks
yes both the egg whites and the yolks!
Hi there! Do you think I could double this recipe by simply doubling ingredients to make a triple layer 9 inch cake with cupcakes for a party?
hi, I haven’t tried doubling this recipe. I don’t see why it wouldn’t work but I think it would be safer to just make two batches ?
Question – how much cocoa powder is used in the frosting? I can’t seem to locate it. Old eyes 🙂
Hi Riley, thanks so much for pointing that out right away!! I added it 🙂