
Prinzregententorte
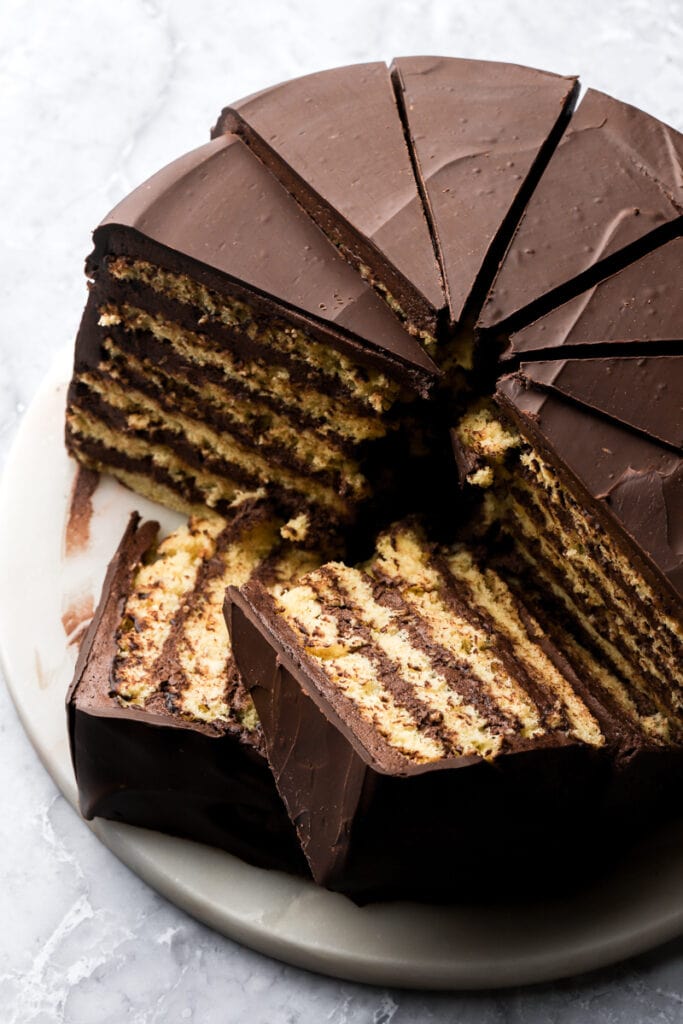
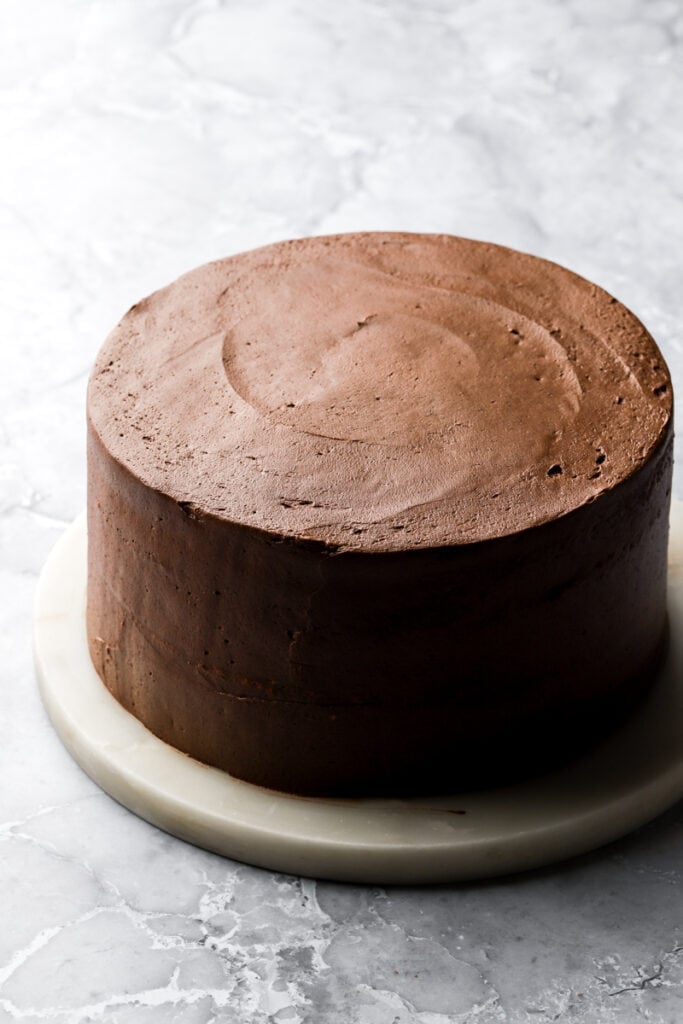
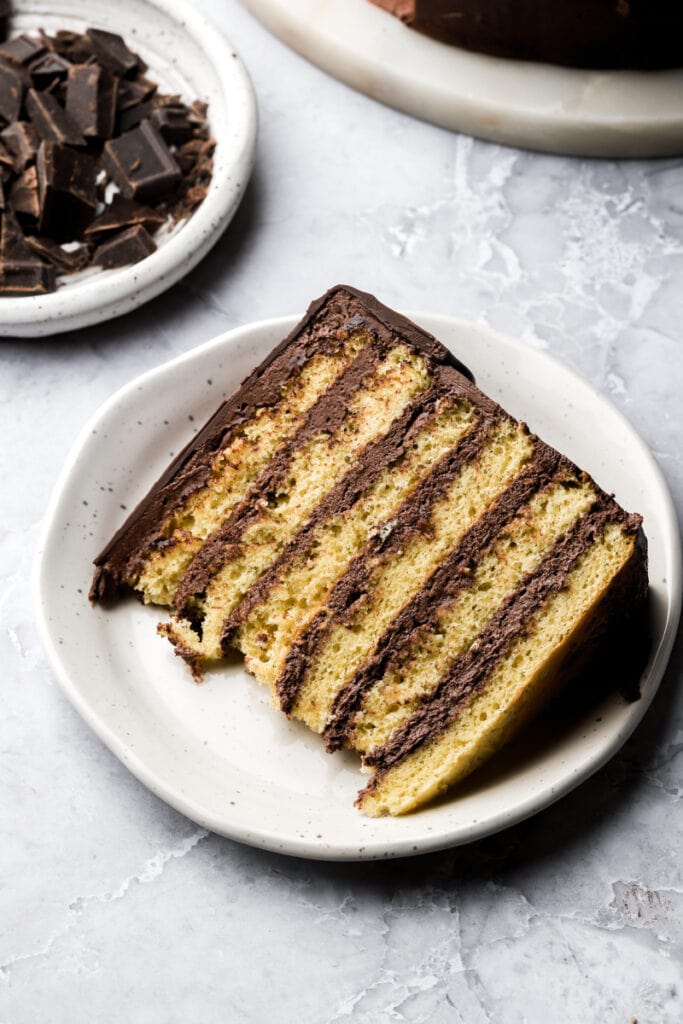
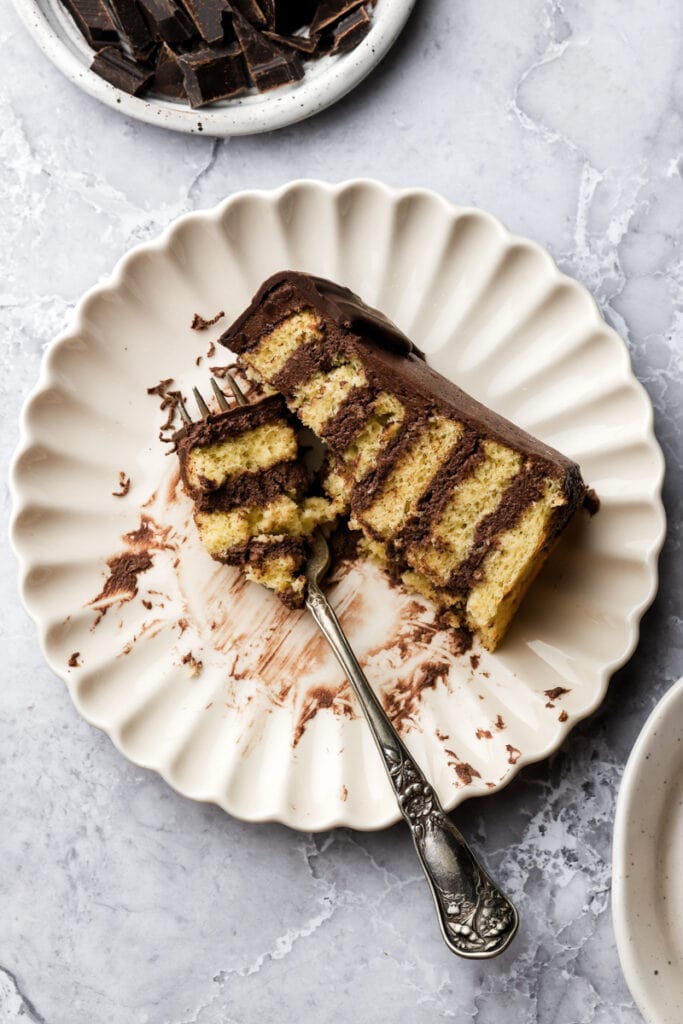
Prinzregententorte is a traditional Bavarian and German torte made from thin layers of genoise sponge and frosted with a dark chocolate creme mousseline. It’s generally topped with a chocolate glaze that I turned into a chocolate magic shell for a nice change in texture!
Why you’ll love this recipe
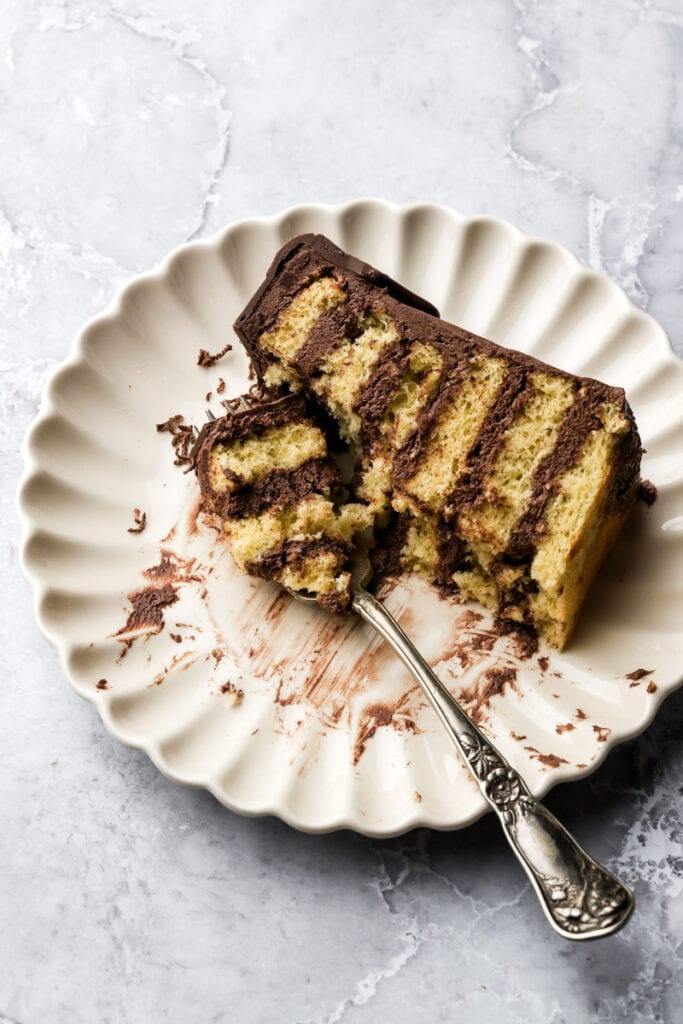
- It looks like it’s just “vanilla and chocolate” but it’s so much more. The genoise is so light and fluffy and the creme mousseline tastes like a super dark rich chocolate custard.
- This cake is not sweet so if you are more of a European dessert fanatic and don’t care for the overly sweet stuff, this is for you.
- The recipe is very forgiving and allows for many substitutions and dietary restrictions.
For more on genoise, make sure to check out my genoise sponge cake recipe. My fraisier cake also uses a genoise sponge and a vanilla creme mousseline.
I think you’ll also love my tiramisu cake and my chocotorta if you like cakes that are less sweet!
What is prinzregententorte?
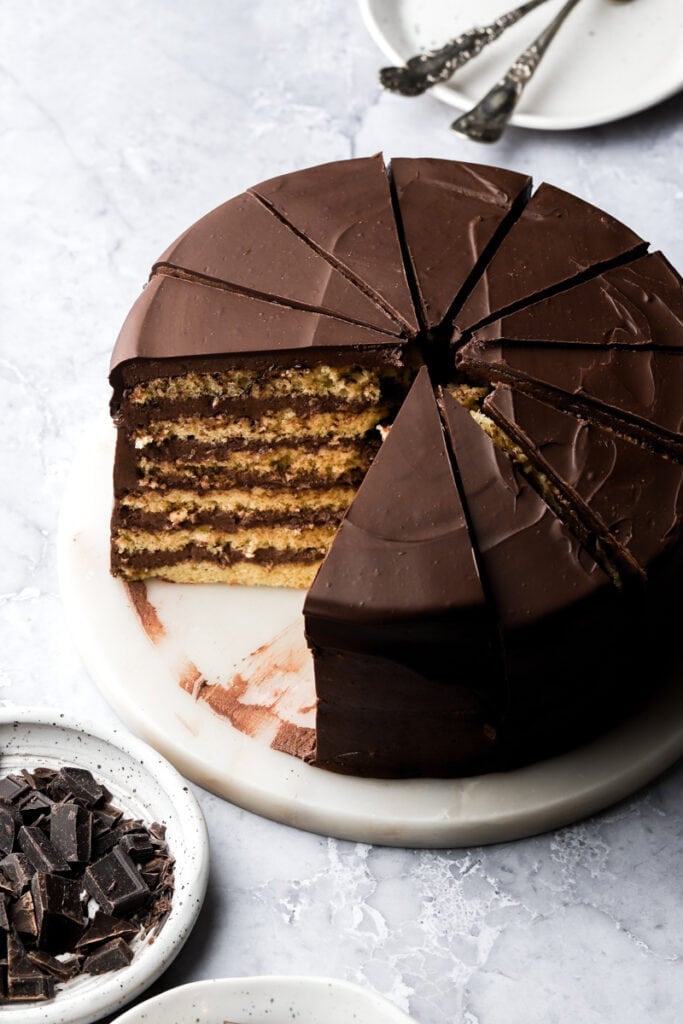
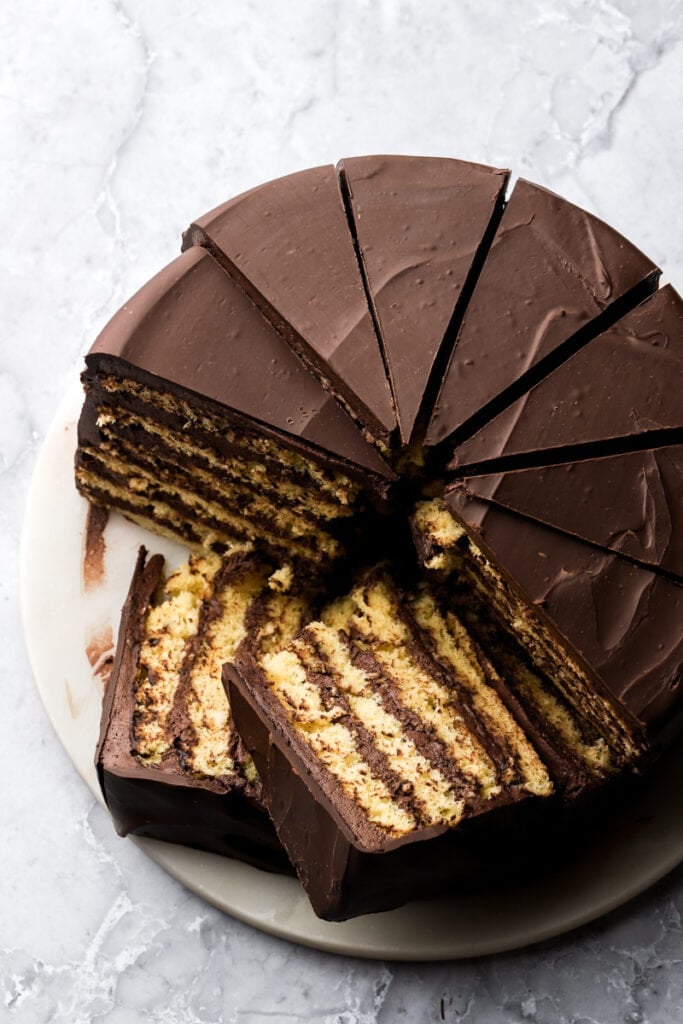
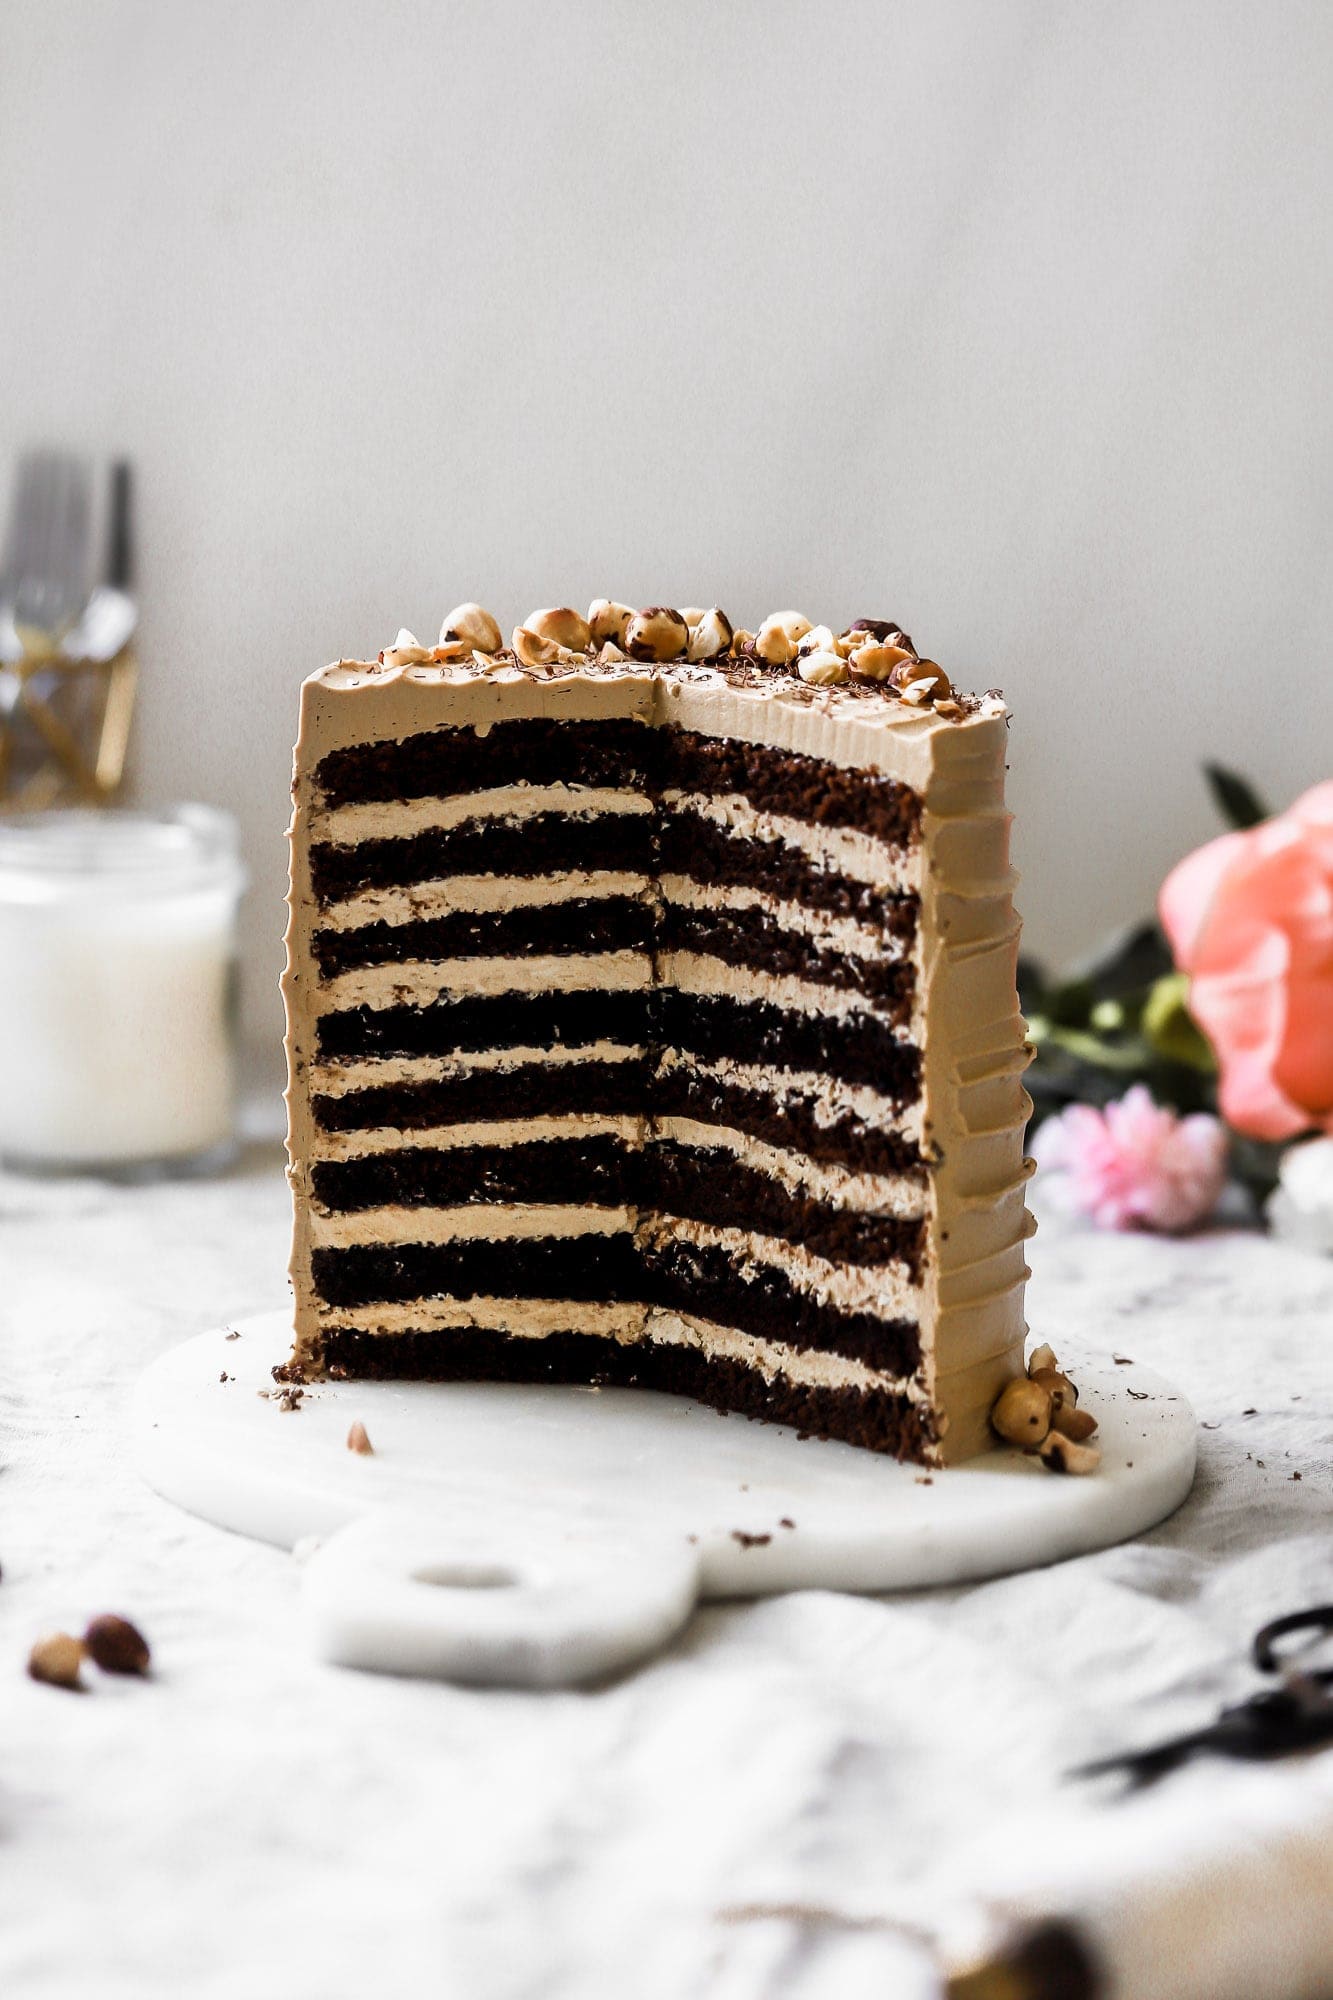
Prinzregententorte is a torte that’s famous in Bavaria and Germany. It consists of 6-7 thin layers of genoise sponge and layered with a dark chocolate creme mousseline (german buttercream made with chocolate custard).
The cake is named after Prince Regent Luitpold from Bavaria in 1886 because it was developed for him (unknown by exactly who). The cake was originally made with 8 layers of genoise to represent its 8 districts but then reduced to 7 after WW1 because they lost a district. Today I’ve often seen it made with 6 layers instead of 7 and I did it that way because it’s easier to trim two large layers into 6.
Occasionally I’ve seen it topped with a layer of apricot jam on top, underneath the glaze. I’m sure if that was the original way or not since I’ve only randomly seen it and most people don’t add the apricot. If that sounds like something you’d like, feel free to add a layer of apricot jam on top or just serve with a dollop.
Ingredients & Substitutions
- Flour: I use all purpose flour in most of my recipes and I HIGHLY recommend using a digital scale, as flour is so often over measured. Cake flour also works well here.
- Sugar: I used granulated sugar and I don’t recommend reducing it or swapping it. The cake is not very sweet and I have not tested a genoise or creme mousseline with any other sugar.
- Butter: I like to use salted butter in my cakes but unsalted butter also works. Dairy free butter works as well. I use unsalted butter in the buttercream though.
- Eggs: make sure to use room temperature, large eggs.
- Pop them in hot water for a few minutes if they’re cold.
- Cocoa Powder: I used dutch processed cocoa powder because I like the dark chocolate and flavor. My favorite brands are rodelle and ghirardelli. Natural cocoa powder also works but I would sub the baking powder for ¾ tsp of baking soda if using natural cocoa.
- Vanilla: I usually just use a simple vanilla extract in cake batters but I like to use vanilla bean paste for buttercreams and frostings.
- Milk: I use whole milk here, 2% or dairy free also works well.
- Cornstarch: I used just a little to thicken the pastry cream because there’s also so much cocoa powder to absorb some of the liquid.
- Chocolate: I used semi-sweet chocolate chips for the topping because the cake is already dark. Using a high quality chocolate will be easier to work with as opposed to chocolate chips but either is fine.
- Coconut Oil: I like to mix my chocolate with a little coconut oil so when it solidifies again it’s not super hard.
Step-by-Step Instructions
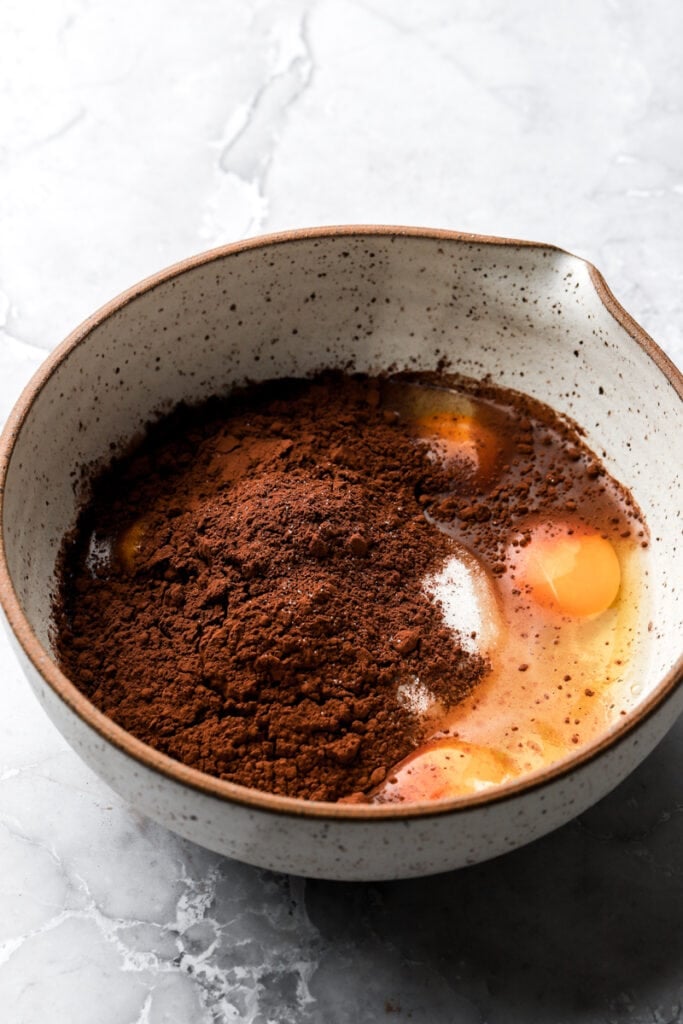
Step 1: Make the pastry cream by whisking together the eggs, sugar, cornstarch, salt and cocoa powder.
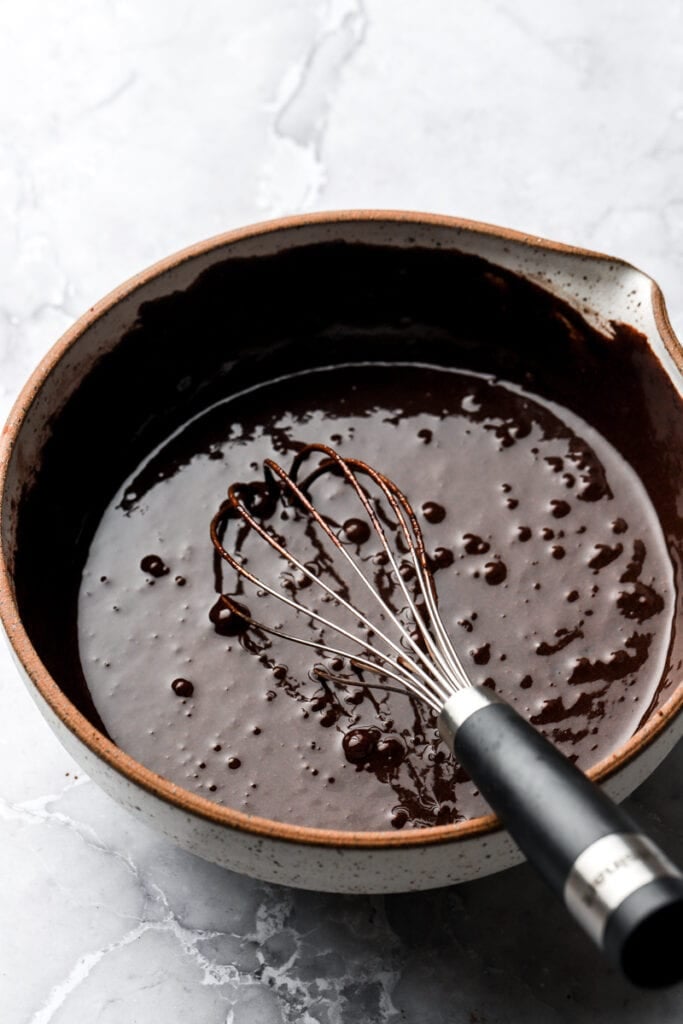
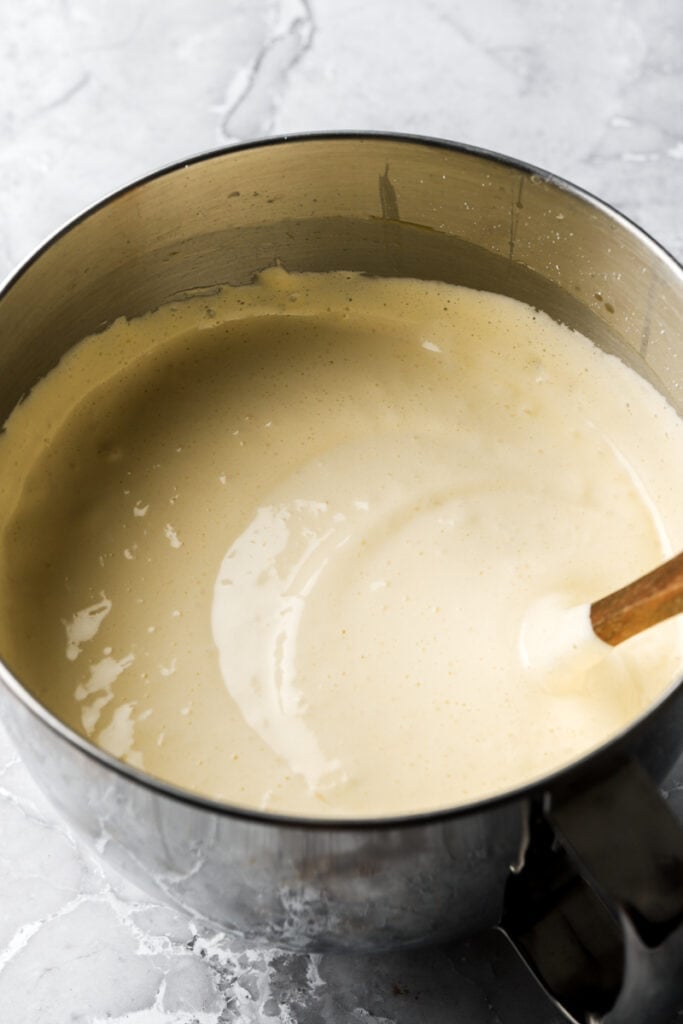
Step 2: Gently heat the milk on the stove until it’s simmering, then temper the eggs with the hot milk and then return the whole mixture to the pot.
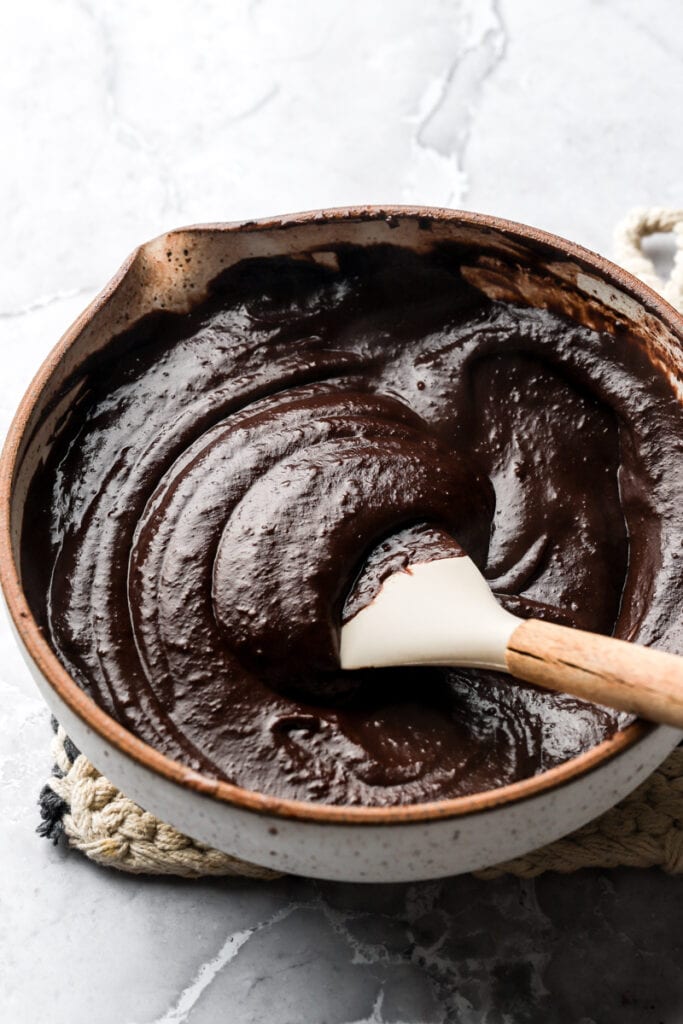
Cook on medium heat, whisking continuously until the mixture thickens. Remove and stir in the butter and vanilla. Cover the surface with plastic wrap and allow it to cool completely (if refrigerating, make sure to stir it often).

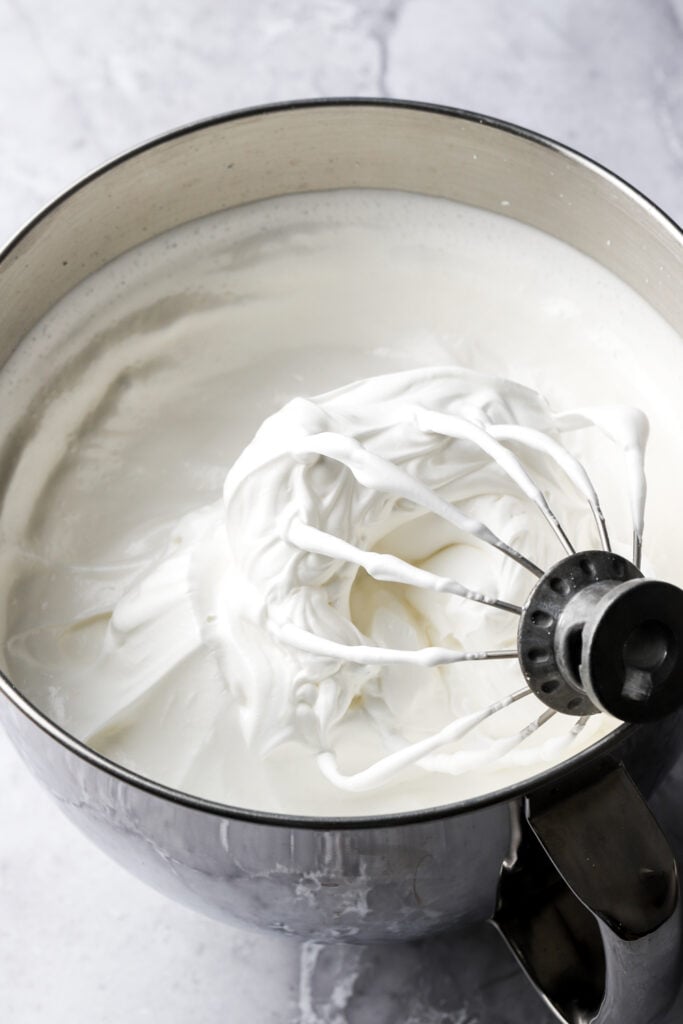
Step 3: Make the genoise layers by separating the egg yolks from the whites. Beat the egg whites with the sugar until it’s super thick and fluffy and holds stiff peaks.
Step 4: Add the egg yolks, vanilla and melted butter and beat at medium-high speed until it’s combined, just a few seconds.
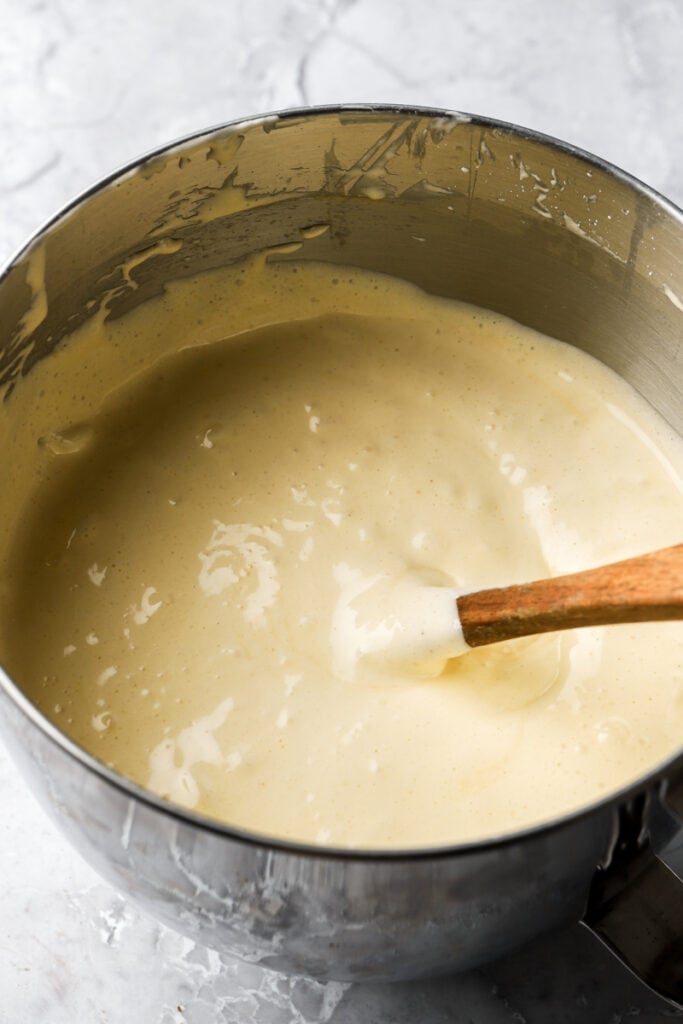
Step 5: Sift in the flour and salt and beat at medium-low speed, just until the flour is mixed in. Use a rubber spatula to fold the mixture a couple of times to scrape the edge of the bowl.
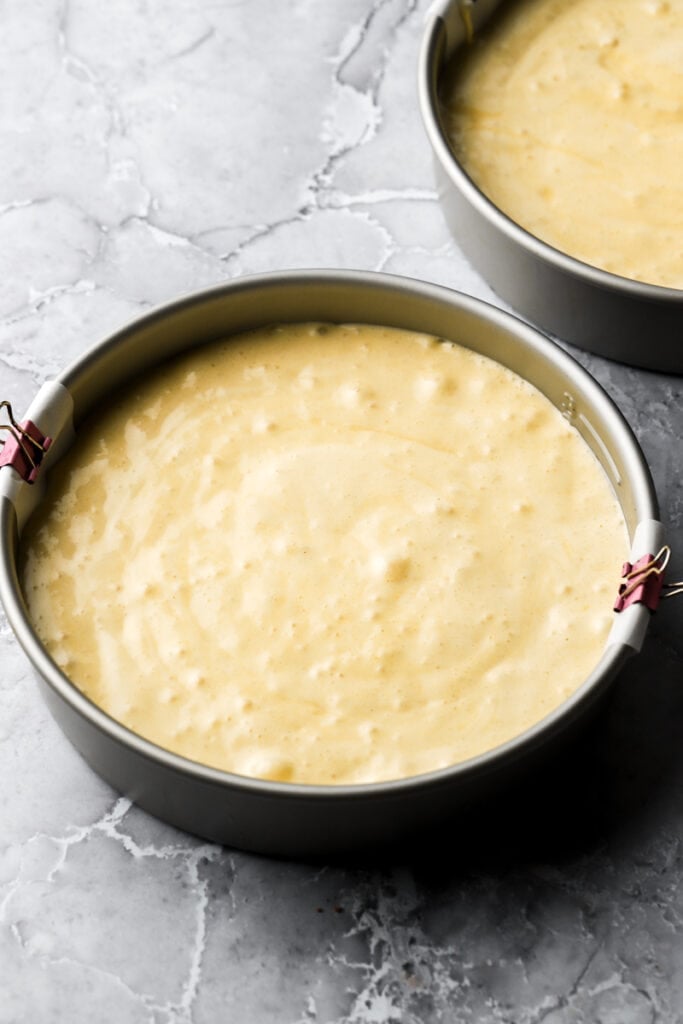
Step 6: Distribute the batter evenly among un-greased pans lined with parchment paper, about 10 ounces each, and bake for 20ish minutes. The tops will be golden brown, no longer wet and spring back when you press on them gently.
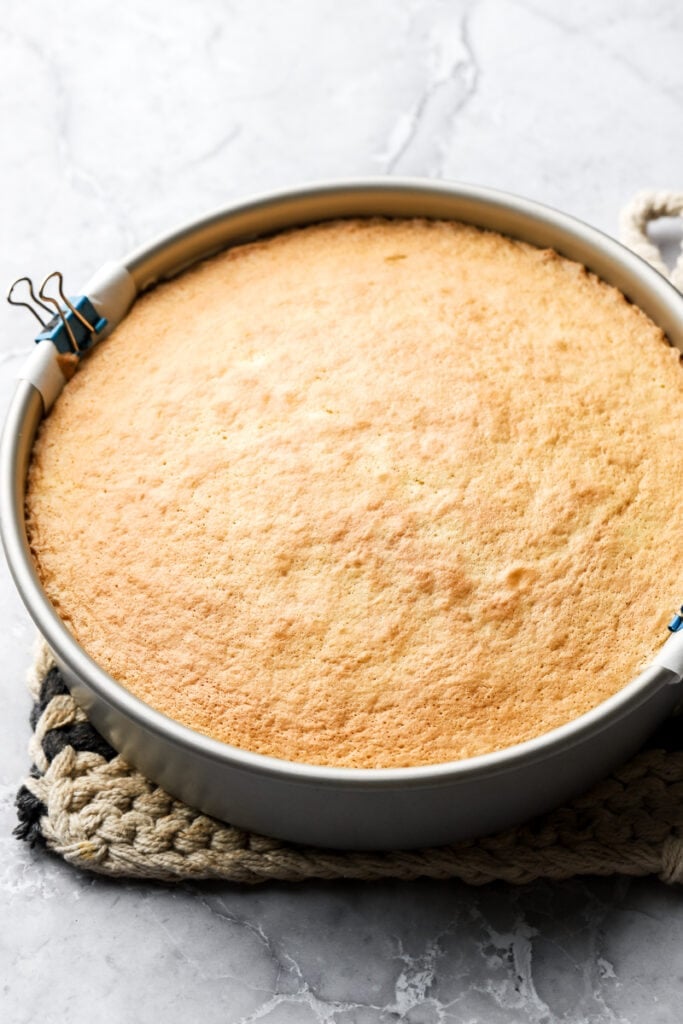
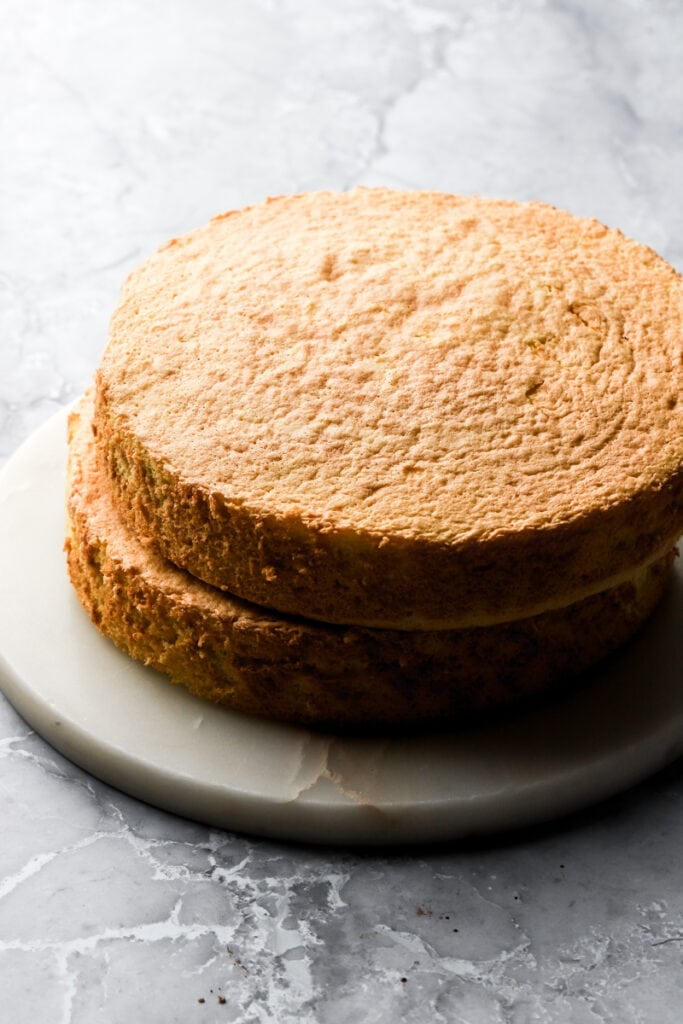
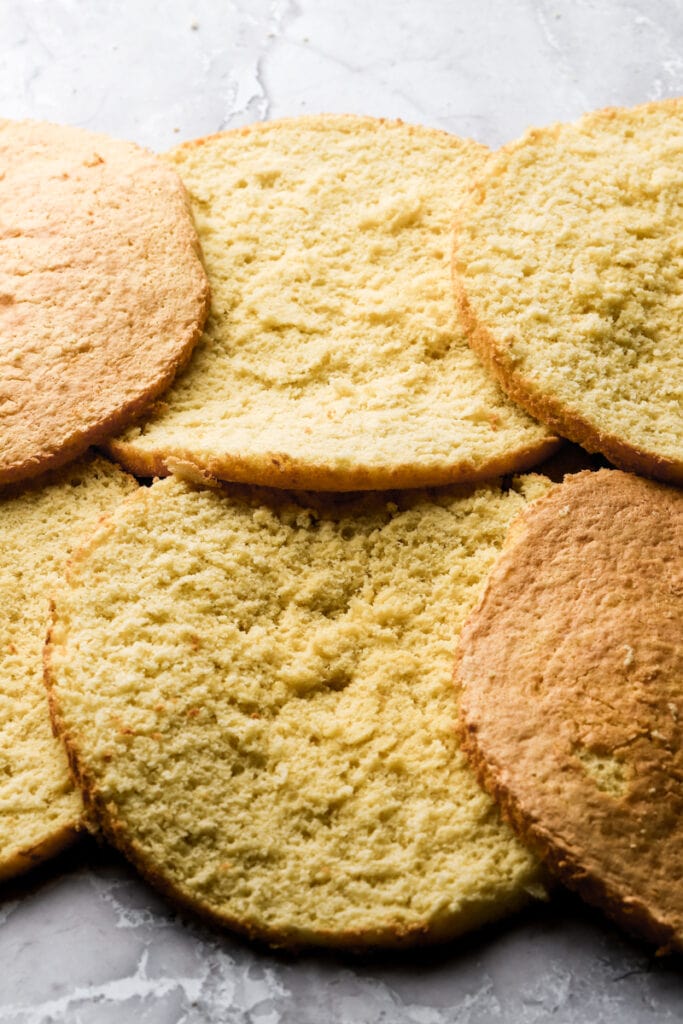
Step 7: Remove from the oven, run a knife along the edge to release the cakes from the edge of the cake tin and let it cool in the pan until it’s easy to remove, about 10-20 minutes. Once the cakes have cooled completely, use a large serrated knife or a cake leveler to slice into three equal parts (about ½ an inch thick).
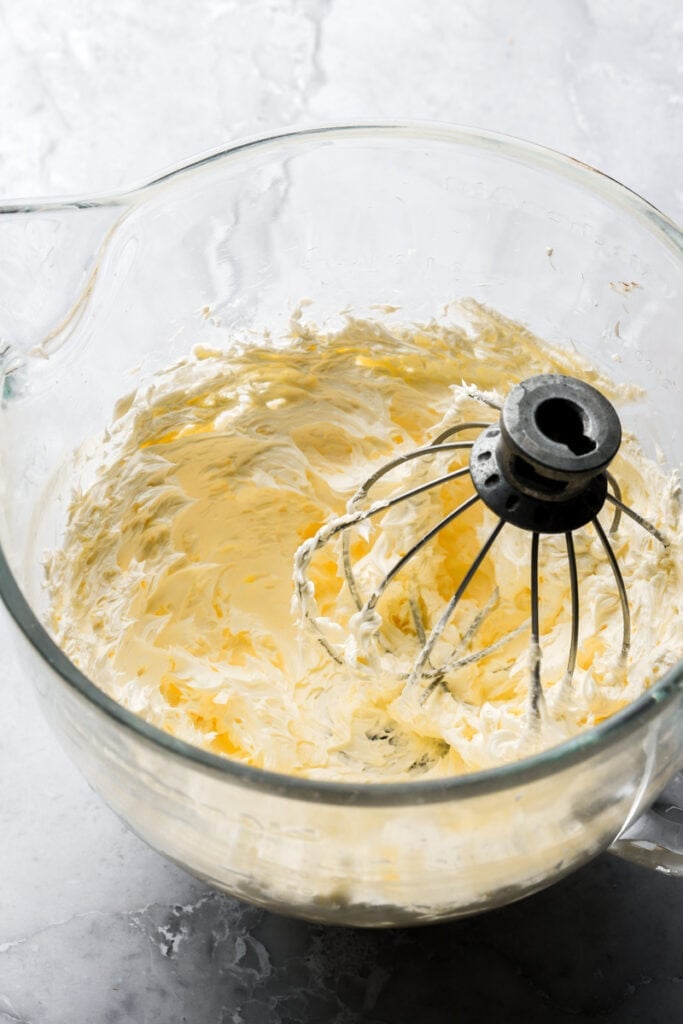
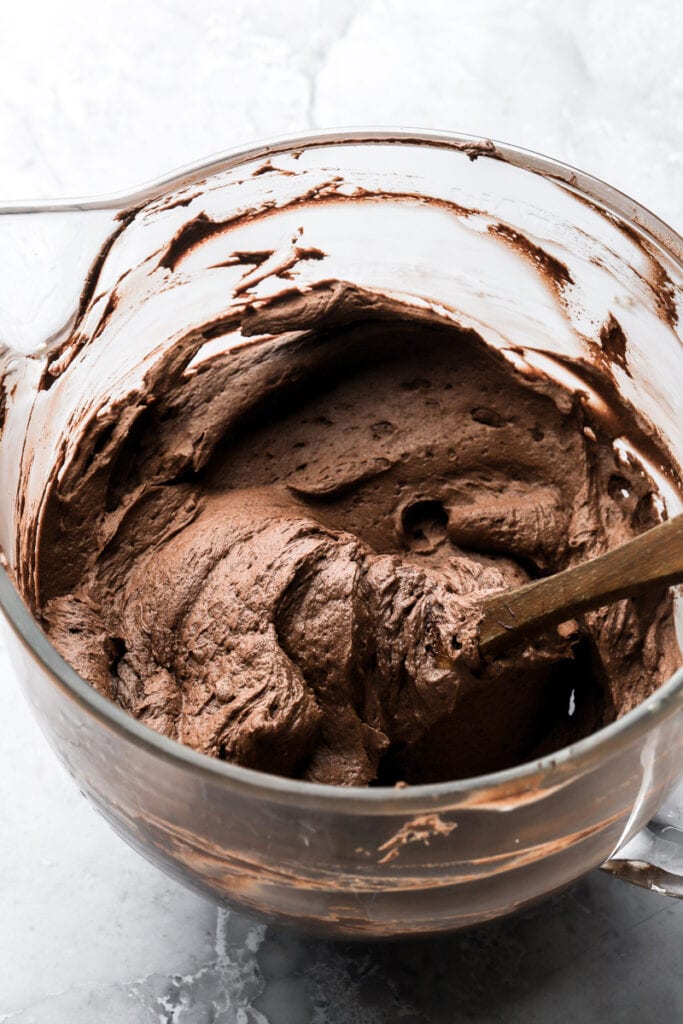
Step 8: Make the crème mousseline: Beat the room temperature butter at full speed until it’s super pale and fluffy. Add in the chilled pastry cream in 4-5 batches, mixing well between each one. Fold the buttercream with a rubber spatula to smooth it out.
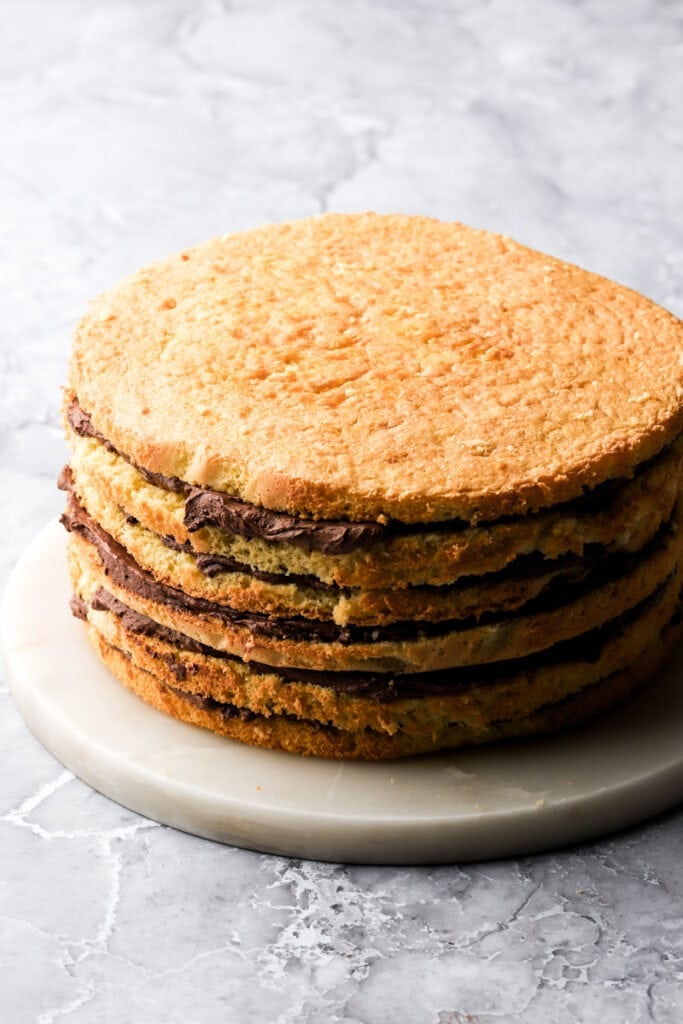
Step 8: Assemble the cake by placing the first layer of sponge onto a flat surface. Spread a thin layer of the creme mousseline and then place the next layer of cake on top and repeat. Refrigerate the cake for about 30 minutes and then frost the outside of the cake. Refrigerate for at least an hour so the cake is firm when adding the chocolate.
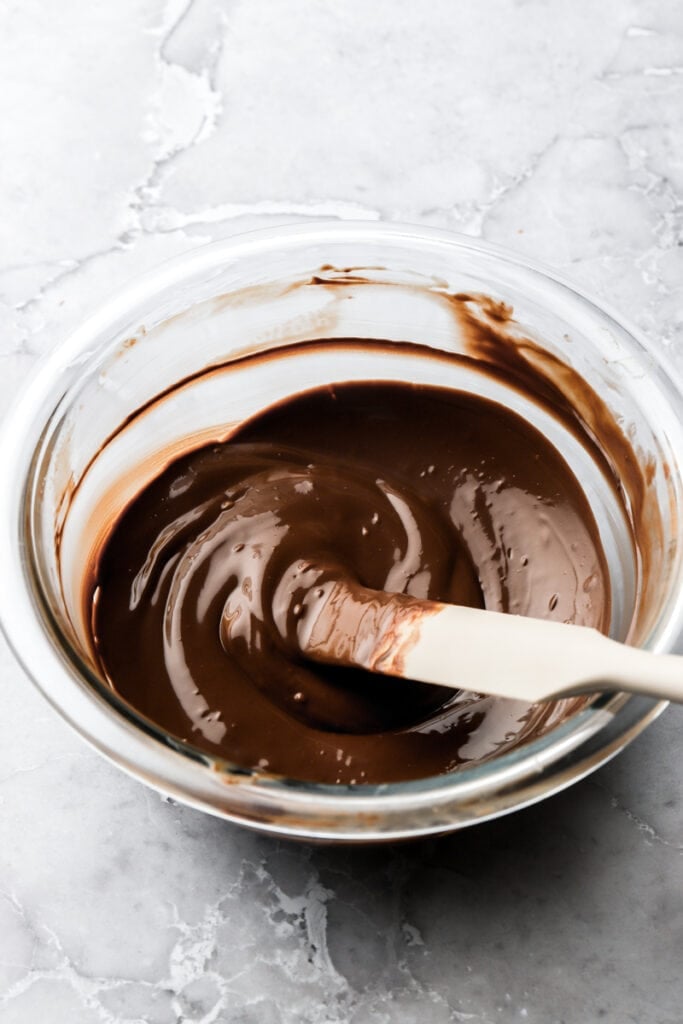
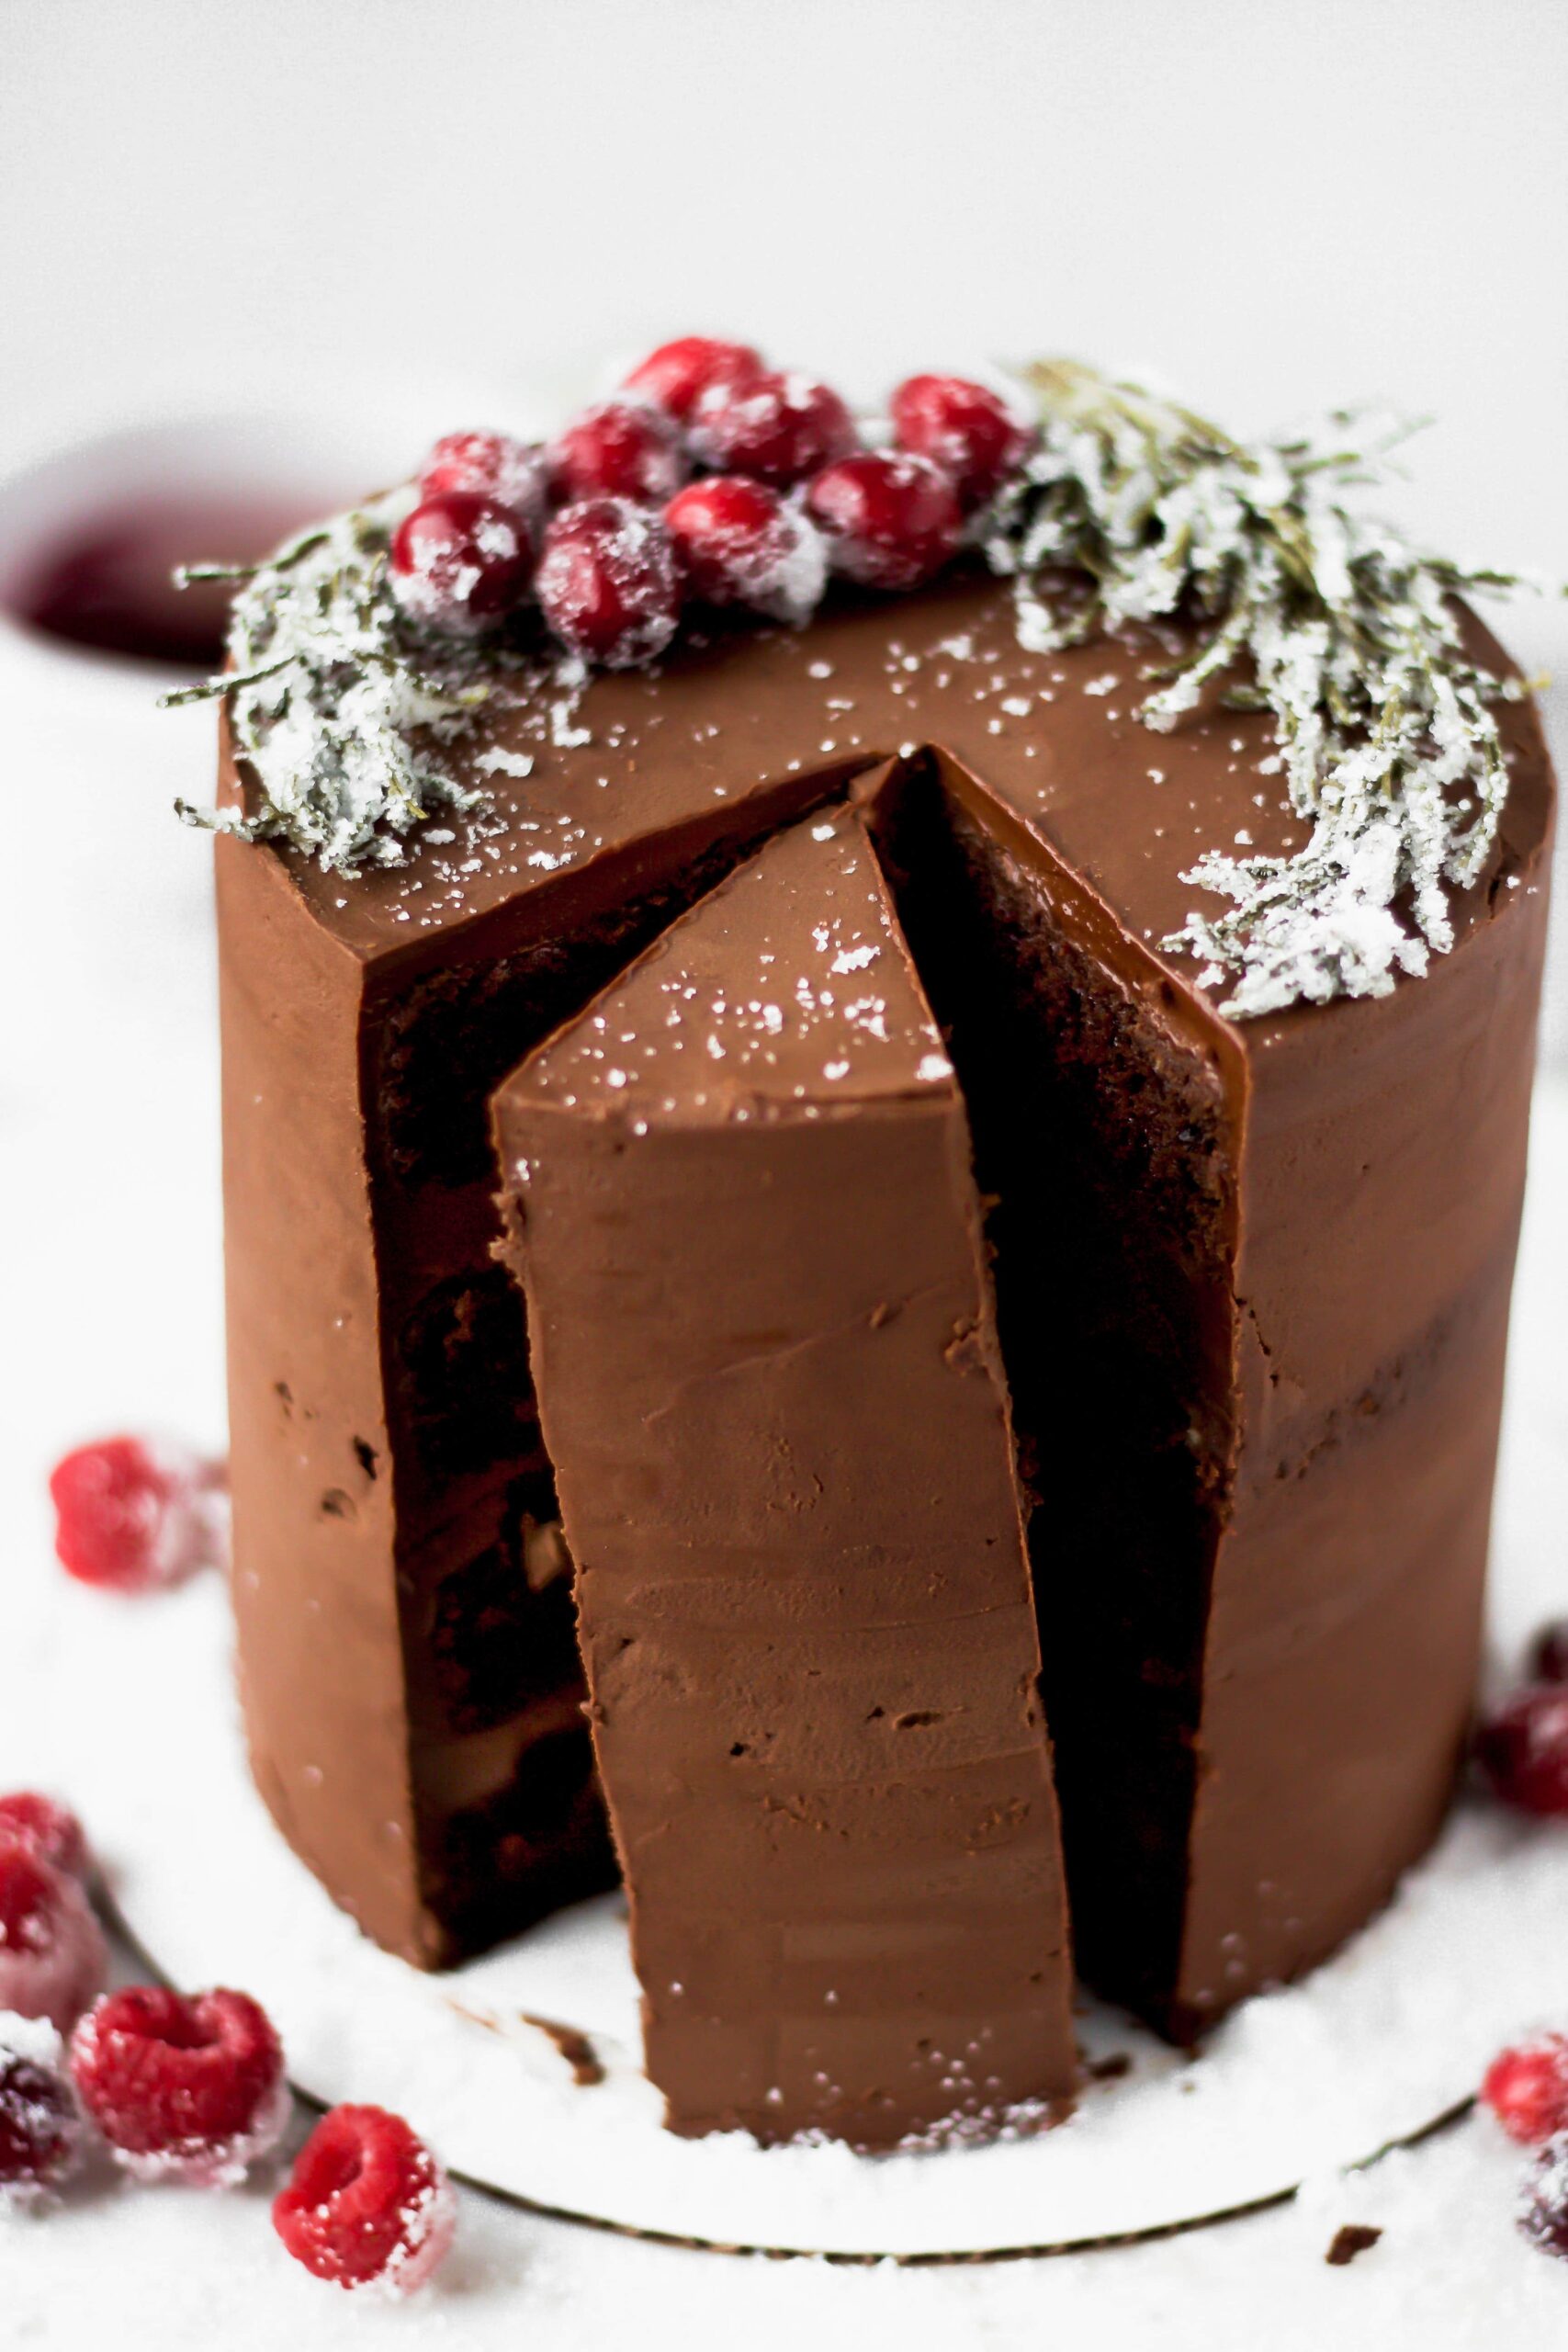
Step 9 Option 1: Make the chocolate glaze by gently heating the chocolate and coconut oil over a double boiler or in the microwave on 15 second intervals, stirring between each interval. Once it’s completely smooth melted, pour over the chilled cake.
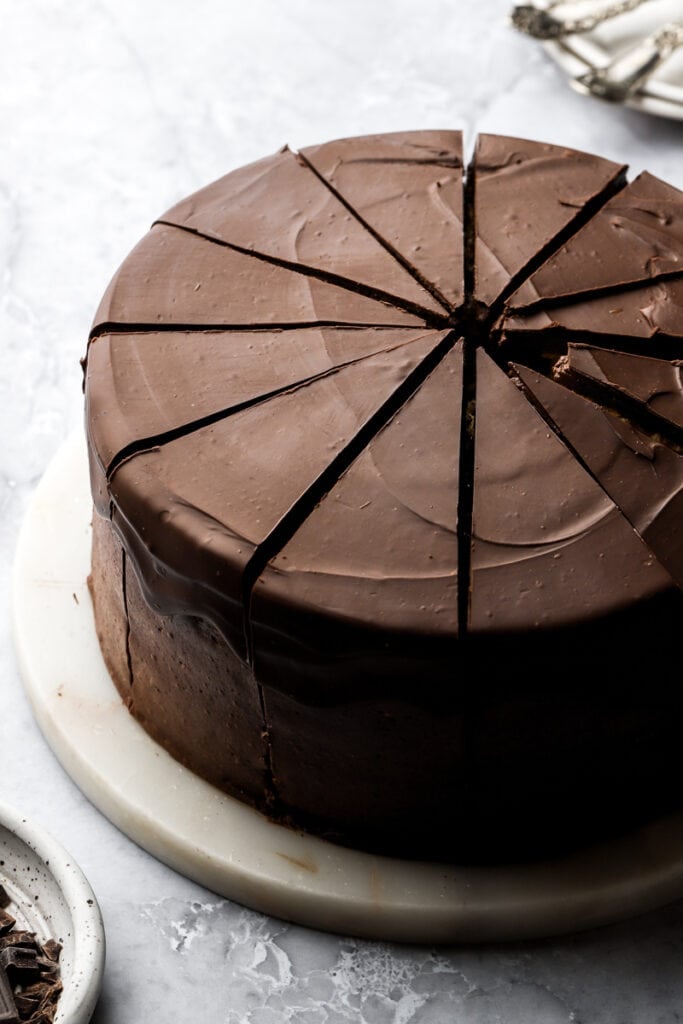
The chocolate sets pretty quickly so to make slicing easier, I like to score the chocolate on top before it sets completely.
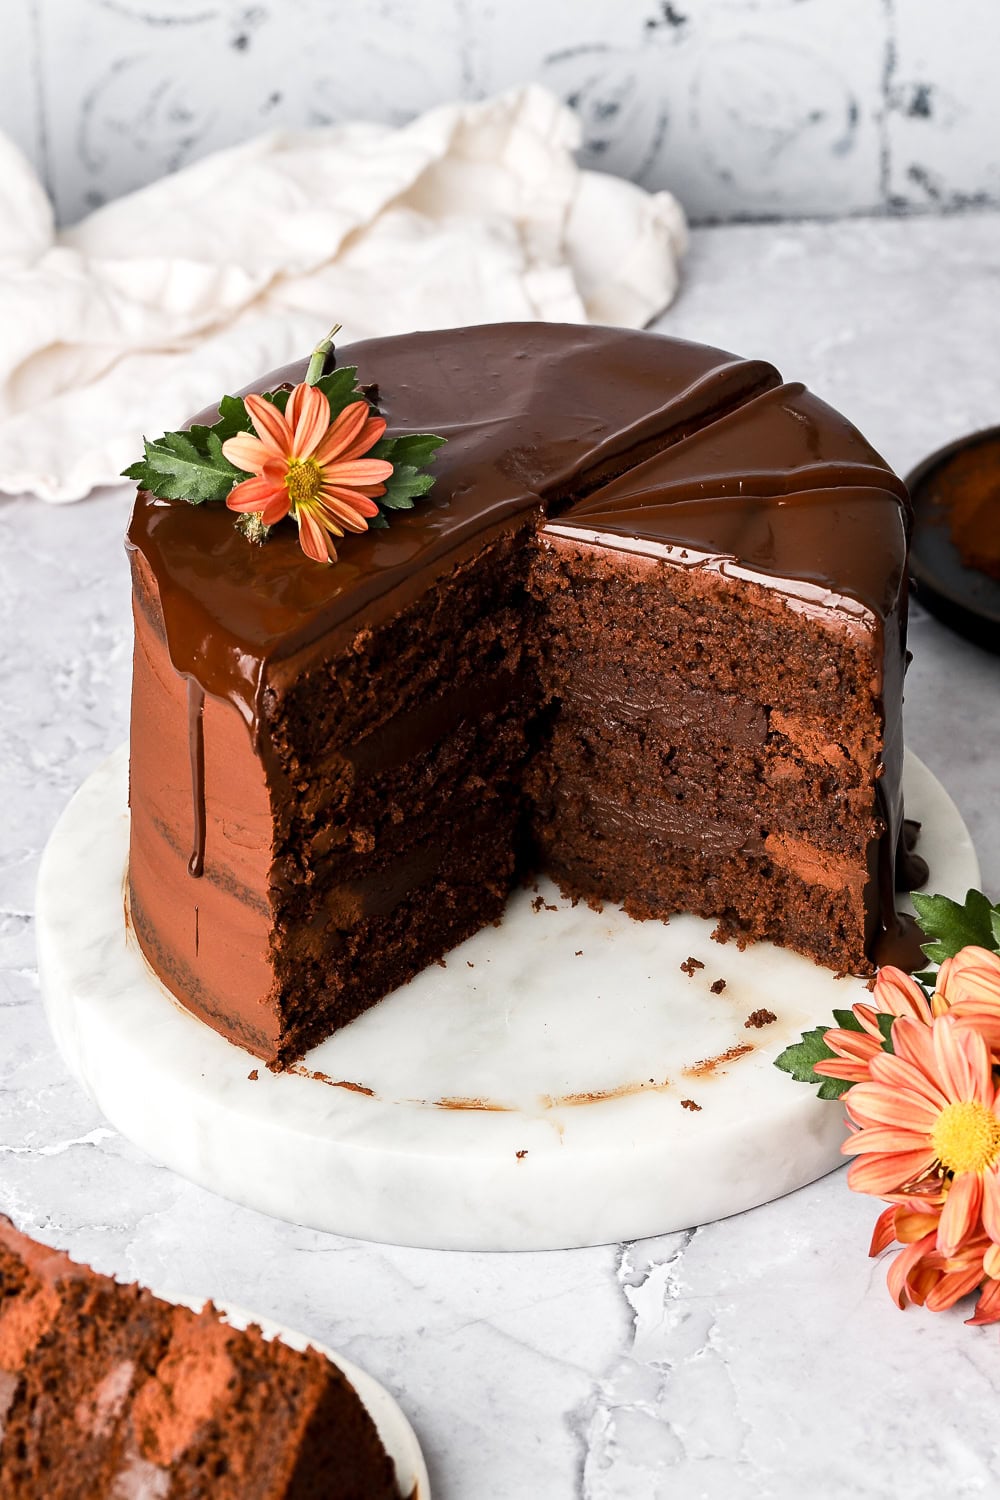
Step 9 Option 2: Make a chocolate ganache by simmering some heavy cream in a saucepan and pouring it over the chocolate. Stir until it’s combined and smooth. Read about a chocolate ganache topping in my chocolate ganache cake.
PRO TIP: Try to pour evenly across the top so it drips on its own, as opposed pouring it in the center and spreading it out with a spatula. Once you touch the chocolate with the spatula, it sort of loses its shine.
Frequently Asked Questions
You can use dairy free butter in the sponge and the buttercream. Dairy free milk also works in the custard and dairy free chocolate works in the topping.
I haven’t tested this cake or any of my cookies but all my traditional cake recipes work well with a 1:1 gluten-free flour like Bob’s Red Mill and King Arthur Flour.
You can refrigerate the cake for a few hours after it’s put together and then decorate it with frosting. You can do 1.5x or 2x the buttercream recipe for decorating and piping or make a batch of my favorite buttercream for decorating, Swiss meringue buttercream.
How to make ahead
You can make the sponges a day in advance and trim them before assembling. You can even make them a few days in advance and freeze them. If you feel they’re drier, make a simple syrup (1 part sugar dissolved in 1 part water) and brush each layer a little with it.
The buttercream can also be made in advance. For one night, just leave it at room temperature. For a few days, store it covered in the fridge and bring it back to room temperature before frosting. For a few weeks, store it covered in the freezer and bring it back to room temperature before frosting.
How to store finished cake
The cake can be stored at room temperature for 1-2 days or refrigerated for up to a week.
To freeze the whole cake, refrigerate it until it’s firm. Then wrap it in plastic wrap so it’s completely covered. Then wrap it in aluminum foil and freeze.
To freeze slices, place the slices in an airtight container and then place the container in a freezer bag, squeezing out all the excess air.
Bring it back to room temperature by thawing at room temperature for a few hours before serving.
Thanks so much for reading today’s post, if you have any questions just comment down below. Make sure to leave it in the comment section because I can’t answer in the rating section.
If you make this super gorgeous prinzregententorte, I’d love it if you left a star rating for me. If it’s less than five stars, please let me know why! 🙂
As always, have a blessed day and happy baking!
Love, B


Hi! I want to make this and freeze it. Do you think it is a better taste if frozen before covering the glaze? Thanks!
It should be fine either way! I would definitely frost it though
Thank you! Literally
About to frost it so good timing ?
I was super excited to make this but the instructions in the recipe card and in the post didn’t seem to match. For example, the post talks about whipping egg whites to stiff peaks but the recipe card just says beat the eggs until pale. No matter how many times I read it I couldn’t figure out the order of things for the sponge. The filling was delicious! Would love to try again with some clarification on genoise portion 🙂
Hi Shelby thank you so much for pointing that out. I tweaked my Genoise recipe and forgot to update the recipe card too. It can be done both ways but I believe separating the eggs and beating the egg whites first yields more consistent results :). The recipe is updated, thanks again and lmk if you have anymore questions!