White Chocolate Raspberry Cake
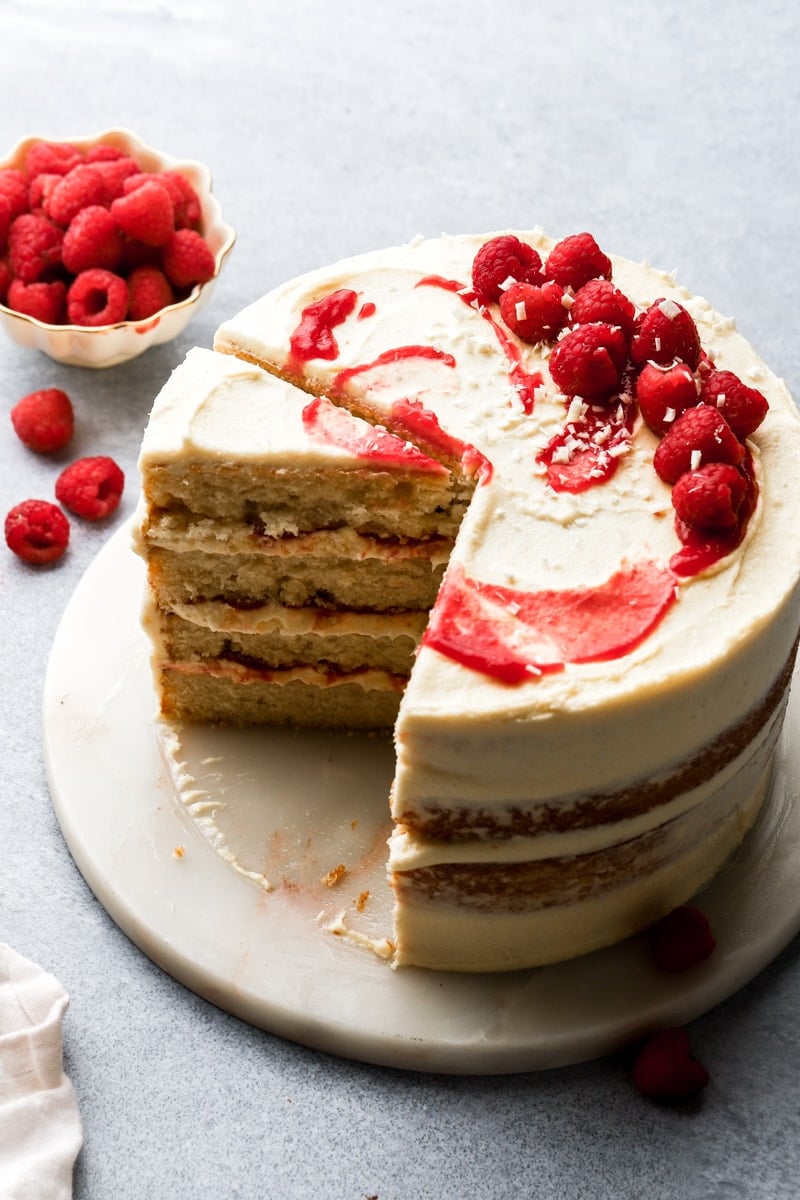
This white chocolate raspberry cake is made up of fluffy vanilla cake layers frosted with a white chocolate buttercream and tart raspberry swirls.
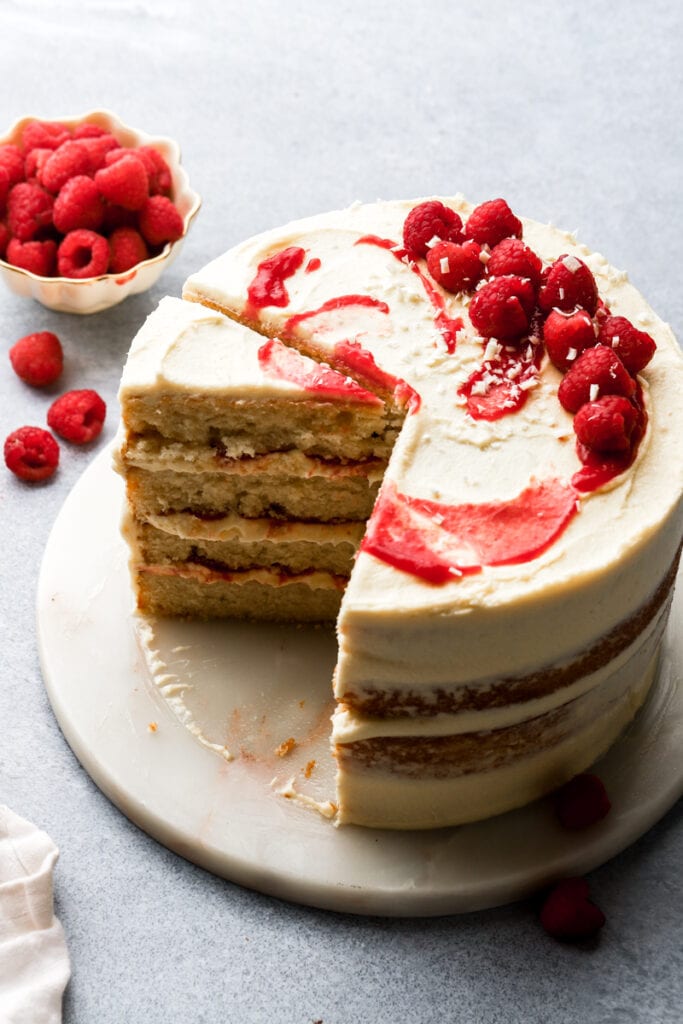
Why you’ll love this white chocolate raspberry cake
- I used my go-to 8 inch vanilla cake (adapted from my 6 inch which is my most popular and loved recipe on the website and in my family) to make this white chocolate raspberry cake.
- The white chocolate buttercream is made using a Swiss meringue buttercream for the ultimate silky texture.
- The raspberry cake filling is super quick and easy to make and you can make it seedless or leave the seeds in.
- The recipe is very forgiving and allows for many substitutions and dietary restrictions.
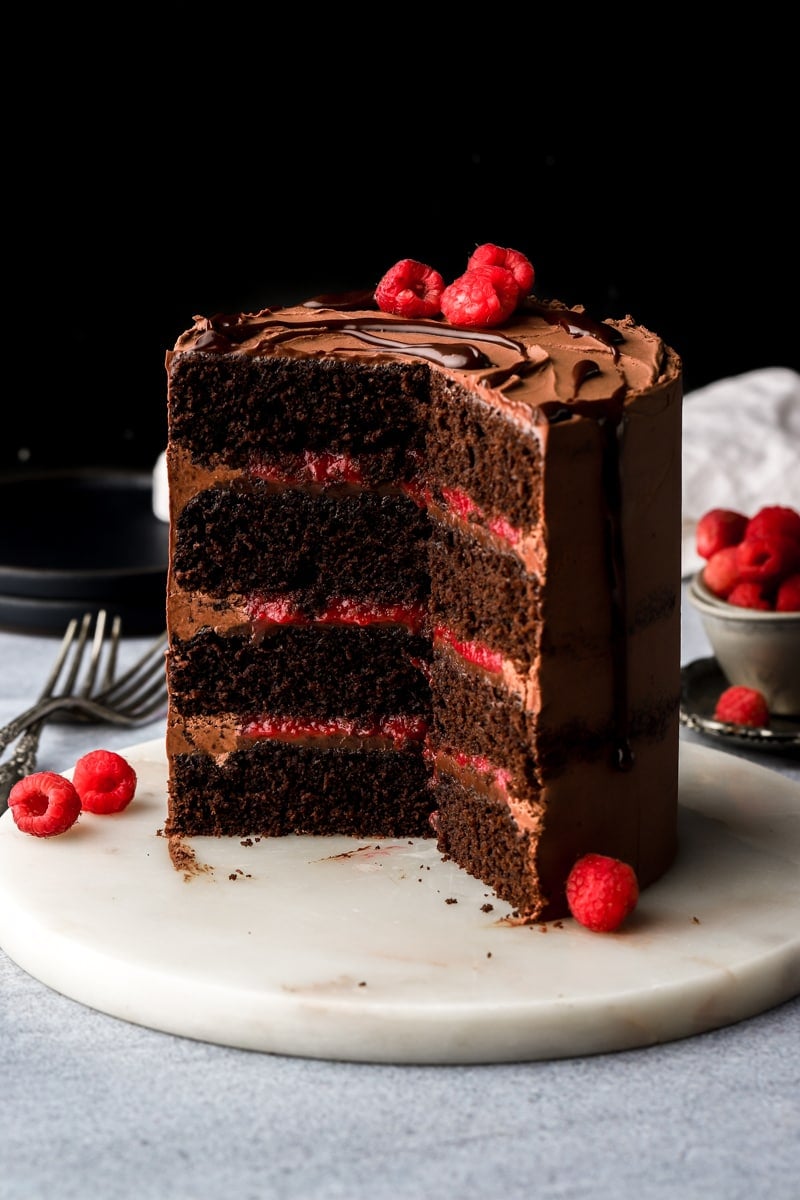
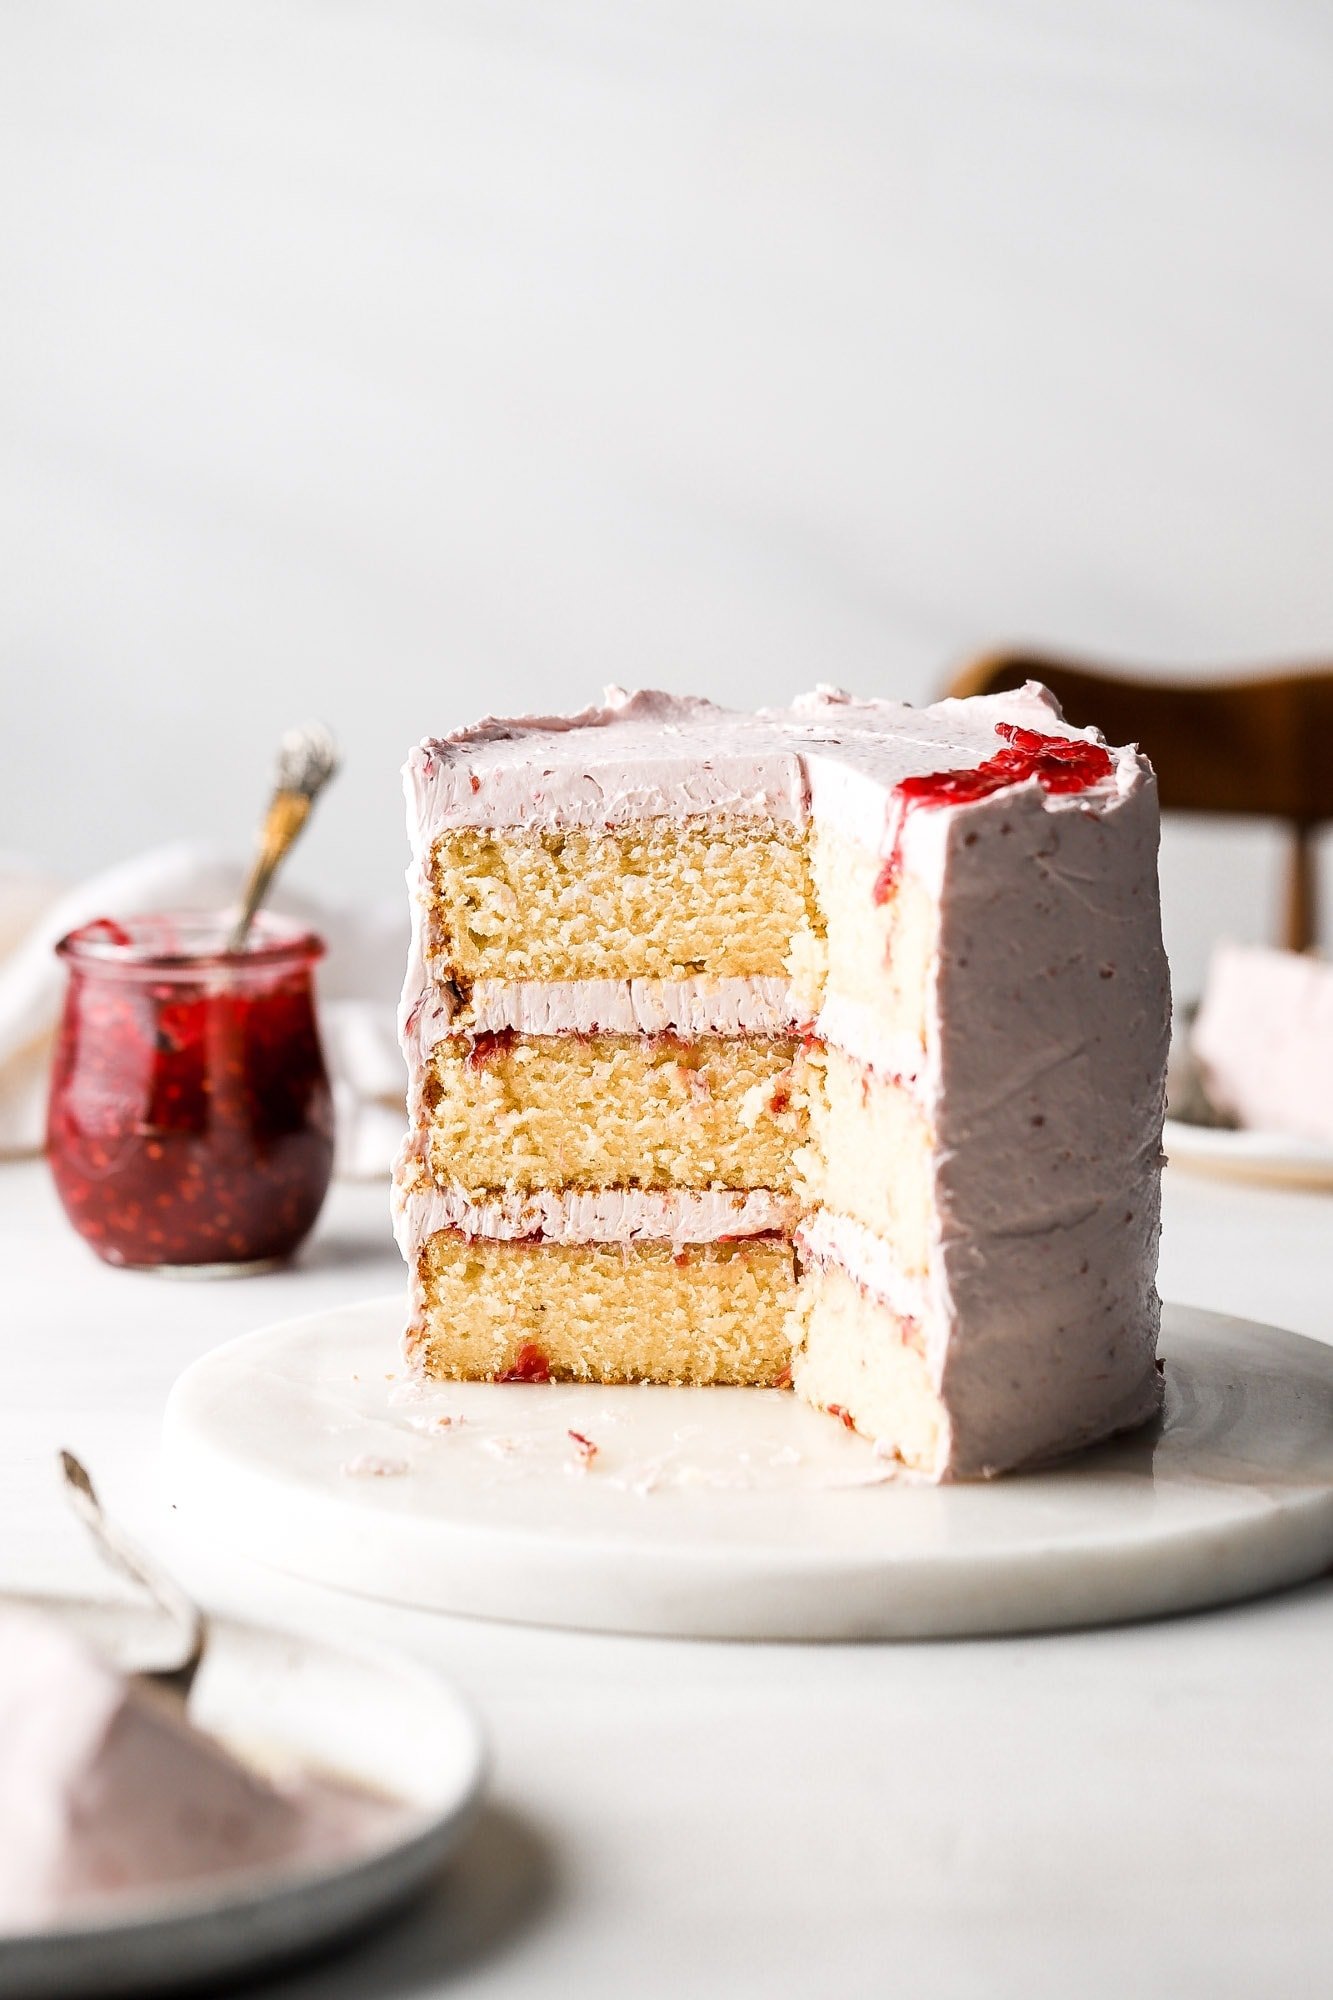
If you like chocolate and raspberry, I have a dark chocolate raspberry cake as well and I think you’ll love also love my almond raspberry cake.
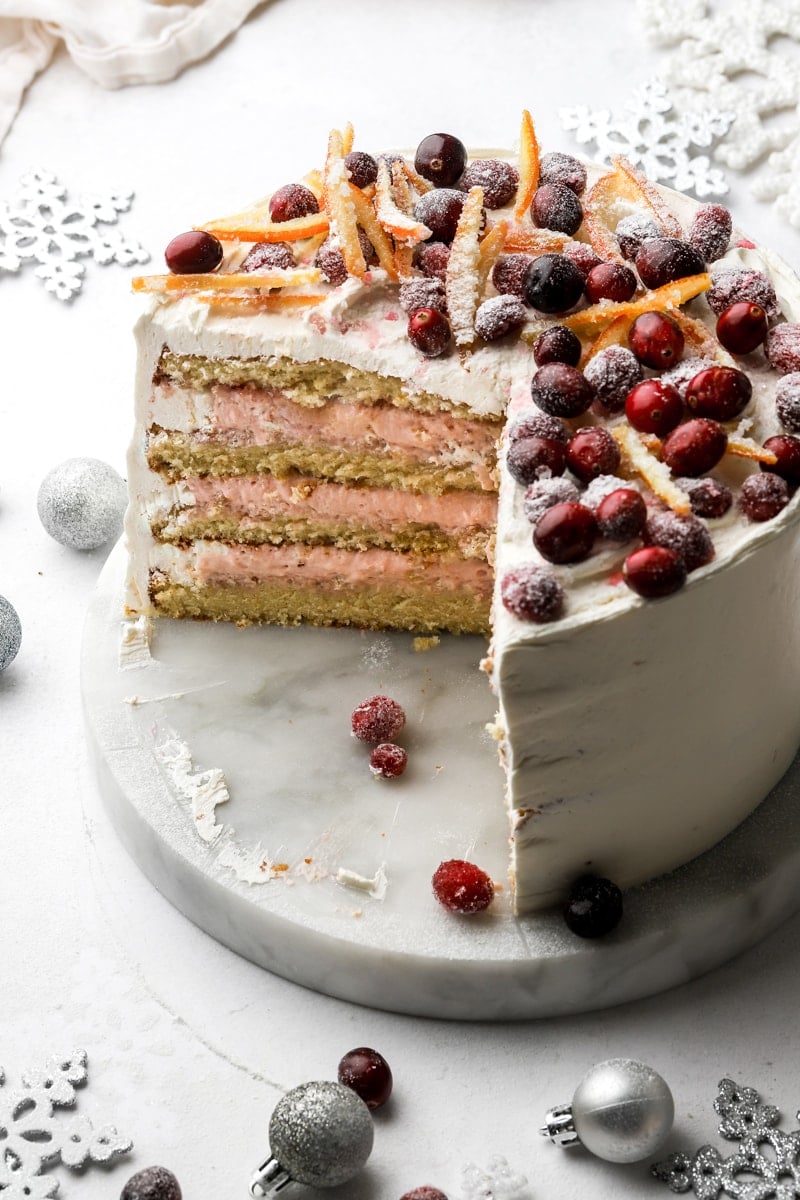
For all my white chocolate lovers, I recommend trying my strawberry white chocolate cookies, white chocolate raspberry macarons, raspberry white chocolate muffins and white chocolate raspberry cheesecake ice cream!
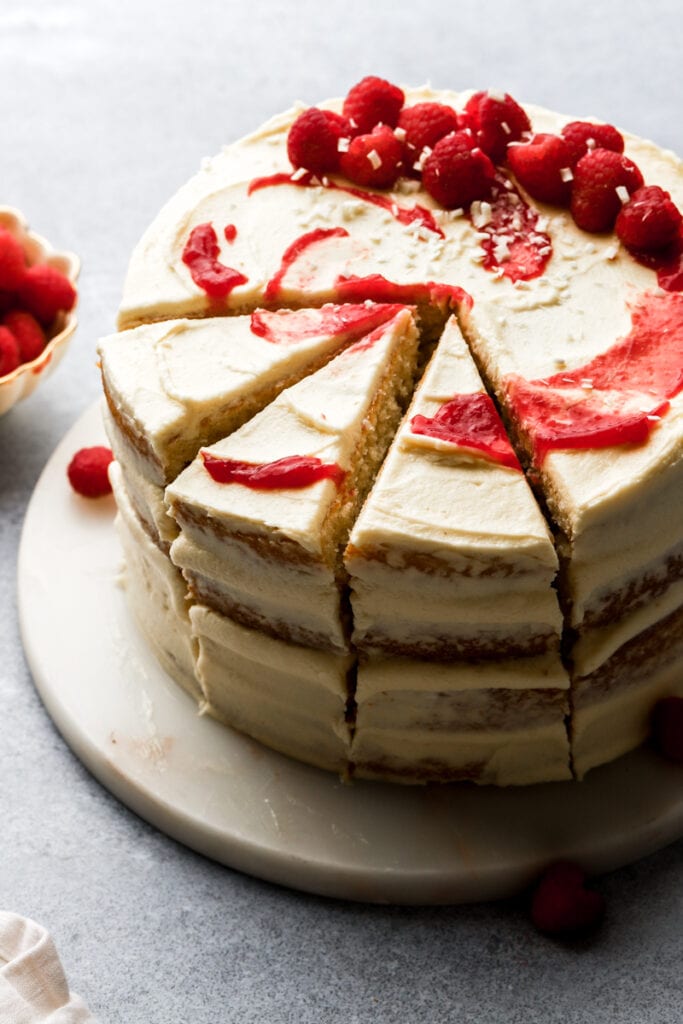
Ingredients & Substitutions
- Flour: I use all purpose flour in most of my recipes and I HIGHLY recommend using a digital scale, as flour is so often over measured.
- Baking Powder: I used just baking powder here because it’s more widely available. You can replace it with ¾ tsp of baking soda.
- Sugar: I used granulated sugar in the cake, buttercream and raspberry filling and I don’t recommend cutting any out as it affects the texture and the flavor of the cake.
- Butter: I used unsalted butter for the cake and buttercream. You can also use salted in the cake but I don’t recommend it for the buttercream. Make sure the butter is at room temperature but not soft and greasy.
- Dairy free butter also works.
- Oil: I use canola oil but any type of neutral oil works well.
- Eggs: make sure to use room temperature, large eggs, about 50-60 grams each (weight is without shell lol).
- Pop them in hot water for a few minutes if they’re cold.
- Sour Cream: My favorite combination for cakes is half sour cream and half milk. If you’re in a pinch, greek yogurt or plain unsweetened yogurt works as well. Full-fat is best.
- Milk: I generally use 2% or full-fat milk but any milk works, even dairy free.
- White Chocolate: I like to use white chocolate chips for buttercream but a chopped white chocolate bar will work as well.
- Raspberry: I used fresh raspberries for this cake filling. You can also use frozen raspberries and no need to thaw them.
- Cornstarch: this will help thicken the filling so it’s not super runny.
- Lemon: I always like to add a little lemon juice to my jams for a sharper flavor.
Step-by-Step Instructions
Step 1: Start by creaming the butter with the sugar for a couple of minutes and then add the oil and beat for another couple of minutes until it’s pale.
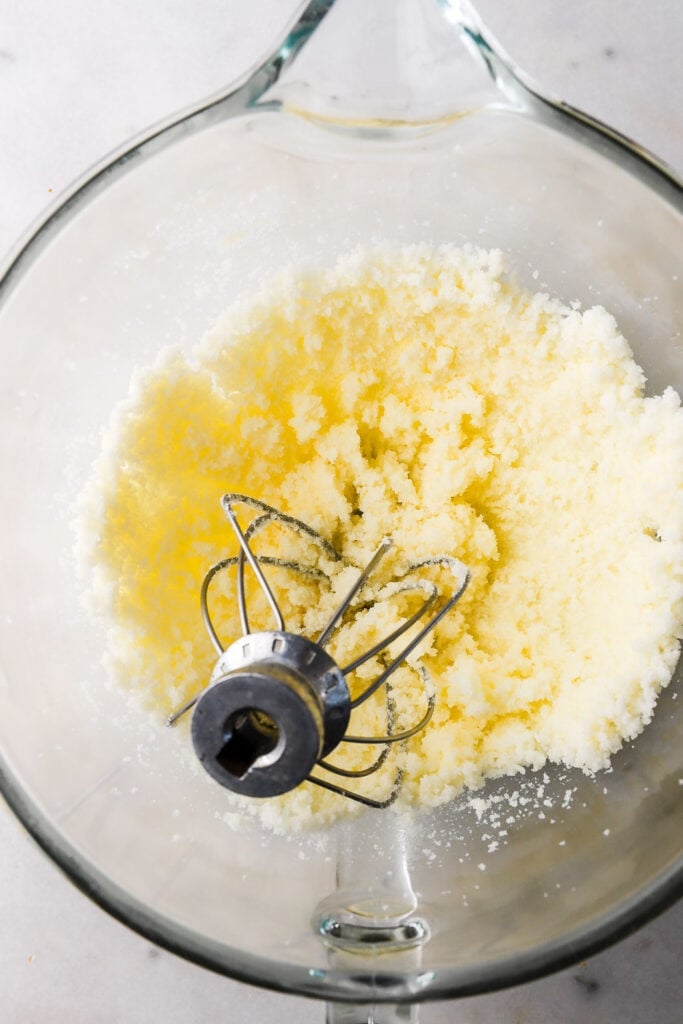
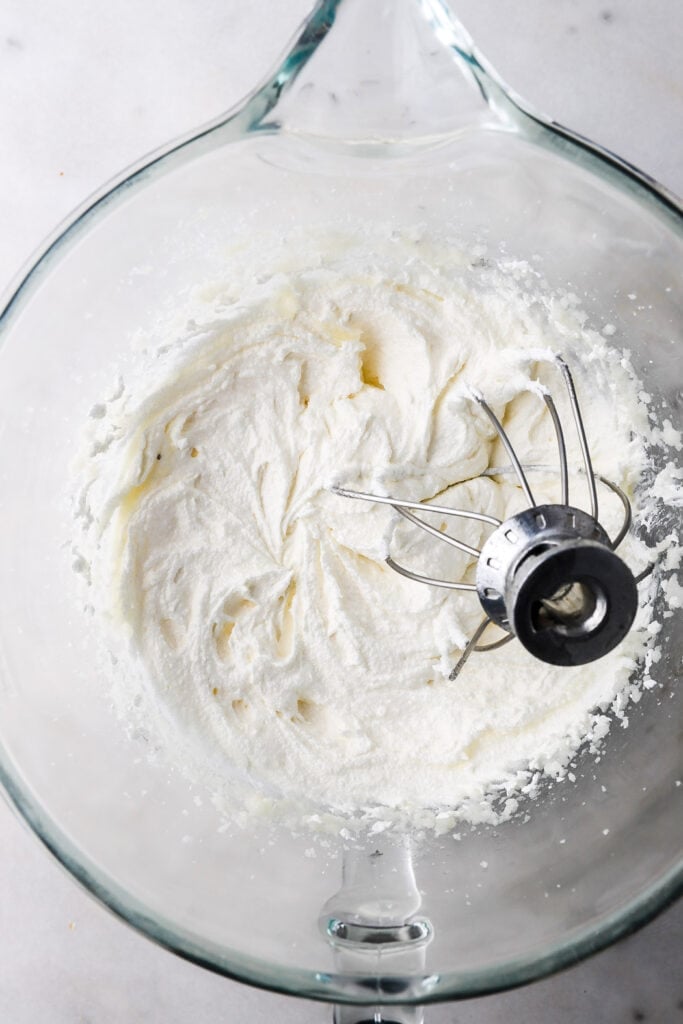
Step 2: Add the eggs, one at a time and beat at medium-high speed for about a minute, until each one is fully incorporated.
Step 3: Add the sour cream and vanilla and mix just until they’re fully incorporated.
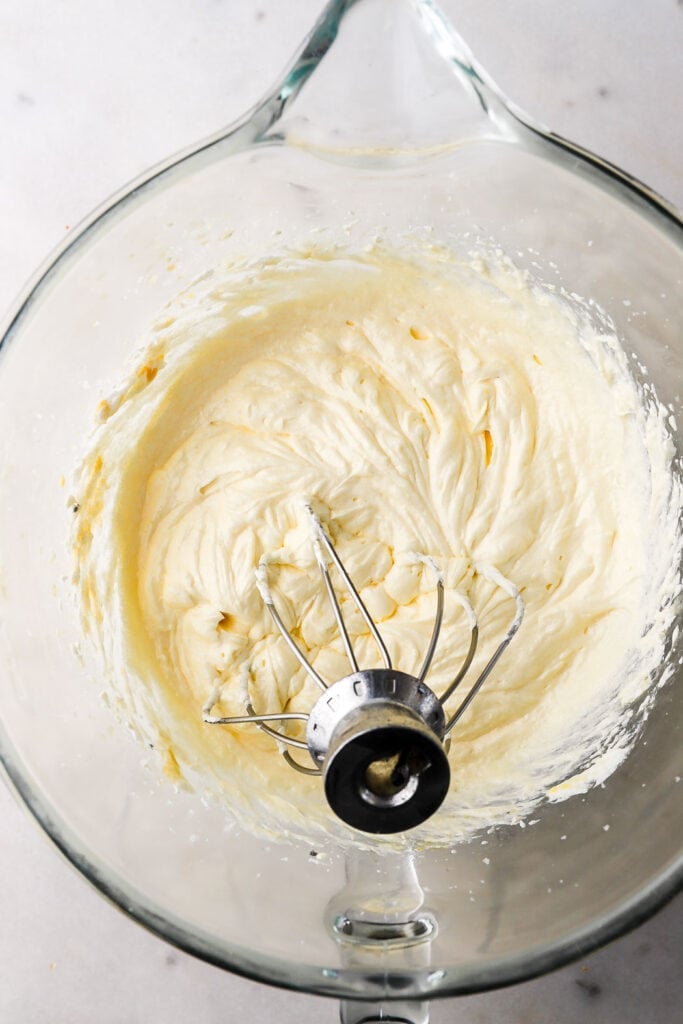
Step 4: Add half of the dry ingredients, stream in the milk followed by the other half of the dry ingredients, mixing just until the last streak of flour is combined.
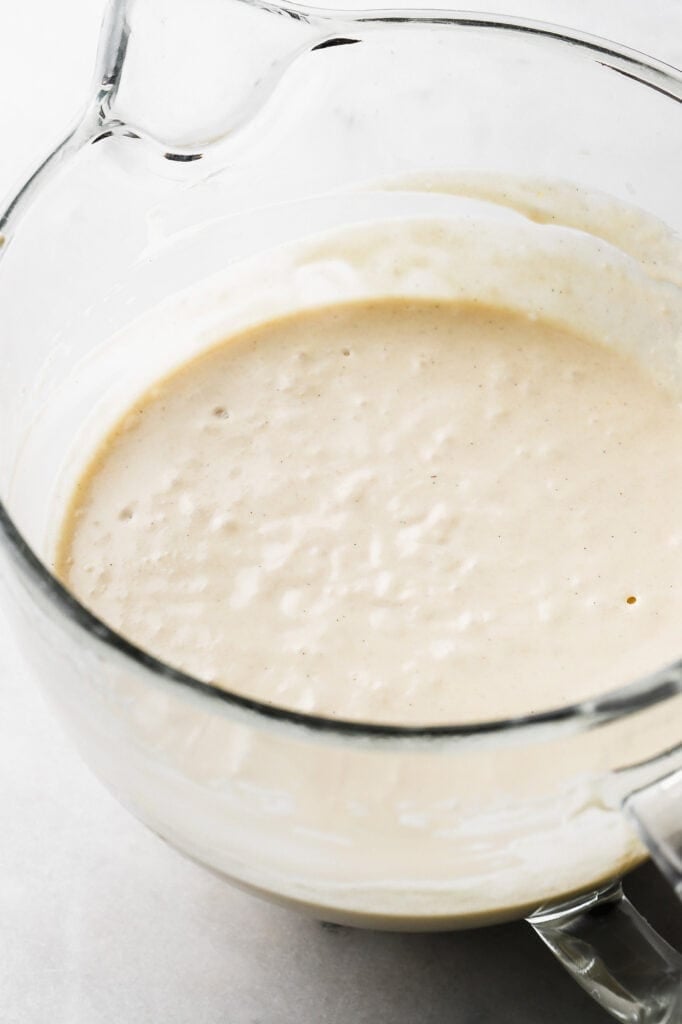
Step 5: Distribute evenly into four greased pans, about 13-14 ounces in each.
Step 6: Bake for about 25-ish minutes. When the cake is done baking, it will release itself from the edge of the pan and spring back when you press on the center. Flip the cakes over onto a cooling rack or a tea towel right away. Allow them to cool upside down until they’re room temperature.
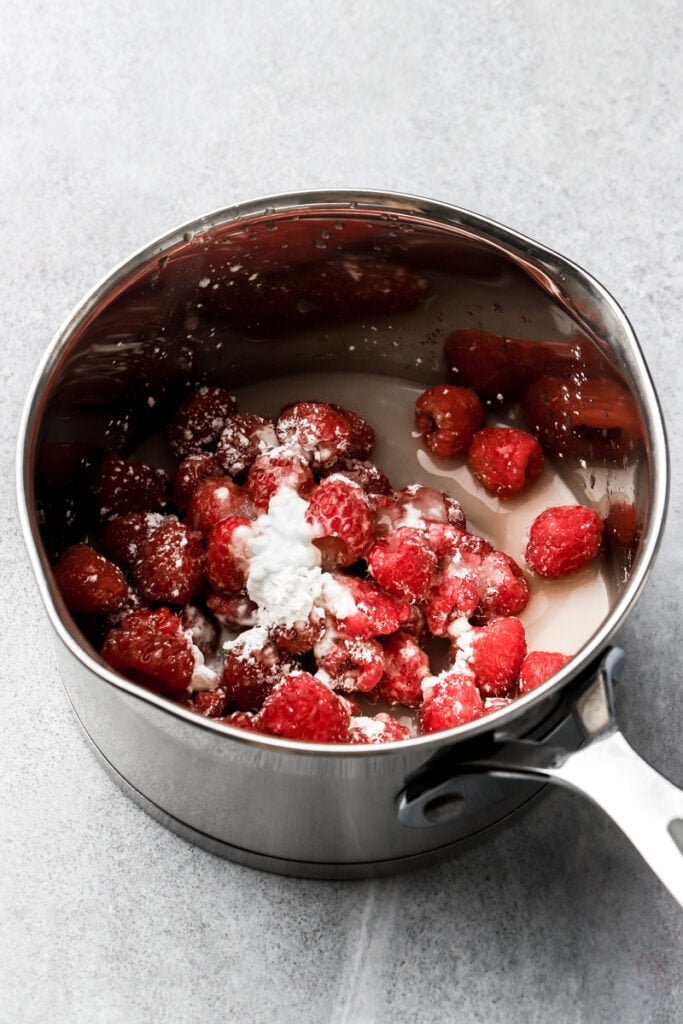
Step 7: Make the raspberry cake filling by cooking the raspberries with the sugar, cornstarch, lemon juice and salt until it thickens like a jam. The cornstarch will make the mixture look cloudy at first but as it activates it becomes transparent. I cook it to 210F (99C).
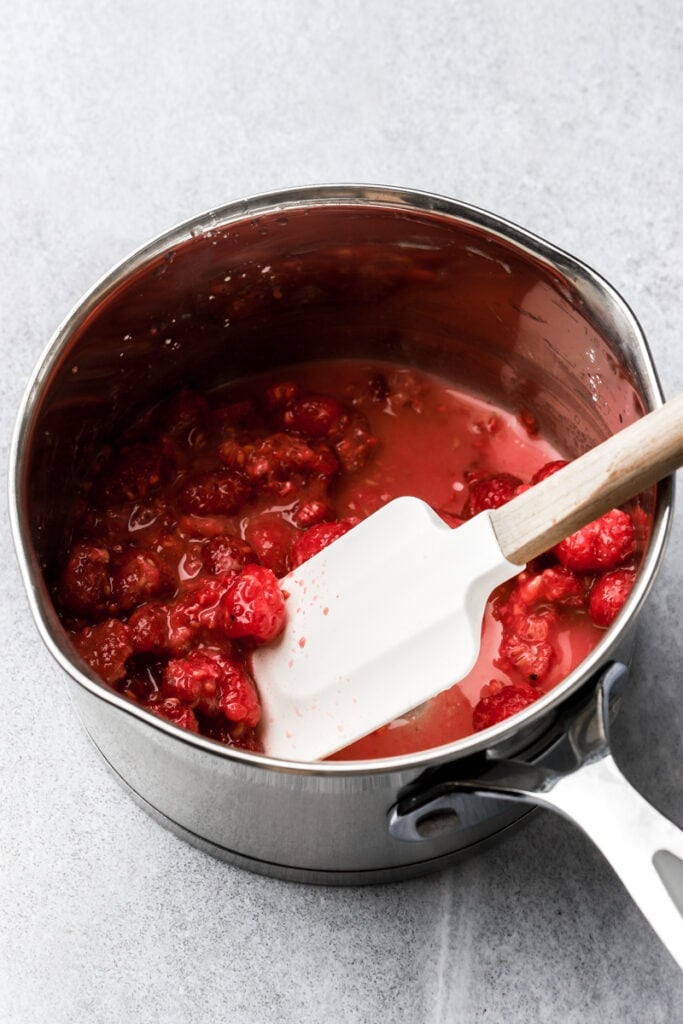
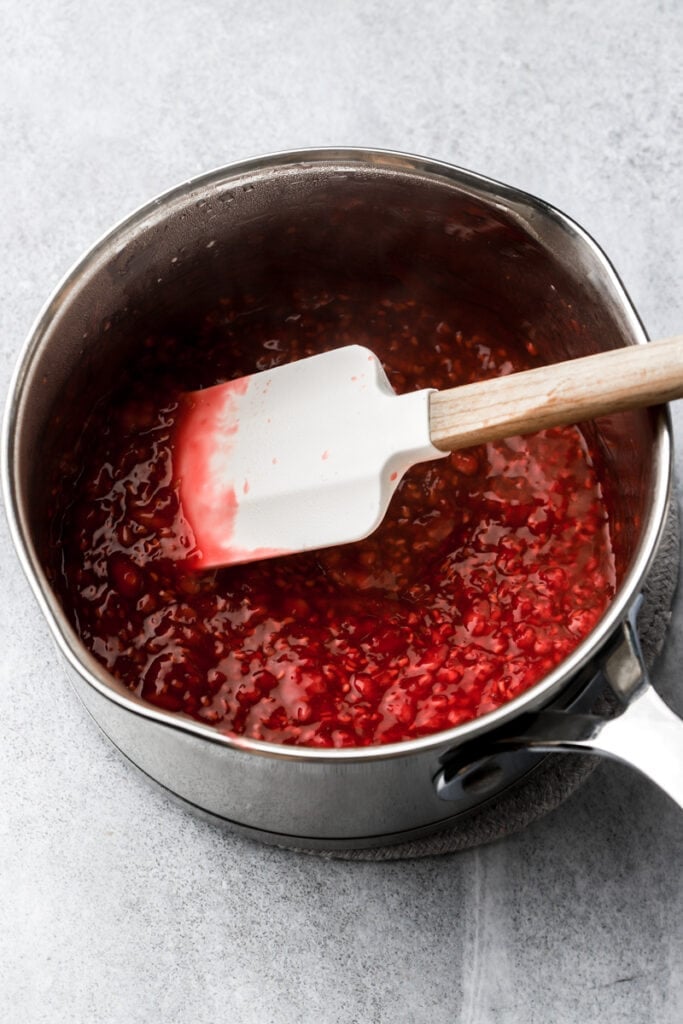
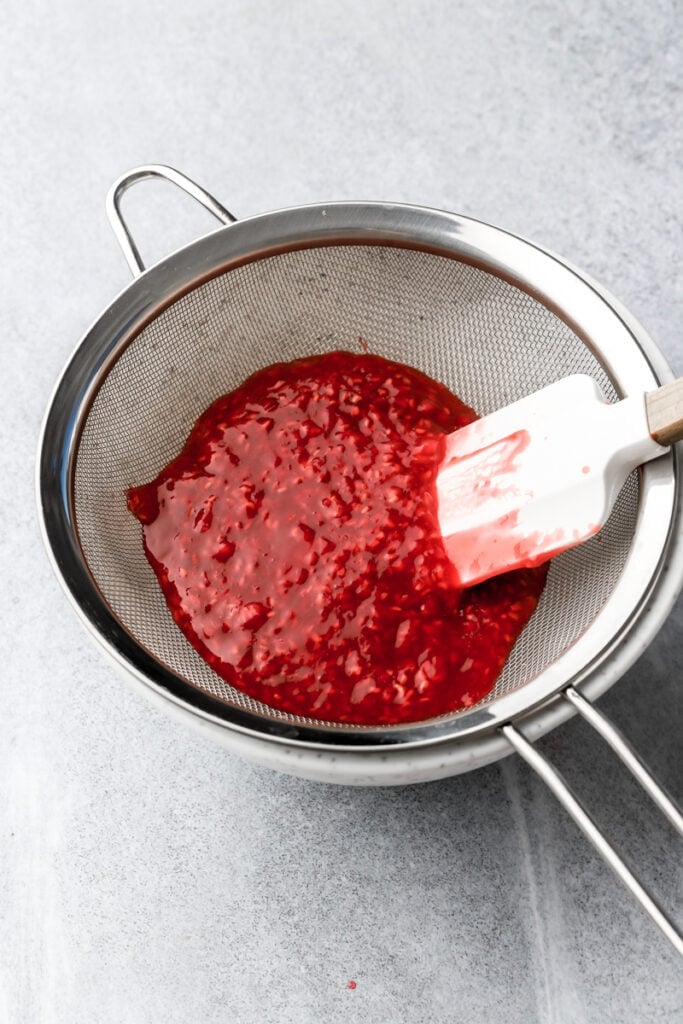
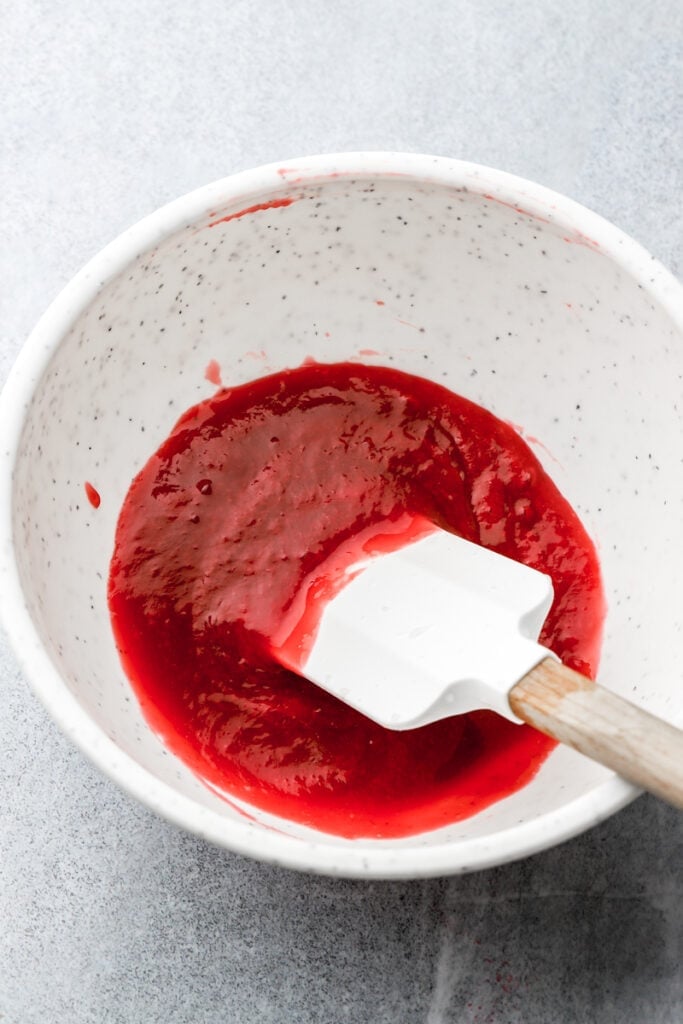
Step 8: If you want it seedless, remove from the heat and press it through a sieve to strain the seeds out. If you don’t mind the seeds, use as is. Cool completely to room temperature before assembling the cake.
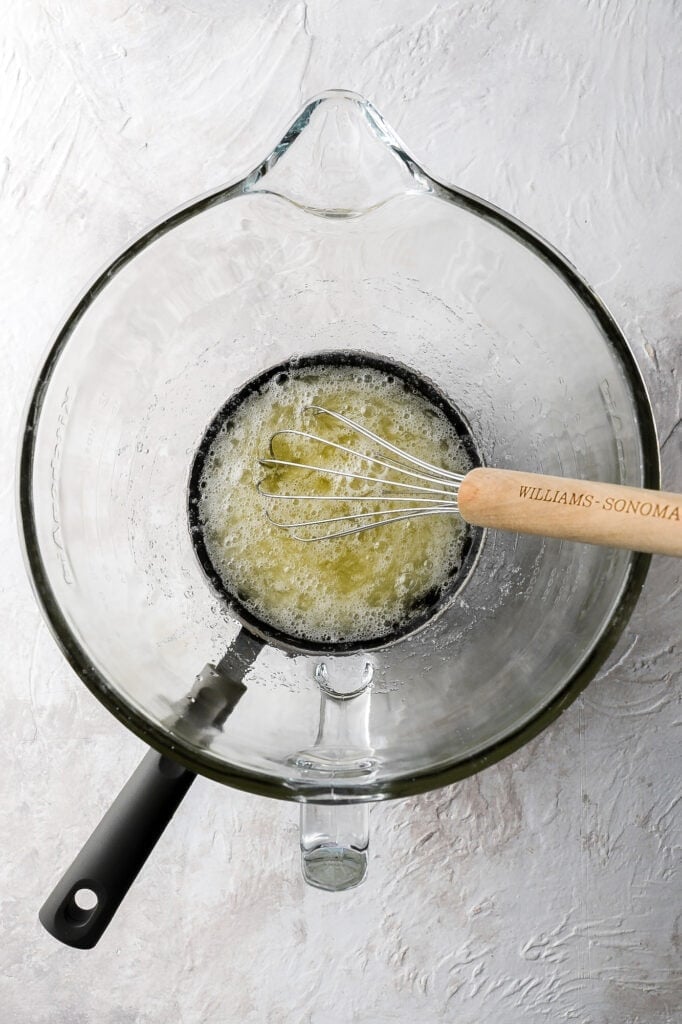
Step 9: Make the Swiss meringue buttercream by gently cooking the egg whites and sugar over a double boiler until all the sugar is dissolved. Whip the eggs and sugar at full speed for 5-10 minutes until they’re fluffy, have reached stiff peaks and are no longer warm.
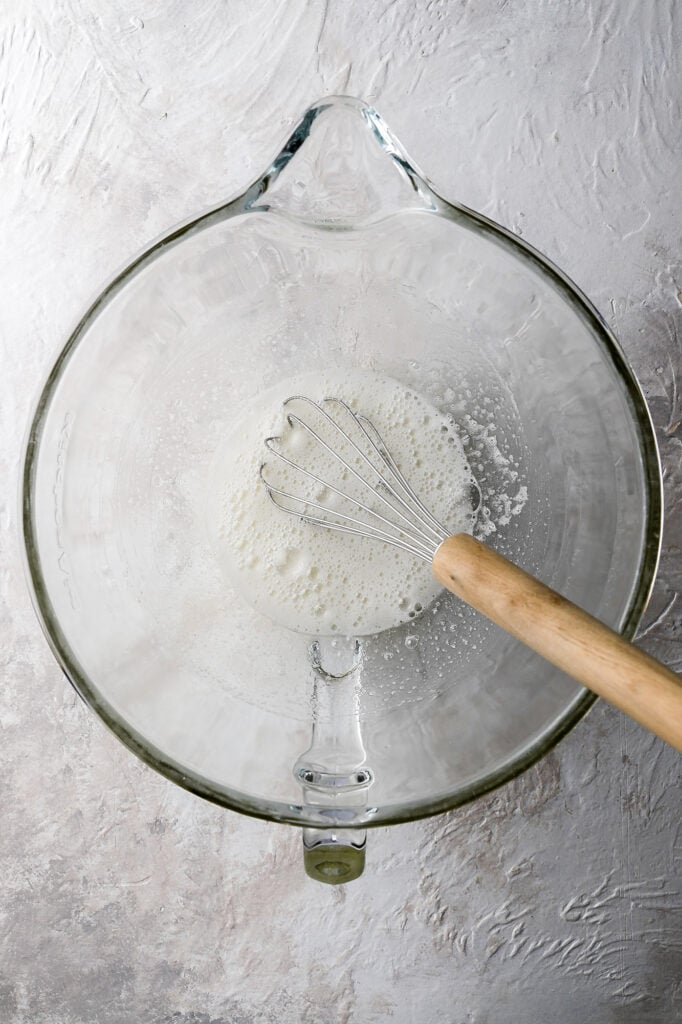
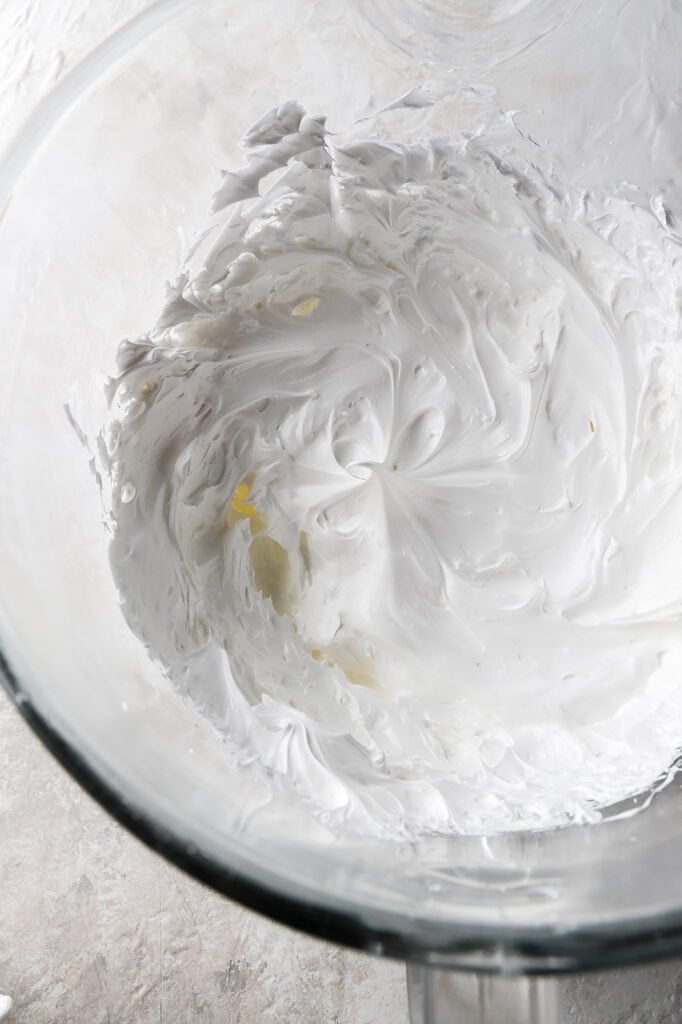
Step 10: Reduce the mixer to medium speed and add the butter in 2 Tbsp at a time, waiting for each chunk to incorporate before adding the next. Turn the mixer to full speed and beat until the buttercream comes together.
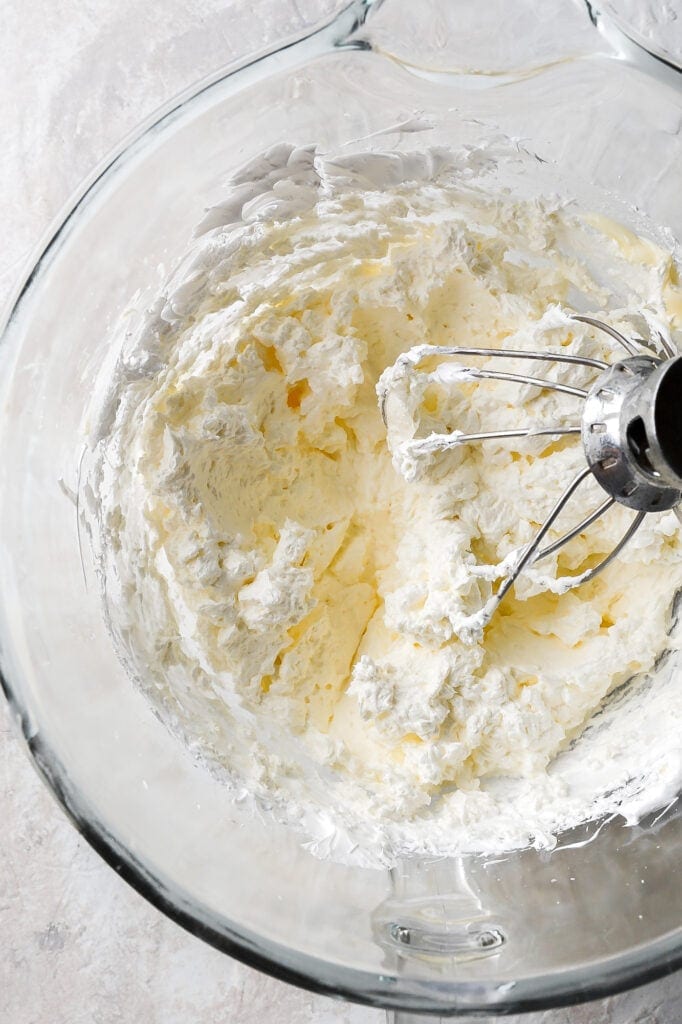
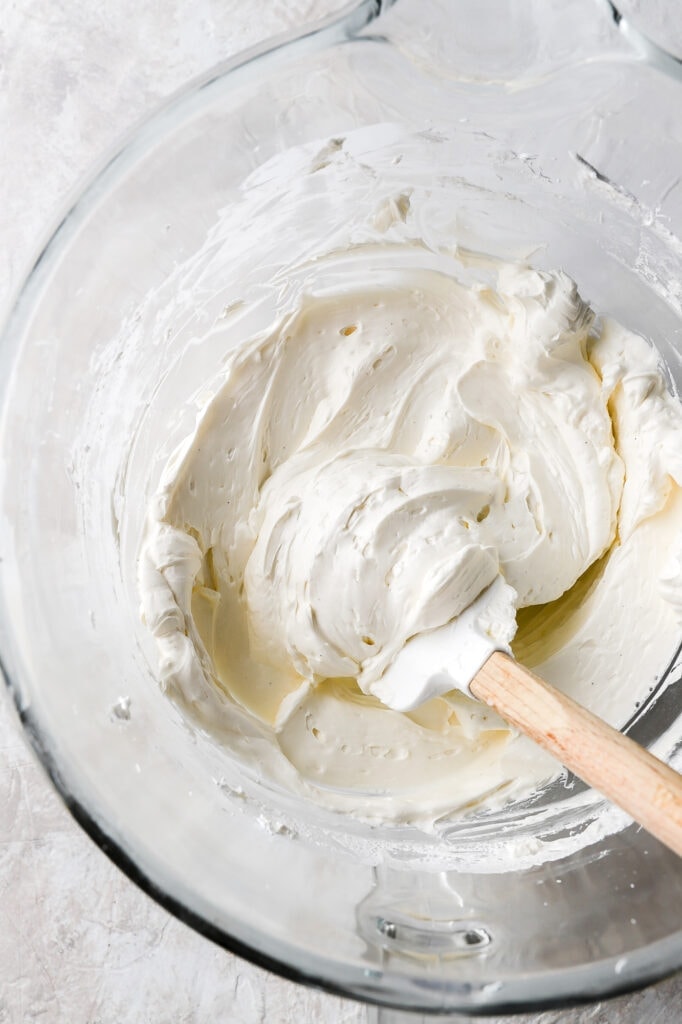
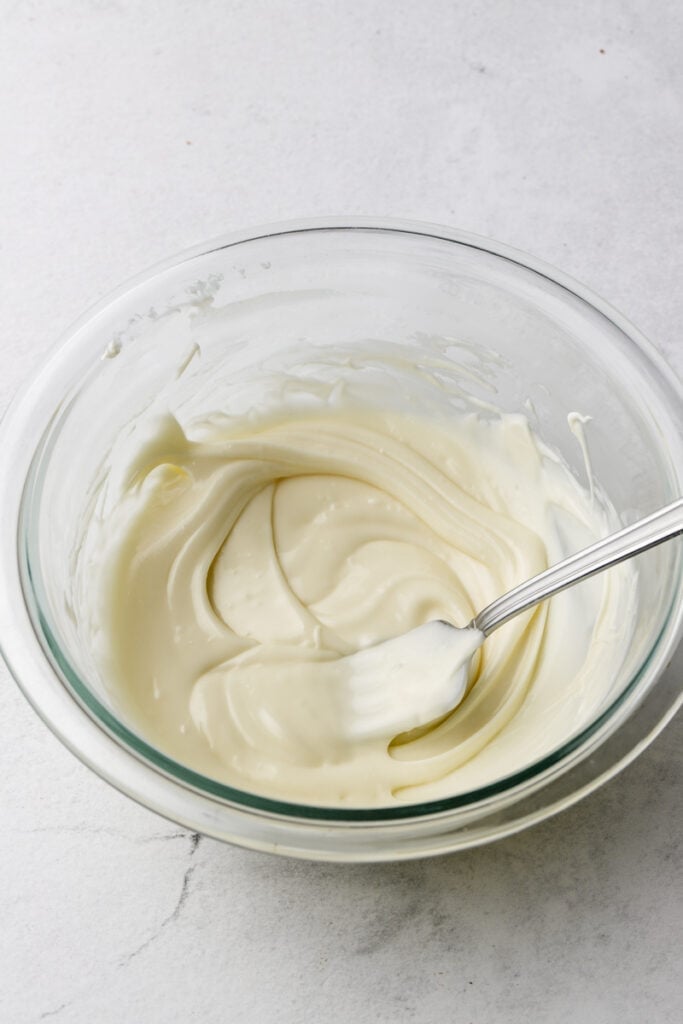
Step 11: Meanwhile, gently heat the white chocolate in the microwave for 15 second intervals, stirring between each interval, just until it’s melted and smooth. Cool for 5-10 minutes before adding the buttercream.
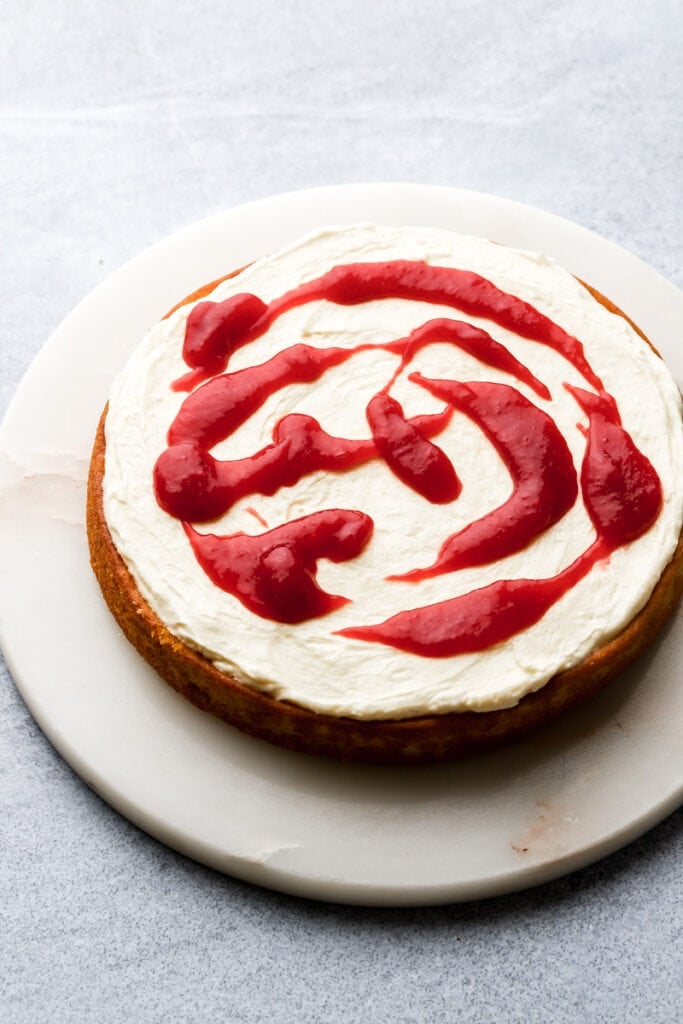
Step 12: Layer the cake with the white chocolate buttercream and swirl in some raspberry filling into each layer of buttercream.
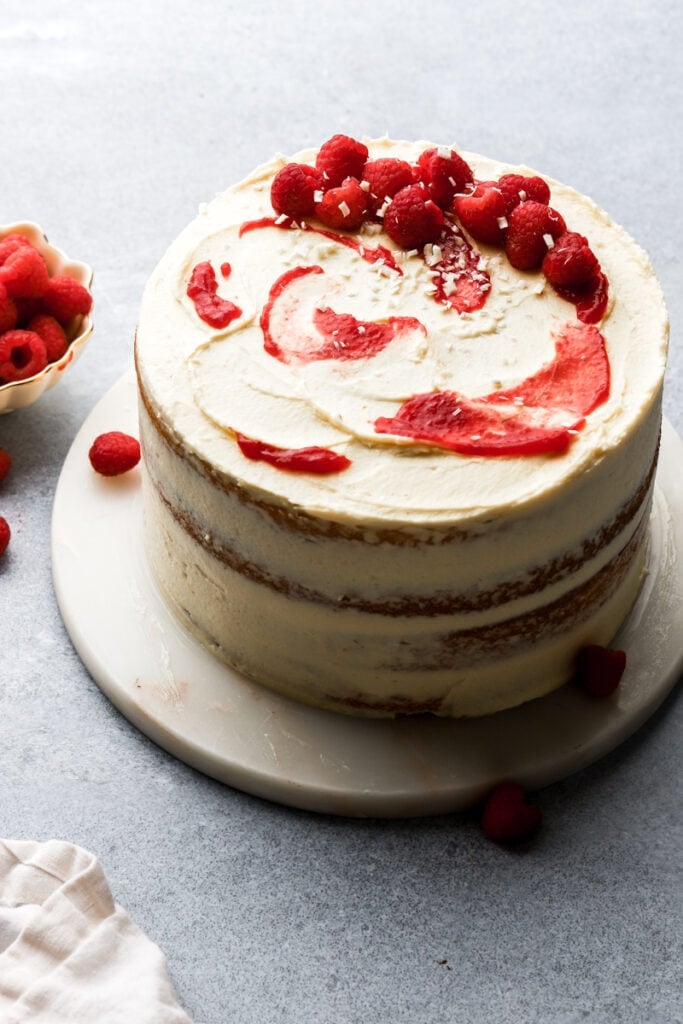
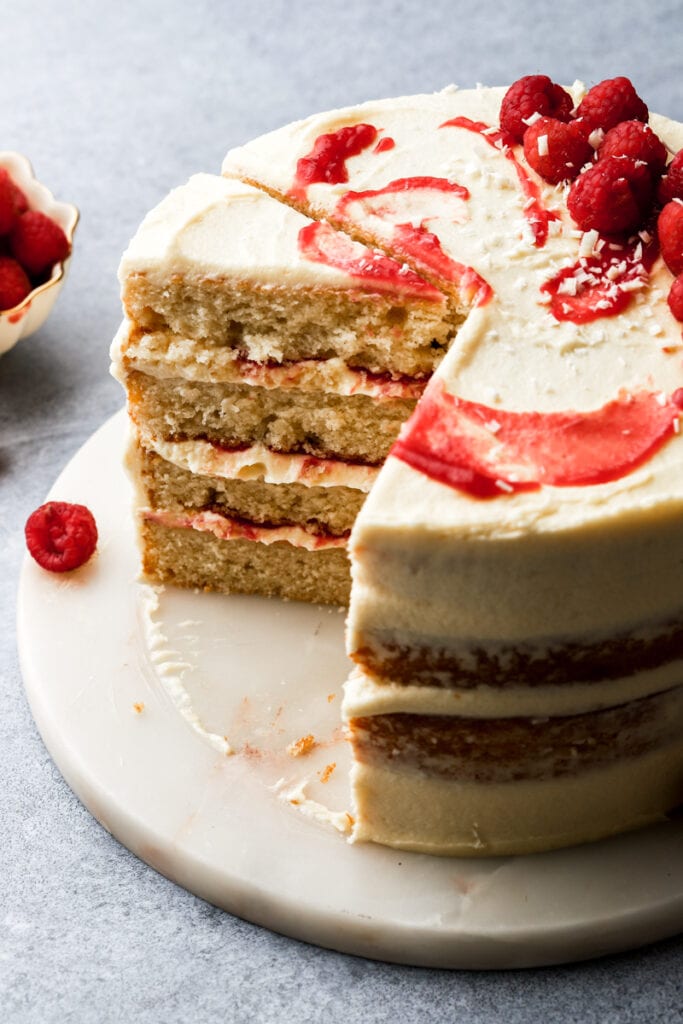
Step 12: Refrigerate the cake for 15-30 minutes and frost the outside, creating swirls of buttercream on top. Then swirl in some more raspberry sauce and top with fresh raspberries and white chocolate shavings.
Other Buttercream Options:
I chose Swiss meringue buttercream because I wanted a really fluffy and silky texture and I wanted a white buttercream to look like white chocolate (despise the photos still looking kind of yellowish lol). If you have any issues, make sure to check out that blog post for any trouble shooting tips.
Some other white frosting options without any eggs (I know they’re hard to come by nowadays) are Ermine Buttercream (boiled milk frosting), Cream Cheese Frosting, or American buttercream.
To help brighten the color
- make sure to whip the butter for 5-10 minutes, scraping the edge of the bowl every few minutes. This will significantly lighten the color of the butter.
- Using cheaper, low quality butter is much more pale in color than butters like Kerry Gold (granted they don’t taste as good lol).
- Using half or all shortening instead of butter will make the whitest color because there’s no yellow hue like butter (which certainly won’t taste better than butter).
- Add vanilla beans to the buttercream – the black speckles will give it a cool toned perception but it’ll be speckled up close.
- Add a TINY drop of purple food coloring to cool down the hue.
If you just want to use whole eggs, you can download the guide below to get my whole egg buttercream recipe below or adapt it from my chocolate peanut butter cake (just add white chocolate instead of peanut butter and brown butter).
Frequently Asked Questions
You can use dairy free butter, sour cream/yogurt, milk to make any of my cakes. You can also use dairy free butter and white chocolate to make the buttercream.
All my cake recipes work well with a 1:1 gluten-free flour like Bob’s Red Mill and King Arthur Flour.
You can make this cake in:
To make a six inch cake, follow my 6 inch vanilla cake recipe and then just use this idea of white chocolate buttercream with raspberry sauce.
Three (or four) round or square 8 inch baking pan
Two (or three) round or square 9 inch baking pan (will be thinner than the cakes in the photo) – reduce bake time by 5-10 minutes
A 9×13 inch pan – increase bake time by at least 10-15 minutes, look for cues – frosted with white chocolate buttercream and dollop swirls of raspberry filling on top.
Cupcakes – use my vanilla cupcake recipe and fill cupcakes with raspberry filling and frost with white chocolate buttercream.
Just like all the rest of my cakes, I test if it’s done baking by pressing gently on the tallest part of the cake. The cake will spring back if it’s done baking. If it stays indented, give it a few minutes in the oven, before testing again.
You can also insert a toothpick into the center of the cake (the tallest part) and make sure it comes out clean or with a few crumbs but without any batter on it.
You can double the recipe for the buttercream if you want to decorate the outside more than I did. I had just enough to cover the cake.
How to make ahead
To make the cake ahead of time you can make the cakes even a few weeks in advance. When you remove them from the oven, let them cool for about half an hour and then wrap them individually in plastic wrap. Then place them in a freezer bag, squeezing out all the excess air.
You can frost them while they’re frozen but the buttercream may start to set so you’d have to work quickly. It’s best to let them sit out at least 30 minutes before frosting.
To make the buttercream ahead of time: You can make the buttercream 1-2 days in advance and stored at room temperature or even weeks in advance and refrigerated/frozen in an airtight container/bag. Thaw before frosting and you may need to re-whip.
The raspberry filling can be made even a week in advance and stored covered in the refrigerator for 1-2 weeks.
How to store finished cake
I usually just cover my cakes with a cake dome or place it in an airtight container and store it at room temperature for 1-2 days.
It’ll stay well covered in the fridge for 4-7 days but it dries out quicker than the freezer so I recommend freezing after 2-3 days.
To freeze the whole cake, refrigerate it until it’s firm. Then wrap it in plastic wrap so it’s completely covered. Then wrap it in aluminum foil and freeze.
To freeze slices, place the slices in an airtight container and then place the container in a freezer bag, squeezing out all the excess air or do the above with each individual slice.
Bring it back to room temperature by thawing at room temperature for a few hours before serving.
Thanks so much for reading today’s post, if you have any questions just comment down below. Make sure to leave it in the comment section because I can’t answer in the rating section.
If you make this gorgeous white chocolate raspberry cake, I’d love it if you left a star rating for me. If it’s less than five stars, please let me know why! 🙂
As always, have a blessed day and happy baking!
Love, B

Hi, i have self rising flour with bi carb as the levening agent, can we use it as 1 to 1 substitute for the all purpose flour?
Hi I have not tried it but if you do, I would leave out the extra leavening agents!
Thanks! Also can you tell how much to increase the quantity for a four layer 9 inch cake? Just for some bigger crowds?im planning to make it as a gift for a couple throwing a dinner party, would like a big cake! I love your recipes!
I would just use the 10 inch cake as the base then and double the frosting!
I would probably do 1.5x the raspberry filling though.
You can bake the 10 inch cake in 9 inch pans too
https://baranbakery.com/vanilla-10-inch-cake/
Is there a ten inch cake recipe for this? I cant seem to navigate
https://baranbakery.com/vanilla-10-inch-cake/
It’s the vanilla cake, the same with just different frosting/filling
Thanks!
Do you know what the measurements would be for a 3 layer 6 inch cake? Or even 4 layer? I see there is a recipe for chocolate raspberry cake and it has 6 inches, but I would really like to make white chocolate version. I am trying to make a cake like this but a little smaller than 4 layer 8 inch cake!
You can follow the same instructions and use my 6 inch vanilla cake!
I would love to make this for my friend who’s two favourite things are white chocolate and raspberries. I only have 1 springform pan and wonder if I could bake this in 3 segments or if that’s a bit too long for the batter to sit out. Would the baking powder not be as active for the third cake? Assuming the first two would take 25 mins each.
I think it would be fine but I haven’t tested it in three rounds. You could do two rounds baking two thicker layers and slicing them in half to make four layers if you want though.
Hiya!
Mine turned out absolutely perfect ? just wondering, I’d the calories stated based on 12 or 16 slices?
So glad you liked it! Unfortunately it’s for 12 slices LOL
Hi there! I am so excited to try this recipe. Can you please clarify one thing? The Vanilla Cake section Instruction #1 says to grease two 8inch pans and then instruction #8 says to distribute the batter amongst 3 pans…which is correct? Thank you!!
Hi Shanice, thank you so much for letting me know, that was just a typo as most of my 8 inch cakes are three layers.
I did four layers (13-14 ounces each), baking just two at time for 25ish minutes.
You could also certainly do 3 layers (18 ounces each) if you wanted for 35ish minutes.
Thank you so much for your response!! I really appreciate it!!
Hi Kira, which part didn’t turn out like the pictures? Did the cakes not bake well?
This amount of frosting is generally used to fully frost a 6 inch cake and this is an 8 inch cake so you can see I only had enough to do a light, semi-naked frost. I don’t know how you would’ve had so much leftover unless you only put a very thin layer on each cake. For the frosting layer, I generally do about half the height of the cake. I hope that helps!