
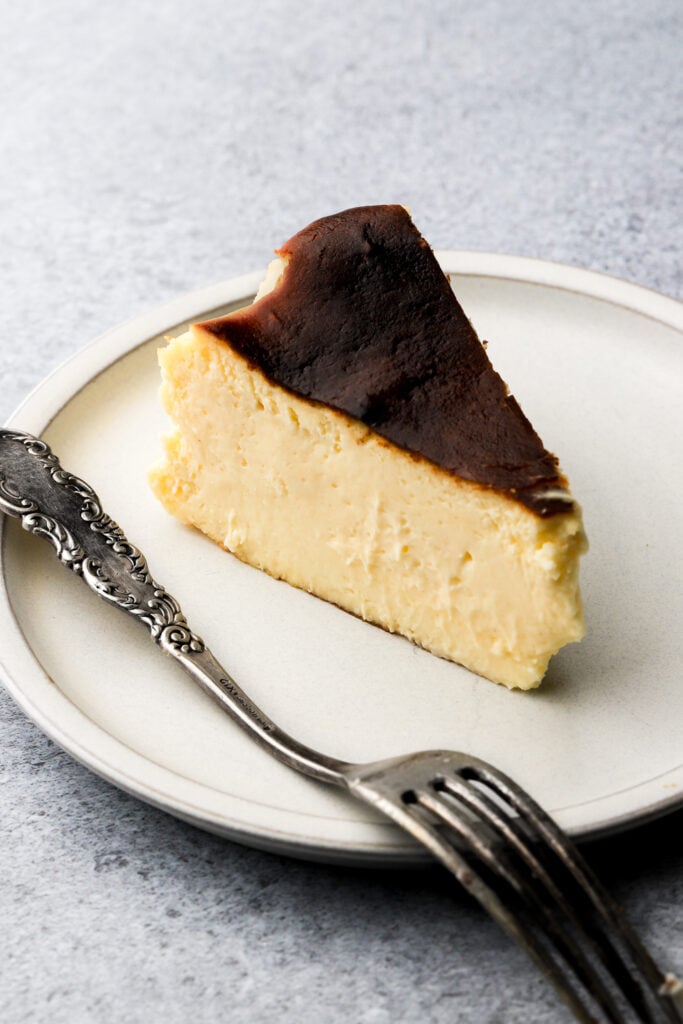
San Sebastian Cheesecake (Burnt Basque Cheesecake)
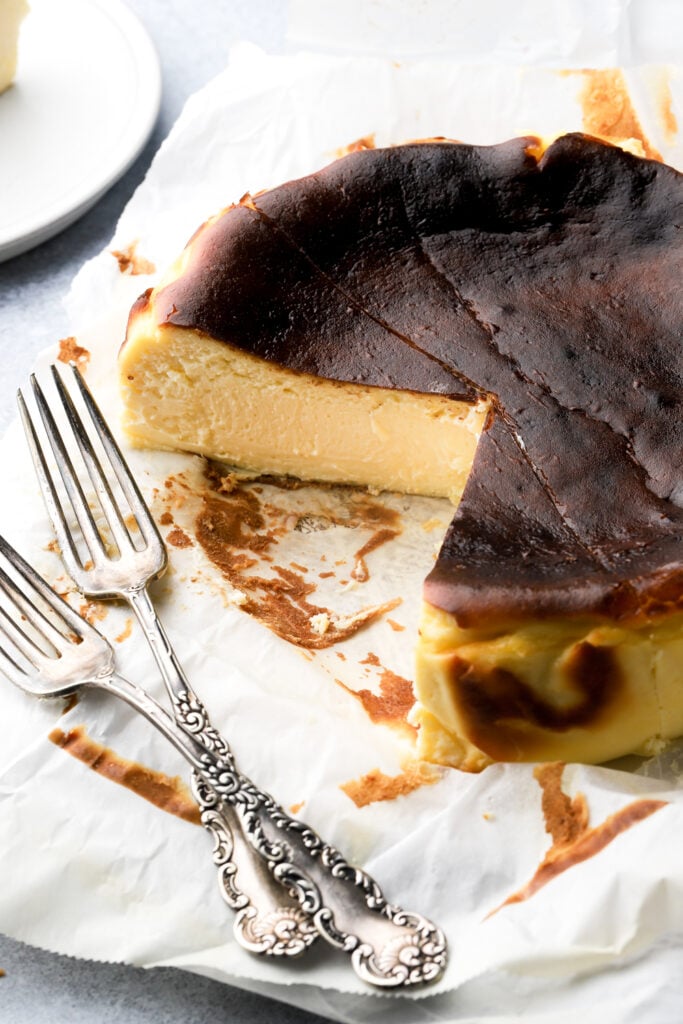
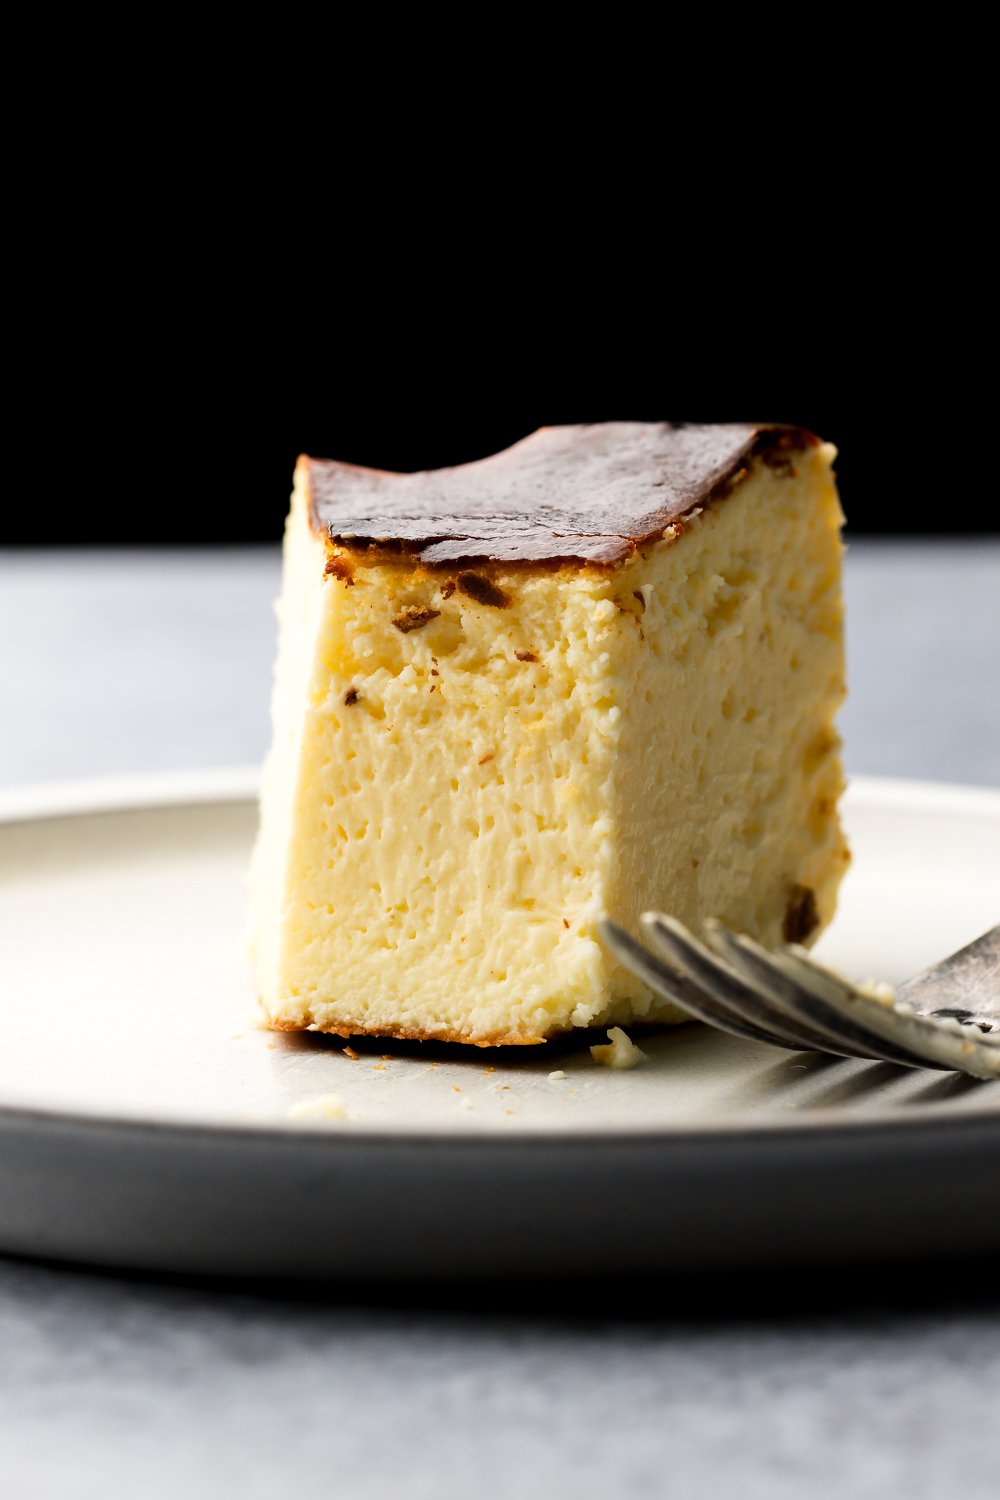
This San Sebastian Cheesecake, also known as a burnt basque cheesecake, is a super easy and no fuss cheesecake recipe known for its unorthodox charred crust and creamy custard-like center.
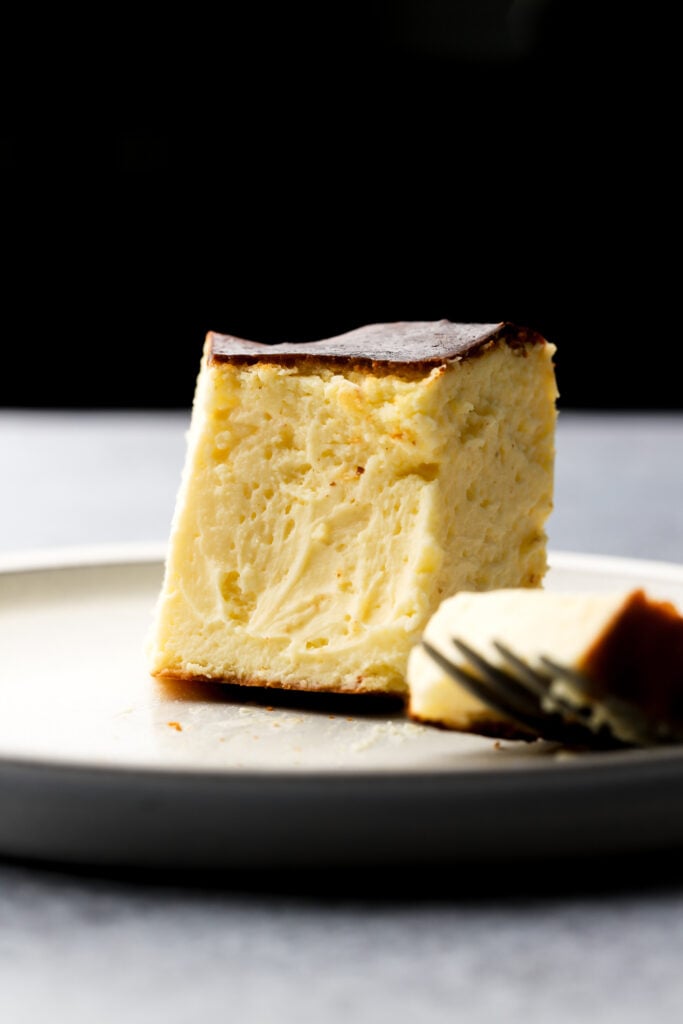
Never would I think that a cheesecake that looks so burnt would be this creamy inside. When I tell you I was STUNNED, I was stunneeedddd.
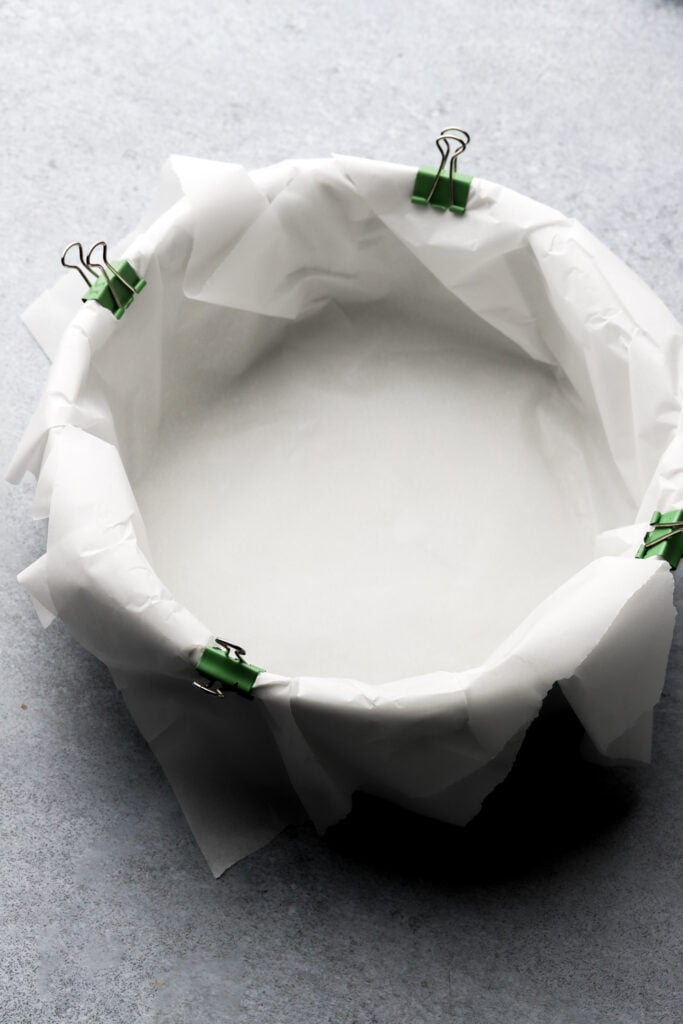
You don’t need a water bath, no springform pan. Just a regular cake pan with some parchment paper and you’re good to go.
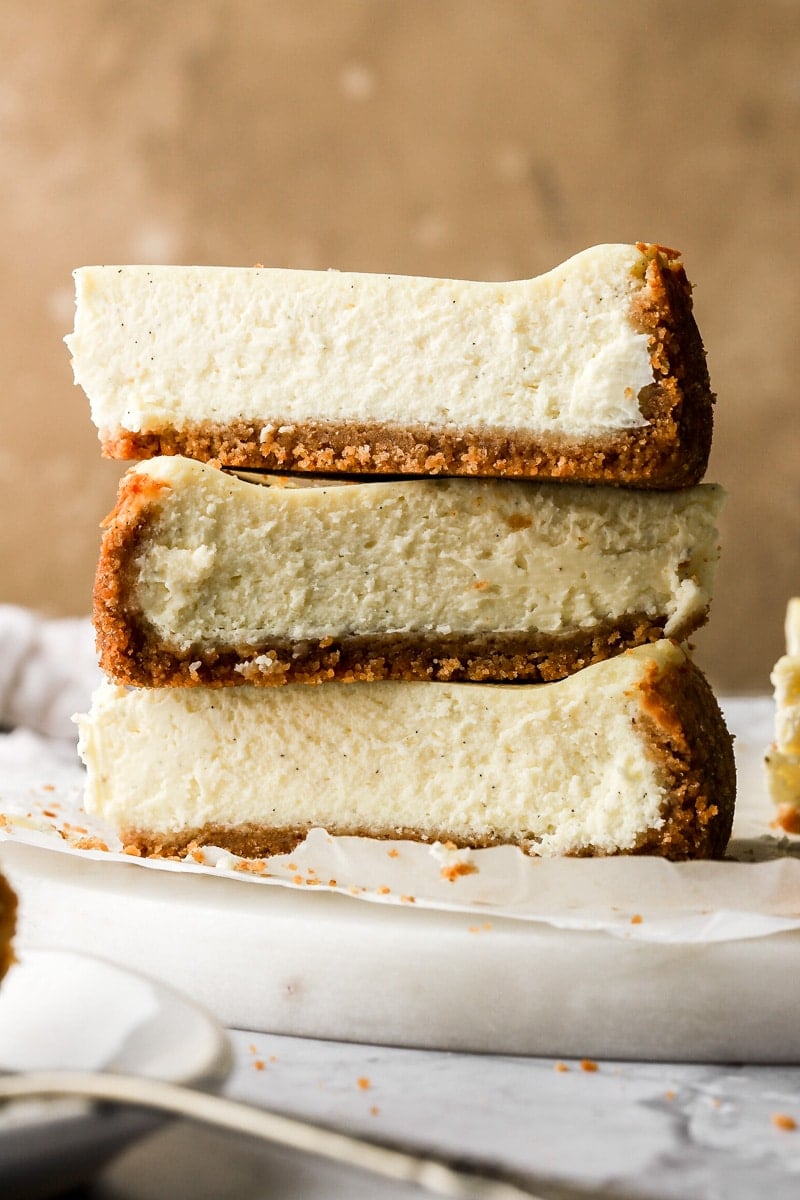
This cheesecake is traditionally topped with melted chocolate. If you want that, I recommend using this chocolate ganache recipe. Chill the cheesecake, slice it and then pour some melted chocolate on top of each slice.
If you’re a cheesecake lover, you HAVE to try this but I think you’ll love my basic vanilla cheesecake that can be made in so many flavors and sizes!
Ingredients & substitutions
*full recipe is in the recipe card at the bottom!
- Cream Cheese: make sure to use the full-fat brick cream cheese. I prefer the Philadelphia brand.
- Sugar: I used granulated sugar and I haven’t tested the recipe with other sugars. I don’t recommend reducing the sugar either as it’s not overly sweet and it may affect the texture.
- Cornstarch: this will help the cheesecake set nice and custardy.
- Vanilla: I recommend vanilla bean paste or actual vanilla beans. If you’re in a pinch, pure vanilla extract works well too.
- Eggs: Use large, room temperature eggs (55-60 grams without the shell).
- If you’re in a pinch, place them in hot water for 5-10 minutes.
- Heavy Whipping Cream: Make sure to bring the heavy whipping cream to room temperature before using it.
- I tried substituting this for milk/sour cream/butter mixtures but it didn’t work well so I recommend sticking to the cream.
TIP: I HIGHLY recommend using a digital scale, as dry ingredients are almost always over measured.
Step-by-Step Instructions
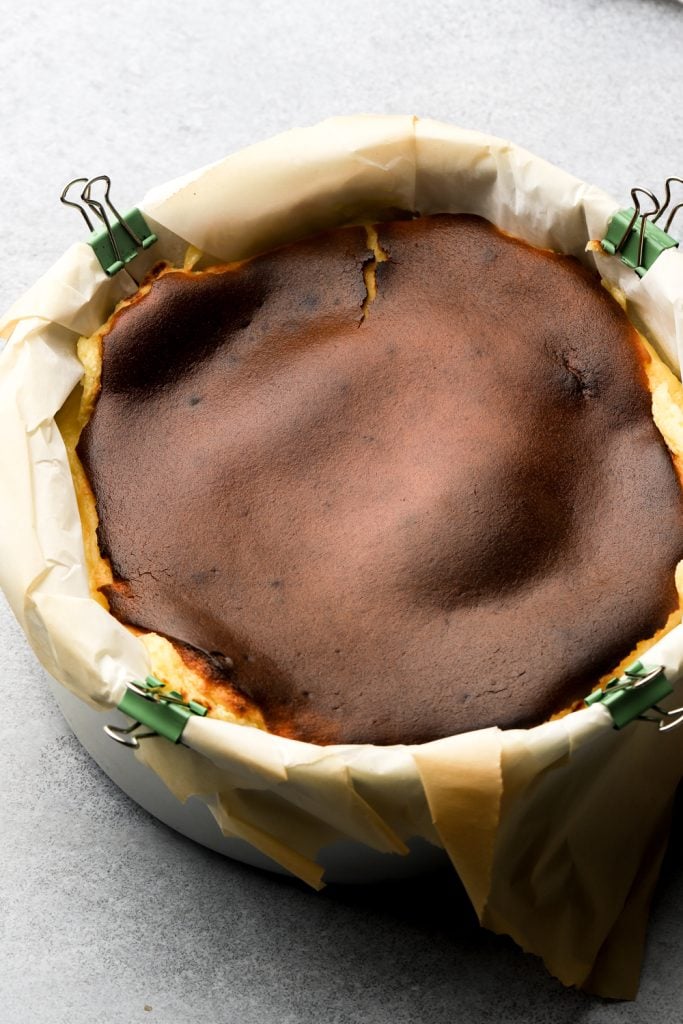
- Prepare your pan by lining it with two large sheets of parchment paper, leaving an overhang off the edge. I like to secure it with four metal binder clips.
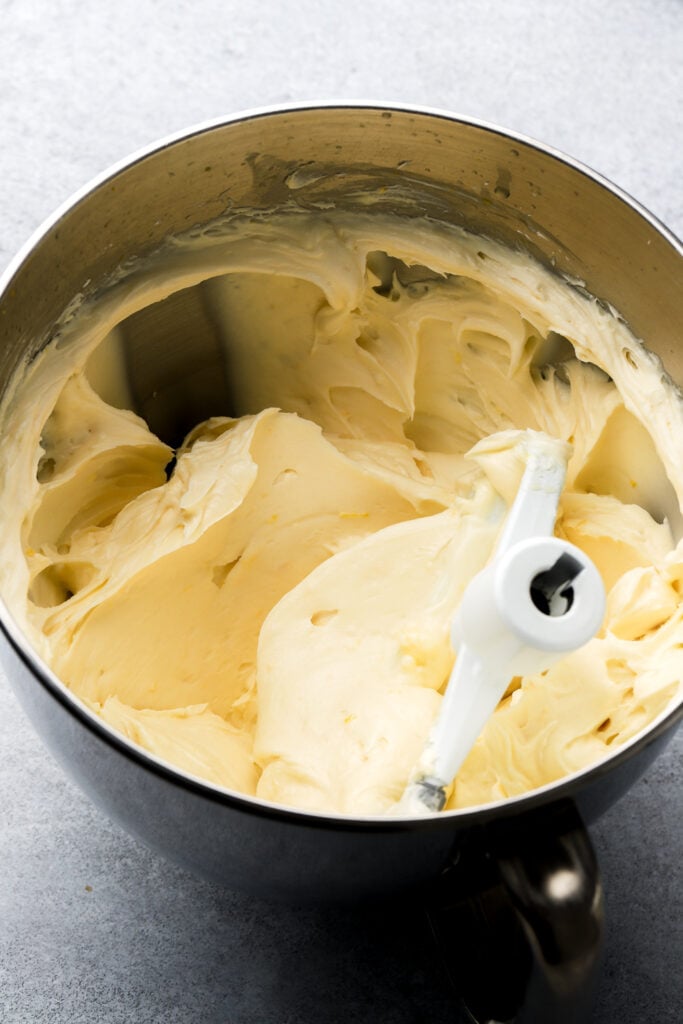
- Combine the cream cheese, sugar, cornstarch and vanilla in a large bowl or the bowl of a stand mixer. Mix on low speed for 2-4 minutes, just until it’s smooth and there are no more chunks of cream cheese. Make sure to scrape the edge and bottom of the bowl every so often.
- Add in the eggs, one at a time, with the mixer running on low speed, allowing each one to incorporate before adding the next. Don’t mix at high speed here because you don’t want to incorporate extra air.
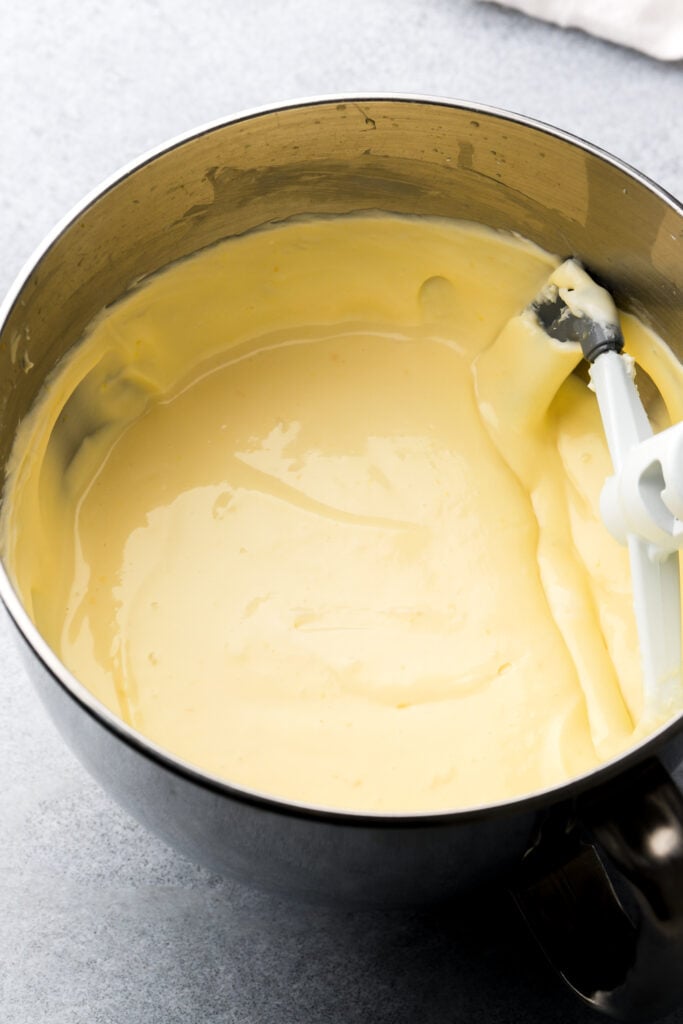
- Stream in the heavy whipping cream while the mixer is still running at low speed. Mix just until it’s all combined. Again, make sure to scrape the bottom and edge of the bowl to get it all mixed in well.
- Pour the batter through a sieve and into the prepared pan. This will ensure that there are no chunks throughout the batter and it will make sure to remove any large air bubbles.
- Bake at 400F (204C) for 45 minutes (if you want the top even darker, feel free to broil it the last 1-2 minutes). Then remove it from the oven and allow it to cool to room temperature.
- Let it cool on the counter for a few hours before transferring to the fridge for at least 4-6 hours or overnight.
Cheesecake should be light-medium brown on top if not broiled (dark if broiled) and still have good jiggle in the center.


Expert tips to get the perfect bake
- This cheesecake is baked at a higher temperature than normal. I did 400F/204C in a convection oven because I figured the rotating heat from the fan would nicely brown the top of the cheesecake.
- Although convection ovens normally adjust to 25F less than what you set it to, my oven still read 400F/204C so I left it that – make sure to have an oven thermometer.
- If you don’t have a convection oven, still bake it at 400F/204C in a conventional oven and give it an extra 2-3 minutes – the top might brown a little less.
- If the top hasn’t browned sufficiently by 42-44 minutes, feel free to put the oven on broil for the last 1-2 minutes.
- Allow it to cool at room temperature for a couple of hours and then refrigerate it until it’s completely cooled and feels set.
Again, I HIGHLY recommend an oven thermometer because if your oven runs hot, it can curdle the batter and you’ll end up with a grainy/curdled cheesecake and seeps liquid out.
How to know when the cheesecake is done baking?
This is the most crucial part of the recipe.
You can do everything perfectly and if you over-bake it, it’ll be eggy and can curdle. If you underbake it, it won’t set properly and will be a loose, runny custard.
In my opinion, under-baked is better than over-baked cheesecake and that’s especially true for this one.
When the cheesecake is ‘done’, the edges will be puffed, the top will have browned at least a little (a little more with convection oven) and the center will still be jiggly. Not like a traditional cheesecake, where the center has a slightly wobble, this will be actually quite jiggly.
At this point, if you want the top darker just broil it for 1-2 minutes, it will darken VERY quickly and the center will puff as well. When you remove it from the oven, it will shrivel back up and sink in the center.
At room temperature, the cheesecake will probably still not be set enough to slice so I recommend refrigerating for at least 4-6 hours or overnight.
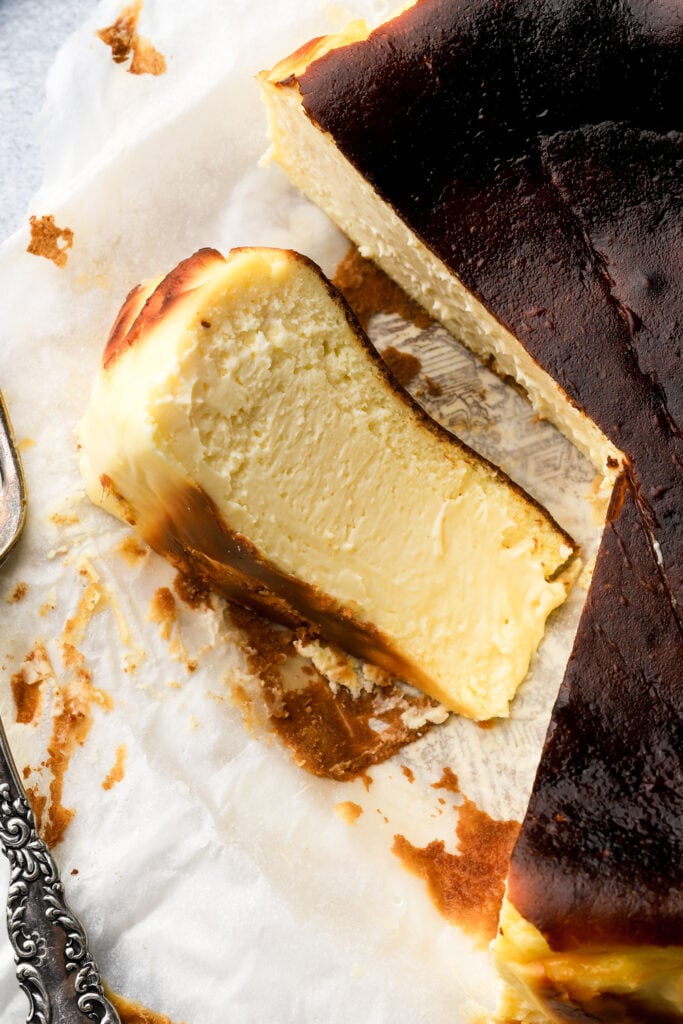
It’s a perfect custard when you serve it cold from the fridge.
How to flavor a burnt basque cheesecake
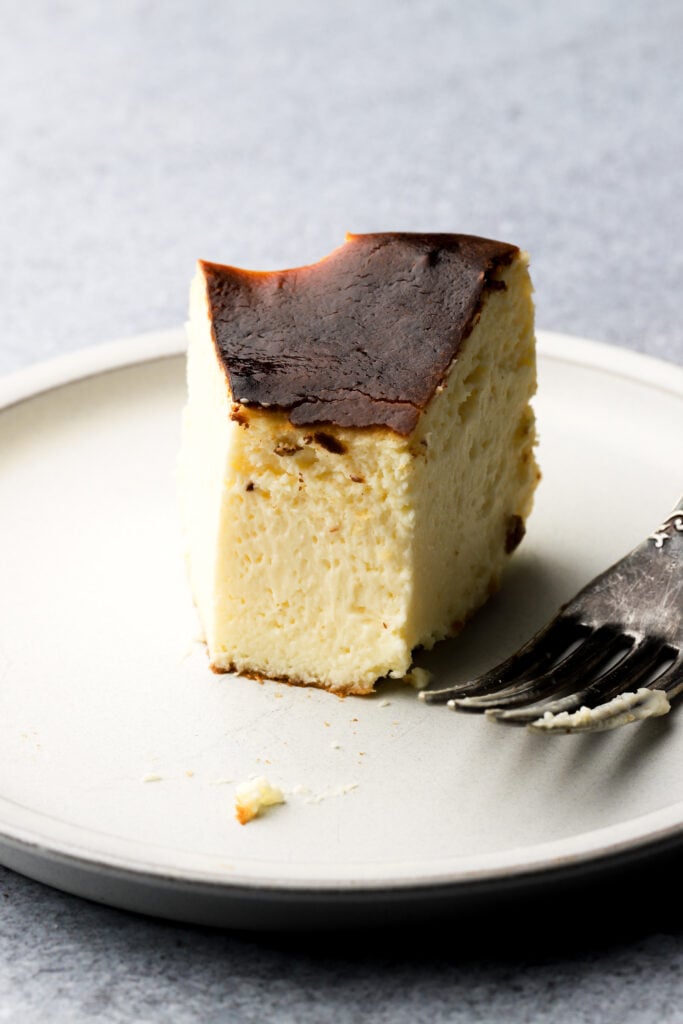
The star of the San Sebastian cheesecake is the burnt top which provides a rich caramelized flavor.
If you do want to flavor it differently, you can top it with any sort of topping like:
- fresh strawberries
- blueberry topping
- cherry topping
- raspberry filling
- seedless raspberry filling
- rhubarb jam
- caramelized white chocolate ganache
- salted caramel sauce
- chocolate ganache
You could also use lemon, lime or orange juice and include the zest (skip the sieve but make sure not to have any chunks of cream cheese in the batter and don’t over-beat to include air.
I have NOT tested this but I’m sure you could remove ½ cup of heavy whipping cream and mix in a cup of cookie butter, peanut butter, Nutella, caramel, etc. If you try it let me know!
I kind of want to swap out the cornstarch for ¼ cup of cocoa powder and see how that turns out!

How to bake this cheesecake in different size pans
I used an 8×3 inch cake pan to make this cheesecake and it turned out fairly tall, like I intended so I don’t think you could use an 8 inch pan that’s only 2 inches tall.
You could bake it in a 9×2 inch pan though and it would just be a little shorter. That would also probably require 5-10 minutes less of bake time.
My guidelines for traditional cheesecake is:
- double the recipe if I want to use a 10 inch pan
- half the recipe if I want to use a 6 inch pan
- 1.5x the recipe for a 9inch pan (to keep the same height).
I haven’t tested all those guidelines for this specific cheesecake but that guideline works well for my vanilla cheesecake recipe which produces a similar amount so I assume that it would work well with this too.
Timing of baking might be up in the air but look for the cues. You want it puffed and set around the edge, browned on top at least a little and jiggly in the center.
Troubleshooting burnt basque cheesecake
If your cheesecake is liquid-y/runny custard in the center after it’s been chilled then it needed a few more minutes in the oven.
If it is grainy/curdled and releases a lot of liquid after it’s been chilled, then the cheesecake was over-baked. Either because the oven was too hot and/or it was baked too long.
If it’s perfectly set and custardy after being chilled but it’s seeping liquid, this is normal but it shouldn’t be a lot. It definitely sweats more on the parchment paper so I just moved it to a paper towel to soak off the liquid and then serve.

How to store cheesecake
To refrigerate, cover the cheesecake with foil or plastic wrap and refrigerate it for up to a week. Serve cold or slightly chilled.
To freeze the whole cheesecake, wrap it in plastic wrap and then wrap it again in aluminum foil (or place it in an airtight container big enough).
To freeze slices, place them tightly in an airtight container and then place the container in a freezer bag, squeezing out all the excess air.
Thaw in the refrigerator overnight or bring to room temperature for a few hours before serving.
Thanks so much for reading today’s post, if you have any questions just comment down below.
If you enjoyed my San Sebastian cheesecake recipe, I’d love it if you left a review or a 5-star rating or a review for me.
As always, have a blessed day and happy baking!
Love, B


Excellent recipe down to the last dot.
Perfect!
This turned out absolutely perfect. Very well written with all possibilities covered. Thanks for including adjustments for different sized pans.
I made this for my husband’s birthday after he had it at a restaurant & loved it. I googled prices for a whole cheesecske at several restraunts. The cheapest I saw was around $60. I saw this recipe & thought that I’d try making it myself. It was a HUGE hit & was so easy & quick to make. I broke down the price of the ingredients which came to about $16. I had most of the ingredients already. Mine cracked in the middle but it was my fault. I used the remaining whipping cream & made fresh whipped cream & covered the crack, then topped it with berries. I highly recommend that you make it! I’ll definitely make it again!
I’m going to make this for my husband’s birthday on Sunday. If I make it on Friday, should I freeze it or will it be fine in the refrigerator? I love the way you include the ingredients within the instructions! I can’t wait to make it. Thanks so much for this recipe@
Hi Laurie, thank you! I would just keep it refrigerated for the couple of days!