
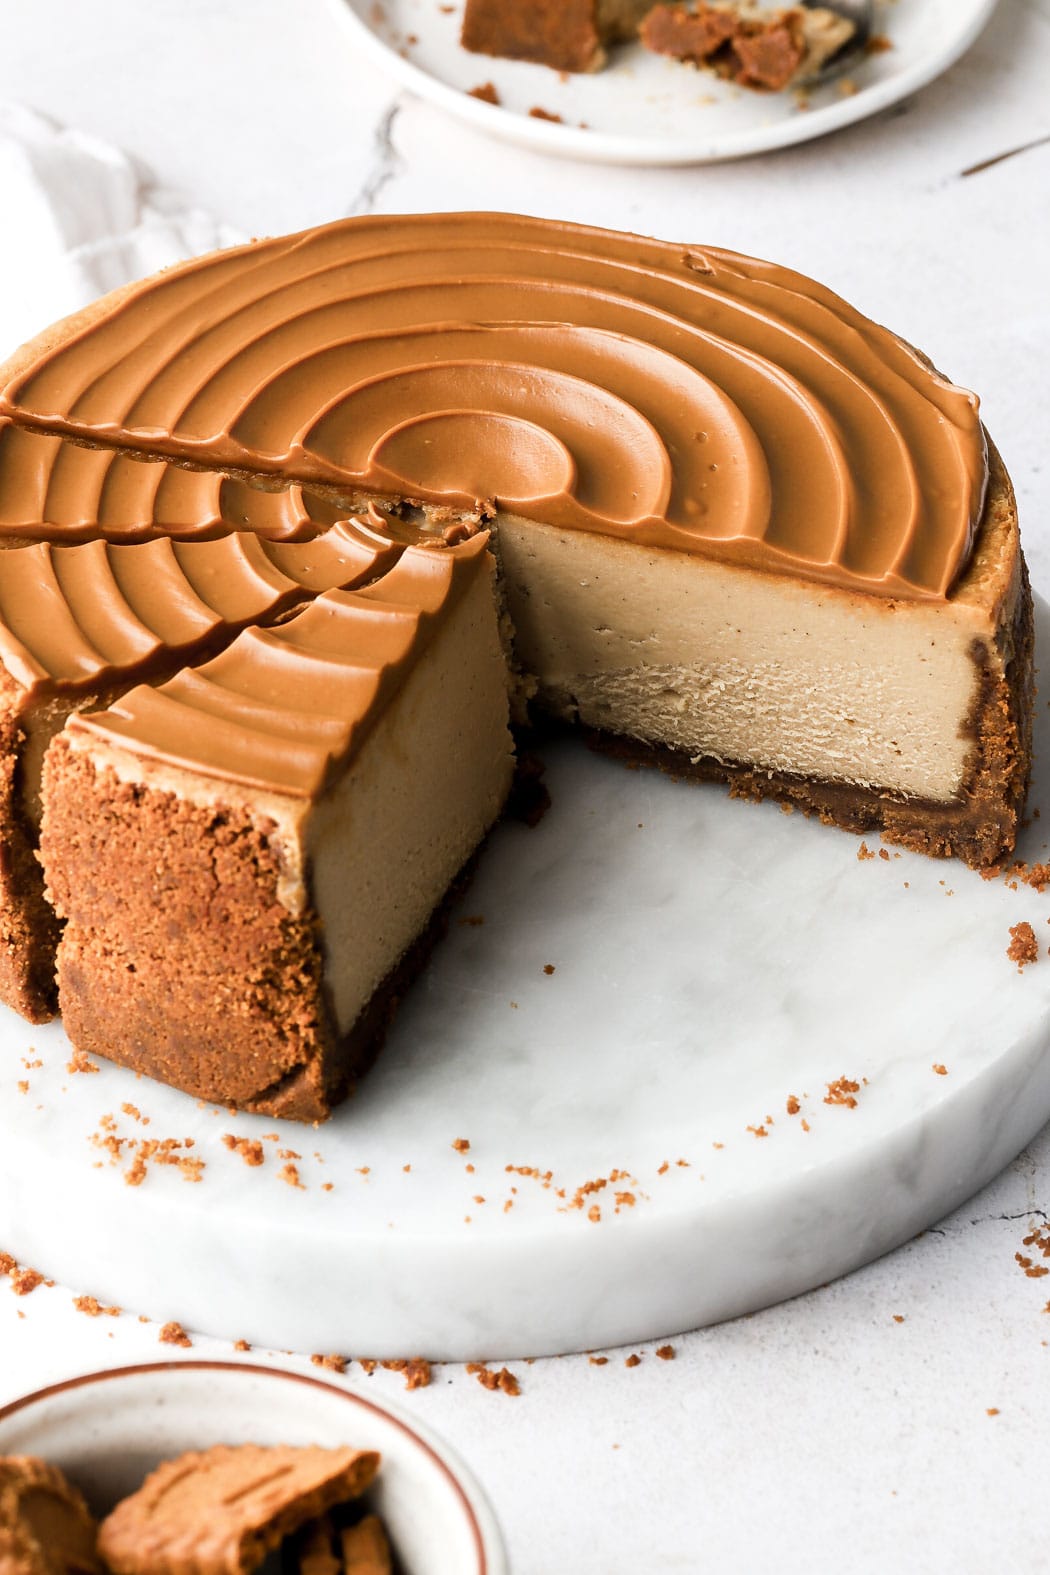
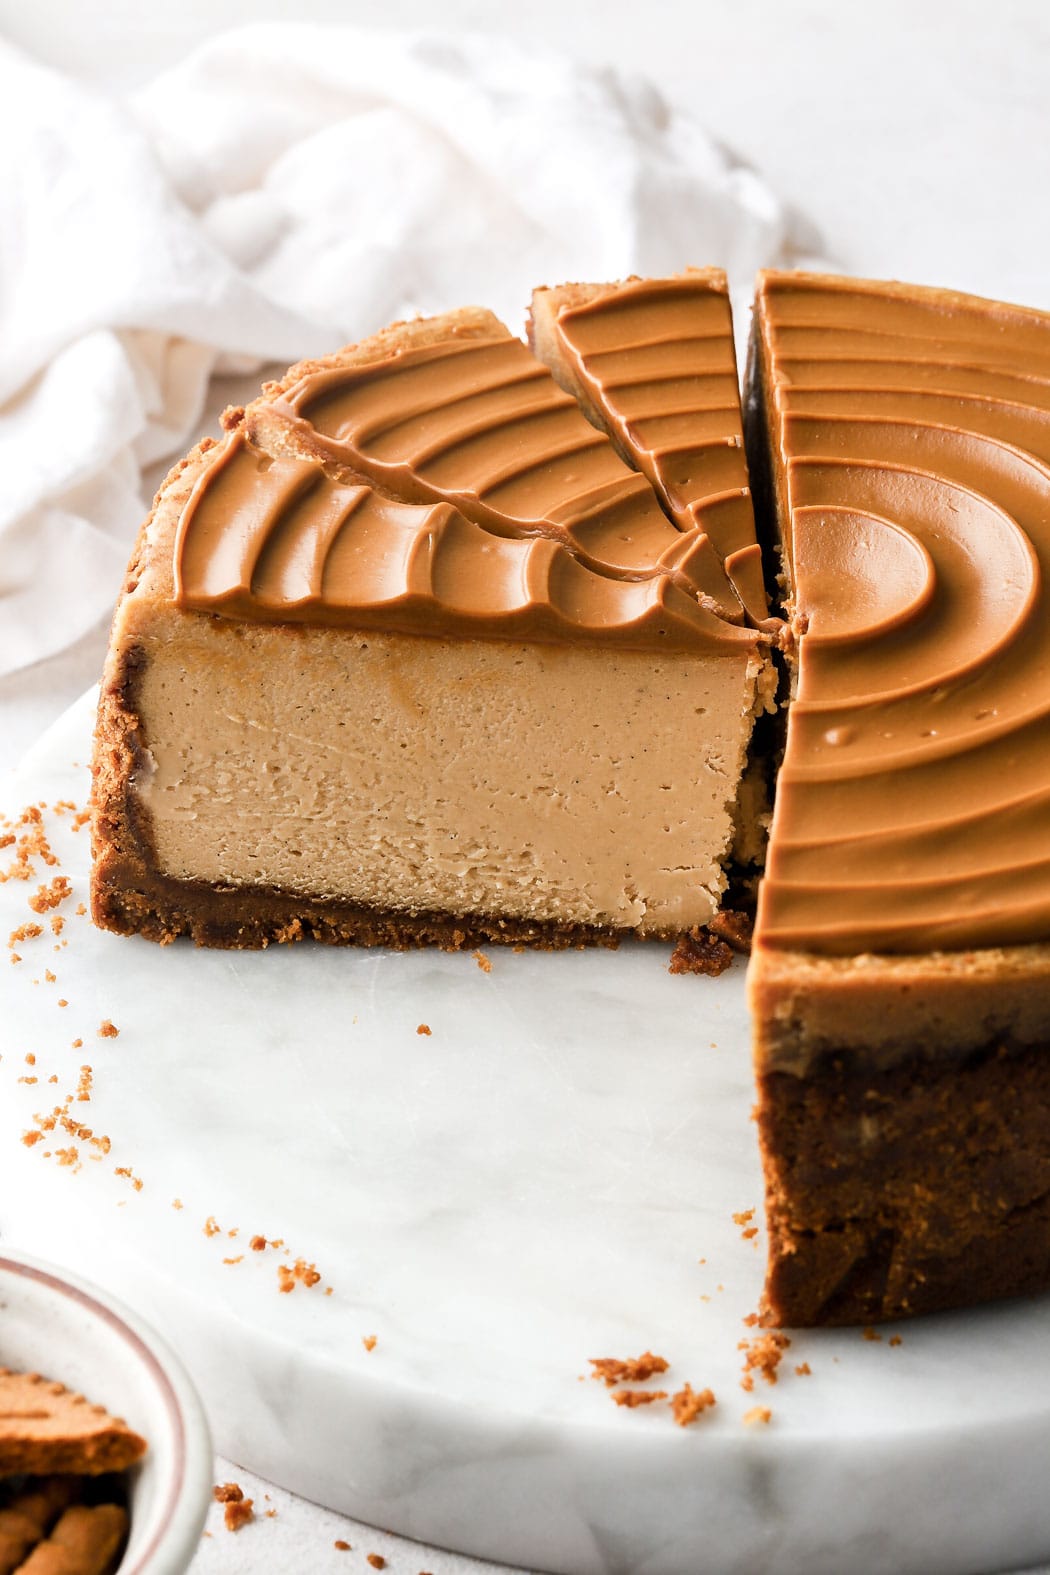
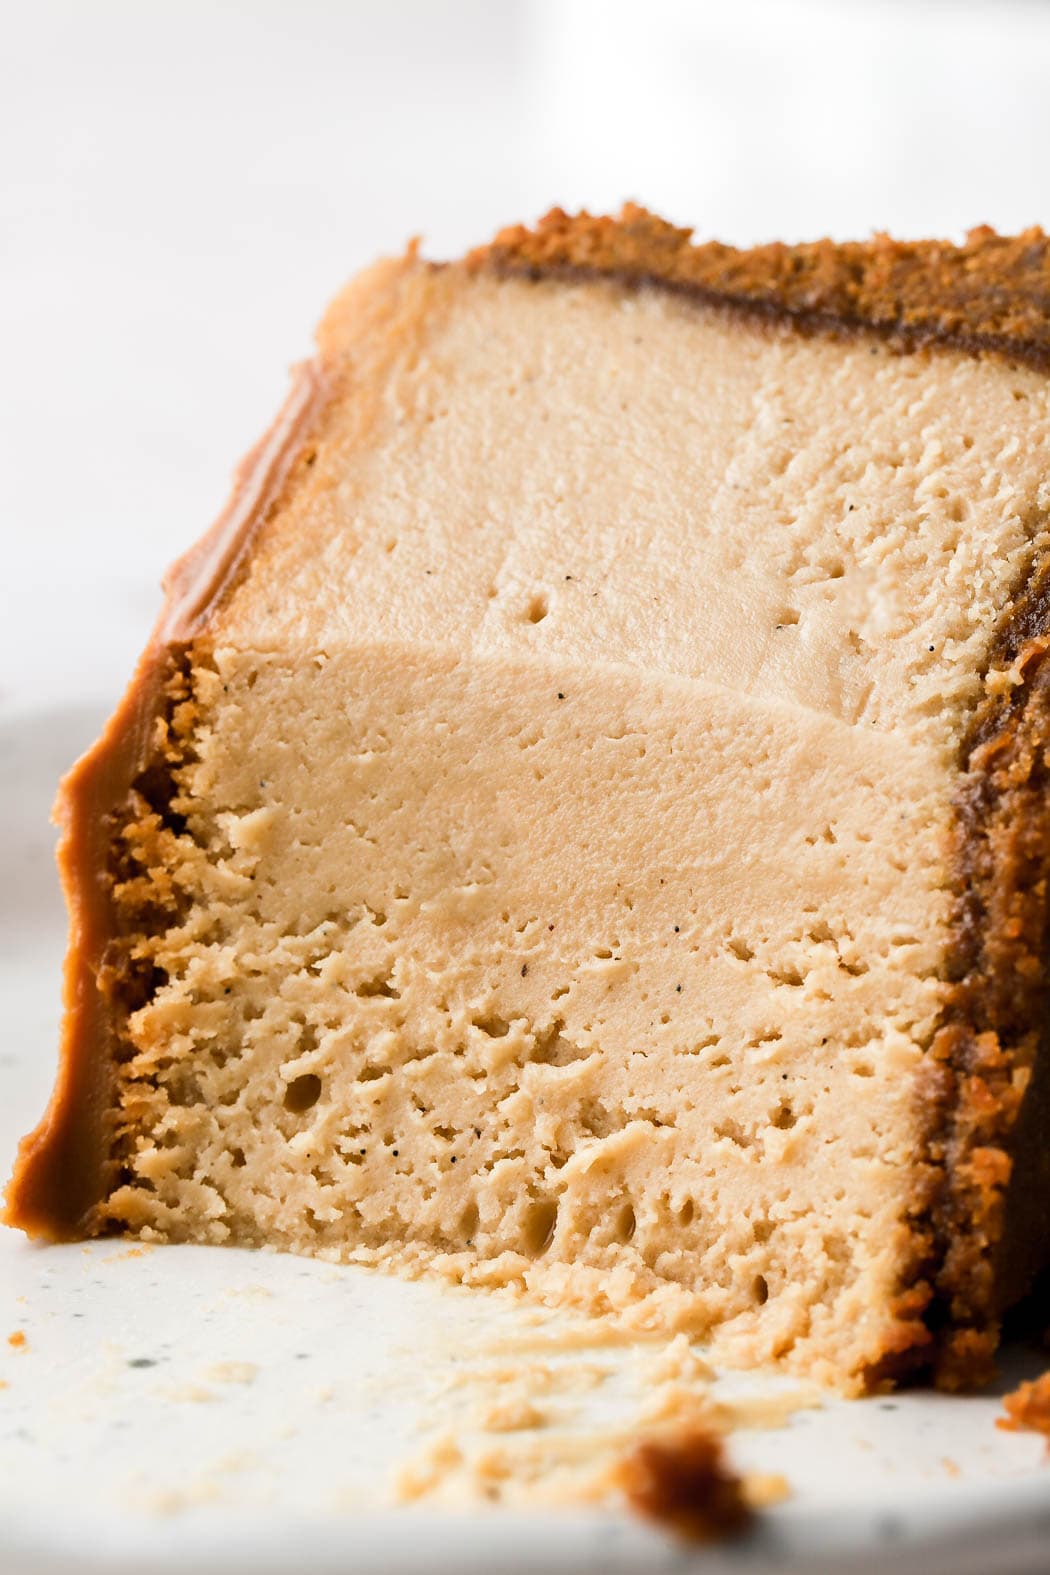
Lotus Biscoff Cheesecake
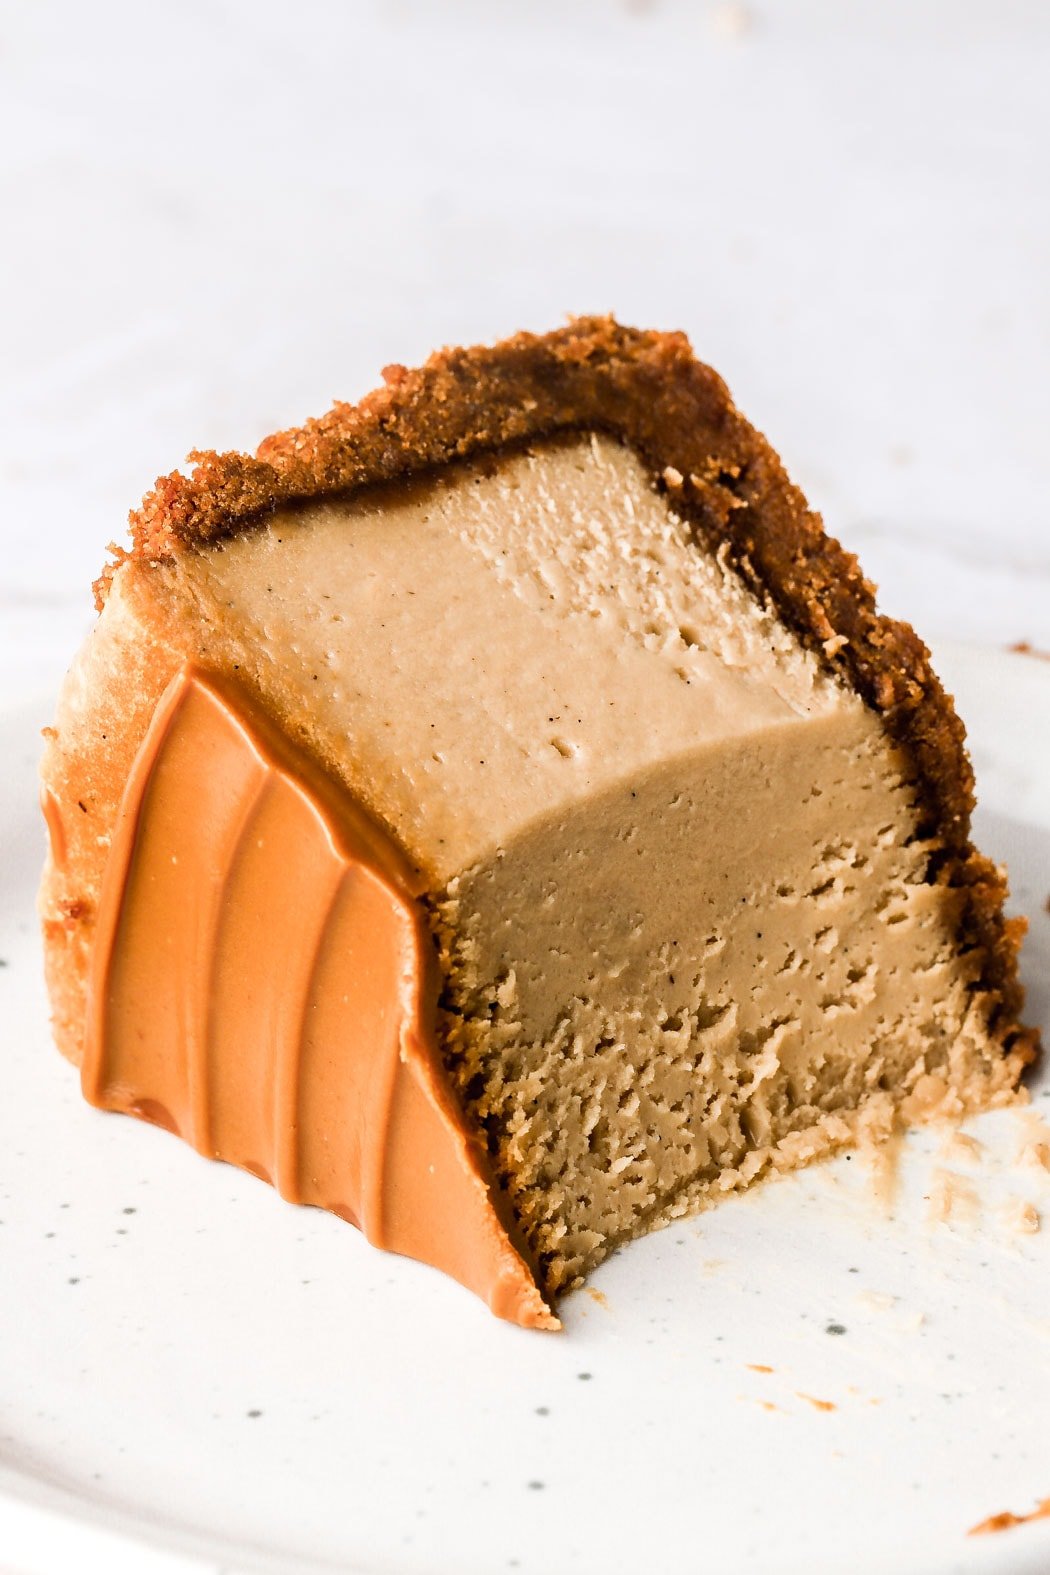
This biscoff cheesecake is smooth and creamy but dense and rich at the same time. Lotus Biscoff cookies are used to make the crust, there’s cookie butter in the cheesecake and it’s topped with a gorgeous cookie butter swirl. The cheesecake can also be adjusted to fit different size pans.
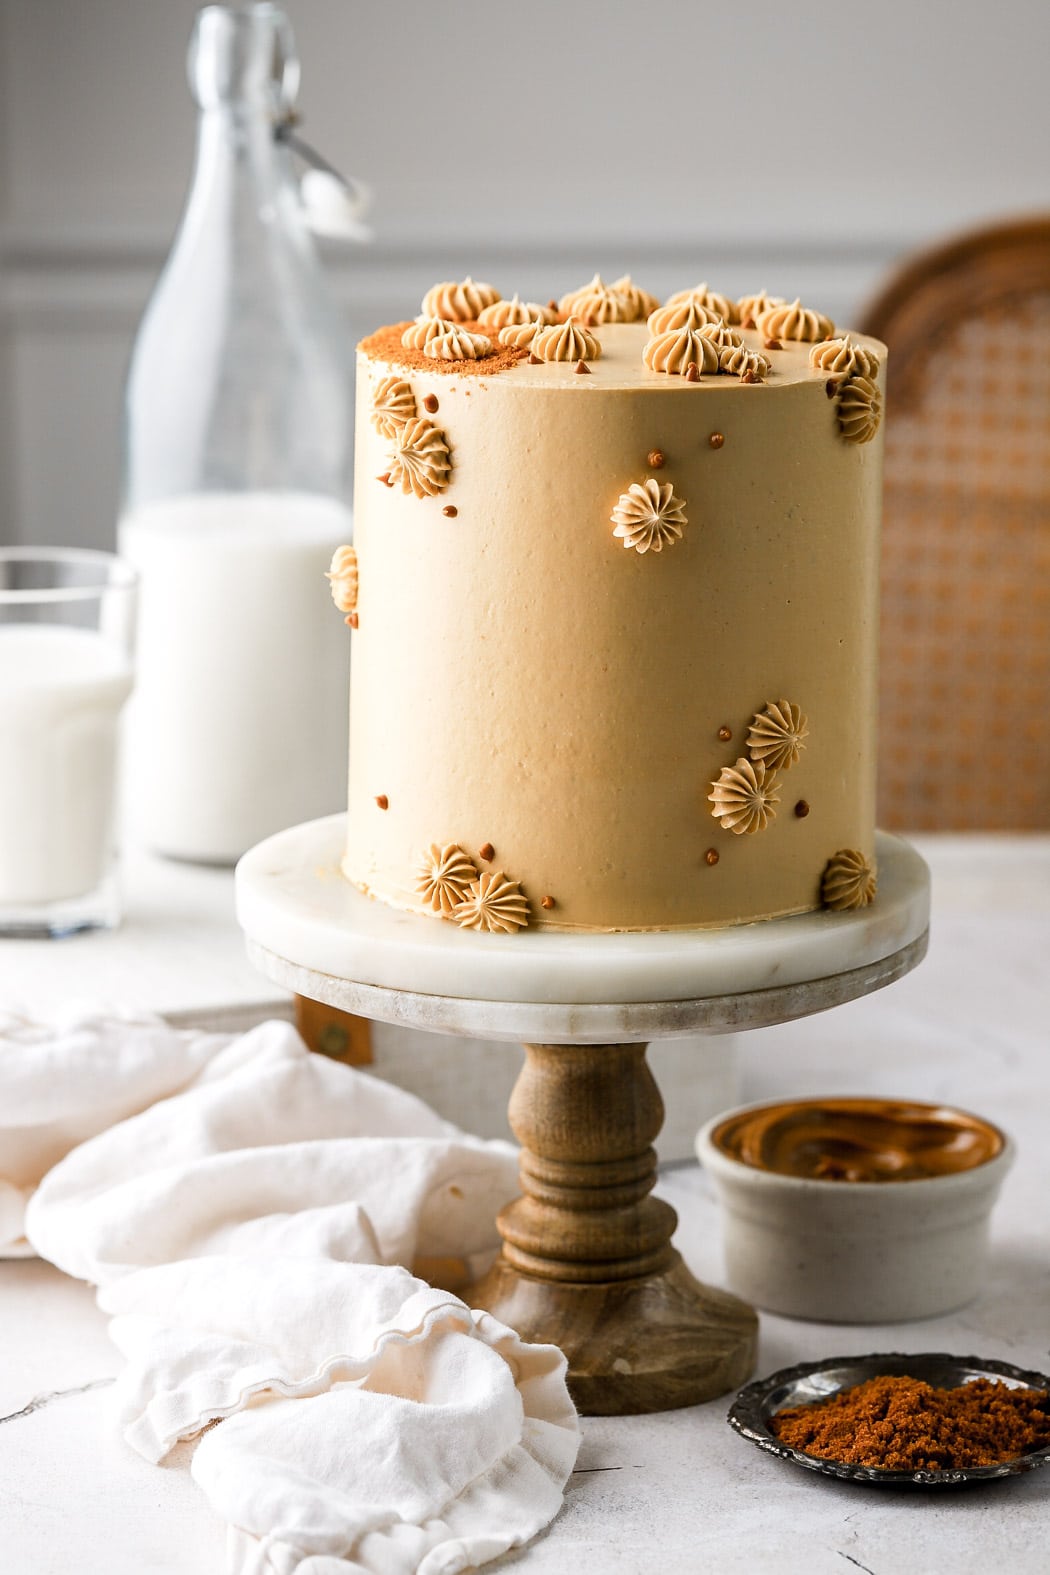
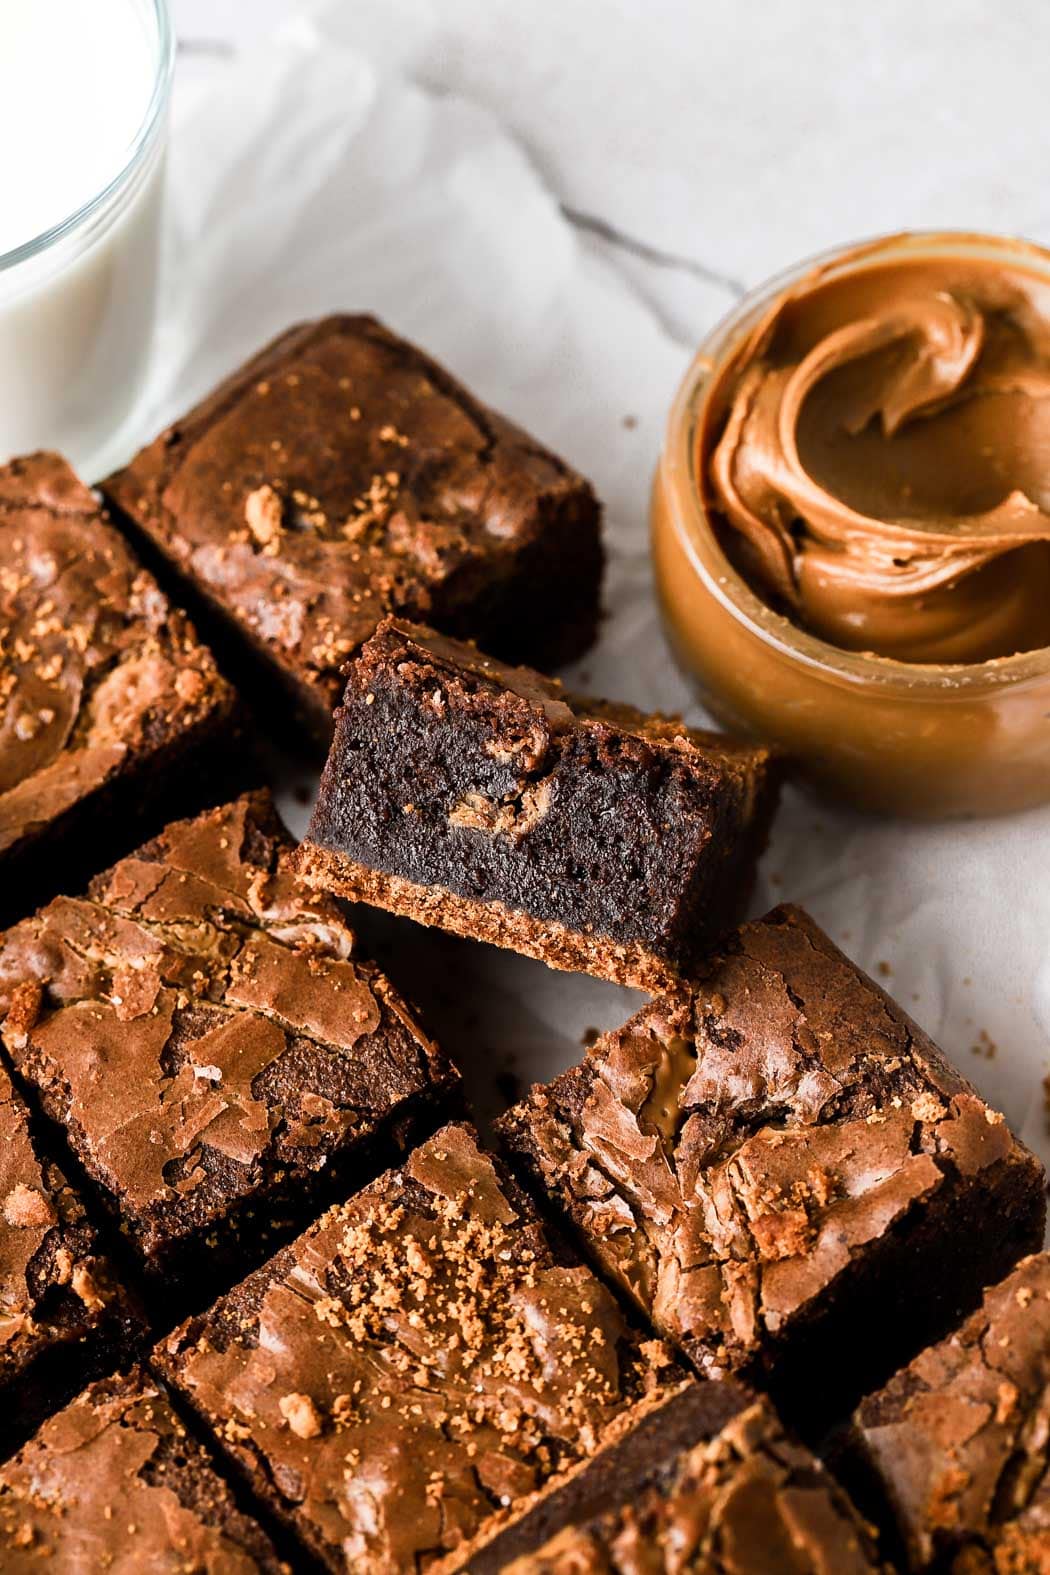
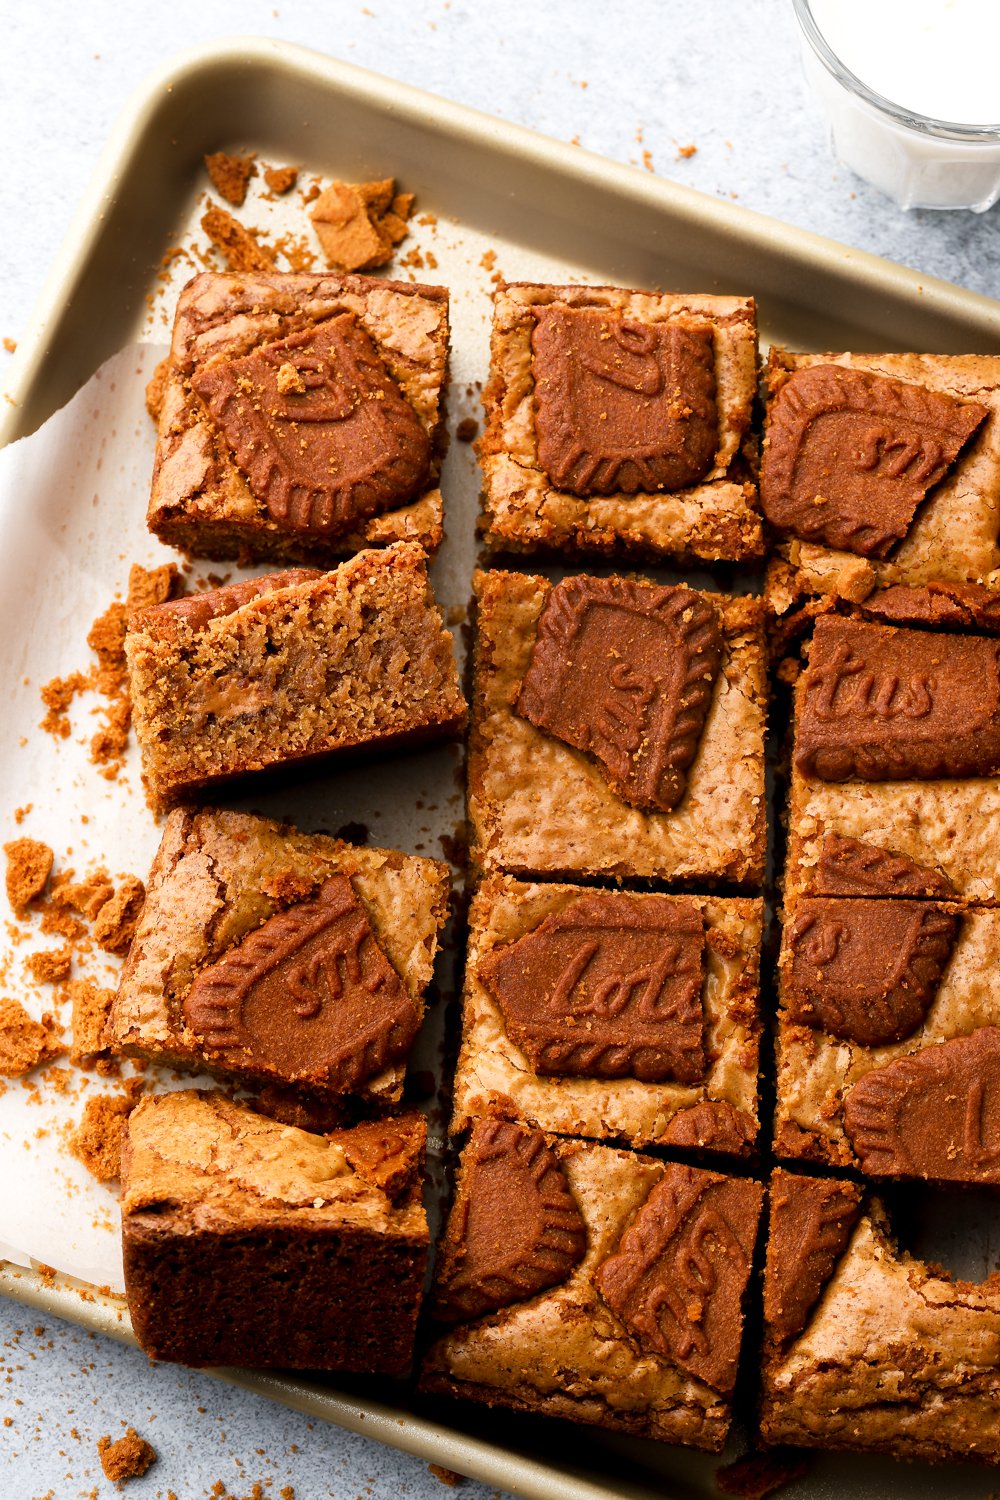
As one of cookie butter’s #1 fans, may I also recommend my Biscoff Layer Cake, brown butter cookie butter cake and biscoff brownies.
Step-by-Step Instructions with Photos
- Prepare your pan by removing the edge of the springform pan. Place a sheet of parchment paper onto the bottom of the pan so that it hangs off the edge. Then attach the side of the springform pan back to the bottom, so the parchment paper should be secure between the two pieces. Lightly spray the sides of the pan with baking spray.
- Make the crust by placing the biscoff cookies in a food processor and pulsing until you have fine crumbs. Add the sugar and melted butter and pulse until it’s evenly distributed. Spread the crust into the prepared pan, coming all the way up the sides. Use a ½ cup measuring cup to make the bottom smooth and the corners sharp.
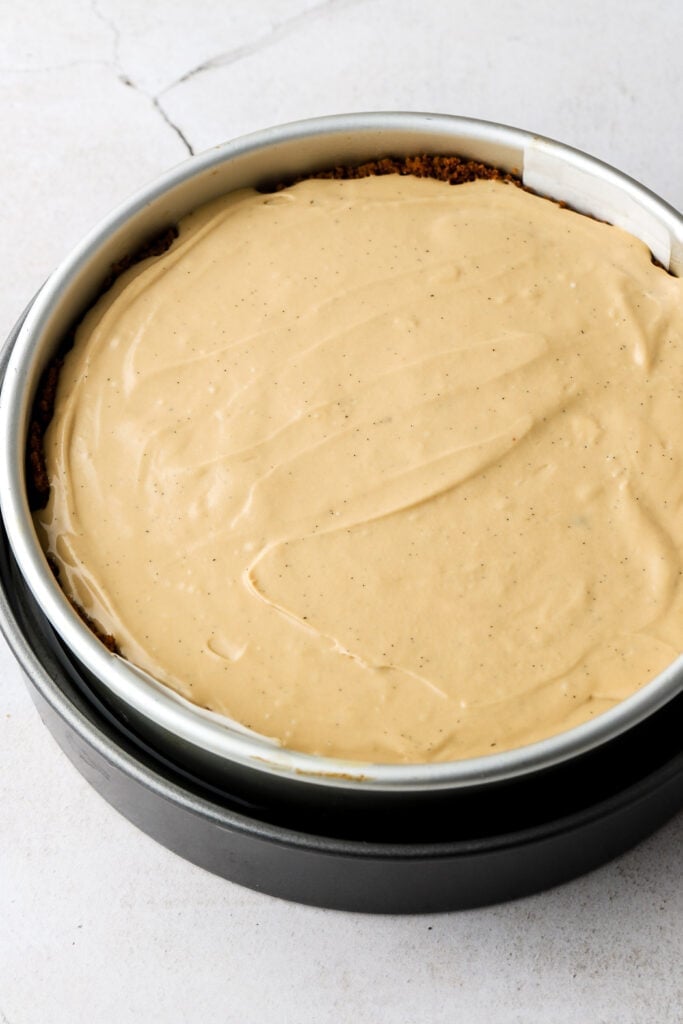
- Make the filling by creaming the room temperature cream cheese with the sugar, until it’s smooth, creamy and glossy. Make sure there are no chunks of cream cheese left.
- Add the sour cream, cookie butter and vanilla and cream until it’s completely smooth. Then add the eggs, one at a time, mixing on low speed, just until each one is combined.
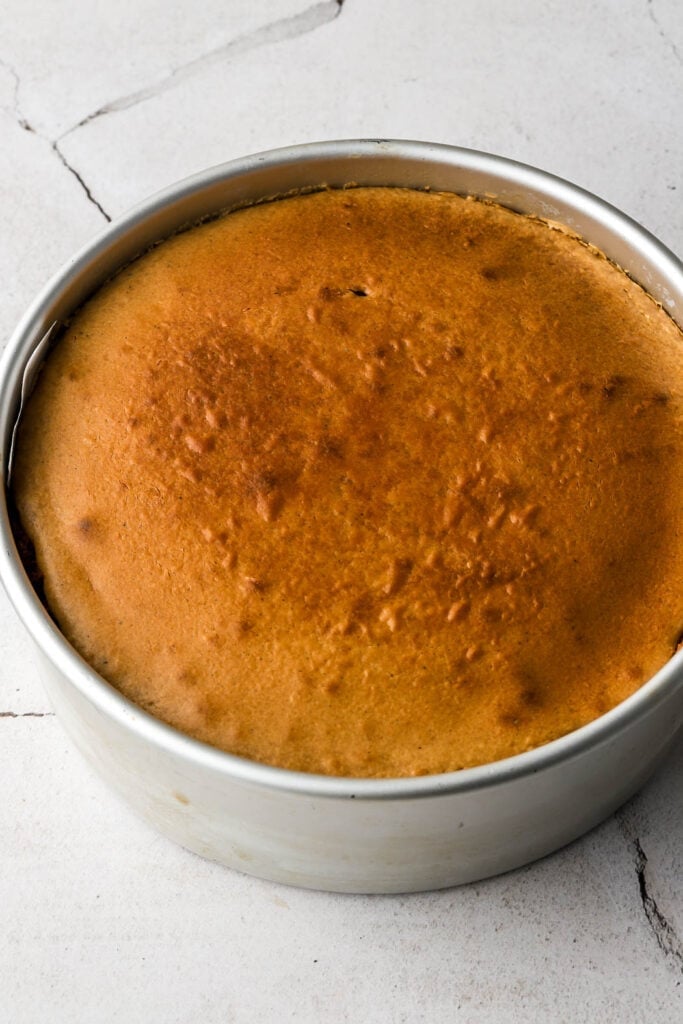
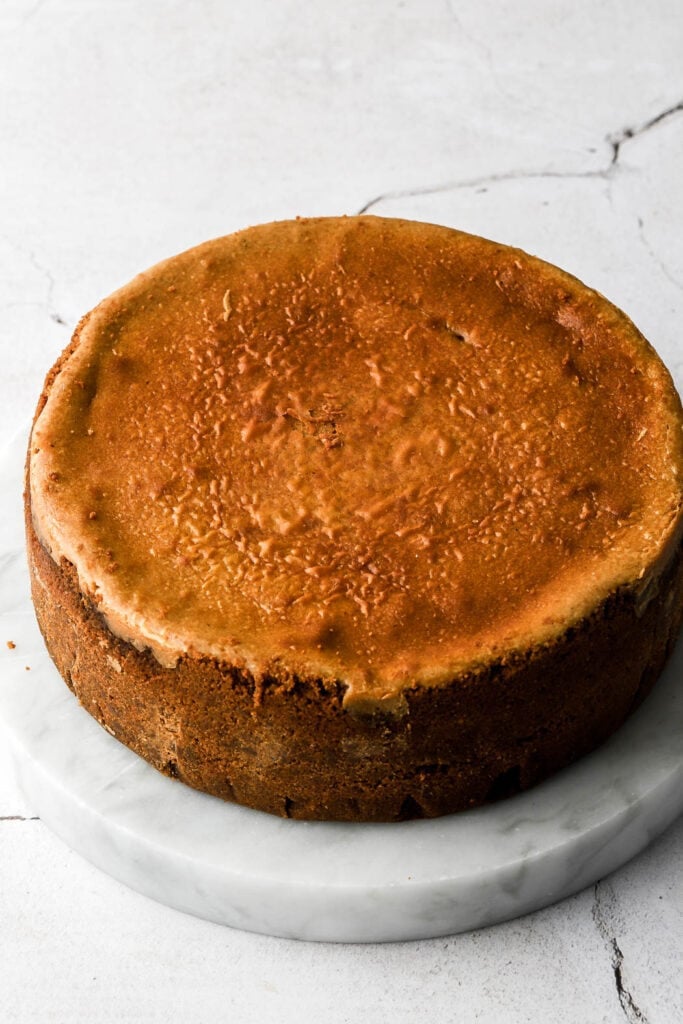
- Pour into the prepared pan and bake at 300F (148C) for 60 minutes. Then turn the oven off and use a knife to release the cheesecake from the edge of the pan. Let the cheesecake rest for 20 minutes in the oven with the door halfway open.
- Cheesecake should still have jiggle in the center, let it cool on the counter for a few hours before transferring to the fridge for at least 6 hours or overnight.
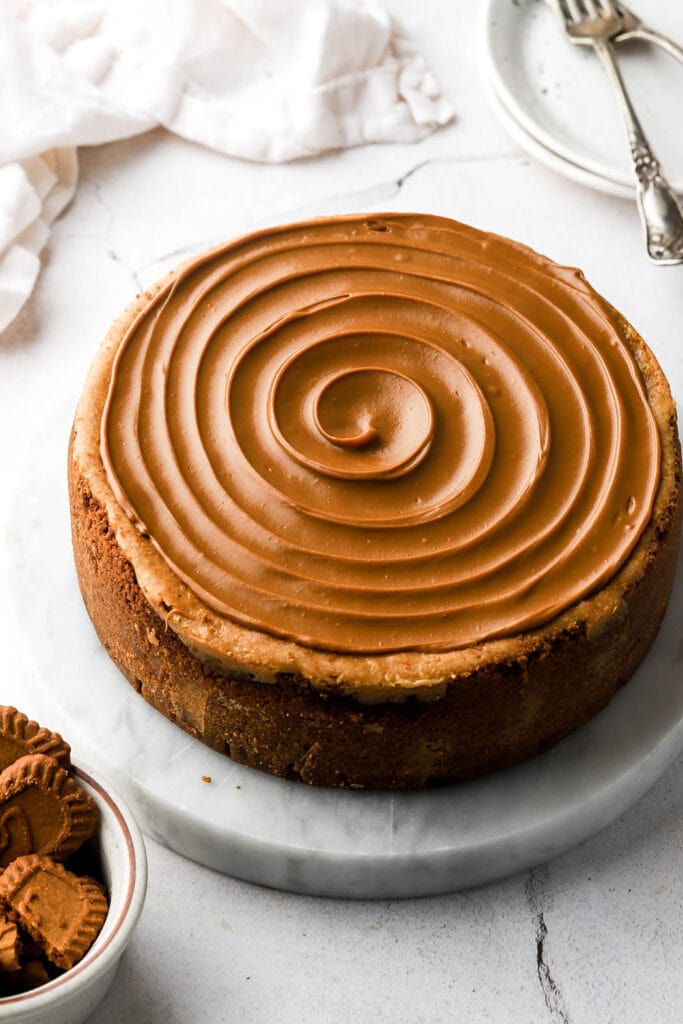
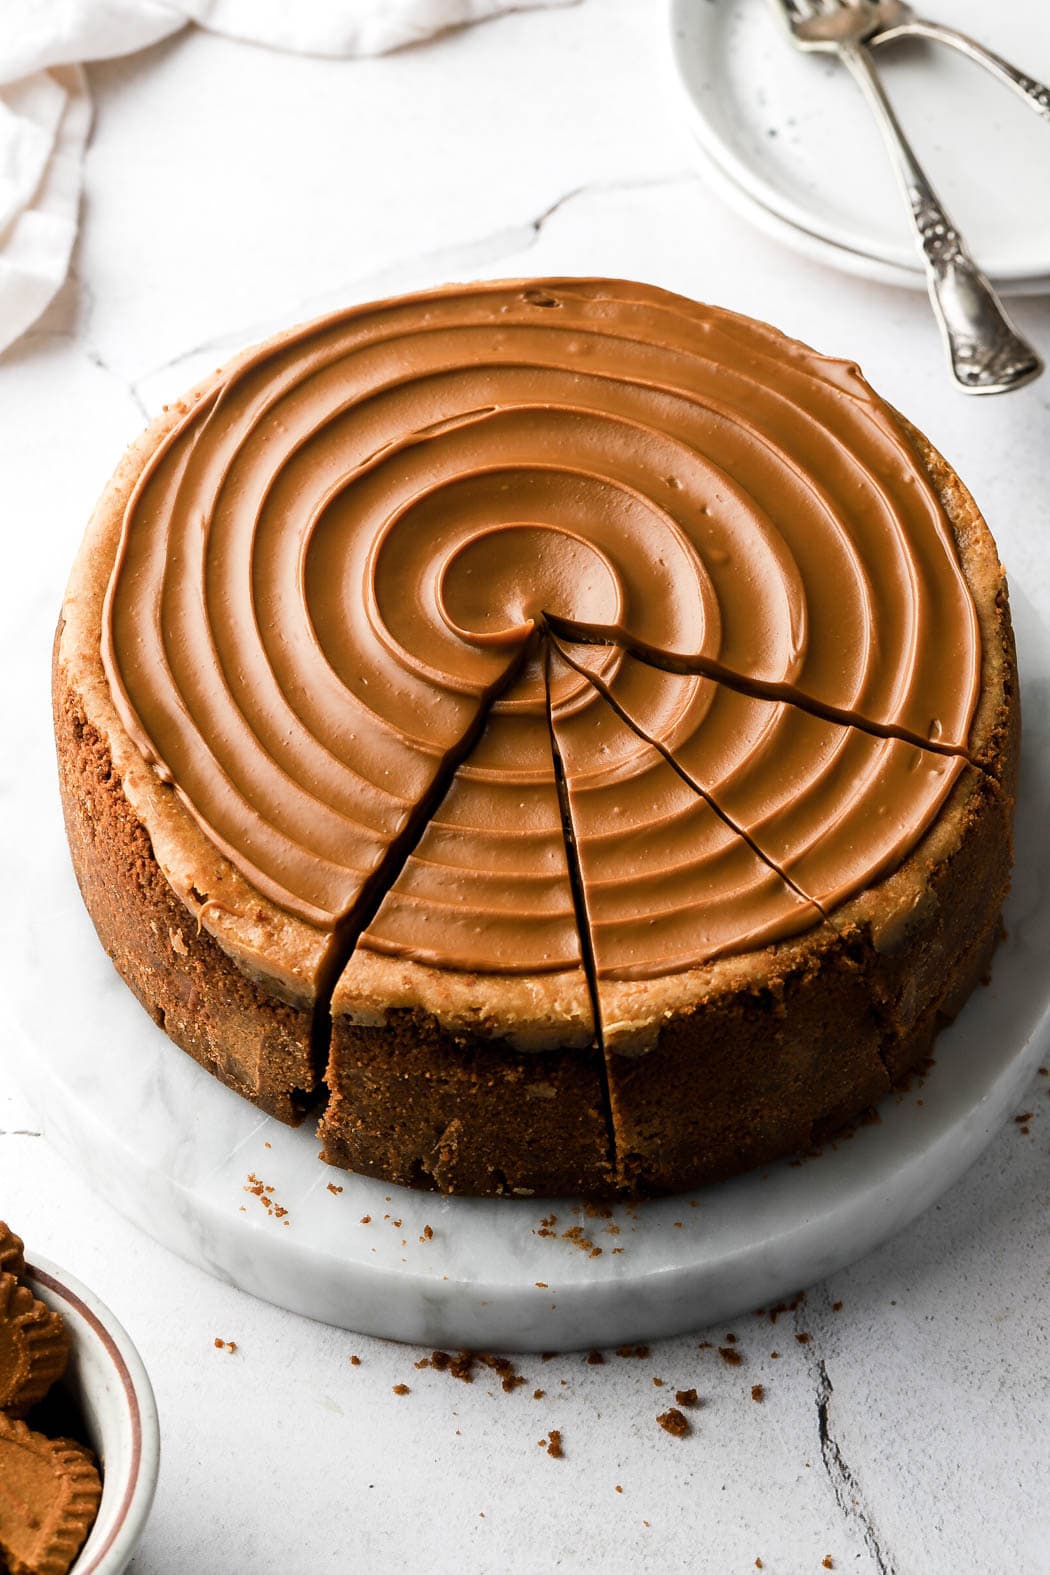
- Once the cheesecake has cooled, lightly warm up some more cookie butter and pour it on top of the cheesecake. Spread it out and then use the back of a spoon to create the swirl.


Tips to get the perfect bake without a water bath
- Weighing your ingredients with a digital scale is always recommended.
- Bake the cheesecake at a lower temperature than normal for a longer period of time. Bake until the edges are set and the center is still jiggly.
- Run a knife along the edge of the cheesecake to release it from the pan so it doesn’t crack.
- Allow it to rest in the oven for another 25 minutes so that it can cool slowly to prevent cracking.
- Allow the cheesecake to chill in the refrigerator for at least 6 hours (preferably overnight) so that it sets fully.
How to bake this cheesecake in different size pans
I tested my base cheesecake recipe iin 4 different sizes. It’s pretty straightforward to adjust to whatever pan size you need. My traditional vanilla cheesecake uses 2 bricks of cream cheese and is baked in an 8 inch pan but the featured photos for this biscoff cheesecake use 3 bricks of cream cheese and is also baked in an 8 inch pan so it’s taller.
You can adjust the quantity needed by what size pan you have and how tall you want your cheesecake.
I’ll list out the amount of cream cheese needed and you can just adjust the rest of the ingredients accordingly.
The amount of cheesecake batter you’ll need for each size pan:
- 10 inch pan: 4 bricks of cream cheese – bake for 65 minutes, rest in the oven for 25 minutes.
- 9 inch pan: 3 bricks of cream cheese for shorter cheesecake or 4 bricks for a taller cheesecake – bake for 55-70 minutes, rest in the oven for 20 minutes.
- 8 inch pan: 2 bricks of cheesecake for a shorter cheesecake or 3 bricks for a taller cheesecake – bake for 45-60 minutes, rest in the oven for 15 minutes.
- 6 inch pan: 1 brick of cream cheese – bake for 30 minutes, rest in the oven for 15 minutes.
If you have any questions, just comment down below!
How to store cheesecake
To refrigerate, cover the cheesecake with foil or plastic wrap and refrigerate it for up to a week. Serve cold or bring to room temperature 1-2 hours before serving.
To freeze the whole cheesecake, wrap it in plastic wrap and then wrap it twice in aluminum foil (or place it in an airtight container big enough).
To freeze slices, place them tightly in an airtight container and then place the container in a freezer bag, squeezing out all the excess air. Bring them back to room temperature by thawing at room temperature for a few hours before serving.
Thanks so much for reading today’s post, if you have any questions just comment down below. Make sure to leave it in the comment section because I can’t answer in the rating section.
If you try this biscoff cheesecake recipe, I’d love it if you left a star rating for me. 🙂
As always, have a blessed day and happy baking!
Love, B


This is a go to for holiday desserts! I adjusted the sweetness by lowering the sugar and biscoff spread in the cheesecake (also opt out of the topping), we prefer less sweet. My aunt even praised this and she’s picky when it comes to dessert!!
Hi Alisa, so glad you like it!! I’m not much of a cheese lover so I do prefer it sweeter lol glad it works well for everyone!!
Hi dear! I’ve been saving your recipe for a very long time! Unfortunately I’m living in small city in Mexico and I can’t find the biscoff cookie butter spread, can I just ignore this step? Thank you.
You can skip it but it will just be a vanilla cheesecake then 🙂
Hi.
I only have a fan oven. Can you tell me if I can still make this? Thank you
Should be fine!
Absolutely love this cheesecake! I have made slight modifications but it’s still a hit every time. For the crust, I use brown butter (because brown butter just elevates everything ?). For the cheesecake filling, I reduced the brown sugar to ~180g and the cookie butter to ~200g. I omit the cookie butter topping too. Regardless, the cheesecake comes out delicious. I always want to make two at a time so there’s more to pass out!
Hi! This looks amazing ?! Quick question though, if I was to make mini cheesecakes what would be the bake time?
Hi Jenny, I’ve never made them as minis but I would do 300f and check them around 10-15 minutes, might take log we but just remove when the edge is set and the center is jiggly
Hello, sounds lovely! How long does it keep in the fridge or can you freeze it just before baking? I’m trying to make ahead of a day when I’ll be busy!
Thanks, Alicia
Hi Alicia, there’s a section on storing in the blog post if you want to refrigerate/freeze for later but you can certainly refrigerate it for even a week without anyone knowing lol. I would make it 1-2 days in advance and let it sit covered in the fridge.
Hi, so far this is baking but looks so good! I’m gluten free, so adjusted it to use Oat Haus Granola butter. However I had a question about the eggs, you say 3 in your recipe list but only mention two in the directions. Is it only 2? Thanks!
Hi Desiree, it is three, thanks for pointing that out!
Please let me know where the link to watch the video of this recipe. Also the instructions read to “2. Place the Lotus Biscoff cookies in the bowl of your food processor and turn it to full speed, until the graham crackers are finely ground.” Graham crackers?
Thank you.
Hi Caroline, thank you for letting me know, I updated that!
I linked the video to the webpage to play automatically but it’s not working so I’ll have to consult with the ad company to fix that. For now the video is on all my social medias. Here are the links if you’re able to access any of them.
https://www.instagram.com/reel/CkgTbWvgDqC/?hl=en
https://www.pinterest.com/pin/350014202303889144/
https://www.tiktok.com/@baranbakery/video/7161817108307791150?is_copy_url=1&is_from_webapp=v1