How To Make Mini Cakes (Vanilla)
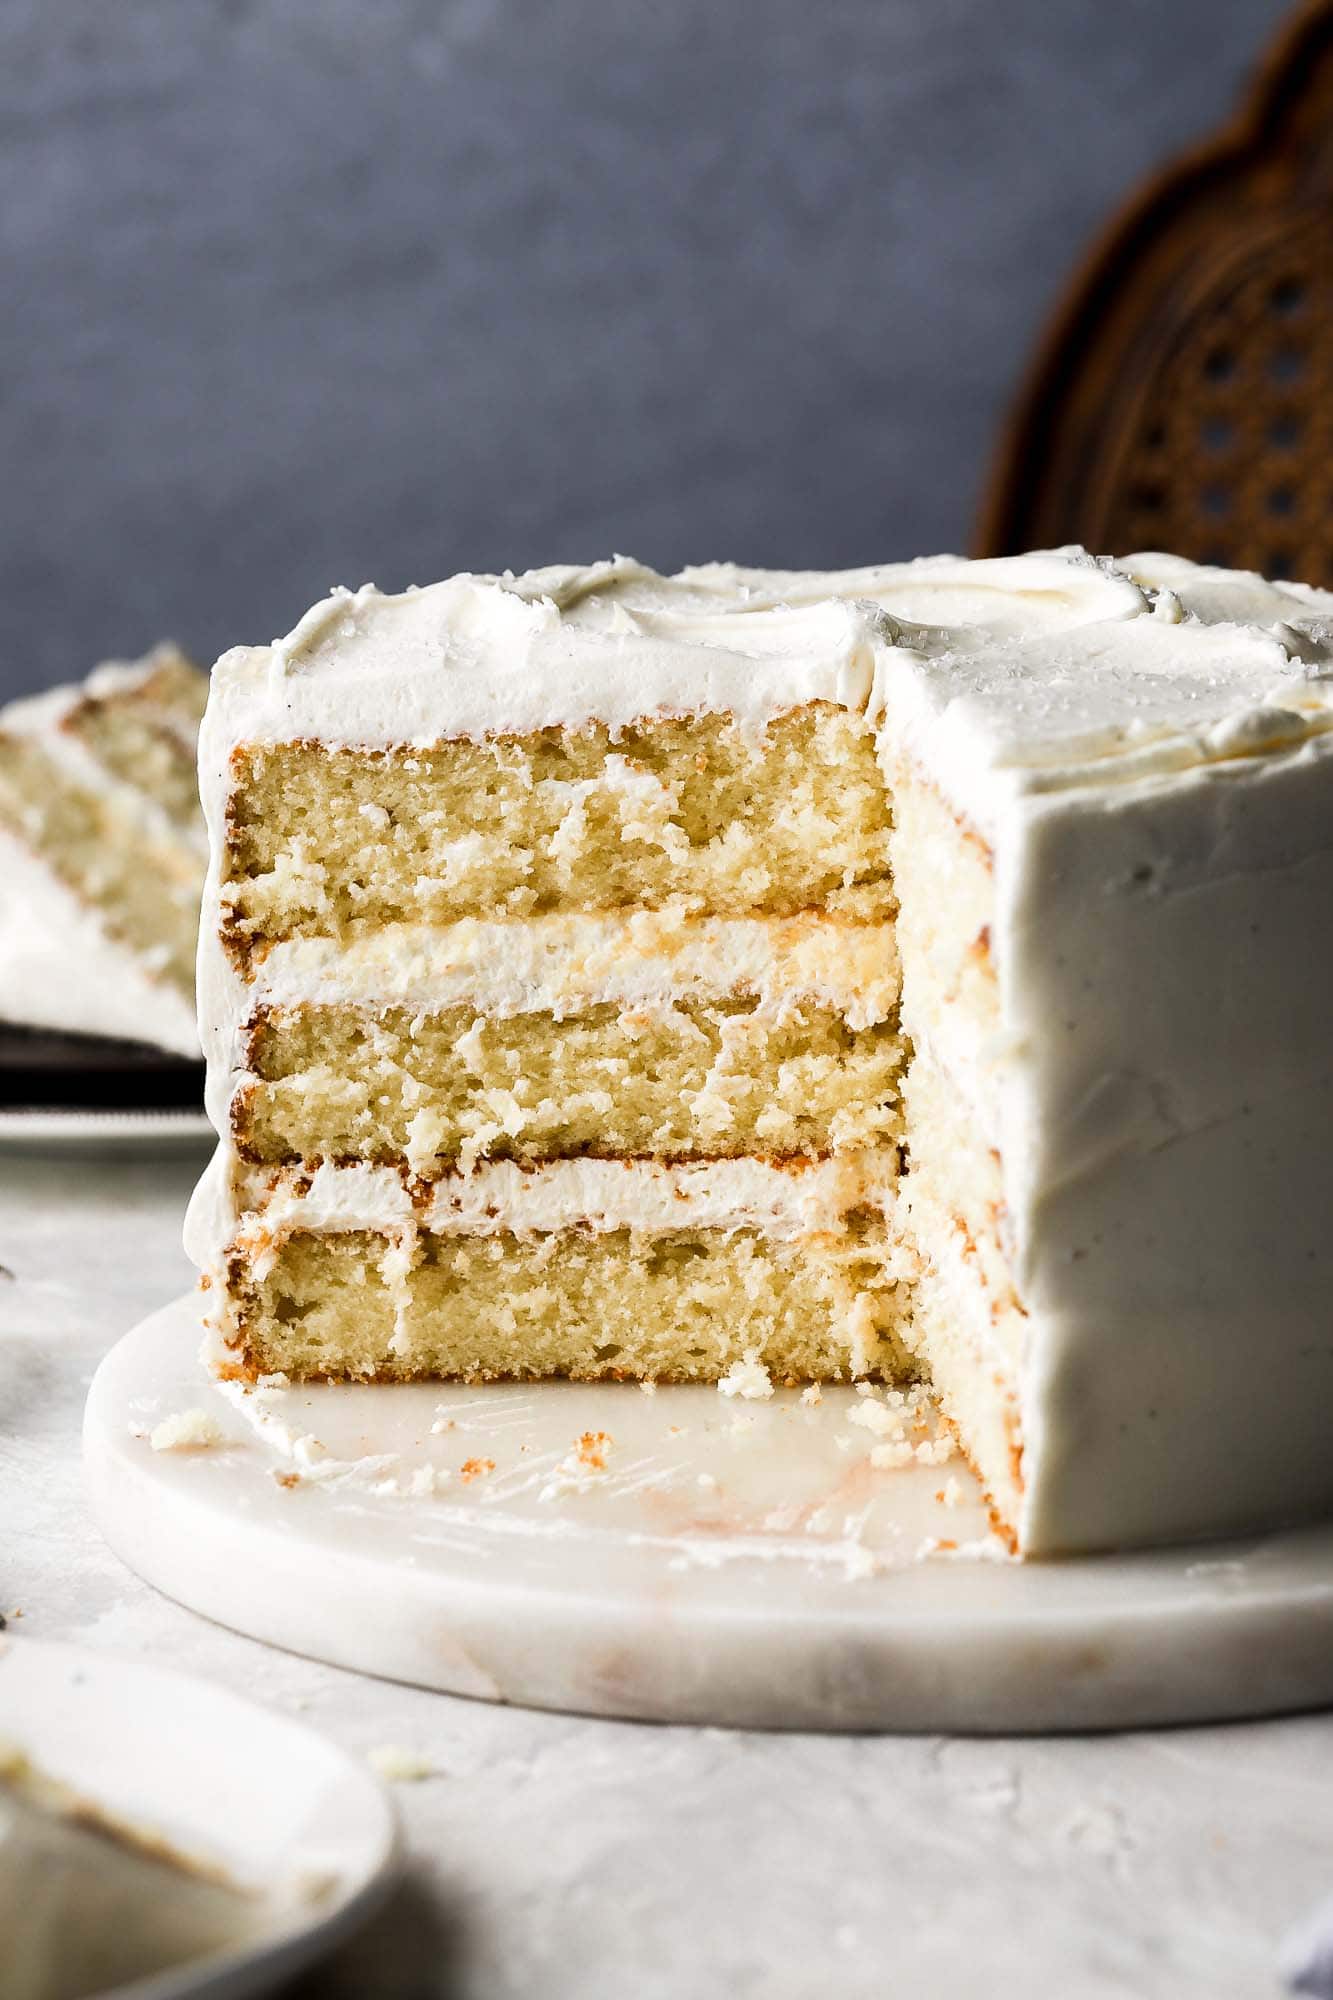
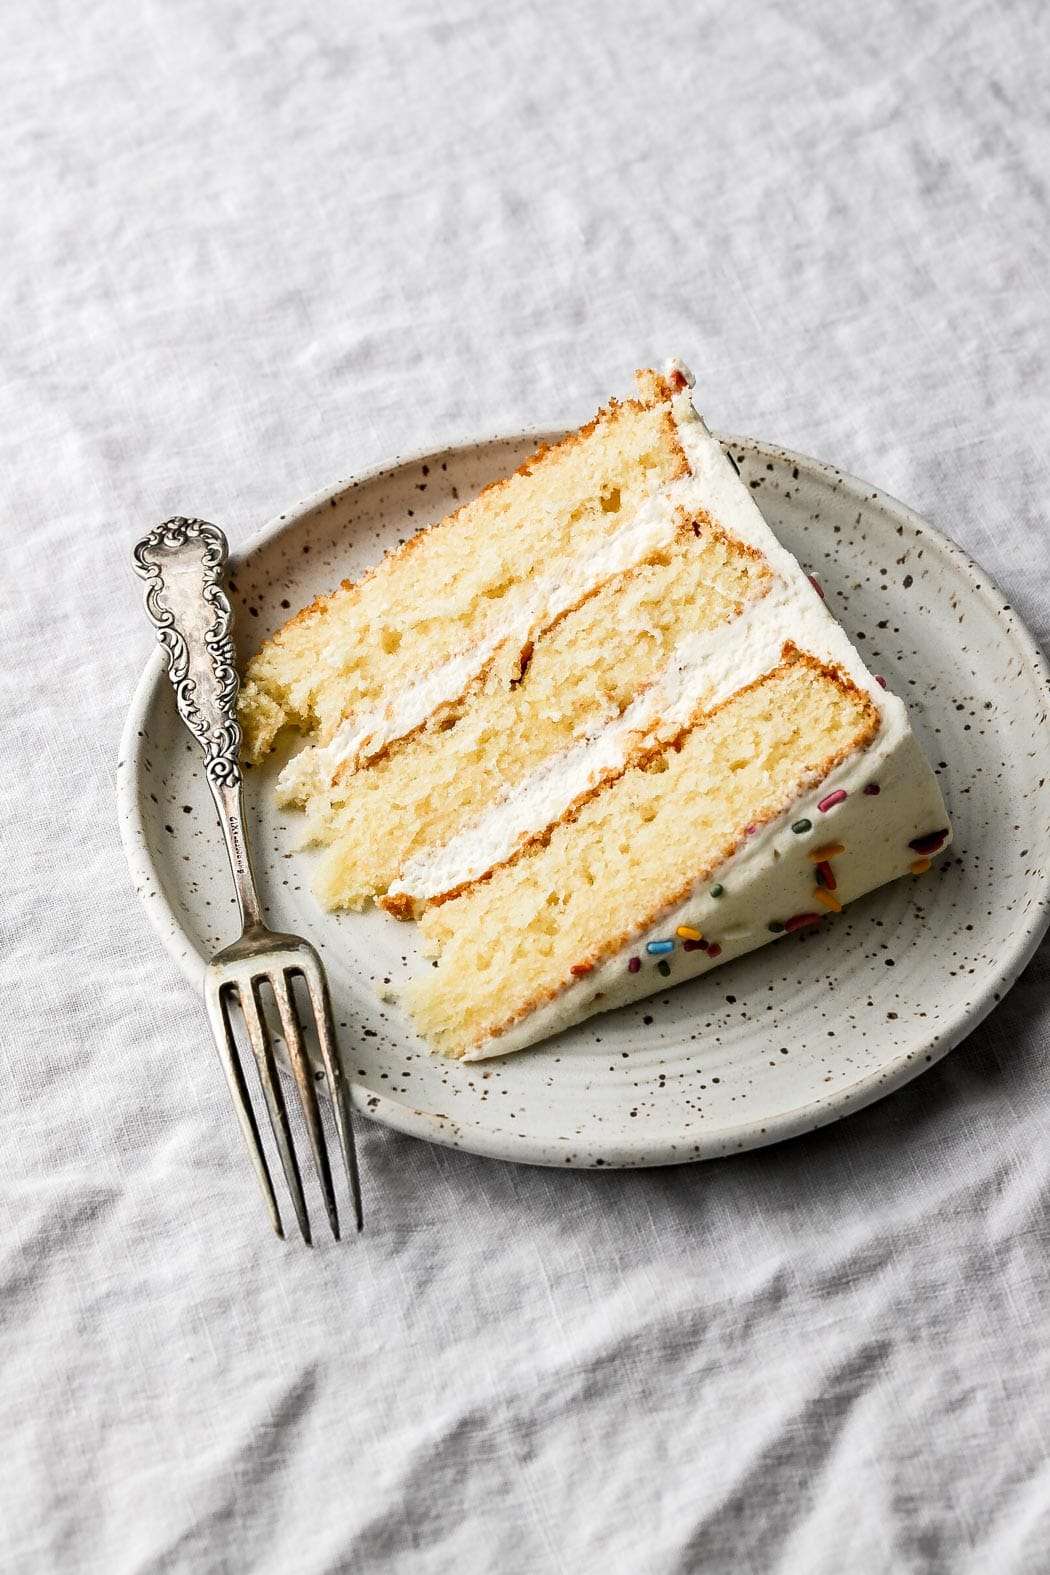
My favorite vanilla cake recipe used to make easy, no-fuss mini cakes. They’re baked in a sheet pan and cut out to custom sizes. They can be frosted and filled with any kind of frosting, jam, cake filling, etc.

I have so many different size cake recipes and I even have several smash cake recipes. However, I needed a recipe that was easy to make several mini little cakes and this is where I landed. I baked my favorite vanilla cake recipe in a sheet pan to cut out little mini cakes.
These are so fun and convenient to make for when you want to serve individual cakes at parties, or even smash cakes or gifts to friends/family. Each cake can be individually customized without having to make so many batches.
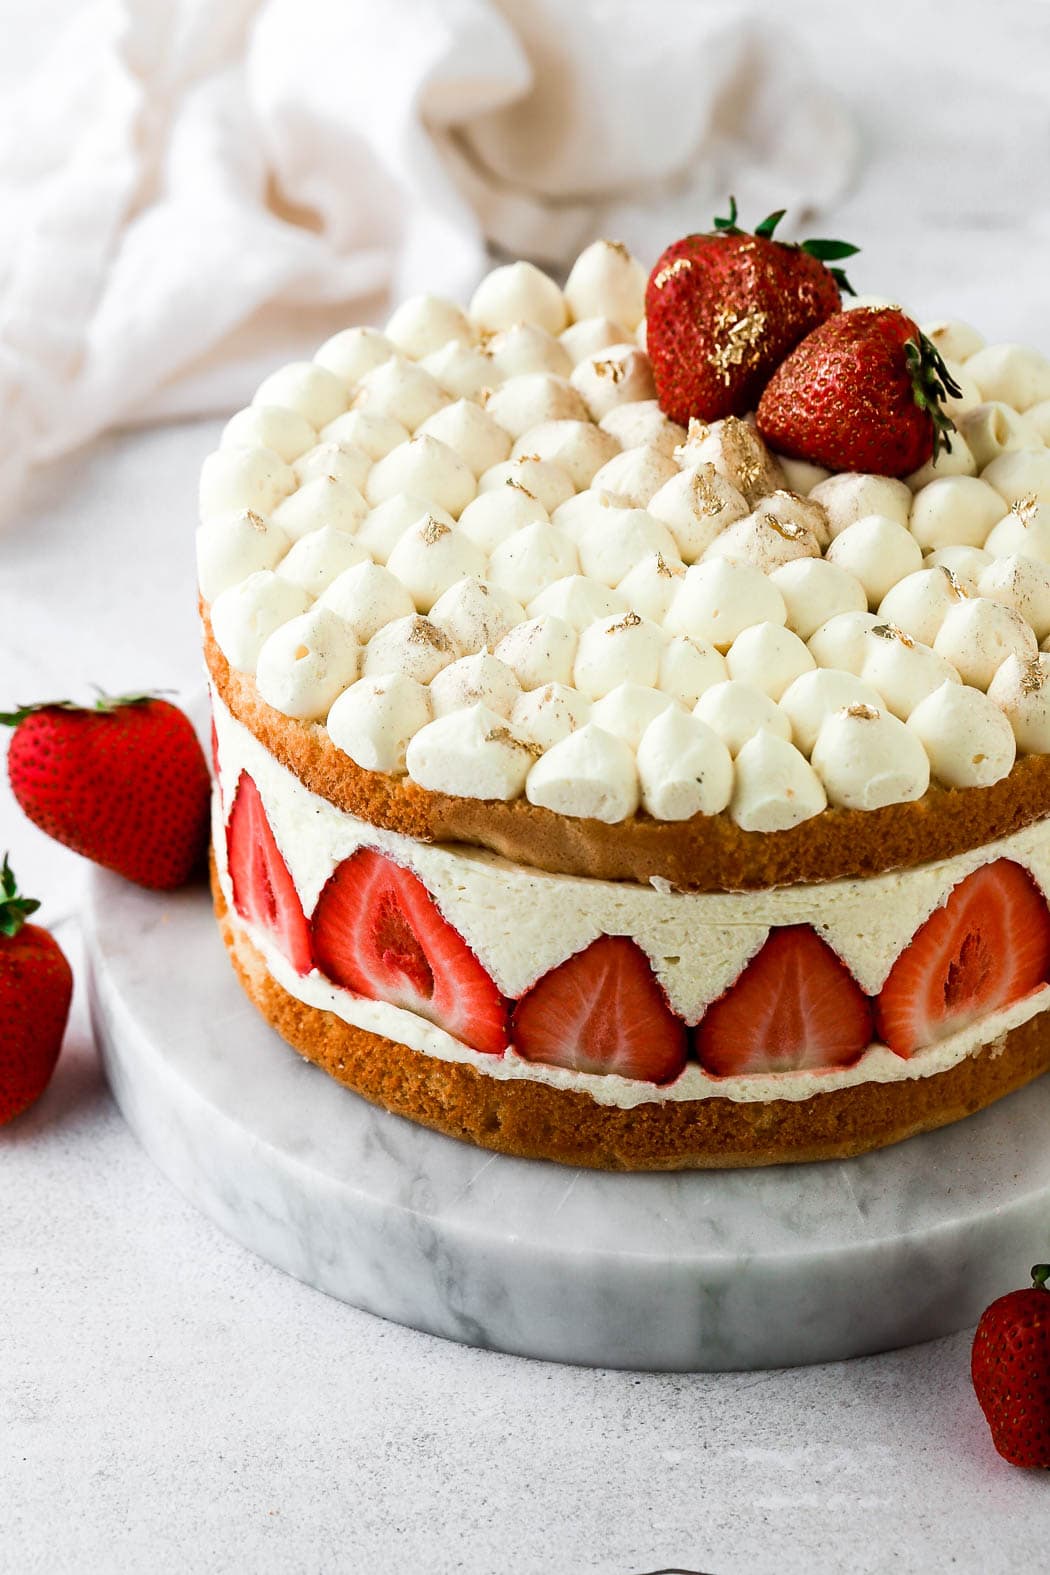
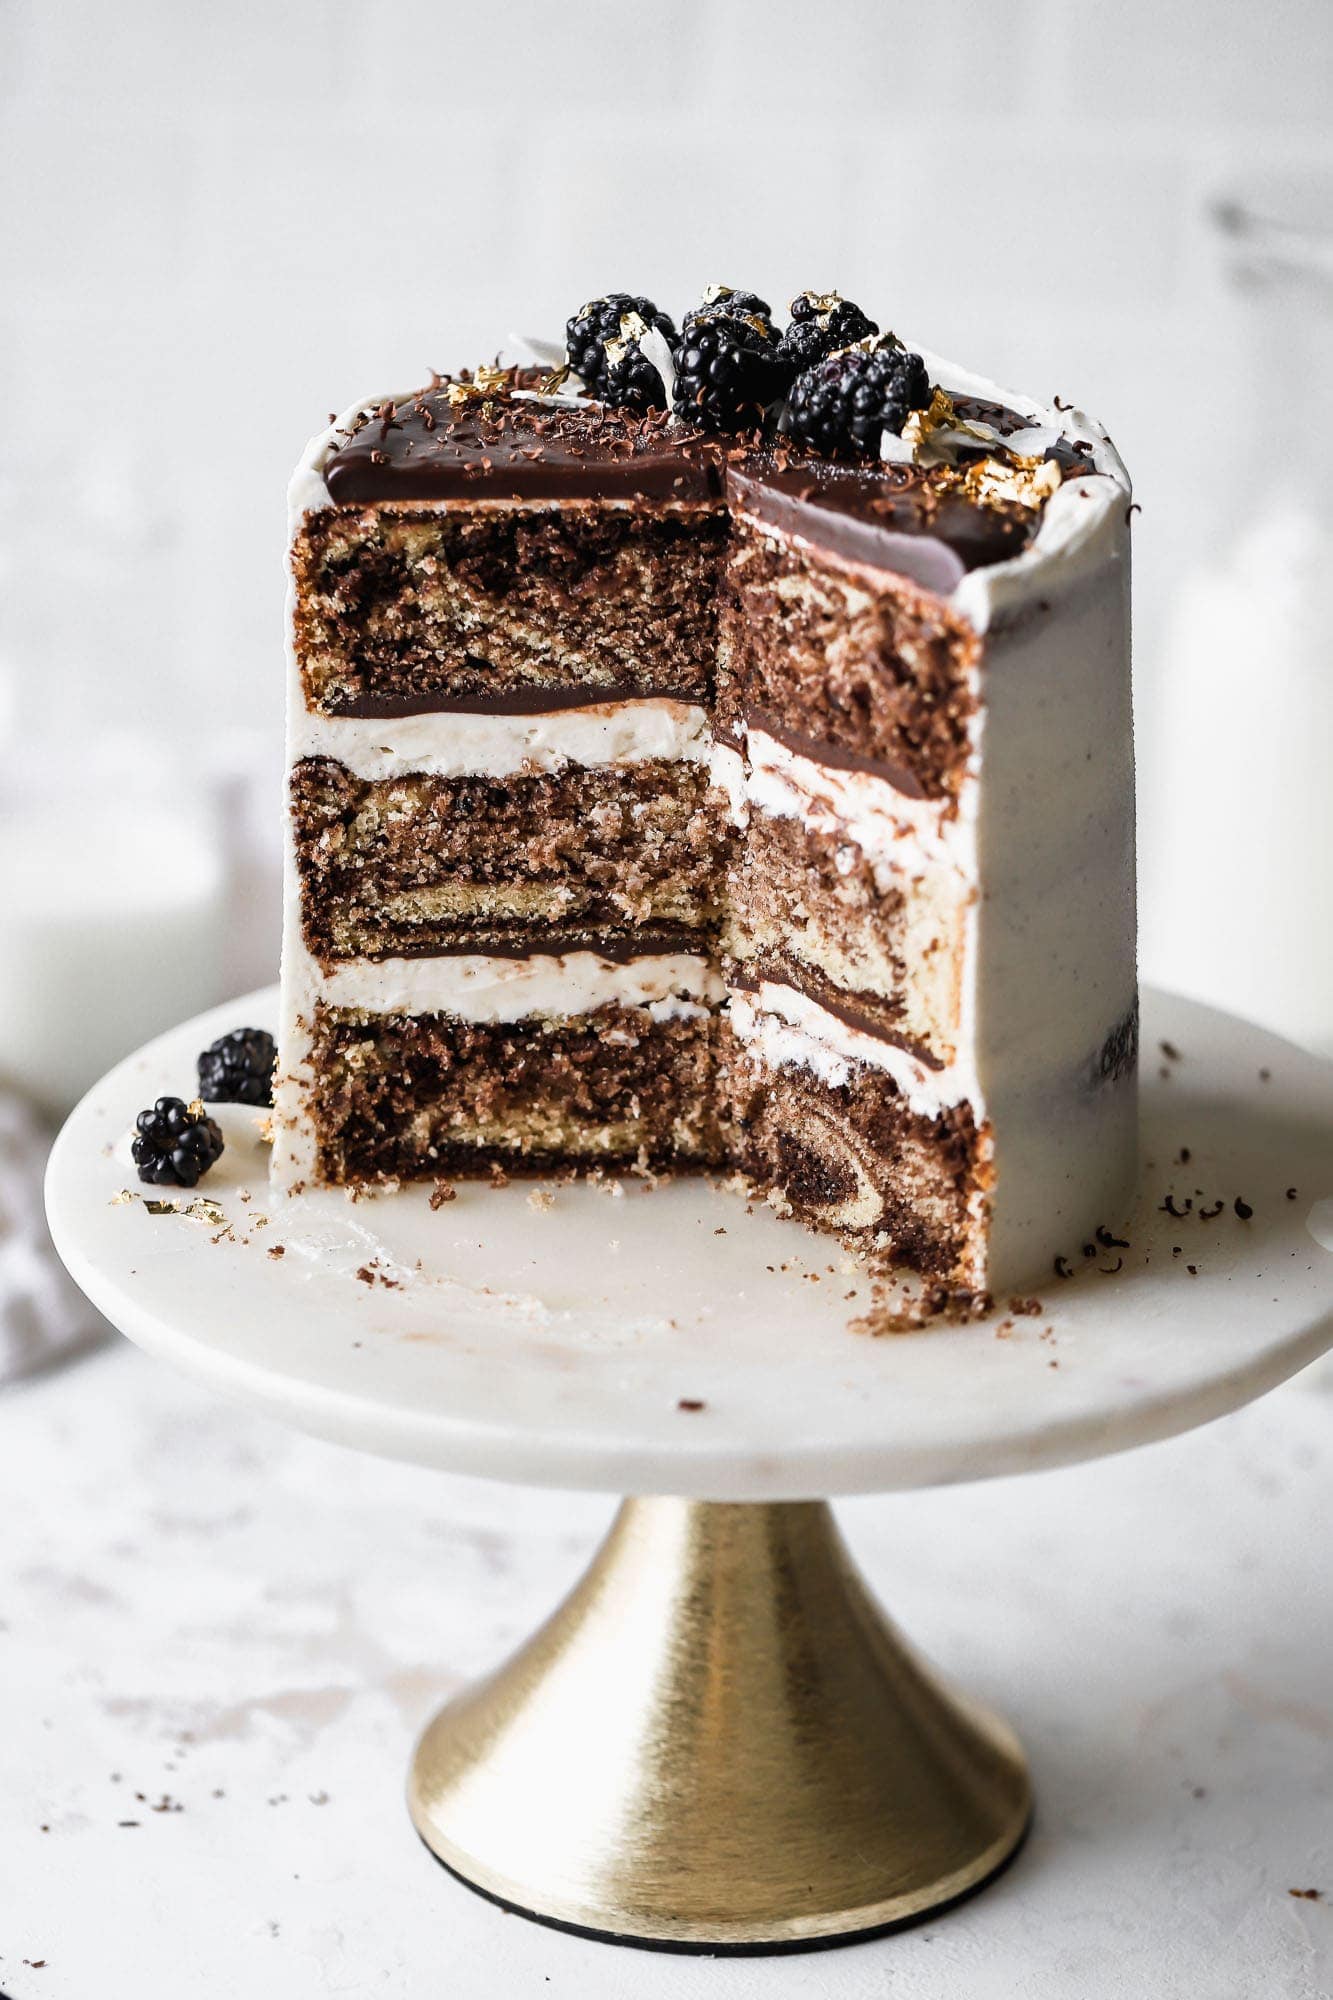
My favorite part is that you can frost these cakes in any way. I used Chantilly Cream here but of course you could also use Mascarpone Cream or a Swiss Meringue Buttercream or French buttercream. You could flavor them with biscoff, pistachio, or dulce de leche, etc.

How To Make Mini Vanilla Cakes
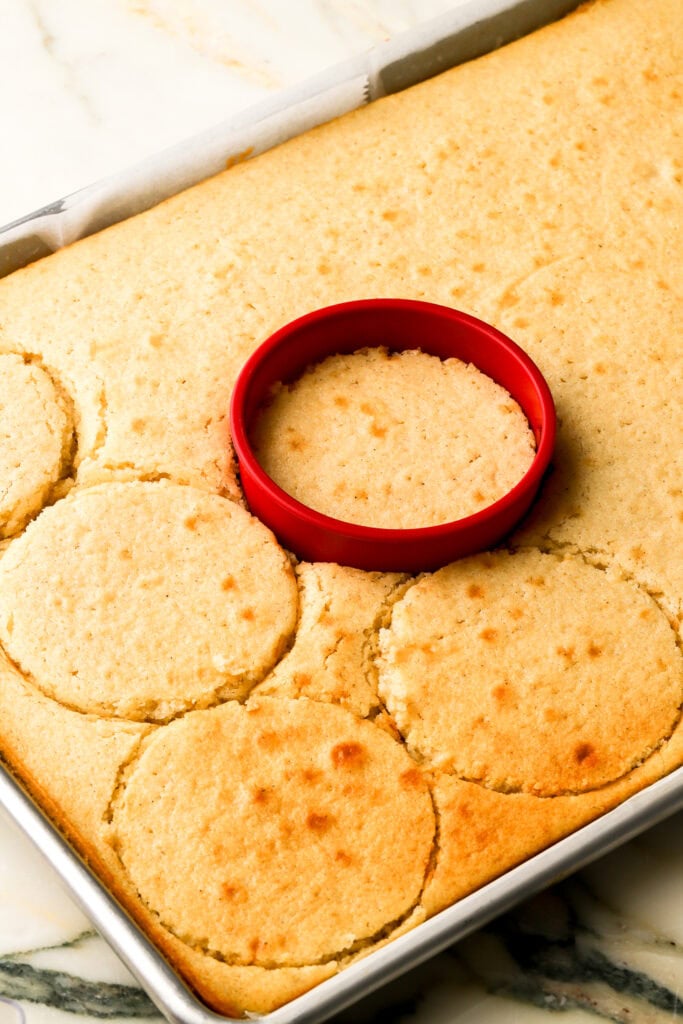
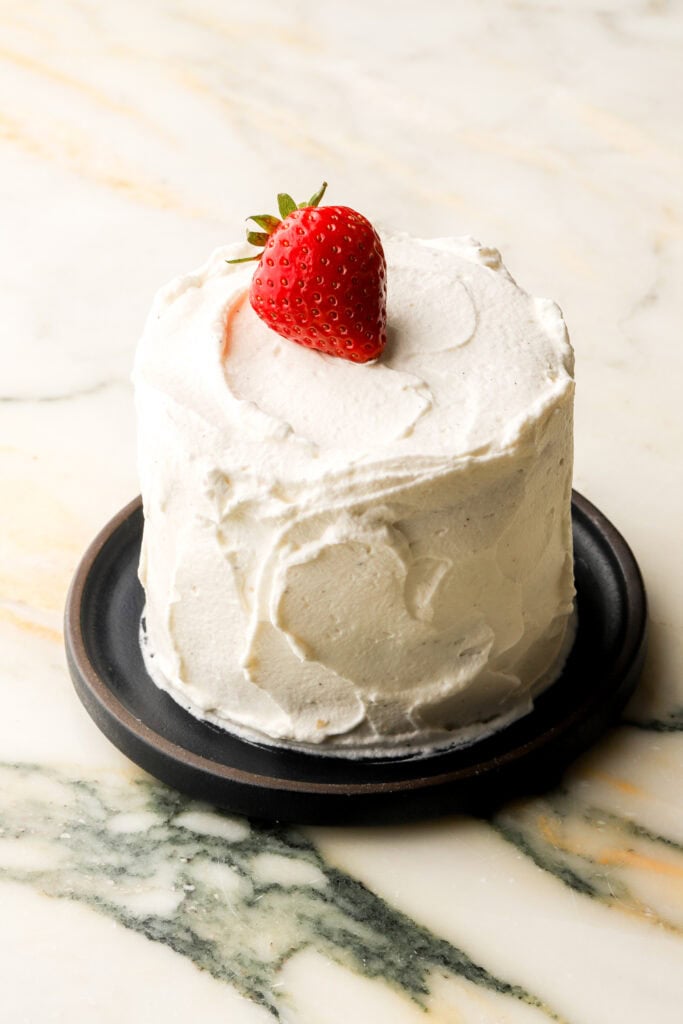
I found it easiest to bake a large sheet pan cake and then use biscuit cutters to out the mini cakes into any size desired. You can use any type of frosting for them, customize the fillings, etc. and you can leave them naked for have them fully frosted (although I will say, it is much more difficult to get a nice finish of frosting on a mini cake than it is on a larger cake). I rustic-ly frosted mine to use as a baby’s smash cake.
Ingredients & Substitutions
- Flour: I specifically developed this recipe to take all-purpose flour because that’s what most people have on hand. Gluten-free flour blends also work well.
- I HIGHLY recommend using a digital scale, as flour is so often over measured.
- Baking Powder: to leaven the cake. I haven’t tested this with baking soda but it should work fine with ¾-1 tsp.
- Sugar: I used granulated sugar in the cake and I don’t recommend cutting any out as it contributes a lot to texture and it’s not overly sweet…
- I also used powdered sugar in the frosting and don’t recommend cutting any out because of stability but you could use a more buttery frosting if you want.
- Oil: I use a combination of oil and butter in my vanilla cake because it gives the best of both worlds – great texture and flavor. Any neutral oil, like avocado, vegetable, canola, etc. is fine. I like salted butter for pretty much everything besides frostings but unsalted also works.
- Eggs: I use large eggs, make sure they’re room temperature. If not, then just place it in a cup of hot water for 10 minutes before using it.
- Sour Cream: I’ve used greek yogurt and sour cream in this recipe and they both work well. You can also use plain yogurt.
- Milk: I use 2% or whole milk, make sure it’s room temperature. Dairy free milk also works well (and honestly so does half and half).
- Vanilla: I like using vanilla extract for cakes and vanilla beans for frosting. Vanilla bean paste works for both as well.
- Heavy Whipping Cream: I recommend using the cream with the highest fat you can find and make sure it’s cold when whipping.
Step-by-Step Photo Instructions
Vanilla Cake
- Whisk together the flour, baking powder and salt until they’re evenly distributed.
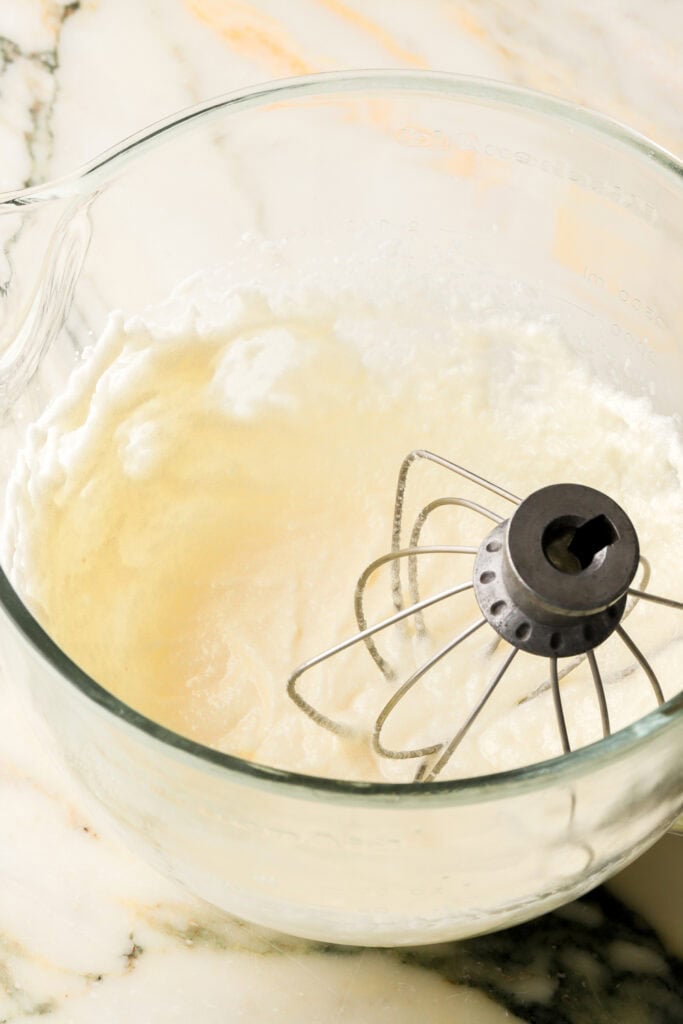
- In a separate bowl, beat the butter, oil and sugar until they’re well combined, pale and fluffy.
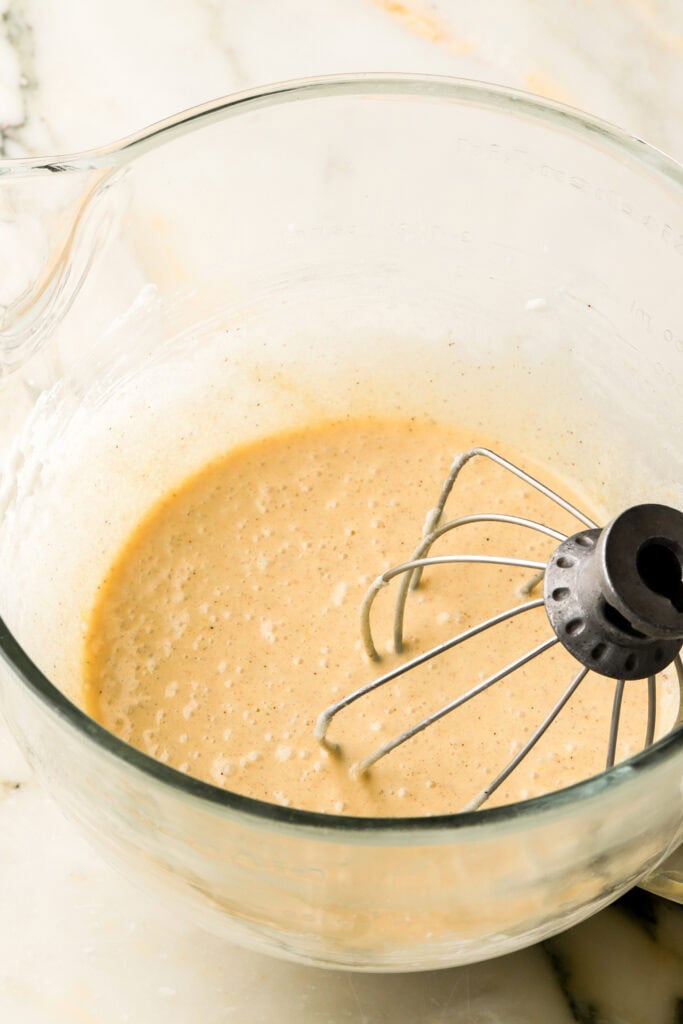
- Add the eggs in, one at a time, beating well between each addition.
- Add in the vanilla and sour cream, beating well until it’s completely combined.
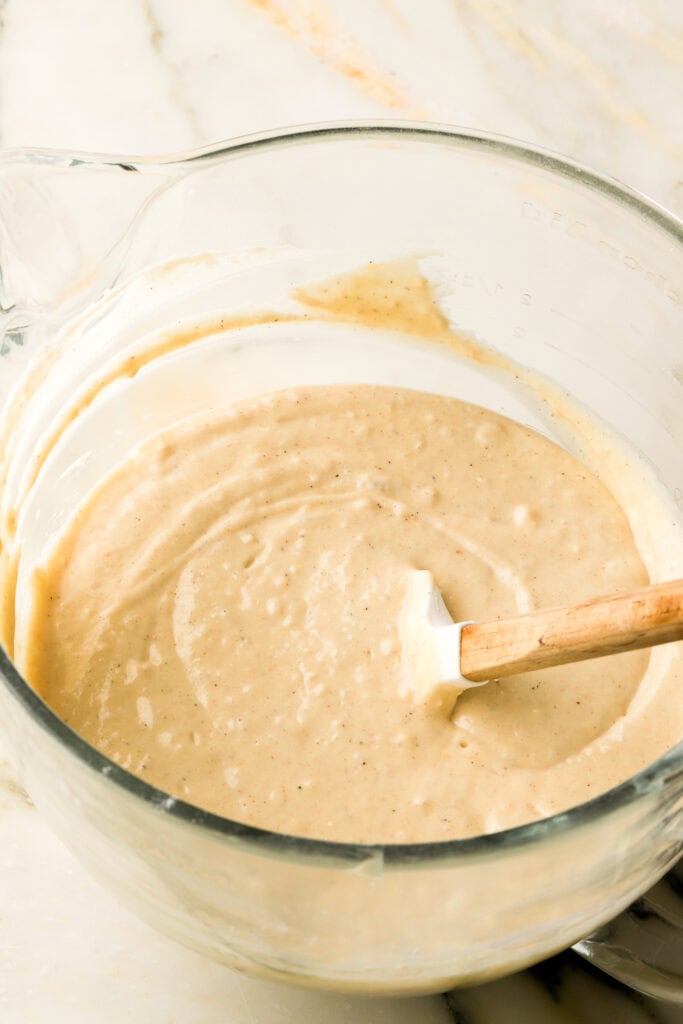
- Add half of the dry ingredients over the wet, followed by the milk and the rest of the dry ingredients.
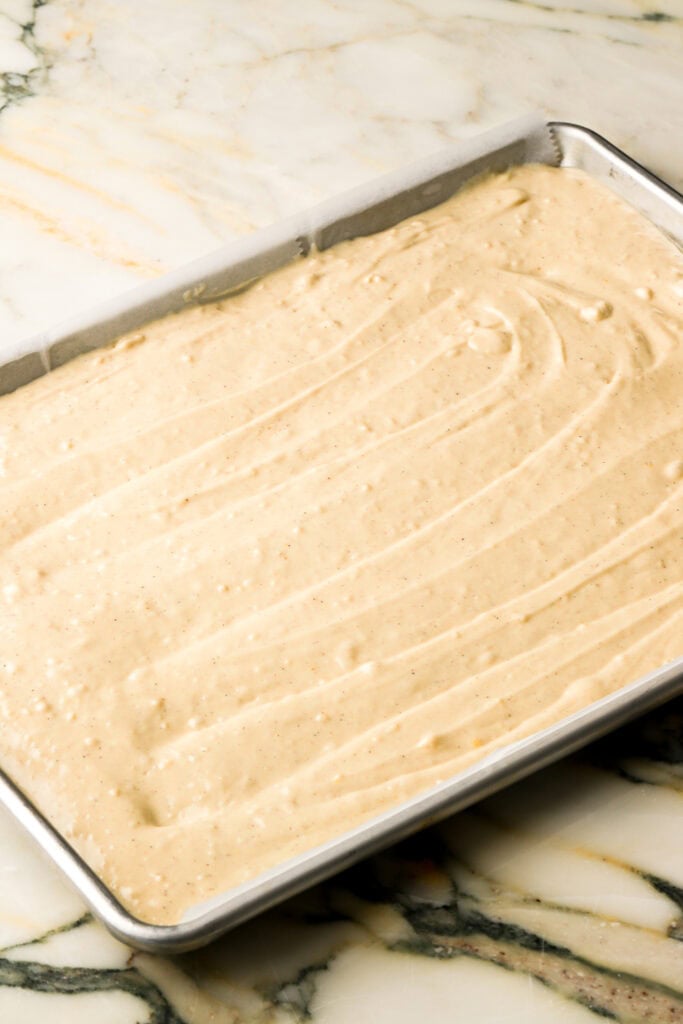
- Scrape the edge of the bowl and give it a good mix. Pour into the prepared cake pan.
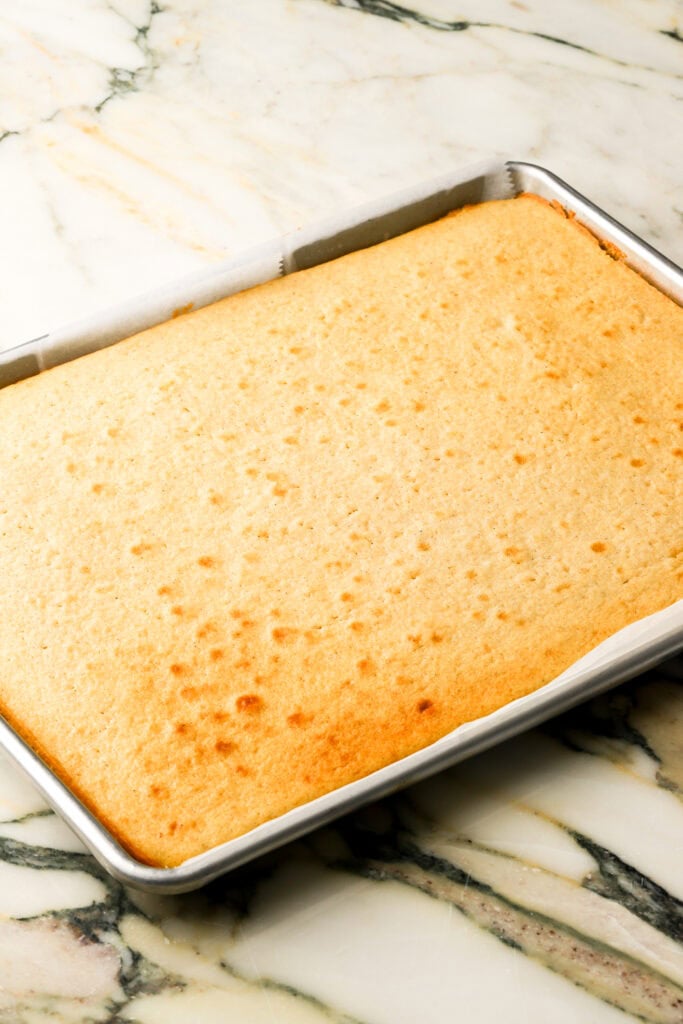
- Bake for 15-20ish minutes, until the center of the cake springs back when you press on it. If you’re hesitant, give it another minute or so.
- Let the cake cool completely before cutting out the circles.

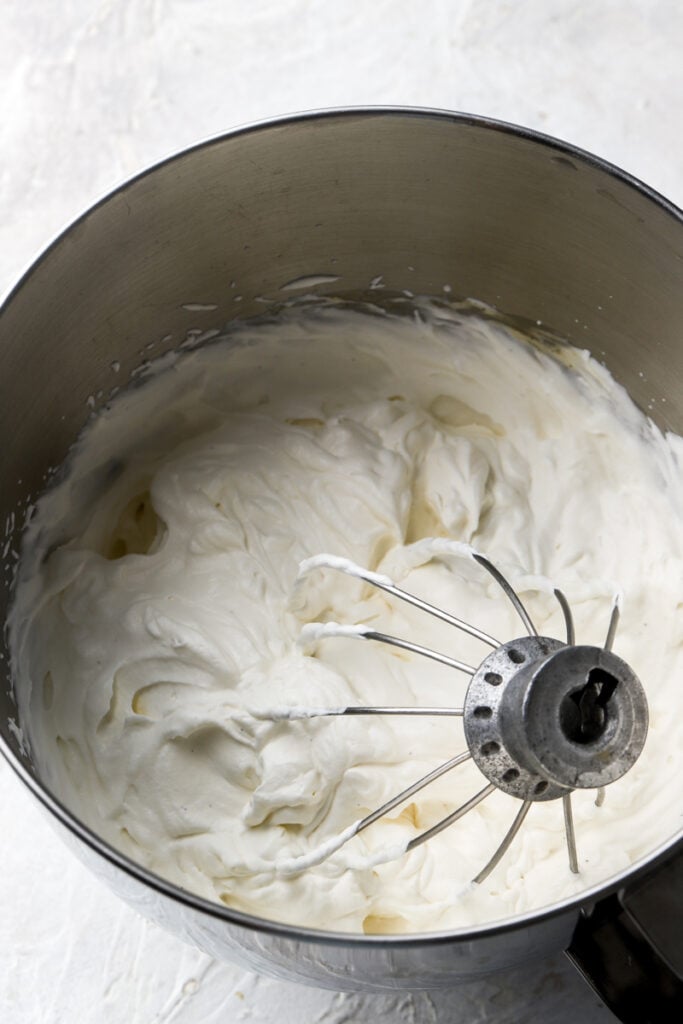
Chantilly Cream
- Sift the sugar into the bowl with the salt.
- Add the heavy whipping cream and vanilla bean paste and whip until it’s thick and fluffy and just when it reaches a stiff peak. Don’t over-beat or it won’t be smooth anymore (and can turn to butter lol). *If you over-beat slightly, add a touch more cream and fold just until it’s combined.
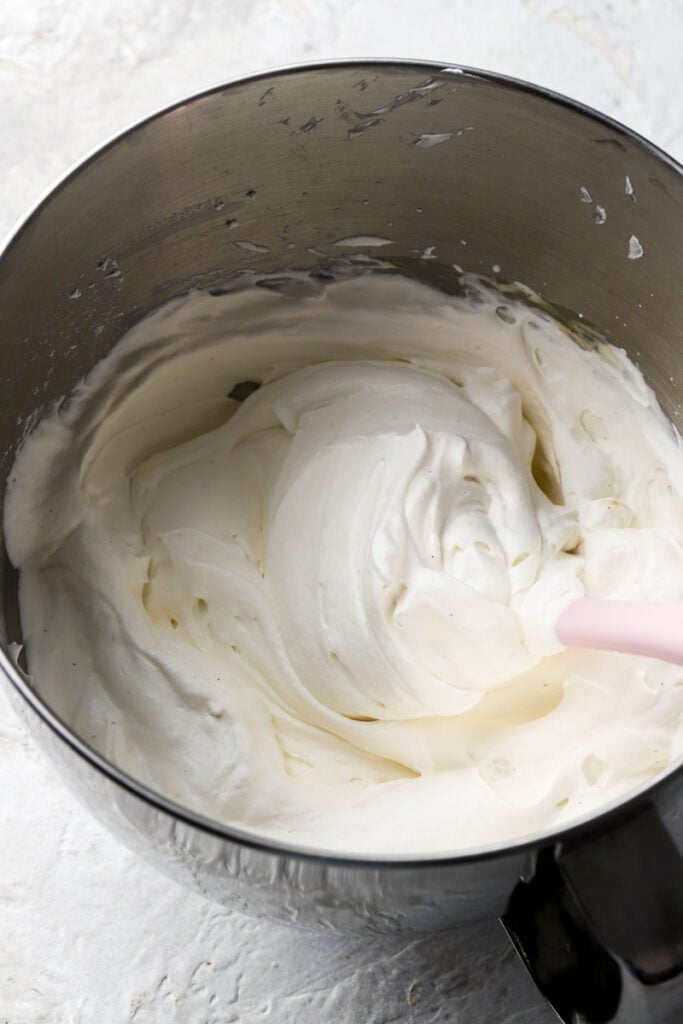
- Use a rubber spatula to fold it back and forth a little to smooth out the cream and make it look silky.
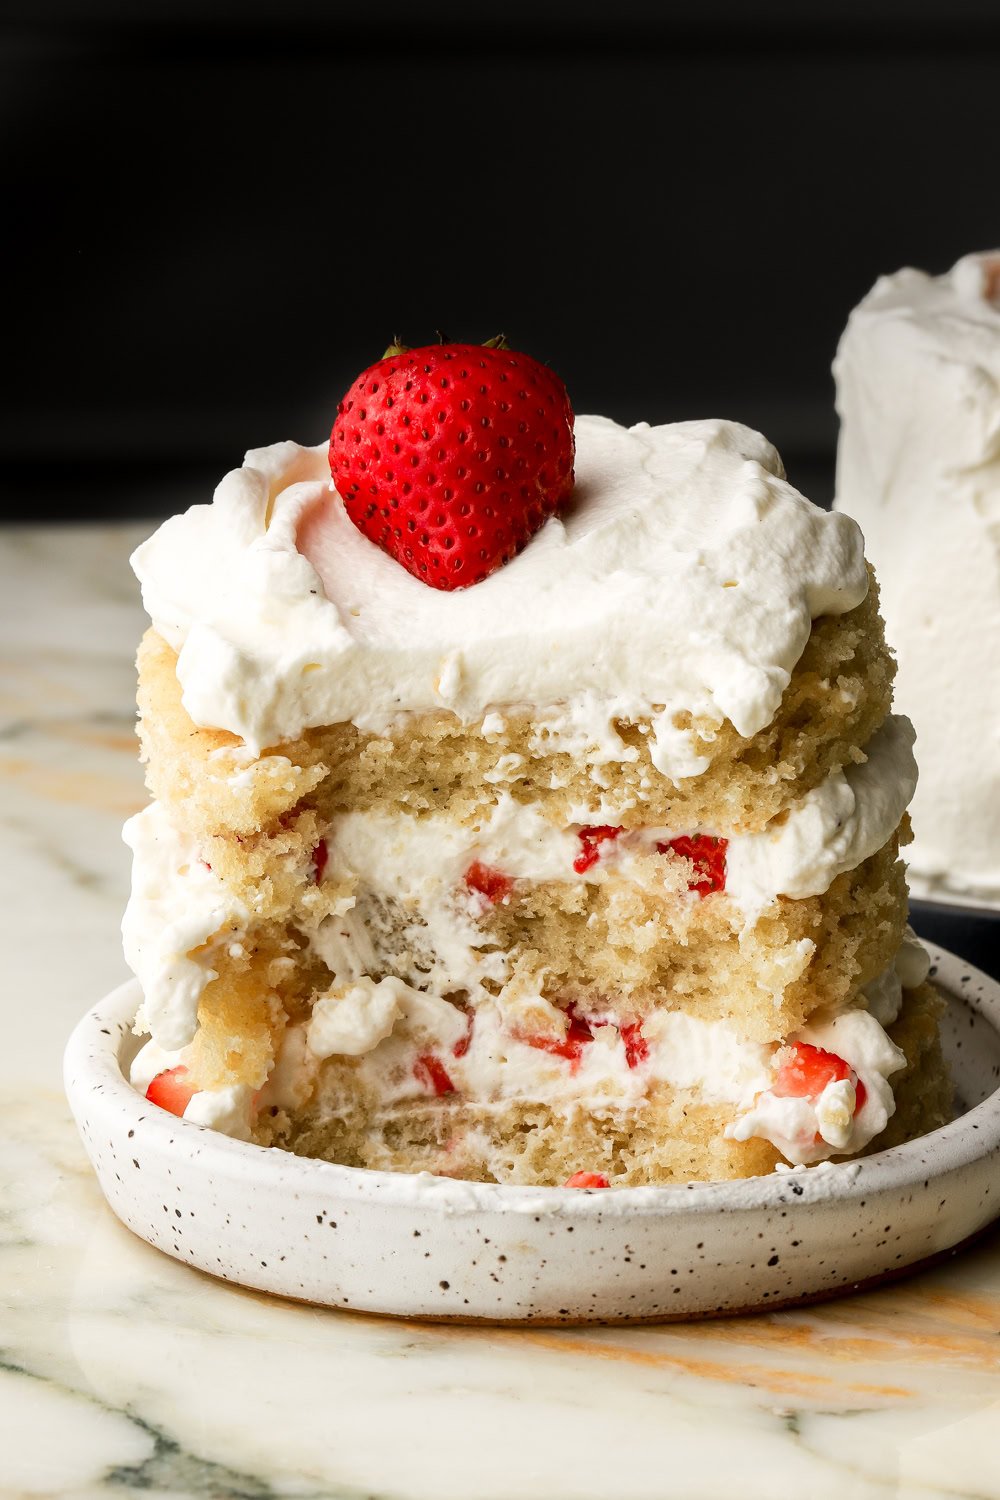
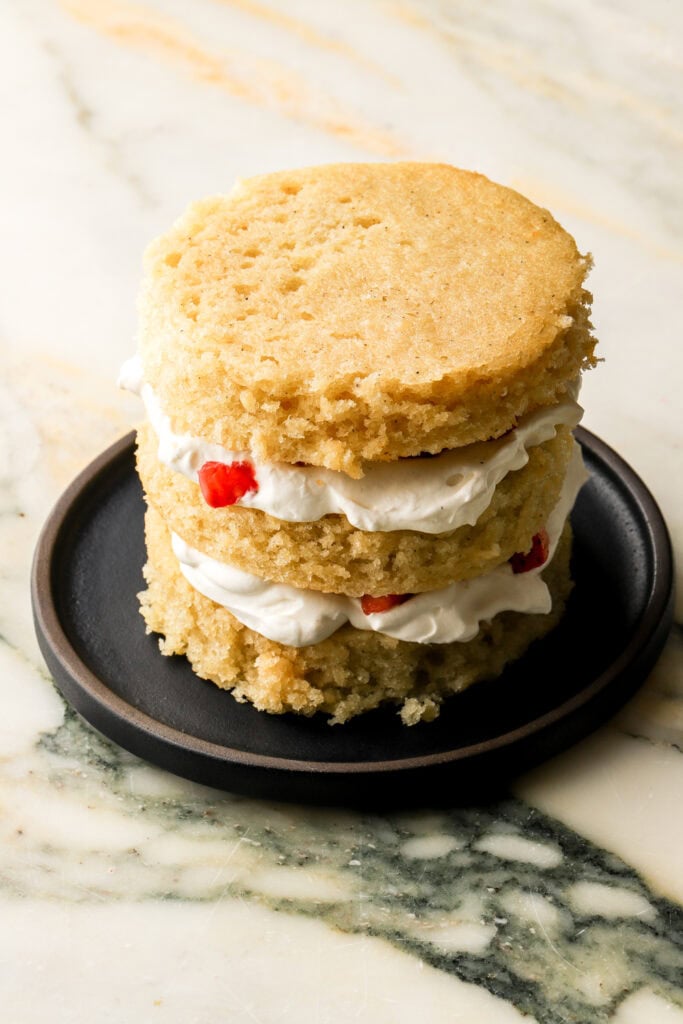
- Spread the cream on top of the first layer of cake, swirl in some dollops of jam and repeat for the next two layers.

Expert tips on getting perfect little mini cakes
- Don’t swap ingredients unless I mentioned them in the ingredient section above.
- Don’t reduce the sugar. I know a lot of people do that for some recipes but not this one.
- Weigh your ingredients with a digital scale
- Weigh the batter for each cake tin to get even layers.
- Make sure to measure your pan accurately and map out your cut outs before making the first cut into the cake.
- Make sure the heavy cream is cold before making the frosting.
How To Frost/Decorate Mini Cakes
Mini cakes are actually really difficult to frost and decorate lol. Their tiny size just doesn’t leave any room for error and it’s quite difficult to get a smooth finish. My style definitely embraces a rustic finish with the frosting or you could leave them naked or even semi-naked.
If you’re wanting to decorate it well, I would recommend a buttercream like Swiss Meringue Buttercream.
You’ll need a turntable and small offset spatula as well and a piping bag with small piping tips would be ideal.
FAQs
You can technically bake any cake recipe in a sheet pan to do this however I have not tested other recipes and not all recipes are created equally. This particular recipe bakes nice and flat in the 11×15” sheet pan so it’s perfect for cutting out equal size circles.
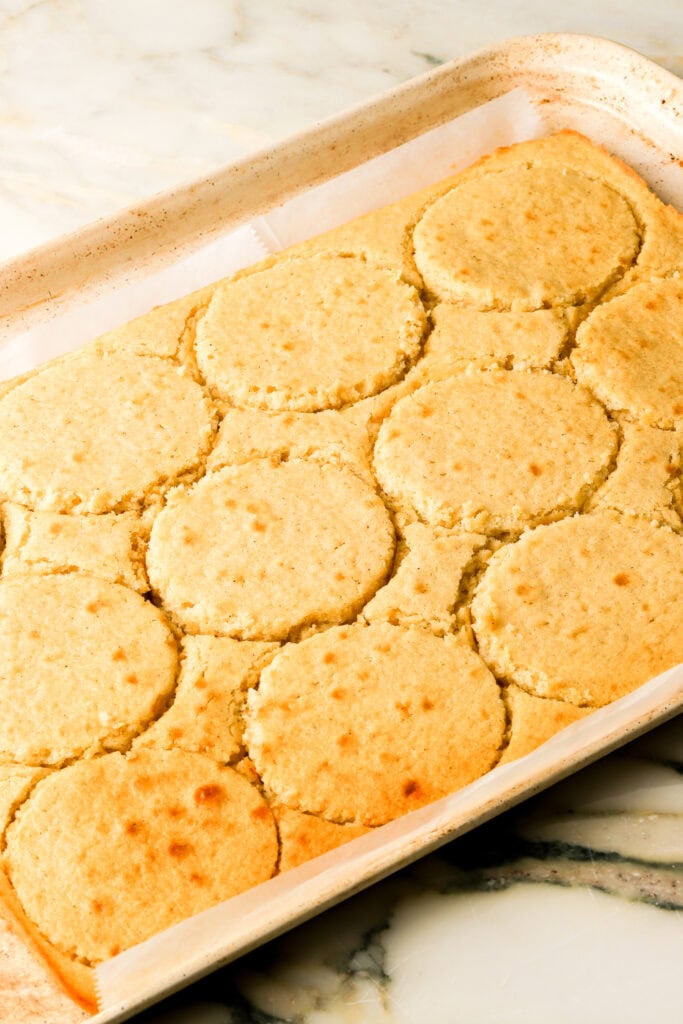
It depends on the size pan you use and the size of the circles you cut out. I used an 11×15” sheet pan and I cut out 12 circles with a 3 inch biscuit cutter. I had to stagger the circles just a bit to squeeze out 12 so it is tight. I then layered three circles per cake so that gave me four total mini cakes.
SO GLAD YOU ASKED! Most people will tell you to make cake pops or cakesicles with cake scraps, however I find those to be so tedious and not worth my time so I make cake scrap boxes or cakes in a jar!
You just layer all the scraps in a jar or a to-go box/container with the fillings and frostings and give them to friends or sell them for cheaper if you’re a bakery.

How to store mini cakes
If the cake(s) are not frosted, you can keep them airtight at room temperature for a couple of days. If it’s frosted, store it airtight in the fridge for up to a week.
The cake also freezes well. Just wrap the whole cake in plastic wrap and then foil and freeze. Or place slices in an airtight container and then place the container in a freezer bag, squeezing out all the excess air. Bring back to room temperature by thawing at room temperature for a few hours before serving or refrigerate overnight.
Thanks so much for reading today’s post, if you have any questions just comment down below. If you make these mini cakes, I’d love it if you left a 5-star rating or a review for me!
As always, have a blessed day and happy baking!
Love, B