
Cakesicles (Two Ways)
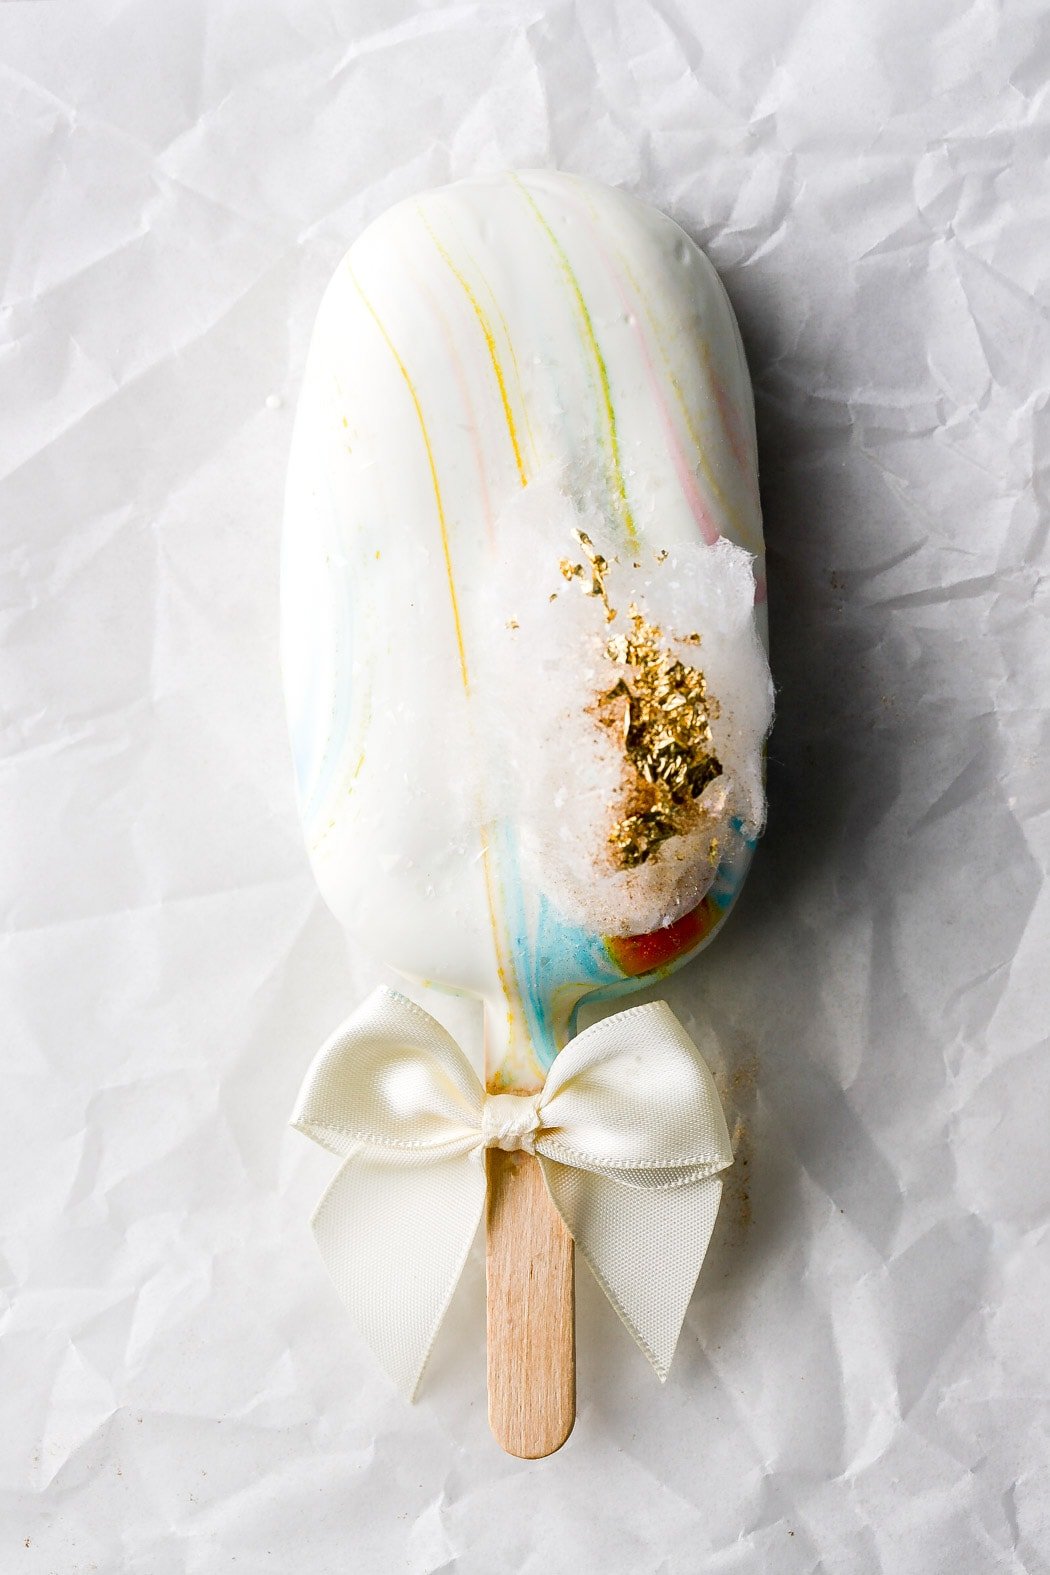
Cakesicles – the modern way to eat cake. Your favorite cake, compacted into a popsicle shape and dipped into melted chocolate coating. A million different flavor combinations and decorating options.
Most bakers have a love/hate relationship with cakesicles. They’re such beautiful little treats but honestly, they’re a little finicky and can be time consuming. So I took it upon myself to simplify the process so we can all enjoy making these, not just eating them.
I tested different methods of making them, different types of chocolate, different types of food coloring, different consistency of the cake crumbles and frosting ratios, etc. I did it all. That’s why this recipe wasn’t up in February when it was supposed to be. LOL
One thing to keep in mind with cakesicles is that they require urgency and finesse at the same time. Chocolate usually sets quickly and it can get very messy so practicing will help you work quicker and cleaner resulting in a lovelier final product.
What is a cakesicle?
Cakesicles are basically a cake mixed together and molded into popsicles using a cakesicle mold. They are covered with candy melts or melted chocolate to hold their shape and they are eaten like popsicles.
If you’ve ever had a cake pop they are essentially the same thing, just bigger and shaped differently.
How to make cakesicles
There’s a cake center and a chocolate coating. Most recipes call for cake and frosting for the cake filling but I found that it’s not necessary to use frosting at all.
Here’s why:
- The frosting is usually used as a “glue” to hold the cake crumbles together but if you have a moist cake, the cake will stick to itself.
- Cakesicles are coated with candy melts or melted chocolate, both of which are usually very sweet. Most people find cake pops/cakesicles too sweet anyway so avoiding the frosting in the cake filling is golden.
- If your cake is too dry and you do need to use a “glue”, I recommend using a couple Tbsp of milk or cream because this will hydrate the cake enough to make it stick to itself without making it super sweet.
What kind of cake to use
The best part about cakesicles and cake pops is that you can use whatever cake you want! & if that means the scraps that you cut off to level your cakes then yes, go for it!
I used my Vanilla 4 Inch Cake for this part to provide a recipe. It will make 6-10 cakesicles (depending on the method you and how tightly you pack the cake – see method section).
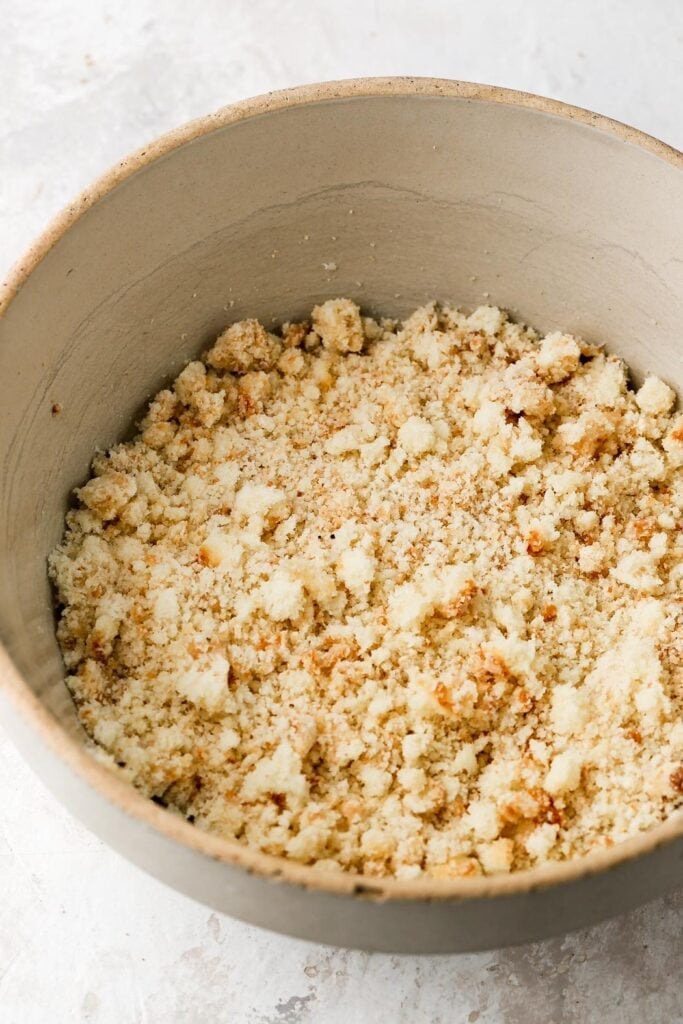
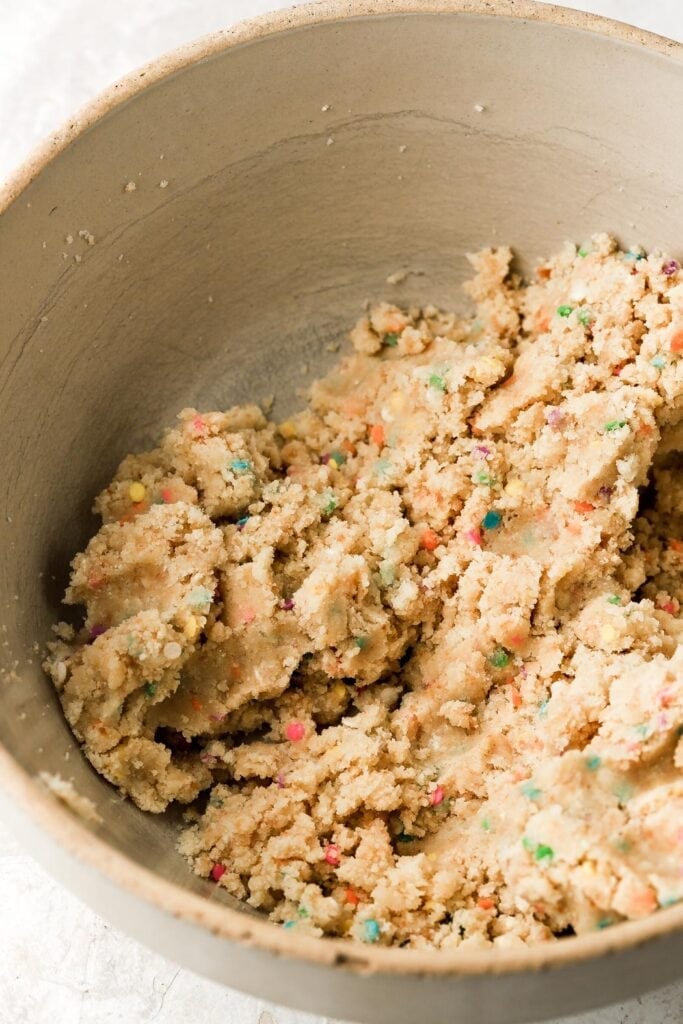
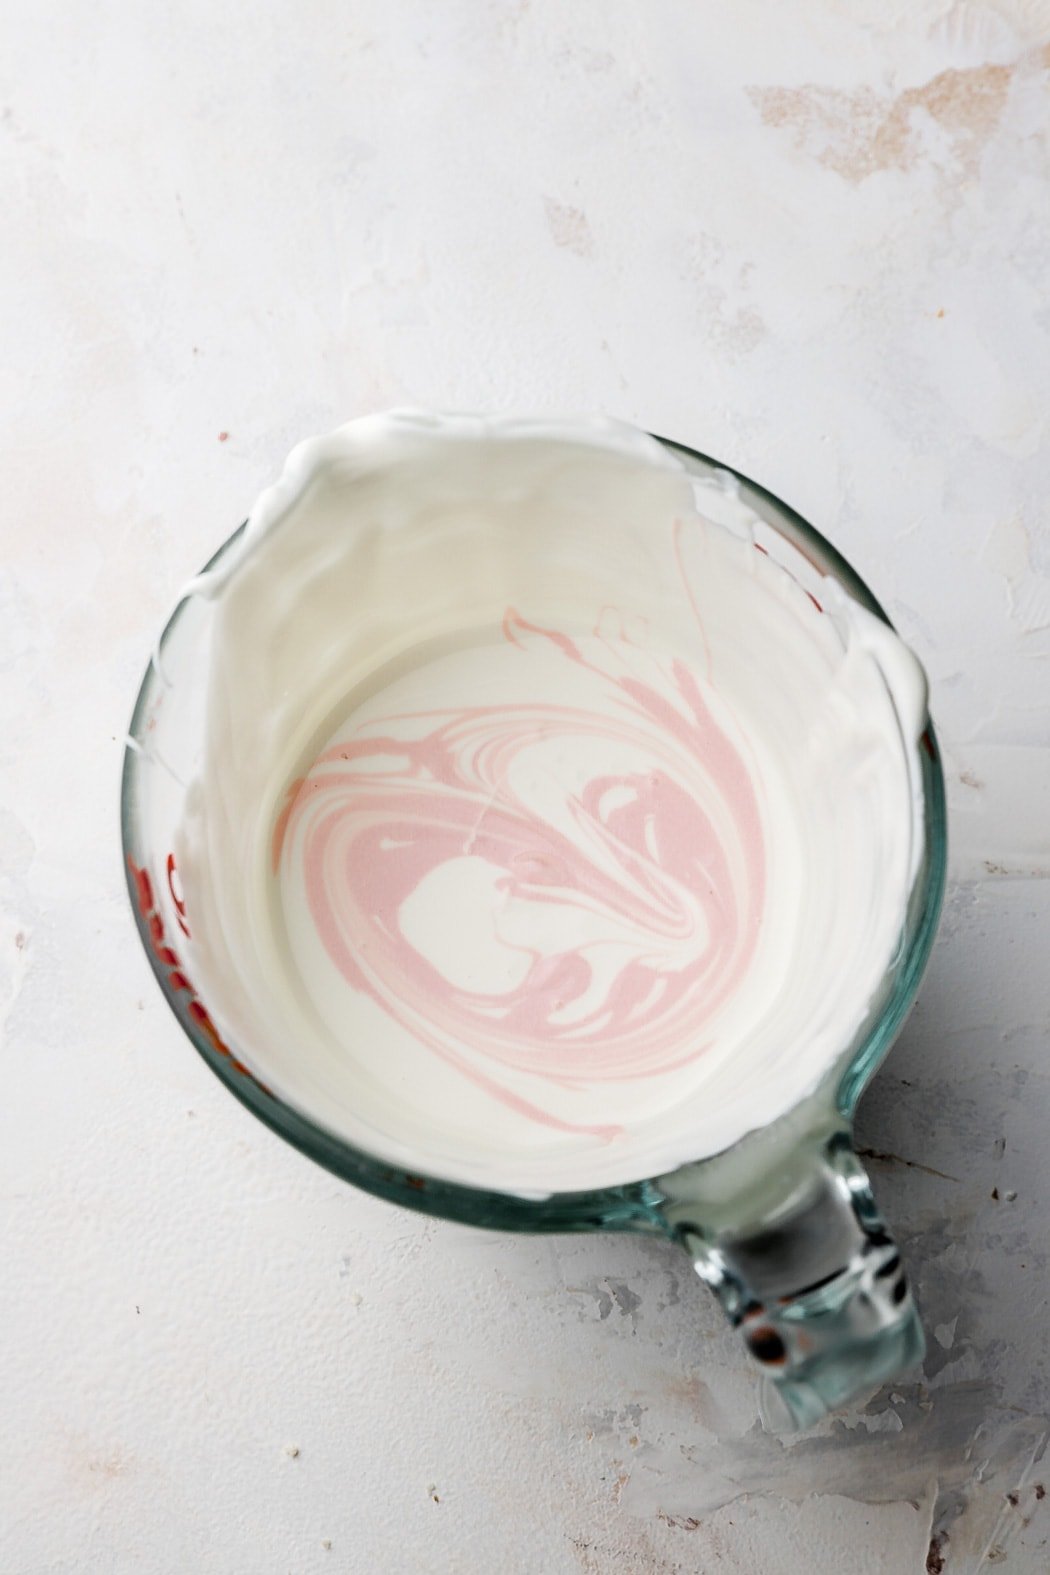
After you bake the cake, let it cool completely. Then crumble it with your hands or a mixer. When you squeeze it in your hand, you want the cake crumbles to stick together, like cookie dough. If it’s too crumbly, add 1-2 Tbsp of heavy cream or milk and test it again. Then add more, if needed.
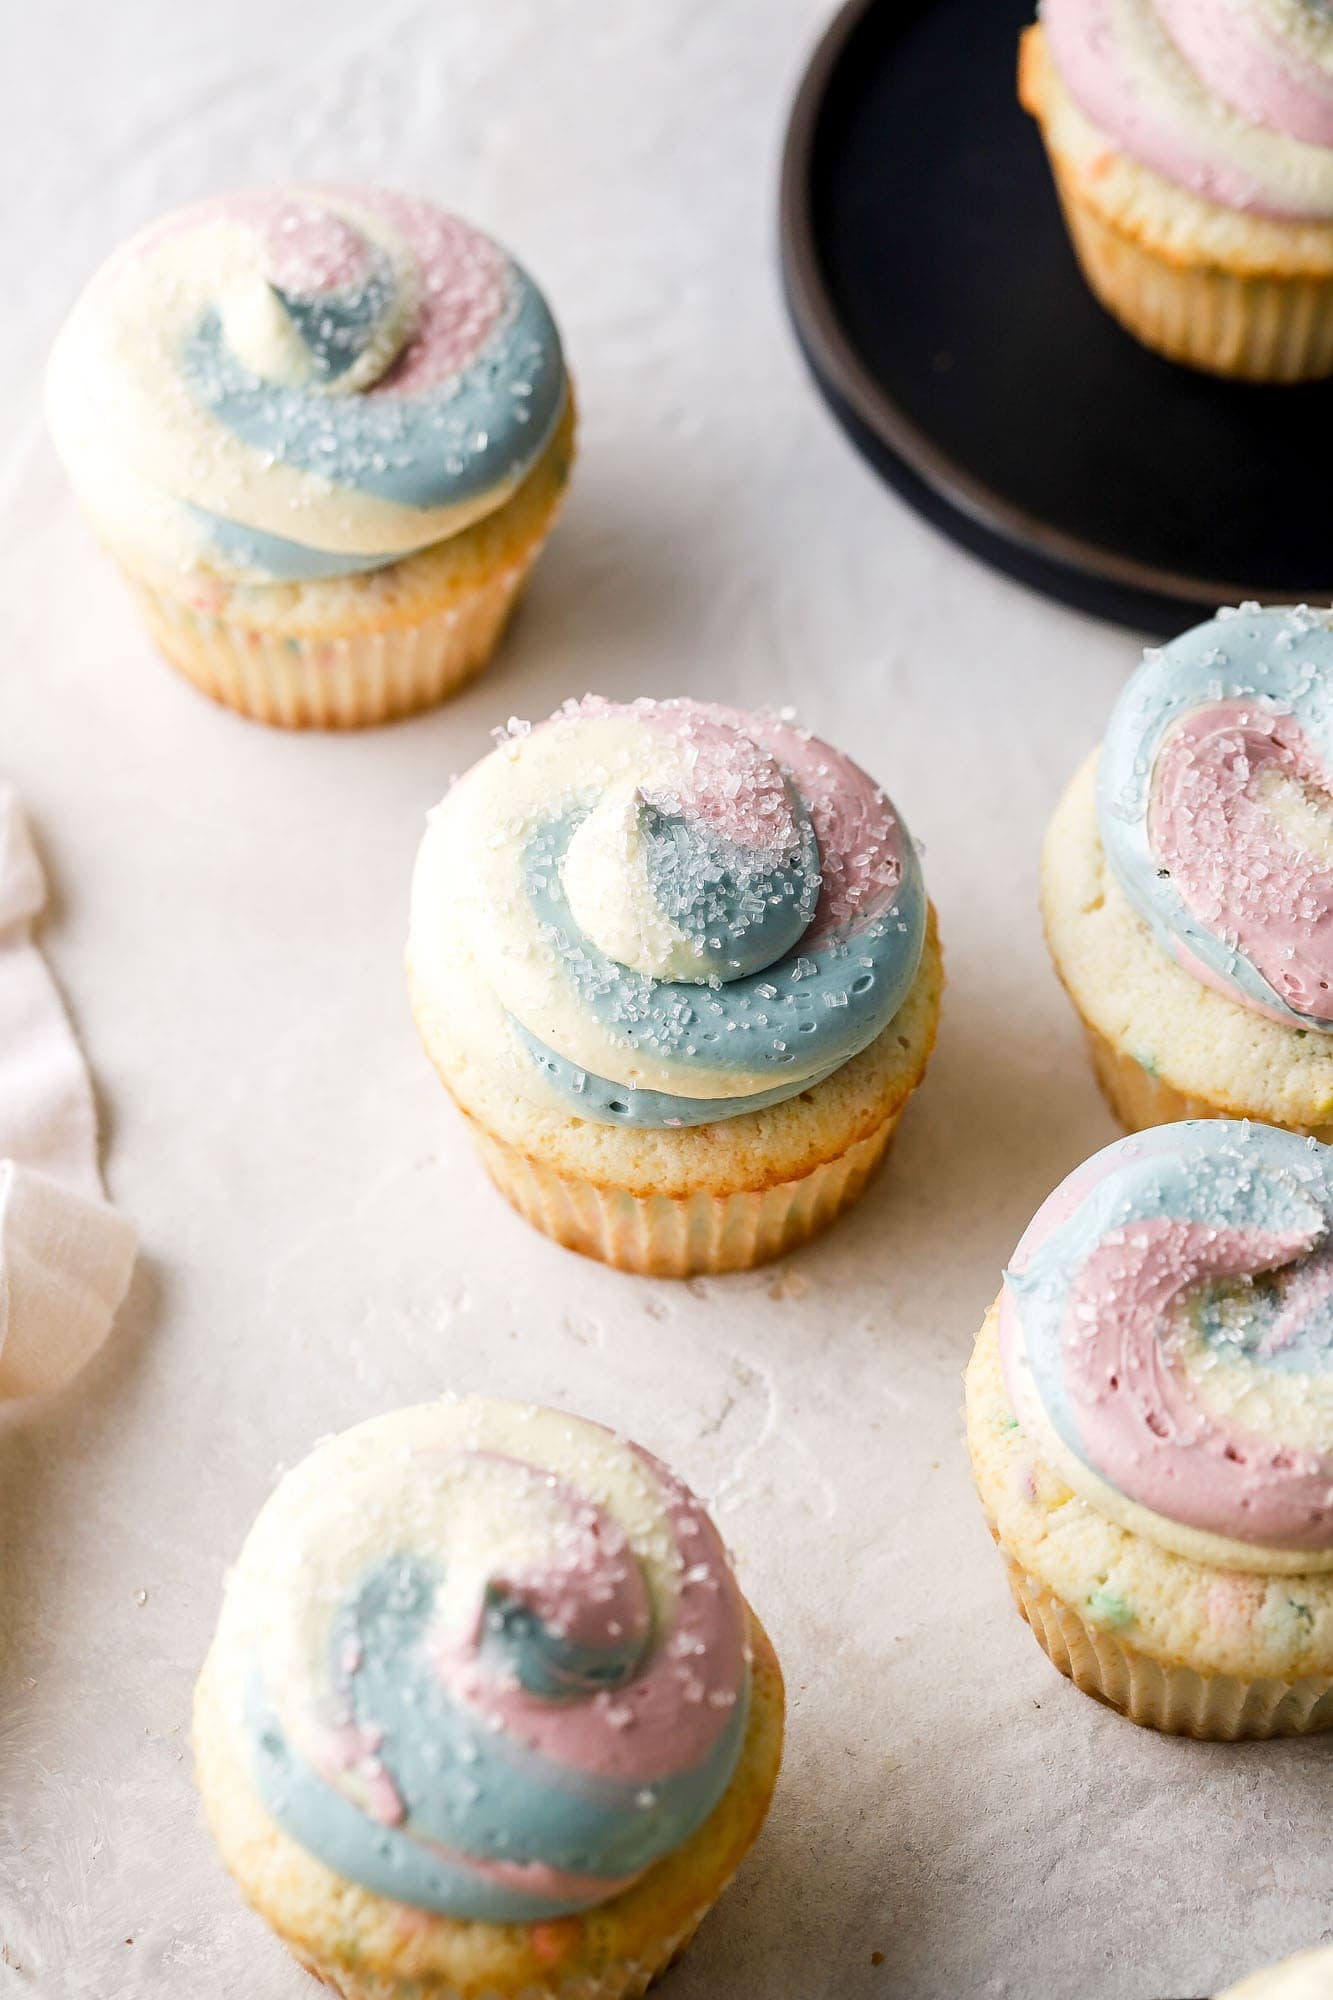
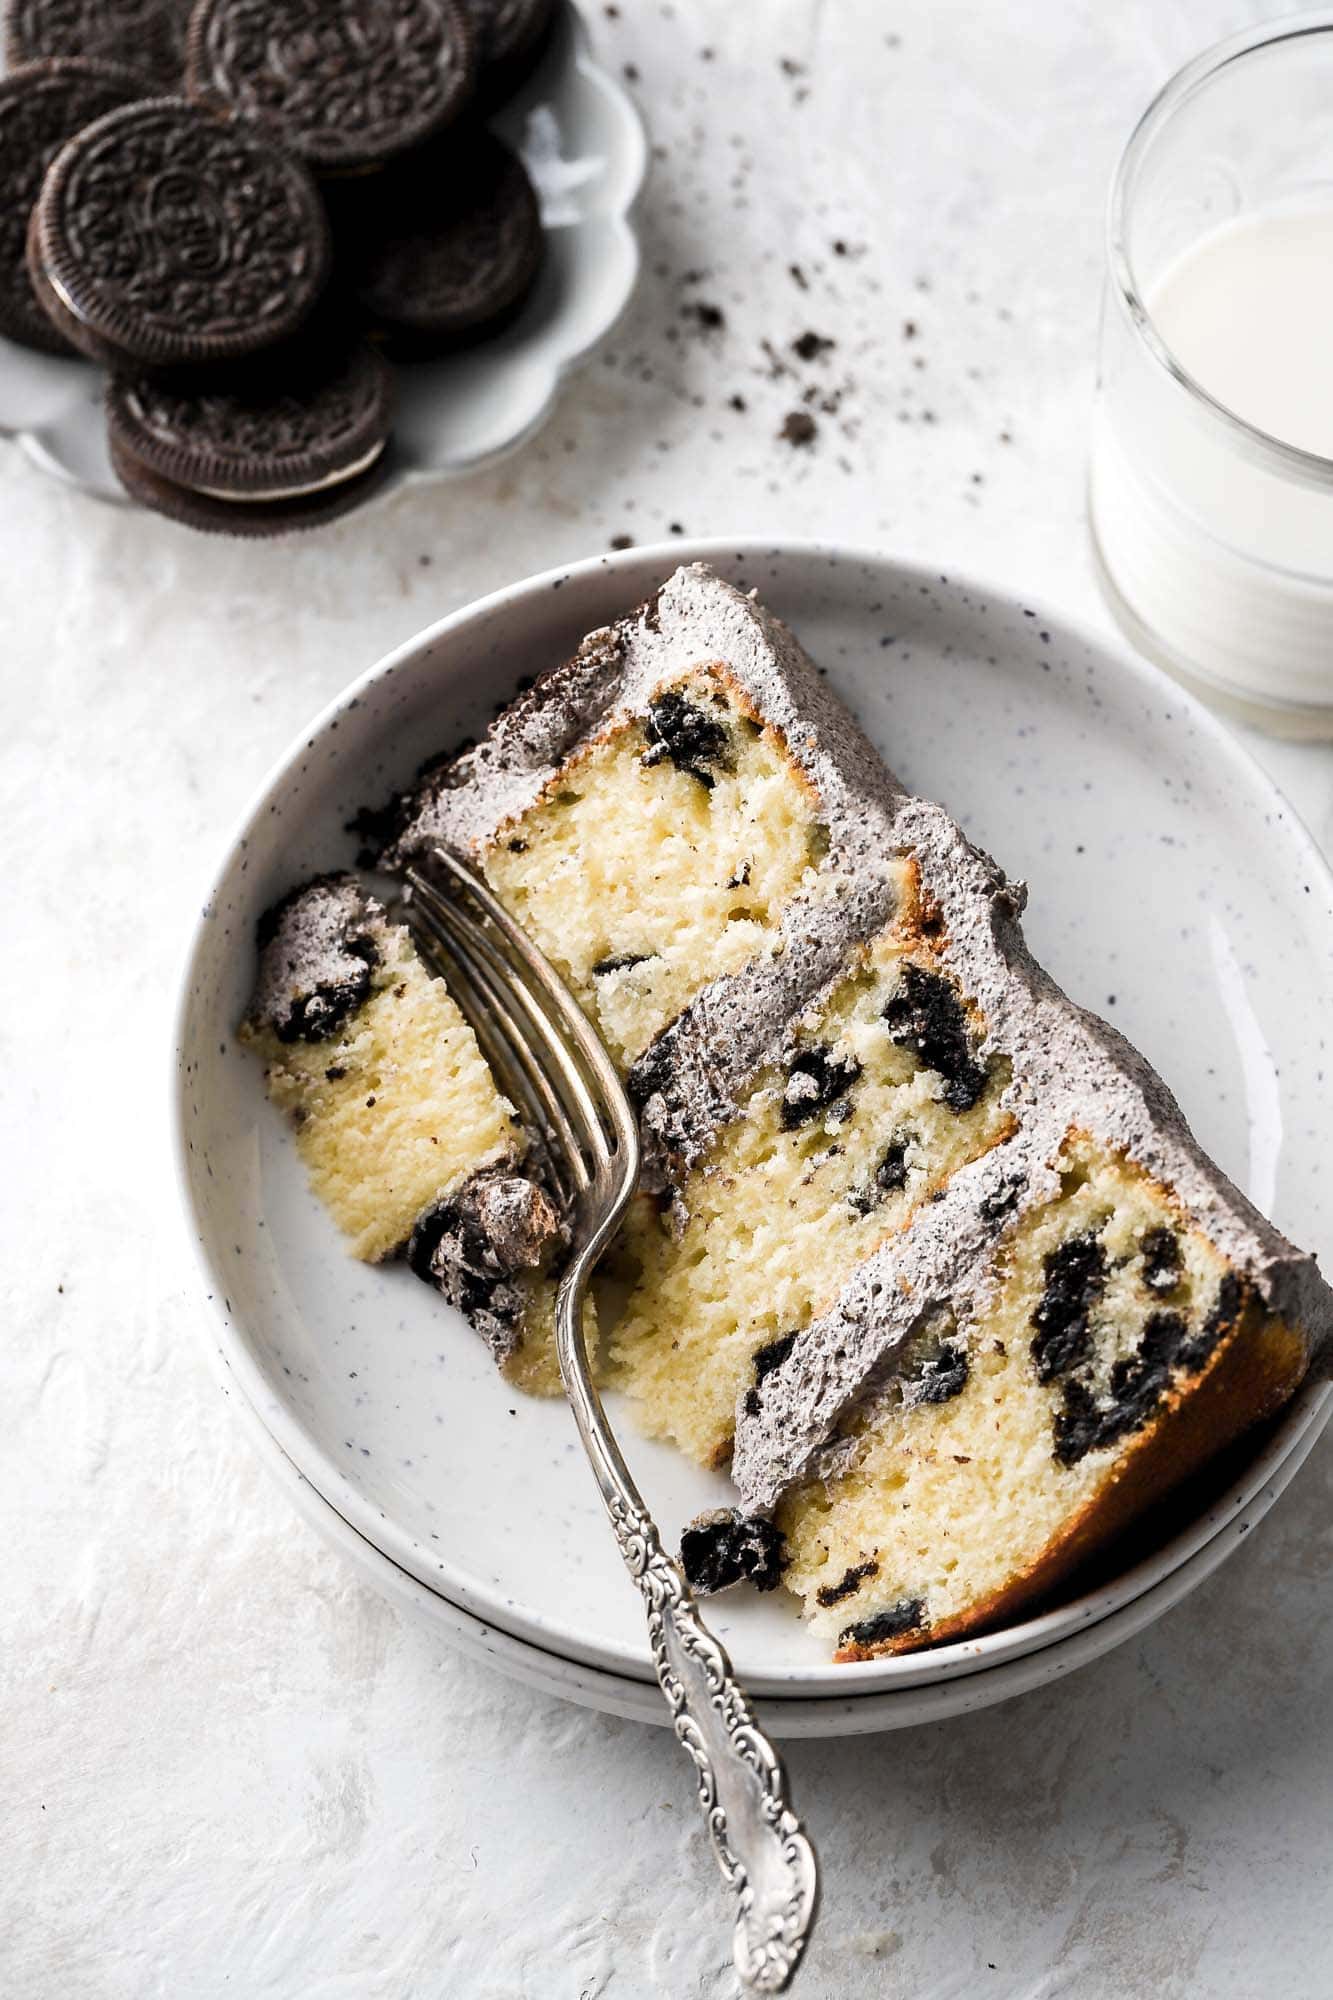
Other great cakes to make cakesicles with are my Small Batch Cupcakes (Chocolate and Vanilla Recipe), these Funfetti Cupcakes , S’mores Cupcakes , Carrot Cake Cupcakes, Brown Butter Cookie Butter Cake, Oreo Cake, and even Classic Banana Bread.
Ingredients:
- Flour: I use all-purpose flour because most people have it at home. To prevent over measuring your flour I recommend using a digital scale.
- Fat: I like the texture oil gives my cakes and with a cake this size you would have odd measurements if I used butter and oil (like I do in most of my cakes).
- Egg: Use room temperature eggs to prevent the batter from curdling. You can place them in hot water for 5-10 minutes if you forget to take them out ahead of time.
- Sugar: I generally don’t make diet friendly recipes so please don’t take out any sugar. It will make your cake tasteless and dry. Consider this your warning if you’re thinking about it lol
- Liquid: I use both sour cream and milk. If you don’t have sour cream you can substitute greek yogurt.
How to assemble cakesicles
There are two ways to assemble cakesicles. For both ways, you will need popsicle molds, candy melts and popsicle sticks.
Traditional Method
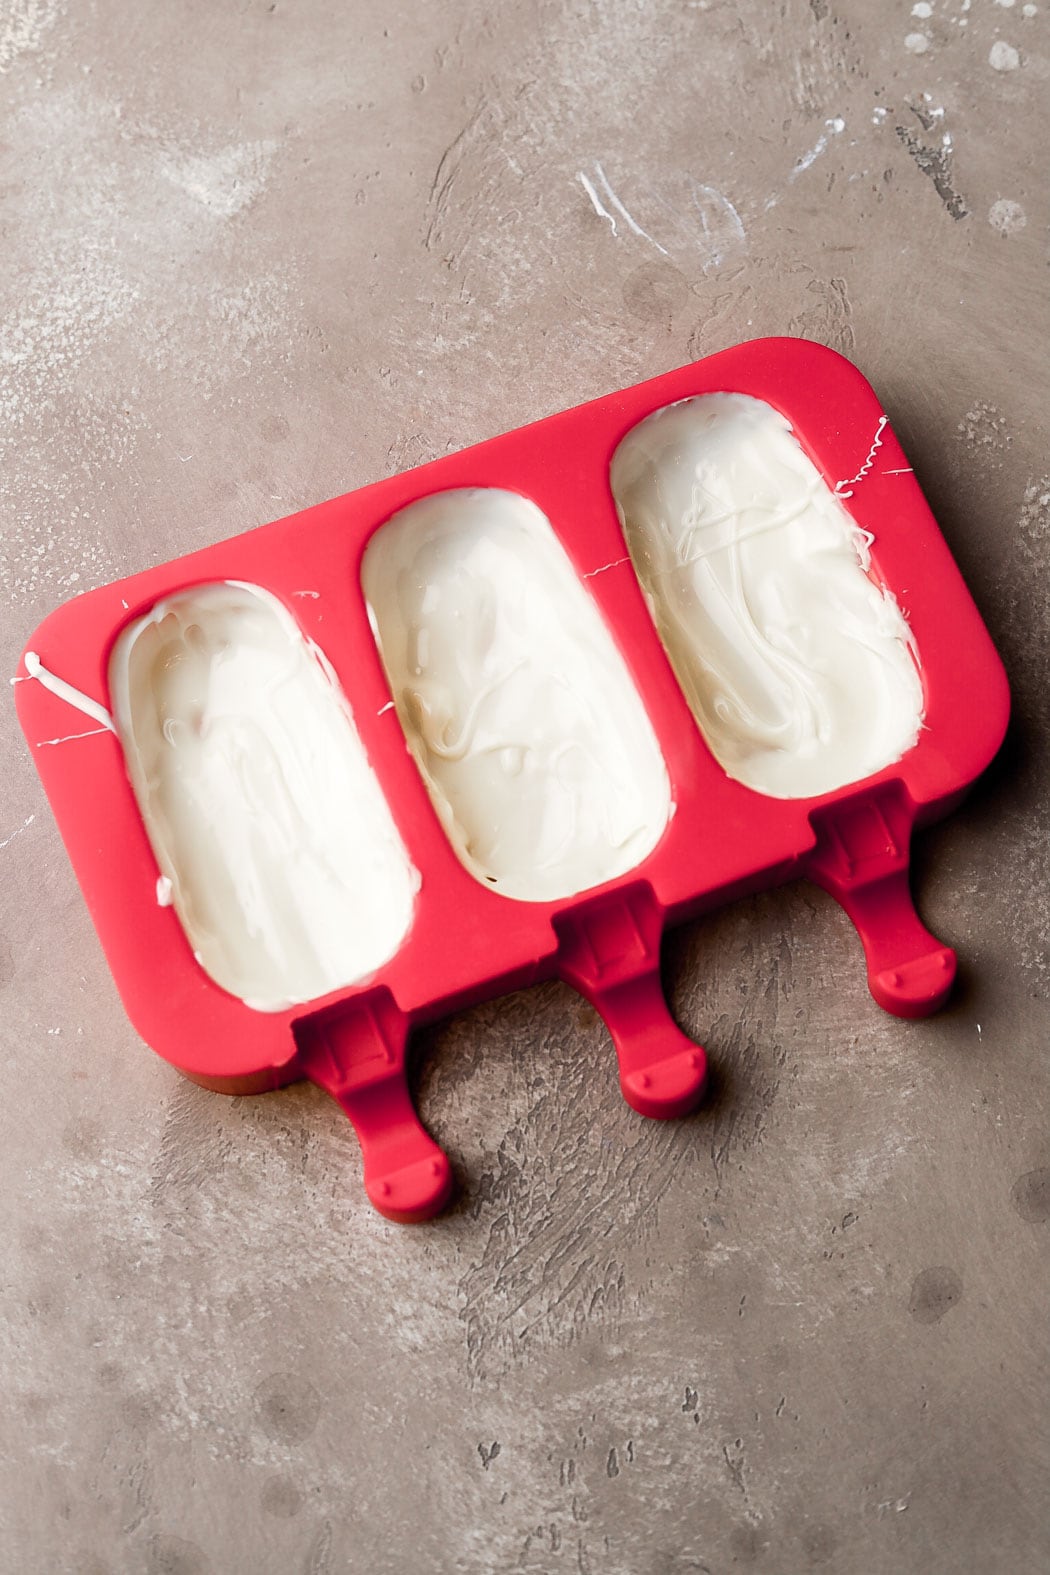
In the original method, the molds get coated with the melted chocolate/candy melts (a good layer). Then insert the popsicle sticks halfway in the bottom hole and then remove them. This is just so we make room for them later.
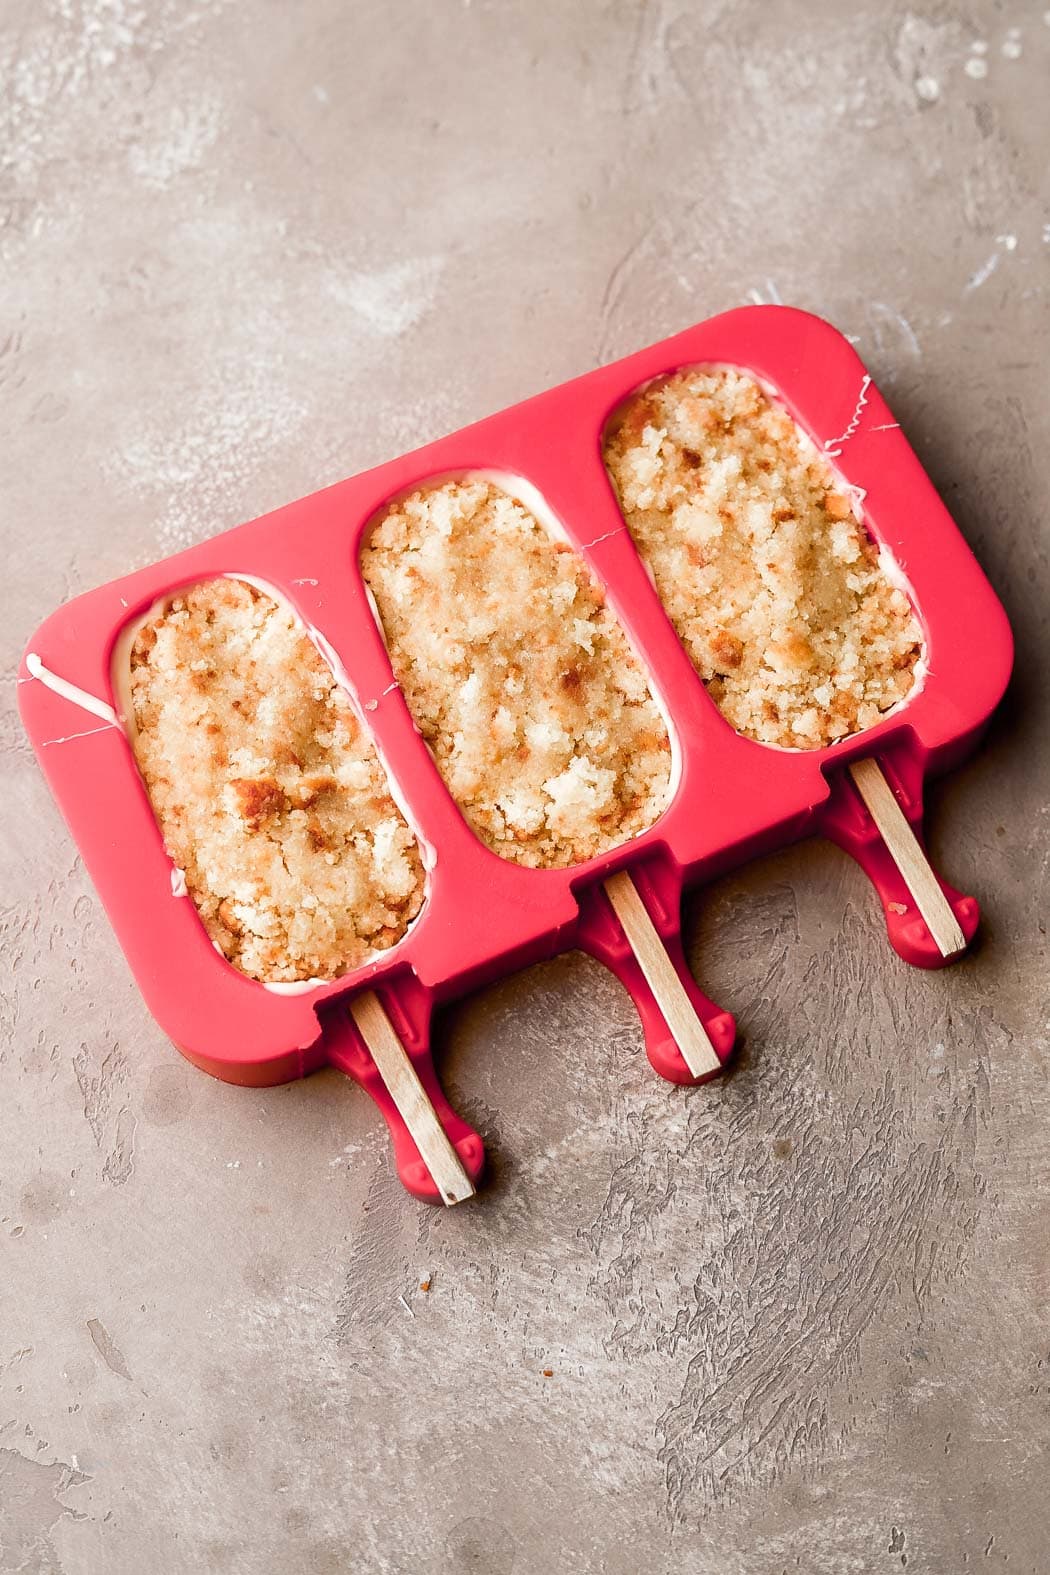
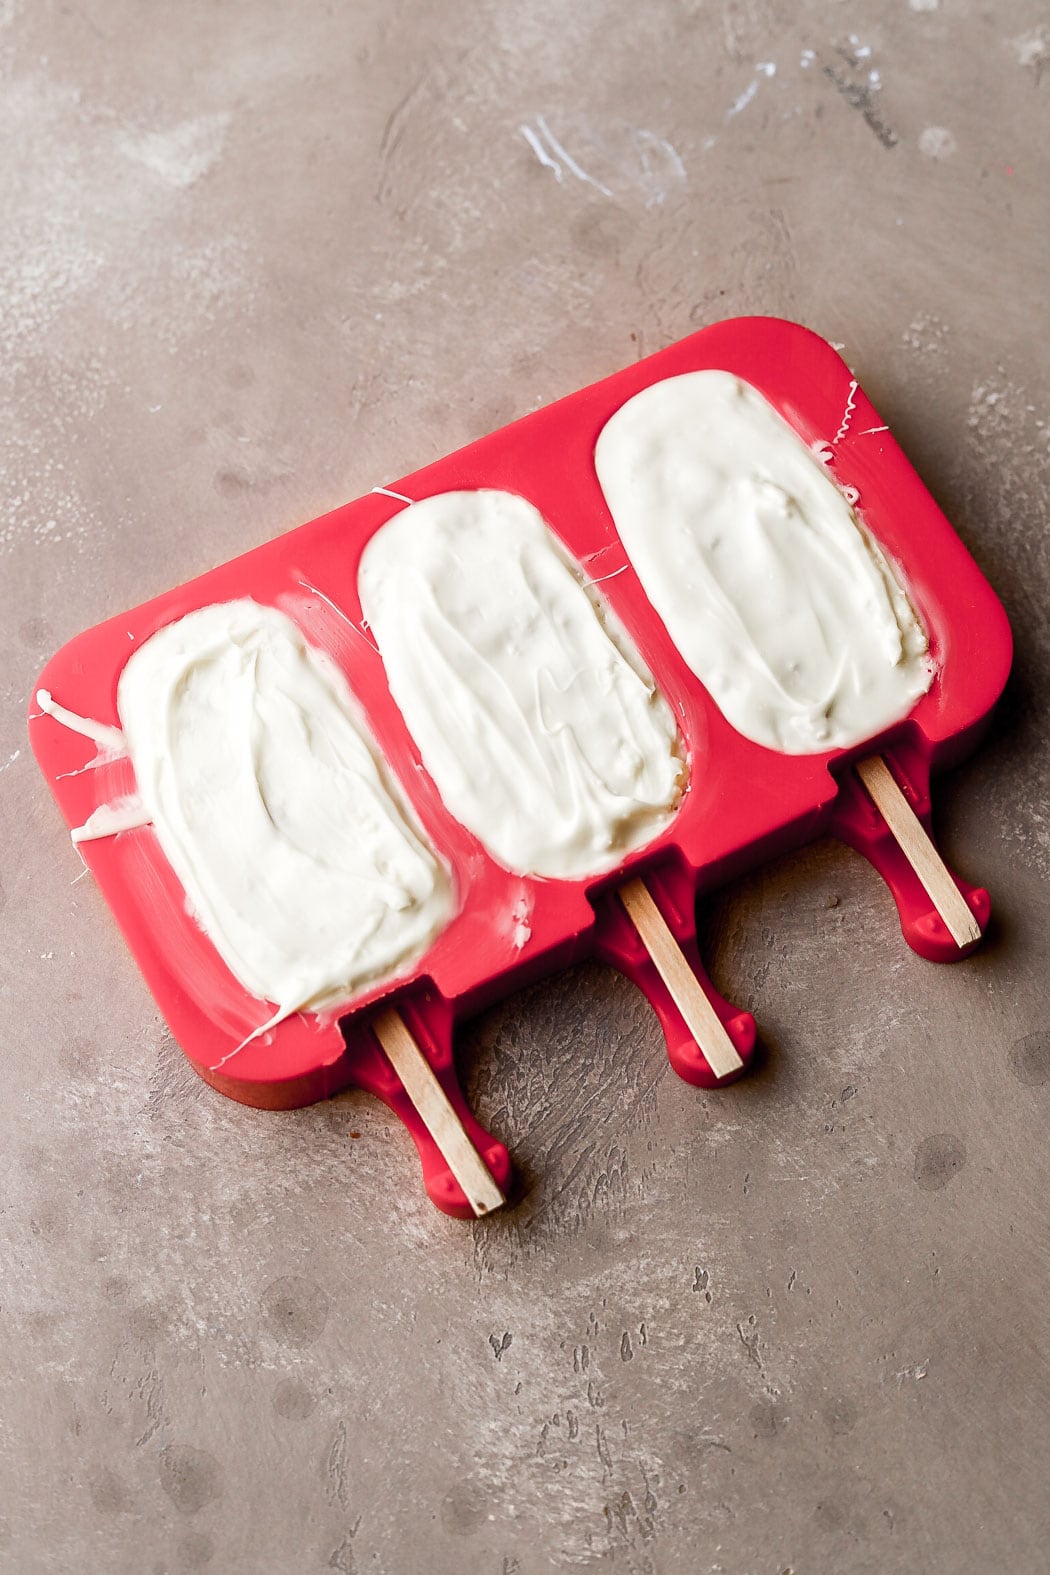
Freeze the molds for a few minutes and then pack the molds tightly with the cake crumbles. Insert the popsicle sticks, spread the melted chocolate on top and refrigerate or freeze until they are completely firm.
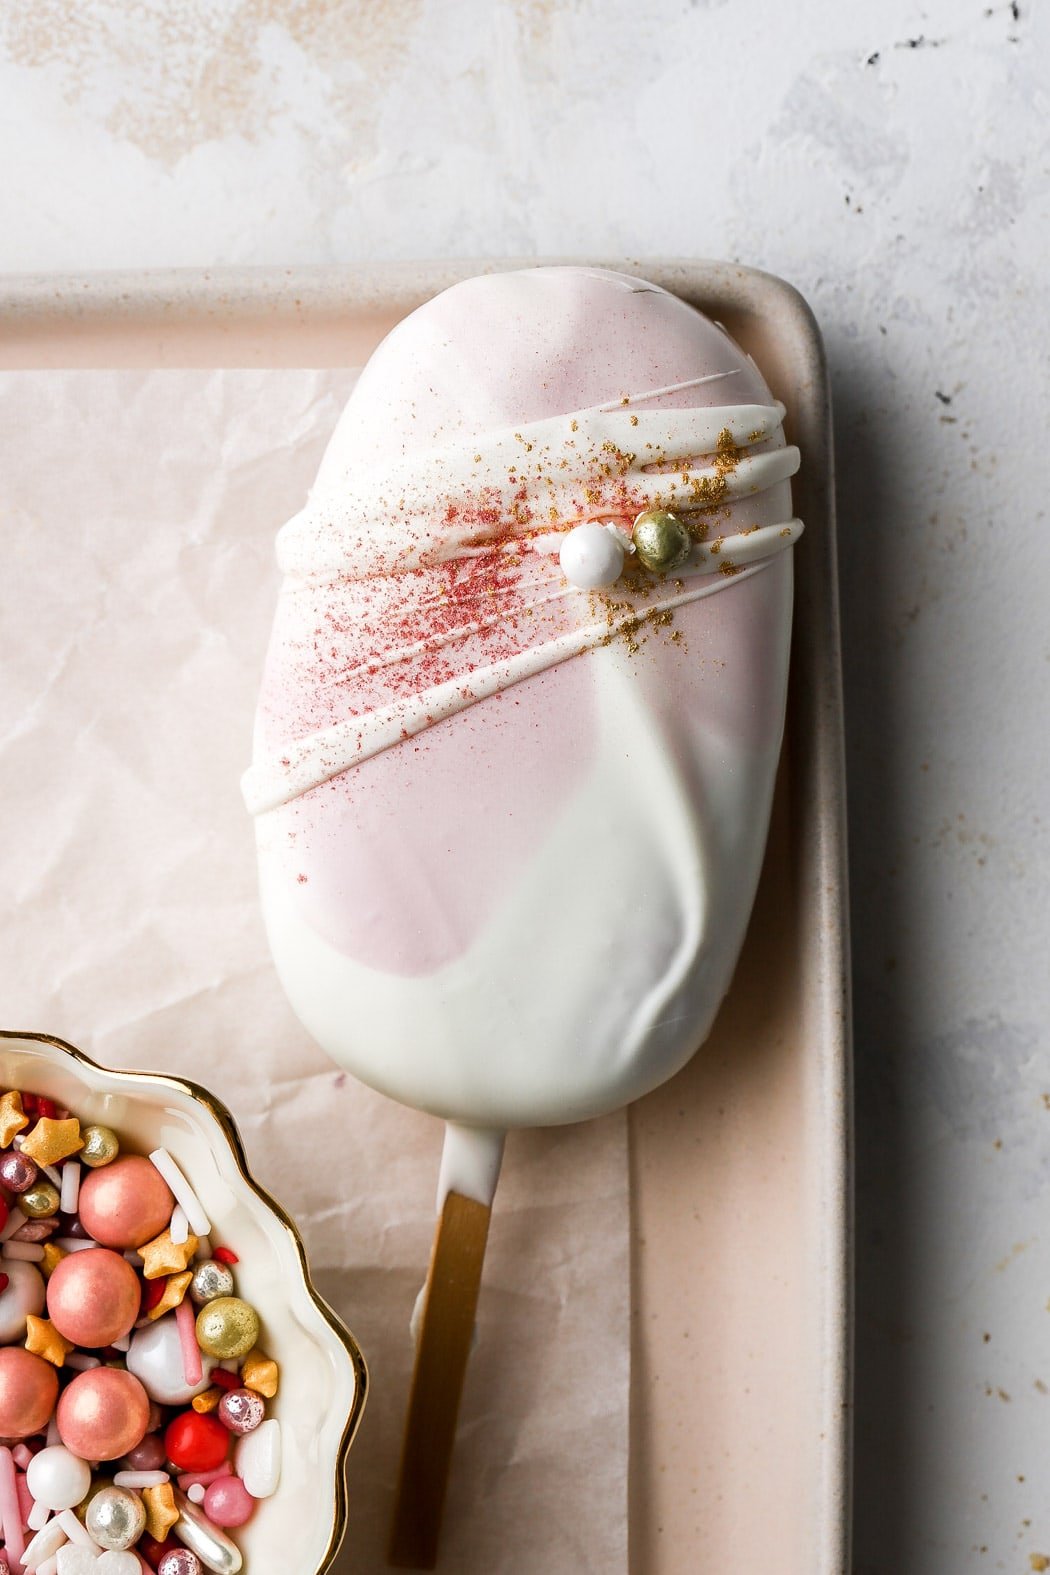
You can use the leftover candy melts and buttercream to decorate!
This method is a little more foolproof than the next but a little more time consuming as well. It also can be more cost effective since they’re technically smaller in size and there may be less wasted chocolate.
However there are a couple things to look out for:
- Make sure your molds are squeaky clean. You can literally see every speckle of dust on the chocolate when you remove the cakesicles from the molds.
- Make sure to coat the cakesicles with a good layer of melted chocolate or it can snap when you go to remove them.
Dipping Method
This is the method I prefer because I’m lazy and it’s quicker lol but I think it’s easier to mess up and they don’t generally turn out quite as clean looking.
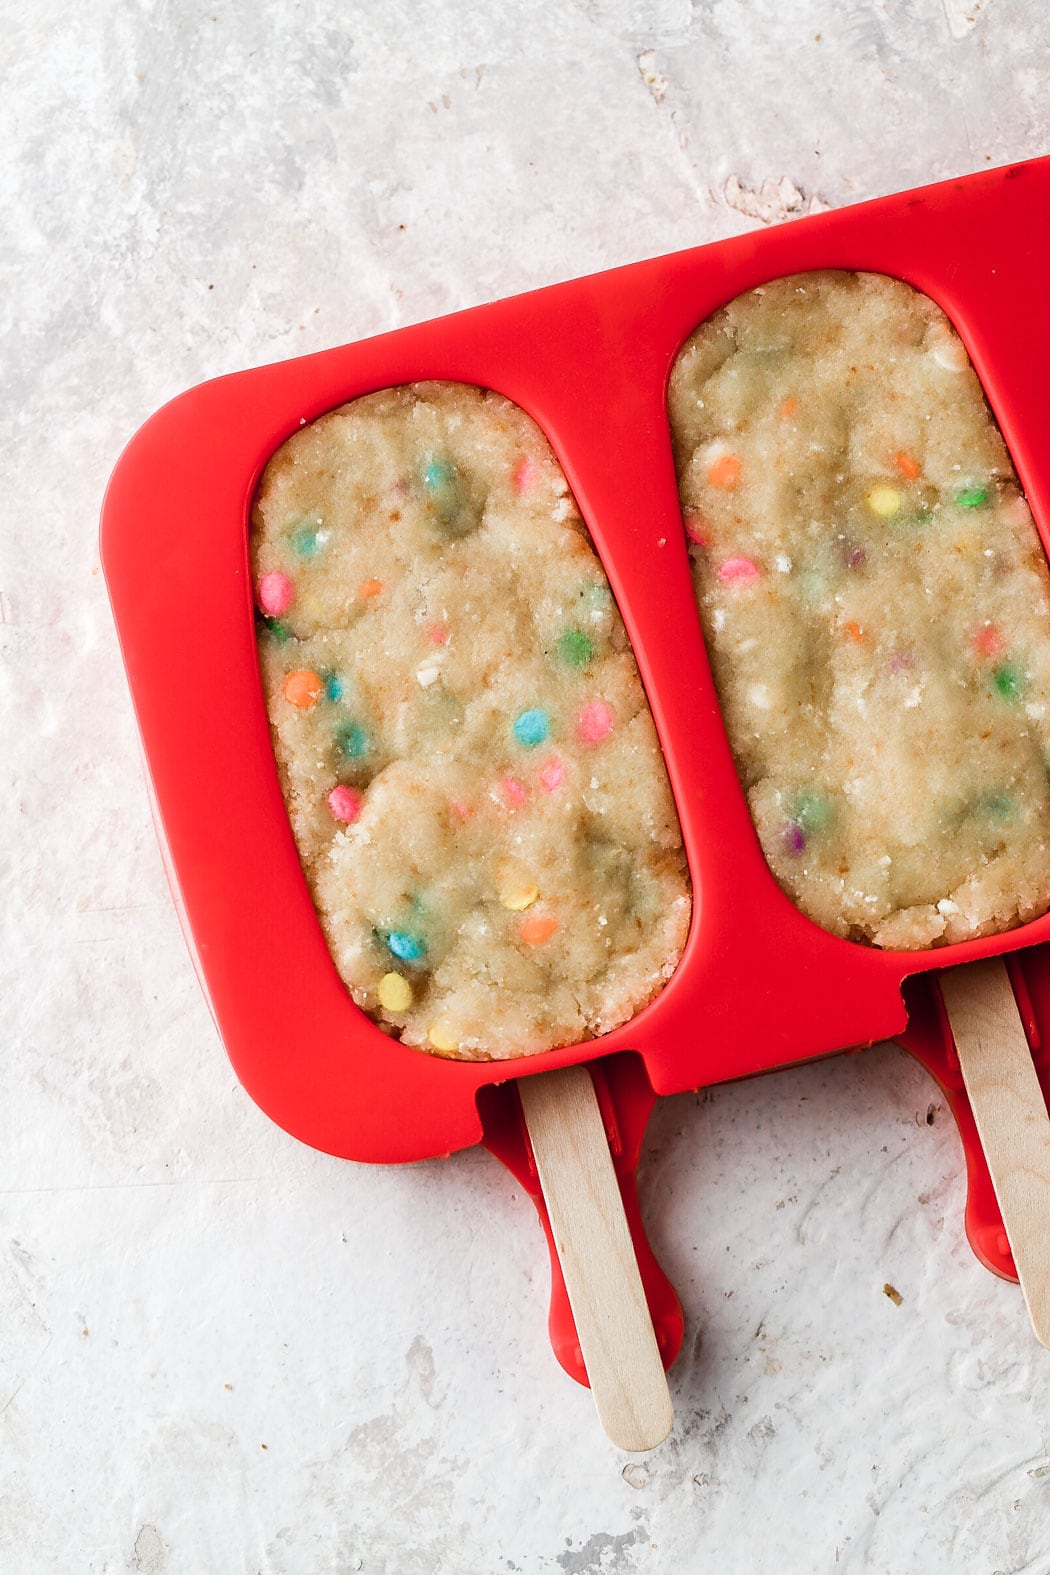
For this method, the cake crumbles get packed really tightly into the popsicle molds. Freeze them until they’re solid, then remove them and dip them in melted chocolate.
The reason this method is a little less neat looking is because you have to let the excess chocolate drip off of the cakesicle. Then gently scrape the back so there’s even less chocolate so you can set it down on a sheet to dry completely.
With this method, you also run the risk of the dreaded clumpy chocolate. I think some people call this “elephant skin”, where the chocolate coating sets clumpy. Refer to FAQs for more on this.
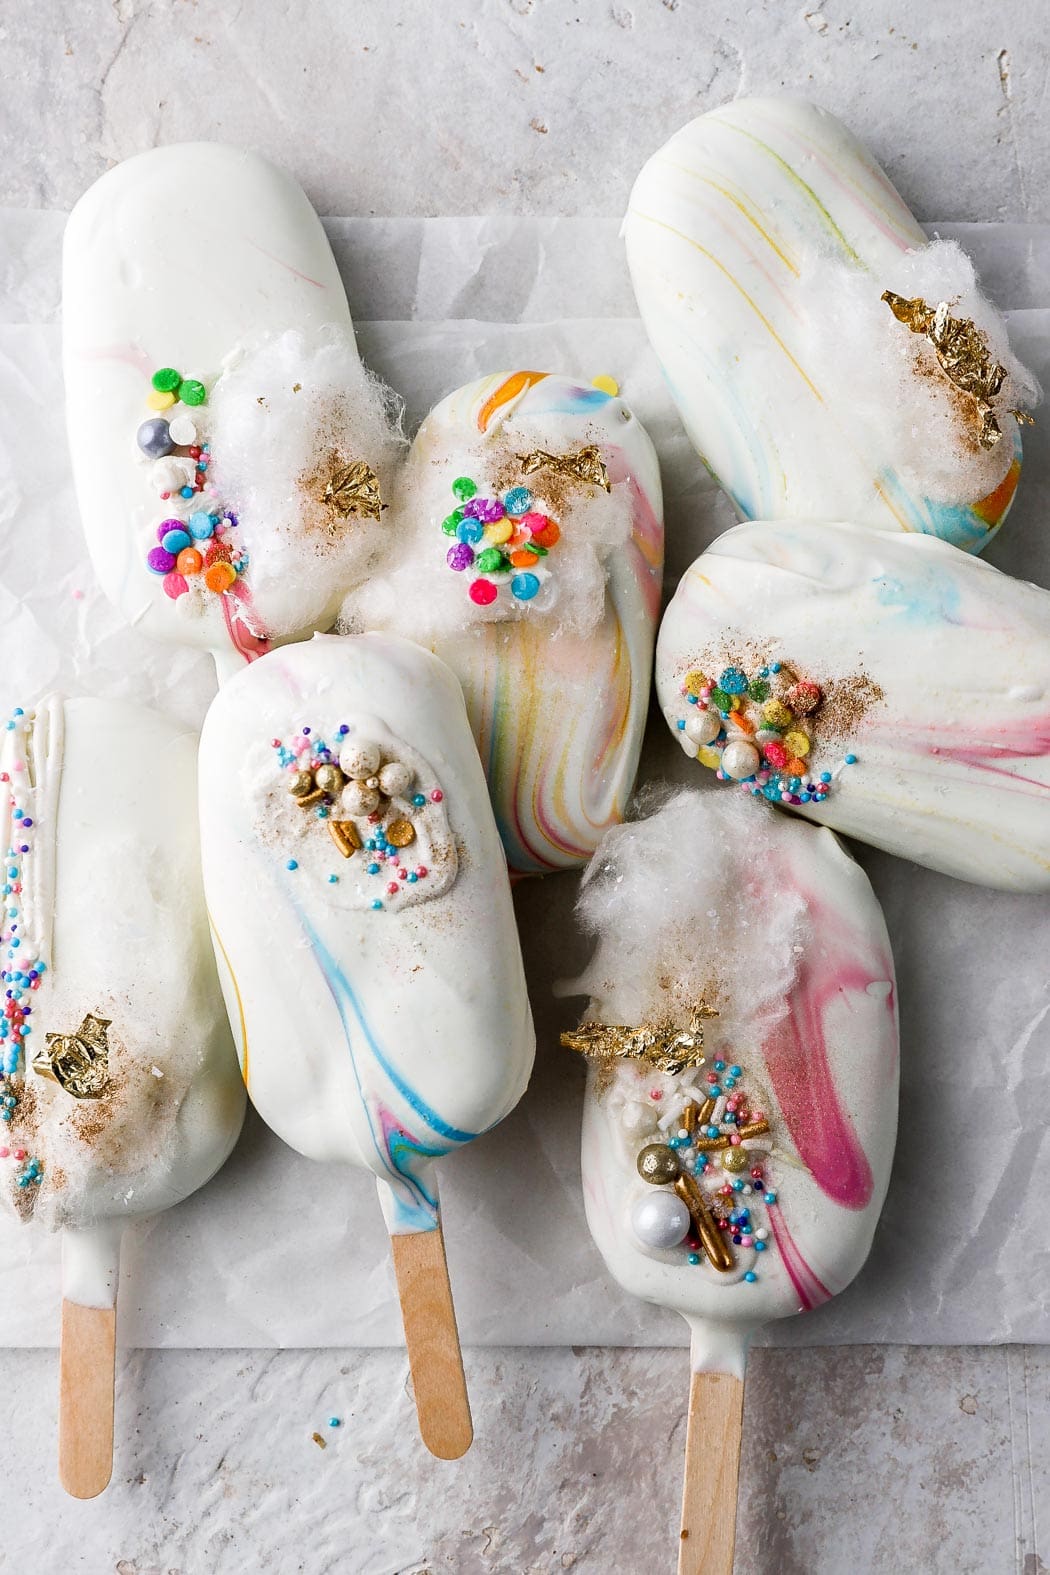
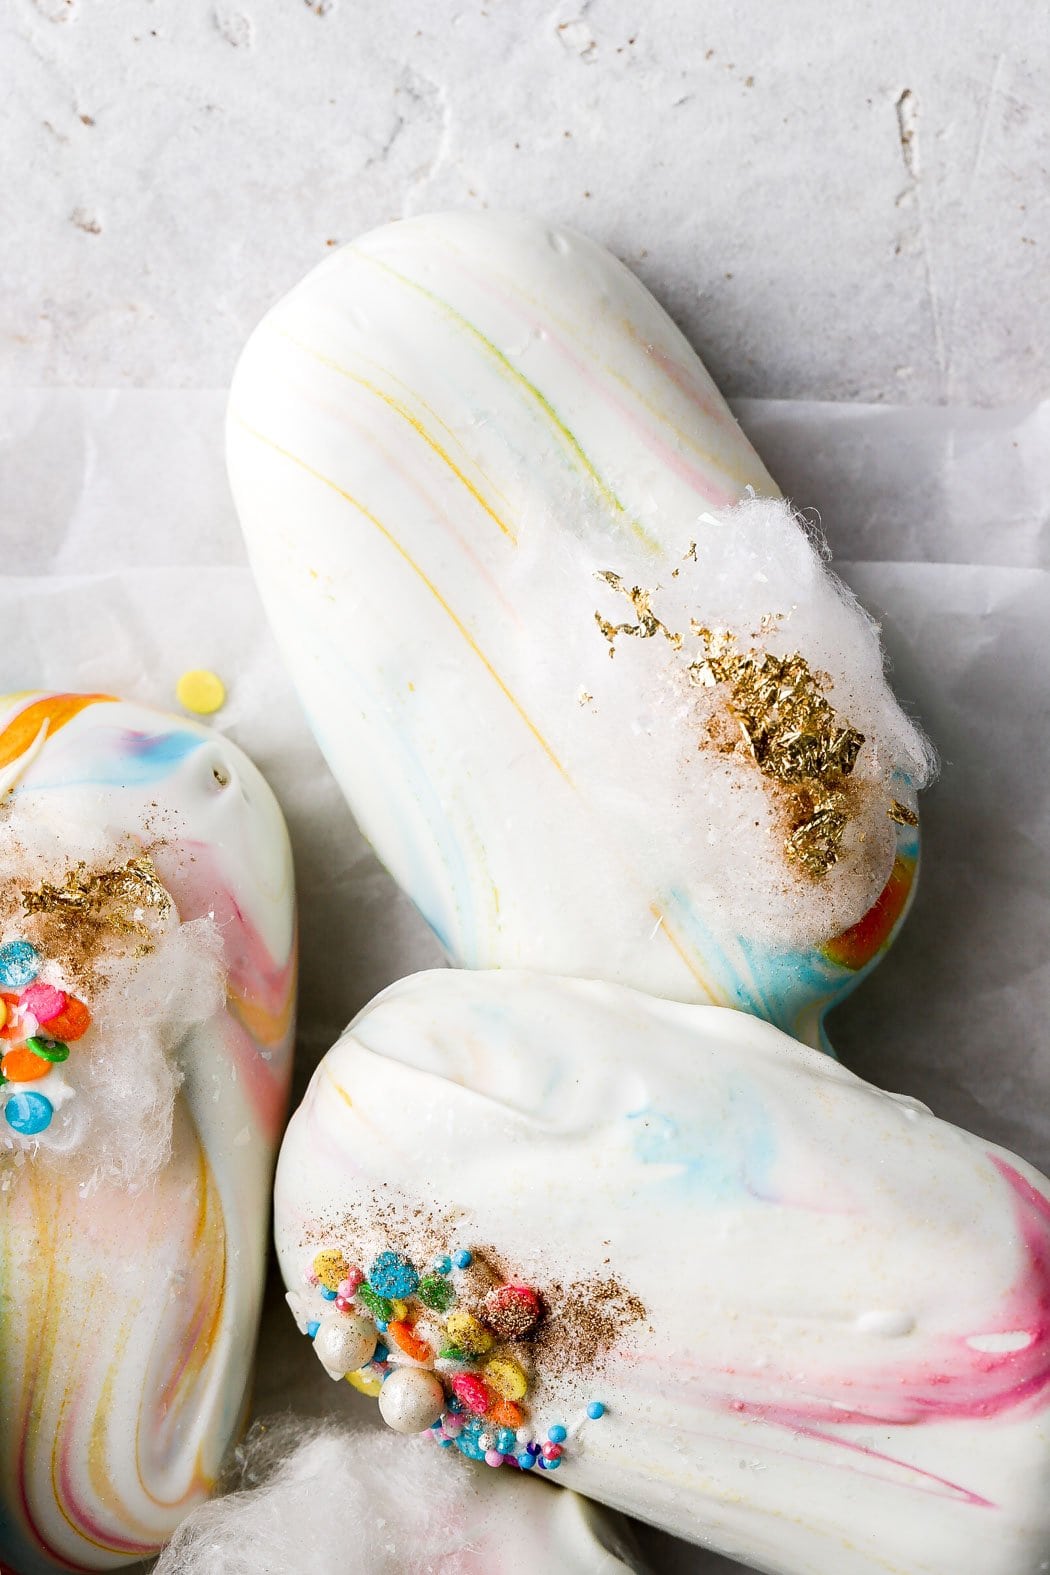
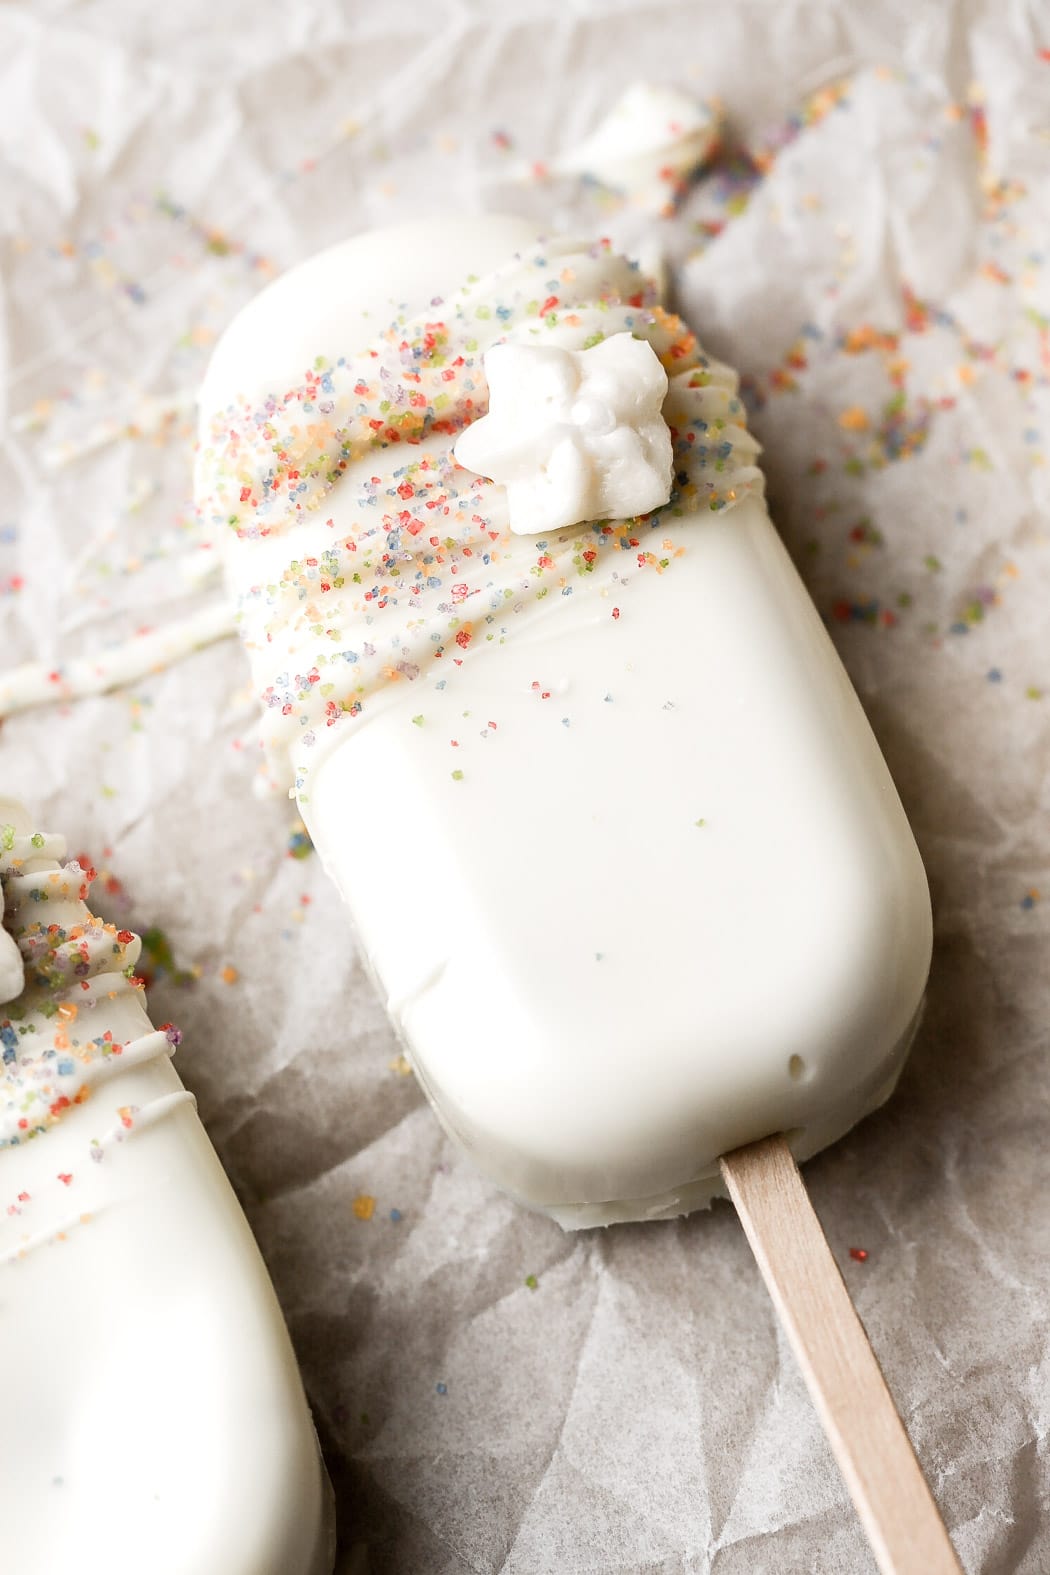
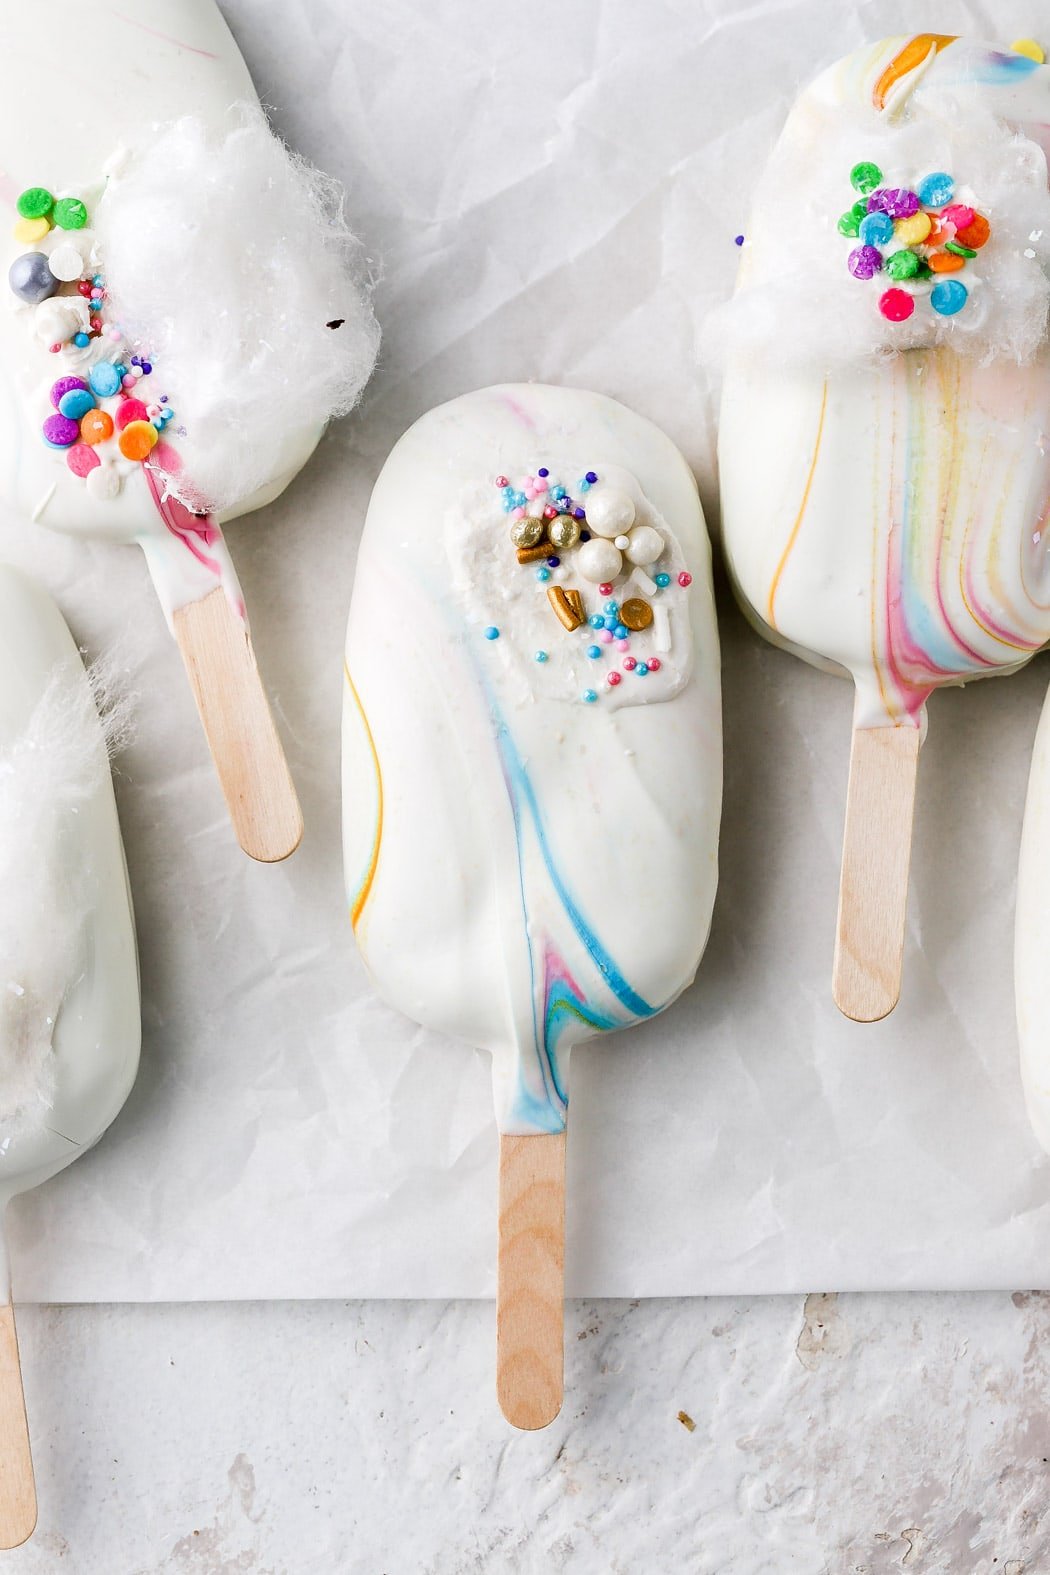
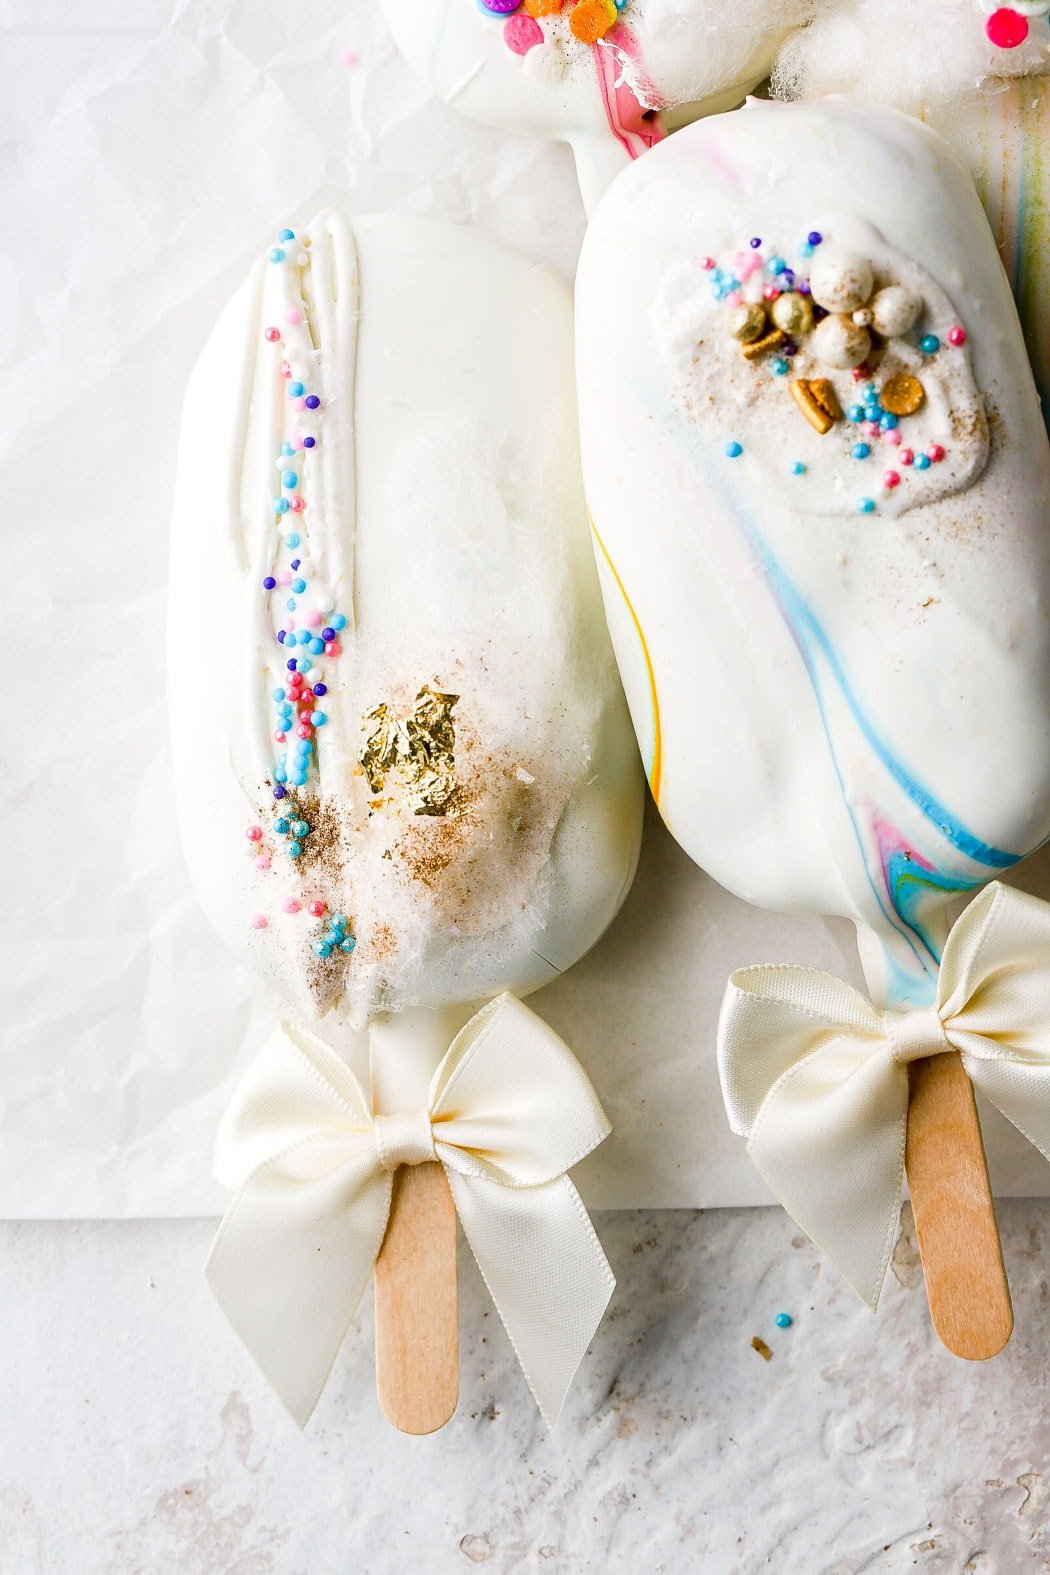
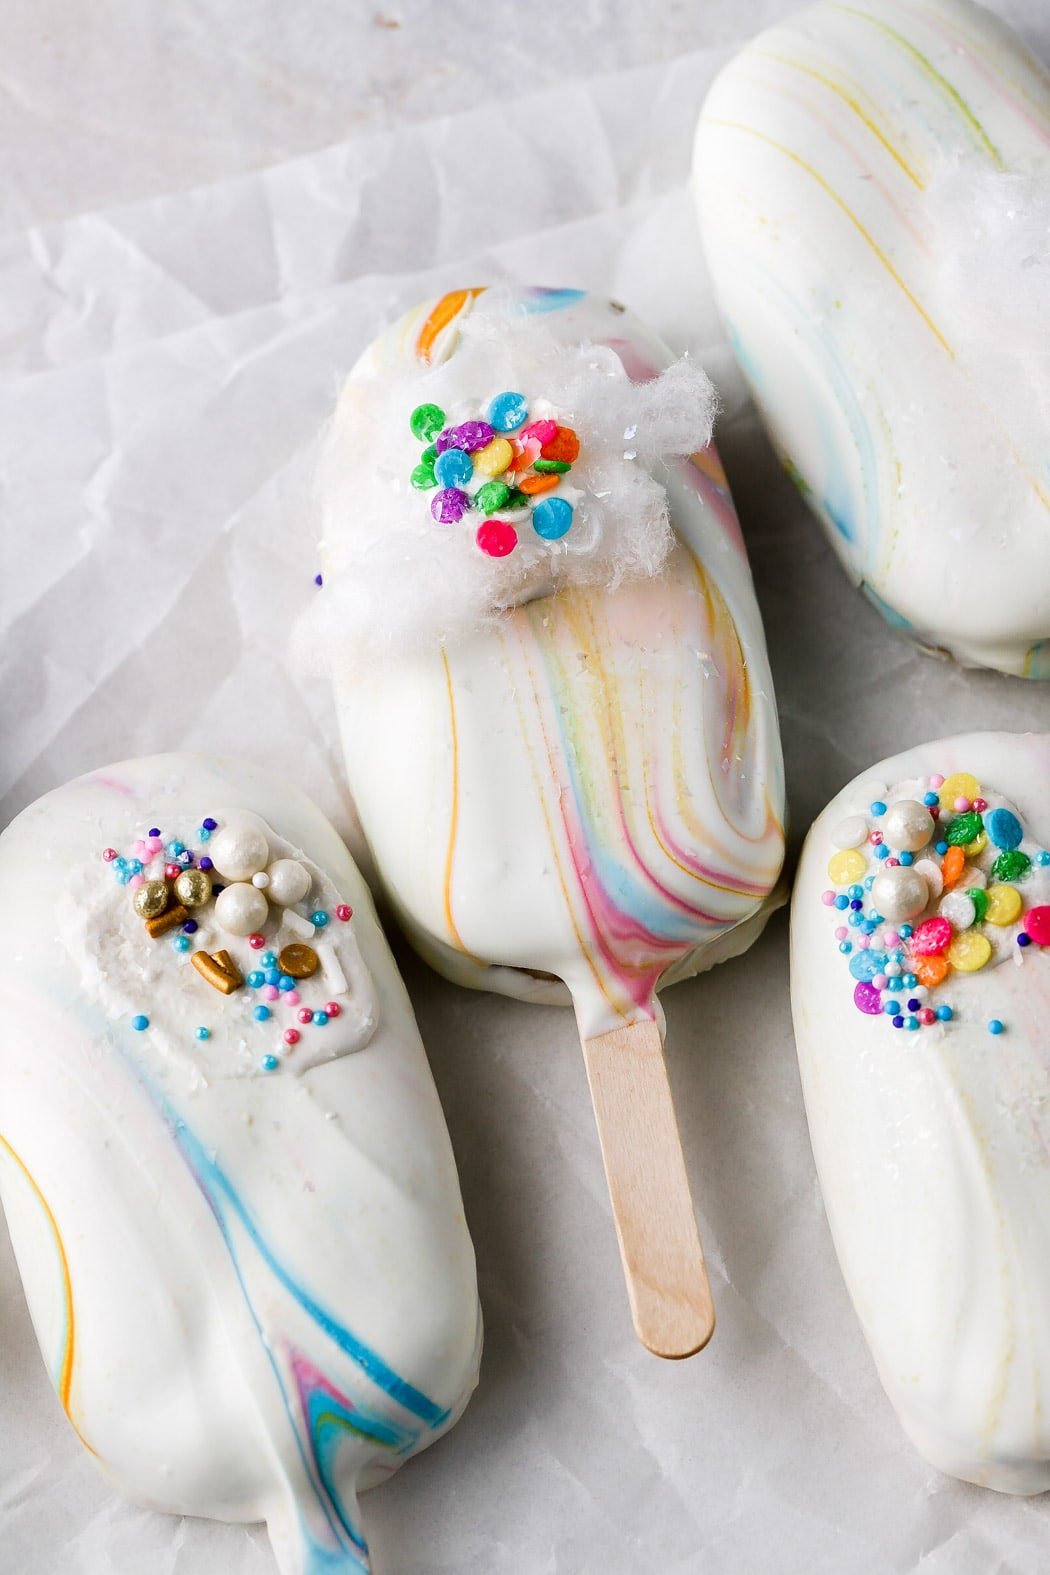
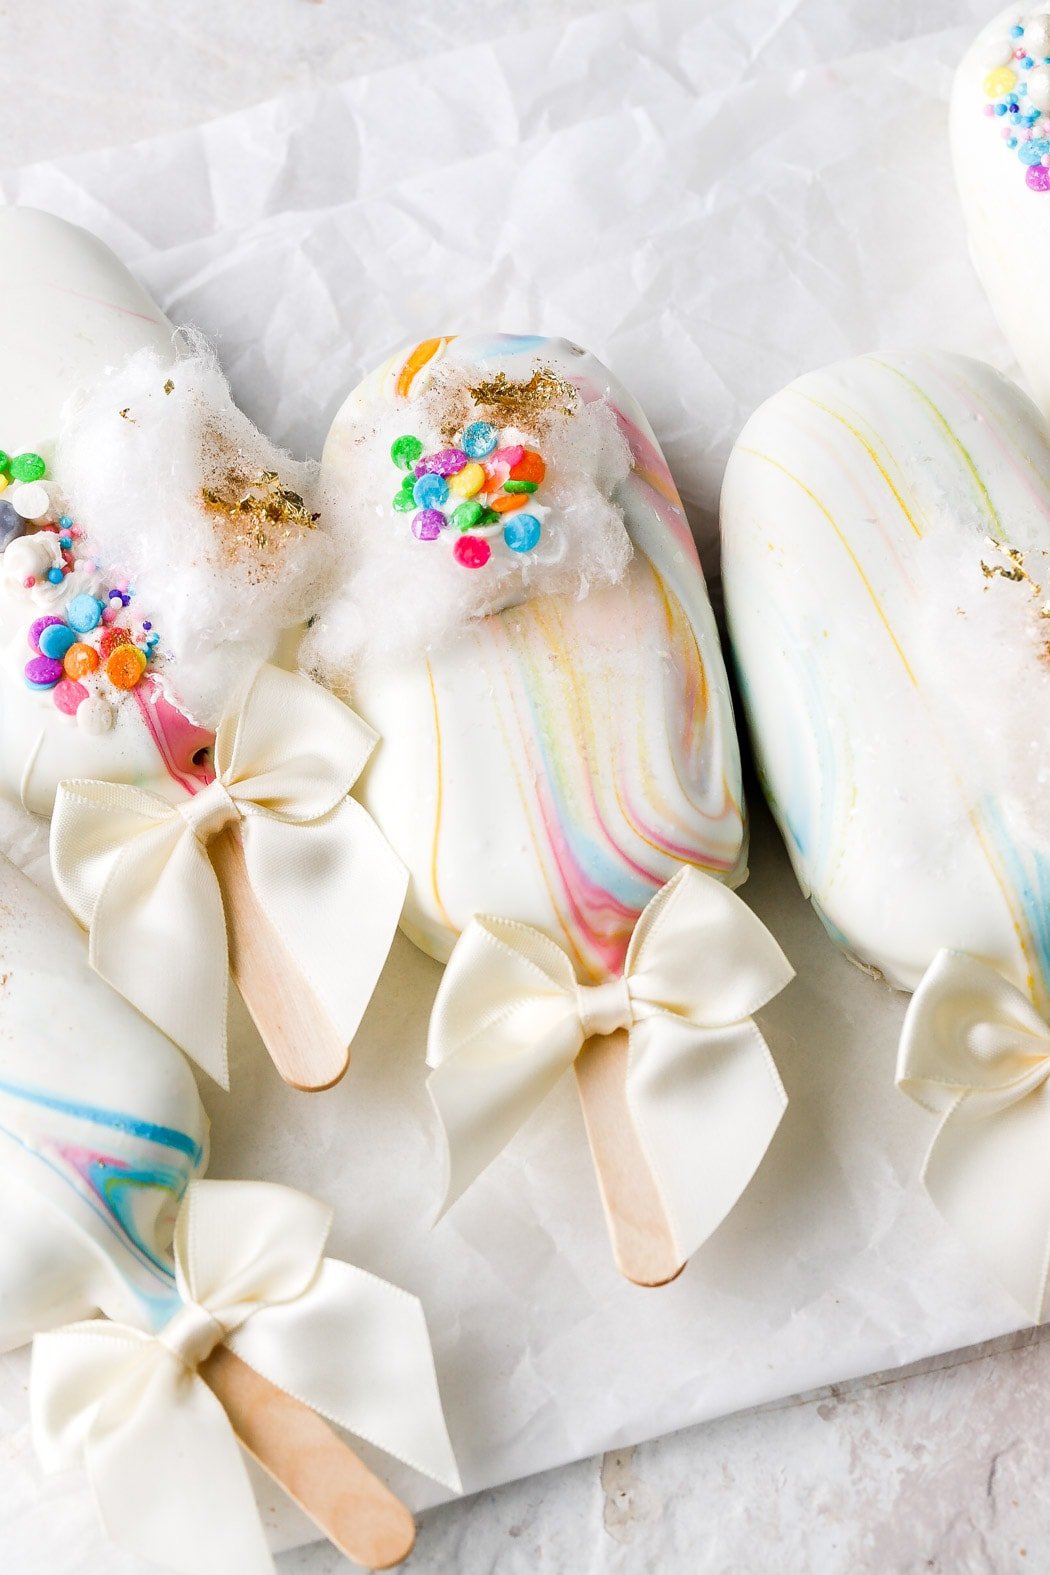
You can see the cakesicles made the traditional method vs the dipping method look different. The traditional method is a little smaller, more sleek, clean and shiny but the dipping method is a little more rustic, chunky and matte.
How can I customize my cakesicles?
The possibilities are endless when it comes to customizing cakesicles. To make the cake chocolate, use 2/3 cup (80g) all-purpose flour and 1/4 cup (20g) of cocoa powder, which is the same as my Small-batch Chocolate Cupcakes or:
- Add 1 Tbsp cocoa powder or a few ground up Oreos, biscoff cookies, peanuts, ettc. to the cake crumbles. You’ll need a little extra cream/milk to balance the dry added dry ingredients.
- For other flavors add 1-2 Tbsp jam, peanut butter, caramel, etc. to the cake crumbles instead of the cream (depending on how much you need, you may still need the cream).
- Add 1/2-1 tsp of extract to the cake batter before baking or add it afterwards to the crumbles.
Frequently Asked Questions (FAQs)
Can I double the recipe to make more cakesicles?
Yes you can! If you want more, just double the recipe. I recommend buying more cakesicle molds if you want to make a larger quantity so you don’t have to wait for them to freeze before using the mold again.
Can I use this recipe to make cake pops?
If you want cake pops, roll the cake mixture into 1.5 inch size balls and place them in the refrigerator or freezer until they are firm. Dip the tip of the popsicle stick in the melted candy melts, stick them halfway into the cake balls, and dip the balls into the candy melts.
I recommend sticking them in a styrofoam box or something that will allow them to sit upright while they harden.
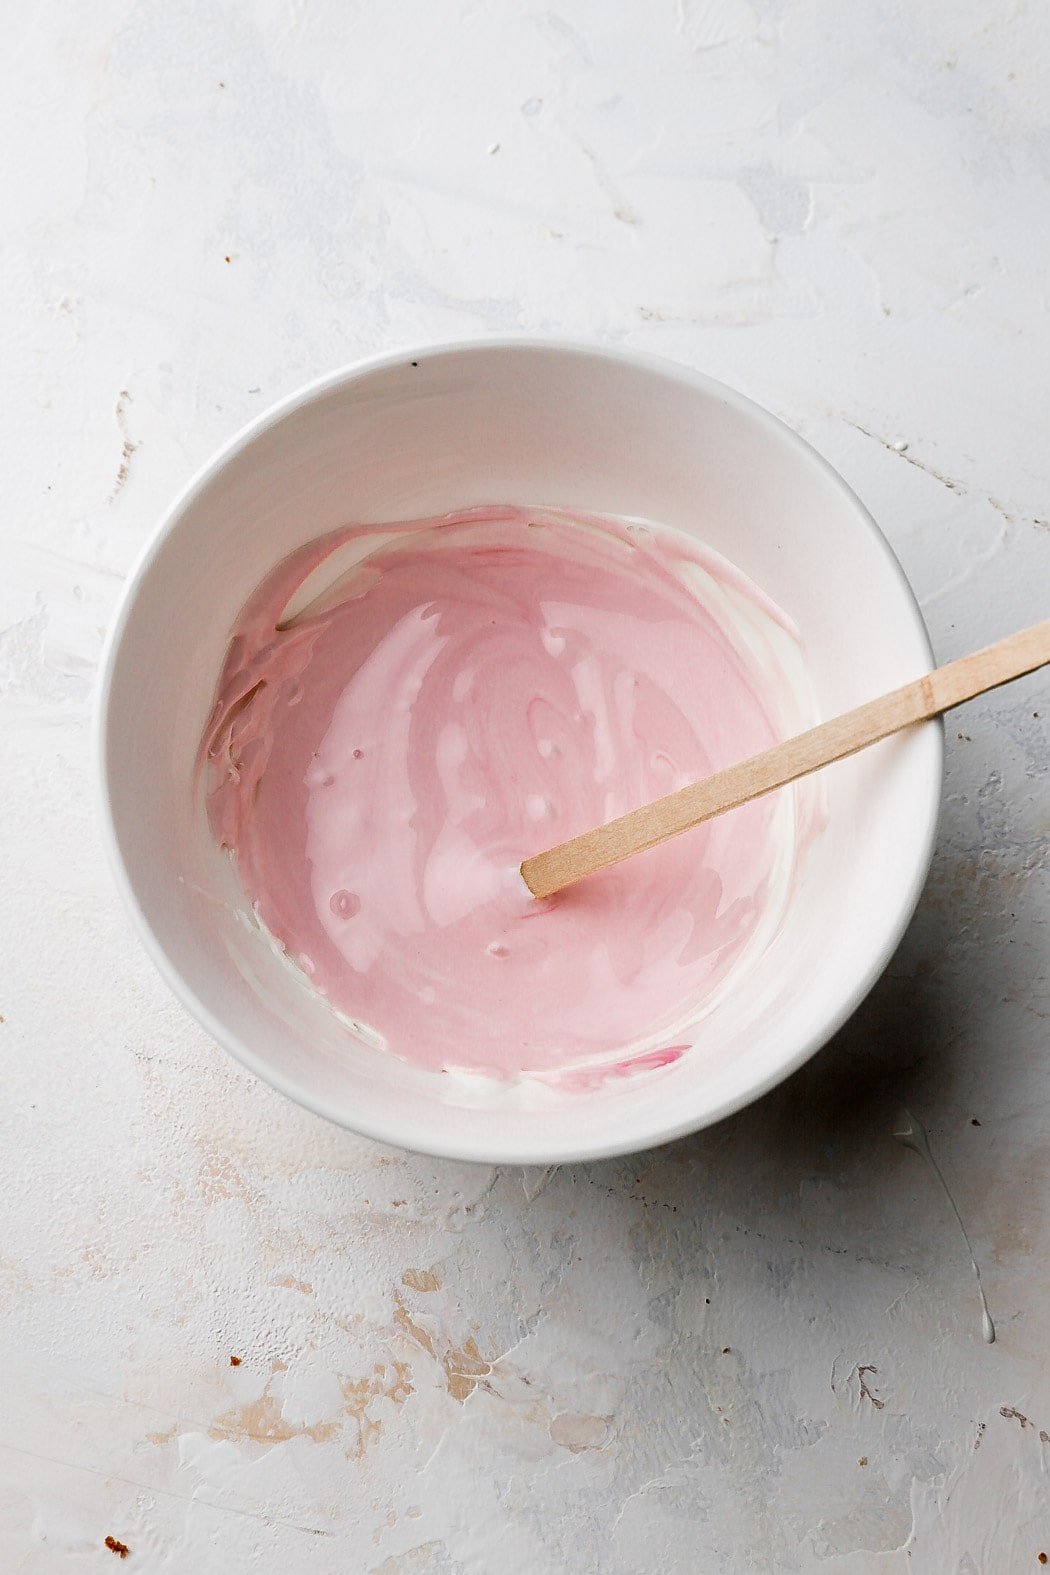
What kind of chocolate should I use?
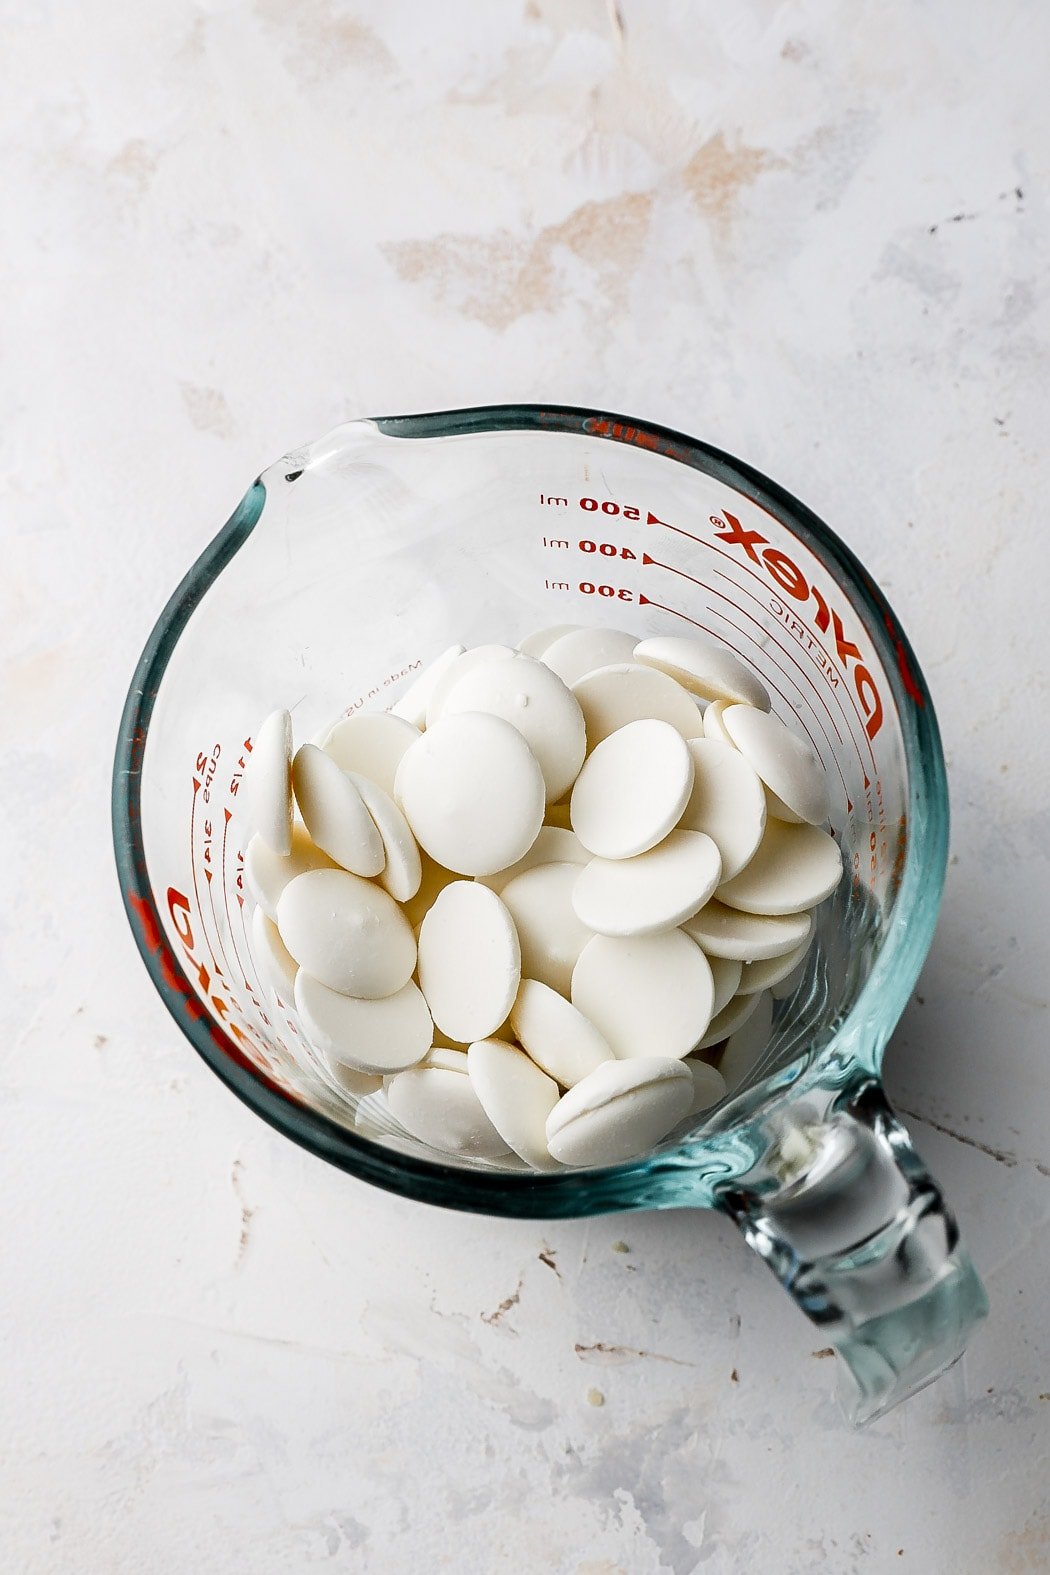
Different types of chocolates contain different ingredients like stabilizers. There is real chocolate, chocolate chips and candy melts. Candy melts were created for the intention of melting, dipping something in it and setting again. Chocolate chips perform similarly but real chocolate takes longer to set back due to the lack of stabilizers.
For cakesicles, I personally recommend using HIGHLY QUALITY candy melts. I have tested about 10 different brands of chocolate and the most consistent results I get is with Merckens Candy Melts. They taste A LOT better than other ones you’ll find at the store and they melt so smooth and quickly, and hardly ever clump. They’re also bright white (not yellowish) so they’re easily colored.
Why is my chocolate clumpy/elephant skin?
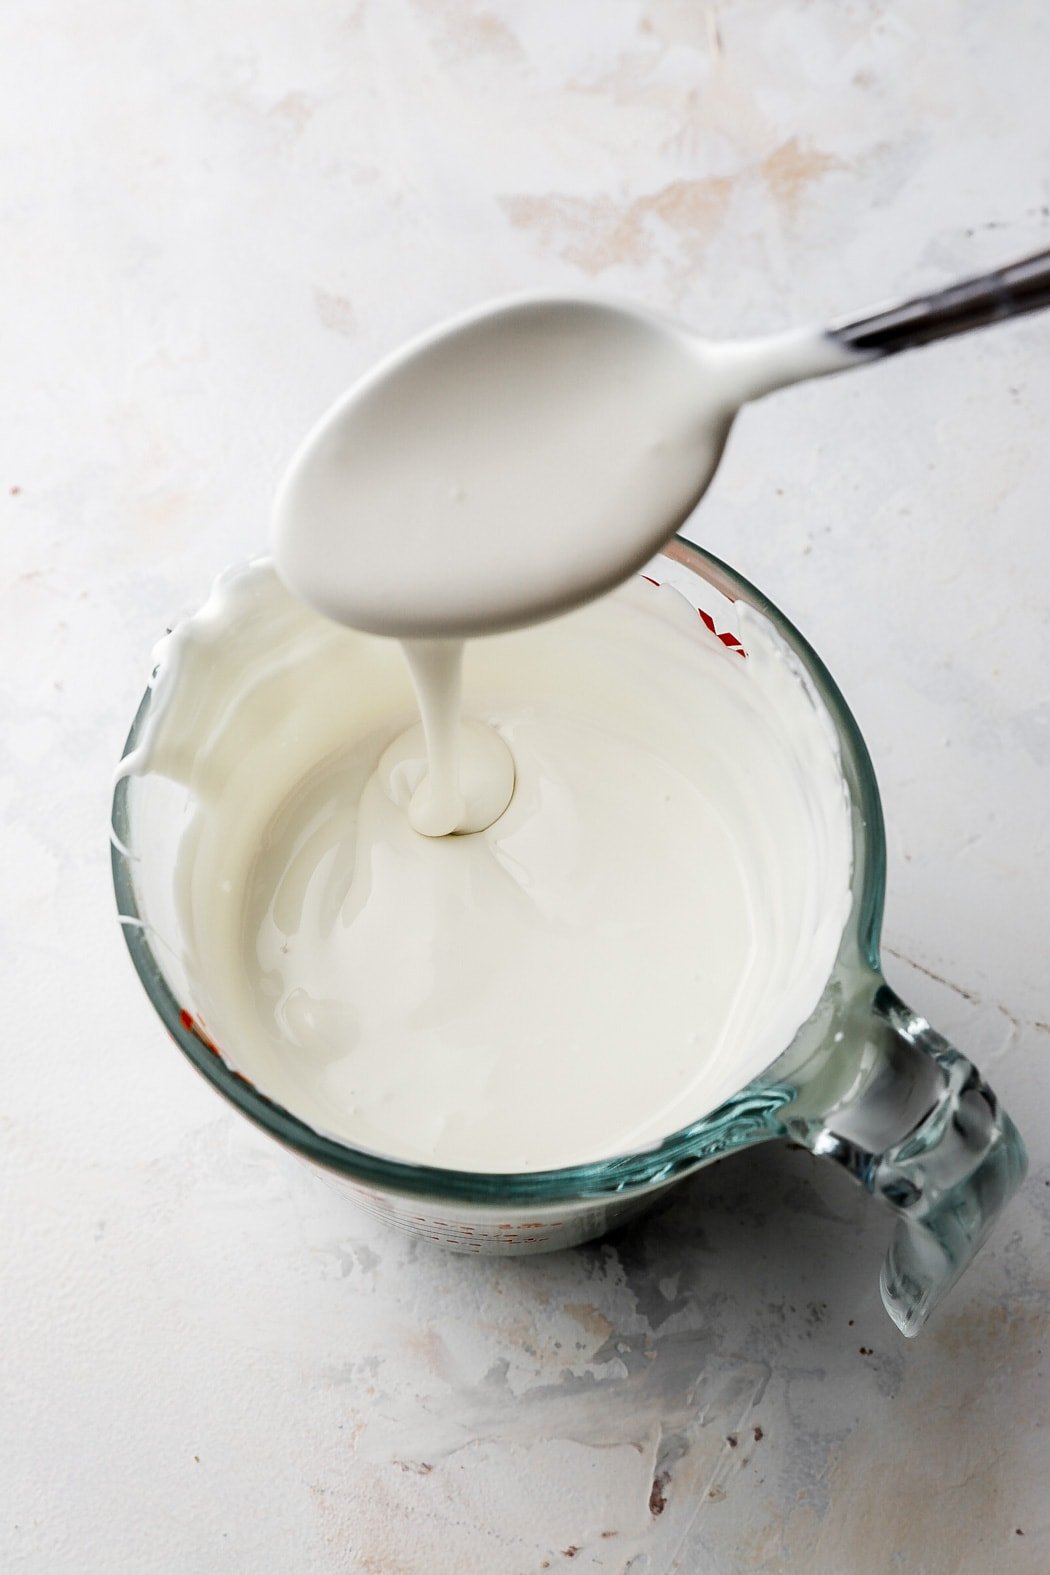
Chocolate is very finicky about its temperature. Chocolate doesn’t like to be startled so if its temperature changes too quickly, it can clump. This means that either it was heated up too quickly or it was warm and a frozen cakesicle startled it.
I recommend giving it a couple of minutes to rest after it’s been melted. Also remove the cakesicles from the freezer a few minutes before dipping it into the chocolate.
It can also clump from moisture. If even one drop of water gets into the bowl or if you’re heating it over a double boiler and the water is splashing the bottom of the bowl or if too much steam is coming up around the bowl. Water will usually cause it to also seize completely, not just clump.
How to fix seized chocolate
Unfortunately chocolate is the worst lol. You can TRY to fix it by adding about 1 teaspoon, at a time, of boiling water to the chocolate and whisk aggressively until it’s smooth again.
This will dilute the chocolate of course so it may not work for the cakesicles but at least the chocolate is saved and can be used for other purposes like drizzling.
Can I flavor the chocolate coating?
I highly recommend not adding any flavorings to your melted chocolate/candy melts. Every brand/type of flavoring I’ve tried to add to any type of melted chocolate melts always makes it seize. I’ve never had success adding flavorings to hard shell chocolate coating.
How to store cakesicles
You can store leftover cakesicles in an airtight container at room temperature for 2-3 days, in the fridge for a week, or in the freezer for 2-3 months.
You can also make the cake ahead of time. Allow the cake layers to cool almost to room temperature and when they’re still just slightly warm, wrap them in plastic wrap and leave them on the counter overnight or place the plastic wrapped layers in a freezer bag, squeeze out the excess air, and freeze for 2-3 months.
When you are ready to make your cakesicles, remove the layers from the freezer and bring them back to room temperature before crumbling them.
Thanks so much for sticking around. If you have any questions, make sure to ask in the ‘comment’ section because I can’t respond in the ‘rating’ section!
I’d love to see if you guys make these cakesicles so please make sure to tag me on instagram @baranbakery.
As always, have a blessed day and happy baking!
Love, B


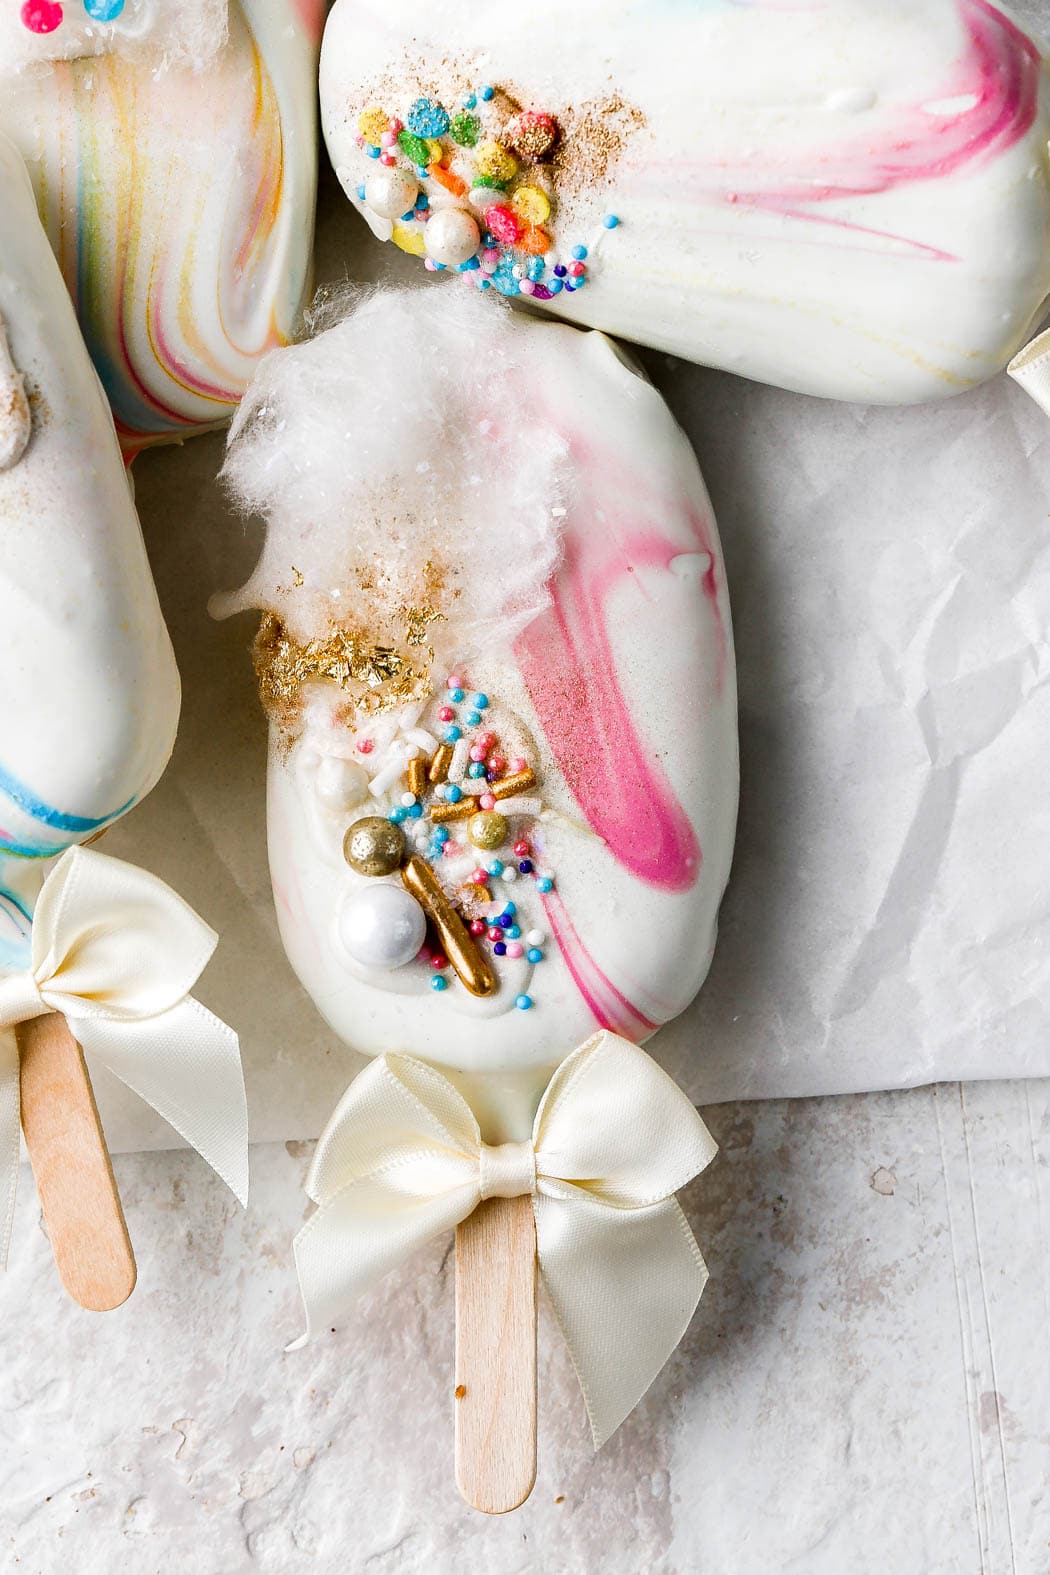
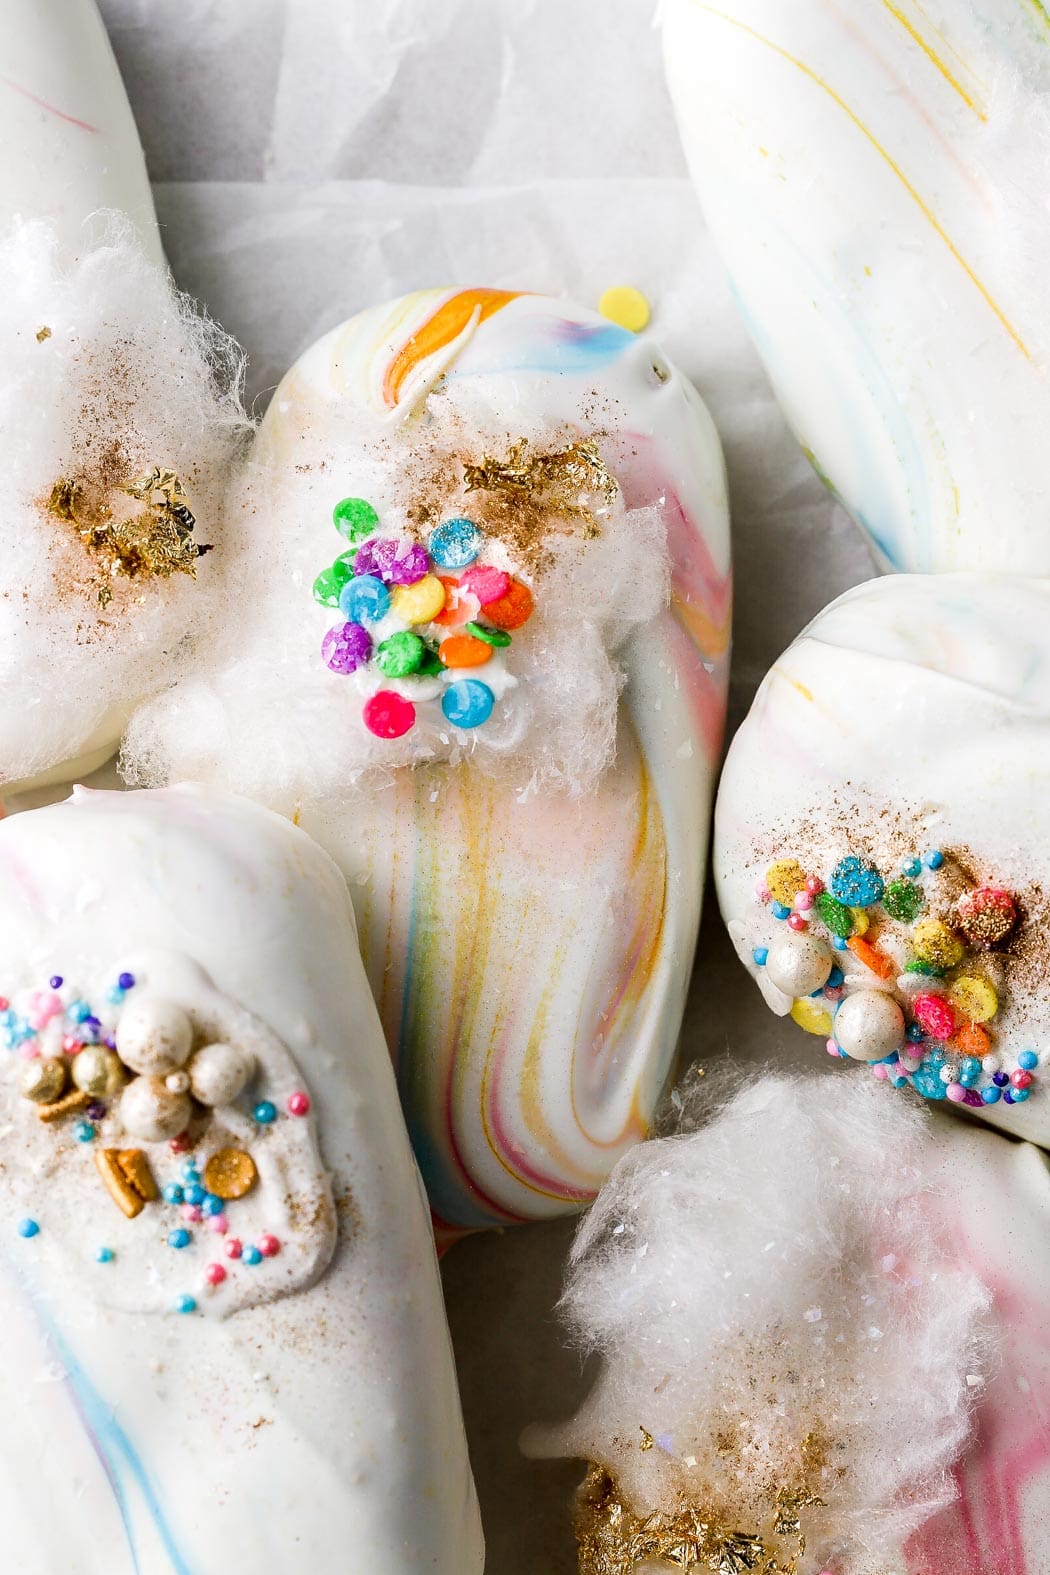
Great information, thanks! I have to know what the fuzzy stuff on your cakesicles are though. I can’t figure it out. They all look SO beautiful!
hahah it’s white cotton candy!