
Fudgy Homemade Brownies
Years ago, I developed what I truly believed was my perfect fudge brownie recipe. I loved her. Readers loved her. I stood by her.
Then, after years of developing hundreds of new recipes, my standards increased. And my sister, terrified for her life, informed me that my brownies were… sub-par.
I choked.
So obviously I went back to the kitchen to make them better for her. Except then it became about me, because I simply could not live in a world where my sister thought boxed brownies were better than mine. Blink blink.
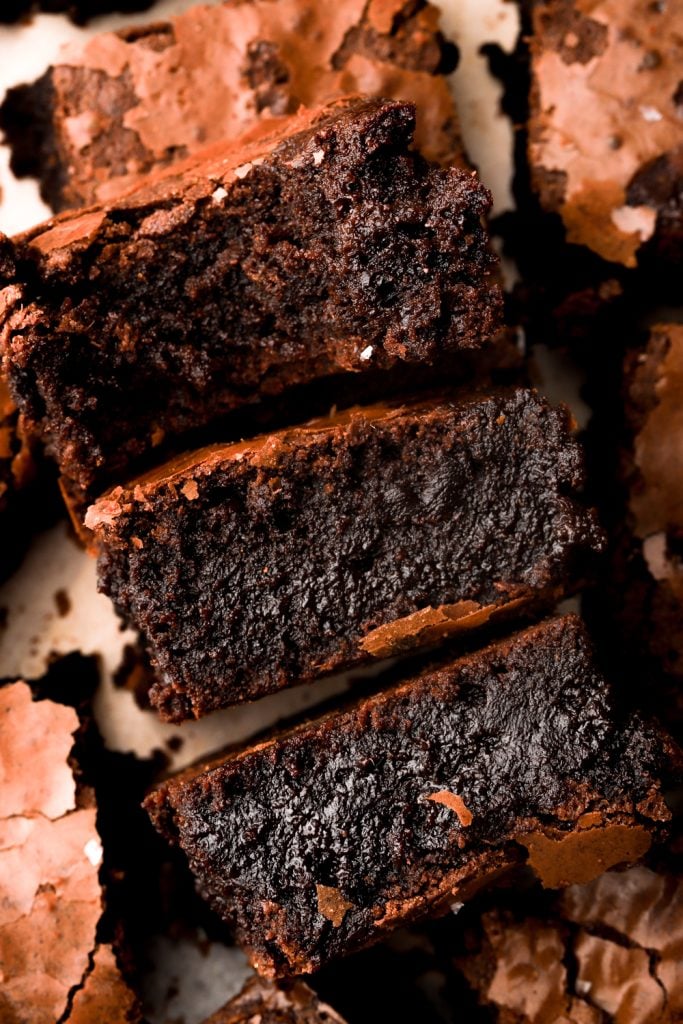
These are the brownies I wanted now: richer, fudgier, shinier on top, and deeply chocolatey without being flat, dry, or aggressively sweet. They’re also the brownie base I’ll be using for all of my brownie variations from now on.
Why These Are My New Go-To Brownies
- They taste better. They’re richer, more chocolatey and fudgier, without the slightly eggy texture my original brownies could have.
- They’re more foolproof. The method is similar to my other brownies, but this version is less finicky and bakes more evenly.
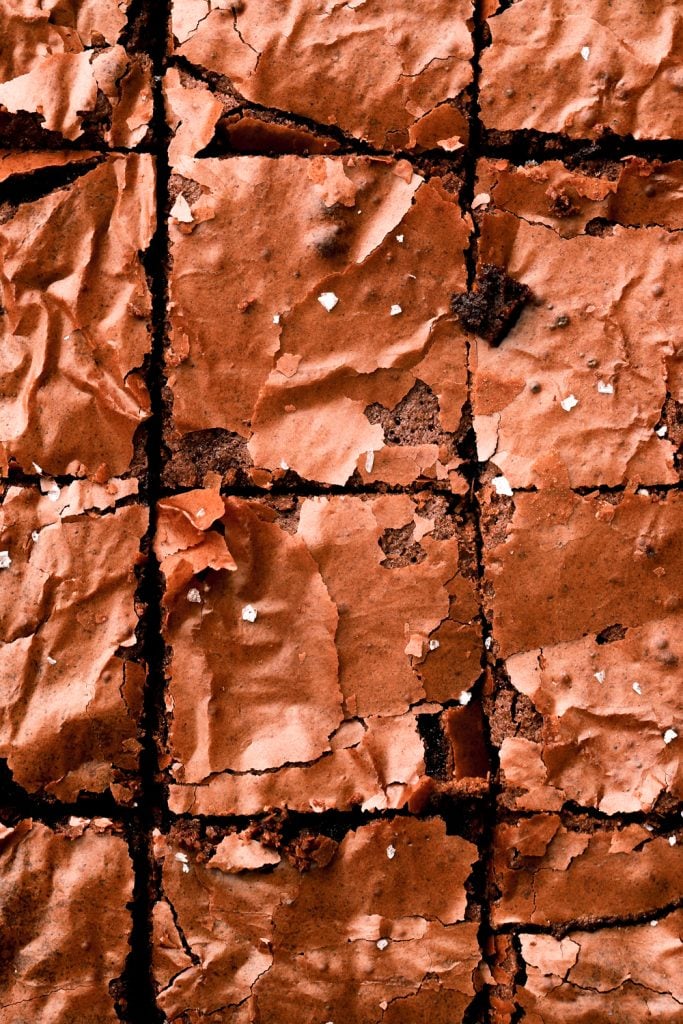
- They get that crackly top every time. No fear of accidentally creating a full-on meringue layer on top since I reduced the eggs.
- They’re still quick and easy. I made them about five times last month alone, which feels like enough proof.
Ingredients & Substitutions
*full recipe is in the recipe card at the bottom!
- Butter: the butter gets melted so it doesn’t matter if it’s cold but it is quicker if the butter is already soft. I like salted butter but unsalted works too, just add an extra ¼ tsp of salt.
- Chocolate: you can use milk chocolate, semi-sweet chocolate or dark chocolate. I prefer dark chocolate.
- Eggs: always use large, room temperature eggs. Place them in hot water for 5-10 minutes if they’re cold.
- Sugar: I use both brown sugar and granulated sugar in this recipe for the perfect flavor and texture combination. Light or dark brown sugar works fine.
- Flour: I always use all-purpose flour and I haven’t tested it with brownies specifically but there were very minimal differences in my comparison between different types of flour so cake or bread should work fine in a pinch. A 1:1 gluten-free flour blend also works well.
- Cocoa Powder: the better quality your cocoa powder is, the better your brownies will taste! My favorite is King Arthur Dutch Process Cocoa Powder or Rodelle Dutch Process Cocoa Powder. Just don’t use sweetened cocoa powder though and I don’t recommend black cocoa powder either – I have a different recipe Black Cocoa Brownies.
- Salt: salt brings out the flavor in all baked goods and little flaky sea salt on top is what I live for.
TIP: I HIGHLY recommend using a digital scale, as dry ingredients are almost always over measured.
Step-by-Step Instructions
- Melt the butter with the chocolate chips and stir until they’re completely smooth.
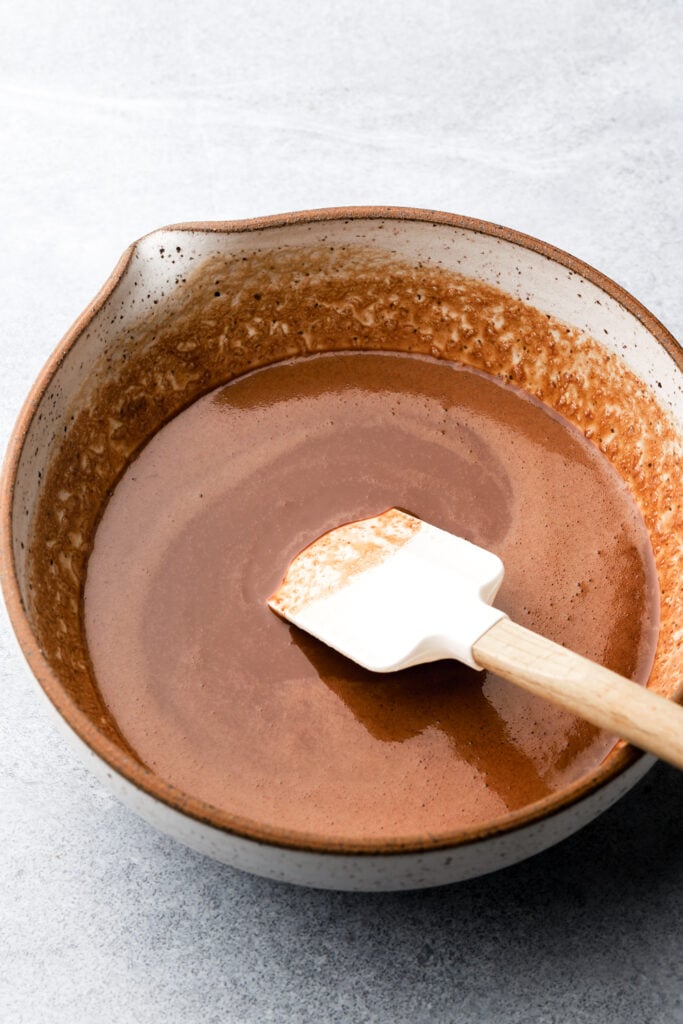
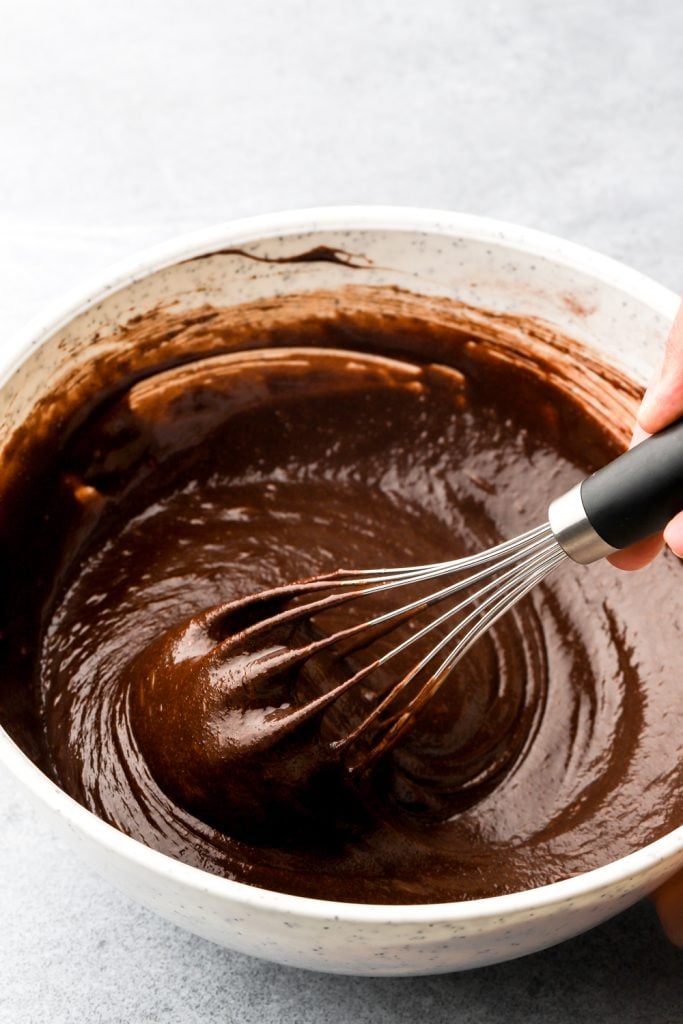
- Whisk the eggs with the sugars and cocoa powder aggressively for 2-3 minutes.
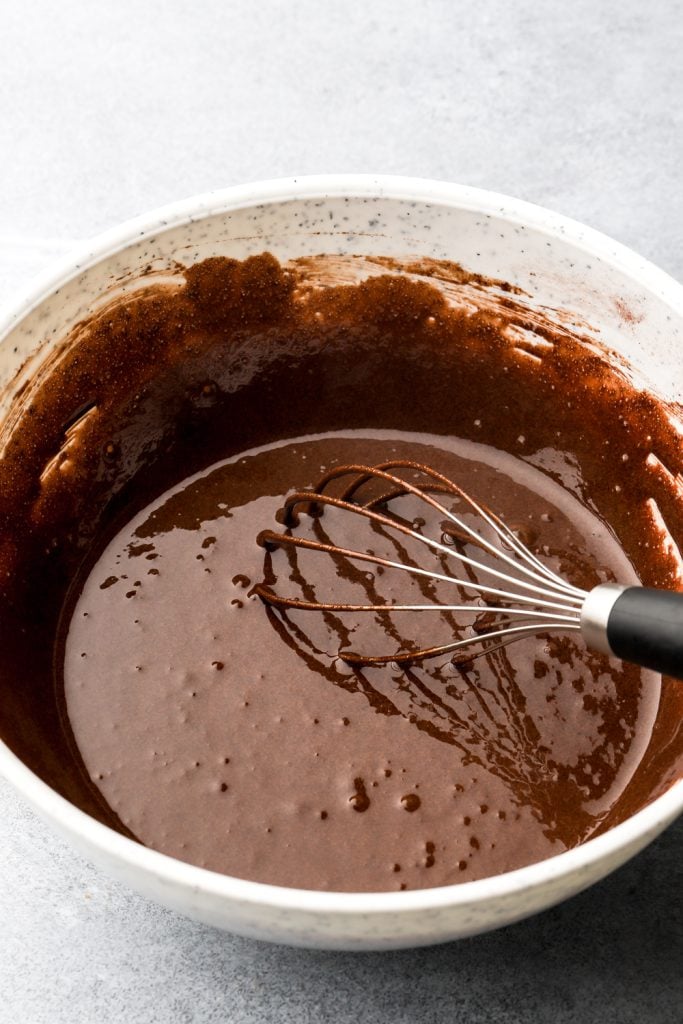
- Add the chocolate mixture to the egg mixture and whisk again until it’s completely combined.
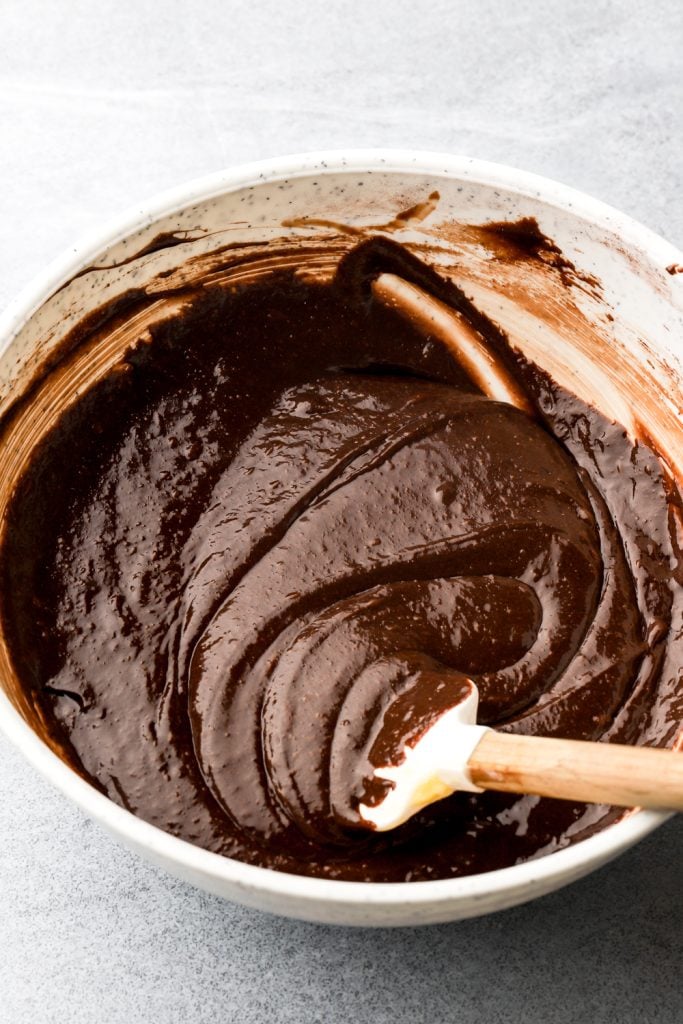
- Add the flour and salt and whisk just until the dry ingredients are incorporated.
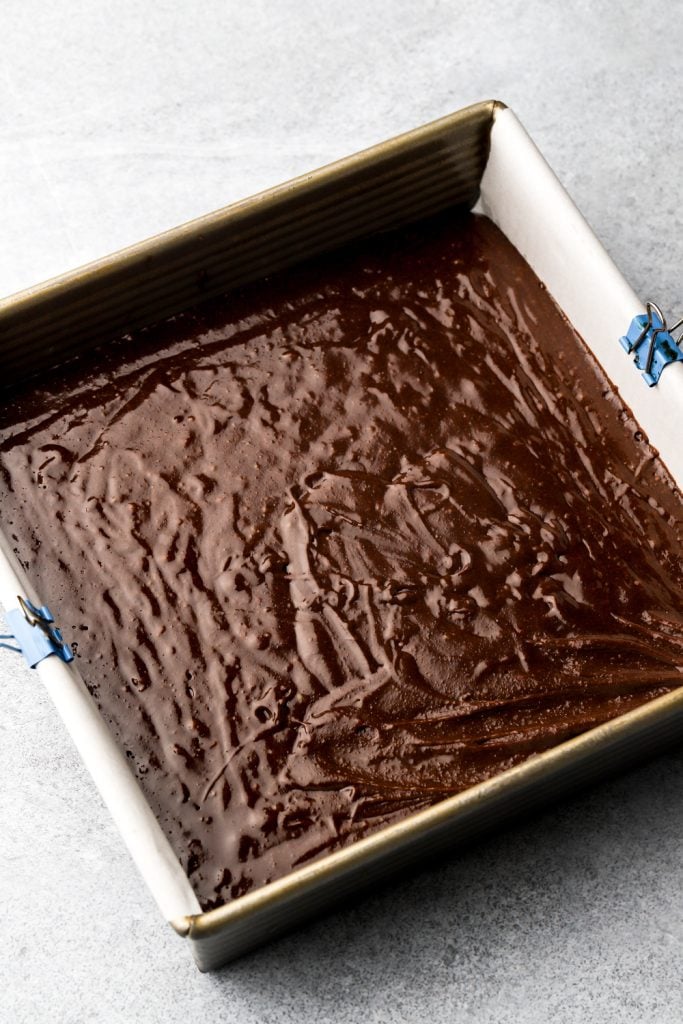
- Spread the brownie batter in the pan and bake for about 45 minutes, remove and tap it on the counter.
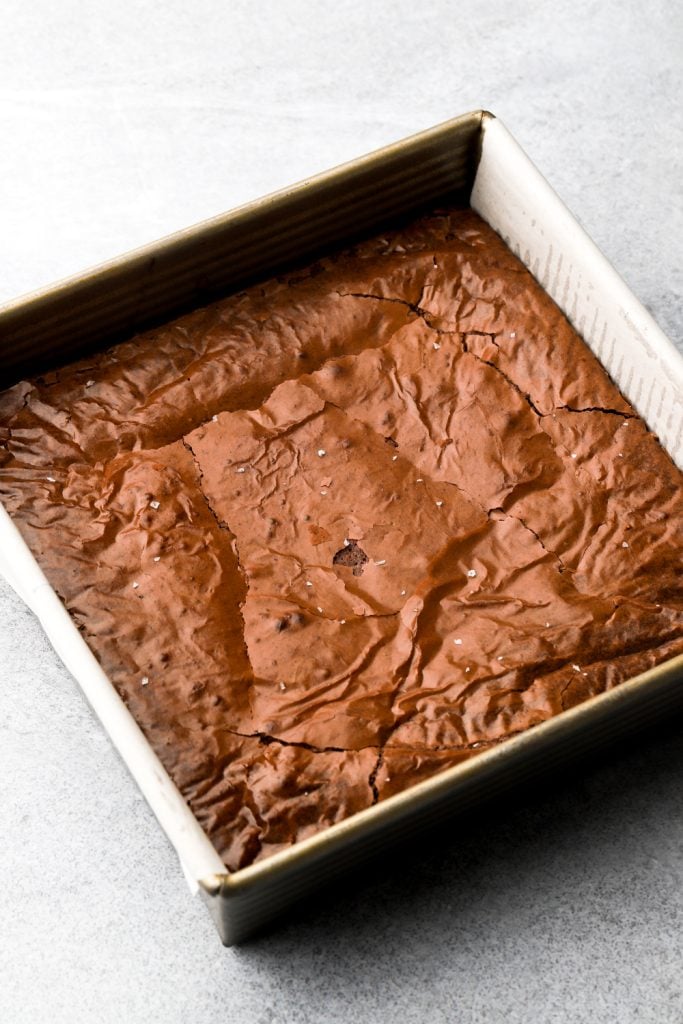
- The brownies should level off if they’re baked. If they sink below the edge, put them back in the oven for a few minutes. Allow to cool in the pan for 30-60 minutes before removing and slicing.
TIP: I always recommend an oven thermometer just because ovens can vary.
When are brownies done baking?
Brownies are by far the hardest thing for me to assess when they’re done baking.
When you move the pan, if the batter jiggles, it’s definitely not done baking.
When the top of your brownies have a thin little crackle on top, you can press on it with your finger to see how firm the brownies are underneath.
When you push your finger on the top (in the center) you should feel some resistance. It should feel like a brownie that’s a little “too gooey but almost perfect”. At this point, you’ll remove them from the oven and they will continue to bake as they’re cooling.
If they’re firm when you remove them from the oven, they won’t be very gooey once they’re completely cooled.
Another thing I do to check for doneness is to tap the pan on the counter when I take it out of the oven. If the brownies level off perfectly, they’re done. If the center of the brownies sink below the edges, then put them back in the oven for a few minutes.
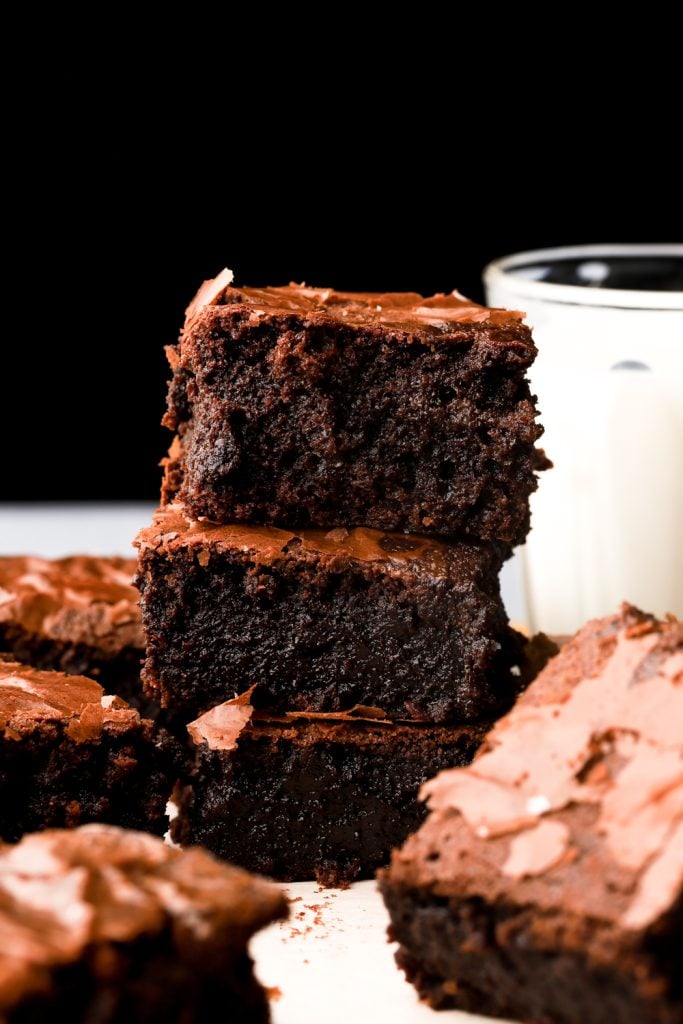
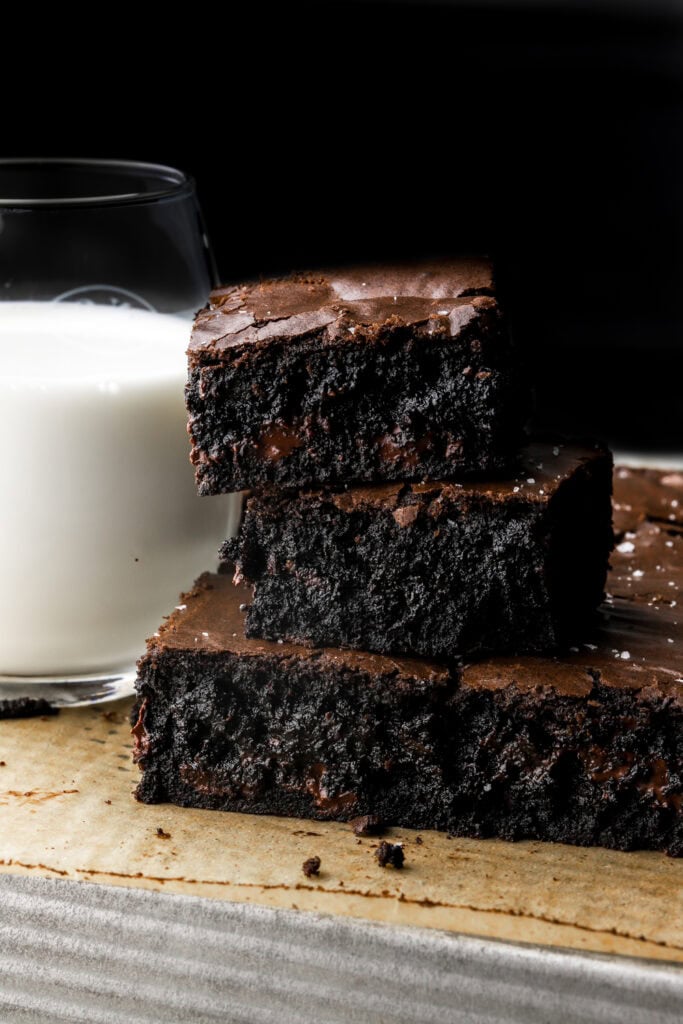
Look at the photo I have above, you can see how the center was just slightly shorter than the edge, those brownies were just slightly under-baked. I like them like that because once they cool completely to room temperature they are perfect for me.
Can I just use the toothpick test?
Many people like to insert a toothpick into the center of baked goods to test for doneness. Usually if the toothpick is clean or if there are only a few moist crumbs on it then a cake is done baking. That doesn’t work for brownies.
We want gooey, fudgy brownies so when we remove them from the oven, they will still be a little undercooked and will finish baking as they cool so your toothpick should come out pretty dirty lol.
How to get a thin crackly top on homemade brownies?
To get the perfect crackly top on these brownies you want to make sure you whisk the eggs with the sugar aggressively for 2-3 minutes. You can also use a hand mixer if you prefer.
It helps if the eggs are at room temperature too.
Also the melted chocolate chips contribute to that crackly top so make sure not to skip anything in the recipe!
How to perfectly slice brownies?
Ok I don’t know if it’s just me but if I’m not careful to take these extra steps, my brownies always end up looking like a pile of not so tasty brown stuff instead of a delicious pile of brownies.
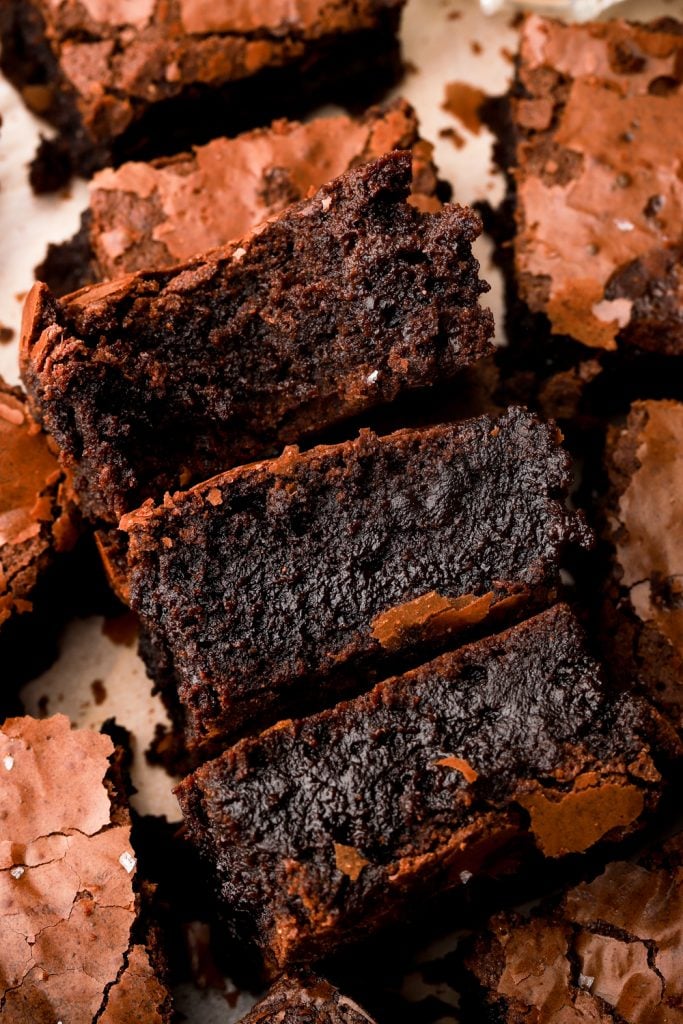
To get my brownies perfectly sliced it’s best to chill the brownies briefly. I freeze them for about 20 minutes after they’ve cooled and then I ALWAYS run my large knife under hot water between every slice I cut.
Yes, between every slice. Because they’re fudgy, some of the gooey chocolate gets stuck on the knife and if you just go to cut another slice it gets less and less pretty.
Brownie Variations
I used my original Perfect Brownie recipe to make other variations like Biscoff, Oreo, Hot Chocolate, and Peppermint Marshmallow, that I think you’ll love! The old variations can also be applied to this base brownie recipe so just make this base and add the mix-ins, toppings, etc.
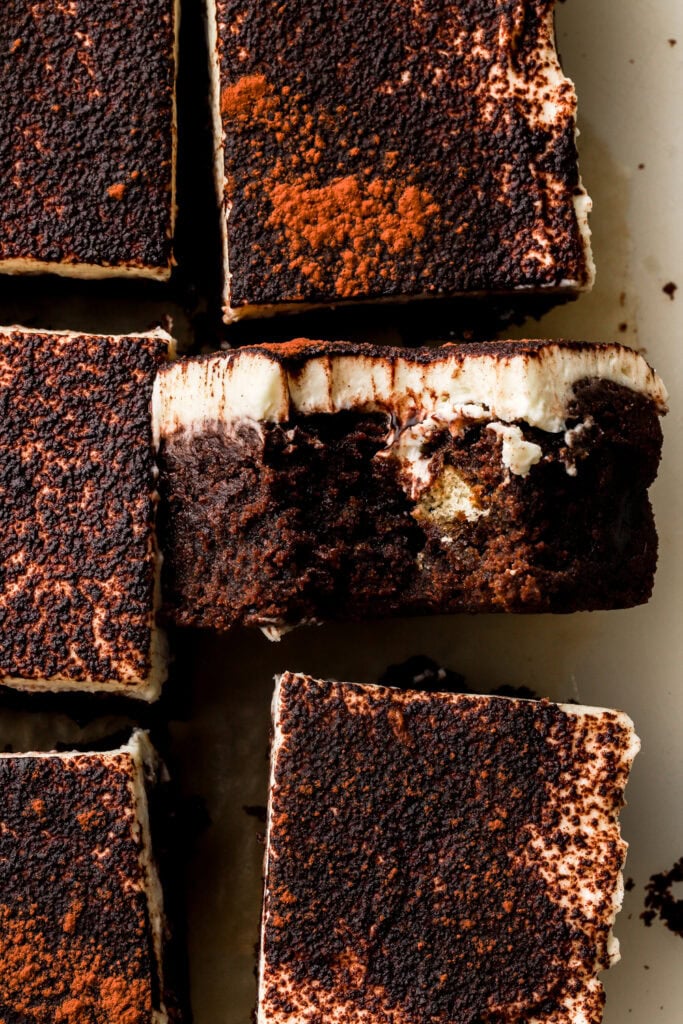
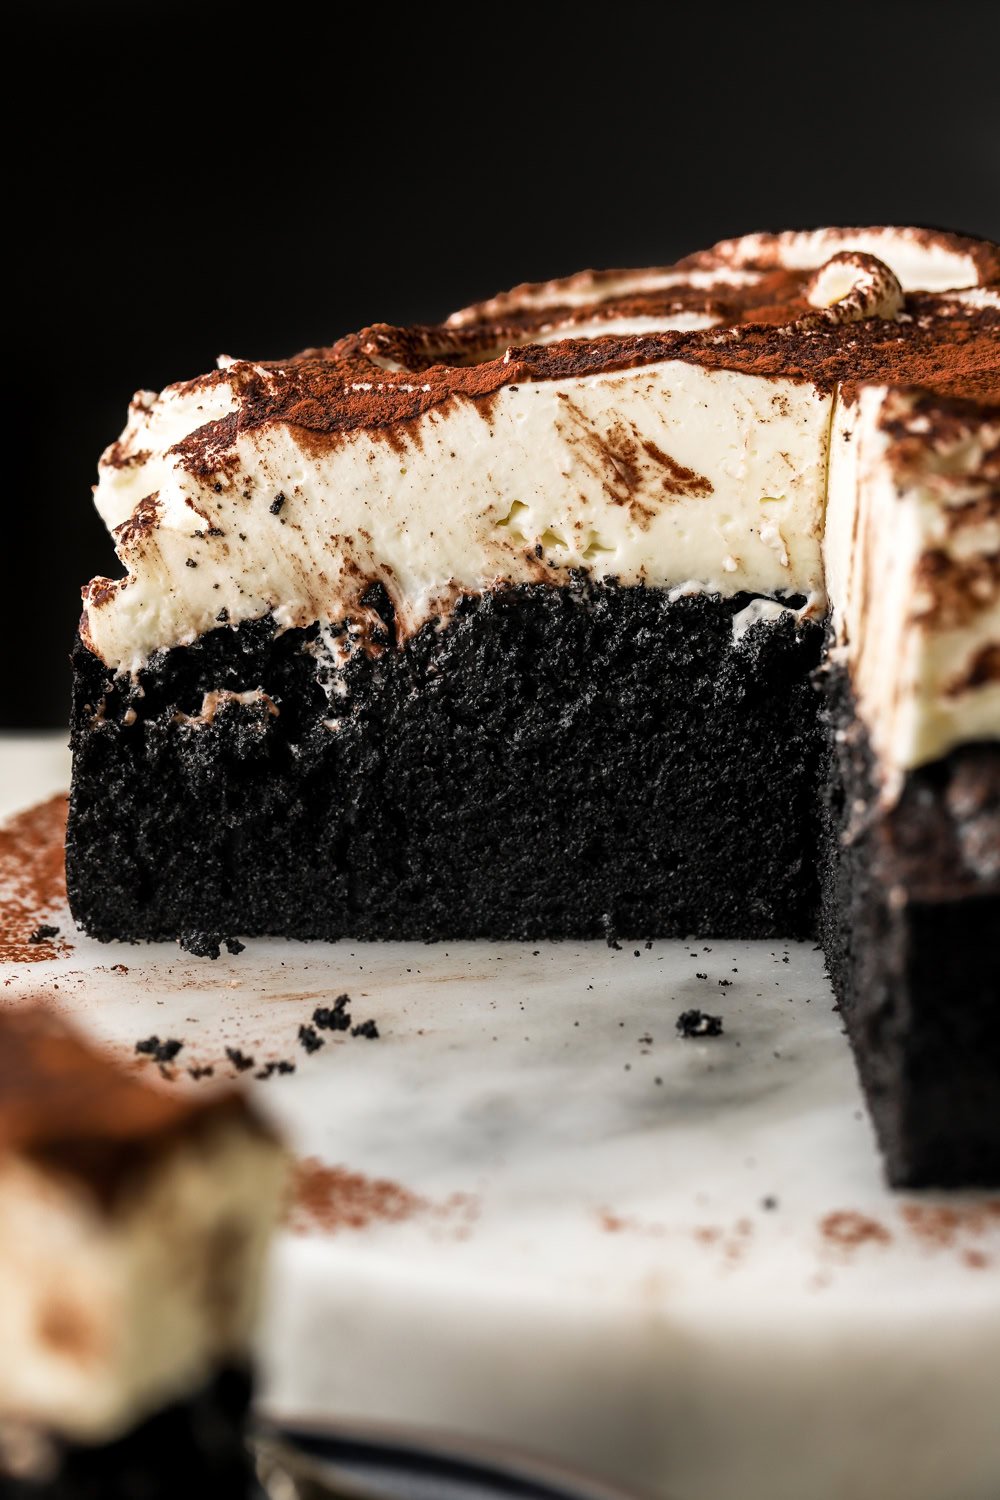
This new brownie recipe is the base I’ll be using for all of my brownie variations from now on so I turned them into my FAVORITE Brown Butter Brownies, Tiramisu Brownies, Black Cocoa Brownies and even a Brownie Pie.
& before you miss out, I should let you know that I have a banana brownie recipe as well and it’s the most popular recipe on my site!
Storing Brownies
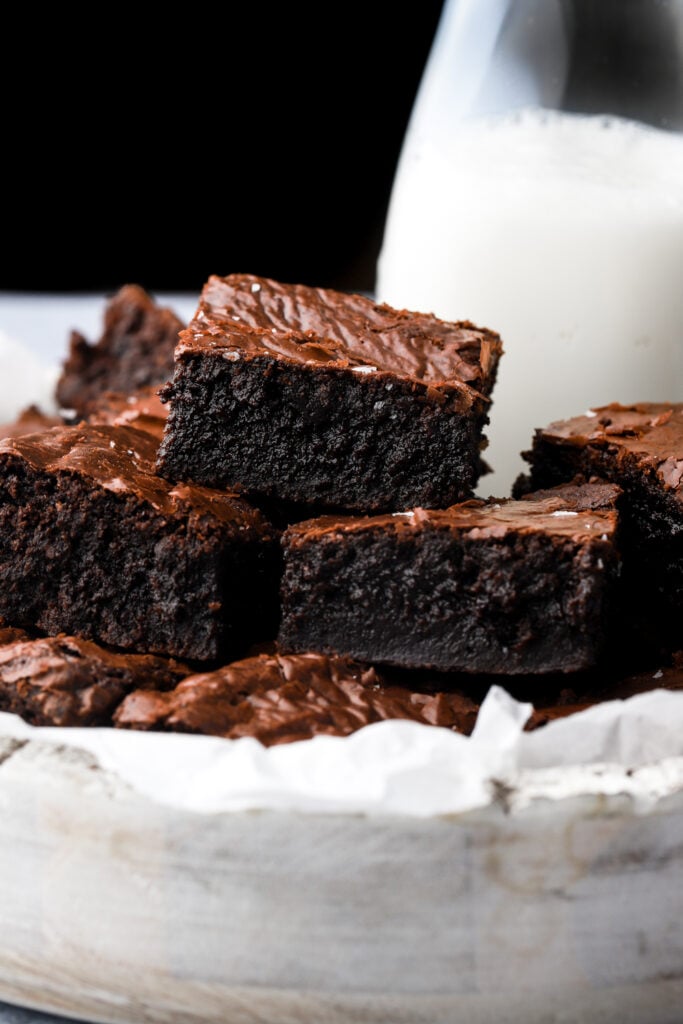
Once the brownies have cooled completely, store them in an airtight container.
They can stay at room temperature for a few days, in the refrigerator for 7-10 days or frozen for a couple of months. Make sure to bring them back to room temperature when serving.
There are so many brownie recipes out there and I’m sure so many of them are amazing but I hope you give my new favorite brownie recipe a chance.
If you love these new brownies, make sure to leave me a 5-star rating or a review if you liked it.
As always, have a blessed day and happy baking!
Love, B


can I freeze the browbus? Please explain the procedure
These were amazing! Me and my family loved these!
Really great recipe. Texture was very moist with great structure. I did bake it for 50 min in a glass 8 x 8 pyrex.
Was so delicious and easy to make! I measured all my ingredients with a scale, I think it really made a difference. I used high quality butter, substituted the chocolate chips for 70% dark chocolate and milk chocolate. It tastes divine!!! For fun I used black cocoa powder, didn’t add any food coloring. It’s pretty dark but could be darker personally. Overall, wonderful recipe and I really enjoyed it.!
I have made this recipe about 5 times now they’re my favorite and everyone else’s. Thank you!
These came out beautiful and the measurements are perfect. A little tip that might help with the cracked top is to whisk your egg whites separately just enough to see a bit of foam on top.
Literally the best brownie recipe I’ve ever tried and tasted. So easy and quick to whip up. I followed instructions exactly and they came out perfect.. I’m addicted ?
Made this for the fam but I did not manage to achieve a crackly top. It was bubbly instead. ? But other than that, texture was fudgy and my sister said it was the best of the recipes I tried so far. Unfortunately, I am allergic to caffeine so I couldn’t eat some so I had to rely on their comments. I doubled the recipe for a 12×16 pan. Baked for 43 minutes and it came out perfect. Thank you!
AMAZING! My husband and I were craving something sweet and I found this recipe and we fell in love! I did follow the recipe fully but even at 45 minutes my brownie was a bit undercooked. My only thought was I only have a glass 8×8 baking dish and the author used a metal pan and I bet the additional heat that came from the metal pan make 45 minutes the perfect temp. I baked for 10 extra minutes but even underbaked, they were delicious! We’ll definitely make again, never going back to boxed, especially with how easy this recipe was! Thanks for a great treat!
Hi Chrissy, so glad you liked it! Yes definitely a glass pan will conduct heat slower but I’m glad they were still good.
Amazing recipe! I’m a highschooler and these have made me known for bringing those “coffee brownies,” since I add a heaping tablespoon of coffee powder to the egg mixture. Detailing to vigorously whisk the eggs give them such a nice, shiny top. I repeatedly make these, and would recommend!
Thank you so much for the review! I’m so glad you like them 🙂
Fabulous!
Tested at 38 minutes
Baked to 43..perfect
So glad it worked out!!
Absolutely wonderful, and very easy to make. Far better than any boxed brownie mix I’ve tried. I’m pretty helpless in the kitchen as a rule, so if I can make these, anyone can!
Thank you Brett, I’m glad you liked them 🙂
It a bit of a long recipe to make Make the recipe shorter
Go buy a boxed mix. They couldnt be any easier to make and they taste 300x better. A little effort is necessary to make thjngs from scratch. Your need for instant gratification is telling…..
Perfect
I’ve tried a gazillion brownie recipes and this one is by far my favorite! Wow!
hi! i’m from indonesia and i found your recipe are easy to follow! i added some espresso to mie and it turns out to be perfect! over-baked them just for a bit but it’s still nice and fudgy, thank you so much <3
Came out amazing!! My husband and MIL loved them mine did come out on the softer side so I’ll try adding a little extra flour next time but other then that they were great
I appreciate the fact that you’ve mentioned how to physically check the brownies by tapping them against the counter so that the textures right. Awesome recipe!
I’m not sure what’s going on with other peoples times but the only thing different I did was melt the butter and chocolate chips on the stove instead of the microwave… I did the exact recipe and 40 minutes and they came out perfect! I would absolutely recommend this for first time bakers
LOL I have no idea! This recipe got a bunch of good reviews, then out of no where a handful of terrible reviews and then back to good reviews… very bizarre. But I’m glad they turned out well for you, thank you for sharing your feedback!
Possibly the worst brownies I’ve made. I don’t suggest microwaving butter and chocolate chips, do it on the stove. And a heat safe bowl is not the same as microwave safe if you do. These were very dry when I put them in and hollow in the middle when I took them out. The taste was not great.
You can chalk it up to your own ineptness in the kitchen, Chelsea. These brownies are incredible!