
Brown Butter Brownies
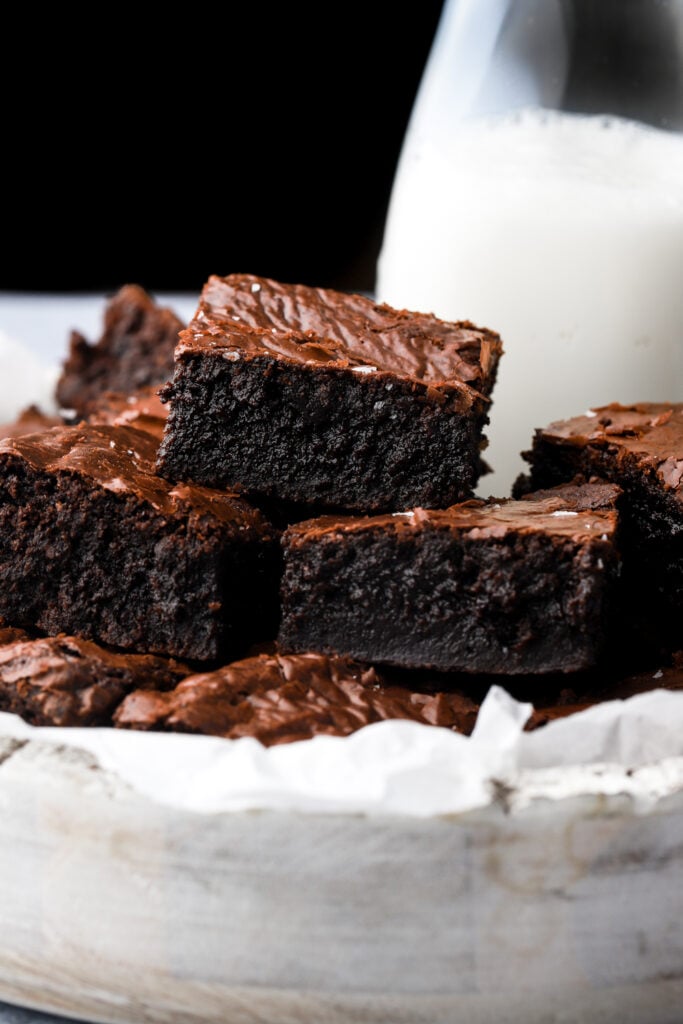
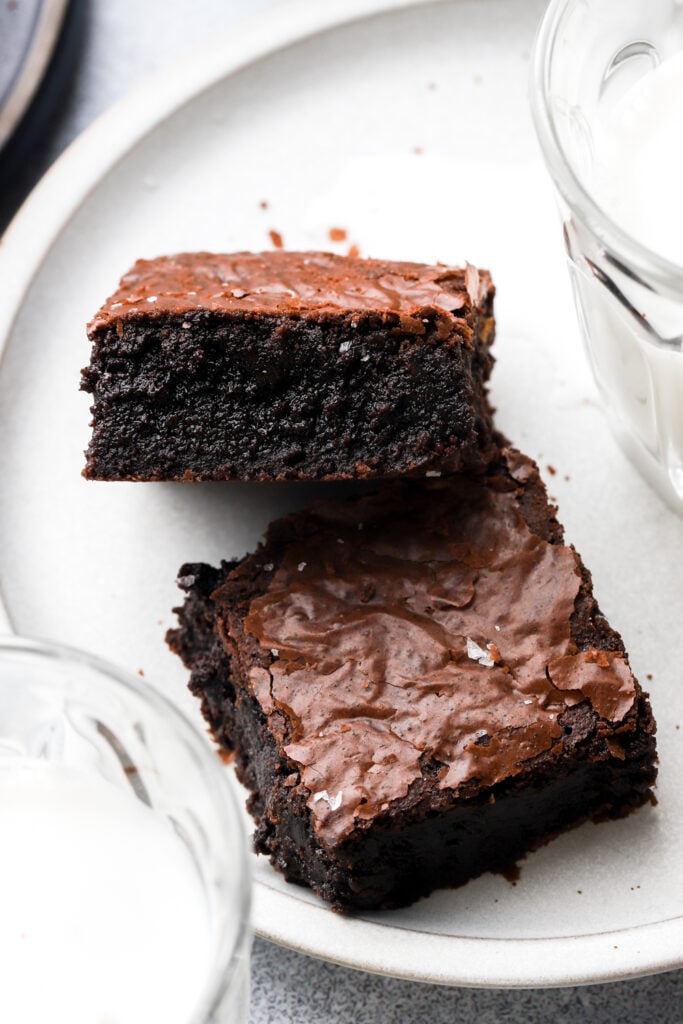
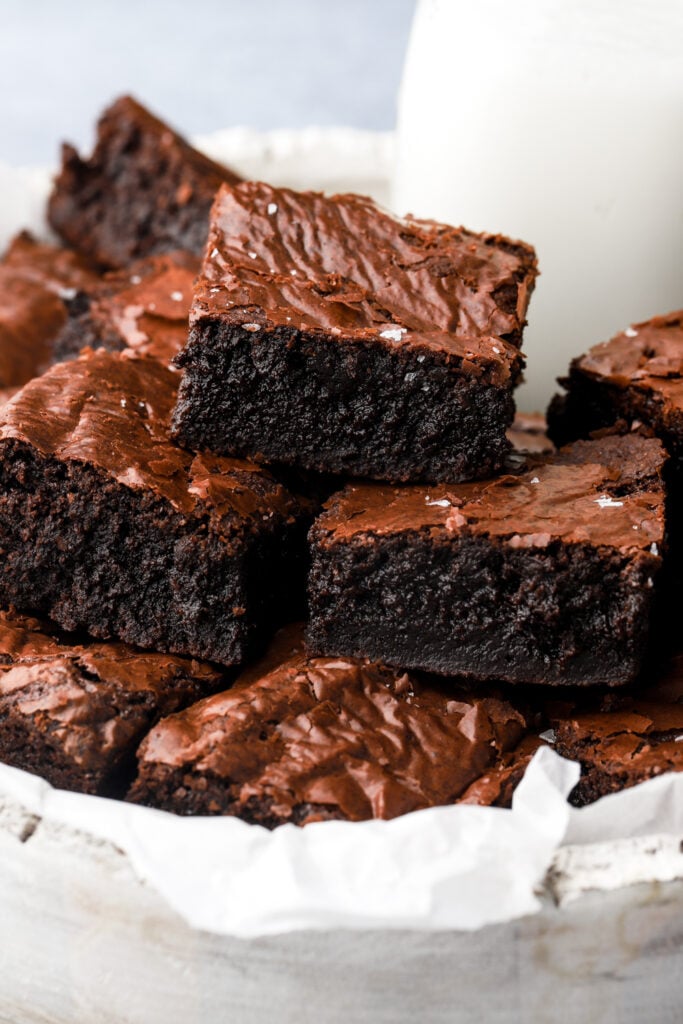
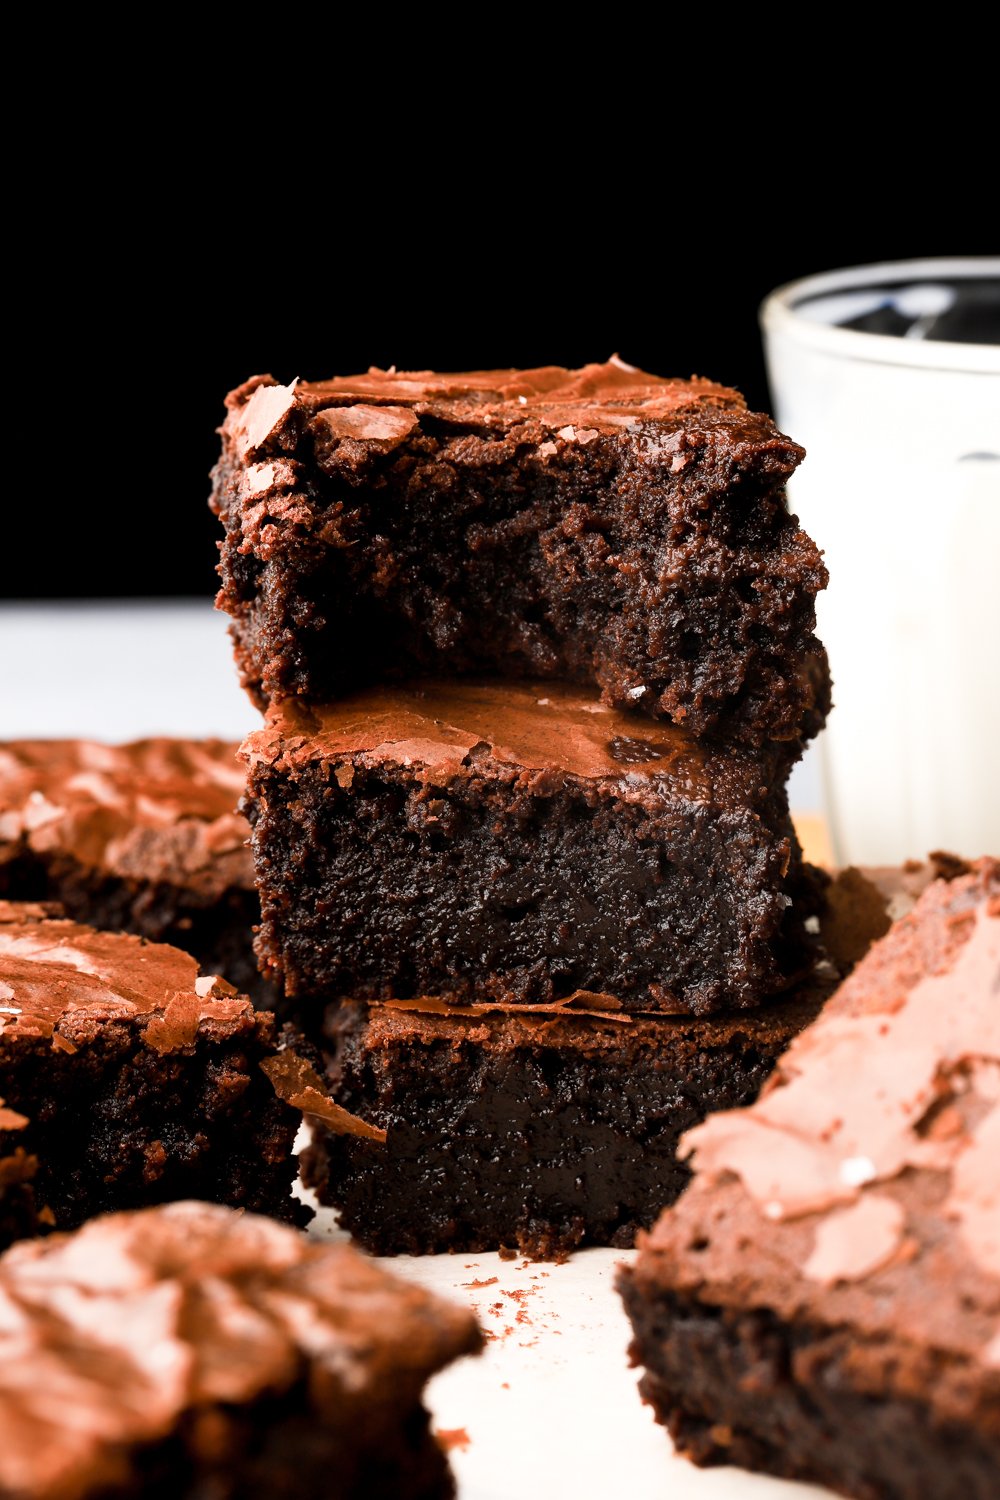
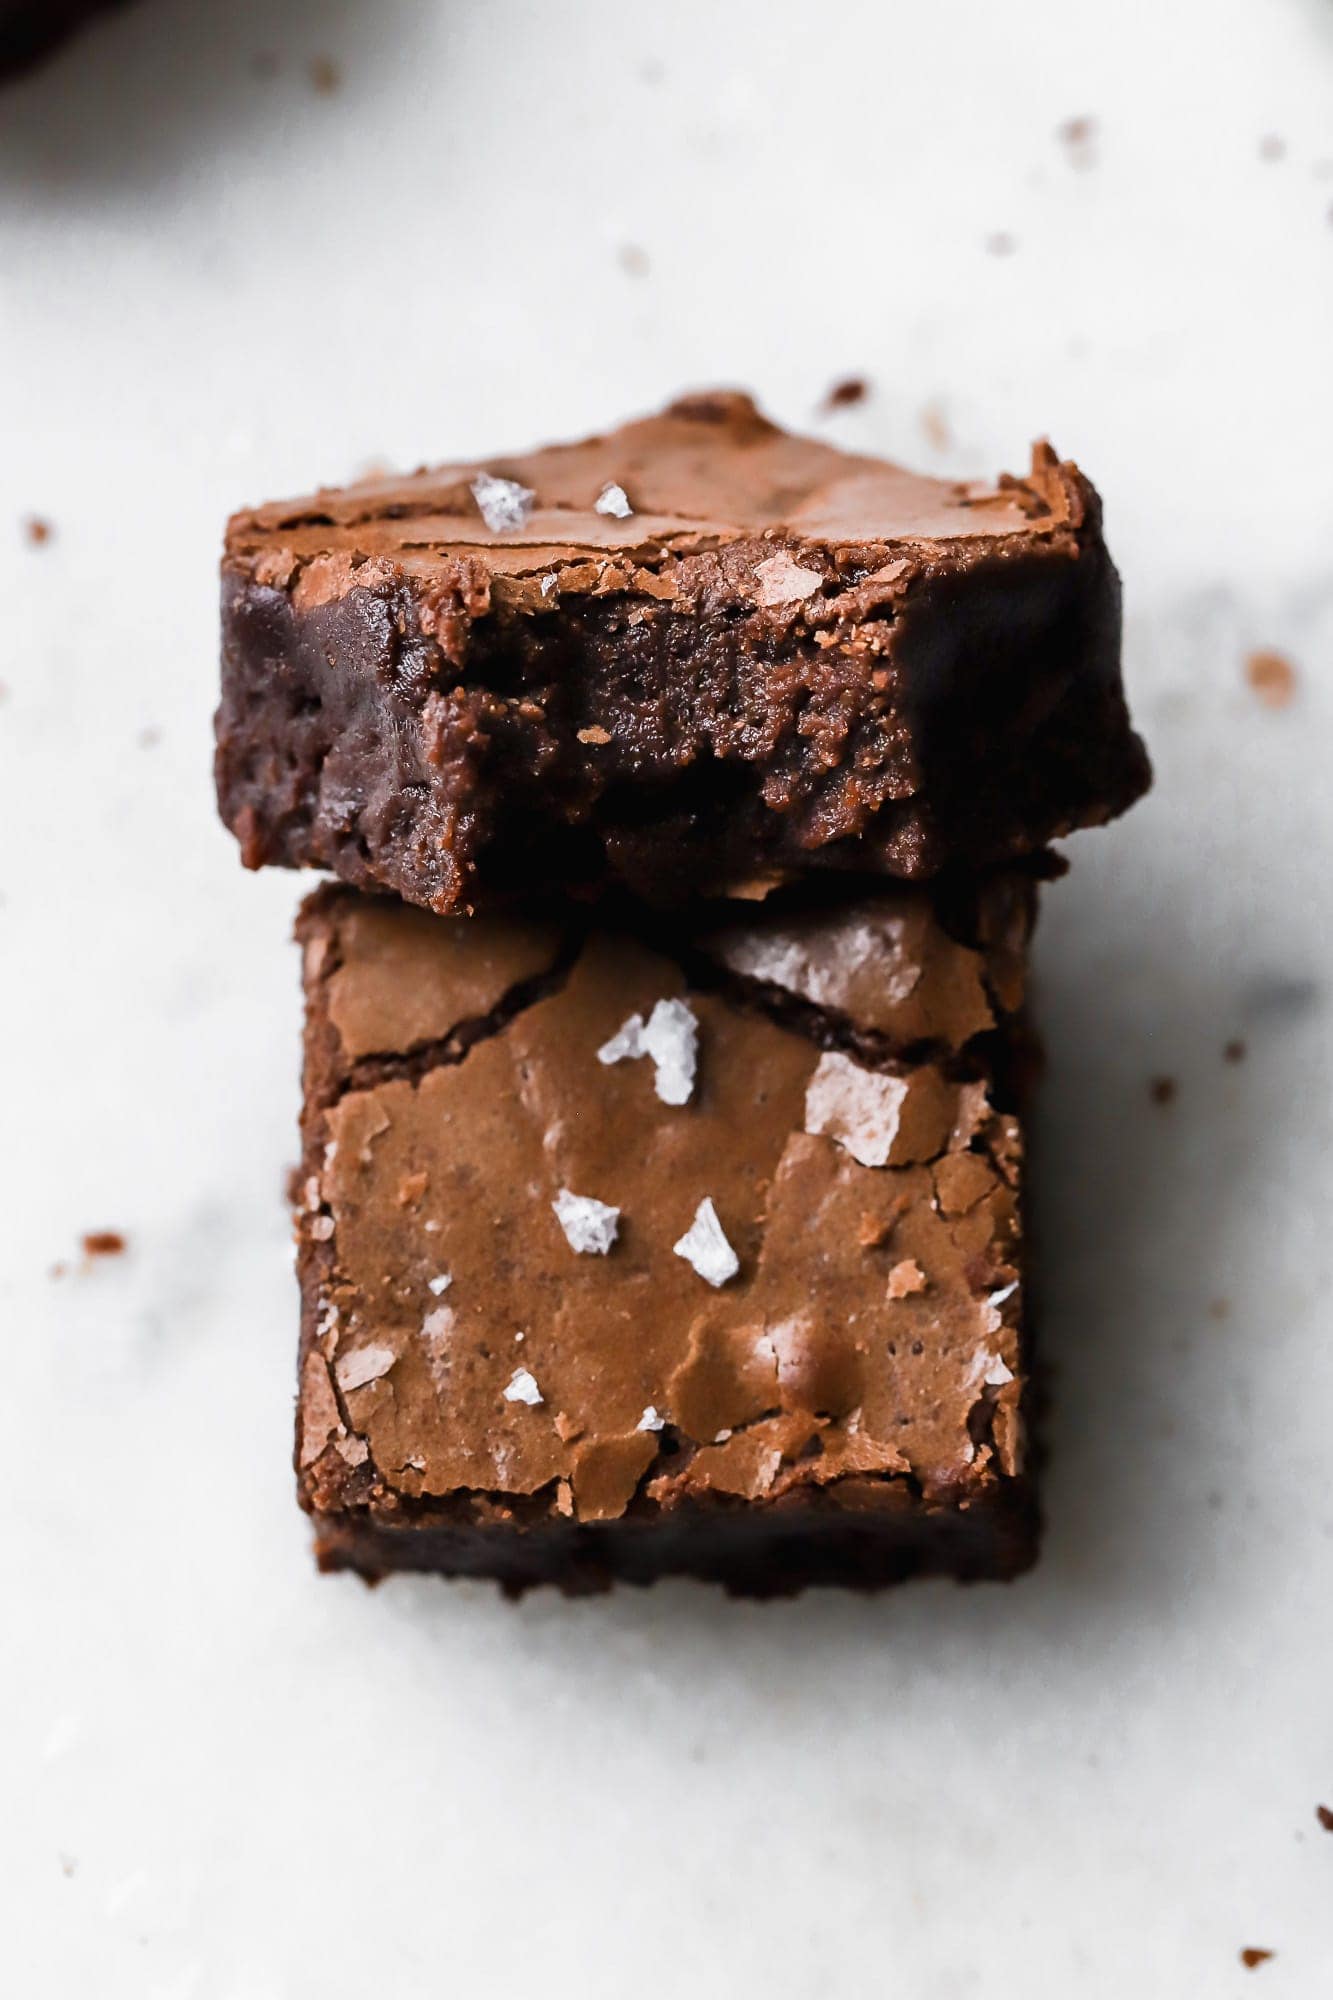
These brown butter brownies have a rich, dark chocolate flavor, a subtle brown butter flavor, chewy edges, fudgy center and the perfect crinkly top.

What Makes Brown Butter Brownies So Good?
- Browning butter creates a nutty flavor which adds a new depth to the brownies.
- They’re easier to make in my opinion and follow my NEW brownie recipe that i’ve created.
- Once upon a time I developed a brownie recipe that I thought was quite perfect and I named her my PERFECT Fudge Brownies. Read that post to see why I loved them so much. Then fast forward like 5 years, after developing hundreds of new recipes, my standards (and skills wink*wink*) have been raised.
- They get that PERFECT crackly top EVERY. SINGLE. TIME.
If you do love my original brownies, I have some other variations as well like biscoff, oreo fudge and hot chocolate, and peppermint marshmallow, that I think you’ll love! You can also use this brownie recipe as the base to make ANY of my other flavors/versions.
Ingredients & Substitutions
- Butter: For this recipe, I’ve used a bit more butter as some evaporates during the browning process. Whether cold or room temperature, it doesn’t matter as it’s going to be melted and browned. I prefer salted butter, but you can use unsalted butter if that’s what you have on hand, just add an extra pinch of salt.
- Chocolate: you can use milk chocolate, semi-sweet chocolate or dark chocolate. I prefer dark chocolate for a more rich, less sweet flavor
- Eggs: always use large, room temperature eggs. Place them in hot water for 5-10 minutes if they’re cold.
- Sugar: I use both brown sugar and granulated sugar in this recipe for the perfect flavor and texture combination. Light or dark brown sugar works fine.
- Flour: I always use all-purpose flour and don’t recommend substituting. Should work fine with a 1:1 gluten-free flour blend though.
- I also HIGHLY recommend using a digital scale, as flour is almost always over measured.
- Cocoa Powder: the better quality your cocoa powder is, the better your brownies will taste! My favorite is King Arthur Dutch Process Cocoa Powder or Rodelle Dutch Process Cocoa Powder. Don’t use sweetened cocoa powder though!
- Vanilla: you can use either pure vanilla extract, vanilla bean paste, or artificial vanilla extract.
- Salt: salt brings out the flavor in all baked goods and little flakey sea salt on top is what I live for.
Step-by-Step Instructions
Step 1: Brown the butter: Place butter into a medium-size saucepan and heat it over medium-low heat. Stir occasionally.
- If the butter is cold, cut it into cubes first
Step 2: As the butter begins to bubble and foam, stir continuously. You’ll need to scrape the solids off the bottom of the pan. The milk solids will start to settle and darken.
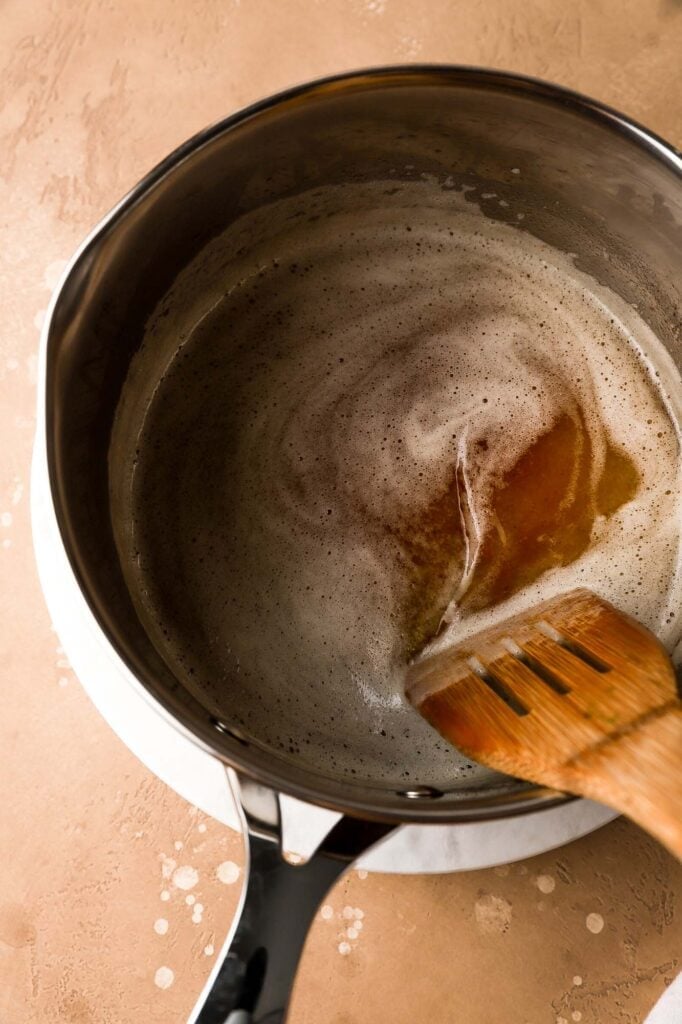
Step 3: Remove it from the heat and continue stirring for about another minute until the butter darkens into an amber color.
Step 4: Pour over chocolate and stir together until the chocolate is completely melted and the mixture is smooth.
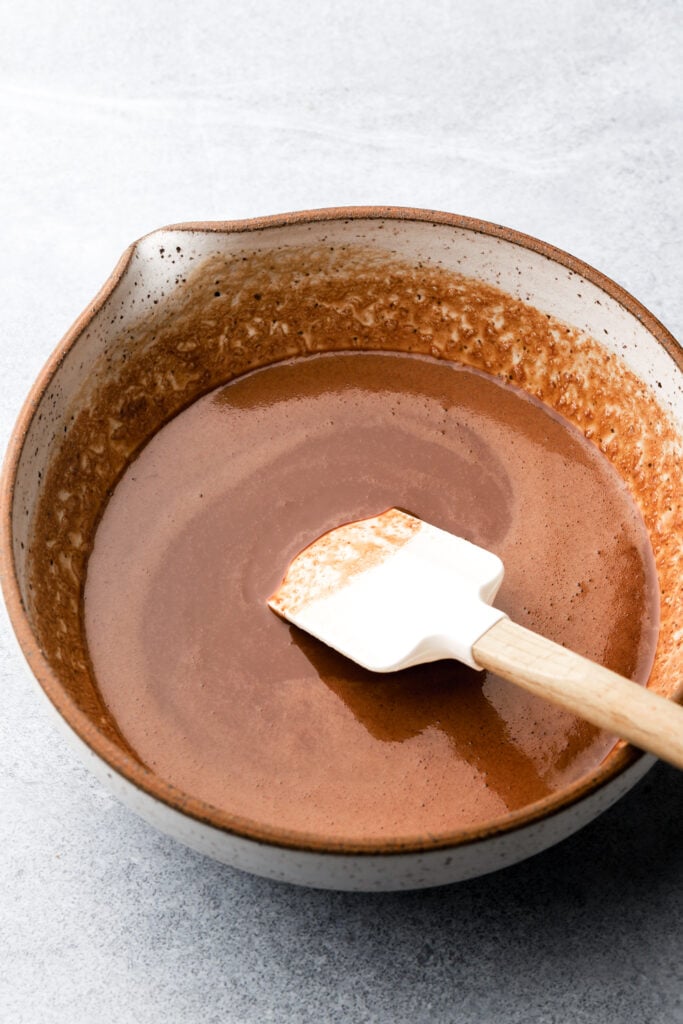
Step 5: In a separate large bowl, add granulated sugar, brown sugar, cocoa powder, vanilla, and eggs. Whisk aggressively for 2-3 minutes.
- I increased the cocoa powder and decreased the flour a little so they can be a little more rich compared to my normal brownie recipes.
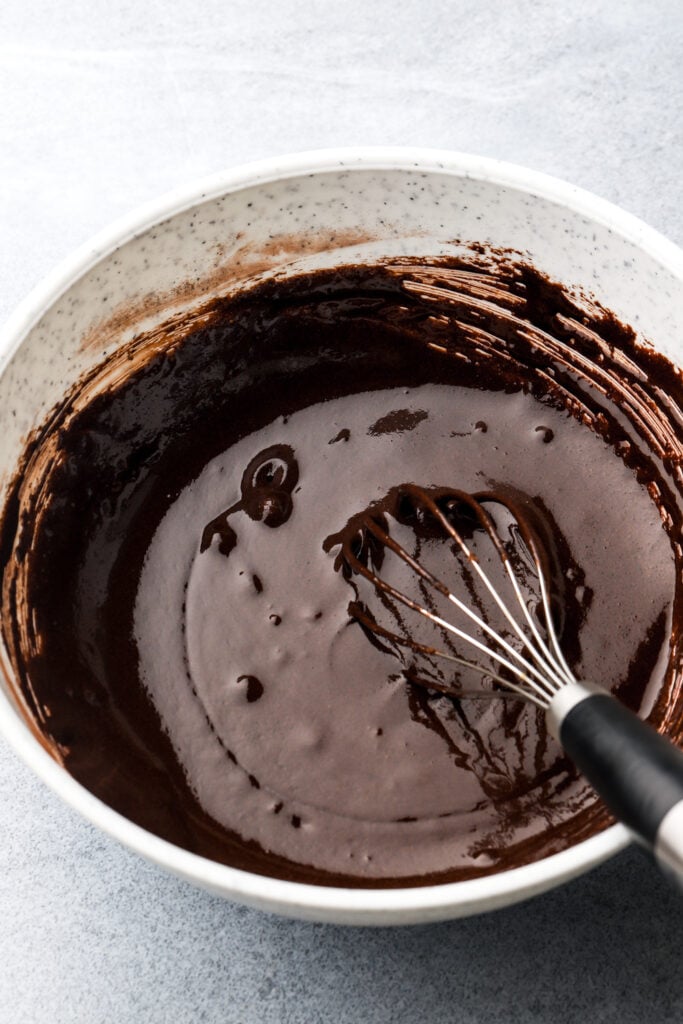
Step 6: Add in the melted chocolate and butter mixture. Whisk until fully combined.
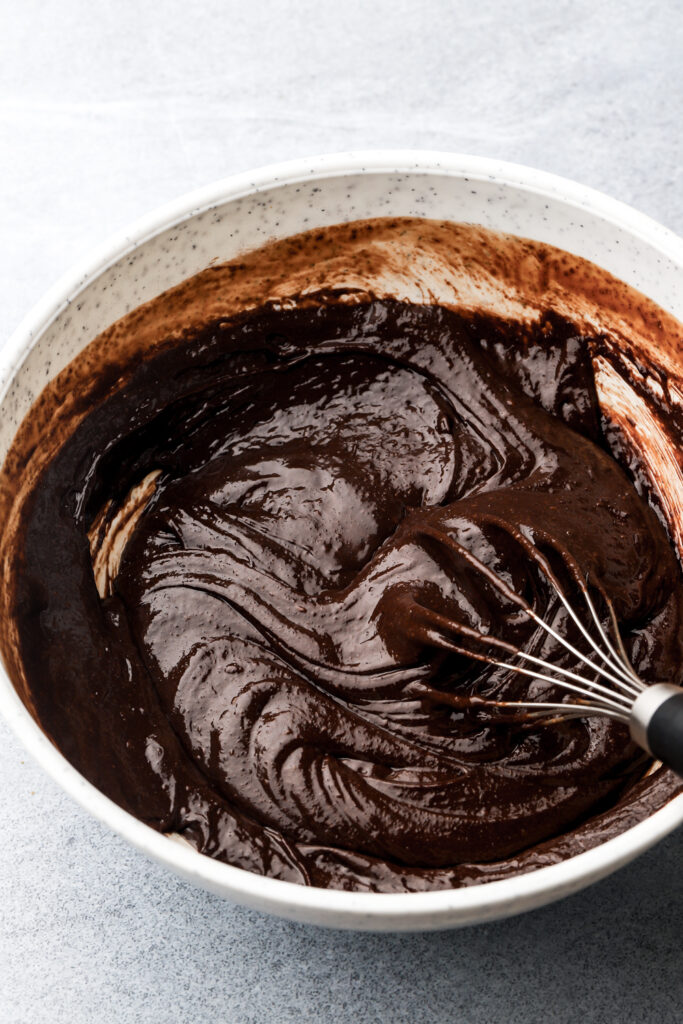
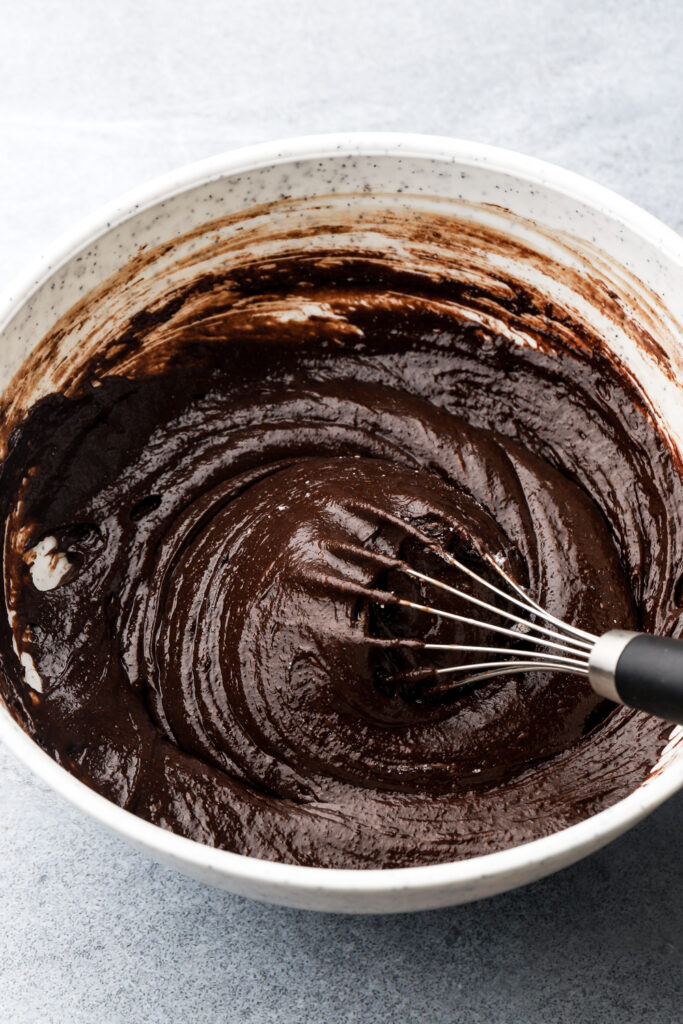
Step 7: Add in the flour and salt. Whisk the mixture just until the flour is incorporated and there are no visible streaks left.
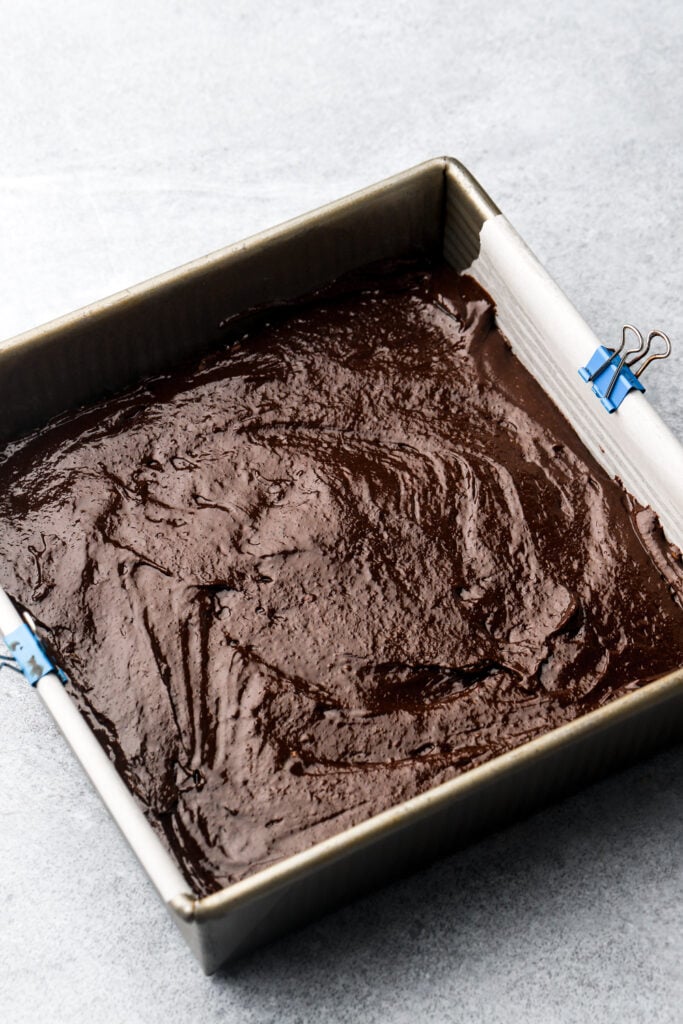
Step 8: Pour the batter into your prepared pan and bake for 40-45 minutes.
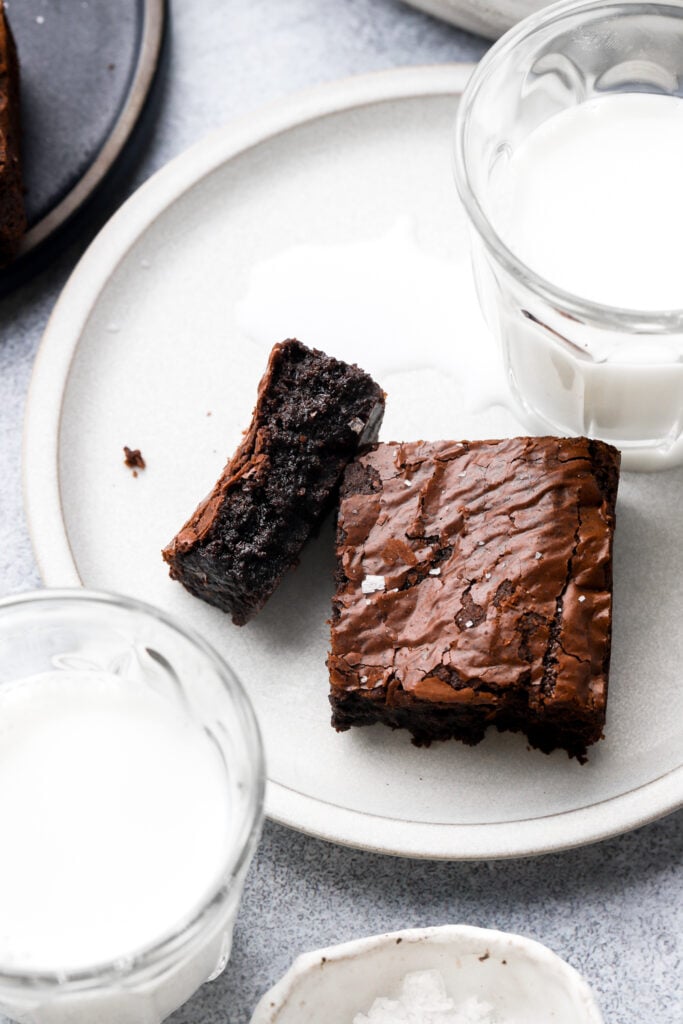
Step 9: After baking, allow the brownies to cool in the pan for 30-60 minutes and then sprinkle a pinch of sea salt flakes on top. Serve warm or wait until completely cooled!
When Are Brownies Done Baking?
Brownies are by far the hardest thing for me to assess when they’re done baking. This is especially difficult when you have a meringue top instead of a thin crackle, because the top gets hard and crunchy so touching it with your finger doesn’t really help. That’s why I made a new base recipe for my Fudgy Brownies because it makes a beautiful, thin crackly top every time.
When the top of your brownies have a thin little crackle on top instead of a thick meringue, you can press on it with your finger to see how firm the brownies are underneath. When you move the pan, if the batter jiggles, it’s definitely not done baking.
You want to be able to push your finger on the top (in the center) and feel some resistance. It should feel like a brownie that’s a little “too gooey but almost perfect”. At this point, you’ll remove them from the oven and they will continue to bake as they’re cooling. If they’re firm when you remove them from the oven, they won’t be very gooey once they’re completely cooled.
Another thing I do to check for doneness is to tap the pan on the counter when I take it out of the oven. If the brownies level off perfectly, they’re done. If the center of the brownies sink below the edges, then put them back in the oven for a few minutes.
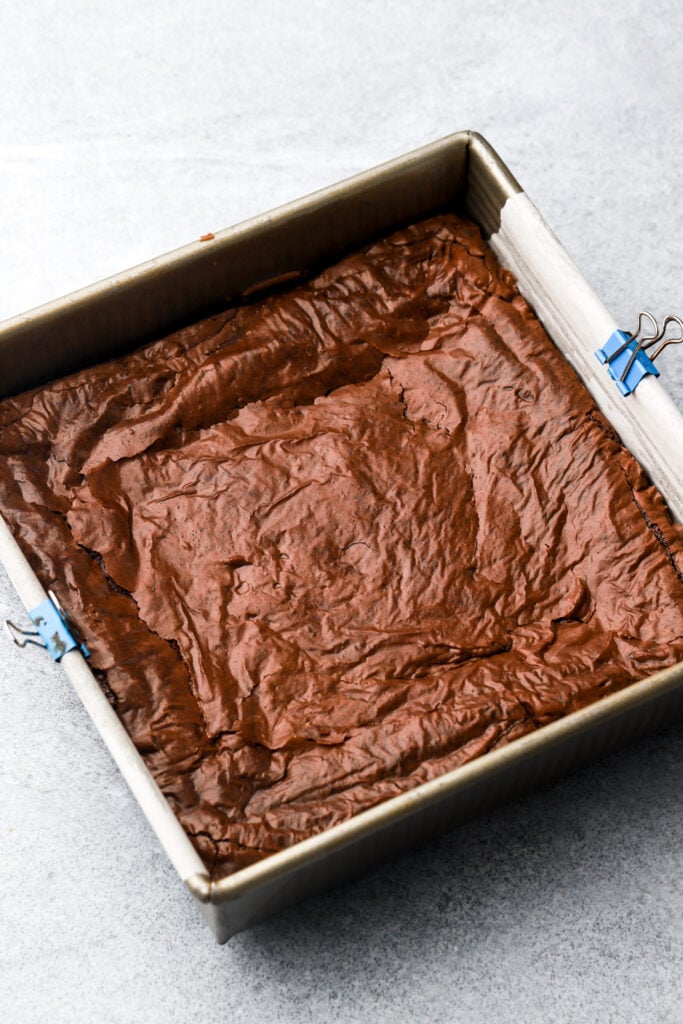
Look at the photo I have above, you can see how the center was just slightly shorter than the edge, those brownies were just slightly under-baked. I like them like that because once they cool completely to room temperature they are perfect.
Can I just use the toothpick test?
Many people like to insert a toothpick into the center of baked goods to test for doneness. Usually if the toothpick is clean or if there are only a few moist crumbs on it then a cake is done baking. That doesn’t work for brownies. We want gooey, fudge brownies so when we remove them from the oven, they will still be a little undercooked and will finish baking as they cool.
How To Get A Thin Crackly Top For Homemade Brownies?
To get the perfect crackly top on these brownies you want to make sure you whisk the eggs with the sugar aggressively for 2-3 minutes. It helps if the eggs are at room temperature.
Also the melted chocolate chips contribute to that crackly top so make sure not to skip anything in the recipe!
How To Perfectly Slice Brownies?
Ok I don’t know if it’s just me but if I’m not careful to take these extra steps, my brownies always end up looking like a pile of not so tasty brown stuff instead of a delicious pile of brownies.
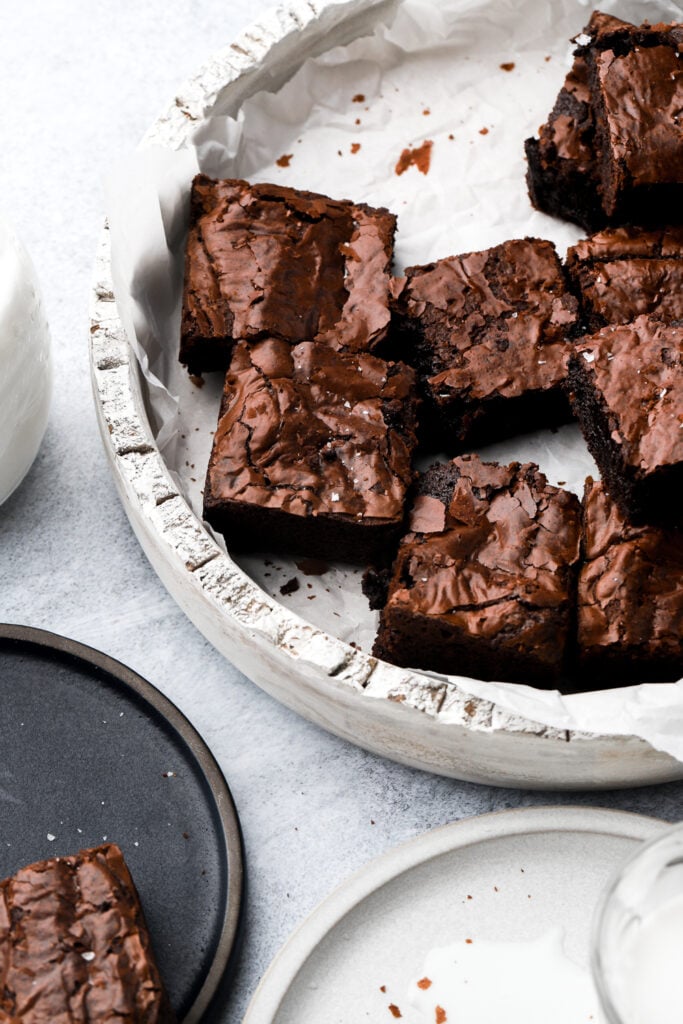
To get my brownies perfectly sliced it’s best to chill the brownies briefly. I froze them for about 20 minutes after they’ve cooled and then I ALWAYS run my large knife under hot water between every slice I cut.
Yes, between every slice. Because they’re fudgy, some of the gooey chocolate gets stuck on the knife and if you just go to cut another slice it gets less and less pretty.
How To Store These Brown Butter Brownies?
Once the brownies have cooled completely, store them in an airtight container. They can stay at room temperature for a few days and in the refrigerator for 7-10 days. Make sure to bring them back to room temperature when serving.
There are so many brownie recipes out there and I’m sure so many of them are amazing but I hope you give these a chance.

If you make these brown butter brownies, make sure to leave a star review if you liked it. If not, please comment below and let me know what you think.
As always, have a blessed day and happy baking!
Love, B


I made these for my family yesterday and they were so good, they kinda tasted like caramel and chocolate candys. Since I baked mines in an 9×13 I just put them on for 30 and they were still fudgy!! Great recipe !
Best brownies I have ever made in the history of ever. Made a pan yesterday and my family of 3 and embarrassingly we have eaten the entire pan. Add some ice cream for the best dessert of your life. I used a 70% chocolate bar and added 1/2 cup of mini semisweet chocolate chips. Amazing.
Hi Michelle, thank you for the review! I’m so glad you liked it!!! They are my favorite brownies too 🙂
These are absolutely incredible! I made a batch to share with my neighbours and they loved them too!
Would regular cocoa powder be an acceptable substitution? I cannot find Dutch process anywhere nearby.
yup
Just made these brownies and omggg.. They’re deliciously rich and chocolatey but not overbearingly sweet, with a wonderful texture that’s fudgy, dense but not too heavy, and holds themselves together when sliced up. Browning the butter adds such a nice aroma and depth of flavour. This will definitely be my go-to brownie recipe from now on!
Hi Isabella! Thank you so much for the review, I’m so glad you like the brownies – they are my favorite as well!