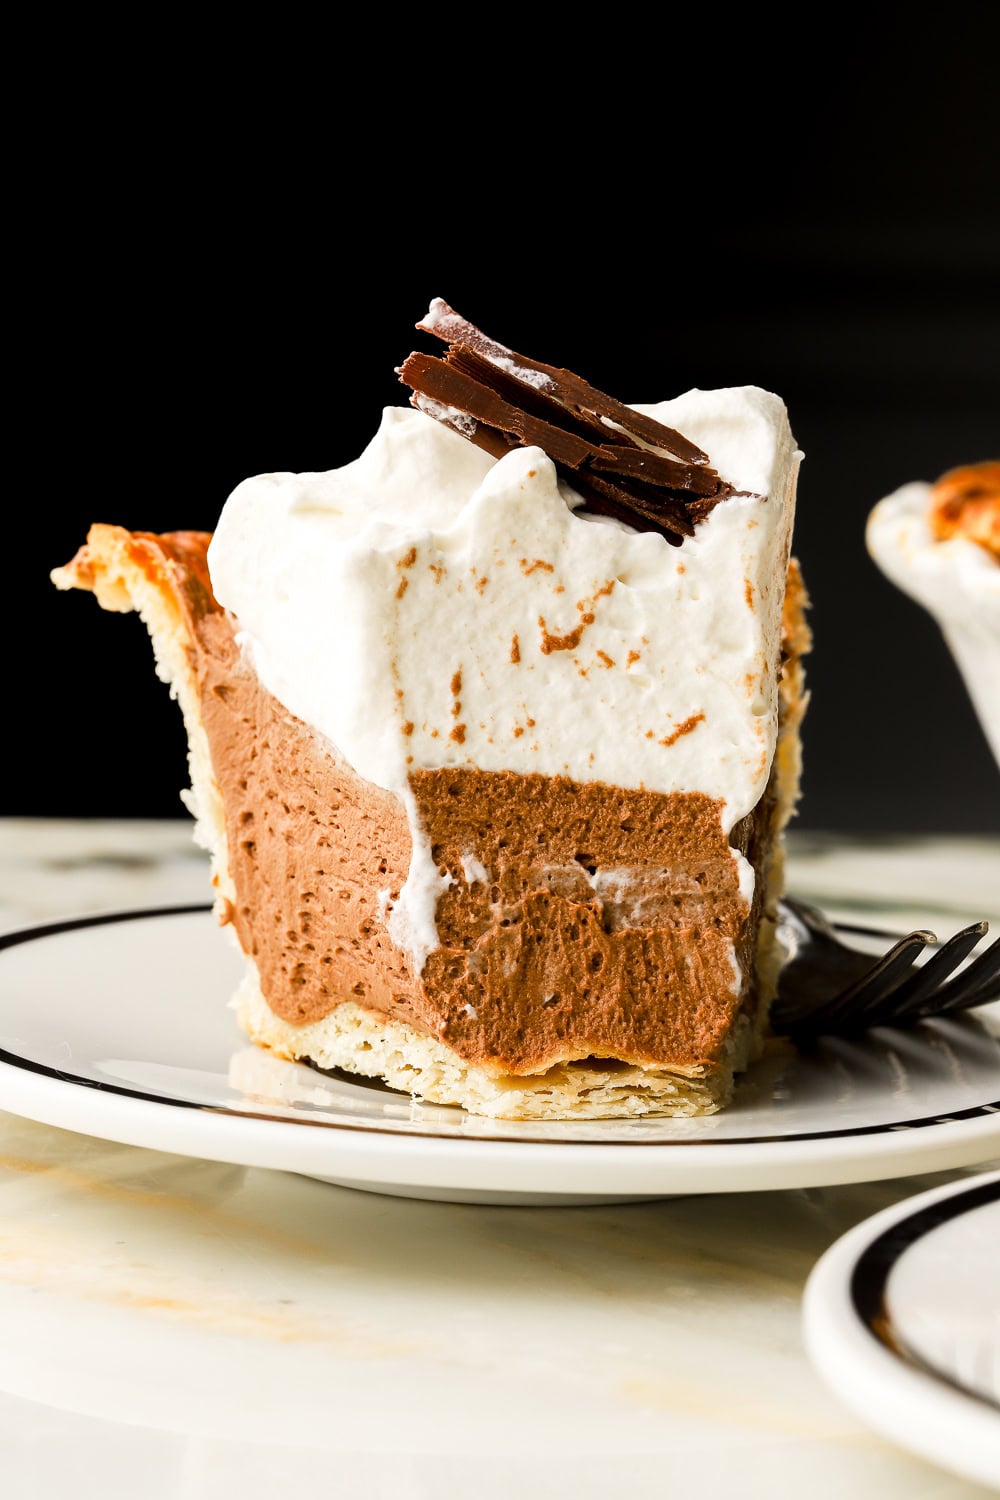
French Silk Pie with Cooked Eggs
French silk pie is one of those classic desserts that feels fancy without being fussy. It’s rich, chocolatey, creamy, and perfect for making ahead because it needs plenty of chill time before serving.
This version is made with cooked eggs, so you still get that silky, sliceable chocolate filling without using raw eggs.
What Is French Silk Pie
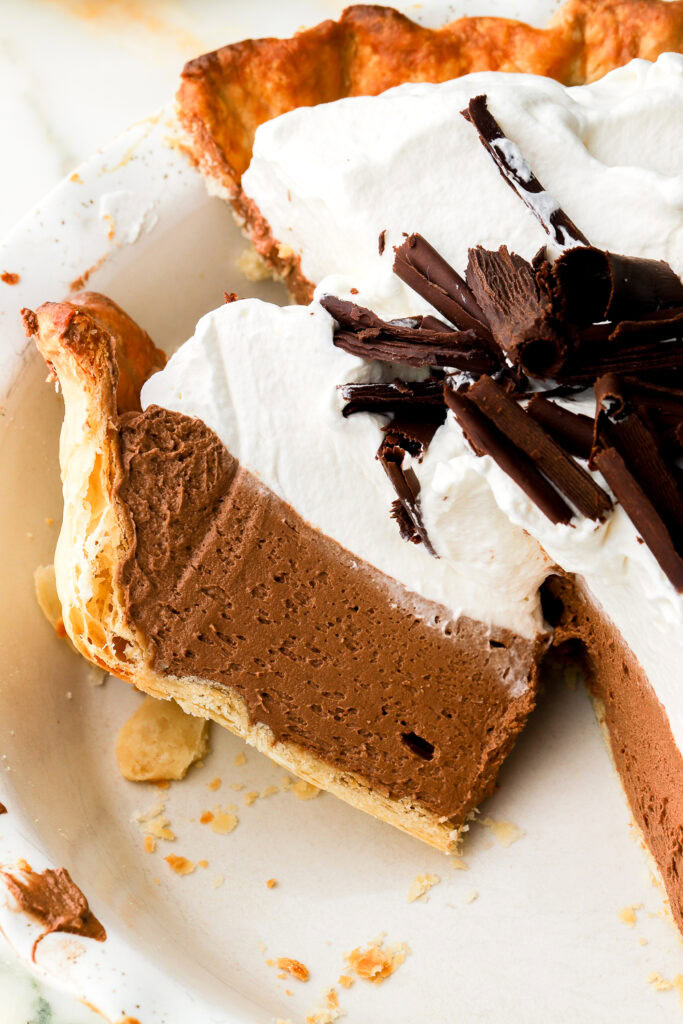
French silk pie is a chilled chocolate pie made with a flaky pie crust, a rich whipped chocolate filling, and whipped cream. The filling is traditionally made with raw eggs, butter, sugar, and chocolate.
My version uses cooked eggs, plus a small amount of whipped cream folded into the chocolate filling to lighten it slightly. The rest of the whipped cream gets used as the topping.
This is different from a chocolate cream pie or a chocolate pudding pie because although my eggs do get heated to a safe temperature, the filling is not cooked to set like pudding. French silk pie is whipped until it’s lighter and silkier, instead of dense, custardy, or pudding-like.If you’re looking for that thicker custard-style texture, my Chocolate Pudding is closer to that and certainly could be used as a filling.
It’s also different from a true chocolate mousse. Although the filling is lighter than a custard or pudding filling, it’s not quite as airy as mousse. It’s sturdier, richer, and sliceable, which is what gives French silk pie its signature texture.
Why Do I Cook The Eggs?
If I’m being honest, I cook the eggs mostly because a lot of people are not super comfortable with the raw-egg version of French silk pie.
Traditional French silk pie is often made with raw eggs, and plenty of classic desserts use raw eggs, like Tiramisu – which I also have a cooked egg option for the cream – but heating the eggs here gives the filling a little more stability and makes the recipe feel more approachable.
How To Make The Silkiest Chocolate Pie
It’s as easy as 1, 2, 3 lol. Joking, it’s not the simplest recipe but she is well worth it. This is what we’re working with:
- Pie Crust – I use my All-Butter Pie Crust and yes, you can use a store-bought pie crust, but homemade gives you a much better flaky texture and flavor.
- Chocolate Filling – this is the star of the show. Good quality chocolate and butter will give you the best flavor.
- Whipped Cream – simple and topped with chocolate curls…that I won’t pretend are simple because they’re absolutely not worth the effort LOL.
Pie Crust
This pie crust recipe is super simple to make and has never failed me! I’m not a fancy pie kind of girl, I keep it pretty rustic and it turns out perfectly every time.
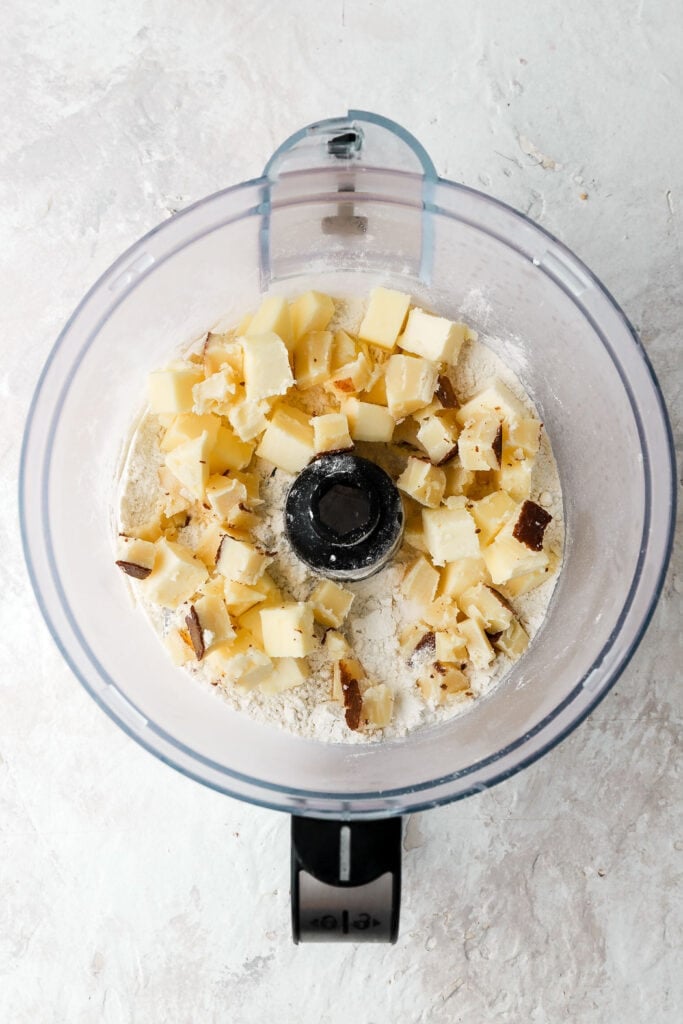
- Cube cold butter and freeze for a few minutes.
- Measure out water and freeze for a few minutes.
- Place flour and butter in a food processor and pulse for a few seconds until the butter and flour look like small crumbles.
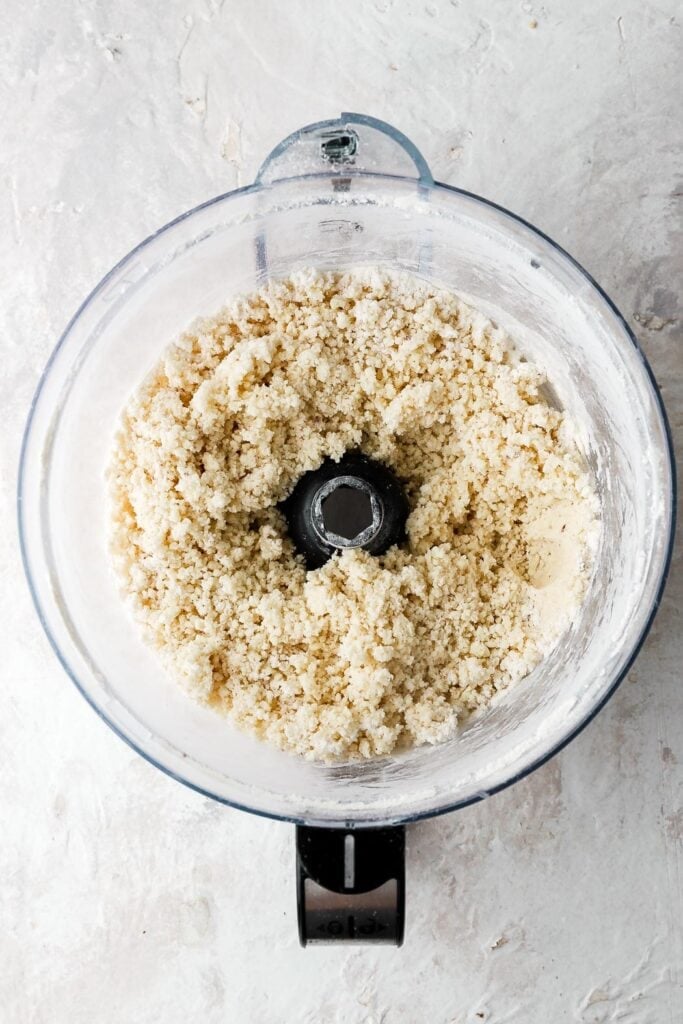
- Drizzle in half the water and alcohol and pulse, then drizzle in a little more at a time just until the dough starts to look more wet. The dough will still be crumbly but when you press on it, it should stick together.
- Dump mixture onto the countertop and press it all together. Fold it over itself a couple of times so it all sticks together nicely. You should see bits of butter in the dough and it should be fully hydrated (so no dry flour spots) but not too sticky to handle.
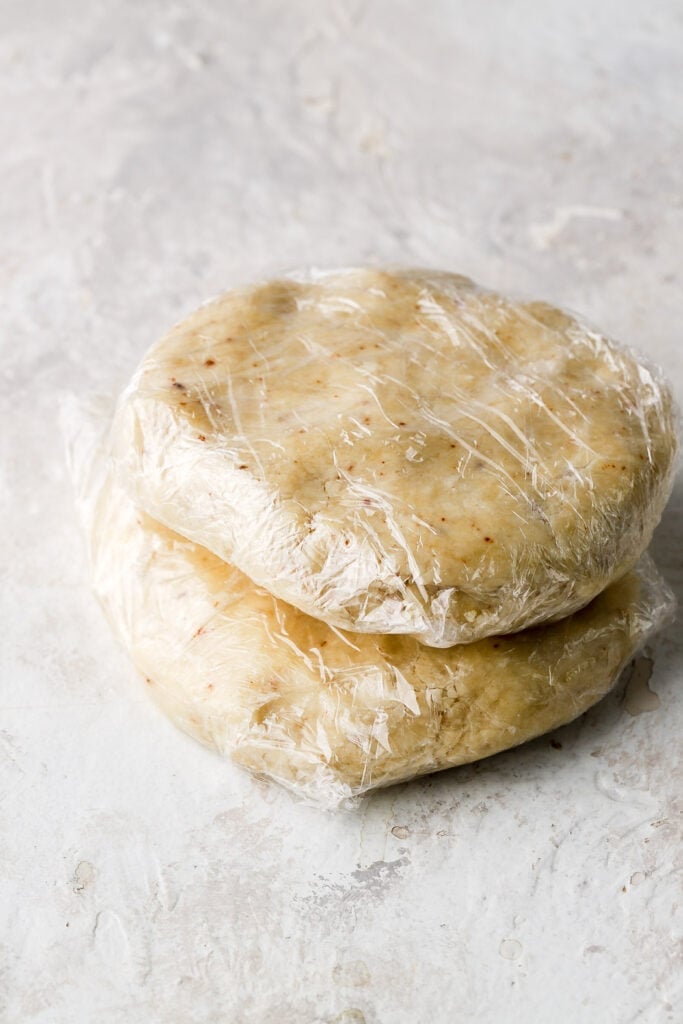
- Shape dough into a disc and wrap in plastic wrap, refrigerate for 1-2 hours.
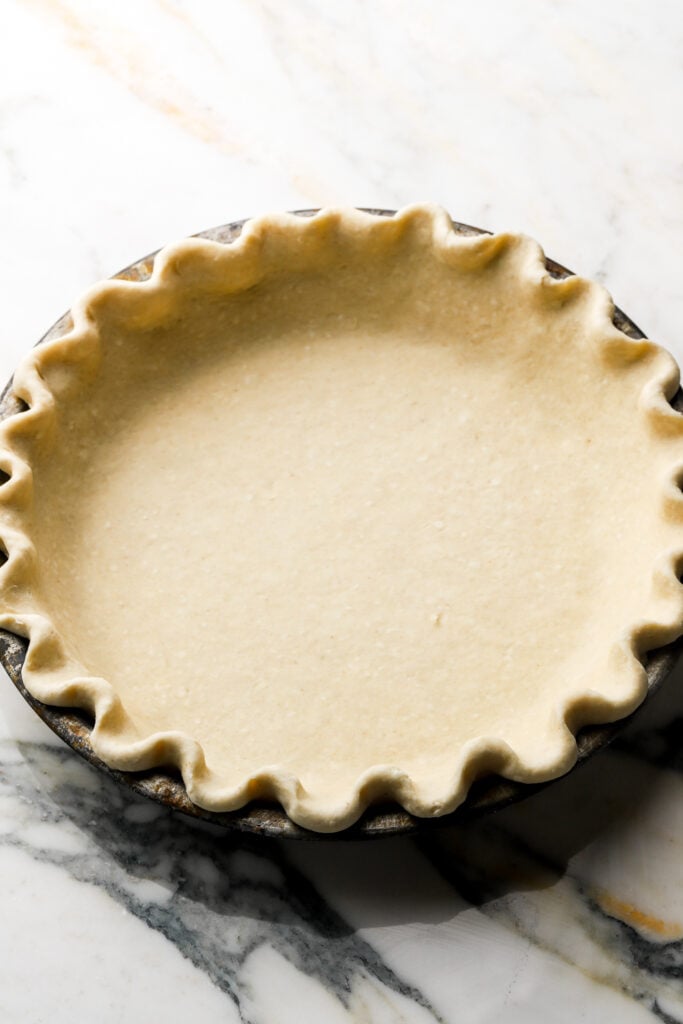
- Roll out dough and place it into a pie dish (I prefer metal pie dishes). Refrigerate or freeze again, until firm.
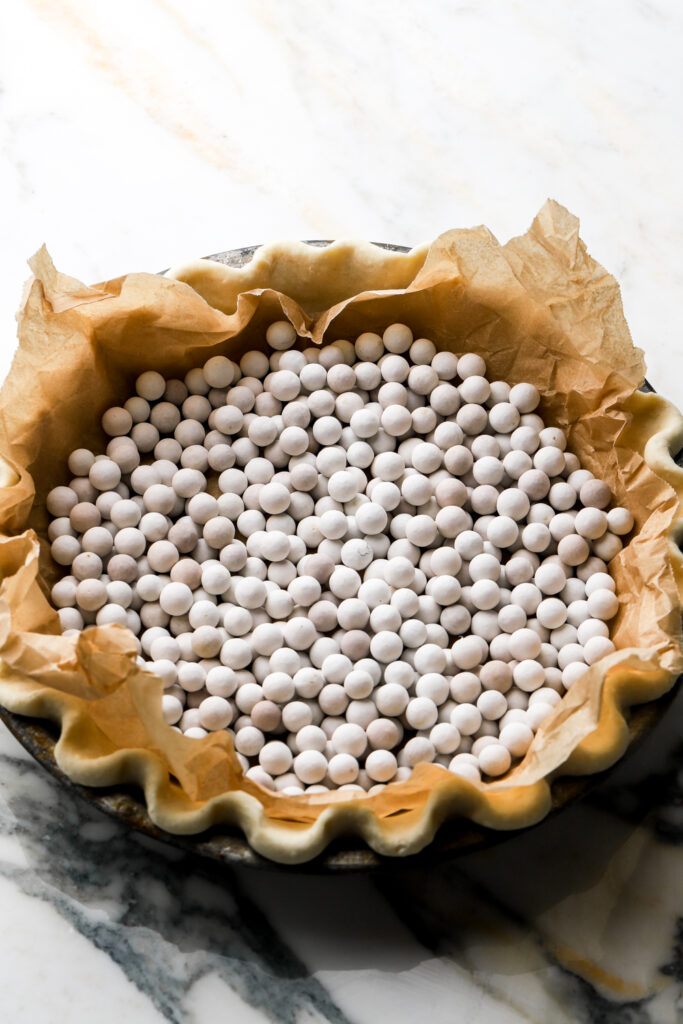
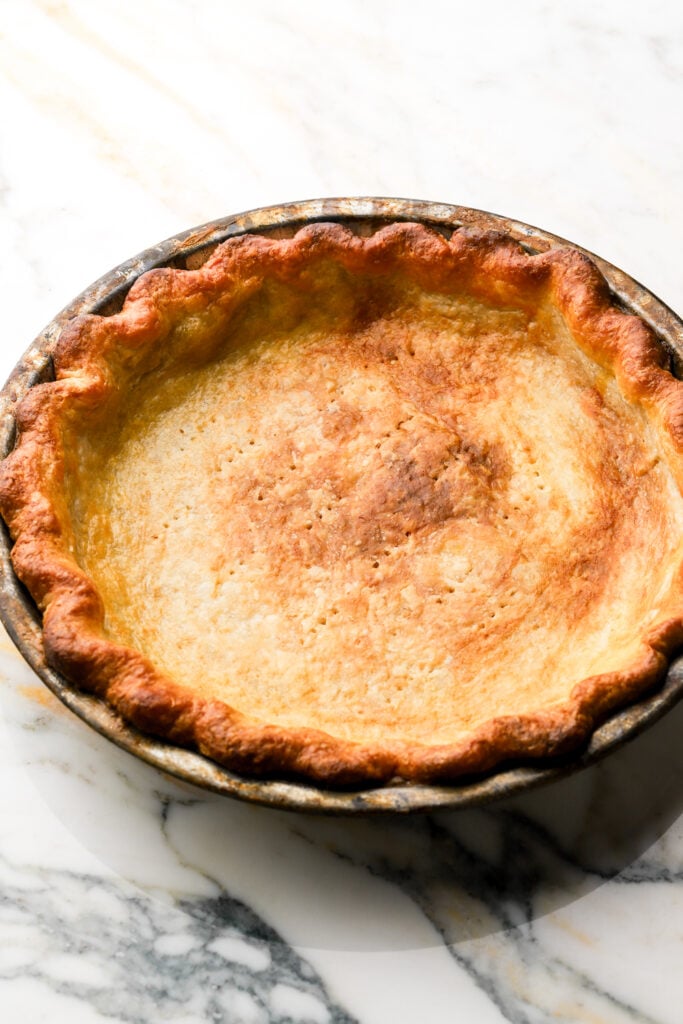
- Fill the pie with pie weights and bake for 20 minutes. Remove the pie weights and bake for about 10-15 more minutes, until it’s golden brown. Allow to cool completely before filling.
Chocolate Filling
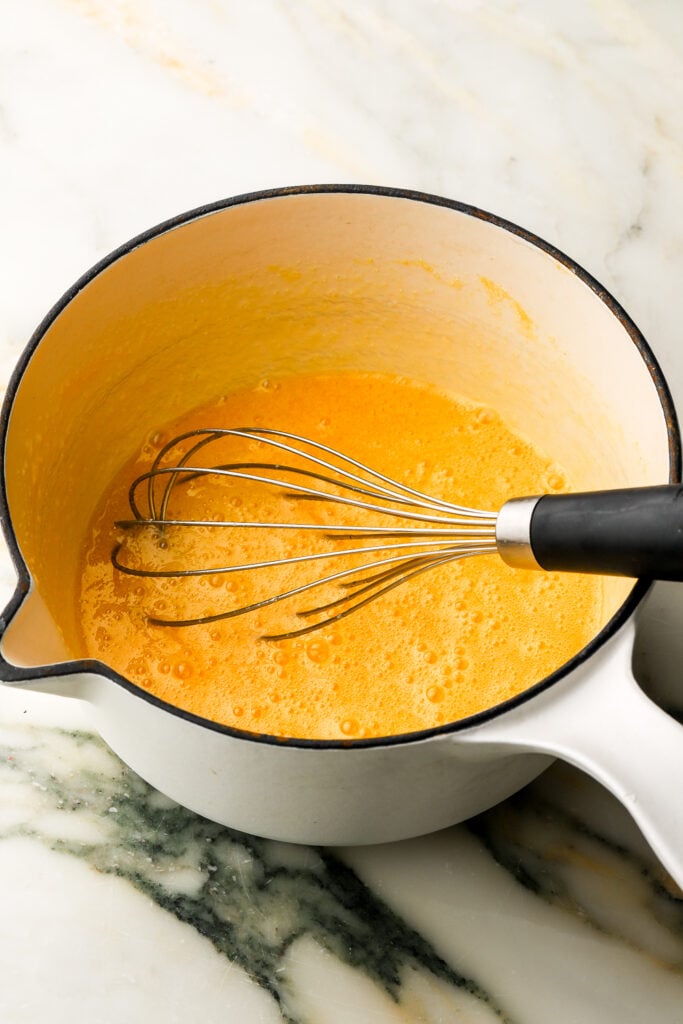
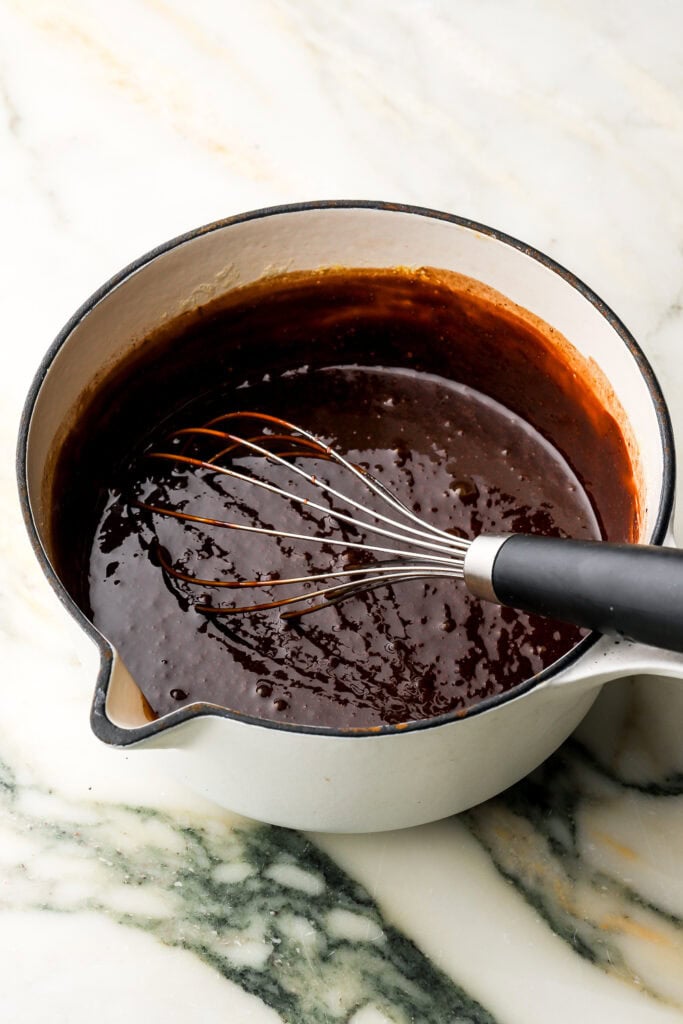
- Whisk together eggs and sugar, in a medium saucepan, until they’re well combined.
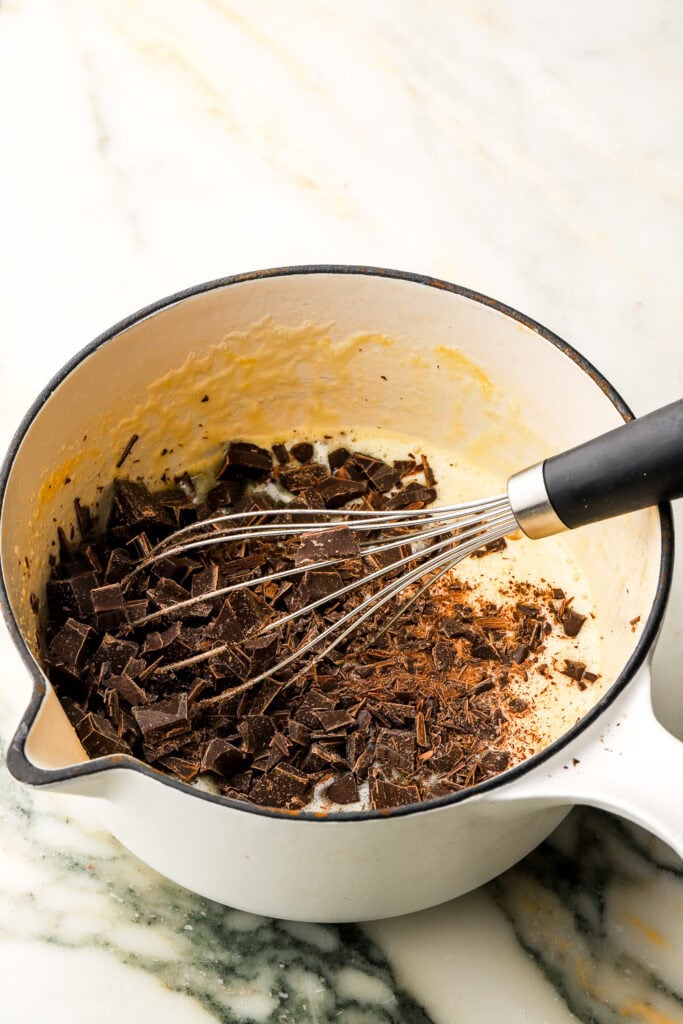
- Chop chocolate and add to saucepan with eggs. Cook over medium-low heat, stirring continuously until the mixture reaches 170F (77C). (If you don’t care about the egg temperature, cook until the chocolate and sugar are fully melted into the eggs and the mixture is completely smooth).
- Remove from the stove and pour into a bowl to cool. Cover and allow to cool to room temperature.
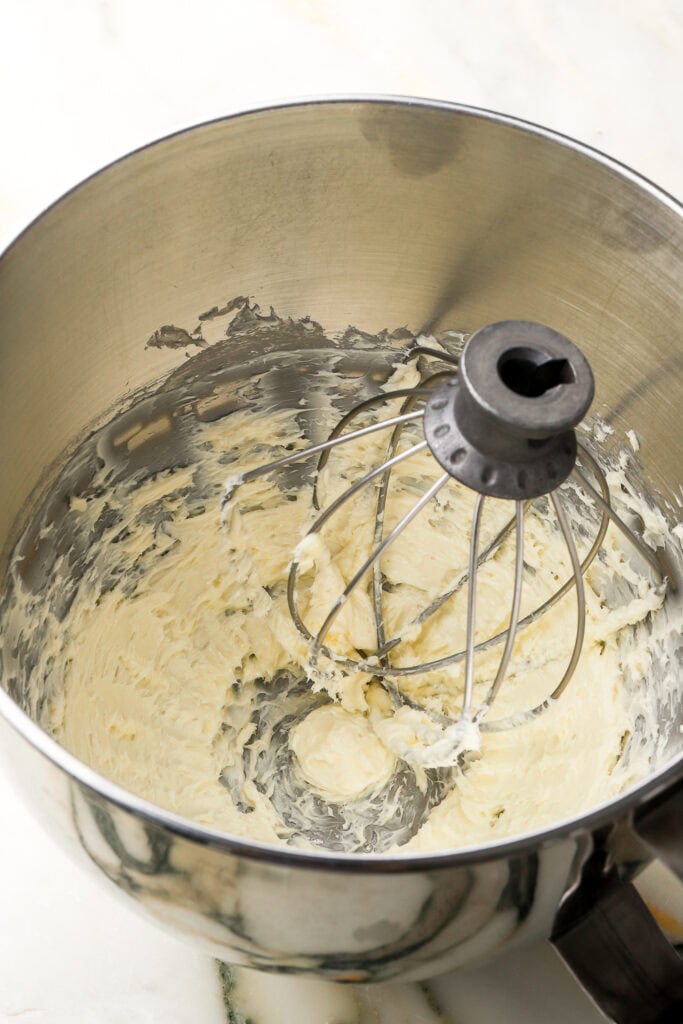
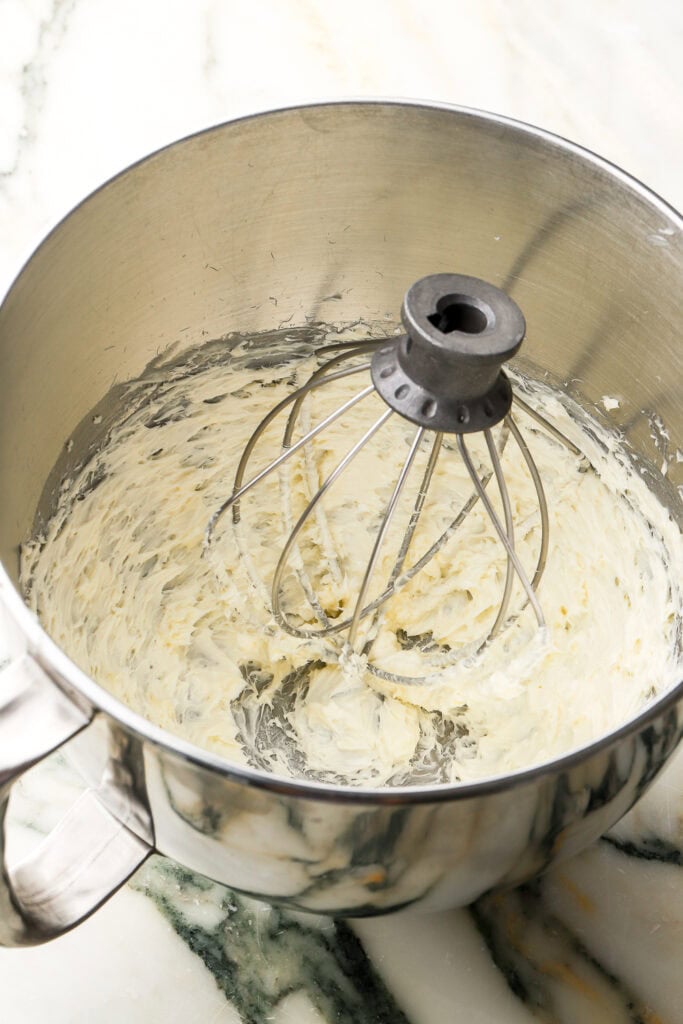
- Once the chocolate mixture has cooled, beat the butter with the rest of the sugar for about 10 minutes, until all the butter is very pale and fluffy.
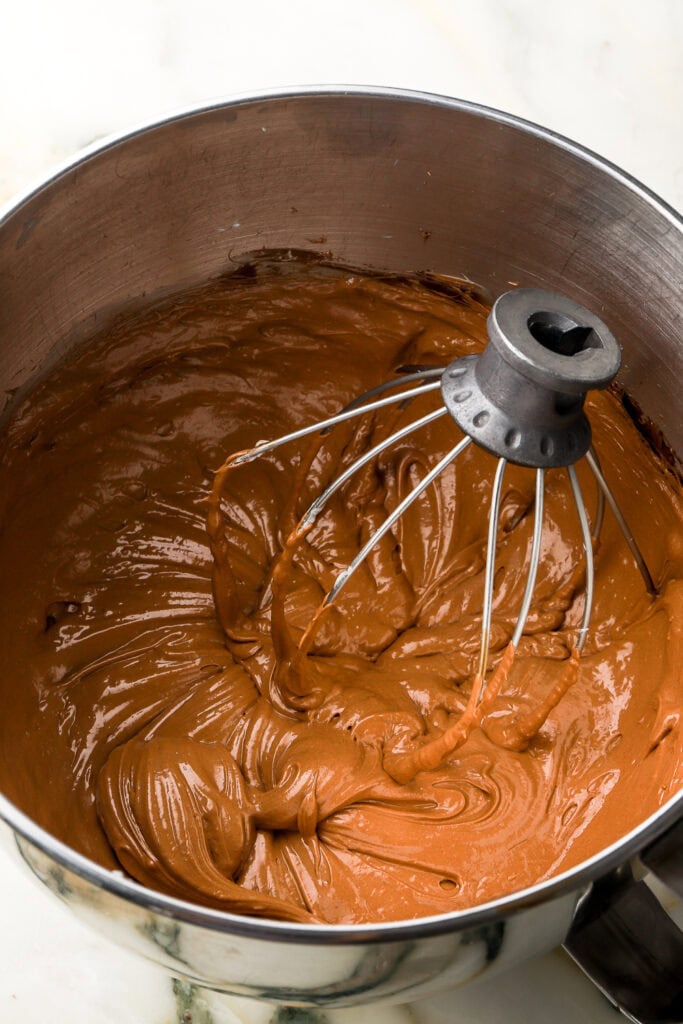
- Stream in the cooled chocolate mixture with the mixer running on medium speed. I do this in 3-4 increments so I don’t overwhelm the butter. Make sure to scrape the bottom of the bowl every so often.
- Continue beating for a few minutes, until it’s nice and fluffy.
Whipped Cream
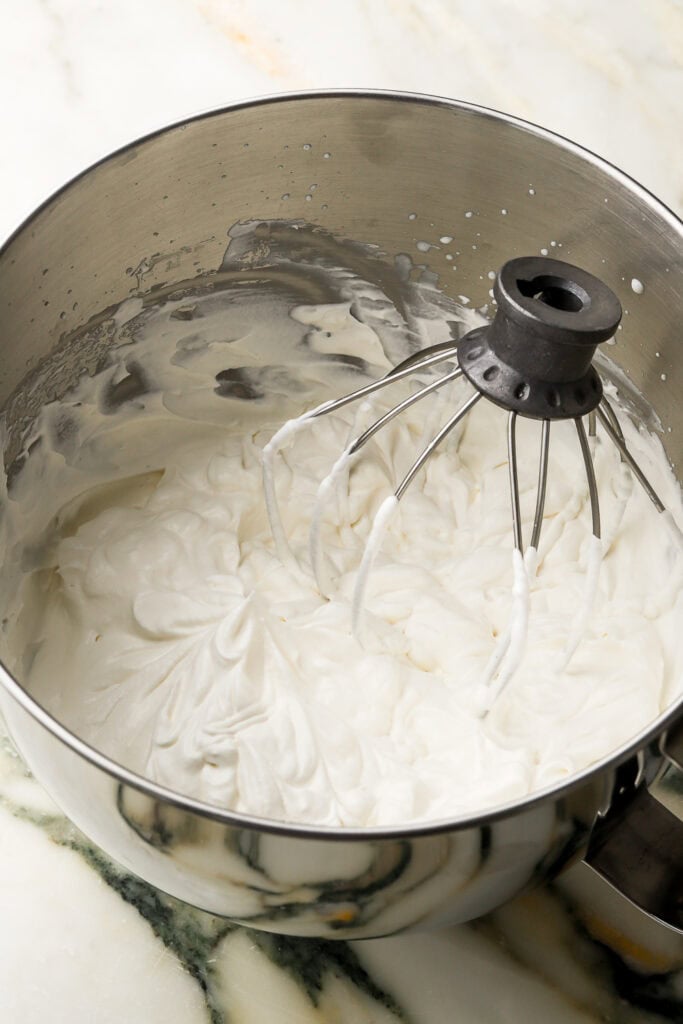
- Sift the sugar and salt into the bowl and add the heavy whipping cream and vanilla bean paste.
- Whip the cream until it’s thick and fluffy and just when it reaches a stiff peak. Don’t over-whip or it won’t be smooth anymore. If you over-whip slightly, add a touch more cream and fold just until it’s combined.
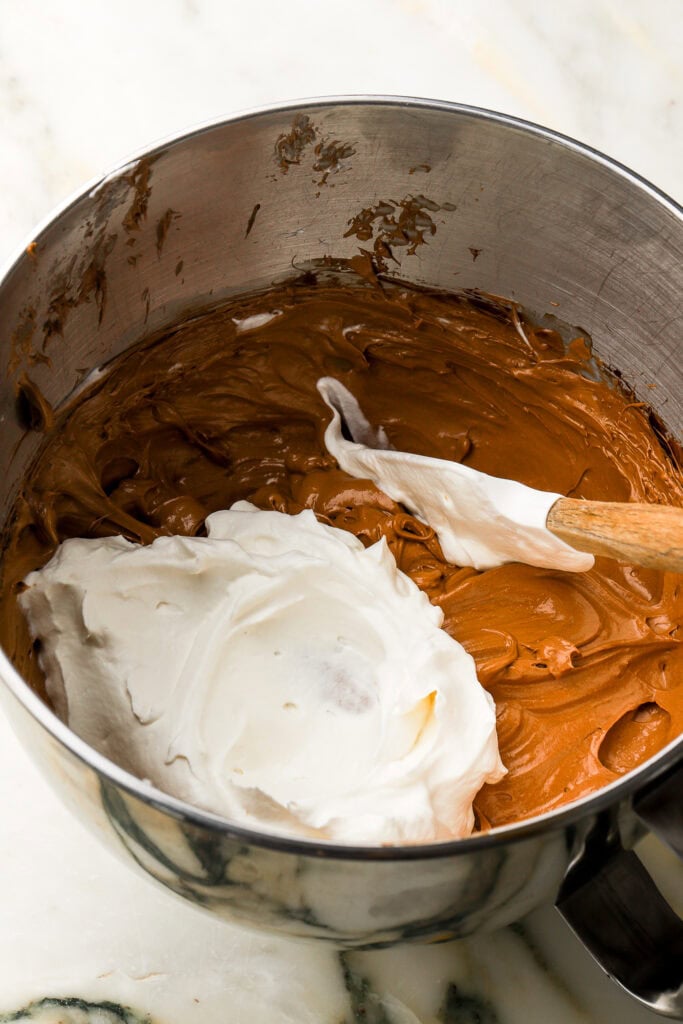
- Add a couple of spoonfuls of the whipped cream into the chocolate filling mixture and fold it in until it’s completely combined.
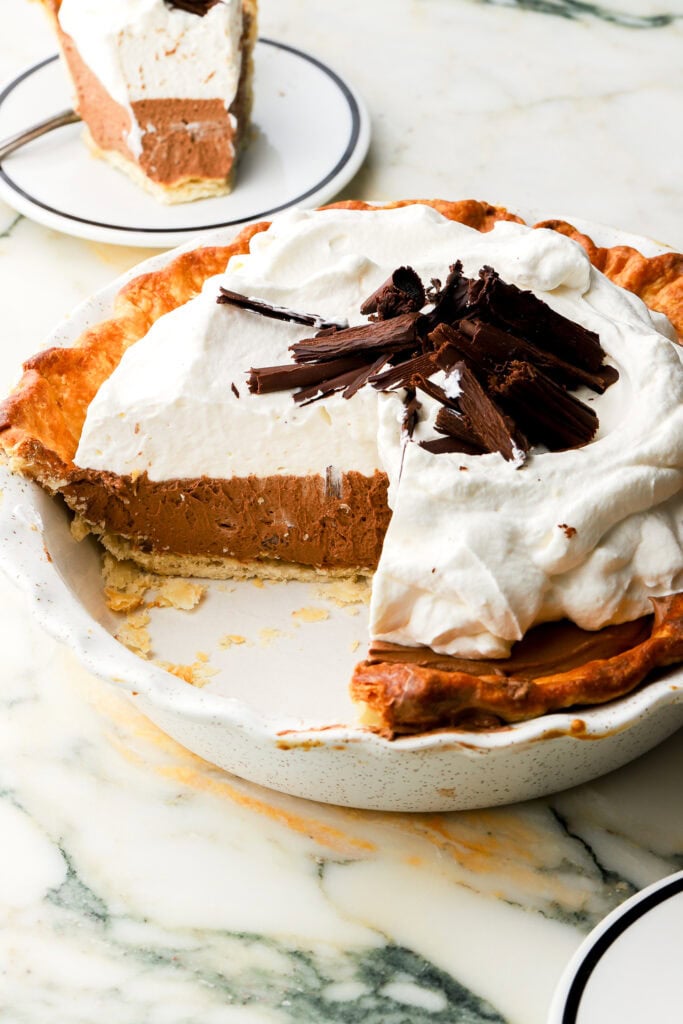
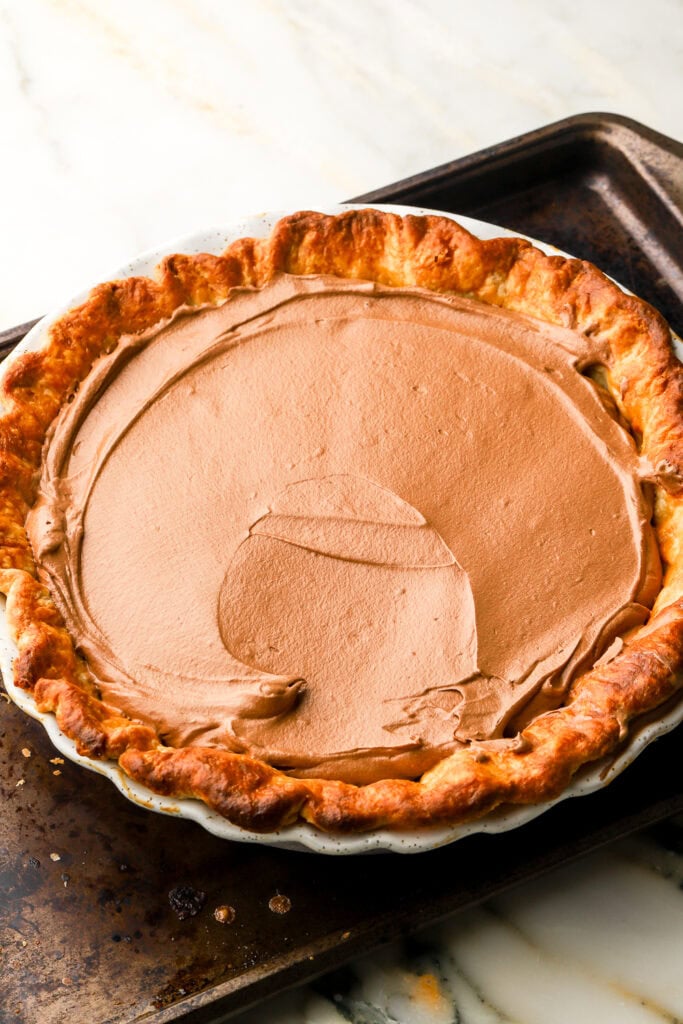
- Spread the chocolate mixture over the cooled pie crust.
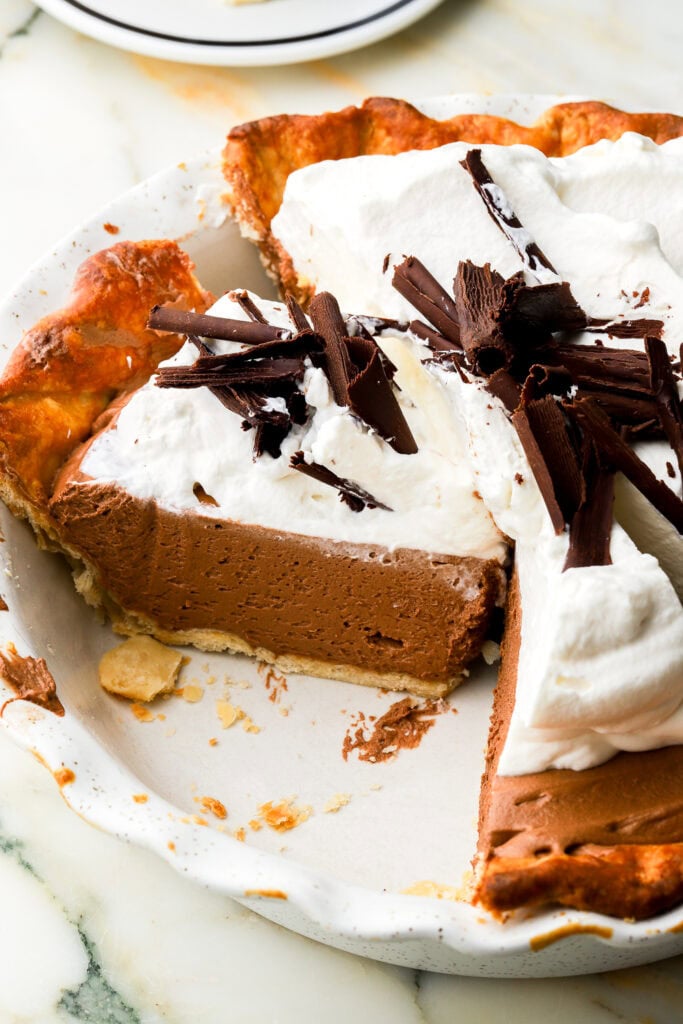
- Pipe or spread the whipped cream on top of the chocolate filling and top with chocolate shavings.

Troubleshooting Tips
Why is my French silk pie runny?
The filling may not have chilled long enough. If it did, then the chocolate mixture may have been too warm when added to the butter.
Over-folding the whipped cream into the filling can also deflate the cream.
Why is my filling grainy?
The sugar or chocolate may not have fully melted into the eggs, or the chocolate mixture may have cooled too much before mixing into the butter and it didn’t emulsify.
Why did my filling split or look greasy?
Creams split when there is a temperature difference – the chocolate mixture was likely too warm when added to the butter, or the butter was too soft/greasy instead of pale and fluffy.
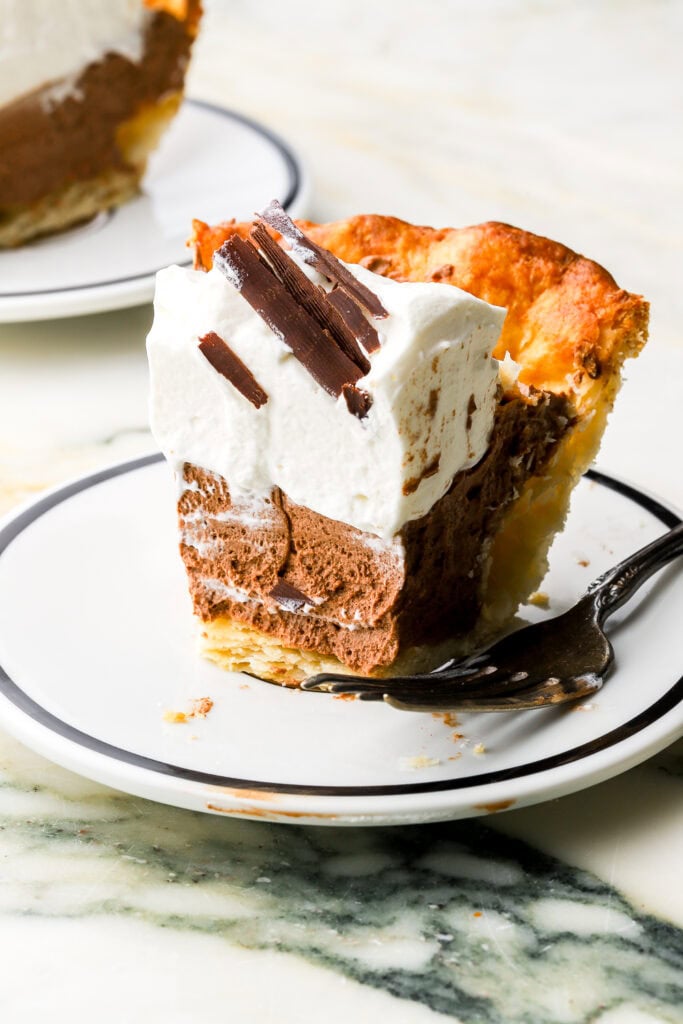
Why doesn’t my French silk pie slice cleanly?
The pie likely needs more time in the fridge, or it may have sat at room temperature too long before slicing. French silk pie is best served cold because the filling softens as it warms up.
Serving & Storing
This pie needs to chill for several hours or overnight before serving. This gives the chocolate filling enough time to set firm before slicing.
I recommend serving it cold or at least still somewhat chilled, I don’t let it come to room temperature because it gets too soft to slice nicely.
As always, thank you for being here. If you have any questions just comment down below and if you made this pie recipe, I would appreciate a 5-star rating or review.
Have a blessed day and happy baking!
Love, B