Chocolate Cake with Peanut Butter Frosting
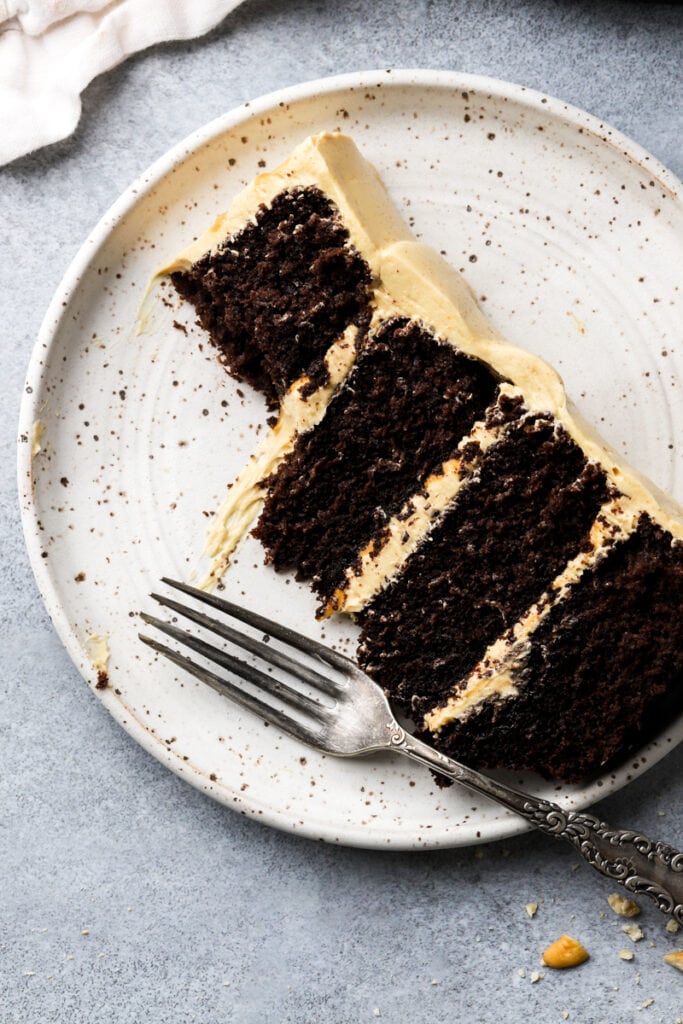
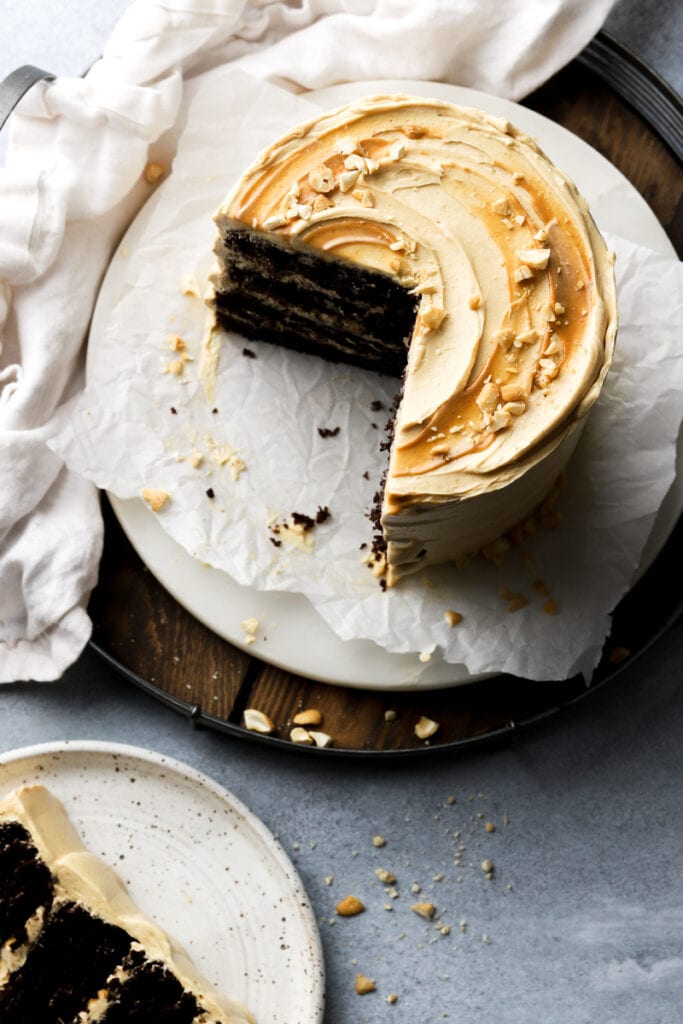
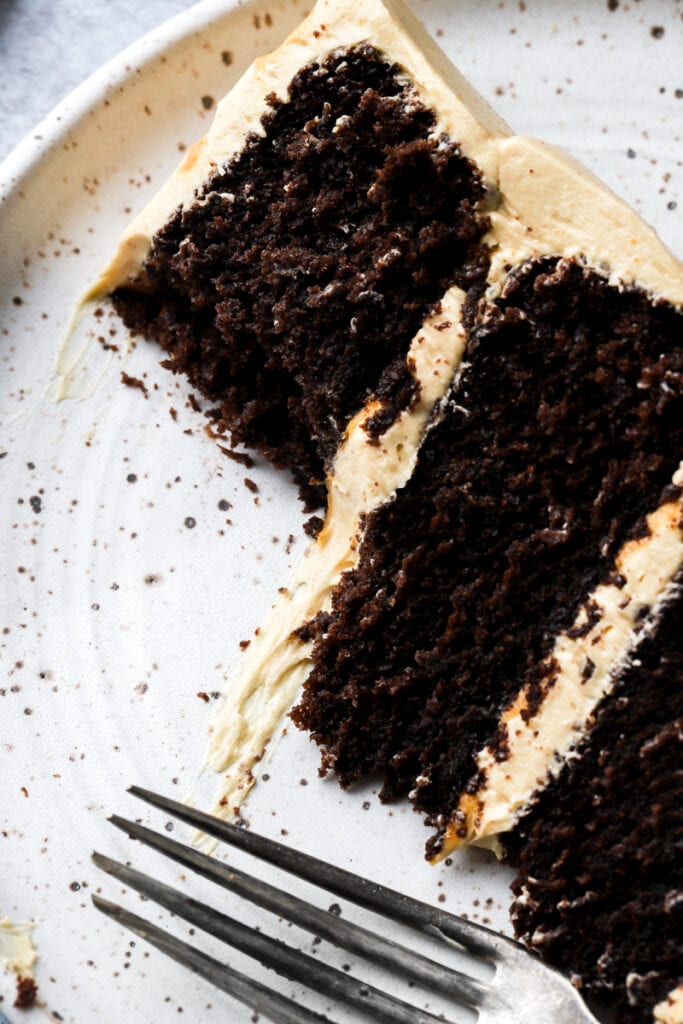
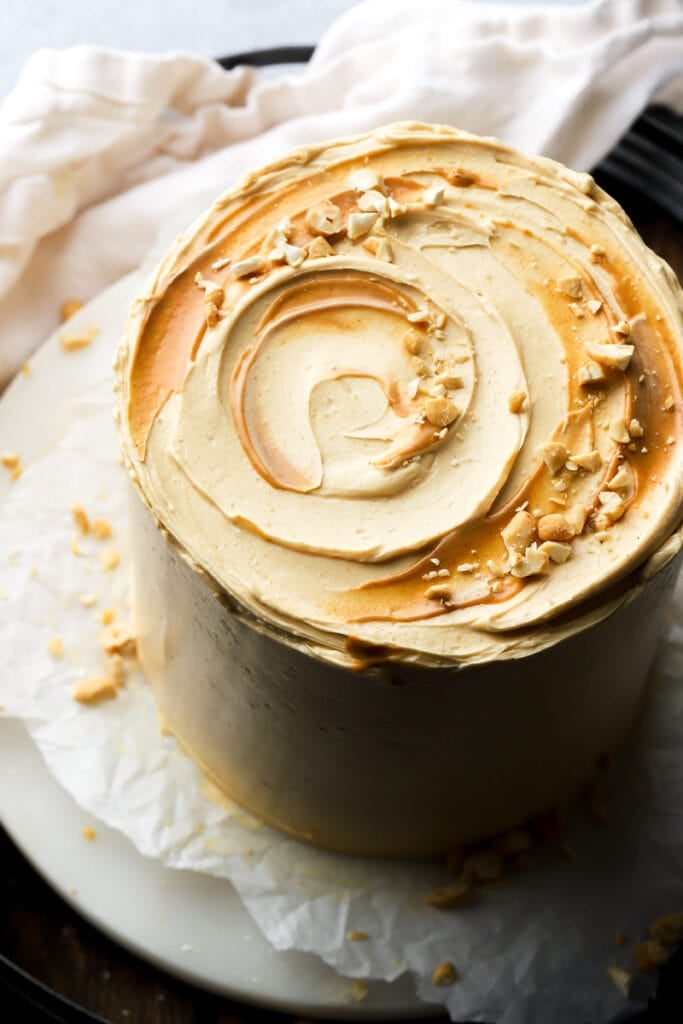
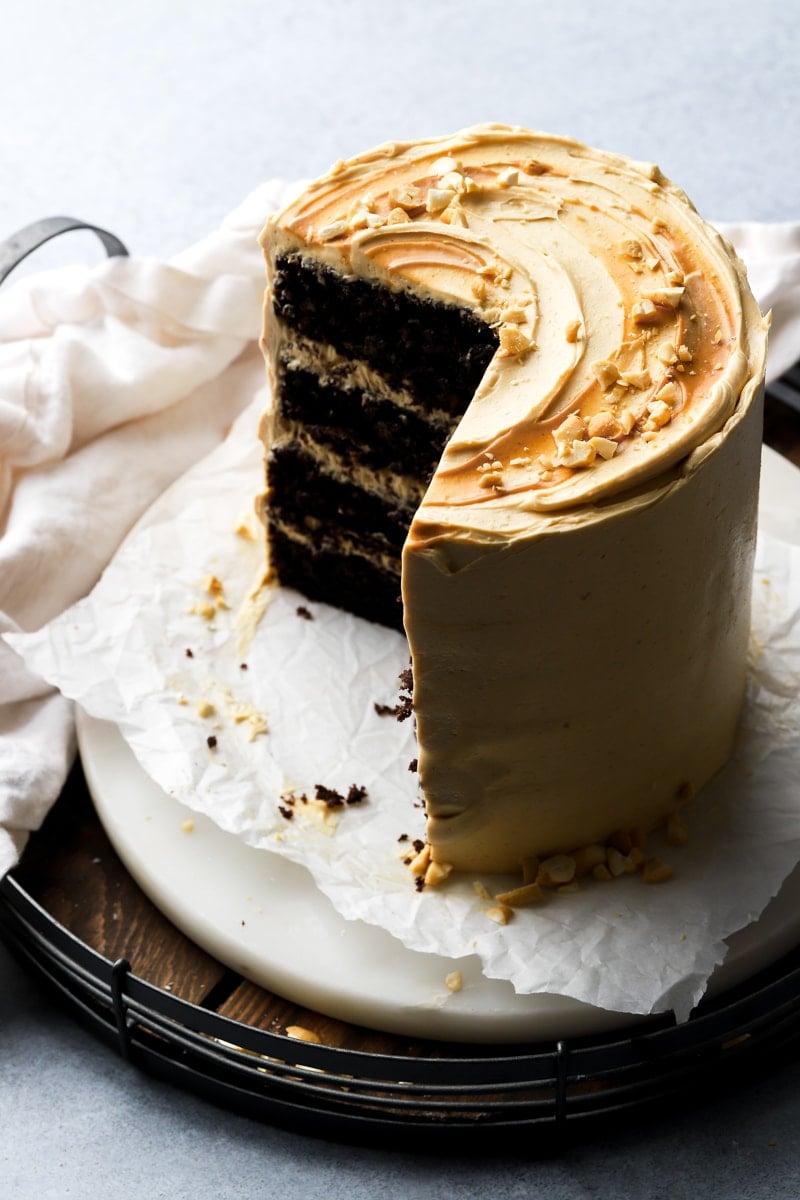
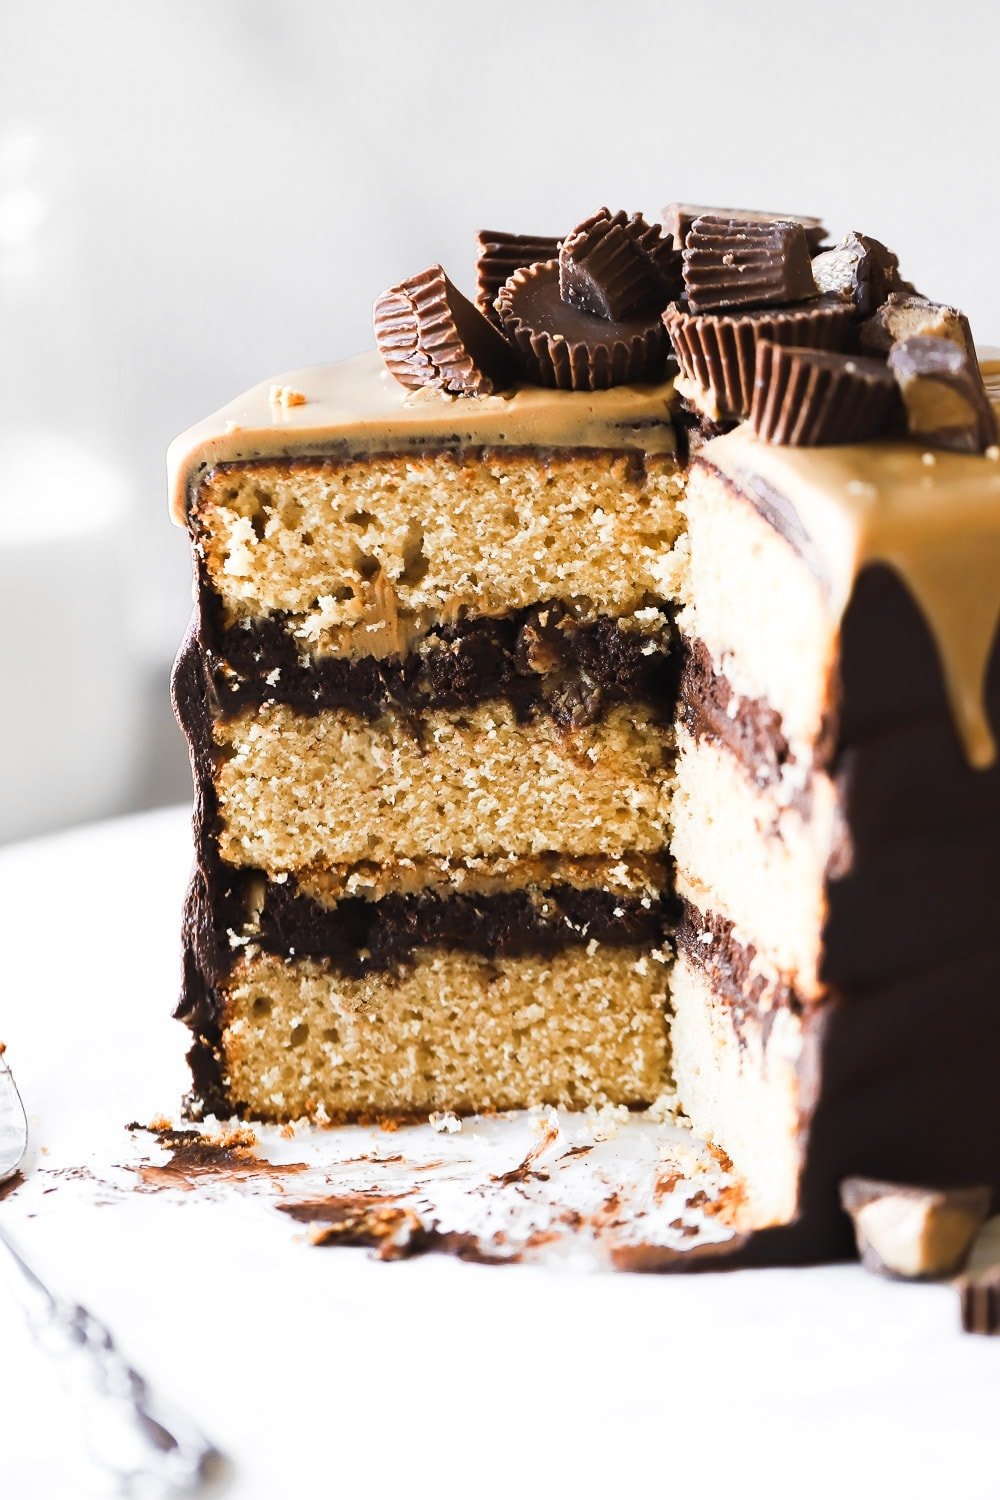
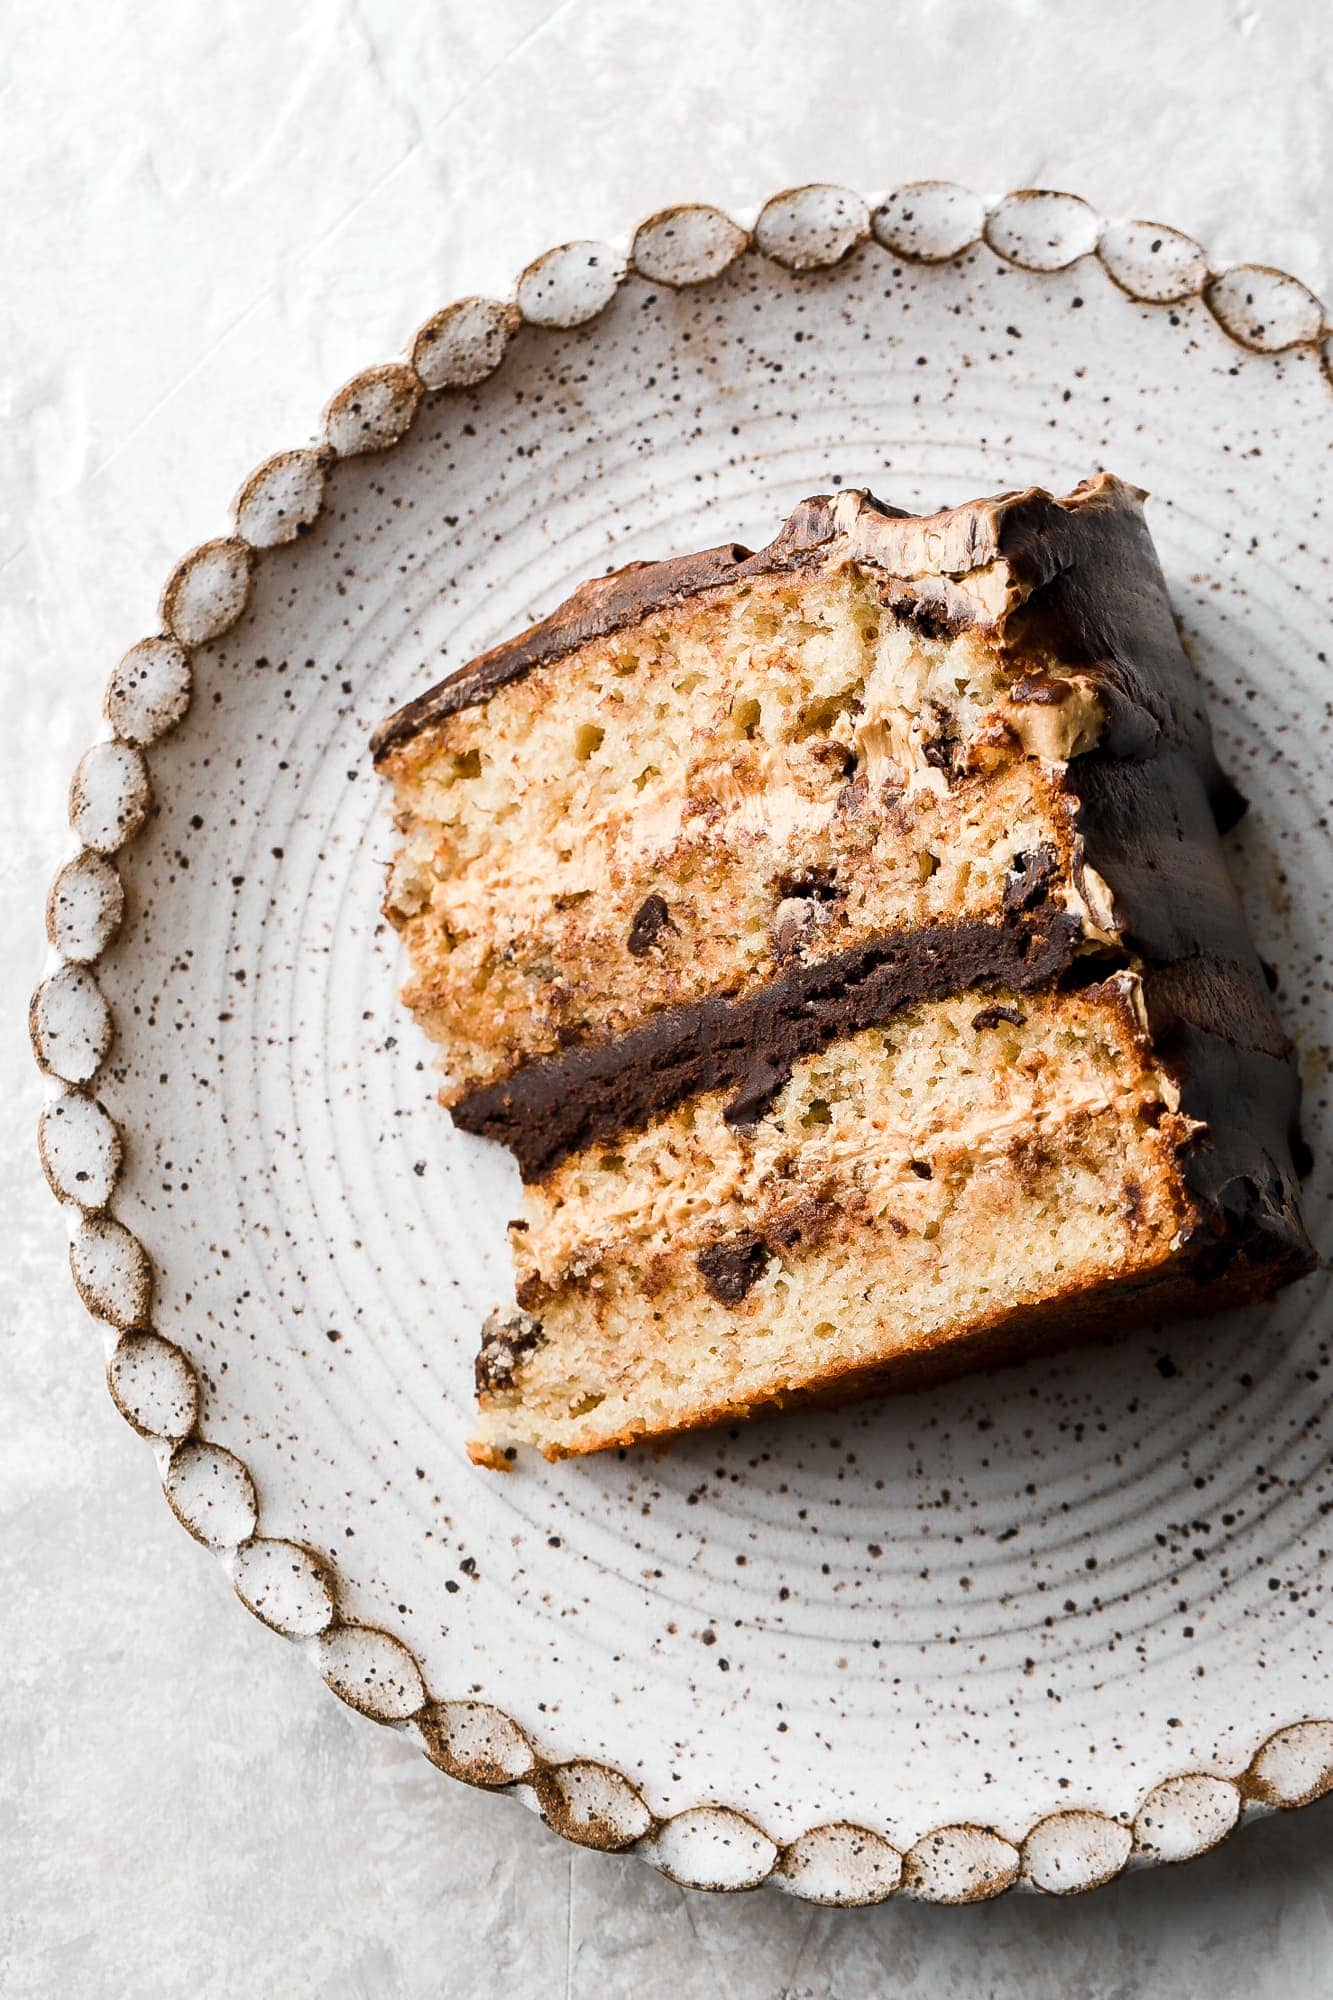
This chocolate peanut butter cake is made up of super fudge-y and soft chocolate cake layers frosted with a brown butter peanut buttercream and swirls of creamy peanut butter throughout. Top with extra chopped peanuts to finish her off.
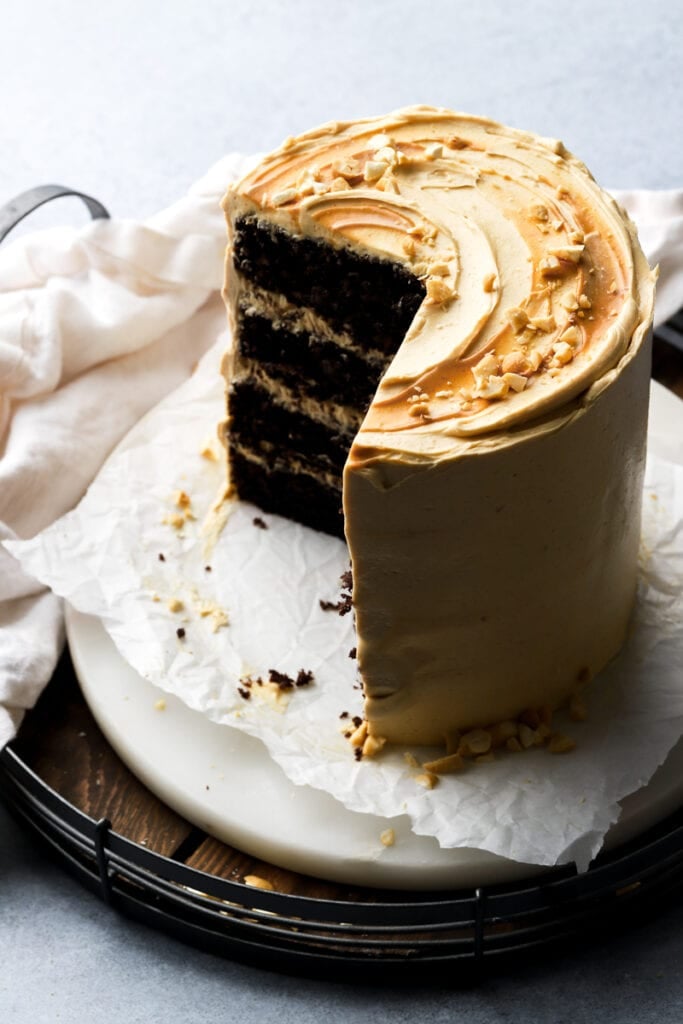
Why you’ll love this chocolate cake with peanut butter cake
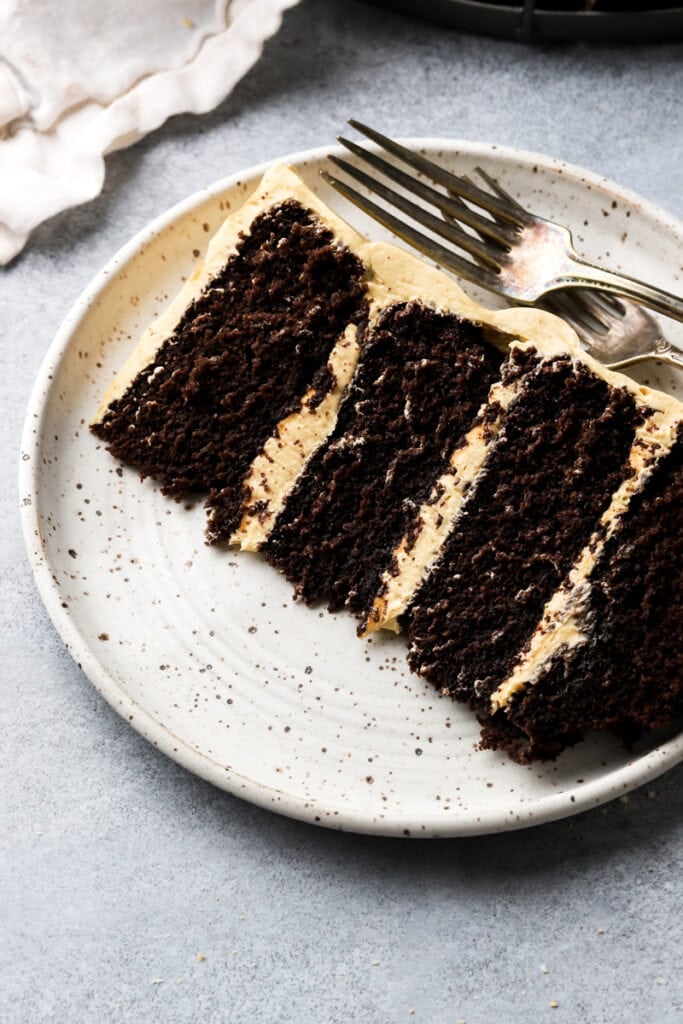
- This chocolate cake is fudgy and totally melts in your mouth, not to mention the easiest cake to make with basically two steps.
- Peanut butter frosting is good but have you tried peanut butter mixed with browned butter? I had to try it for myself after my friend Sam from Buttermilk By Sam was raving about it.
- The recipe is very forgiving and allows for many substitutions and dietary restrictions.
If you like this chocolate cake recipe, I use it often, like in my chocolate blueberry cake and black forest cake. A similar one is also my chocolate orange cake.
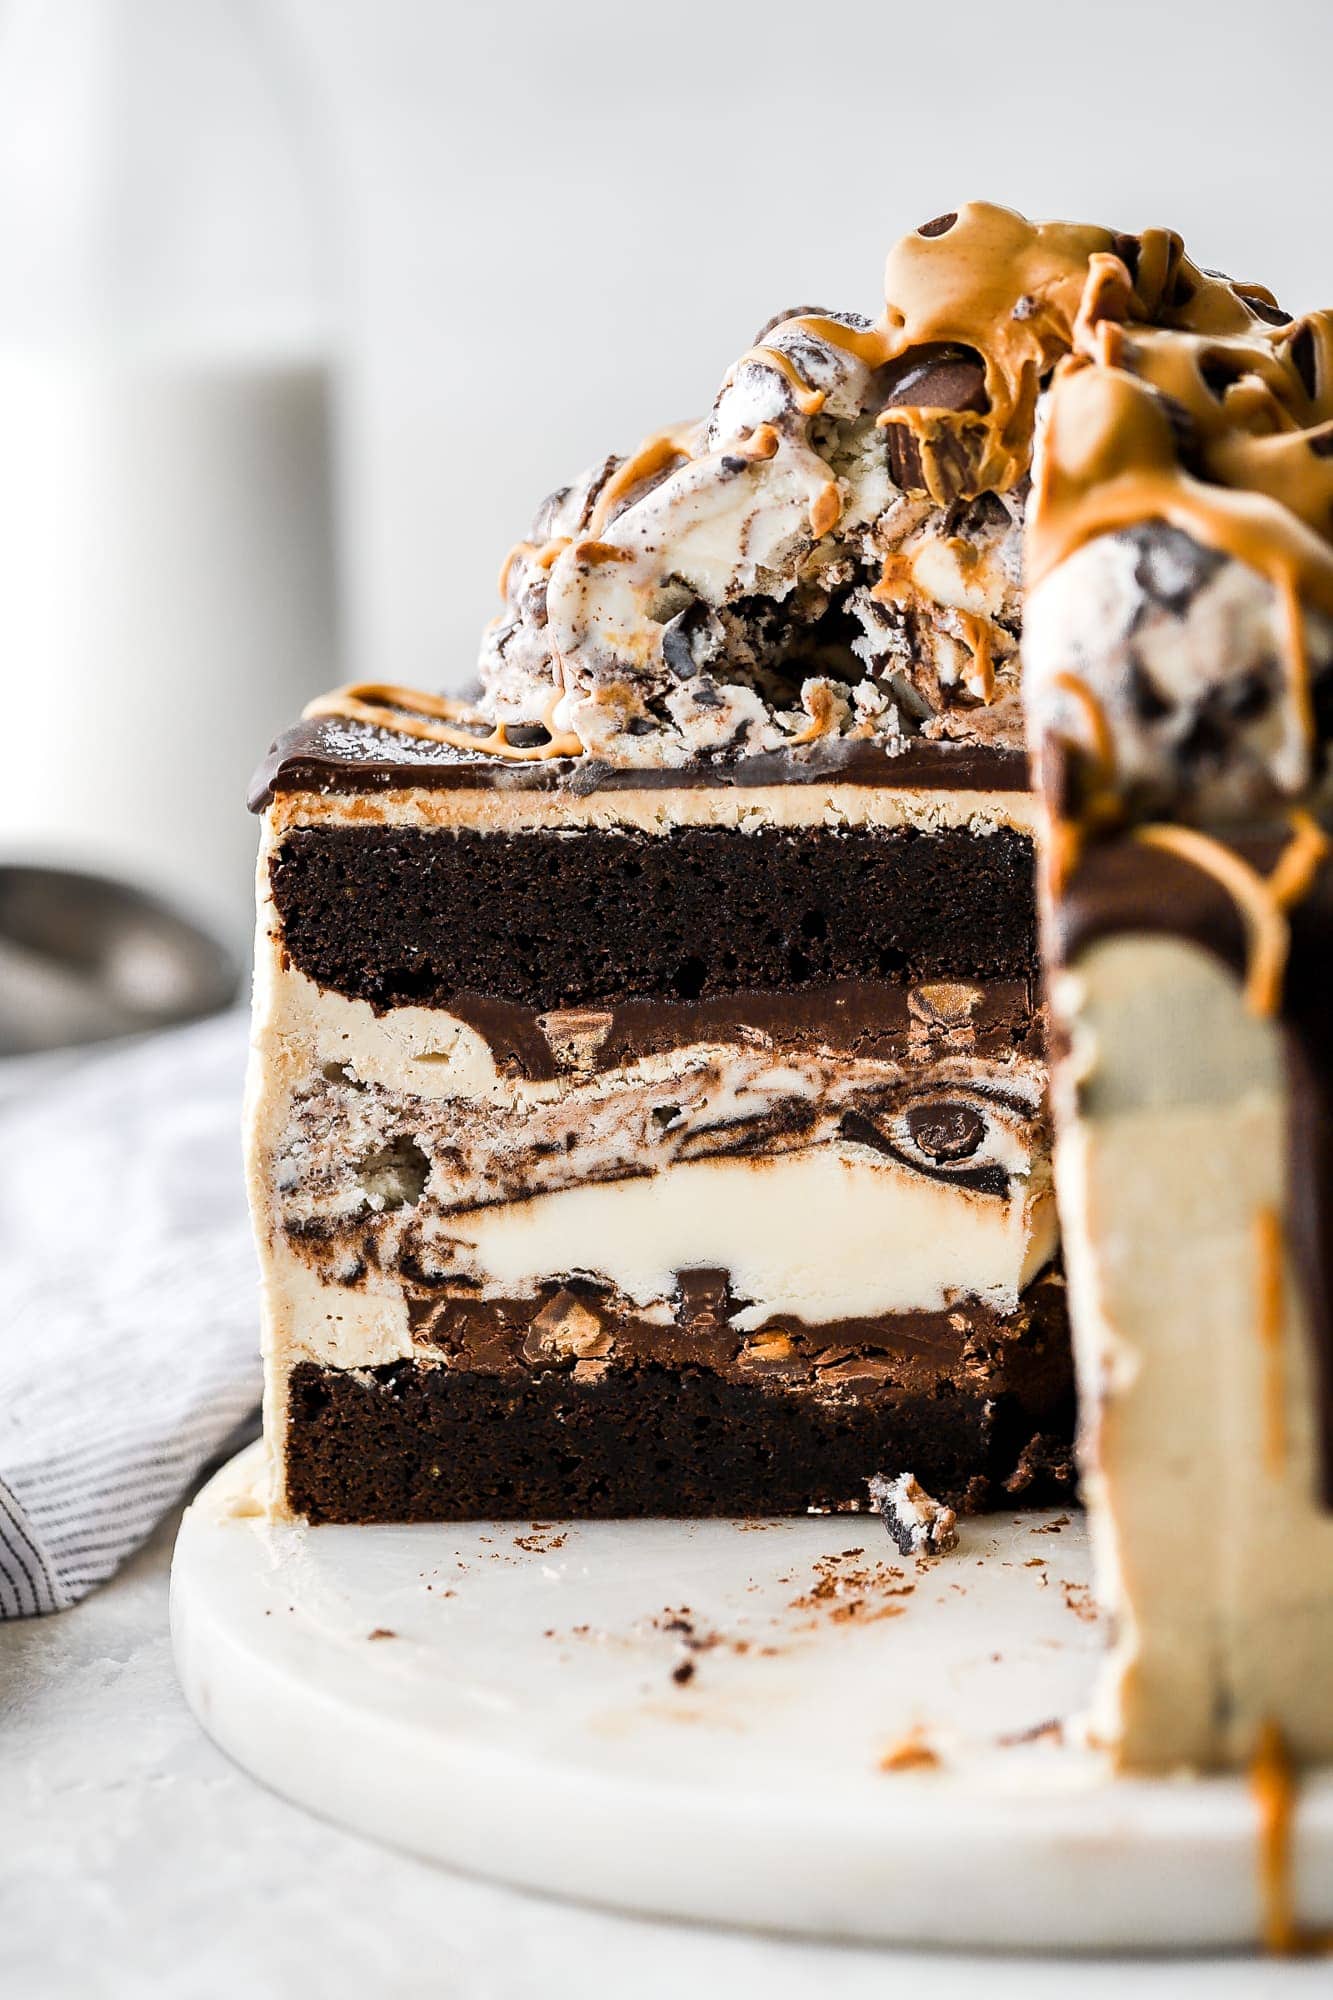
If you’re a chocolate peanut butter lover, I also have the reversed version with peanut butter cake layers and dark chocolate frosting. I think you’ll also like my chocolate peanut butter banana cake, peanut butter chocolate chip cookies and moose tracks ice cream cake!
[adthrive-in-post-video-player video-id=”BHjvrzYW” upload-date=”2024-02-15T23:52:21.000Z” name=”Chocolate Peanut Butter Cake.MOV” description=”This chocolate peanut butter cake is made up of super fudge-y and soft chocolate cake layers frosted with a brown butter peanut buttercream and swirls of creamy peanut butter throughout. Top with extra chopped peanuts to finish her off. ” player-type=”default” override-embed=”default”]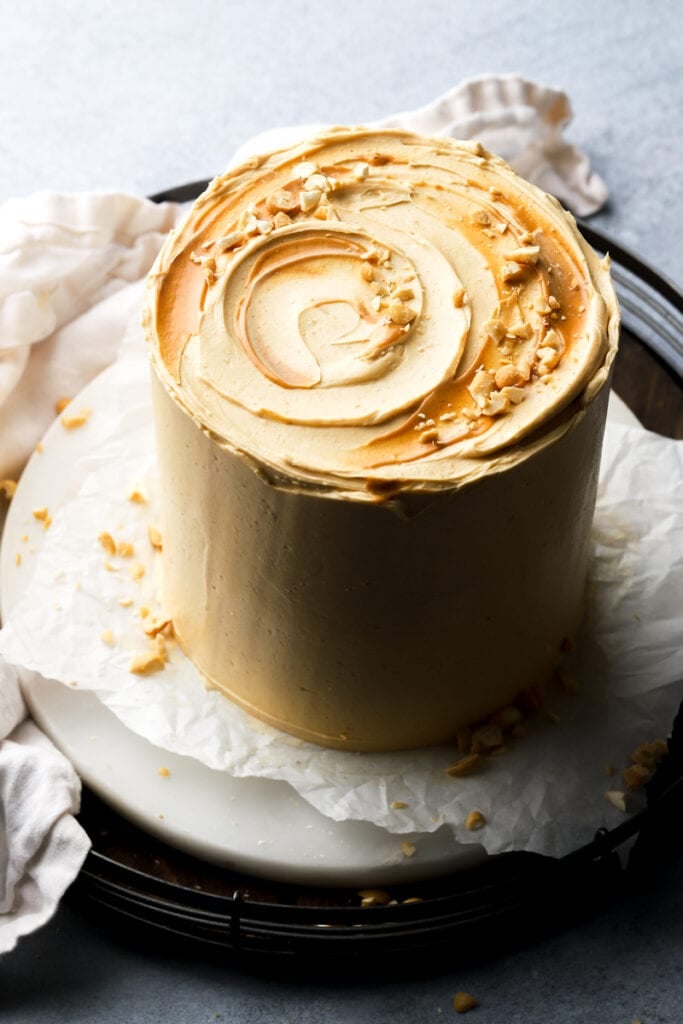
Ingredients & Substitutions
- Flour: I use all purpose flour in most of my recipes and I HIGHLY recommend using a digital scale, as flour (and cocoa) is so often over measured.
- Baking Powder: I used just baking powder here because it’s more widely available. You can replace it with ¾ tsp of baking soda.
- Sugar: I used granulated sugar in the cake and I don’t recommend cutting any out as it affects the texture and the flavor of the cake.
- Cocoa Powder: I love using dutch-processed cocoa powder because of the darker color and more intense flavor but any natural cocoa powder works well here too. Just make sure it’s unsweetened.
- Oil: I use canola oil but any type of liquid oil works well.
- Eggs: make sure to use room temperature, large eggs, about 50-60 grams each (weight is without shell lol).
- Pop them in hot water for a few minutes if they’re cold.
- Milk: I generally just use half milk and half sour cream in my cake recipes but for this chocolate cake I used half coffee and half milk.The acid from the coffee makes this cake SO TENDER that you HAVE to use parchment liners. It also gives the cake a more intense chocolate flavor and darker color.
- Coffee: I just made an Americano at home for this with my espresso machine but I’ve made it with brewed coffee and store bought ice coffee (unsweetened) and it works well. If you’re not into the coffee, feel free to replace it with water.
- Peanut Butter: I use creamy peanut butter like JIF or Skippy. I haven’t tested this with natural peanut butter but I would assume it would hold up ok (add a little at a time and assess the buttercream before adding the full amount).
- Butter: I use unsalted butter for the buttercream base but I also added a bit of browned butter for extra flavor. This is optional but 10/10 worth the effort.
Step-by-Step Instructions
Step 1: Make the browned butter and set it aside to cool completely. Chill it just to resolidify it but not be cold.
Step 2: Start by whisking together the dry ingredients – flour, sugar, cocoa powder, baking powder and salt, and set them aside.
Step 3: In a larger bowl whisk together all the wet ingredients – oil, eggs, coffee and milk, until they’re well combined.
Step 4: Sift the dry ingredients over the wet and then whisk together the mixture until it’s completely smooth.
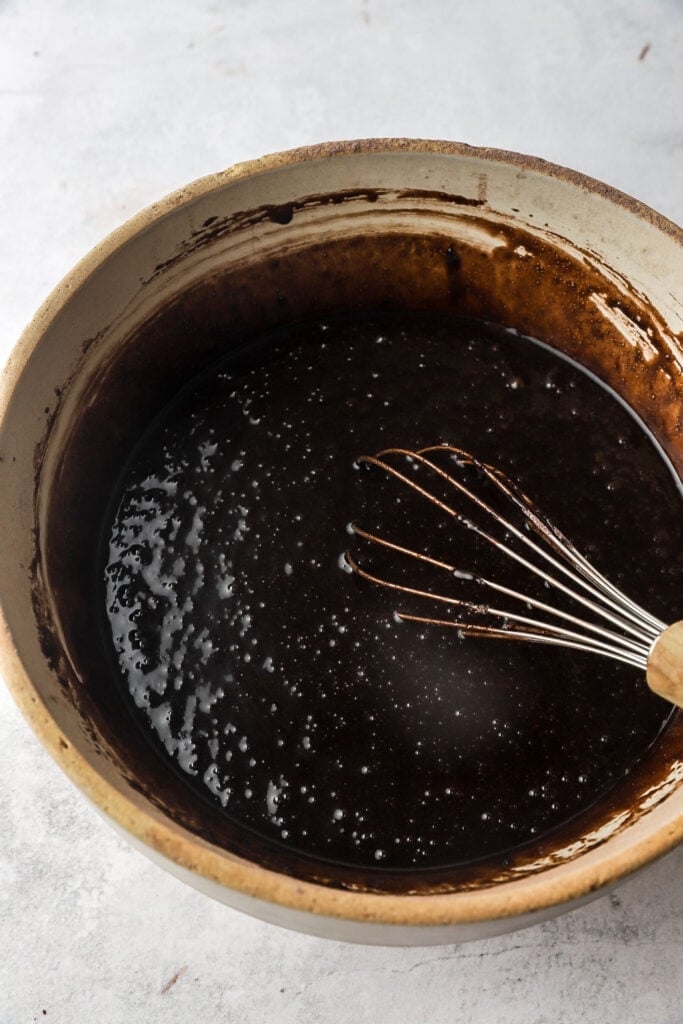
Step 4: Distribute evenly into four pans, about 11-12 ounces in each. Make sure your pans are greased and lined with parchment paper for this cake.
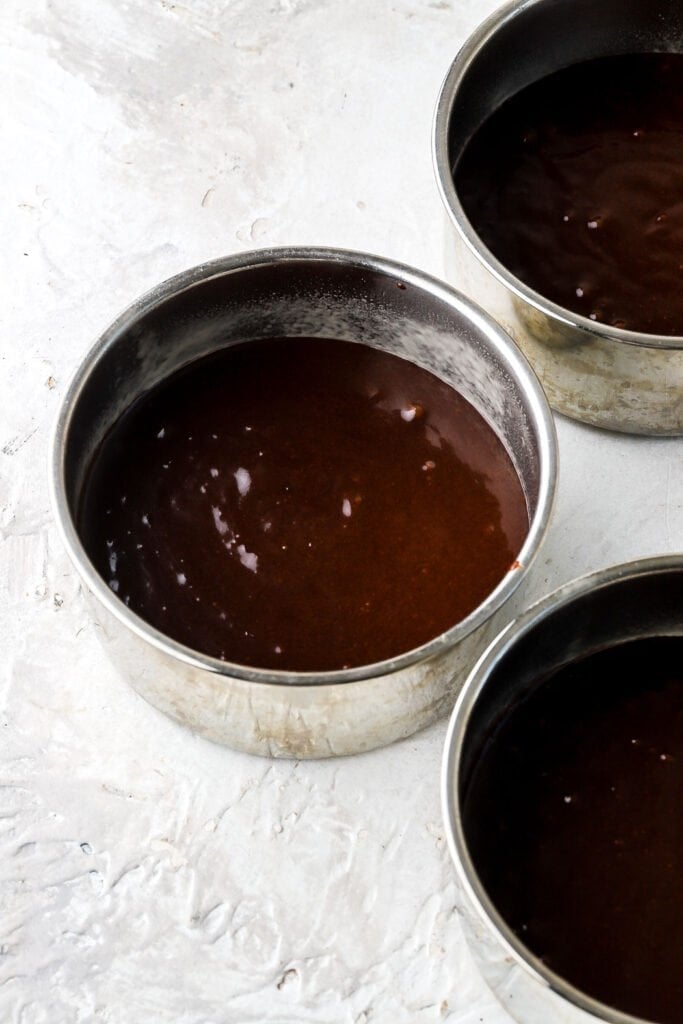
Step 5: Bake for about 25ish minutes. When the cake is done baking, it will release itself from the edge of the pan and spring back when you press on the center. Flip the cakes over onto a cooling rack or a tea towel right away. Allow them to cool upside down until they’re room temperature.
Step 6: Make the buttercream by cooking the sugar with water until it’s 240F (116C). Meanwhile, beat the eggs with the stand mixer at medium-high speed.
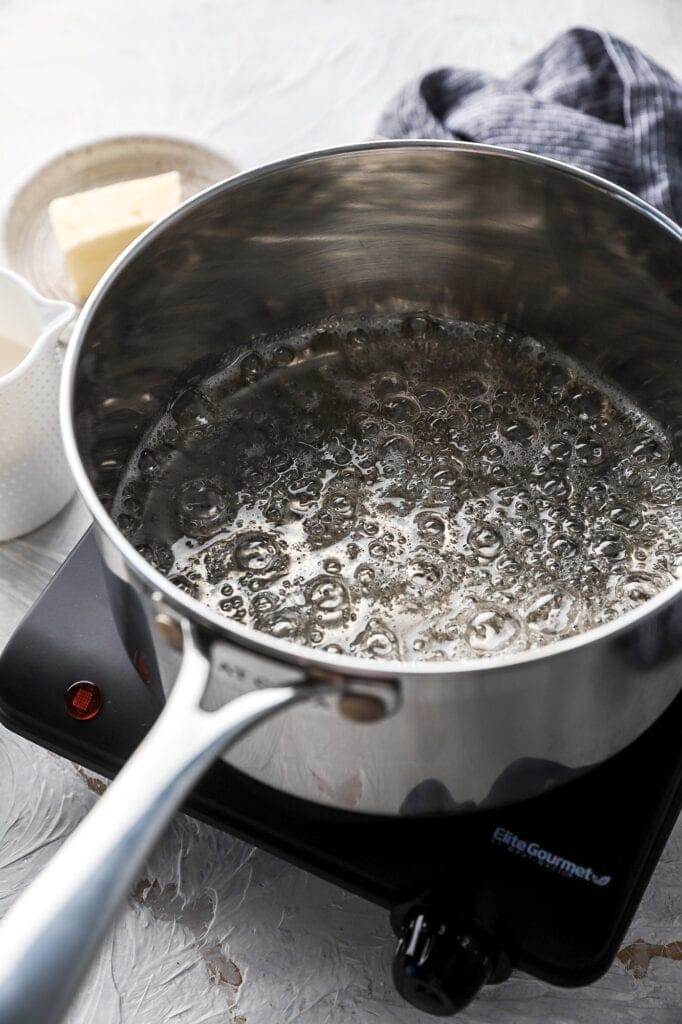
Step 7: Reduce the mixer speed to medium-low and stream the hot sugar syrup into the beating eggs. Try to drizzle it down the edge of the bowl in a single stream (avoid the stream hitting the whisk attachment or it will fling the sugar syrup around, cooling it and creating hard bits around the edge of the bowl).
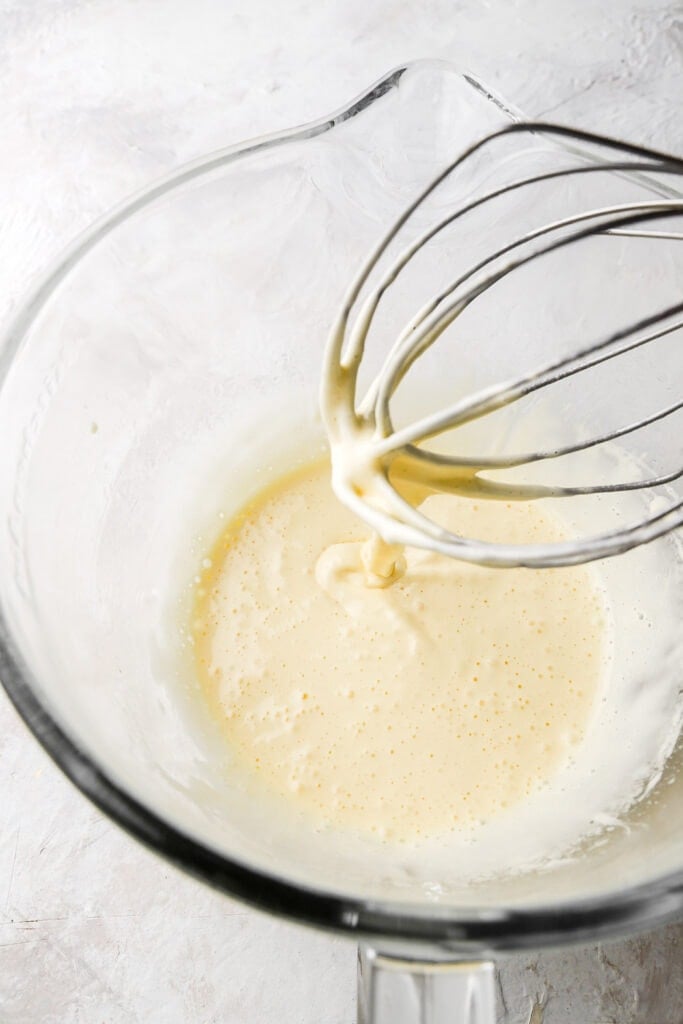
Step 8: With the mixer on medium speed, add the butter, 2 Tbsp at a time, waiting until each chunk is incorporated before adding the next.
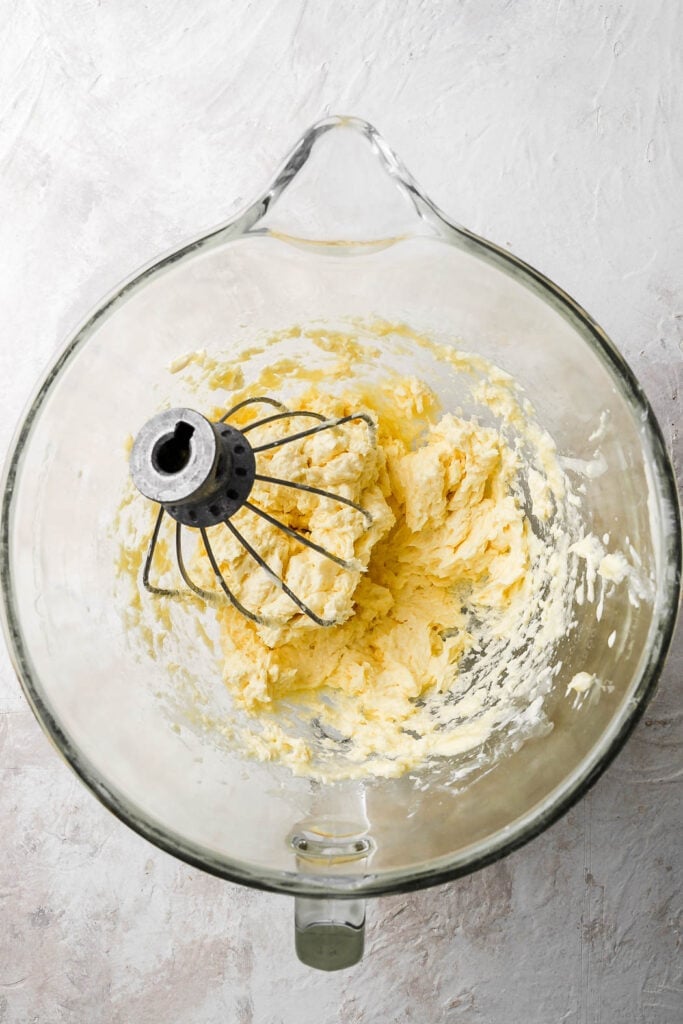
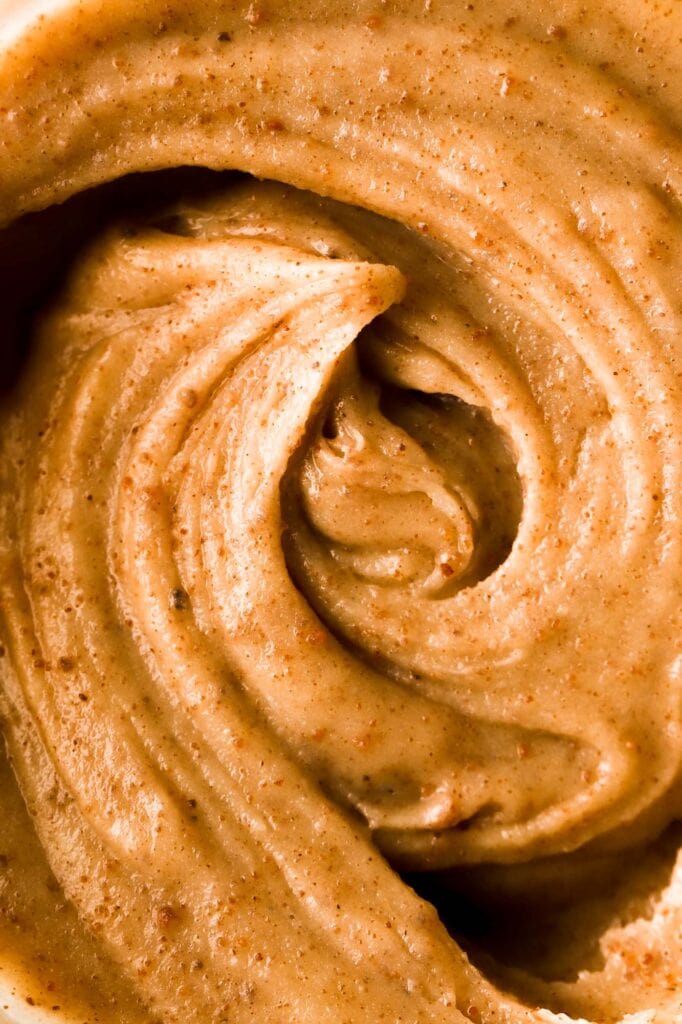
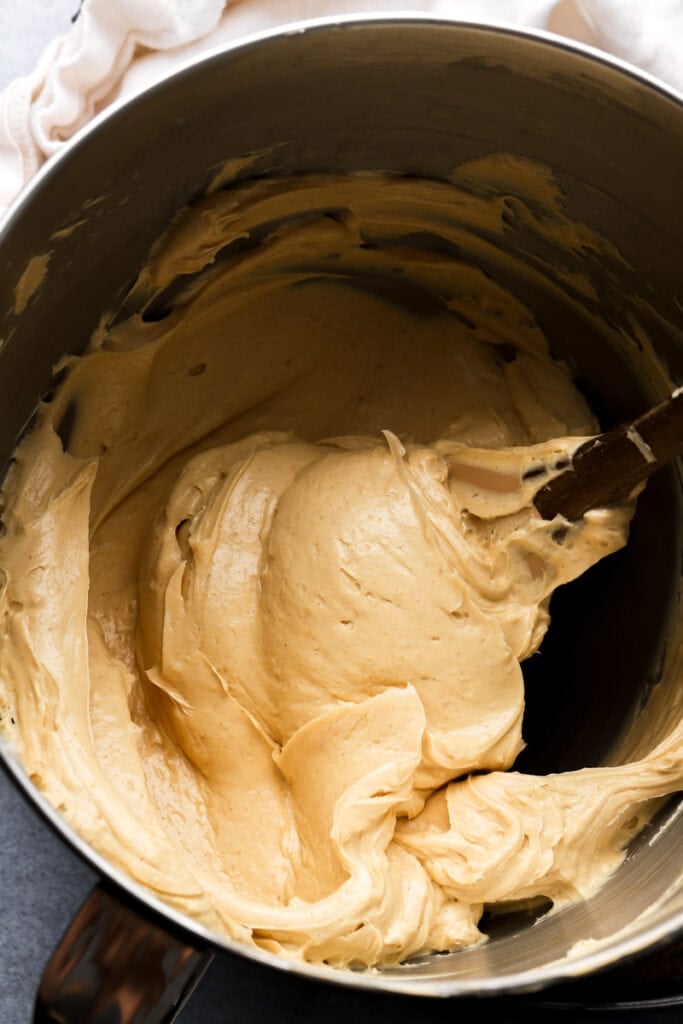
Step 9: Add the vanilla, peanut butter and (room temp.) browned butter and beat just until it’s well combined.
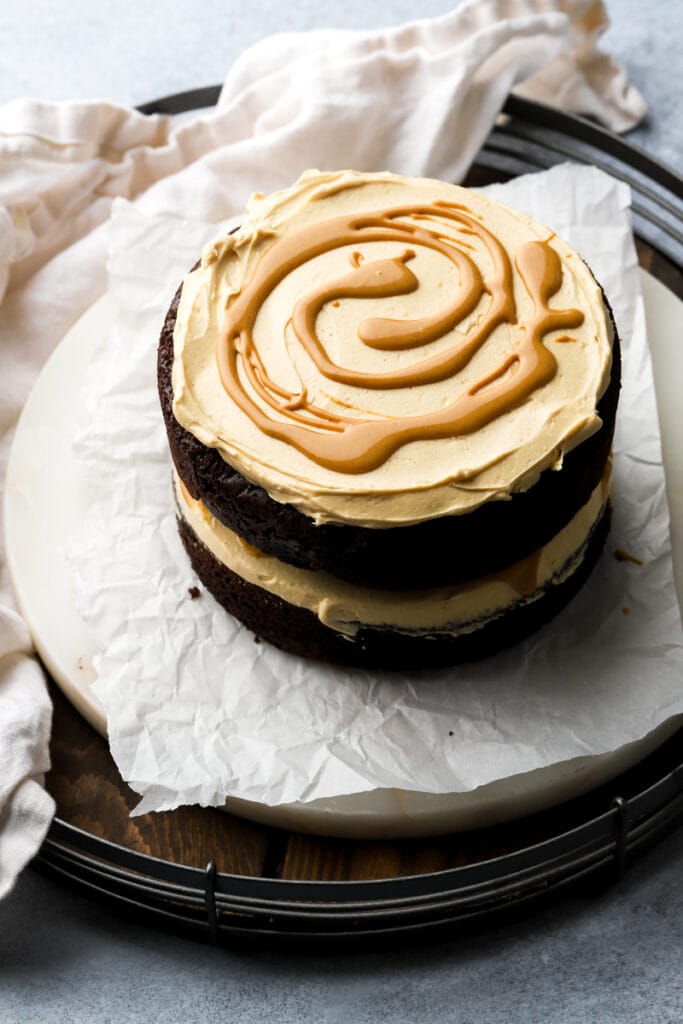
Step 10: Layer the cake with the buttercream and extra swirls of peanut butter. Refrigerate for 20-30 minutes and then frost the outside of the cake (double the buttercream if you want to do fancy decorations/piping).
Buttercream Options:
I went with a whole egg buttercream because it doesn’t waste any egg whites or yolks and I like how rich it is (similar to a French Buttercream, which you could definitely use if you have egg yolks to use up). Swiss meringue buttercream is also a great option if you have egg whites to use up.
Some eggless frosting options are Ermine Buttercream (boiled milk frosting), Cream Cheese Frosting, or American buttercream. Make them as instructed and then just add the brown butter, peanut butter and vanilla.
If you have any trouble with the whole egg buttercream, you can download the guide below for troubleshooting tips! Also check out my cookbook Frosted for all the types of buttercream, how to make them, use them, troubleshoot them, etc.
Frequently Asked Questions
You can use dairy free butter, dairy free milk/buttermilk to make any of my cakes. You can also use dairy free butter and white chocolate to make the buttercream.
All my cake recipes work well with a 1:1 gluten-free flour like Bob’s Red Mill and King Arthur Flour.
You can make this cake in:
Three (or four) round or square 6 inch baking pans – I used round
Two round (or three) or square 8 inch baking pan
Two round or square 9 inch baking pan (will be thinner than the cakes in the photo) – reduce bake time by 5-10 minutes
One square 10 inch baking pan – increase bake time by 10-15 minutes, look for cues.
A 9×13 inch pan – increase bake time by at least 10-15 minutes, look for cues.
Cupcakes – Should make about 23 cupcakes, bake for 16-18 minutes
Just like all the rest of my cakes, I test if it’s done baking by pressing gently on the tallest part of the cake. The cake will spring back if it’s done baking. If it stays indented, give it a few minutes in the oven, before testing again.
You can also insert a toothpick into the center of the cake (the tallest part) and make sure it comes out clean or with a few crumbs but without any batter on it.
You can double the recipe for the buttercream if you want to decorate the outside more than I did.
How to make ahead
To make the cake ahead of time you can make the cakes even a month in advance. When you remove them from the oven, let them cool for about half an hour and then wrap them individually in plastic wrap. Then place them in a freezer bag, squeezing out all the excess air.
You can frost them while they’re frozen but the buttercream may start to set so you’d have to work quickly. It’s best to let them sit out at least 30 minutes before frosting.
To make the buttercream ahead of time: I don’t prefer to make buttercream ahead of time as it can be temperature sensitive but this buttercream does work ok. You can cover it and leave it at room temperature for 1-2 days or refrigerate or freeze it in an airtight bag or container for weeks. Make sure to bring it back to room temperature well before frosting the cake and you may need to re-whip it.
*You can brown the butter days in advance and just bring it back to room temperature before using it in the buttercream.
How to store finished cake
I usually just cover my cakes with a cake dome or place it in an airtight container and store it at room temperature for 1-2 days.
It’ll stay well covered in the fridge for 4-7 days but it dries out quicker than the freezer so I recommend freezing after 2-3 days.
To freeze the whole cake, refrigerate it until it’s firm. Then wrap it in plastic wrap so it’s completely covered. Then wrap it in aluminum foil and freeze.
To freeze slices, place the slices in an airtight container and then place the container in a freezer bag, squeezing out all the excess air or do the above with each individual slice.
Bring it back to room temperature by thawing at room temperature for a few hours before serving.
Thanks so much for reading today’s post, if you have any questions just comment down below. Make sure to leave it in the comment section because I can’t answer in the rating section.
If you make this indulgent chocolate cake with peanut butter frosting, I’d love it if you left a star rating for me. If it’s less than five stars, please let me know why! 🙂
As always, have a blessed day and happy baking!
Love, B

I’ve haven’t tried this recipe yet. I’m look for a chocolate cake recipe I can use chocolate mousse frosting and chocolate ganache. Do you recommend this one or do you have a different one. I love your vanilla cake recipe.
Hi Gabby, this one works well with chocolate mousse but I do prefer my black cocoa cake for texture and flavor.
https://baranbakery.com/black-cocoa-cake/
This cake turned out beautifully and the frosting was wonderful, and not too sweet and very velvety. Perfect peanut butter but not too overwhelming.
I made this for my mom’s birthday tonight and it was AMAZING!! My whole family said that it’s the best cake I’ve ever made (and I’ve made a lot of cakes). This is the only cake my mom wants for her birthday from now on. The frosting is TO DIE FOR!!! Not too sweet but rich and satisfying. I added a milk soak to the cake when stacking and added some chopped peanuts in between the layers for texture.
Hi Megan, thank you so much for sharing, I’m so glad you all liked the cake! 🙂
Hello, I made this recipe and it turned out perfectly. The buttercream wasnt too sweet and was really buttery (the right amount of peanut butter) and flavorful. It was a really amazing recipe. Thank you for sharing this.
Hi! Quick question – what would you recommend doing if you don’t have a candy thermometer?
I would make a swiss meringue buttercream and then follow the same instructions for flavoring after it’s complete!
https://baranbakery.com/how-to-make-swiss-meringue-buttercream/
Hi! I have a question, when did you add the peanut butter into de buttercream? I can find that step.
Step 20