
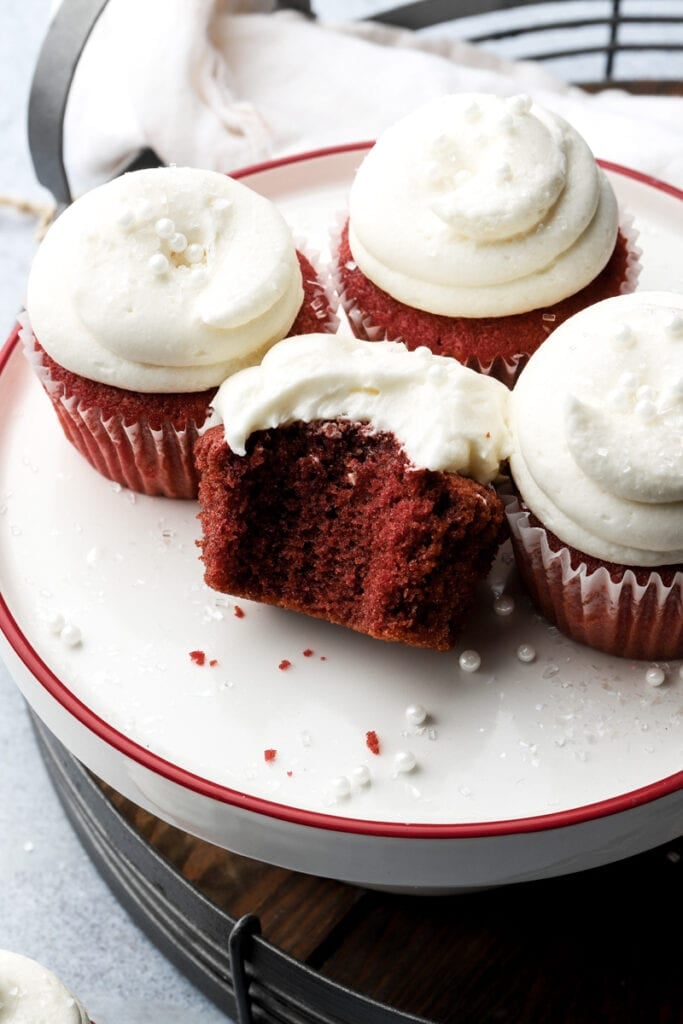
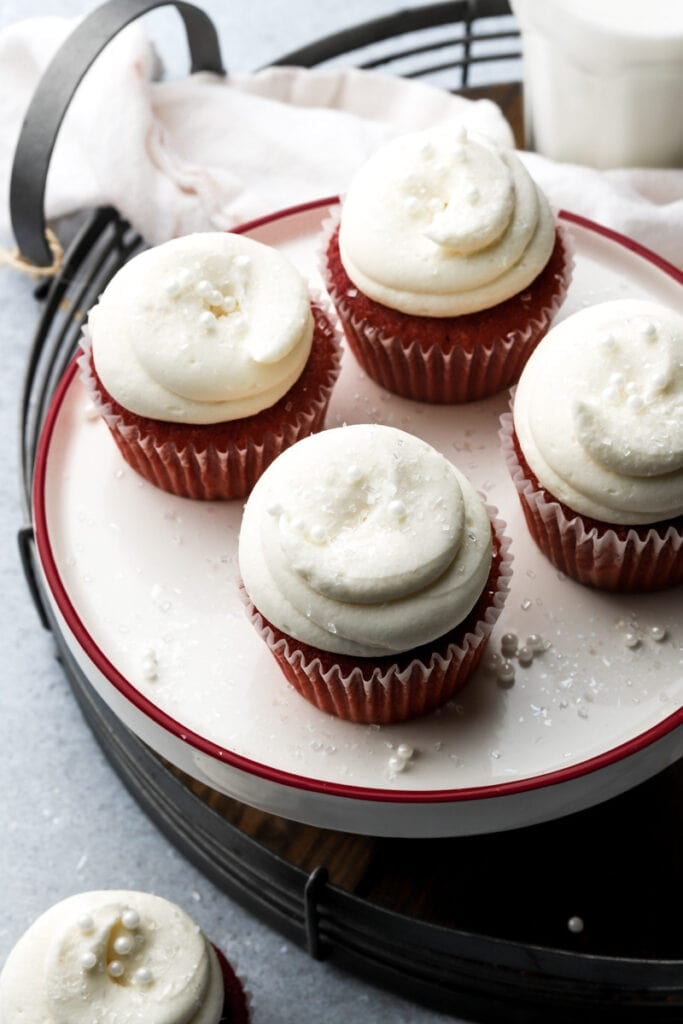
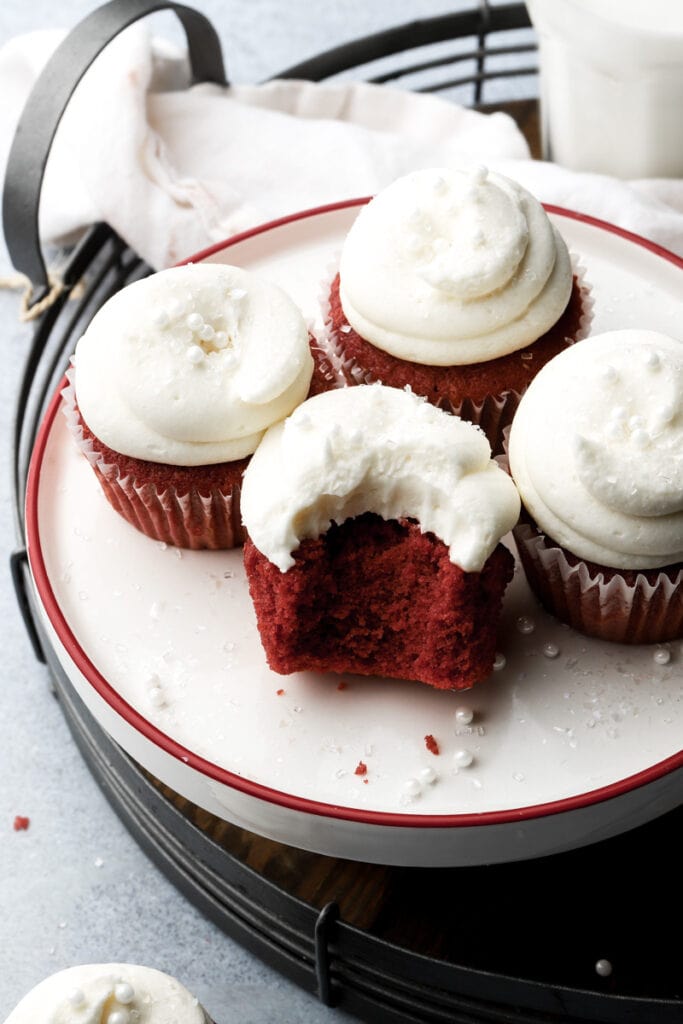
Red Velvet Cupcakes
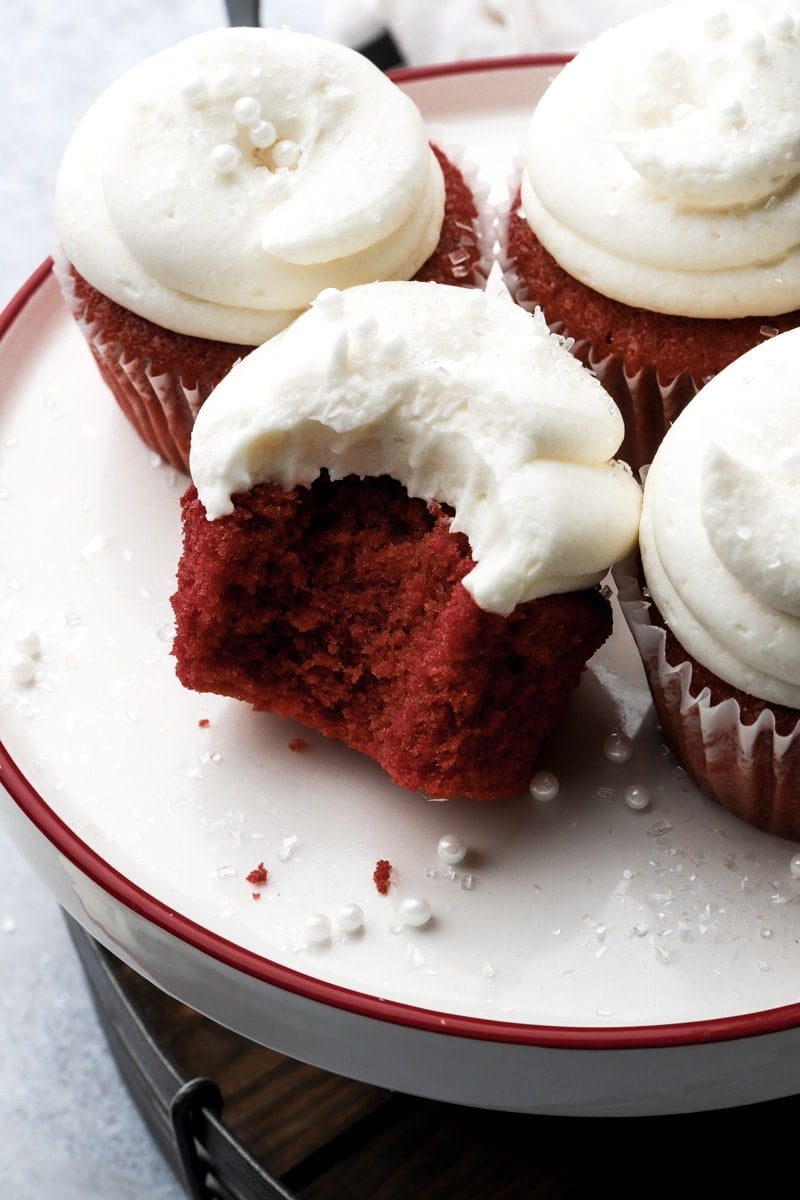
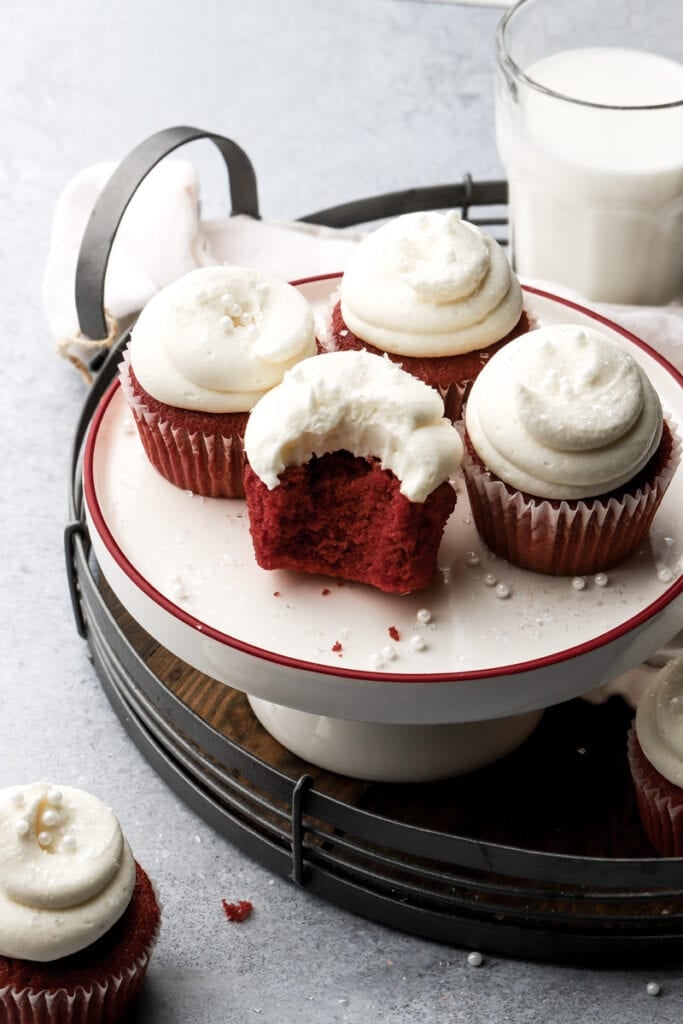
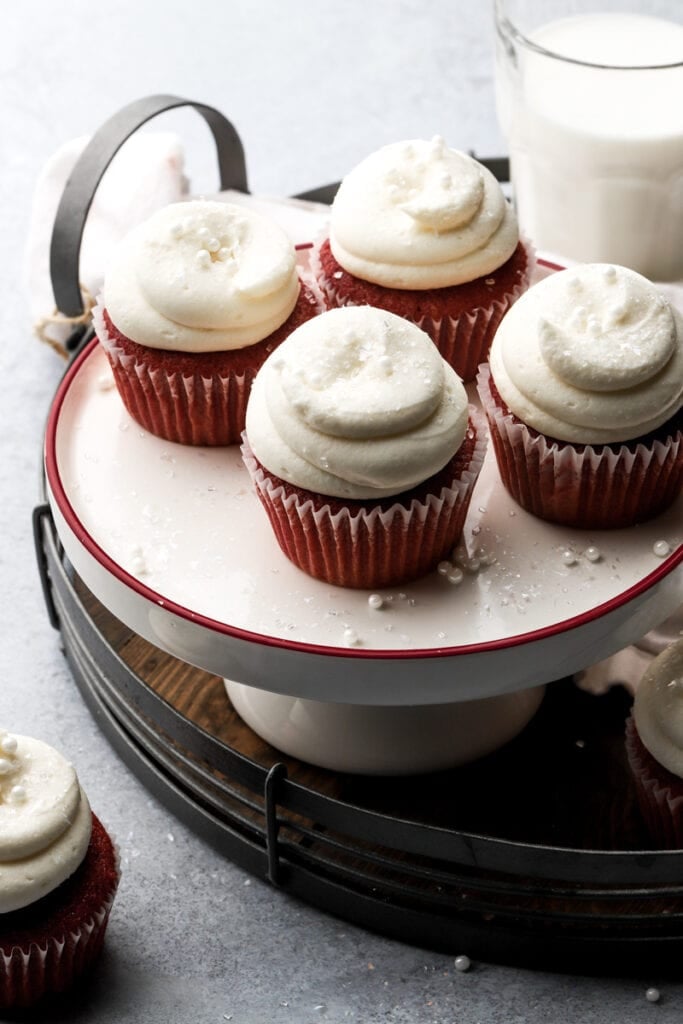
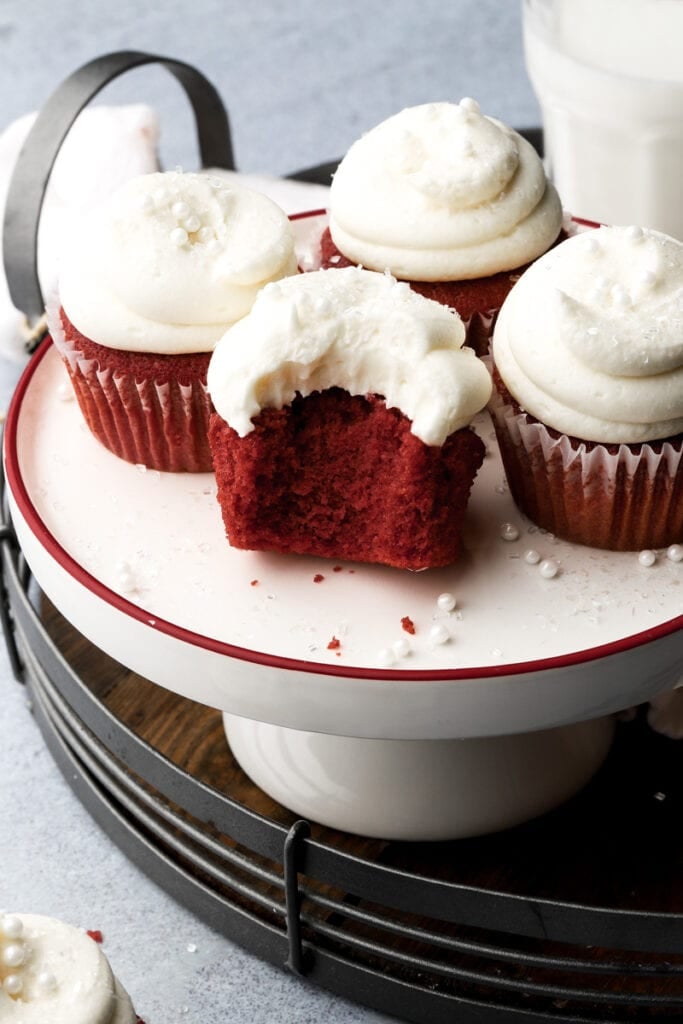
The red velvet cupcakes of your dreams – a deep red, melt-in-your-mouth cupcake with a slight hint of chocolate and vanilla. Frost with either silky vanilla cream cheese frosting or traditional boiled milk frosting.
Why you’ll love these red velvet cupcakes
- They’re super simple but taste so elevated with the hint of cocoa, the tenderness from the acidity and the tangy cream cheese frosting.
- The cupcakes are made using the reverse creaming method and they use cake flour for an extra tender crumb.
- The color is more subtle and doesn’t change the flavor of the cupcakes or stain your mouth.
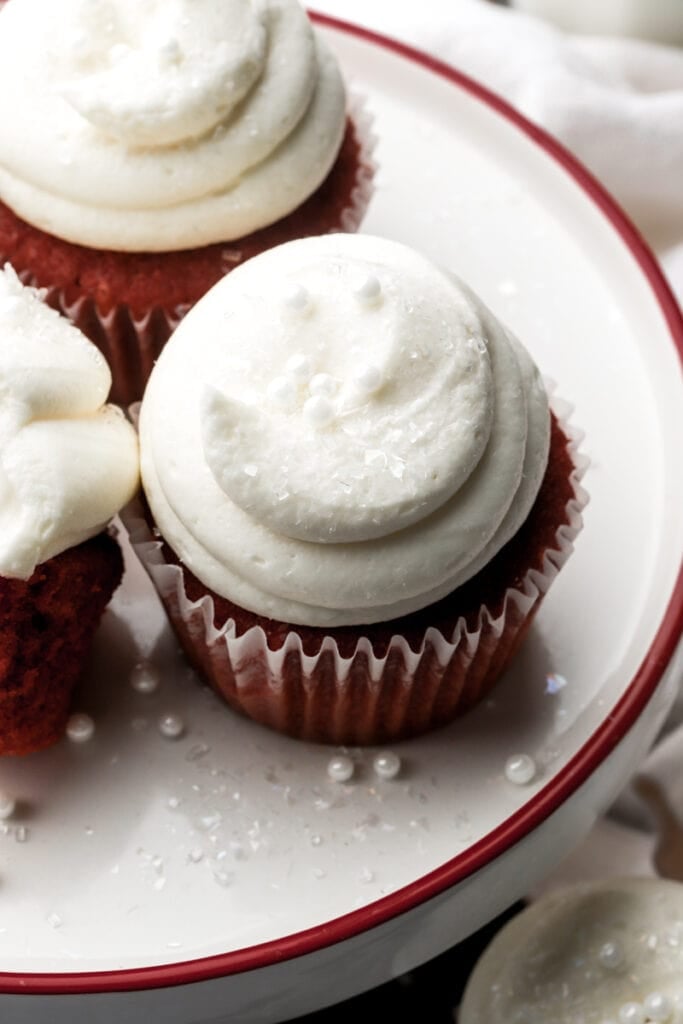
- It’s frosted with a silky cream cheese frosting that’s also stiff enough to pipe.
- The cupcake recipe is very forgiving and allows for many substitutions and dietary restrictions.
My personal thoughts on red velvet
I wrote this all in my Red Velvet Cake recipe but thought I’d share here as well.
I know people hate backstories on recipe blogs so forgive me for this but I need to explain my thoughts on red velvet to anyone who will listen lol.
I don’t like red velvet. I don’t like color so therefore I really don’t like it in my food, I just find it repulsive (personal, don’t hate me lol and no judgement to people who do like/use food coloring). I use it subtly once in a while but not very often.
I also think it tastes like wanna-be chocolate with cream cheese frosting (sorry not sorry). Although I prefer the tanginess of cream cheese frosting with warm and cozy spices like my carrot cake, pumpkin roll cake, banana cupcakes, pumpkin bread, etc. or with strawberries like my strawberry vanilla cake and strawberry cupcakes; however, cream cheese frosting is so good it really does go with anything.
All that said, it doesn’t mean red velvet isn’t good, these cupcakes are actually SO GOOD lol. It just means I don’t like the general idea of what it has been turned into. The history of it on the hand, I find interesting.
What is red velvet?
In the past, there was no such thing as “cake flour” or “pastry flour”. Cakes were more dense and bread-like than they are nowadays but the addition of a little cocoa powder and vinegar lightens up the crumb, preventing the development of gluten, making it more tender.
Cocoa powder is high in fat and has no gluten so replacing some of the flour with cocoa will make the crumb more tender and less tough. Natural cocoa is a light brown color with a reddish hue. It is by no means “red”, it just has a red undertone but it is still brown.
Acid also makes a crumb more tender because it inhibits the development of gluten (which is a protein that can make the crumb tough and chewy like bread). So oftentimes you’ll see people use buttermilk or apple cider vinegar to lower the pH of red velvet cake.
Acid also inhibits browning so if you have a batter with a lower pH and you add a little natural cocoa powder, you’ll end up with a very tender, slightly reddish brown cake that melts in your mouth. THAT is red velvet.
Being the humans that we are, we have to take things to the next level with an entire bottle of food coloring so here we are.
Ingredients & Substitutions
- Flour: I use all purpose flour in most of my recipes but I’m looking for an extra tender crumb here so I went for cake flour. You can sub all-purpose flour for the cake flour if you need to but I would replace 1 tablespoon of the flour with cornstarch then.
- I HIGHLY recommend using a digital scale, as flour (and cocoa) is so often over measured.
- Baking Soda: I used just baking soda here. The baking soda reacts with the buttermilk slightly increasing the pH so there is some browning. I personally liked it this way.
- I also tested these cupcakes with 1 1/2 tsp of baking POWDER and it works well. The main difference being that it’s even more tender but also much more pale in color (both thanks to the pH). So I felt like with the baking powder, you’d need to add more food coloring or you’ll get a pinkish cake.
- Sugar: I used granulated sugar in the cupcakes and I don’t recommend cutting any out as it affects the texture and the flavor of the cupcakes.
- For the cream cheese frosting, you’ll need powdered sugar.
- Cocoa Powder: cocoa powder is what originally gave the cake its red velvet name. I used just over 1 Tbsp for a tiny cocoa flavor that’s subtle it’s almost unnoticeable. I’ve tested these cupcakes with both natural and dutch processed cocoa and both work fine. Natural cocoa will produce its own natural red hue whereas dutch gives a slightly darker brown color.
- Make sure you’re not using any kind of sweetened cocoa powder.
- Butter: I like to use salted butter in my cakes but you can also use unsalted butter. Dairy free butter also works well.
- I use unsalted butter in the buttercream.
- Oil: I recommend using a neutral oil like sunflower, vegetable or canola oil.
- Eggs: make sure to use room temperature, large eggs.
- Pop them in hot water for a few minutes if they’re cold.
- Vinegar: I used apple cider vinegar to lower the pH of the cake. This helps reduce the browning, allowing the red to shine. It also really helps make the cupcakes more tender.
- Buttermilk: I generally just use half milk and half sour cream in my recipes but for red velvet I switched to buttermilk to give it more of that classic red velvet, acidic flavor.
- You can also use half sour cream and half milk but I would add an extra 1/2 teaspoon of apple cider vinegar to it.
- Or use just milk and add 1 extra teaspoon of apple cider vinegar.
- Vanilla: Since there’s only a subtle hint of cocoa flavor in this, make sure to use a good quality pure vanilla extract.
- I like to use vanilla bean paste for buttercreams and frostings.
- Cream Cheese: ALWAYS use full fat cream cheese for baking, preferably the Philadelphia brand. Don’t ever use low-fat in a recipe unless it specifically calls for it. Also make sure it’s room temperature when mixing with the butter for the frosting.
Step-by-Step Instructions
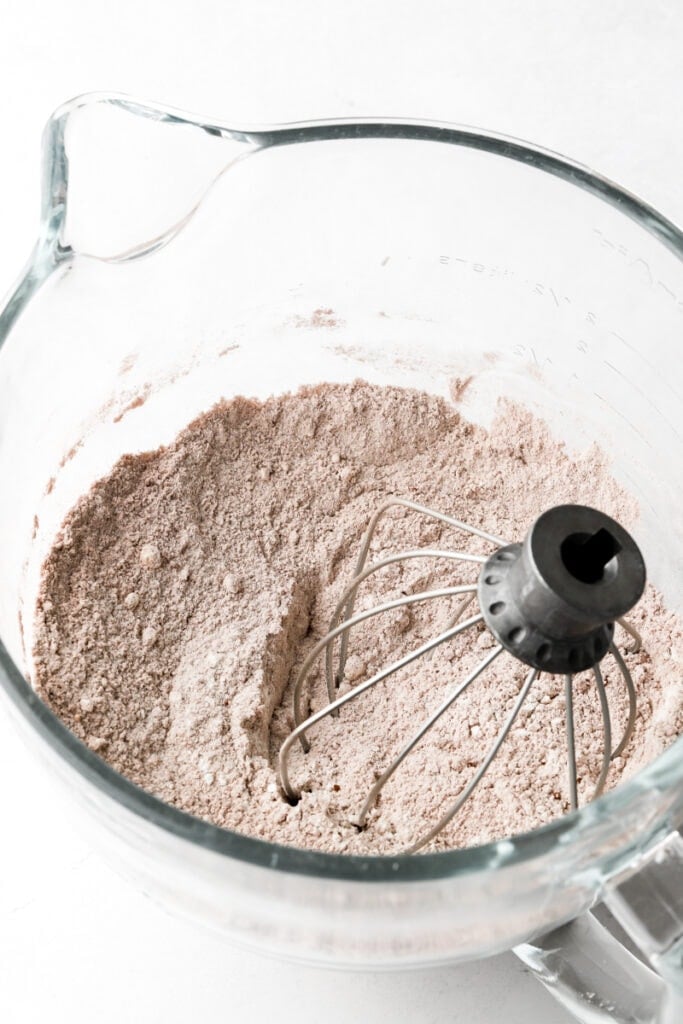
Step 1: Make the cupcakes by whisking together the flour, cocoa powder, sugar, baking soda and salt until they’re evenly distributed.
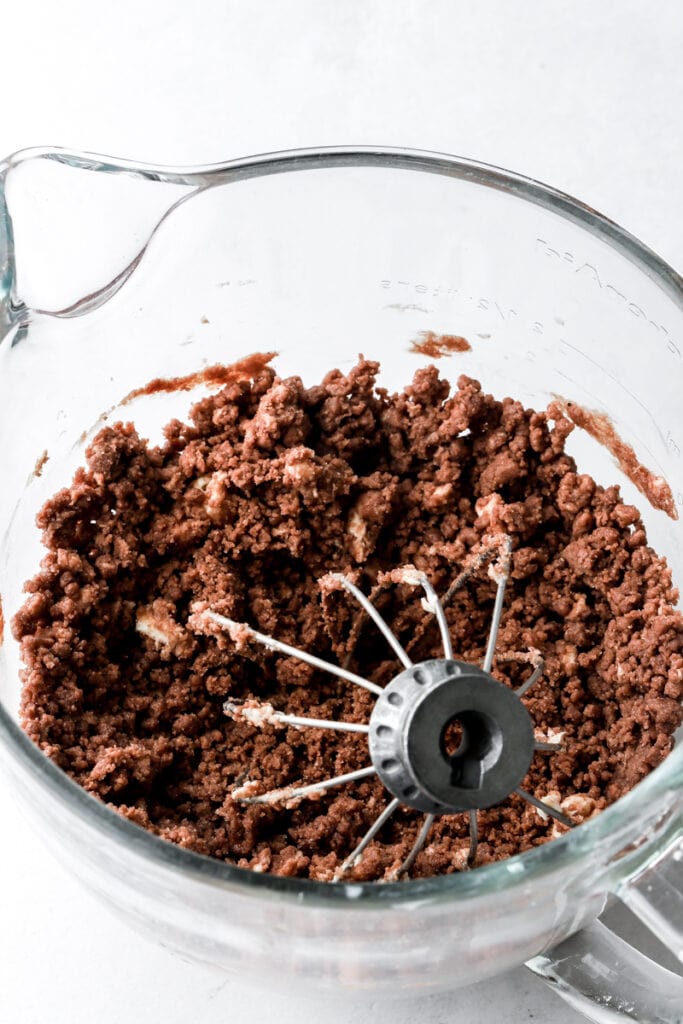
Step 2: Add the butter and oil one at a time and mix just until the dry ingredients are fully coated with the fats. Don’t over-mix.
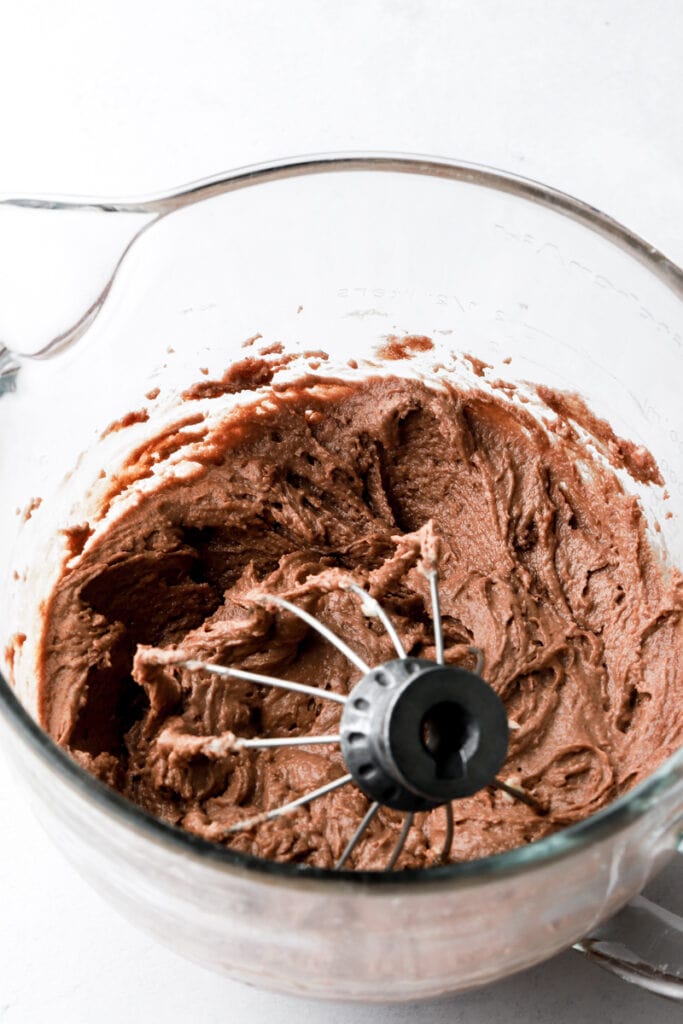
Step 3: Add the eggs, one at a time, with the mixer on low speed and mix just until the eggs are incorporated and the batter looks like paste.
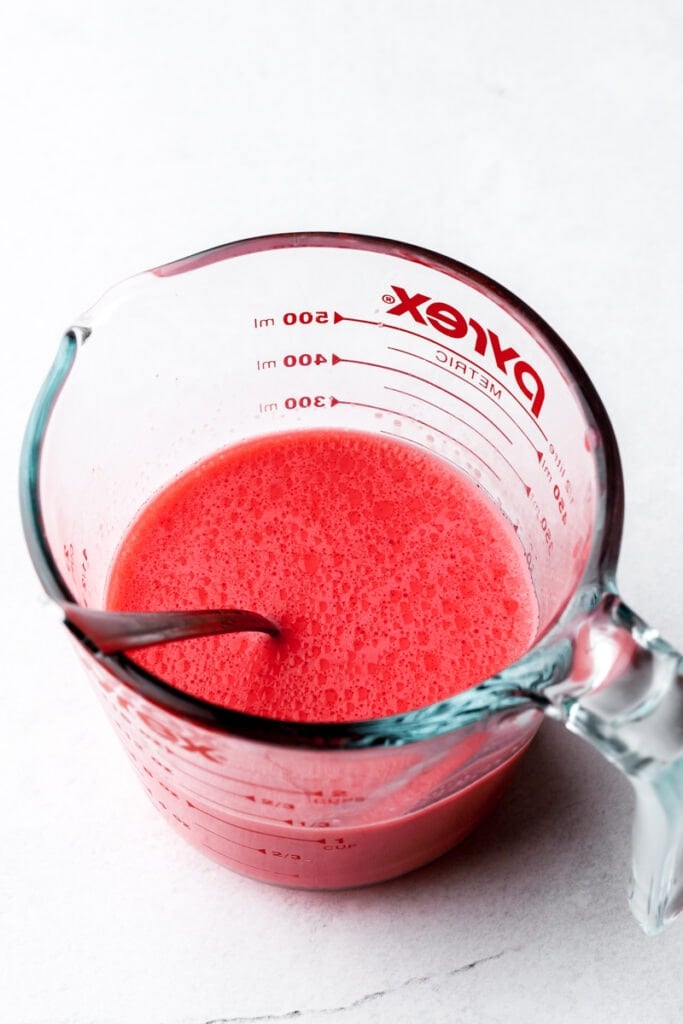
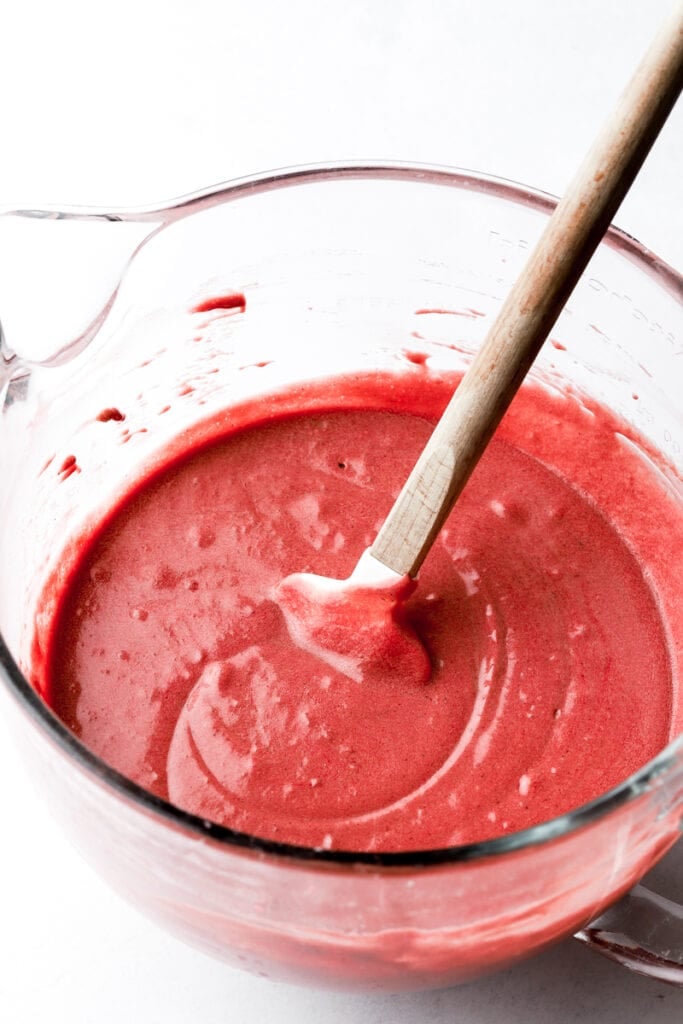
Step 4: Dissolve the food coloring in the milk with the vanilla, and then stream it into the batter with the mixer on low speed (or do a little at a time, in 3-4 increments, if using a hand mixer). Mix just until it’s incorporated.
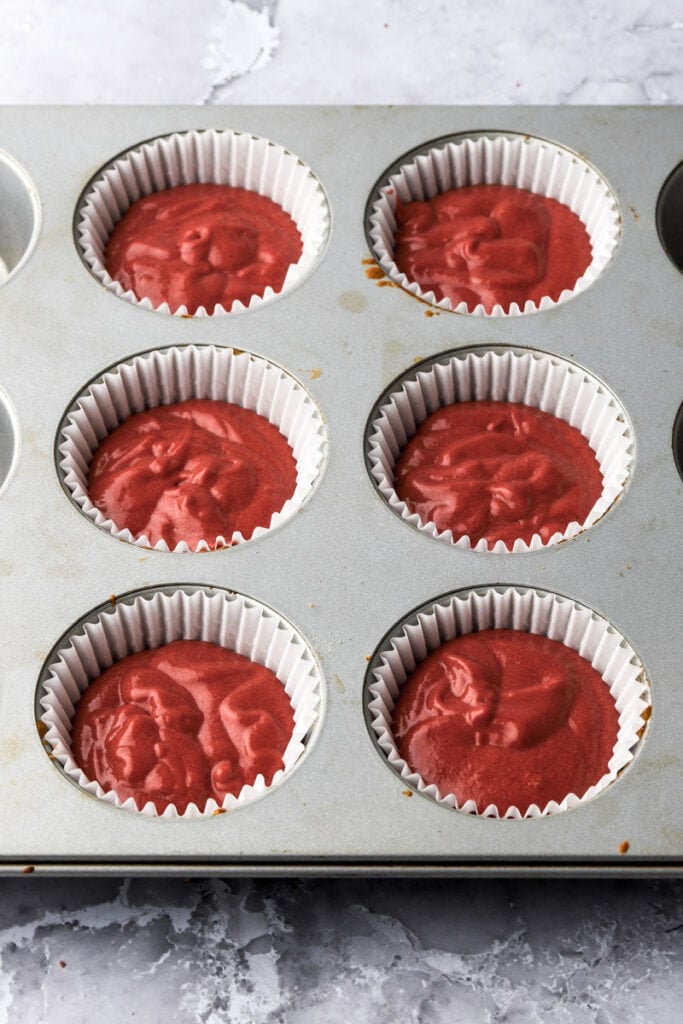
Step 5: Distribute the batter evenly among the cupcake 14 tins, about 50-55 grams in each tin.
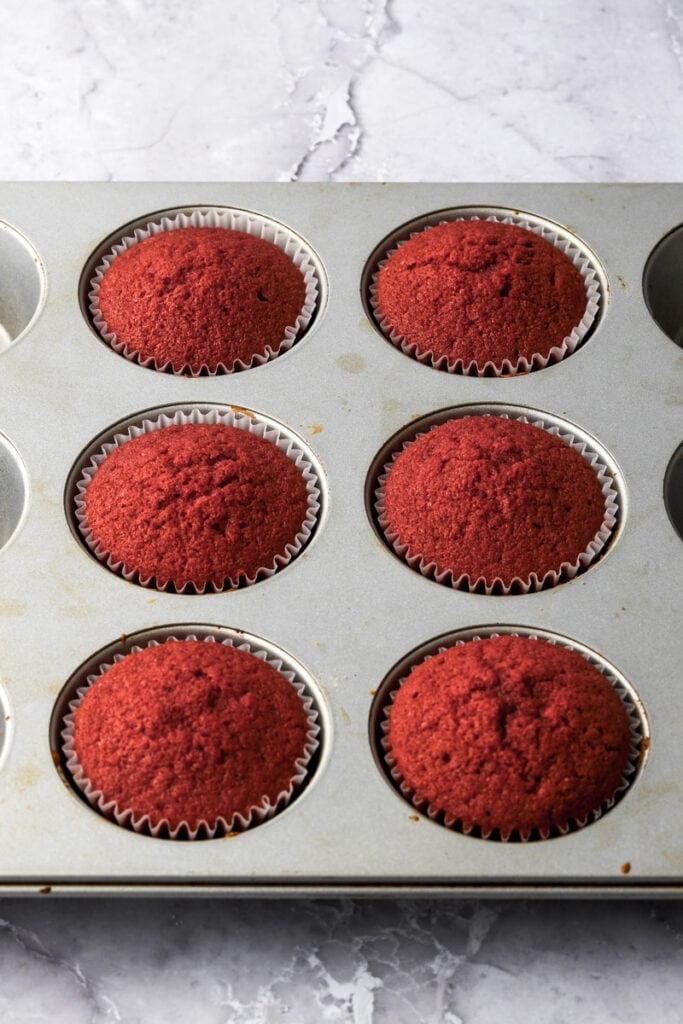
Step 6: Bake for about 18-20 minutes. When the cupcakes are done baking, they will spring back when you press on the center. Remove from the oven and allow to cool for 5-10 minutes before removing from the pan. Allow them to cool to room temperature.
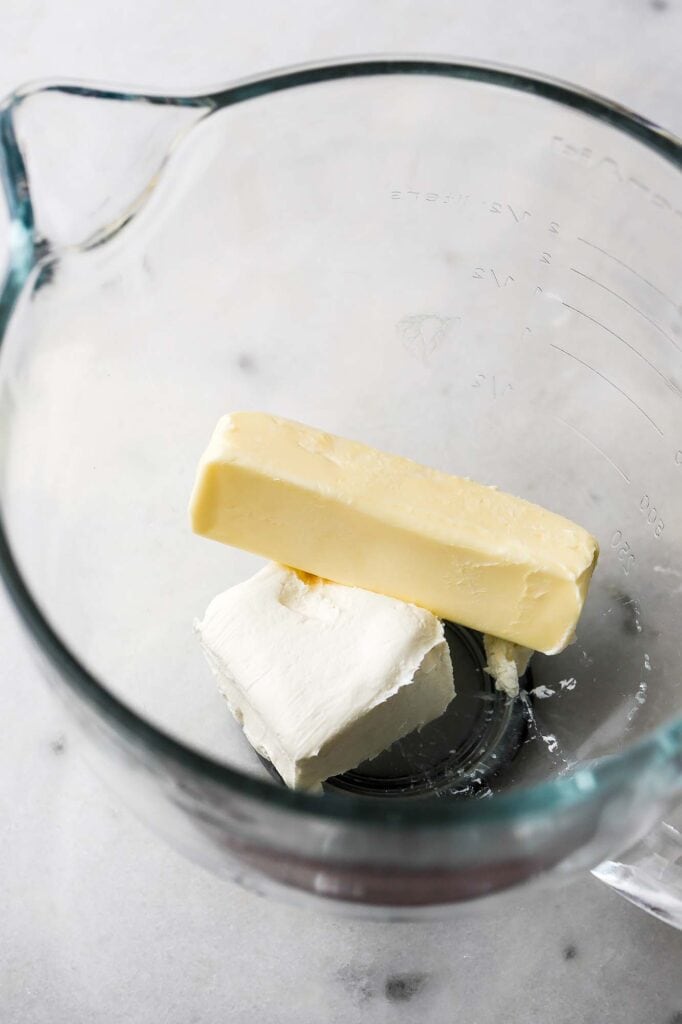
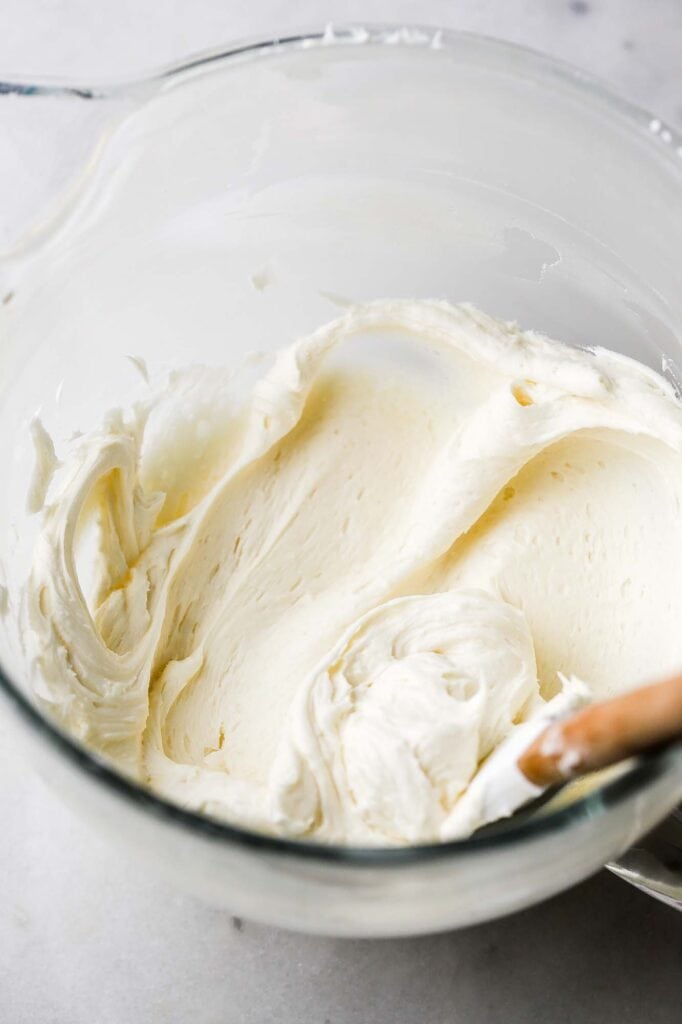
Step 7: Make the frosting by creaming the butter and cream cheese together until they’re well combined and have lightened in color a bit.
Step 8: Add the powdered sugar, vanilla and salt and beat at a low speed just until the sugar is combined. Scrape the edge of the bowl and increase the speed to medium for 1-2 minutes while streaming in the heavy whipping cream.
Step 9: Frost the cupcakes once they’ve cooled. If the frosting is soft, just refrigerate it for 20-30 minutes before piping.
How to color red velvet cupcakes
Getting the perfect red velvet color can be difficult. A few of you asked me how I got this deep warm red color so I have a few tips for you.
- Make sure you are using gel food coloring like Americolor. Don’t use an oil based or water based because you’ll need way more to get an intense color.
- I only used 3 drops of Americolor Bright Red gel food color. So I squeezed the bottle just a second and whatever falls out is a drop. Don’t squeeze continuously.
- I mix the food coloring with WARM buttermilk before adding it to the batter. Since this is the last ingredient being added to the recipe, make sure to mix the food coloring really well with the milk to dissolve it completely so you don’t overmix it with the flour.
- Like I said before, using natural cocoa powder will naturally give it a more reddish hue, making it easier to color with less dye.
- I was SO tempted to skip the egg yolks in this recipe to avoid the yellow tint but egg yolks contribute so much to the texture so I left them, that’s why it’s such a warm red.
- Feel free to add a few more drops of food coloring for a more intense and bright red color. If your milk is brighter and more intensely red than mine, then your cupcakes will be too.
How to get a white frosting
There are frostings that are more yellow toned than others so I recommend sticking with either Cream Cheese Frosting, Ermine Buttercream (boiled milk frosting), American buttercream or Swiss meringue buttercream. The cream cheese frosting is in the recipe card below, and the others are linked.
To help brighten the color
- you can whip the butter for 5-10 minutes before adding the cream cheese, scraping the edge of the bowl every few minutes. This will significantly lighten the color of the butter.
- Using cheaper, low quality butter is much more pale in color than European or Amish butters like Kerry Gold.
- Using half or all shortening instead of butter will make the whitest color because there’s no yellow hue like butter.
- Add vanilla beans to the buttercream – the black speckles will give it a cool toned perception but it’ll be speckled up close.
- Add a TINY drop of purple food coloring to cool down the hue.
Frequently Asked Questions
You can use dairy free butter, dairy free milk/buttermilk to make any of my cakes and cupcakes. You can also use a dairy free cream cheese and butter to make the buttercreams.
I haven’t tested it on this specific cupcake but I have tested a lot of my cakes and they all work well with a 1:1 gluten-free flour like Bob’s Red Mill and King Arthur Flour.
Reference by Red Velvet Cake to make this as a cake in different layers (check FAQs section to see how to make it different pan sizes).
Just like all the rest of my cakes and cupcakes, I test if it’s done baking by pressing gently on the tallest part of the cake. The cupcakes will spring back if it’s done baking. If it stays indented, give it a few minutes in the oven, before testing again.
You can also insert a toothpick into the center of the cupcakes (the tallest part) and make sure it comes out clean or with a few crumbs but without any batter on it.
Yes! I just halved the recipe to make 7 cupcakes. It’s best to measure with a scale especially when using such small amount of ingredients.
How to make ahead
To make the cupcakes ahead of time you can make them the night before and leave them covered at room temperature.
I don’t prefer to make cream cheese frosting ahead of time as it can be finicky with temperature changes and there’s no good way to fix it once it splits.
However if you have to, you can refrigerate overnight and bring it back to room temperature before frosting.
How to store finished cake
I usually just cover my cupcakes with a cake dome or place them in an airtight container and store them at room temperature for 1-2 days HOWEVER, if you frost them with cream cheese frosting they’ll need to be stored in the fridge.
They’ll stay well covered in the fridge for 4-7 days but they do dry out quicker than in the freezer so I recommend freezing them after 2-3 days.
To freeze the cupcakes, refrigerate them until the frosting is firm. Then place them in an airtight container or wrap them individually in plastic wrap so they’re completely covered. Place the container or the individually wrapped cupcakes in a freezer bag, squeezing out all the excess air.
Bring them back to room temperature by thawing at room temperature for a few hours before serving.
Thanks so much for reading today’s post, if you have any questions just comment down below. Make sure to leave it in the comment section because I can’t answer in the rating section.
If you make these lovely red velvet cupcakes, I’d love it if you left a star rating for me. If it’s less than five stars, please let me know why! 🙂
As always, have a blessed day and happy baking!
Love, B


These are delicious! Red Velvet isn’t always my favorite flavor, as I prefer deep dark chocolate, but this was still a great cupcake. I made them using tulip liners, divided it evenly into 14, and they ended up very full. If I was baking these in more standard-sized liners, I would probably make about 16. They were a bit on the dry side even though I baked them for the minimum amount of time and my oven was running correctly according to my oven thermometer, but it was barely even noticeable. Typical to red velvet, they didn’t have a super strong flavor, but that’s just the way red velvet is, and the gorgeous cream cheese frosting made up for it all. It was the most delicious cream cheese frosting I’ve ever made- I was practically eating it by the spoonful! It did make a lot, and even though I frosted them generously, I had some left. I would say that if you like a scant amount of frosting on your cupcakes to just half the frosting recipe.