

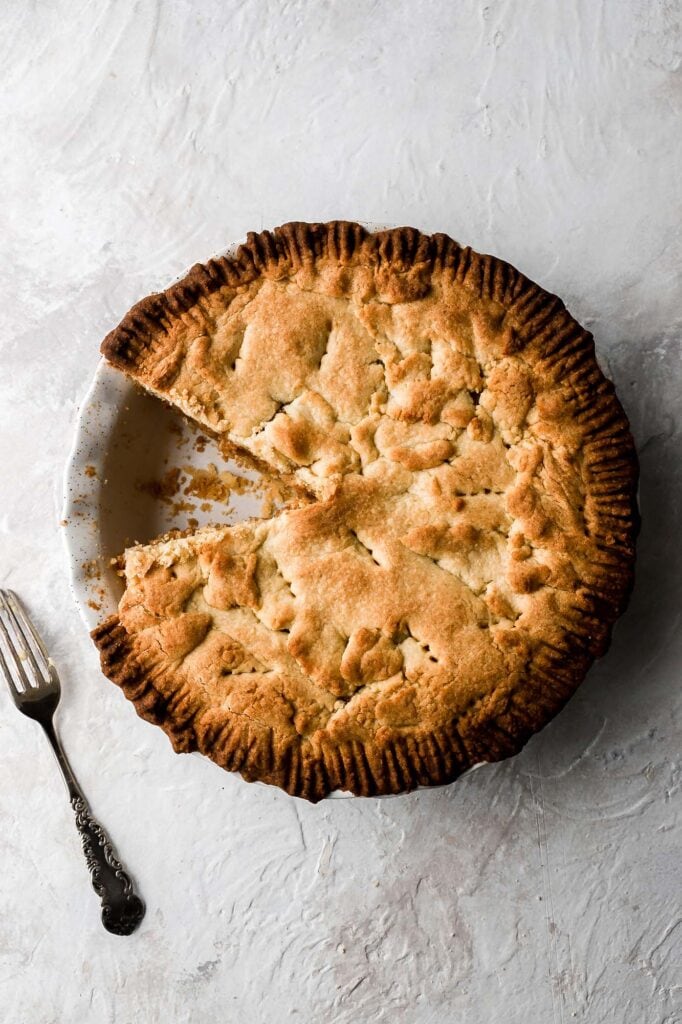
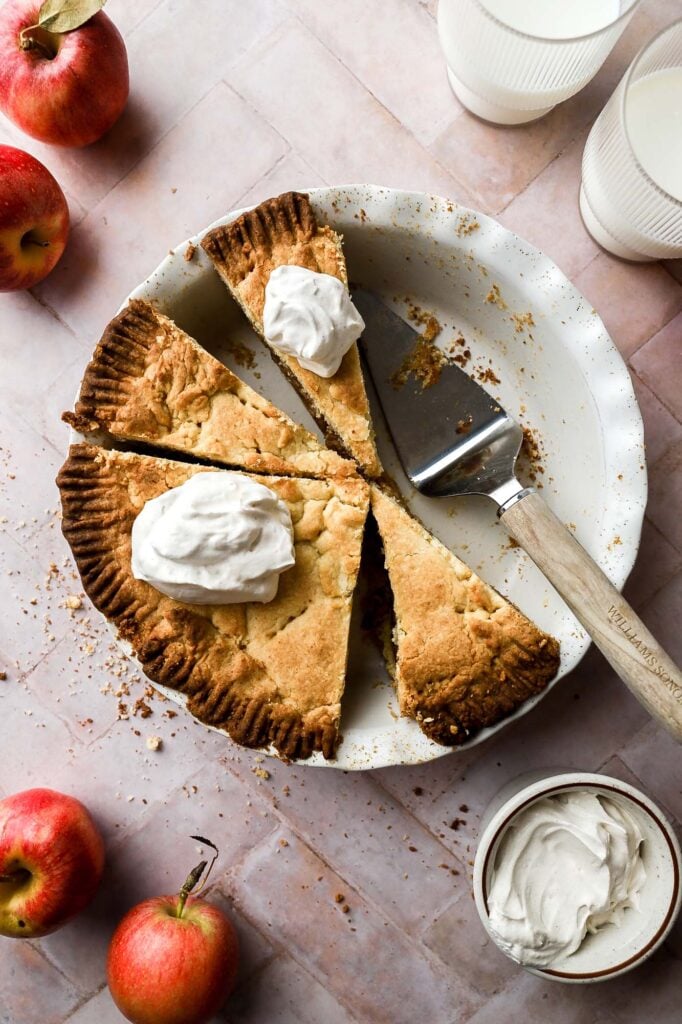
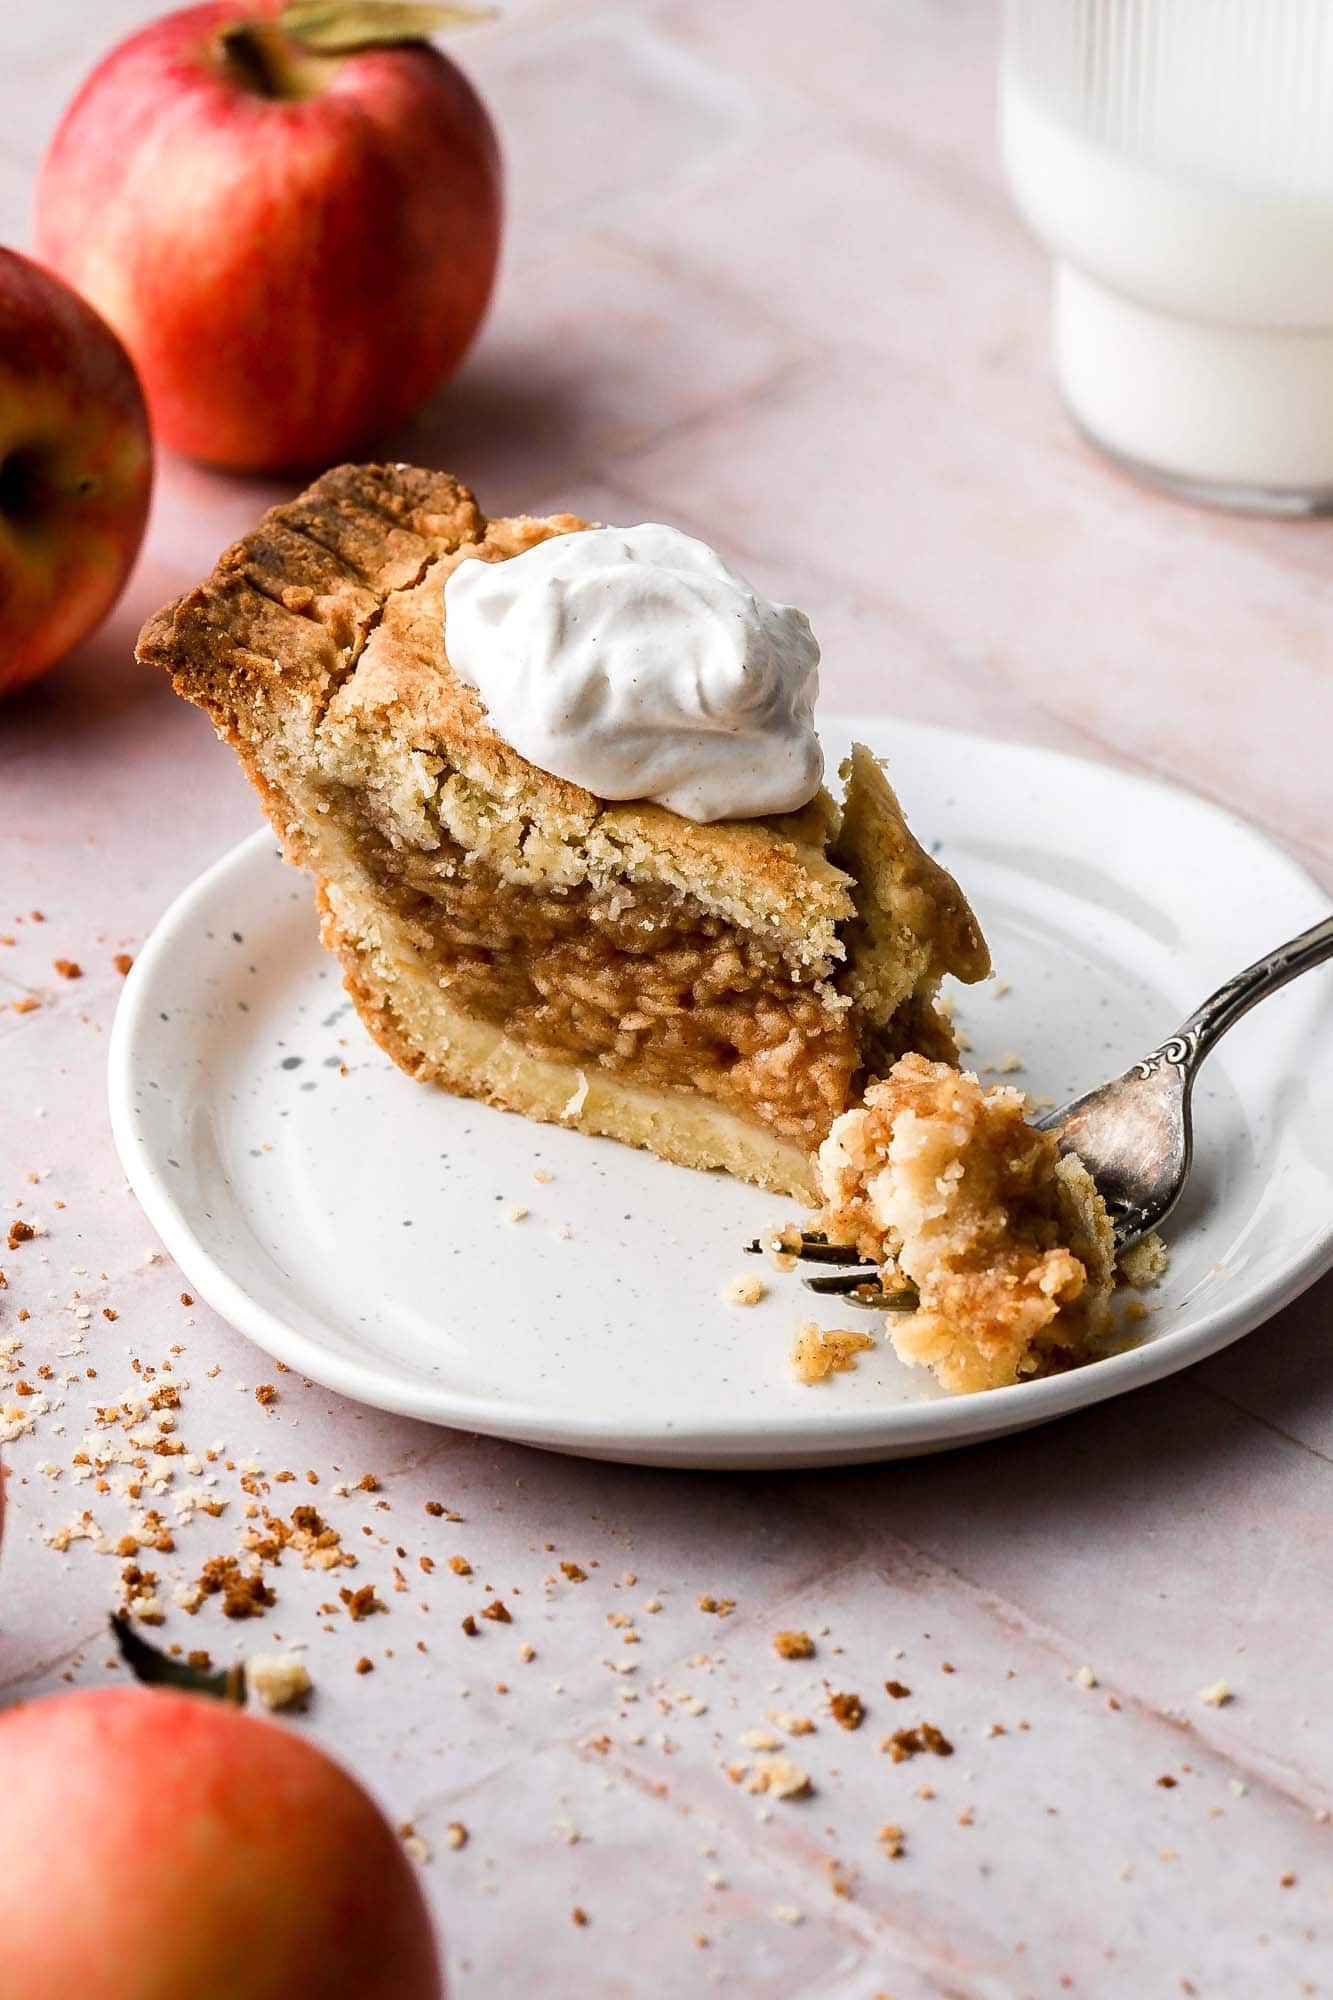
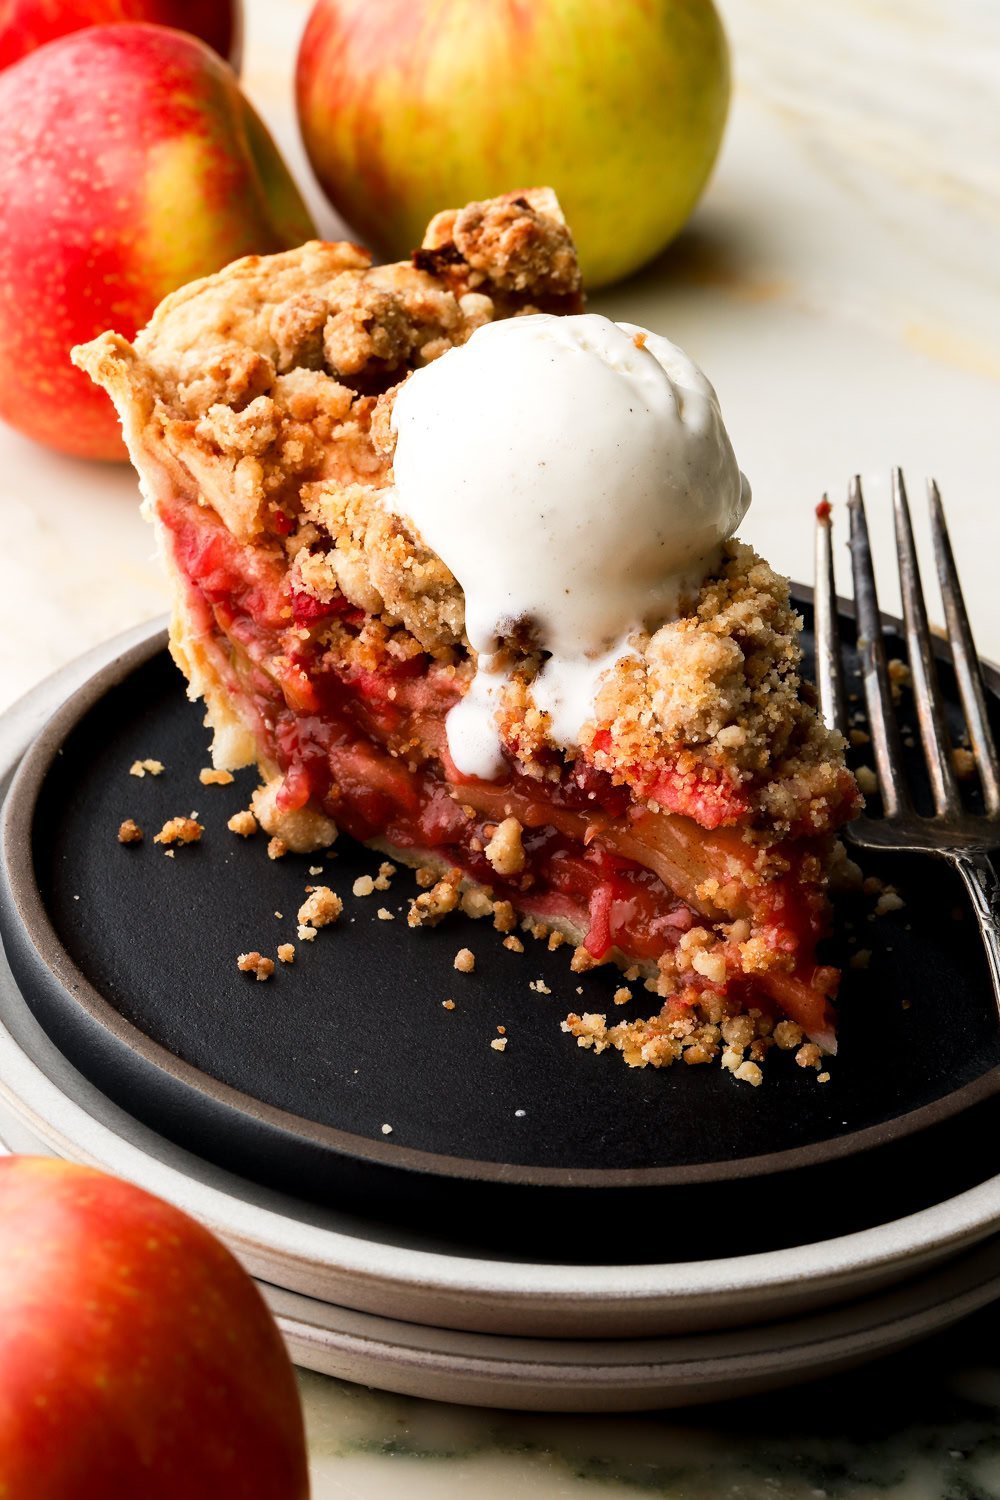
Momma’s Rustic Apple Pie
My momma’s rustic apple pie recipe is made with a softer, cake-like crust and a shredded apple cinnamon filling!

Growing up, we never ate apple pie. We never ate any pie, actually. My mom was a cake person so would make us this rustic apple cake, which was actually like a cross between cake and pie. It’s phenomenal and she makes it like 10x every fall/winter.
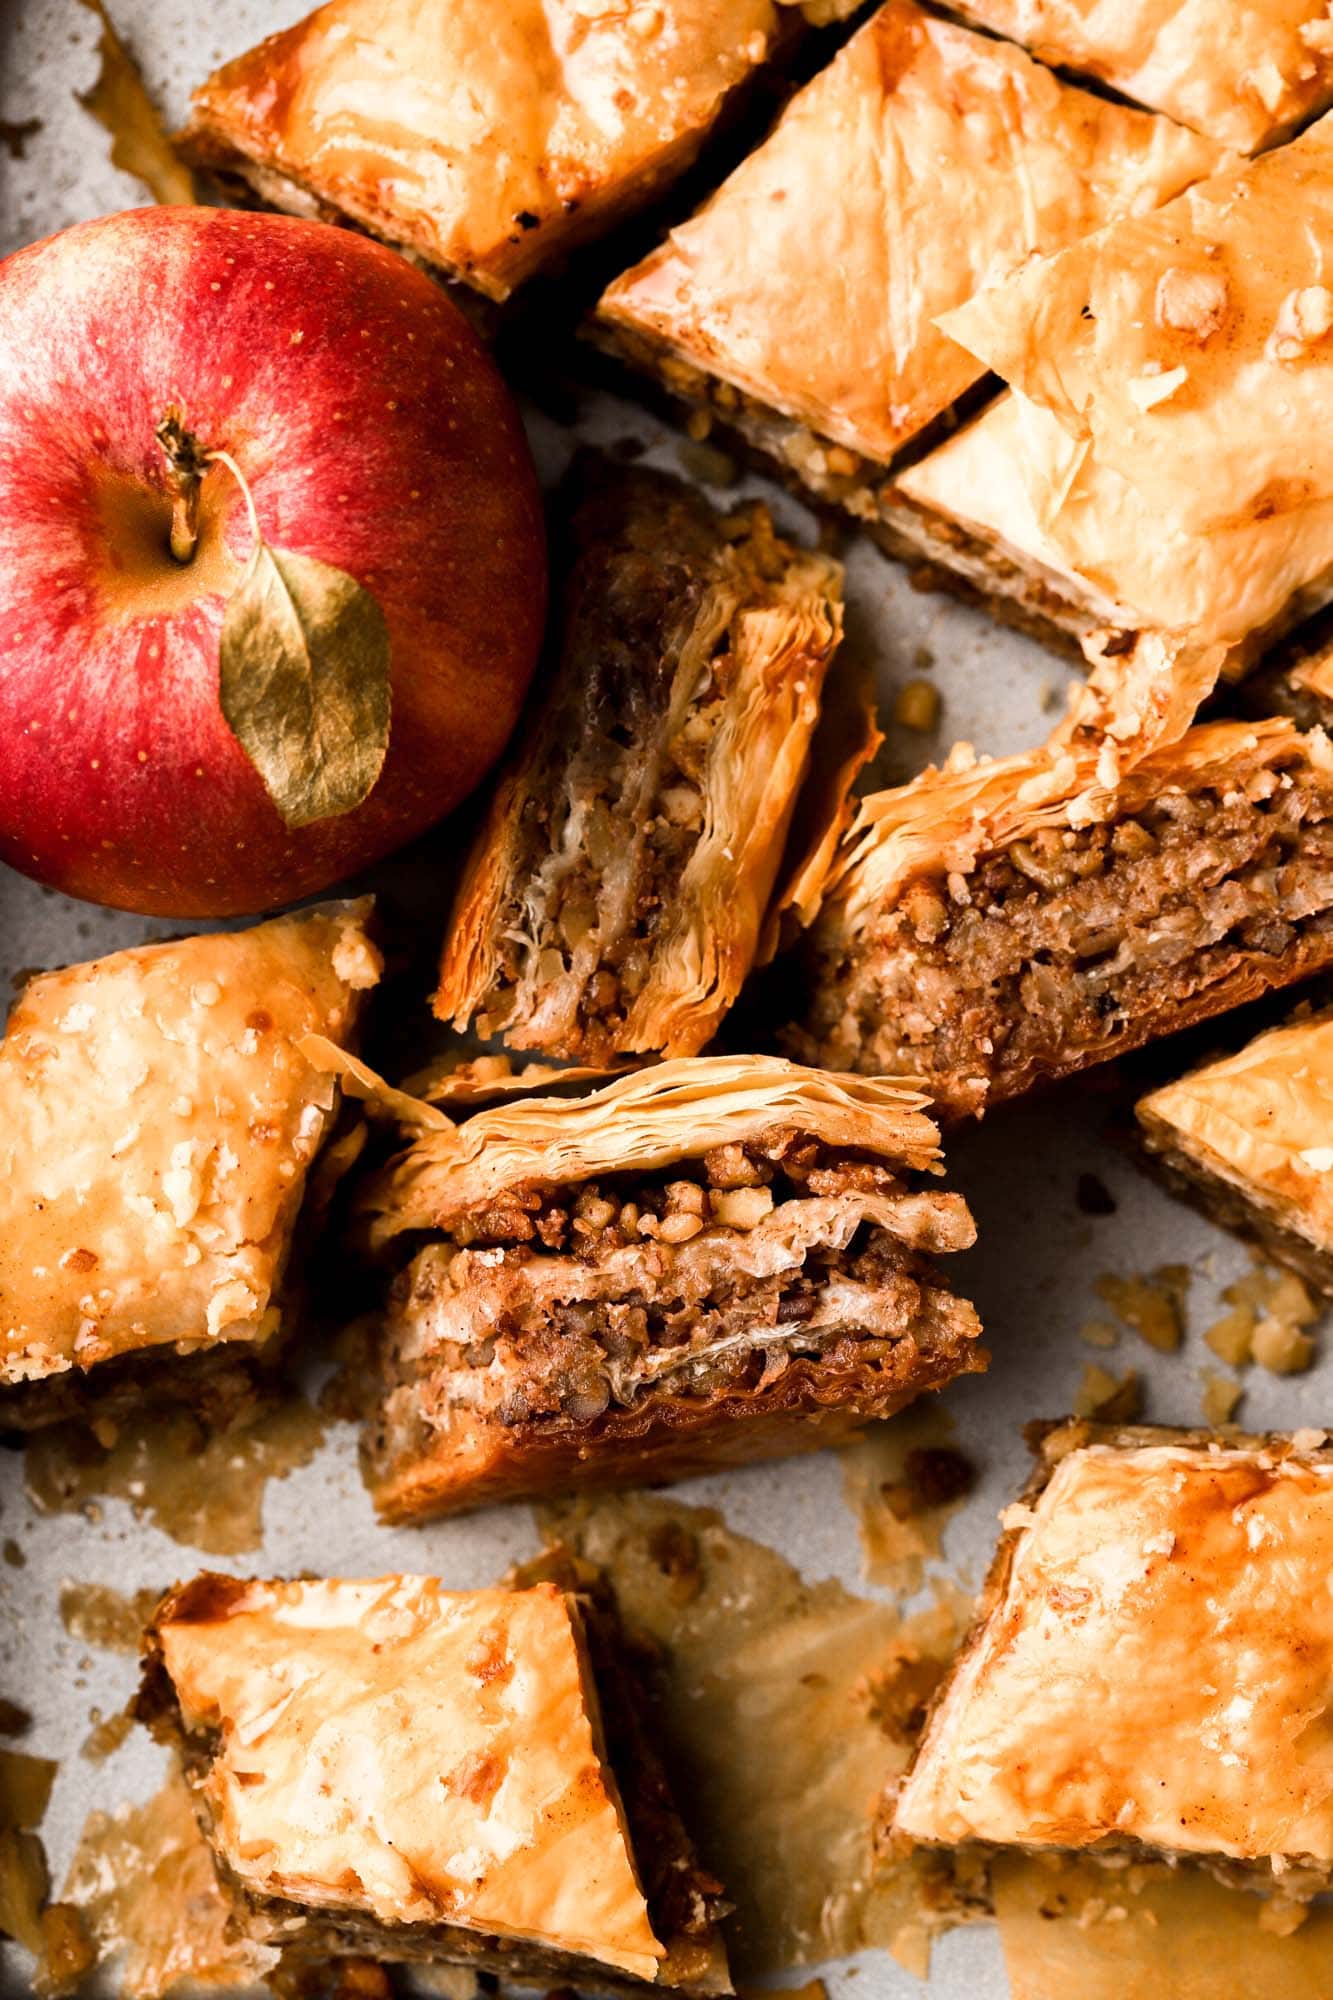
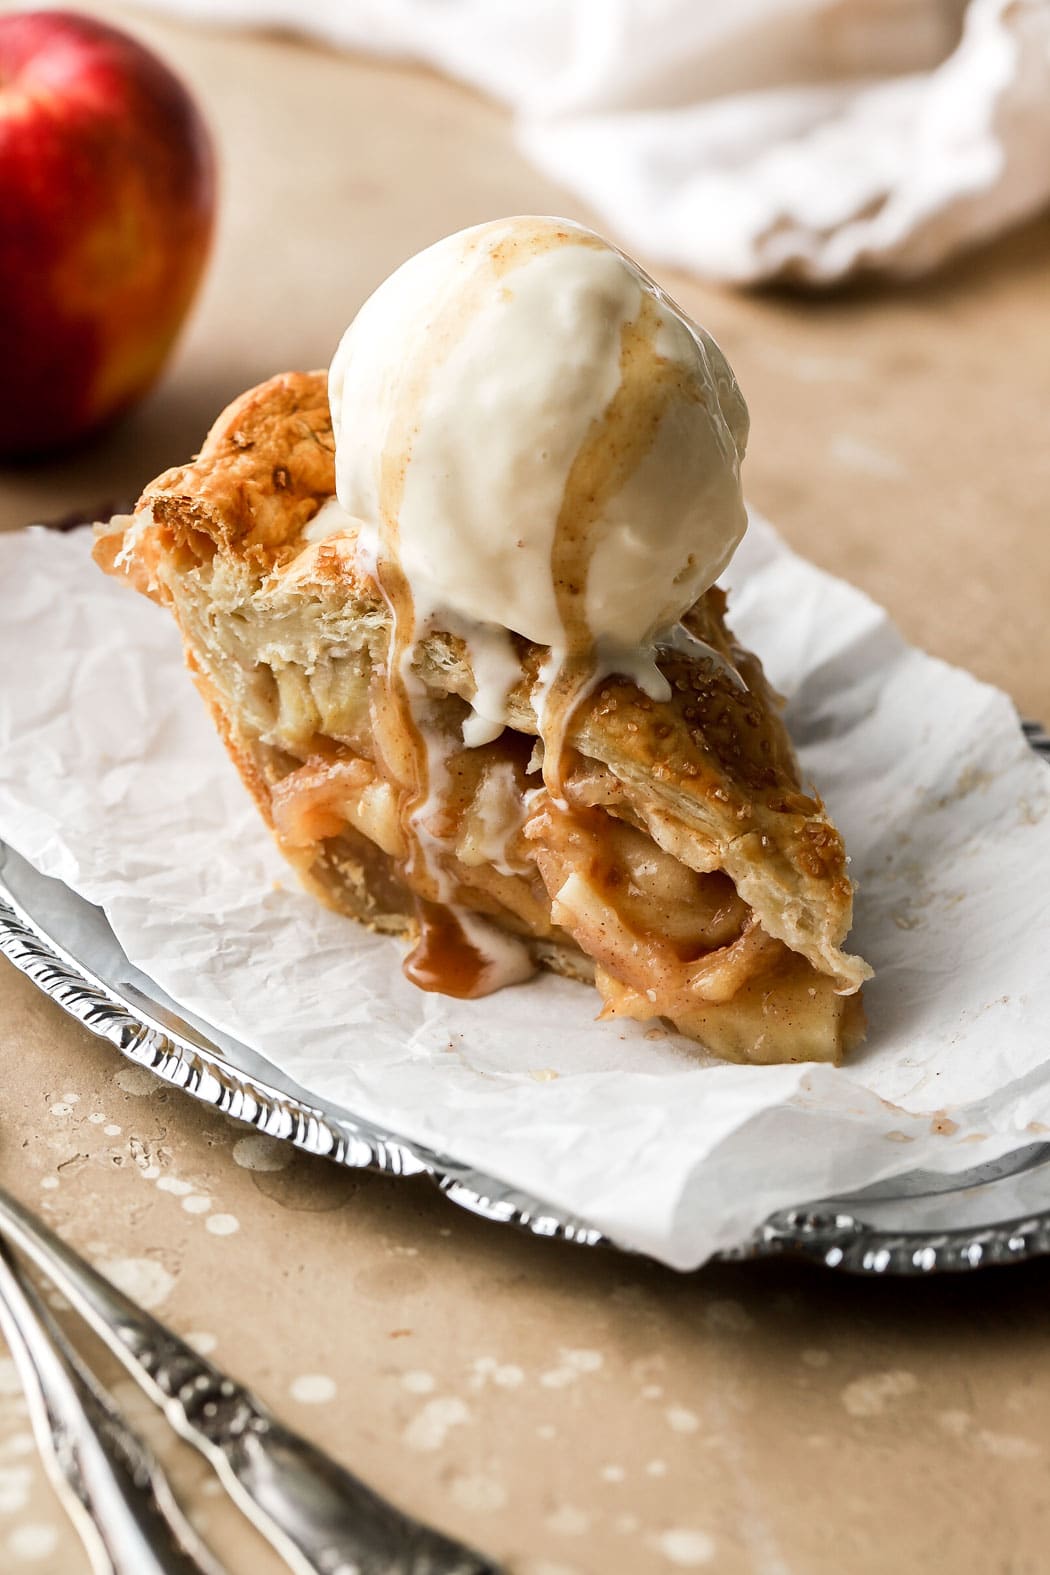
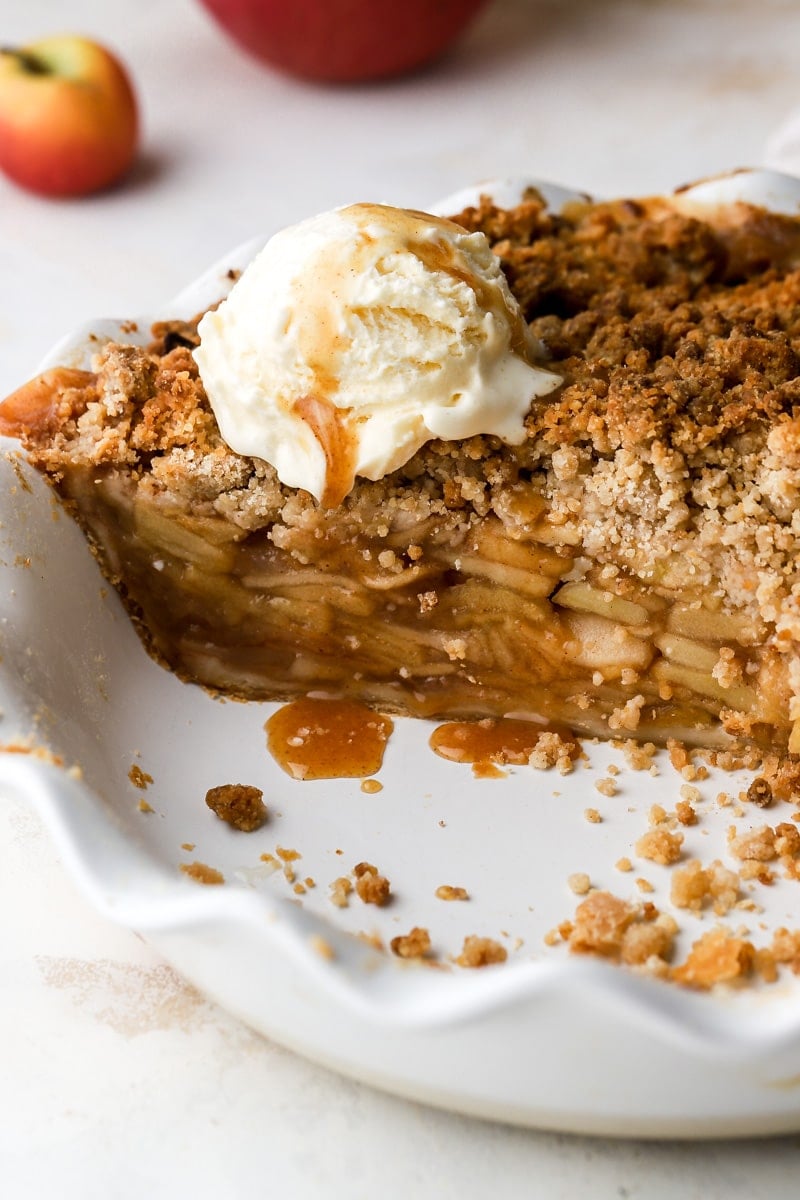
If you’re here for all things apple, I have a ton of apple recipes! Some of my favorites are apple cider cupcakes, apple cider donuts, dutch apple pie, puff pastry apple pie and blueberry apple crisp!
[adthrive-in-post-video-player video-id=”ahwIRYqE” upload-date=”2024-02-16T00:07:49.000Z” name=”Rustic Apple Pie.MOV” description=”My momma’s rustic apple pie recipe is made with a softer, cake-like crust and a shredded apple cinnamon filling!” player-type=”default” override-embed=”default”]Quick tip, the juice from the apples gets strained so that we don’t get the dough soggy. You can either drink that juice (it’s pretty sweet for apple juice) OR you can use it to make ice cream. Get the recipe below!
How to make this rustic apple pie
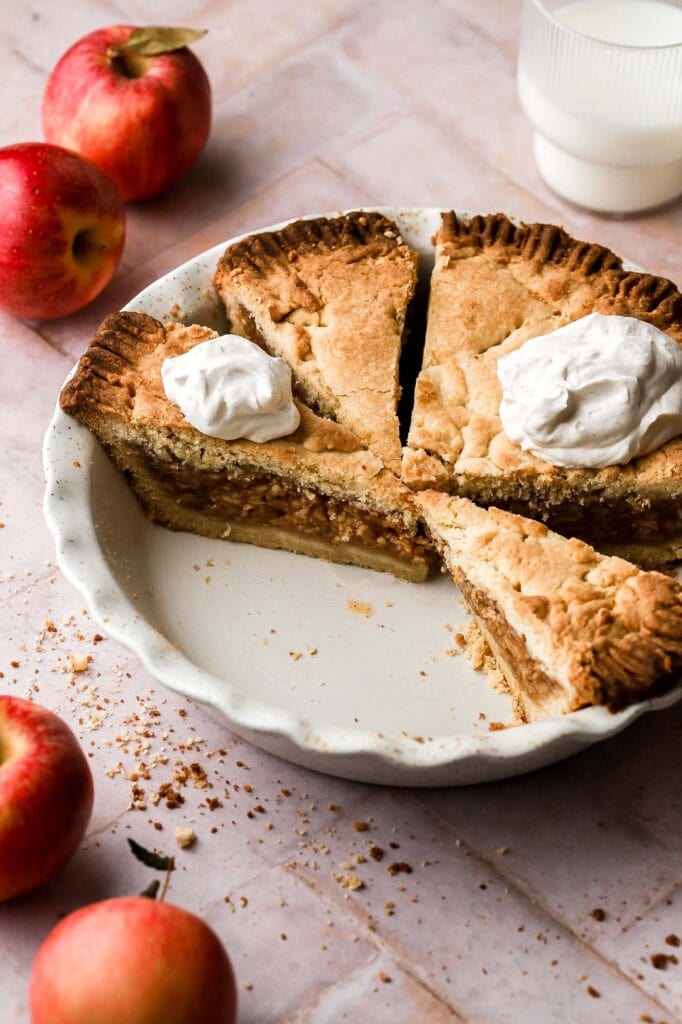
There’s two main parts to this, just like most pies; the crust and the filling. Personally, I think this apple pie is easier to make than traditional apple pie. The filling is a little more work but you don’t have to precook it and there’s no pressure on making the crust pretty.
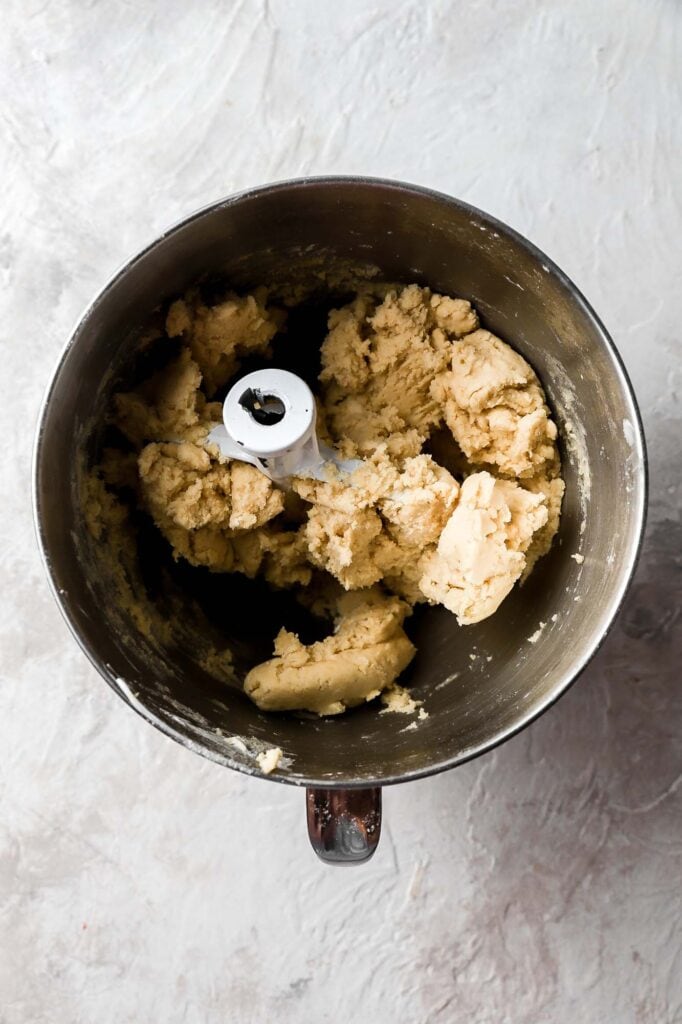
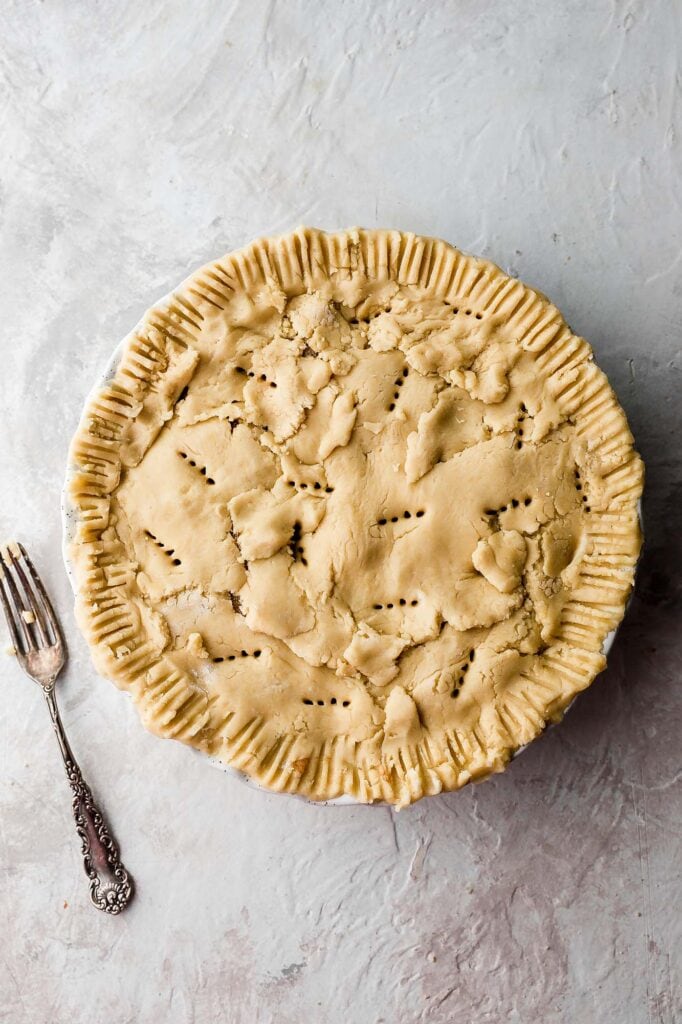
Soft cake-like pie crust
The crust is a little easier to make than traditional pie crust, there’s no chilling time required and no need to stress about making it look pretty because it’s quite literally impossible, LOL. I use a stand mixer with a paddle attachment to combine all the ingredients, just until it comes together.
Ingredients:
- Flour: about why we use certain ingredients. This is almost always the same, if you’re unsure you can leave it black and let me know or you can ask me. When it is different, I’ll try to send you info on it. With time it’ll get easier!
- Sugar: we use powdered sugar for this recipe, I don’t recommend replacing any other kind.
- Baking Powder: Helps the dough rise a little to bake.
- Salt: just a little goes a long way!
- Eggs: This recipe uses just the egg yolks so save your egg whites for some macarons, my small-batch vanilla cupcakes or some Swiss meringue buttercream!
- Butter: I use unsalted butter for this because there is such a high amount of butter in the recipe. If you do use salted, make sure to omit the extra salt.
- Lemon: Lemon zest just makes everything better!
- Sour Cream: You can also do greek yogurt.
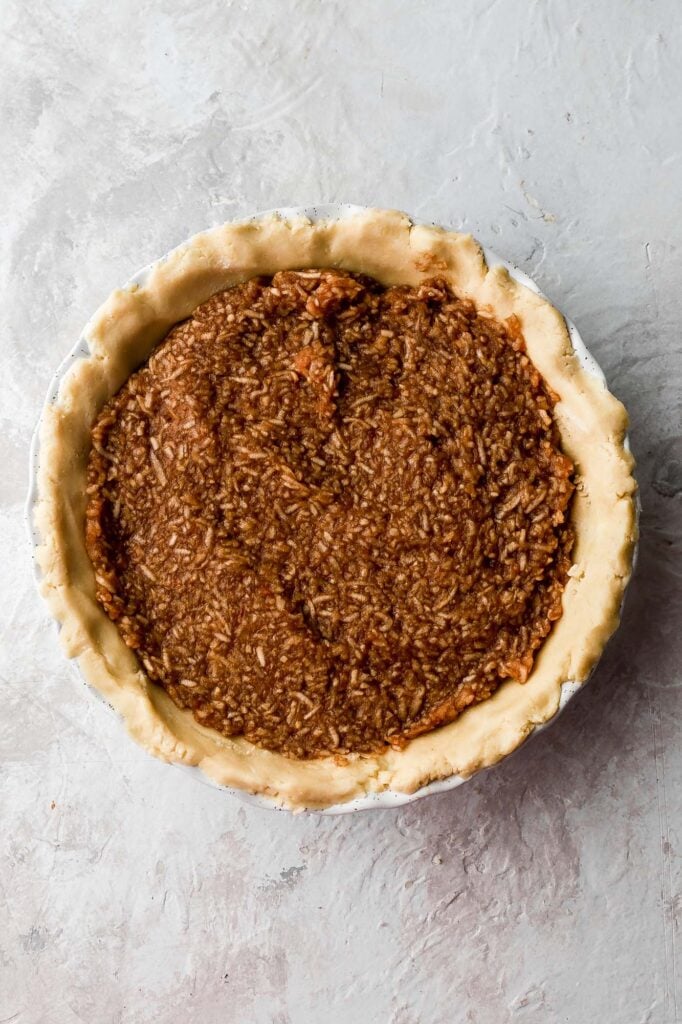
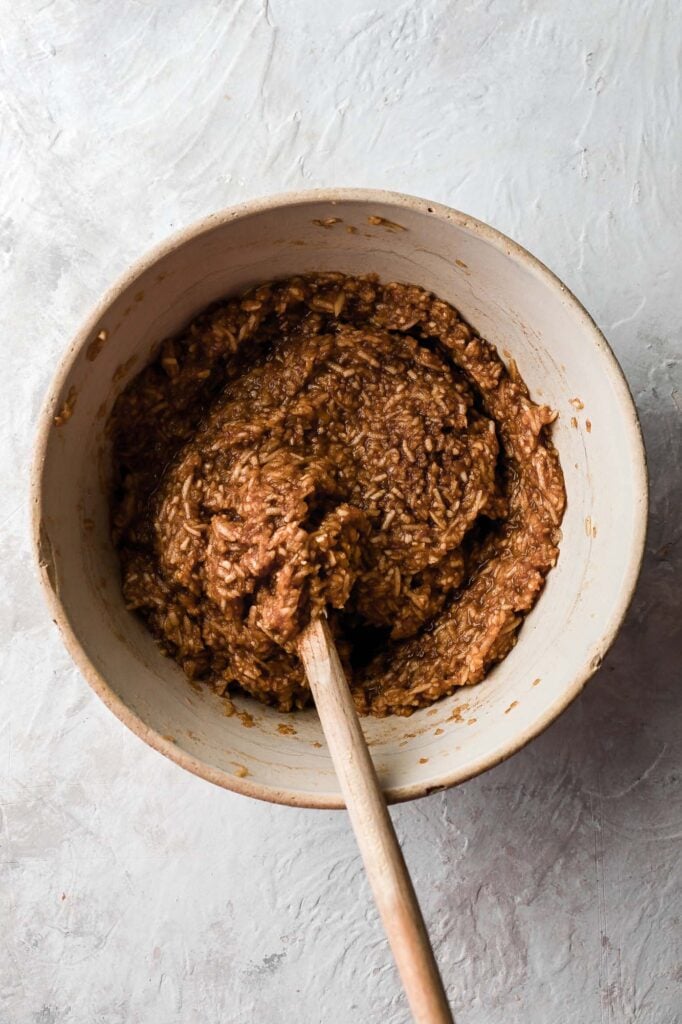
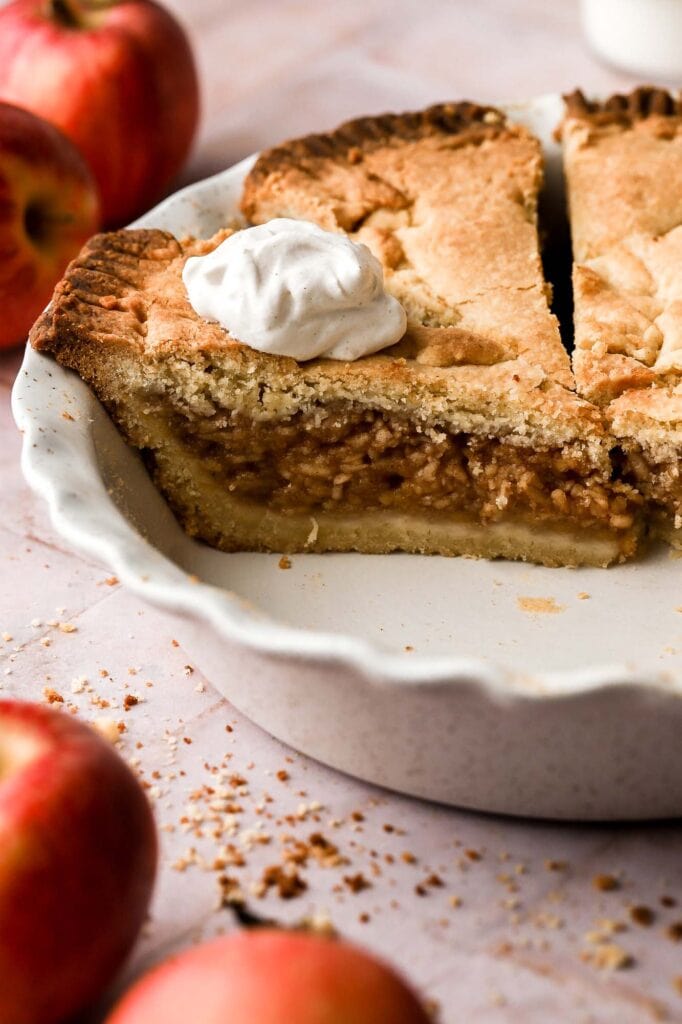
Shredded Apple Pie Filling
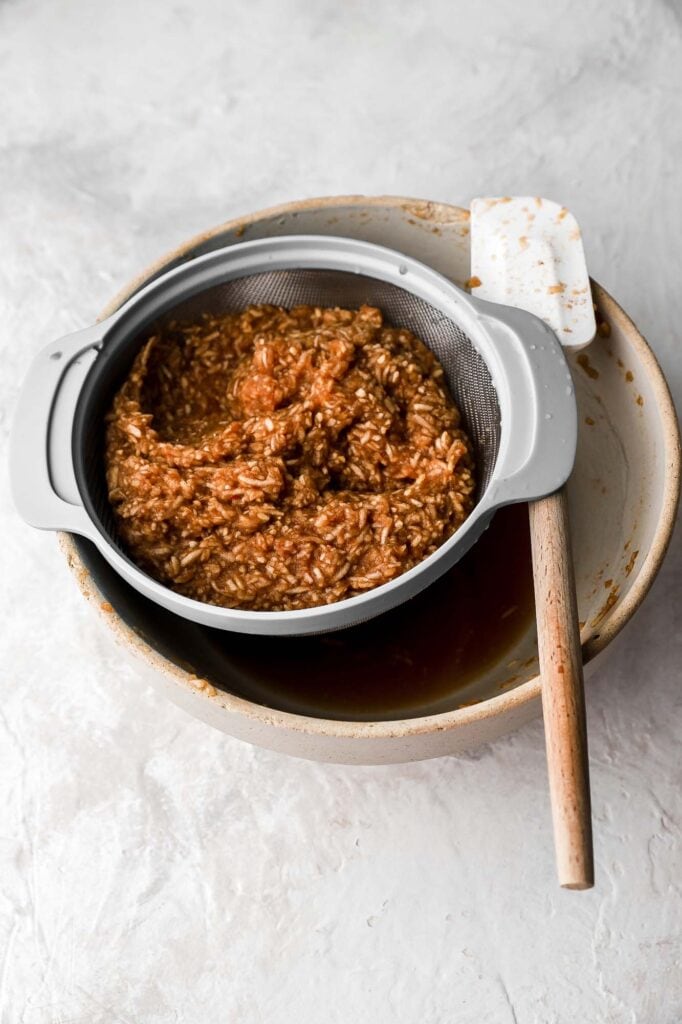
The filling is fairly simple to make, as well but the smaller you slice the apples, the more juice gets released. If there’s too much juice, it’ll all soak into the crust. To prevent this, combine the apples with the sugar and let it marinate together for a few minutes, this will bring out the juice more. Then strain the apple mixture to get rid of some of the juice. I got about a cup of juice released but this depends on the type of apples you’re using and how ripe they are.
What kind of apples to use
I like to use something like gala, honeycrisp or fuji apples but you can really use whatever kind of apples you like. Just make sure to strain the apples well to make sure they’re not too wet. Also keep in mind, if you’re using something like granny smith apples, they’re less sweet and will be a little more tart. If you’re using something like golden apples, they’re super soft so they will require more straining and will make a more filling.
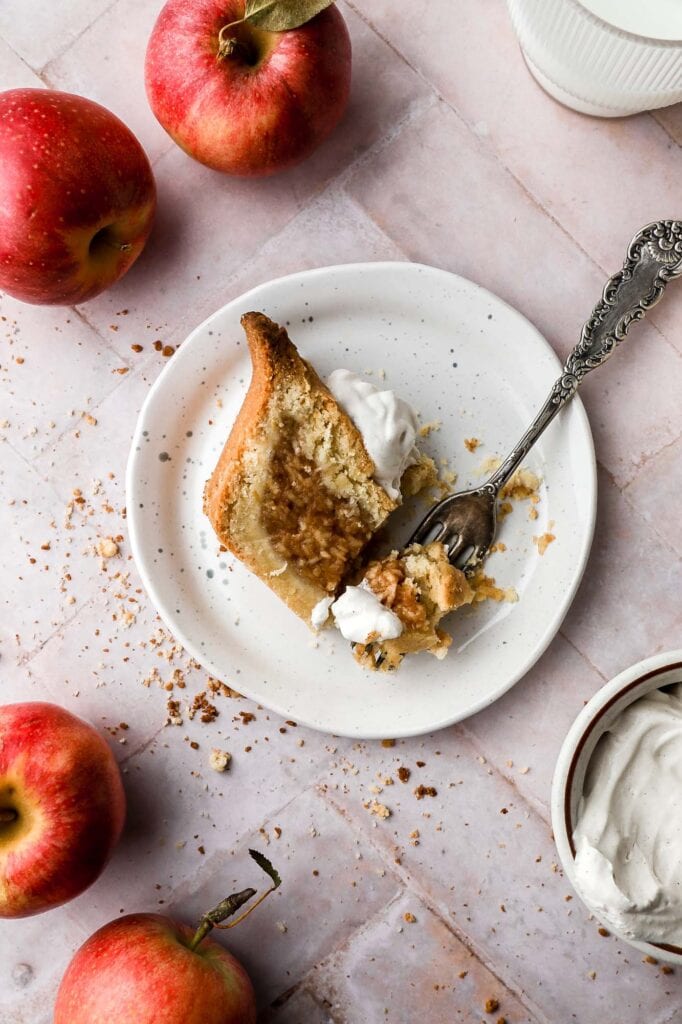
How to store this apple pie cake
To keep the apple cake more fresh, store it in an airtight container. I leave it on the counter, at room temperature for one day and then store it in the refrigerator for up to 10 days. The cake can be served cold, brought back to room temperature or warm it up in the microwave for a few seconds.
Thanks so much for reading today’s post, if you have any questions just comment down below, i’m happy to answer! If you make this rustic apple pie I would love to see it so make sure to tag me @baranbakery on instagram. As always, have a blessed day and happy baking!
Love, B

What do you do with the juice from the apples?
Lol my dad used to drink it ? but now I just make something random with it. One of my FAVS is this ice cream. I’ll def insert the link to the blog post as well so thank you for asking!
https://view.flodesk.com/pages/64d7cd806c7994e1535b220a
Pie was delicious but 350 was too low a temperature. Mine took way over an hour to brown and that was after increasing temperature and moving pie to lowest rack in oven. Next time I will increase temperature to 375 and bake on lowest rack. Fantastic recipe!
Hi Mary, thank you for the review, so glad you liked the recipe! I’ll definitely remake it this fall and double check how long mine takes to browns 🙂
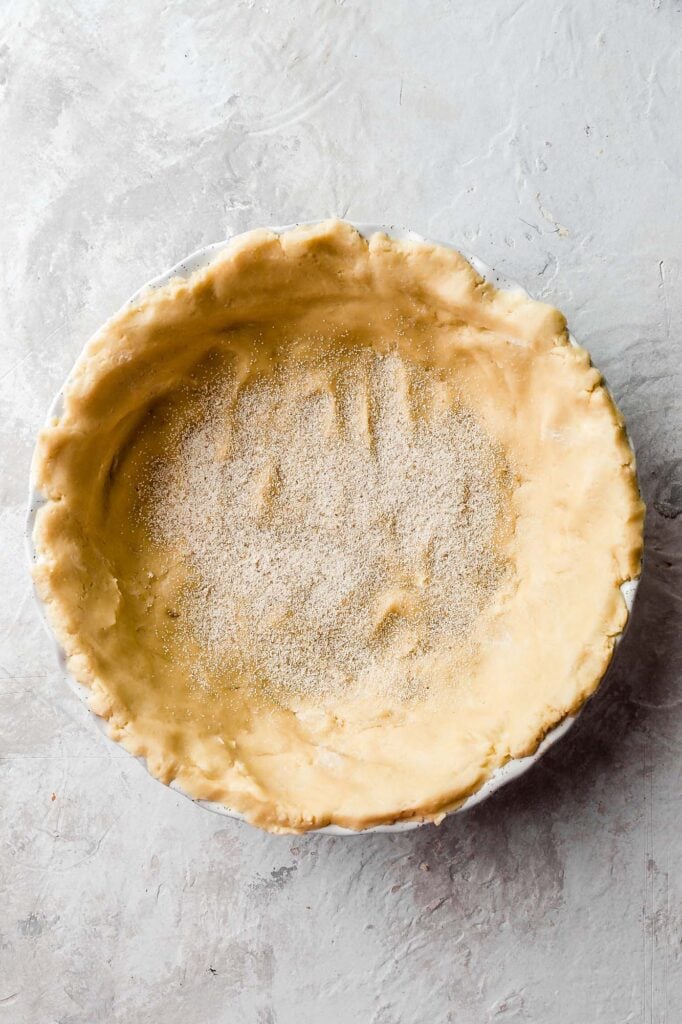
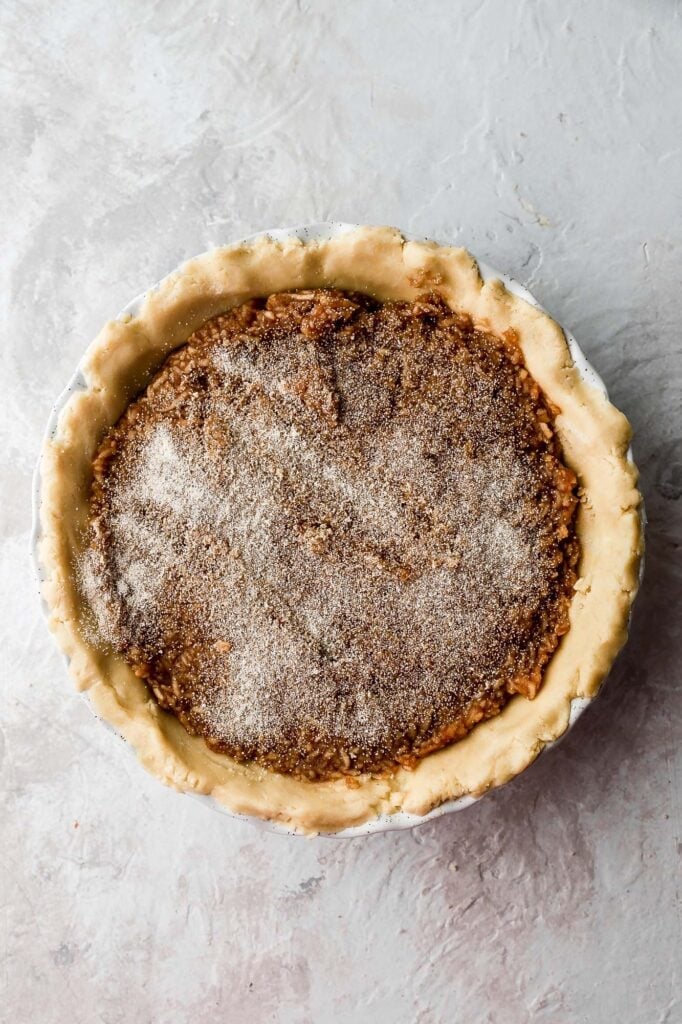
Hello, Just a quick query, I would like to try this but I do not have cream of wheat. Would semolina be a good alternative. Thanks Christy
Hi! Yes you can sprinkle some semolina instead 🙂
We made this pie for thanksgiving this year – wow! just saying – the buttermilk pie crust is the best i have made! and the pie was amazing! my son in law proclaimed best apple pie he ever had, and then proceeded to eat two pieces! Thanks for this amazing recipe!
Hi Janet, so glad you guys liked it, it’s my absolute favorite since I was a kid!
Thanks so much for sharing!!