
Dutch Apple Pie
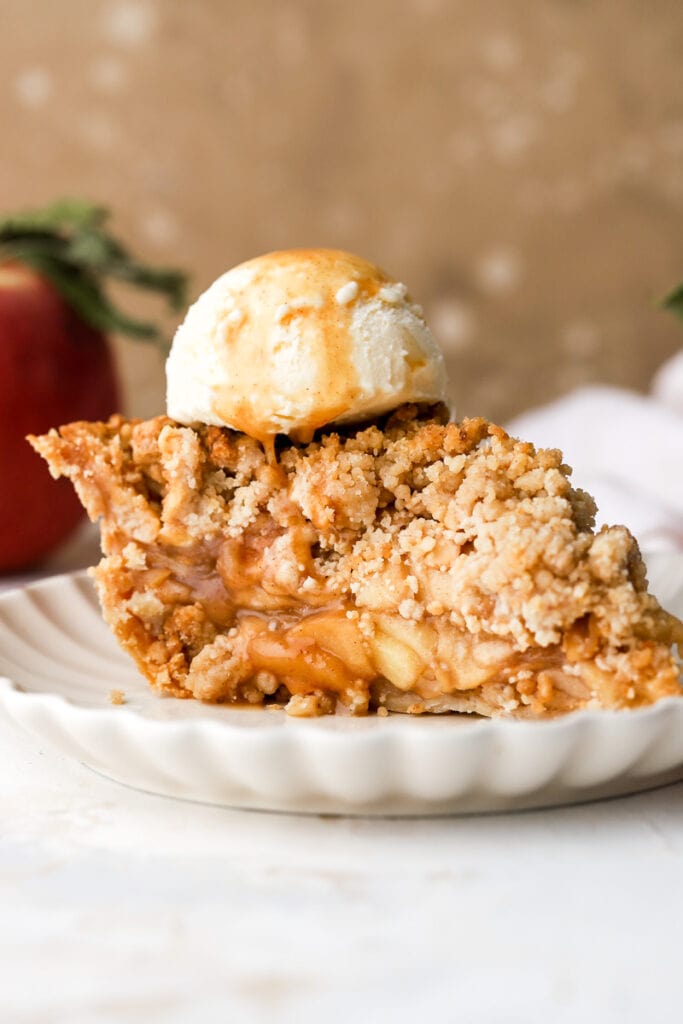
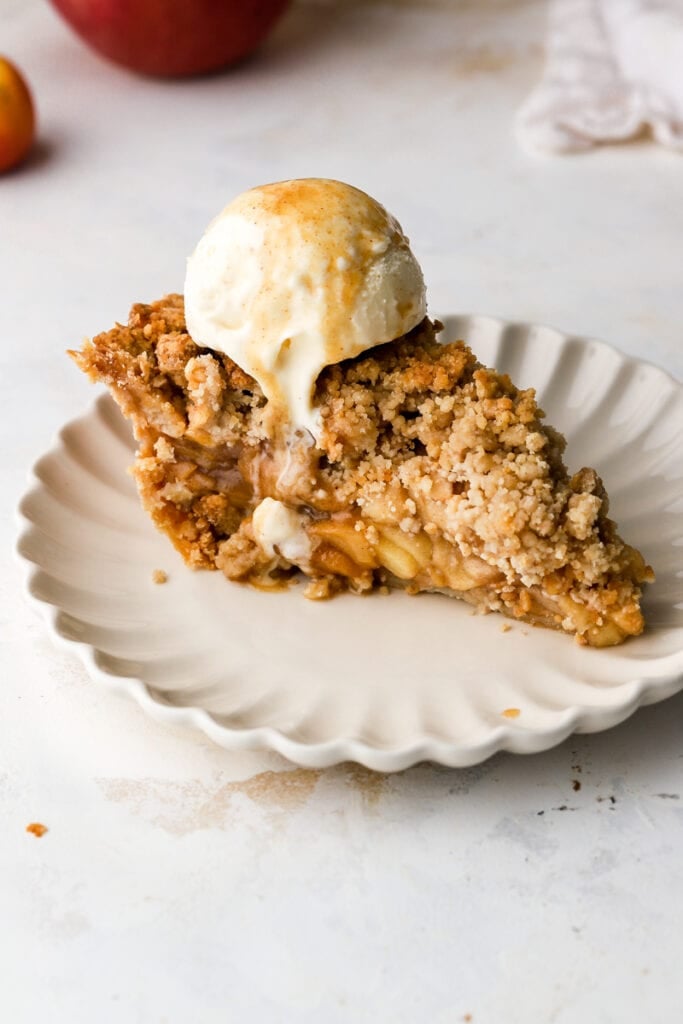
The BEST version of apple apple pie is a dutch apple pie. Traditional pie crust filled with a mound of fresh apples and topped with a generous pile of cinnamon streusel. Don’t forget the caramel sauce and a generous scoop of ice cream!
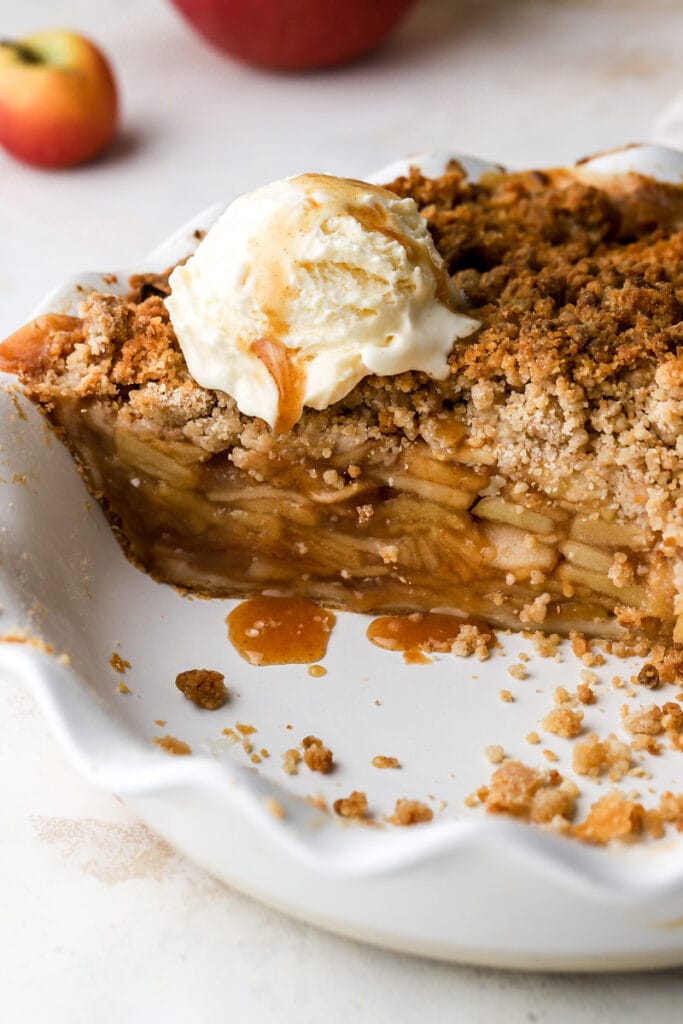
There are SO MANY apple pie recipes out there. I mean, it’s a classic, so of course there are. In the past I’ve shared my Mom’s Apple Pie recipe and I recently made an apple pie with puff pastry.
Maybe one day I’ll share a traditional apple pie with a lattice crust and everything but today we’re going dutch! I love a good streusel and personally, I prefer this over the classic crust.
When I make pie with fruits, I strain the liquid to prevent a soggy crust. I use that liquid to make the BEST ice cream and you get the recipe by signing up below. Or you can use it to make my apple cider caramel.
Why you’ll love this Dutch Apple Pie
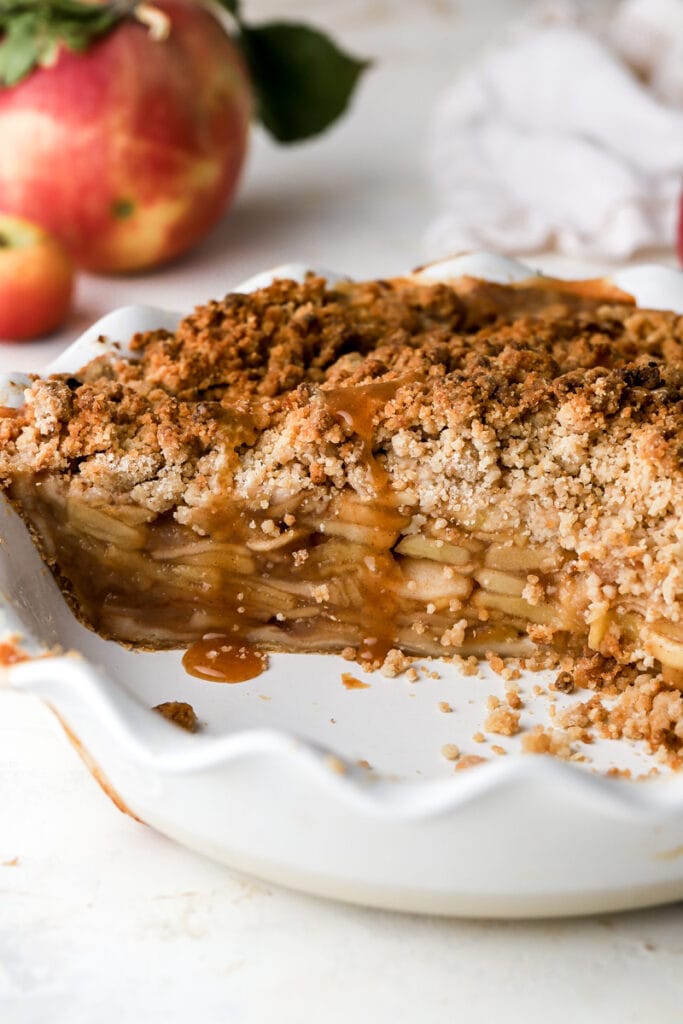
- Dutch apple pies have a streusel topping instead of a traditional pie crust on top. This makes the pie much easier to handle and eliminates any need to “make it pretty” because you really just can’t.
- No need to blind bake the crust since the apples are left to macerate and then strained.
- It’s great leftovers too if it’s reheated.
- You can make this with other fruits as well, like I did my peach mango pie.
Ingredients
- Apples: I use 10 medium-large apples. So maybe 12 if they’re medium, 8 if they’re large. They’ll make your pie feel really full but they shrink once the pie is cooling.
- I love to use my apple corer to peel, core and slice the apples all in one.
- Cornstarch: used to thicken the juices from the apples so that it gets more saucy and not runny.
- Sugar: to be honest, any kind of sugar works well here but I like to use brown sugar for the filling and the streusel and I use granulated sugar for the crust.
- Lemon: whenever I bake with apples I like to coat them in lemon juice. This prevents them from getting brown super quick and brings out their natural tartness.
- Salt: salt brings out natural flavors and cuts the sweetness a bit. I like to use fine sea salt. If you’re using table salt, I would use half the amount.
- Spices: for apple recipes, I generally just do ground cinnamon and a little bit of ground nutmeg.
- Butter: I make my pie crusts with all butter. If you’re feeling fancy, browning the butter for the crust takes pies to the next level!
- You would need to brown butter than the required amount of butter to account for the butter lost in the browning process. Measure the amount needed after browning.
- Flour: I just use all purpose flour. There is such a thing as pastry flour and I know some people like cake flour for pie crusts too but all-purpose works perfectly here.
- I also HIGHLY recommend using a digital scale, as flour is almost always over measured.
- Water: make sure the water is ice cold for the crust.
Step-by-Step Instructions
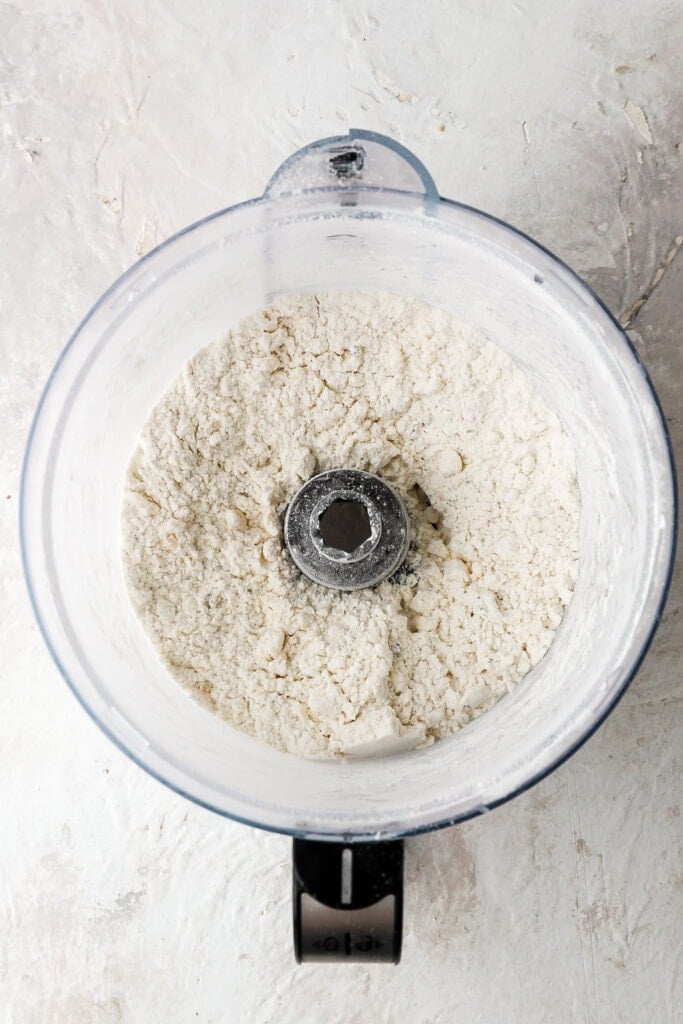
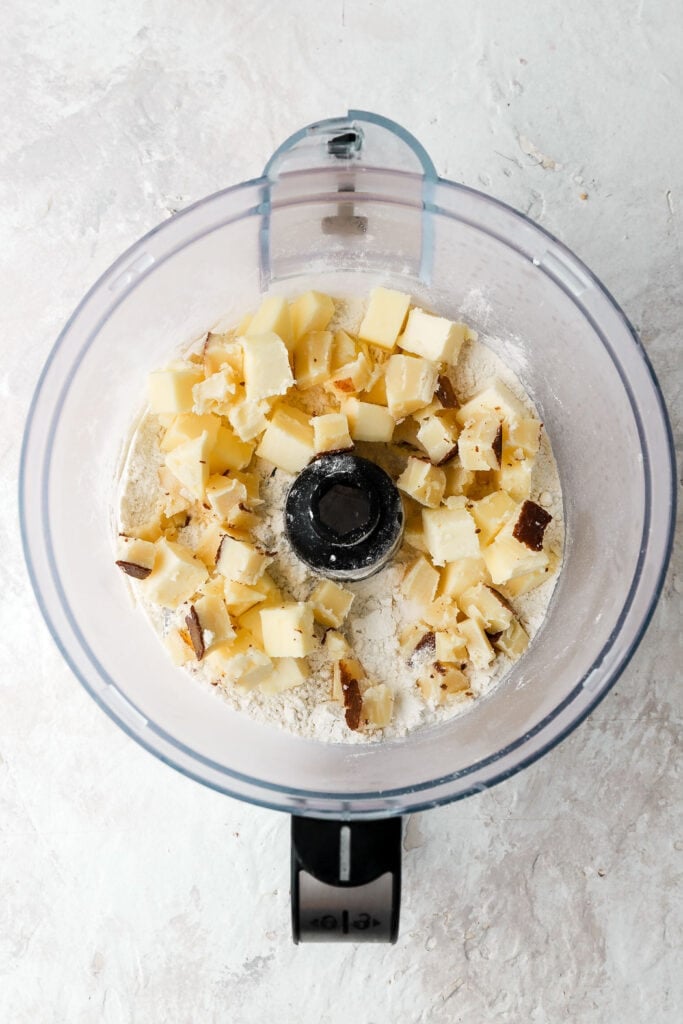
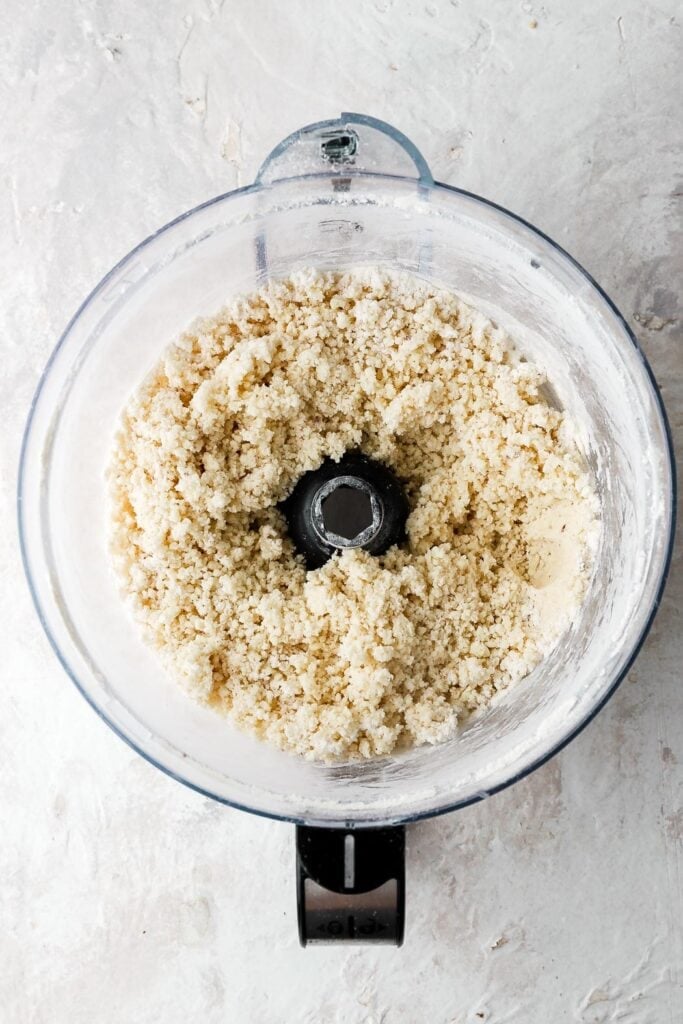
Step 1: Prepare the pie crust by placing the flour, sugar and cold butter in a food processor. Pulse until pea size chunks form. Then add the cold water, mixing just until the dough comes together.
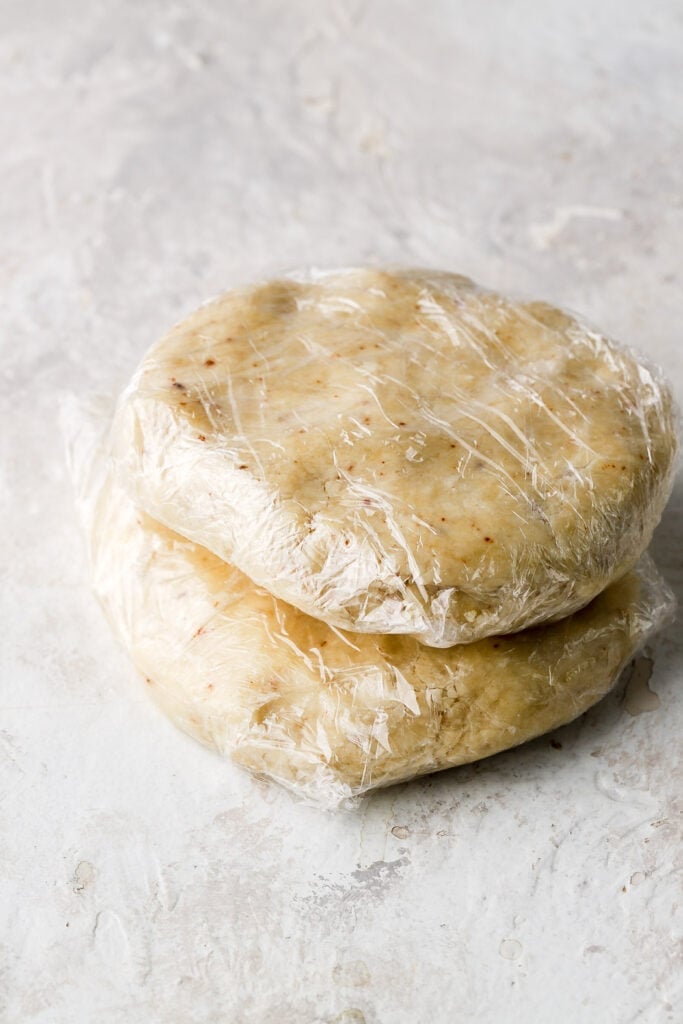
Step 2: Wrap two separate discs of dough in plastic wrap and refrigerate for 30-60 minutes.
You’ll only need one for this recipe so you can freeze the other one. Place in a freezer bag and freeze for 3-6 months.
Step 3: Peel, core and slice apples: Toss them with the lemon, brown sugar and salt. Let them rest for 1-2 hours.
Step 4: Prepare the streusel by combining the melted butter with the sugar, flour and cinnamon until they’re pea size chunks.
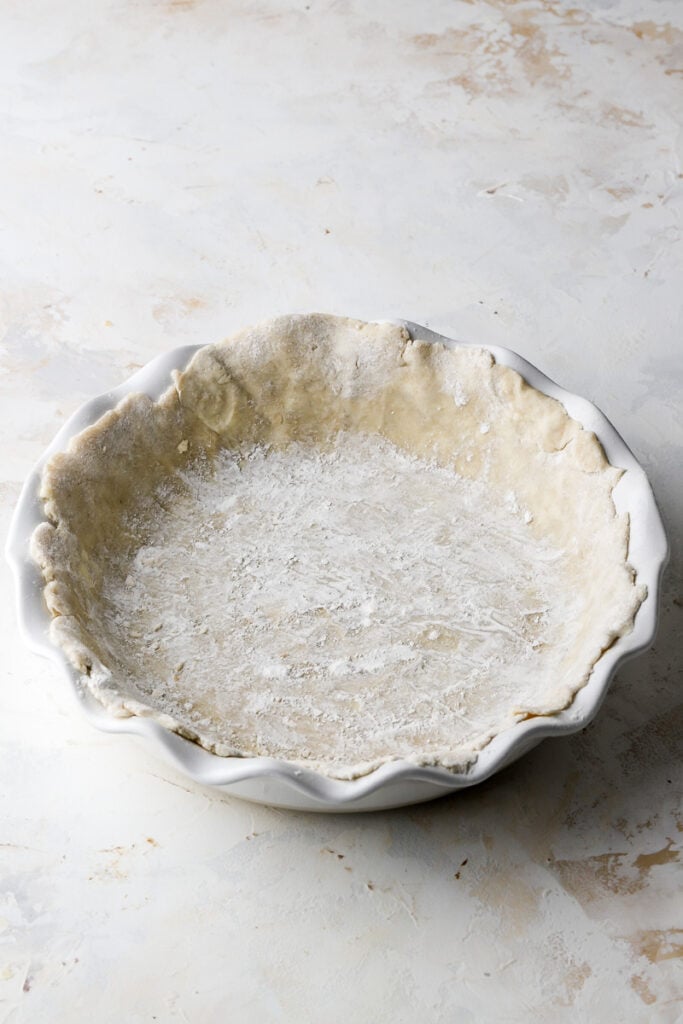
Step 5: Roll out the crust to fill a deep dish pie crust. Place the bottom sheet in the deep dish pie pan and sprinkle a little flour on the bottom of the crust.
Step 6: Strain the apple from its juice, there should be about ½ cup of juice left behind. Use this juice to make ice cream or apple cider caramel (linked above).
Step 7: Toss apples with cornstarch, cinnamon and nutmeg until they’re well coated. Place the apples on the bottom crust.
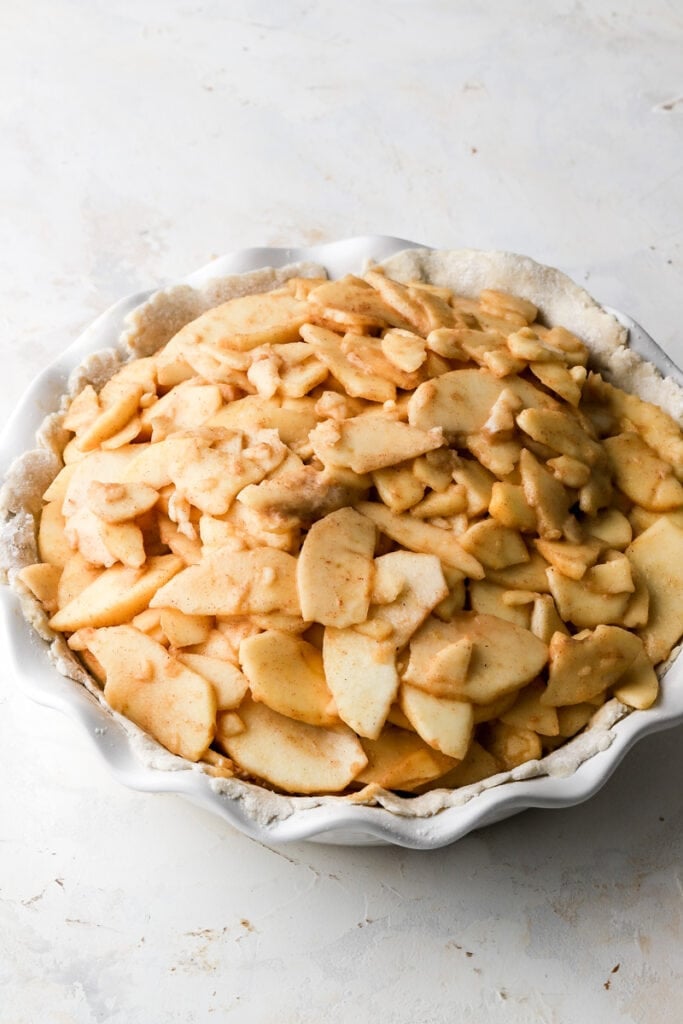
Step 8: Top with the streusel and refrigerate for 30-60 minutes.
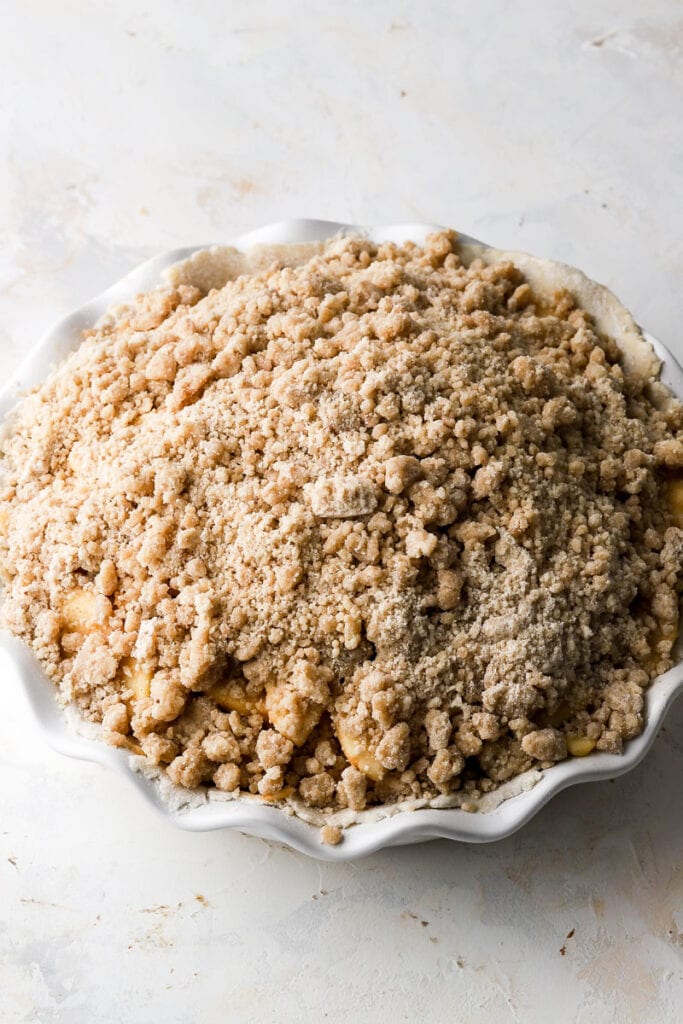
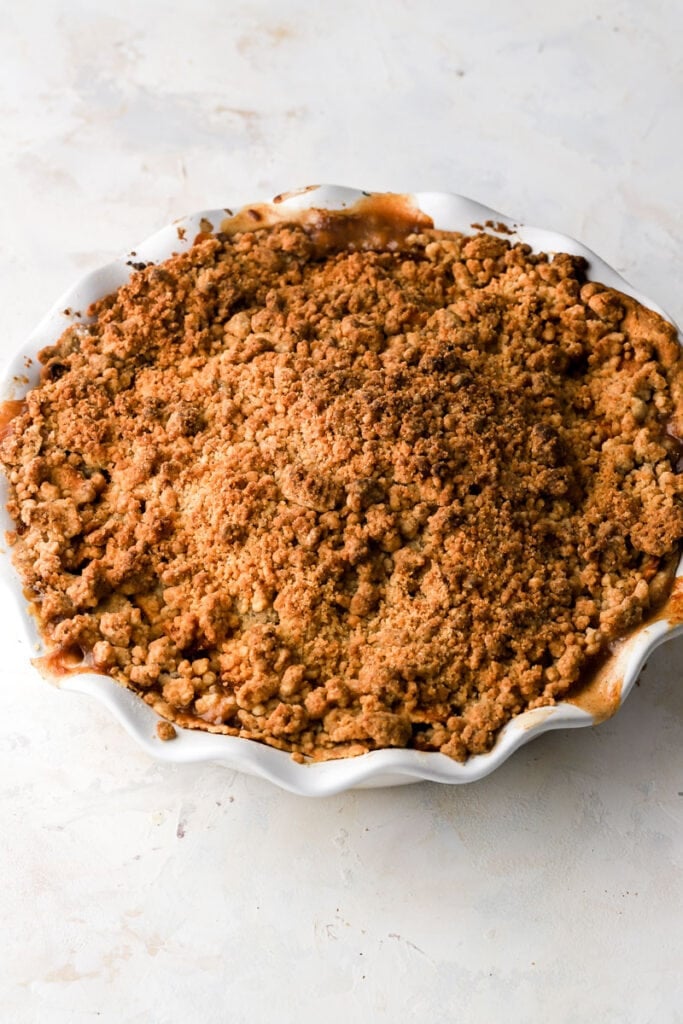
Step 9: Bake the pie uncovered on the bottom rack in a conventional (no fan) oven for 75 minutes. Feel free to add more time if needed. The juices should be bubbling through the top slits of the crust. Feel free to also cover the edges/top with foil if they’re browning too quickly.
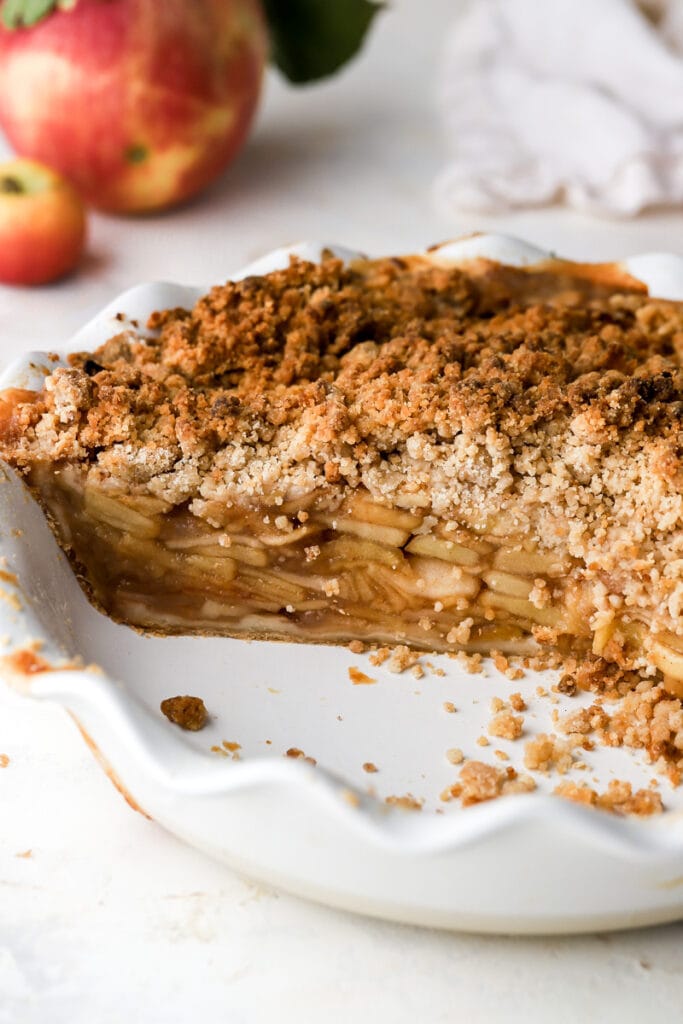
Step 10: Allow the pie to cool for a few hours before serving with ice cream and salted caramel sauce or apple caramel sauce.
Tips for getting the pie crust just flakey and crispy
- Temperature matters: to create a flaky crust, you want the butter to be cold so it doesn’t melt into the other ingredients. To keep the butter as cold as possible I like to put my flour and sugar in the food processor bowl and then freeze the whole bowl while I cube my cold butter.
- Add the butter to the bowl and freeze while you measure the ice cold water. For ice water, I just put 1-2 ice cubes in the cup and then measure the water or measure the water and freeze it for a few minutes.
- Temperature matters again: Refrigerate the pie dough after you’ve made it and once it feels a little more firm, about 30-60 minutes later, you can roll it out. I roll out half at a time (so the bottom crust first and then the top crust) so the other half doesn’t get too warm.
- If you’re making designs with the top crust and it starts to feel sticky/soft, just refrigerate it again for a few minutes.
- Temperature matters one more time: You want the pie crust and the streusel to hold their shape while they’re baking. If you bake room temperature pie dough, the butter will melt right out and the crust will shrivel up. The streusel will melt into one nice big streusel chunk lol.
- What you want to do is, once the pie is all done, pop it in the fridge or the freezer for about half an hour before baking. You want the crust to be firm and cold before baking so that it holds its shape.
Pro Tips for the perfect pie
- Do not skimp on the apple resting time. The sugars draw out the liquid from the apples and letting them rest before baking will eliminate a lot of the juice that can make your bottom pastry soggy.
- Make it hours in advance or the day before serving because it is much easier to serve once it’s cooled and it takes a few hours to cool.
- 10/10 recommend an apple corer to make all your fall baking 10x quicker. This apple corer peels, slices and cores the apples all at once. I use it for ALL my apple recipes.
Frequently Asked Questions
I find that most apples work well in desserts except golden apples (those are too mushy). My favorites are honeycrisp, fuji or gala apples. If you want the crisp to be more tart and less sweet, use granny smith apples.
I find the skin a little unpleasant but you don’t HAVE to peel the apples. I do since it’s easy with an apple corer.
Yes you can use store bought pie crust but I don’t know if it’s just me, I always feel like store bought pie crusts have a slightly bitter taste? But it will definitely work for this recipe. However I always recommend a homemade pie crust, especially when brown butter is involved *wink*.
Yup, you can use a dairy free butter or shortening to make the pie crust and the streusel.
I haven’t tested it but I’m sure a 1:1 gluten-free flour would work fine for the streusel and the pie crust.
Most people opt for simple vanilla ice cream. If you’re feeling fancy, you can make my ice cream with the leftover apple juice from the filling (recipe above) or make my super delicious cinnamon roll ice cream.
How to serve and store apple pie
I recommend serving the apple pie on a plate and then topping with ice cream so the ice cream doesn’t melt all over the pie that’s not getting eaten.
Store the leftover pie covered in the refrigerator and then bake for 10-15 minutes at 325F (or microwave) before serving again.
I don’t recommend freezing as the crust gets all soggy when it defrosts.
Thanks so much for reading today’s post, if you have any questions just comment down below. Make sure to leave it in the comment section because I can’t answer in the rating section.
If you try this dutch apple pie recipe, I’d love it if you left a star rating for me. If it’s less than five stars, please leave a comment with the rating so I know why! 🙂
As always, have a blessed day and happy baking!
Love, B
Dutch Apple Pie Recipe
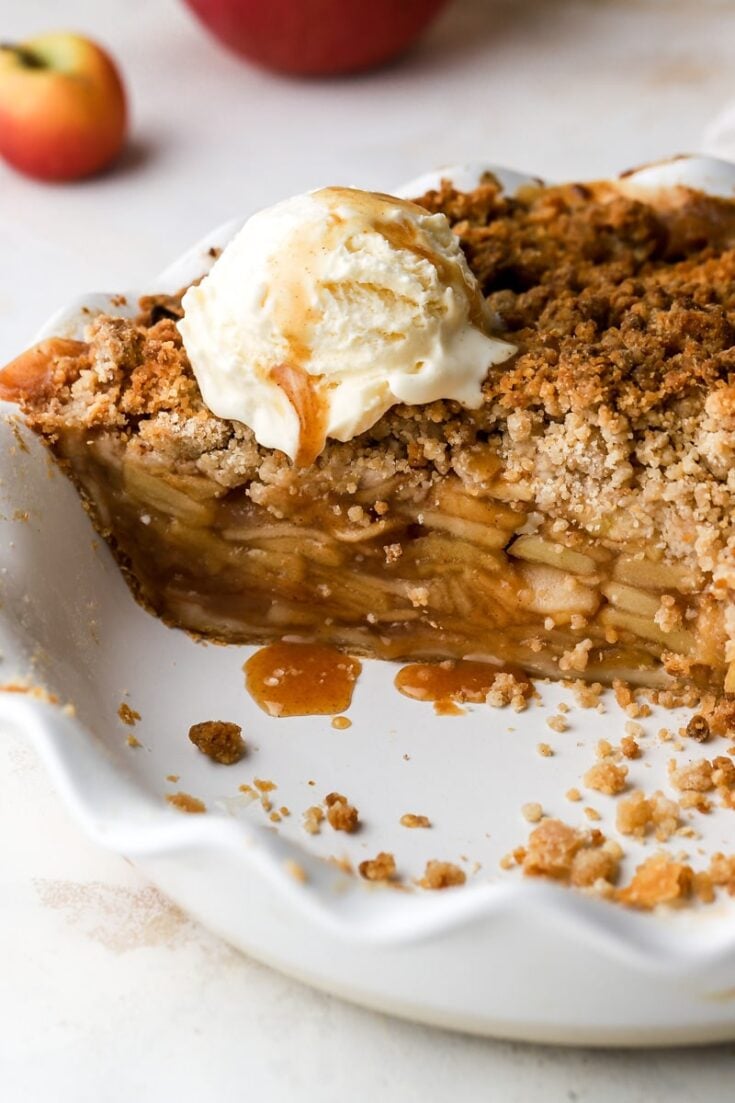
The BEST version of apple apple pie is a dutch apple pie. Traditional pie crust filled with a mound of fresh apples and topped with a generous pile of cinnamon streusel. Don’t forget the caramel sauce and a generous scoop of ice cream!
Ingredients
Pie Crust
- 2 cup (240g) all-purpose flour, spooned and leveled
- 1 Tbsp granulated sugar
- 3/4 cup (170g) salted butter, cold
- 1/3-1/2 cup (79mL-118mL) ice cold water
- 1-2 Tbsp turbinado sugar
- *you'll only need half of the pie crust*
Apple Filling
- 10 medium-large apples
- 1 large lemon, juice
- 1/2 cup (100g) light or dark brown sugar, lightly packed
- 1/4 tsp fine sea salt
- 2 tsp cinnamon
- 1/2 tsp nutmeg
- 1 tsp vanilla
- 4 Tbsp (40) cornstarch, spooned and leveled
Brown Sugar Streusel
- 1/2 cup salted butter, browned and melted
- 1 3/4 cups (210g) all-purpose flour, spooned and leveled
- 1/2 cup (100g) dark brown sugar, lightly packed
- 1 tsp cinnamon
- ice cream for topping
Instructions
Pie Crust
- Place the flour and sugar in the bowl of the food processor. Place the whole bowl in the freezer while you cube the butter. Add the cubed butter to the flour and sugar in the freezer, for 5 minutes.
- Remove the the bowl from the freezer, place it on the food processor and pulse until pea seize chunks form.
- While the food processor is on, stream in the water just until it starts to come together. Start with only 1/3 cup of water and use up to 1/2 cup if needed. You want the dough to be crumbly and just barely stick together.
- Remove the dough from the food processor, press it together so it all sticks together. Divide the dough in half and wrap each one in plastic wrap. Freeze one for later and refrigerate one for an hour.
Apple Filling
- In a large bowl combine peel and sliced apples with the lemon and brown sugar and let it macerate for about an hour.
- The juice will collect at the bottom of the bowl, strain it and discard the liquid (I use it for homemade caramel sauce or ice cream *see blog post). I do this twice, once at half an hour and then at one hour.
- Before assembling the pie, toss the fruits with the vanilla, cinnamon, nutmeg and cornstarch until they're evenly coated.
Brown Sugar Streusel
- In a medium bowl, combine the melted butter with the flour, brown sugar and cinnamon.
- Use a fork to stir it together until it forms pea size chunks.
Assemble
- When the pie crust is firm but still malleable, roll out the bottom crust to a circle that's about 1/8-inch thick. Place it into a deep pie dish, bringing it all the way to the top edge.
- Dust the bottom of the pie crust with 1-2 tsp of cornstarch
- Spoon the apple filling over the pie crust, leaving as much of the juice behind.
- Sprinkle the streusel on top and refrigerate or freeze the pie for about 20-30 minutes to an hour.
- Preheat the oven to 350F (177C) conventional (no fan) and place the pie dish on a metal cookie sheet. Bake the pie on the bottom rack of the oven for about 75 minutes. The streusel should be a dark golden brown and the filling should bubble around the edge. If the streusel is getting too dark and the filling is not yet bubbling, feel free to cover the top of the pie with foil for 10-20 minutes of the bake time.
- Allow to cool for a few hours. I like to slice it when it's at room temperature or slightly chilled, so it doesn't leak as much. Top with a scoop of ice cream and a drizzle of caramel and enjoy!
Notes
*I used the leftover apple juice to make my apple cider caramel sauce. Make sure to strain it well so there are no chunks in the juice and just replace the apple cider in that recipe with this apple juice.
Nutrition Information:
Yield:
12Serving Size:
1Amount Per Serving: Calories: 321Total Fat: 14gSaturated Fat: 8gTrans Fat: 0gUnsaturated Fat: 5gCholesterol: 66mgSodium: 127mgCarbohydrates: 46gFiber: 3gSugar: 23gProtein: 4g
Nutrition information may not be fully accurate.

Hi! I am excited to make this for thanksgiving. I did a test make tonight but was a little confused from the step-by-step instructions vs the recipe instructions.
After assembling the pie, the instructions in the post mentions an egg wash over the crumble topping. In the recipe card, there’s no mention of an egg was in the steps, only in the ingredient portion.
Hi Alisa, thanks so much for pointing that out to me, I updated the recipe! This pie does not require an egg wash at all 🙂