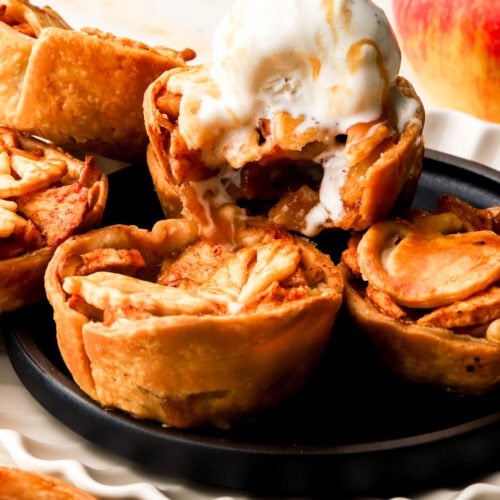
Mini Apple Pies
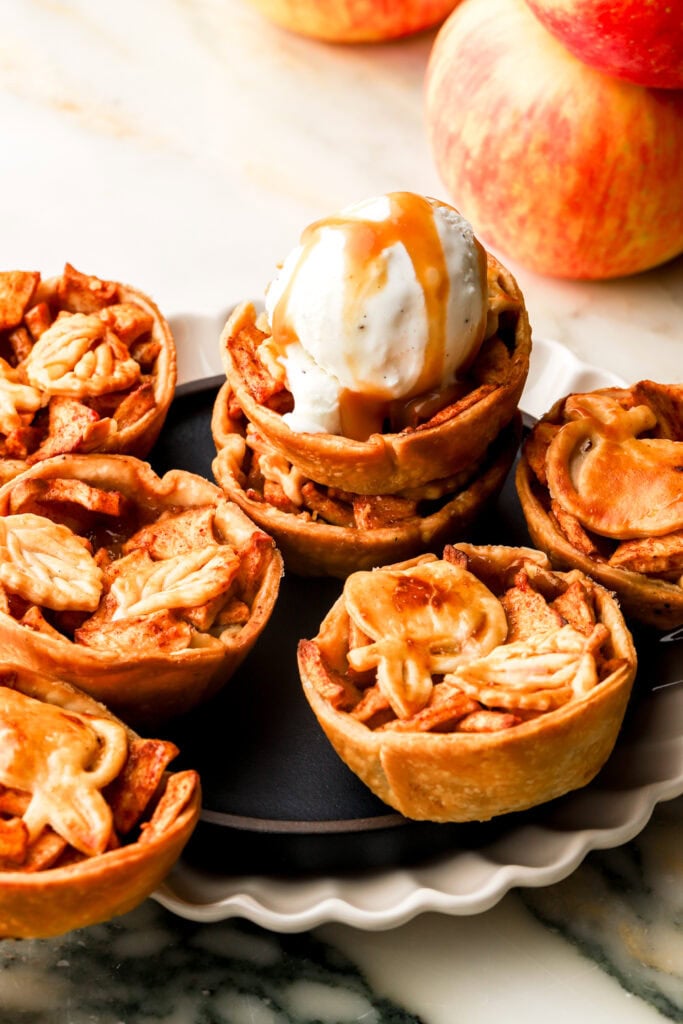
Single serving mini apple pies baked in a flakey, buttery pie crust and topped with cute little pie crust leaf designs. They can also be topped with a full crust on top or even a streusel.
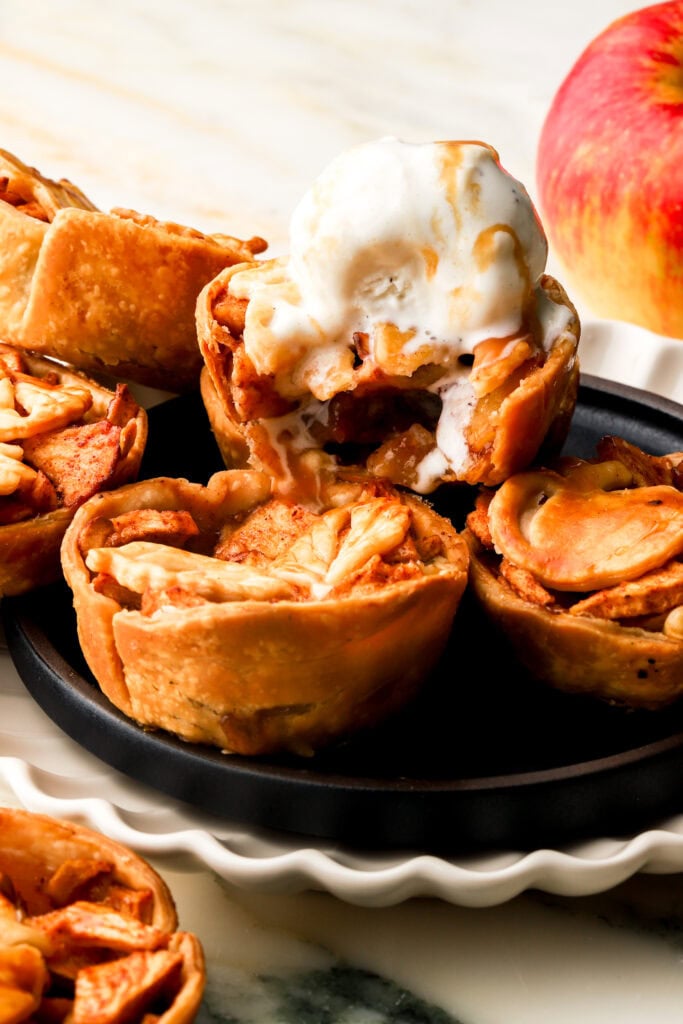
Why You’ll Love These Mini Apple Pies
- Once you get the pie dough made, it’s actually a pretty easy recipe and so worth the deliciousness. P.S. I’ll give you a little secret later too if you really want to speed this up and make it in a more simple way. Hint…buy… *wink*
- Apple pies are probably the most popular pie and for good reason! Think of that delicious flakey, buttery crust paired with a warm apple cinnamon bite and just make it an easy to eat mini version.
- So easy to serve without the hassle of slicing and plating. These are perfect for work parties, friendsgiving parties, and weekend get-togethers.
Ok just hear me out, what’s better than the first bite of a sweet sweet apple pie with the perfect amount of filling paired with a buttery crust?? Ok, you got me, there’s not much better than that out there. So while you got that sweet memory on your taste buds, go ahead and check out my classic apple pie recipe or other similar ones such as Momma’s Apple Pie, apple pie with puff pastry and my personal favorite, a dutch apple pie. BUT if you are ready to take those classic pies and turn them into something smaller and funner, (yes thats a word, trust me I’m a baker lol) then keep on reading, you won’t regret it.
I also have Mini Pecan Pies, Cream Tartlet with Puff Pastry and Chocolate Praline Pies if you’re looking for other easy mini pies to serve. Sometimes things are just better in mini, or at least easier to eat lol.
Ingredients:
- Flour: I just use all purpose flour. There is such a thing as pastry flour and I know some people like cake flour for pie crusts too but all-purpose works perfectly here.
- I also HIGHLY recommend using a digital scale, as flour is almost always over measured.
- Sugar: I use light brown sugar in the apple pie filling, but granulated sugar or a mixture would work as well.
- Butter: I love salted butter for the pie crust. If you use unsalted, just add an extra pinch of salt to each one.
- It’s very important that the butter is cold for the pie crust.
- Eggs: I always use large room temperature eggs. Just place them in hot water for 5-10 minutes if they’re cold. I only use 1 egg for the egg wash.
- Apples: I used 2 lbs of apples for this pie and it might seem like a lot, but apples shrink when they’re cooked.
- It’s important to stuff them FULL because the apples will lose almost half their volume in the pie crust so if they’re not full, they’ll be sad looking when they’re done baking.
- I love to use my apple corer to peel, core and slice the apples all in one.
- I used mostly granny smith apples with a few honeycrisp in there. These pies bake a lot quicker than a big apple pie, so you can really use any type of apple since we are not worried about them getting too soggy with long bake times.
- Cornstarch: used to thicken the juices from the apples so that it gets more saucy and not runny.
- Lemon: Whenever I bake with apples I like to coat them in lemon juice. This prevents them from getting brown super quick and brings out their natural tartness.
- Spices: for apple recipes, I generally just do ground cinnamon and a little bit of ground nutmeg.
- Salt: I like fine sea salt for use in baking.
- Water: You’ll need ice cold water for the pastry.
- Alcohol: Never have I ever had a flakier crust than when I added 1-2 Tbsp of alcohol. Because alcohol inhibits the development of gluten, it allows you to add a little more liquid without risking a tougher pastry. My best results were with whiskey, but any type of spirit will work fine and won’t impart any flavor unless you use more.
- This is totally optional and not necessary but definitely recommended.
Step-by-Step Instructions
Pie Crust
Step 1: Place the alcohol in a measuring cup with cold water and into the freezer.
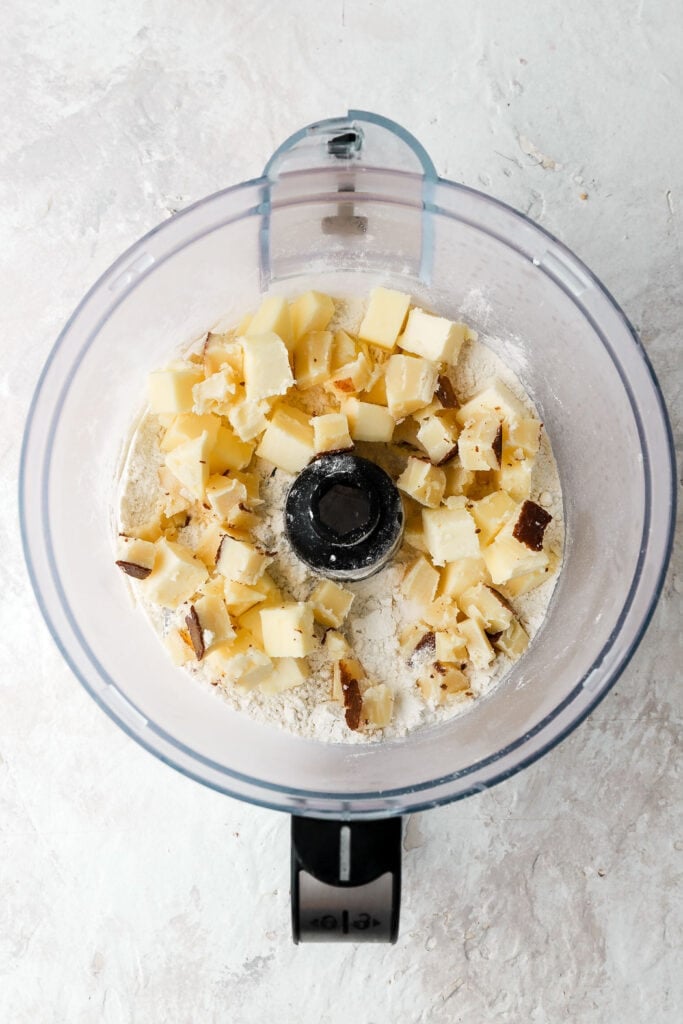
Step 2: Place the flour and salt in the bowl of the food processor. Place the whole bowl in the freezer while you cube the butter.
Step 3: Cube cold butter and then add it to the flour in the freezer, for 5-10 minutes (if it’s cold in your house and you work quickly you can skip all this freezing lol – just make sure to keep ingredients cold).
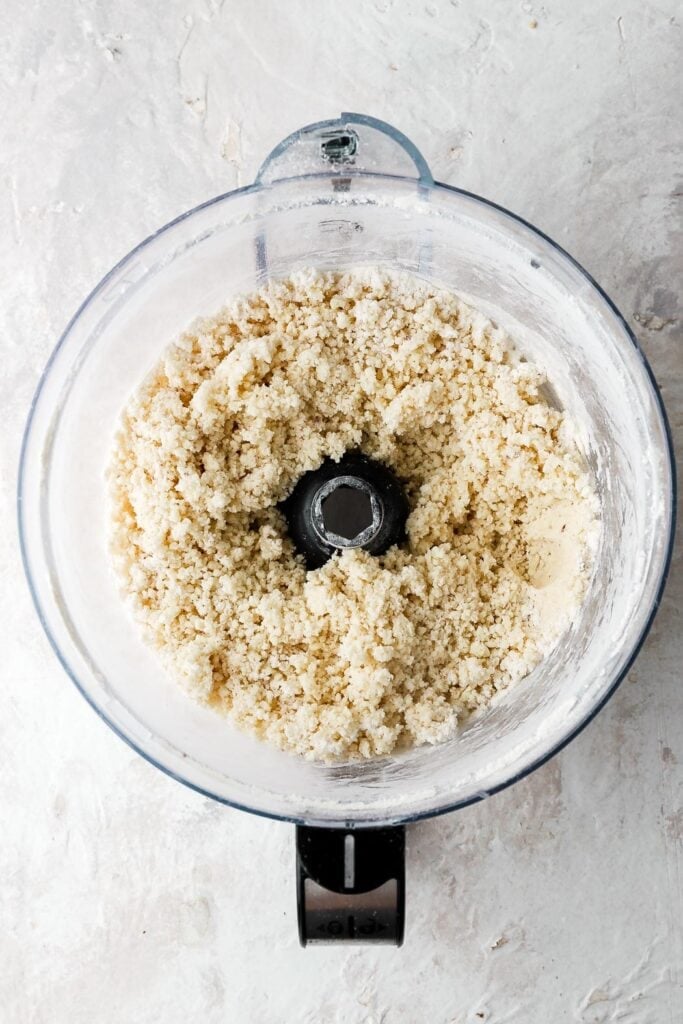
Step 4: Remove the bowl from the freezer, place it on the food processor and pulse until pea seize chunks form.
Step 5: Drizzle in some water and alcohol mixture and pulse, then drizzle in the rest until the dough starts to look more wet. The dough will still be crumbly but when you press on it, it should stick together.
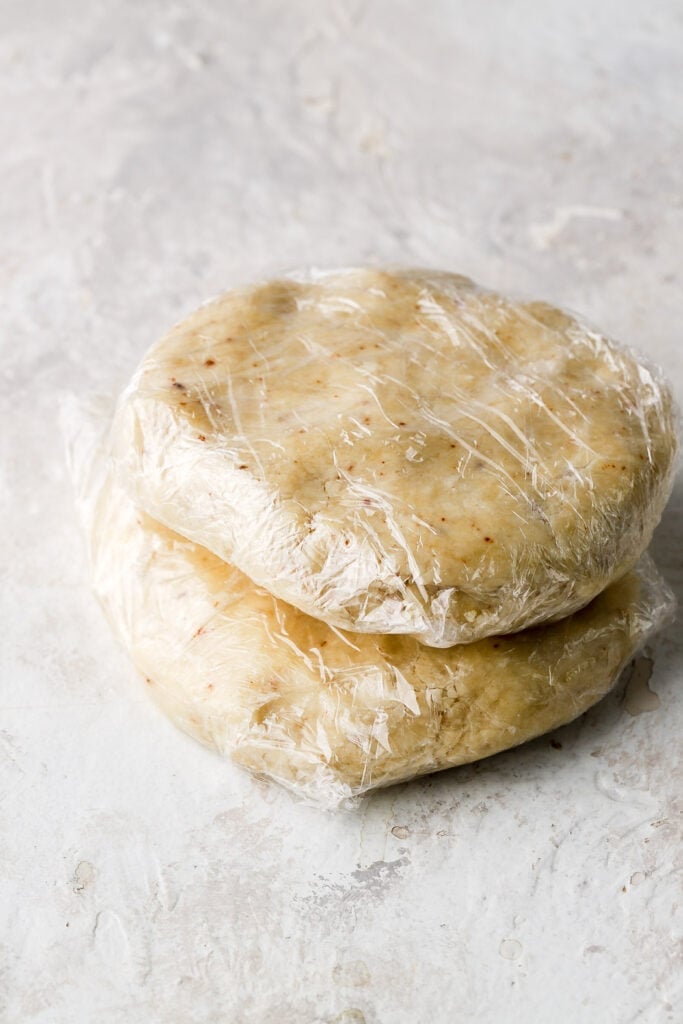
Step 6: Dump the mixture onto the countertop and use your hands to press it all together and fold it over itself a couple of times so it all sticks together nicely. You should see bits of butter in the dough and it should be fully hydrated (so no dry flour spots) but not too sticky to handle – if it’s too dry just add a sprinkle of water).
Step 7: Wrap the disc in plastic wrap and place in the fridge for 1-2 hours or overnight.
- I recommend starting on your apple filling while this chills.
Apple Filling
Step 1: Peel, core and dice apples: I like to use an apple corer to make this super quick and easy. Make sure they are diced small so they cook fairly quickly. Toss them with the lemon and sugar in a large pot.
Step 2: Rest the apples with its juices for 30-60 minutes and then strain the apples into a clean large bowl. There should be about 1 cup of sweetened apple juice left behind.
- I recommend saving the juice from the strained apples. Put it in a pot over low heat and simmer it for 15-20ish minutes. You should start with almost a cup of juice and reduce it to about 1/4 cup (2 oz/60 mL). It’ll be like a thick syrupy/caramel that you can drizzle on top of the pies when they come out of the oven.
Step 3: Toss apples with cornstarch, cinnamon and nutmeg, until they’re well coated.
Assemble
Step 1: Roll the pie crust out quickly onto a floured surface, until it’s about 1/8″ thick. Work quickly so it doesn’t get too warm. Use a 4″ round cookie cutter to cut out 12 circles.
- Use small leaf cookie cutters to cut out designs between the circles, using the scraps.
Step 2: Grease a muffin dish with baking spray and place each circle into a muffin tin, gently press it down and against the sides. Place the muffin tin in the freezer until the dough feels firm.
Step 3: In a small bowl use a fork to aggressively beat the egg until it’s loosened. Use a pastry brush to lightly brush the frozen pie crusts with the egg wash.
Step 4: Place about 1.6 ounces of filling into each pie crust, filling them as full as possible, making sure to press the apples down into any gaps.
- Make sure you really fill them up because the apples will lose almost half their volume while baking
Step 5: Place a couple of the pie crust leaf designs on top and then bake for about 30-35 minutes, until they’re golden brown all around.
- Egg wash and freeze for 10 minutes before baking so the leaf designs don’t lose their shape
Step 6: Remove the apple pies from the oven, allow them to cool for about 10-15 minutes in the pan before removing.


What Kind Of Pie Crust To Use
I recommend a traditional pie crust for this recipe. I used half of my butter pie crust recipe for this pie. You can also use your favorite homemade pie crust as most pie crusts should work.
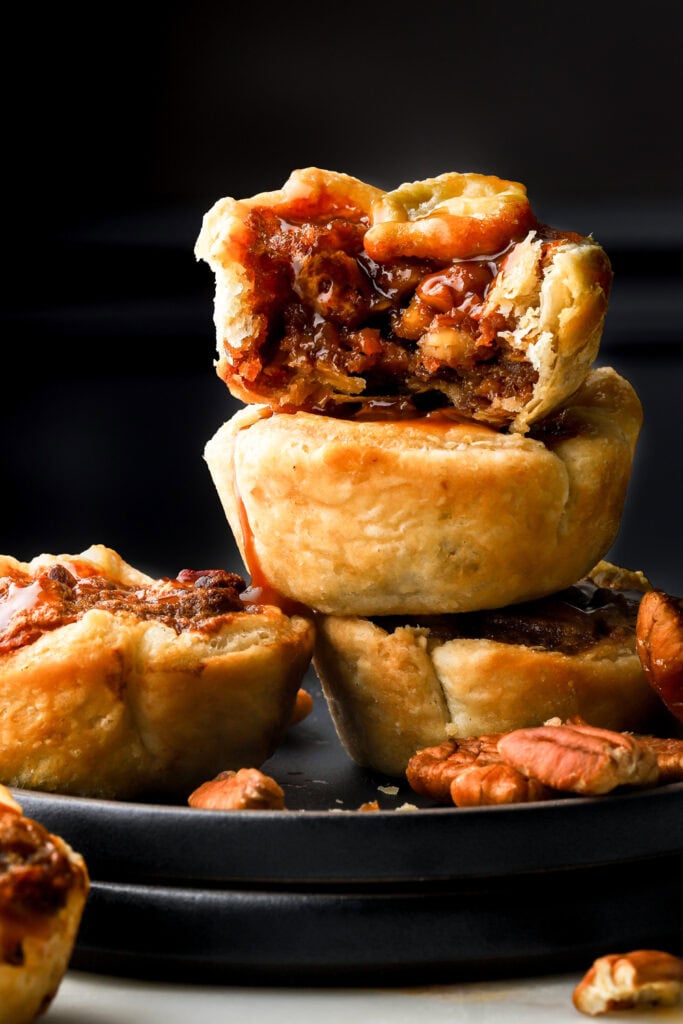
Like I mentioned earlier, you can use a store bought pie crust. You’ll need just one roll (they usually come in packs of two for the top and bottom) since it’s just the bottom of the pie crust. This makes the process significantly quicker and easier but there is a difference. I tested it with both several times and included a visual below.
You can see the crust on the apple pies on the left is much thinner and sad looking than the crust on the pecan pies on the right. The photo with the pecan pie is where I used a homemade crust and it’s significantly more puffy and flakey (and better tasting). Store bought does work fine though as well though if you’re in a pinch.

Tips For Getting The Pie Crust Just Right
- Temperature matters: to create a flaky crust, you want the butter to be cold so it doesn’t melt into the other ingredients. To keep the butter as cold as possible I like to put my flour and sugar in the food processor bowl and then freeze the whole bowl while I cube my cold butter.
- Add the butter to the bowl and freeze while you measure the ice cold water. For ice water, I just put 1-2 ice cubes in the cup and then measure the water or measure the water and freeze it for a few minutes.
- Temperature matters again: Refrigerate the pie dough after you’ve made it and once it feels a little more firm, about 30-60 minutes later, you can roll it out. I roll out half at a time (so the bottom crust first and then the top crust) so the other half doesn’t get too warm.
- If you’re making designs with the top crust and it starts to feel sticky/soft, just refrigerate it again for a few minutes.
- Temperature matters one more time: You want the pie crust and the streusel to hold their shape while they’re baking. If you bake room temperature pie dough, the butter will melt right out and the crust will shrivel up. If you are baking with a streusel it will melt into one nice big streusel chunk lol.
- What you want to do is, once the pie is all done, pop it in the fridge or the freezer for about half an hour before baking. You want the crust to be firm and cold before baking so that it holds its shape.

Frequently Asked Questions
It just needs a little more hydration, add another 1-2 Tbsp of water at a time until it forms a dough.
Your pie crust can crack when you go to roll it out if it’s not fully hydrated (see above) or if it’s too cold when you’re rolling it out. Just leave it out at room temperature for a few minutes before rolling.
You can easily double this recipe just make sure to double the crust and filling to make 24. Note you’ll still need just 1 egg for the egg wash.
I find the skin a little unpleasant so I definitely recommend it and it’s easy with an apple corer.
You can make the crust, wrap and freeze it. When you’re ready to bake the pie, just bring it back to room temperature before rolling out and cutting into circles.
Or follow the whole recipe, let it come to room temperature and then wrap it up tightly and refrigerate for a few days or freeze for a few weeks. Bring back to room temp or microwave before serving. The crust will likely not be as crisp though.
Or follow the recipe up until you freeze the dough in the muffin tins. Then cover the muffin pan with plastic wrap and just refrigerate it for several hours or overnight before baking it with the filling.
Yes, if you want to skip making your own pie crust you can buy it, this would really simplify the recipe and could be made fairly easily.
Another option for topping is to do a streusel. I thought the little leaf cutouts were cute and used up the scraps nicely but it’d be really good with a streusel like my dutch apple pie and that would give them nice height too.

Pro Tips For Making Apple Pie
- Do not skimp on the apple resting time. The sugars draw out the liquid from the apples and letting them rest before baking will eliminate a lot of the juice that can make your bottom pastry soggy.
- The apple filling may seem excessive but the volume will reduce by almost half once they’re baked so if the crust isn’t stuffed tightly with apples to the brim, it’ll be half empty after baking.
- Make it hours in advance or the day before serving because it can be a bit time consuming and messy to make.
- 10/10 recommend an apple corer to make all your fall baking 10x quicker. This apple corer peels, slices and cores the apples all at once. I use it for ALL my apple recipes.
How To Store and Serve Mini Apple Pies
I recommend storing it in an airtight container in the refrigerator for up to a week or frozen airtight for a couple of months. Just make sure to warm it up to serve it, preferably with a small scoop of vanilla ice cream on top…mmm!

Thanks so much for reading today’s post, if you have any questions just comment down below.
If you make these Mini Apple Pies, I would love it if you left a review or star rating for it in the recipe card.
As always, have a blessed day and happy baking!
Love, B

