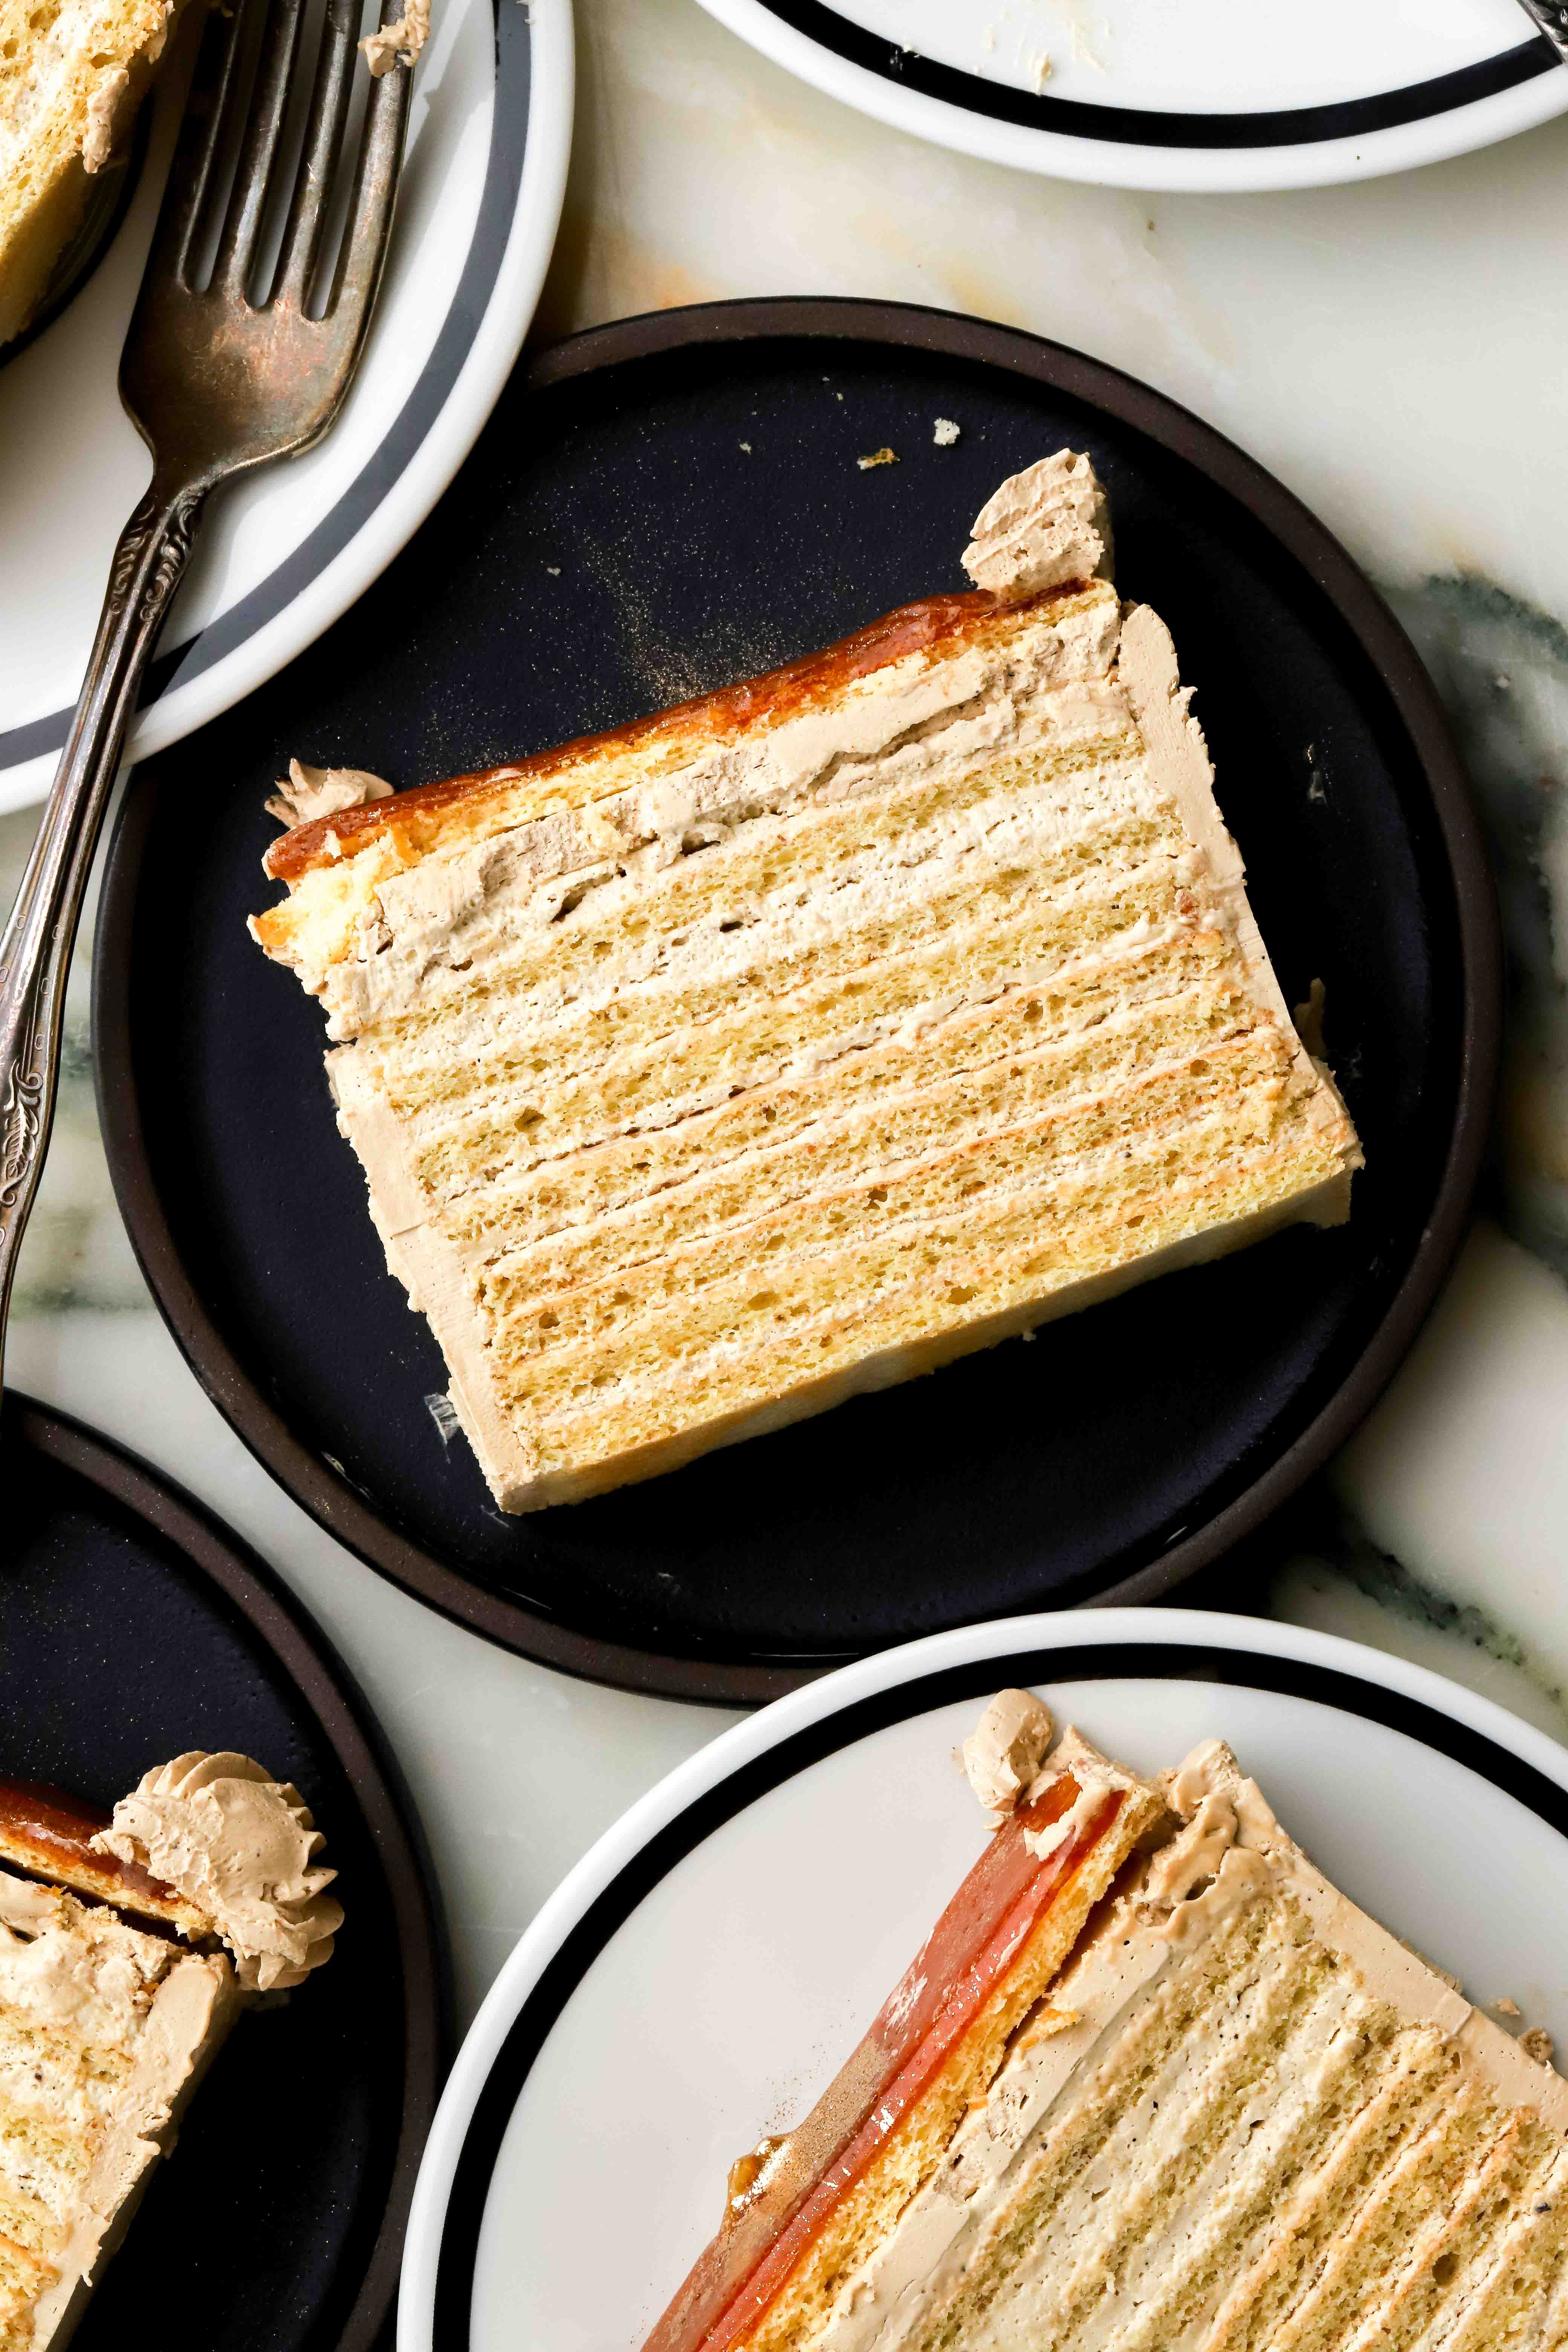
Brown Butter Espresso Dobos
I’m doing a series on dobos (in case you haven’t noticed) and for the last three, I’m taking my Mom’s Famous Dobos recipe and changing the flavors while keeping the structure.
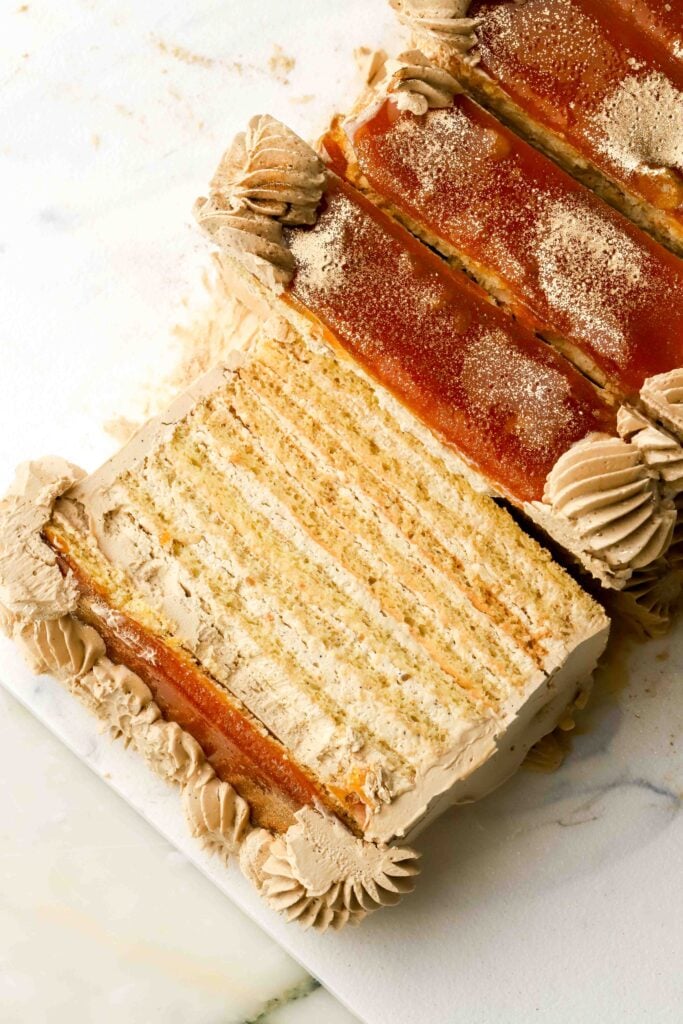
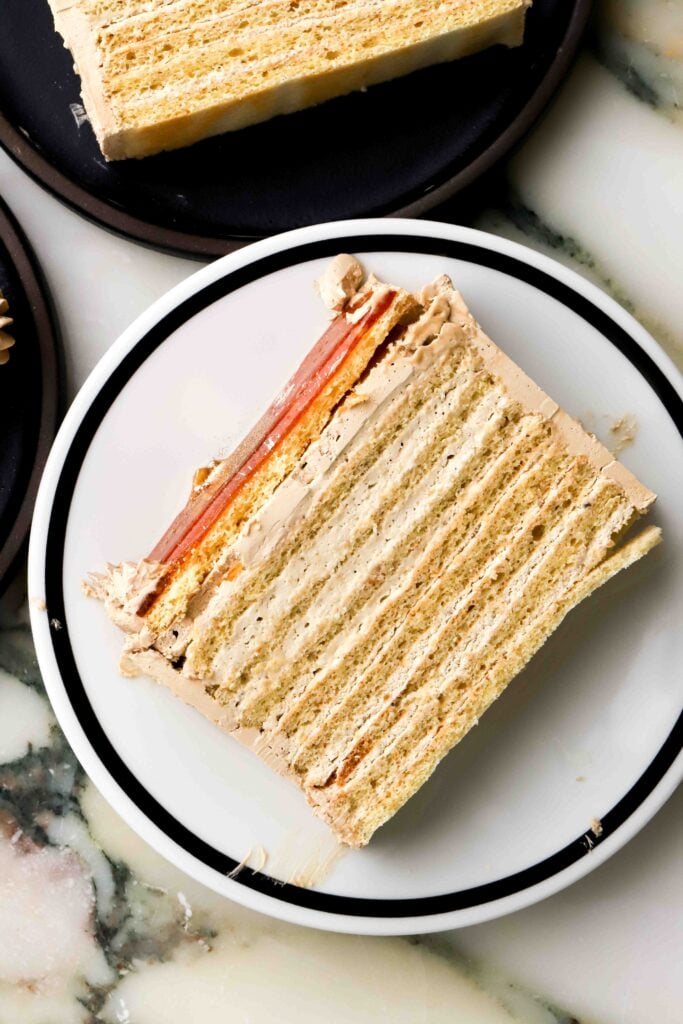
So think 9 super thin layers of sponge cake with a fluffy cream and some kind of topping. I made this one for my birthday and of course, it’s my favorite version so far because it involves coffee.
I took inspiration from one of my favorite drinks, the caramel macchiato so I made brown butter layers, espresso vanilla bean cream and a crispy caramelized sugar topping.
Let’s Talk Details
As if dobos wasn’t complicated enough, I complicated it slightly more. I’m sorry but it was worth it lol.
- Brown Butter – If you’re not familiar, get familiar because it’s elite LOL you just cook the butter until the the solids separate and brown. This gives it a caramelized/toasty flavor. I used it in the sponge and the cream.
- Espresso Cream – I used the same cream my mom uses but I flavored it with espresso instead of chocolate. I listed a few different options for this. I used the liquid from the browned the butter for the cream but removed the solids so the cream would remain smooth.
- Sponge – these are super thin sponge cakes and I added the solids from brown butter.
- Burnt Sugar – like a creme brulee topping where we cook the sugar until it’s fully caramelized and then pour it on top of the cake.
- Swiss Meringue Buttercream – I did decorate this cake on the outside because it was for my birthday, this is totally optional!
Ingredients & Substitutions:
Full recipe is in the recipe card at the bottom but here are a few things to note:
- Eggs – I recommend using large eggs and if they’re at room temperature they whip up quicker.
- Flour – all-purpose flour or cake flour work fine but please use a digital scale to measure the flour.
- Cool Whip – Not an ingredient I typically use, but I’m staying true to my mom’s recipe because it is easier, quicker and makes the cream a lot more stable so it’s easier to assemble the cake. I’ve included instructions below for using homemade whipped cream if you do prefer that though.
- Vanilla – Including this here because I really do want the vanilla prominent in the recipe and it’s competing with espresso. I used ground up vanilla powder in the sponge cake and vanilla bean paste in the cream. Of course, you can make it without but good quality vanilla is eliteeee.
- Butter – unlike my mom’s version, I did use salted butter here because it browns nicer and the salt complements the coffee and caramel so nicely. Unsalted works fine too though if you’re in a pinch.
- Espresso Powder – I used espresso powder to flavor the cream and buttercream. It gives the cake a strong coffee flavor without adding too much liquid. Different brands can vary in strength, so feel free to adjust it to your preference. You can also substitute instant coffee, but I recommend doubling the amount for a similar flavor.
Making this without Cool Whip
Should you choose to make this with homemade whipped cream, you’ll need:
- 1 ½ cups heavy cream
- 30 grams (¼ cup) powdered sugar
- 1 tsp of gelatin
- 1 Tbsp cold water
- Bloom the gelatin by mixing it with the cold water and let it set.
- Microwave it for 5 seconds and then add in 1 Tbsp of the custard, mixing it until it’s smooth.
- Add the gelatin mixture to the custard and whisk until it’s completely combined.
- Beat together the heavy cream and powdered sugar, until they’re smooth and stiff peaks form (don’t overbeat, just until silky stiff).
- Add ¼ of the whipped cream to the custard and whisk it to thin it out, then add all the custard to the whipped cream and mix until it’s fully combined (don’t over-mix).
Step-by-Step
Brown Butter
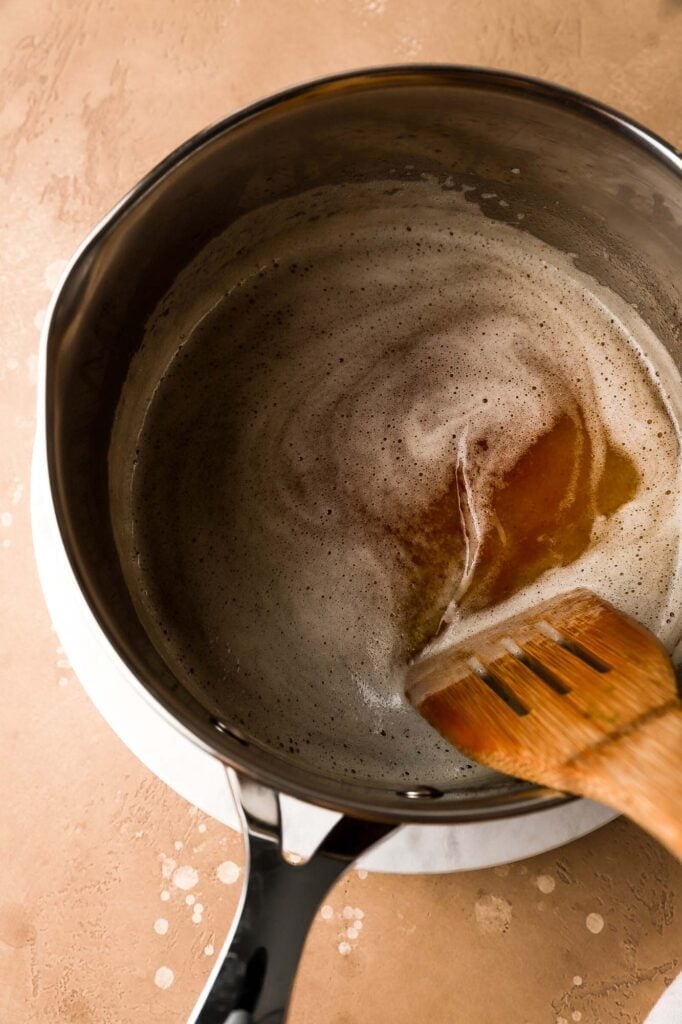
- Brown the butter – melt the butter in a pan, stirring intermittently until it begins to foam. Then stir continuously while it’s browning.
- Scrape it all into a measuring cup and then use the liquid portion of the butter to make the custard and reserve the solids for the sponge.
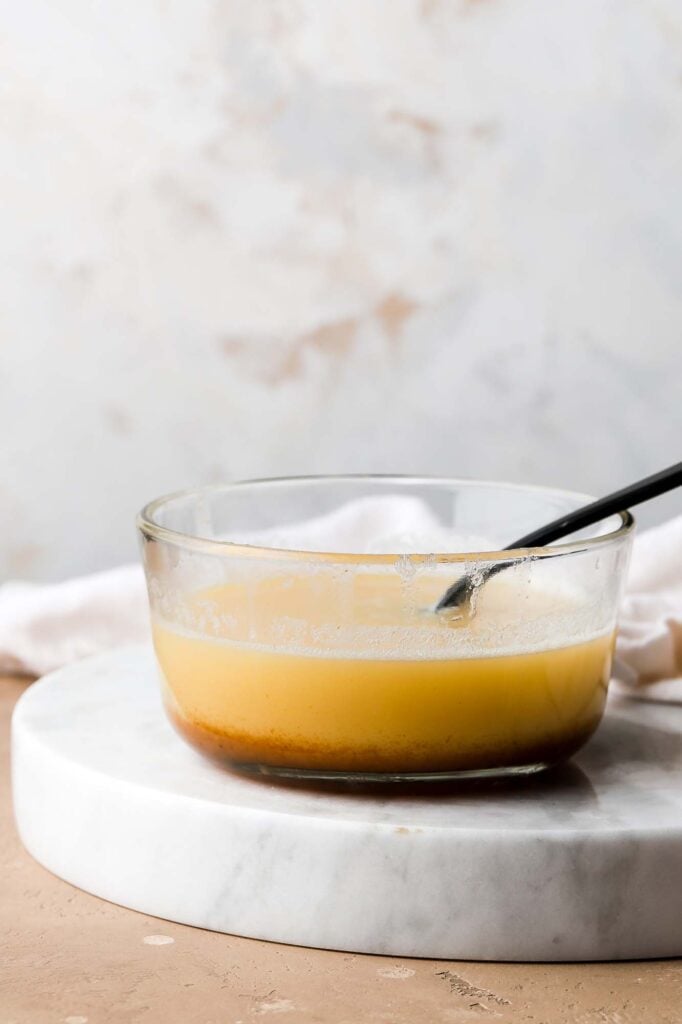
- You can see in the image below how the solids kind of fall to the bottom and the liquid stays on top (that photo is at room temp, you DON’T have to let it come to room temp, I just wanted to show you how they separate). I gently poured out how much liquid I needed for the custard, trying not to get any solids and reserved the rest for the sponge.
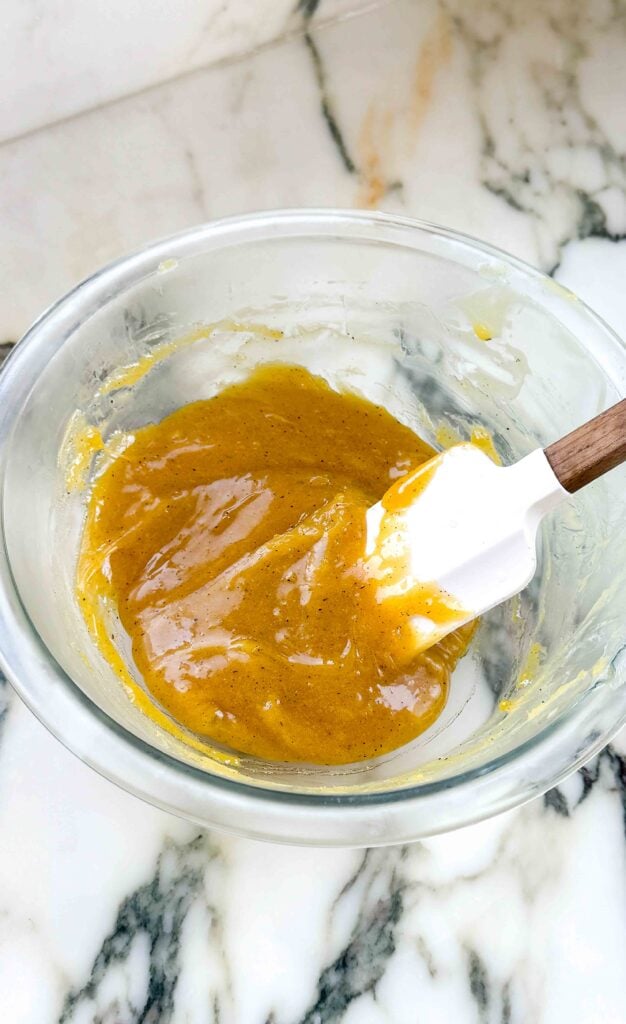
- Of the final brown butter, I used 150 grams for the custard and 36 grams for the sponges. For the custard, I used just the liquid portion and for the sponge, I used the rest of the liquid plus the brown butter solids.
Espresso Cream
We’re starting with the cream because the custard takes longer to cool than the cake layers.
- Stir together the espresso powder with the water, just enough to dissolve it.
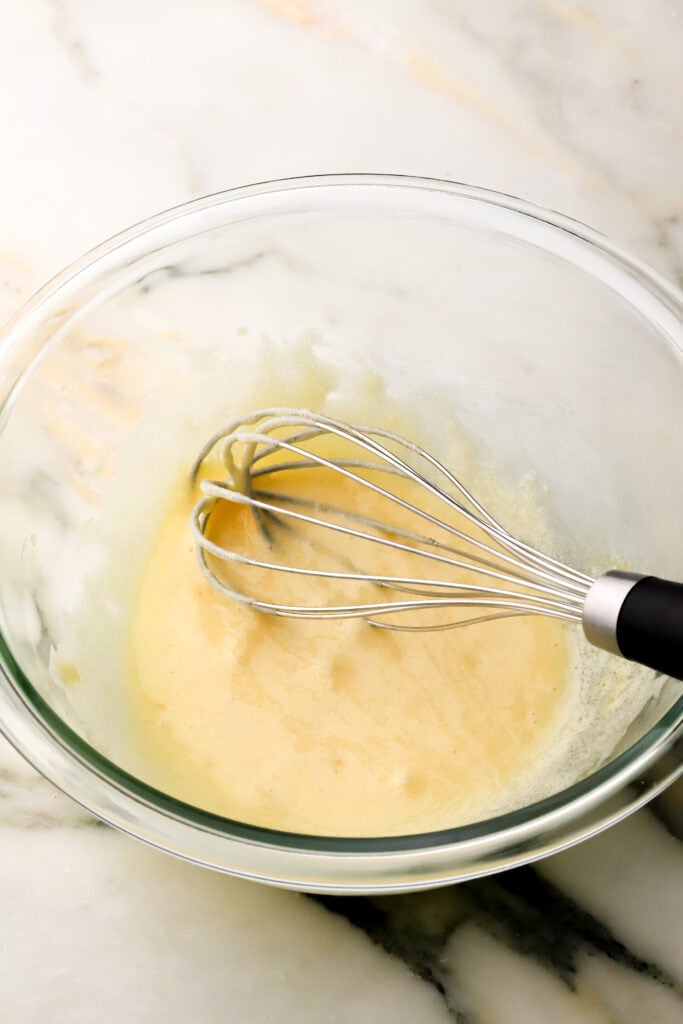
- Whisk the egg yolks and sugar together until smooth. Slowly pour in the 150 grams of liquid brown butter while whisking continuously.
- Return the mixture to the saucepan and cook over low heat, stirring continuously, until it reaches at least 170°F (77°C) and thickens slightly, leaving visible trails.
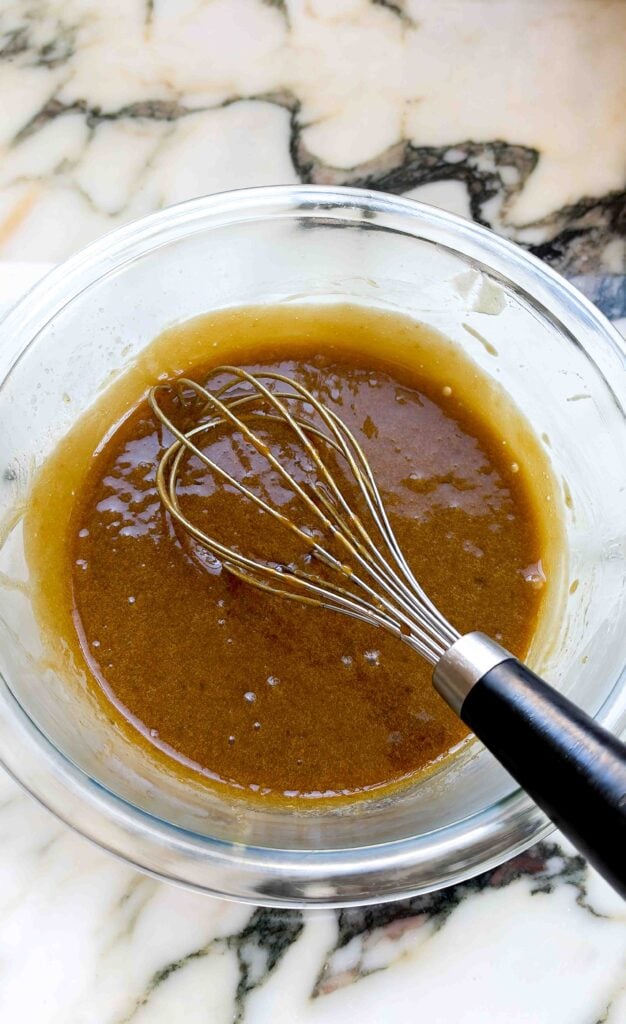
- Remove from the heat, transfer to a bowl and whisk in the dissolved espresso powder. Press plastic wrap directly onto the surface and refrigerate until completely chilled.
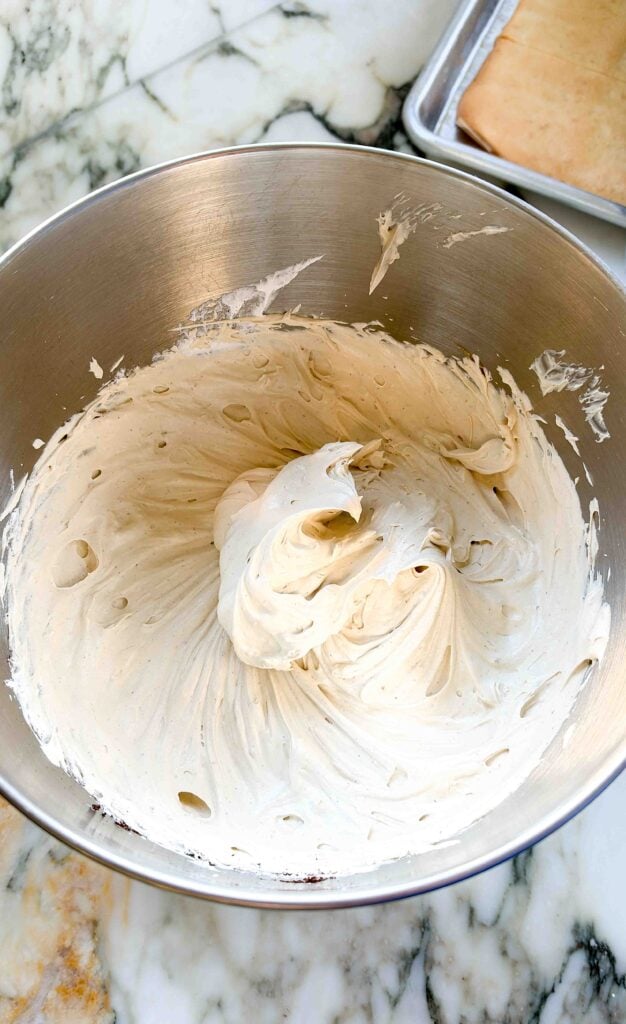
- Once chilled, beat the custard with the Cool Whip and vanilla bean paste until fully combined and fluffy.
Brown Butter Cake Layers
- Sift the flour and separate the eggs.
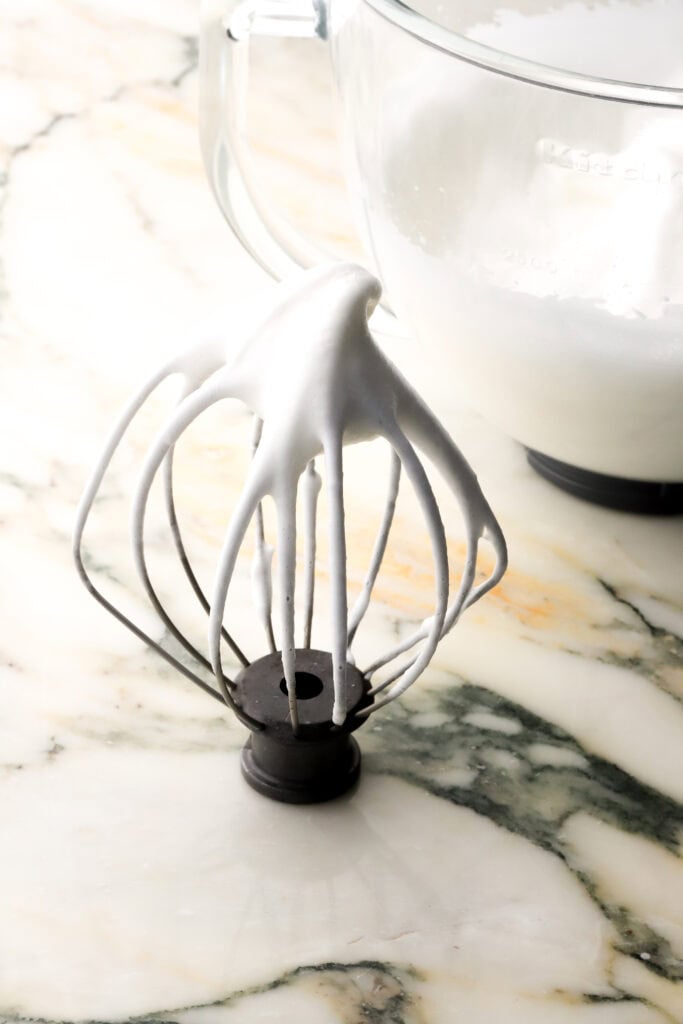
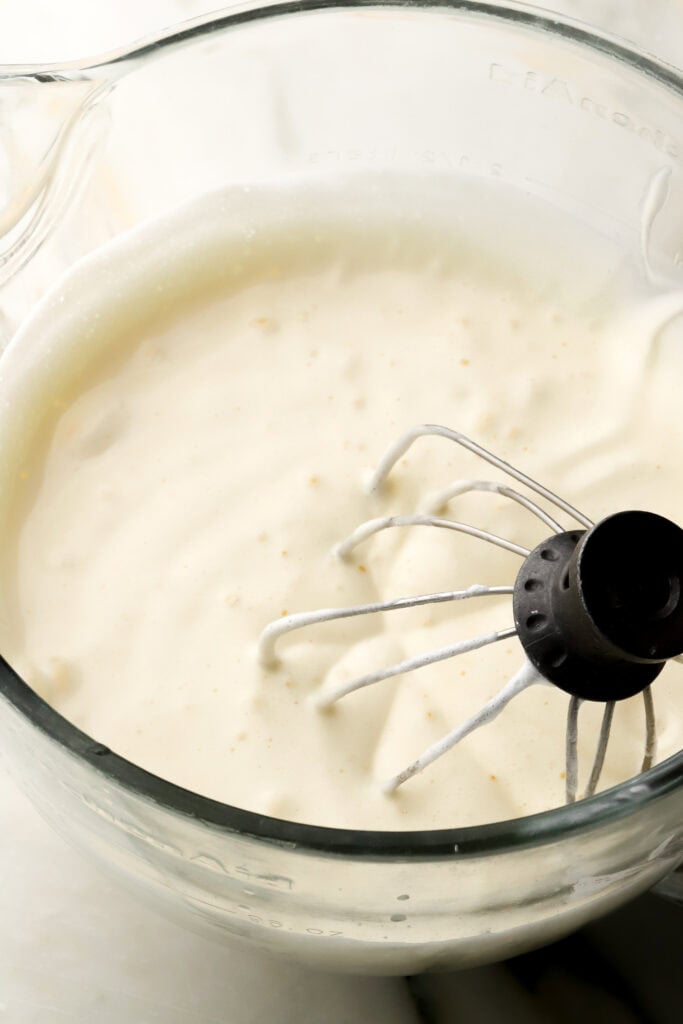
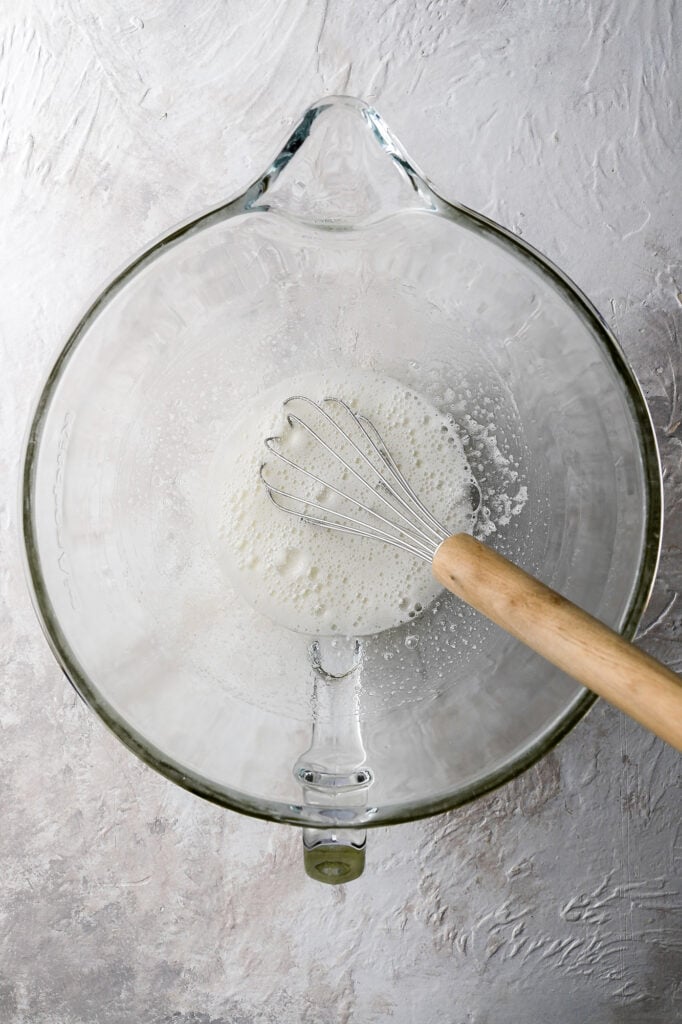
- Beat the egg whites and water with the sugar until it’s thick and fluffy like a meringue.
- With the mixer running, add in the egg yolks, followed by the oil, brown butter solids and vanilla.
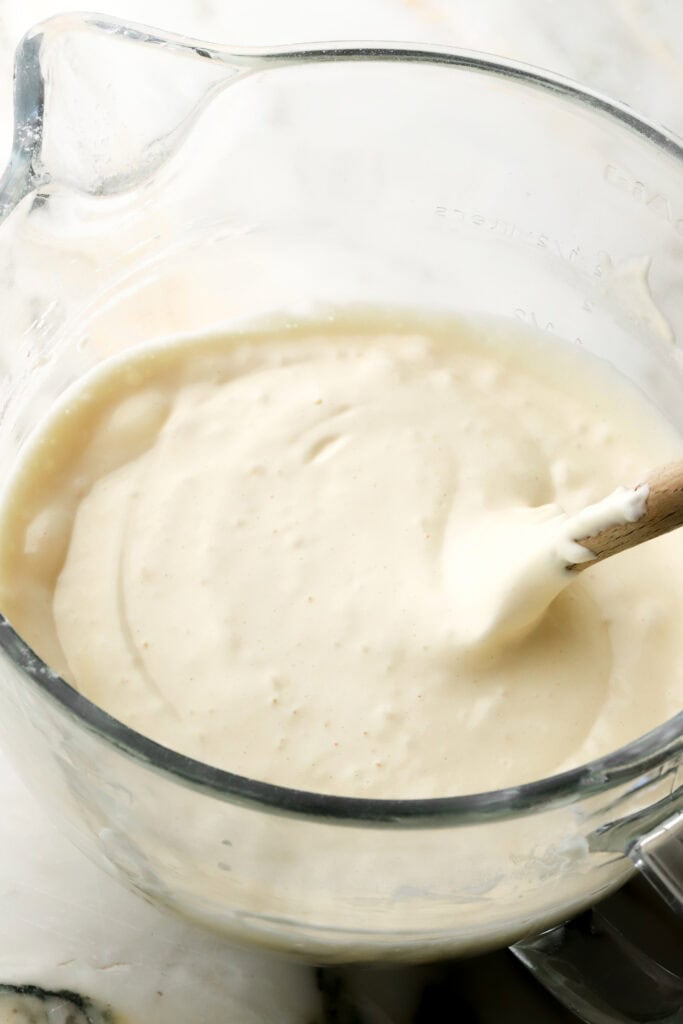
- Scrape the edge of the bowl and with the mixer on low-medium speed, spoon in the flour.
- Scrape the edge of the bowl again to make sure all the flour is mixed in.
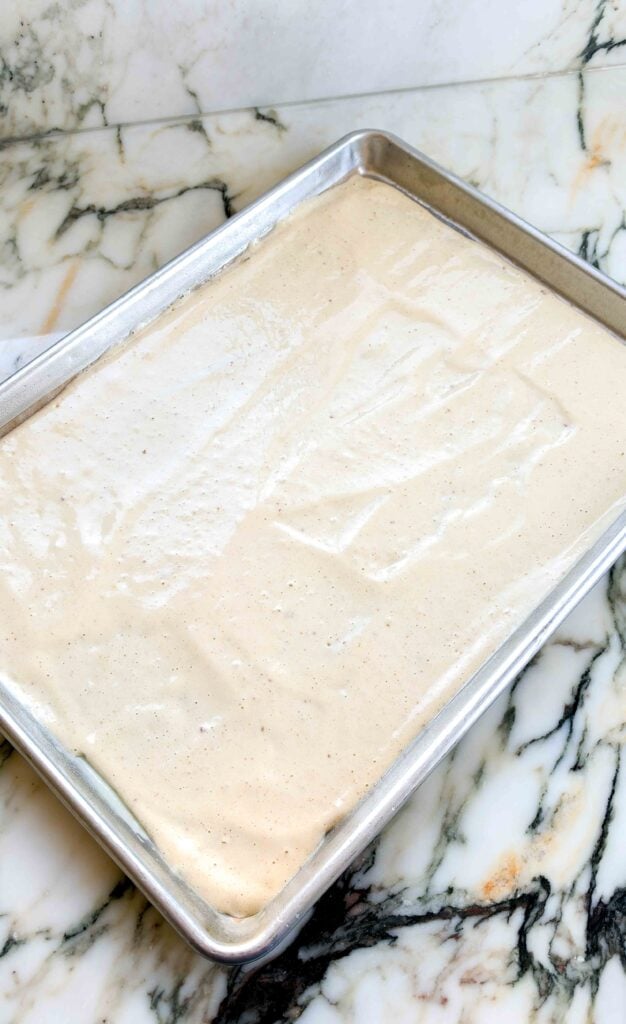
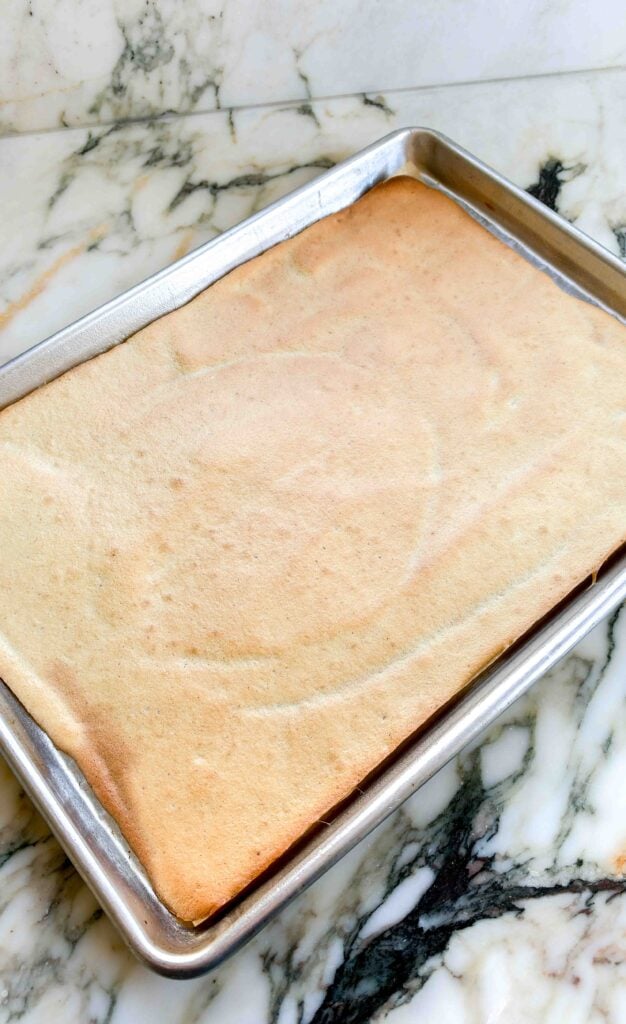
- Grease and line the sheet pan with parchment paper and spread ⅓ of the batter (7 ounces) in the prepared pan. It will be very thin.
- Bake for 6 minutes, until it no longer looks wet and is golden brown. If it’s white, the cake will be softer but slightly more gummy; if it’s brown, the layers will be very difficult to handle and may shatter.
- Allow the cakes to cool in the pan for a few minutes before removing.
- Repeat until you have 3 full cake layers.
Assemble
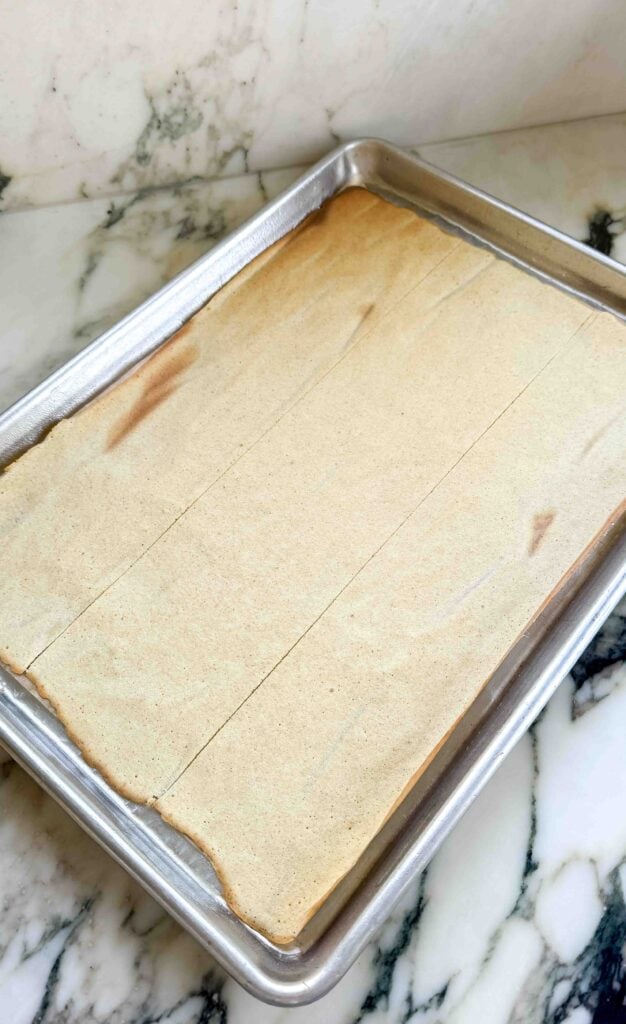
- Start by slicing each layer of cake INTO THIRDS from short edge to short edge (hot dog style). This should give you 9 long rectangular layers to stack.
- Place the first layer of cake onto a flat surface.
- Use a small cookie scoop to scoop out even amounts of cream – I did three small scoops which totaled to about 2.7 ounces of cream per layer.
- Spread the frosting out as thin and evenly as possible.
- Repeat with the remaining seven layers, stacking eight layers total with cream between each. Reserve the ninth layer for the caramel topping.
- Refrigerate the cake for several hours to allow the cream to set before making the topping.
Swiss Meringue Buttercream
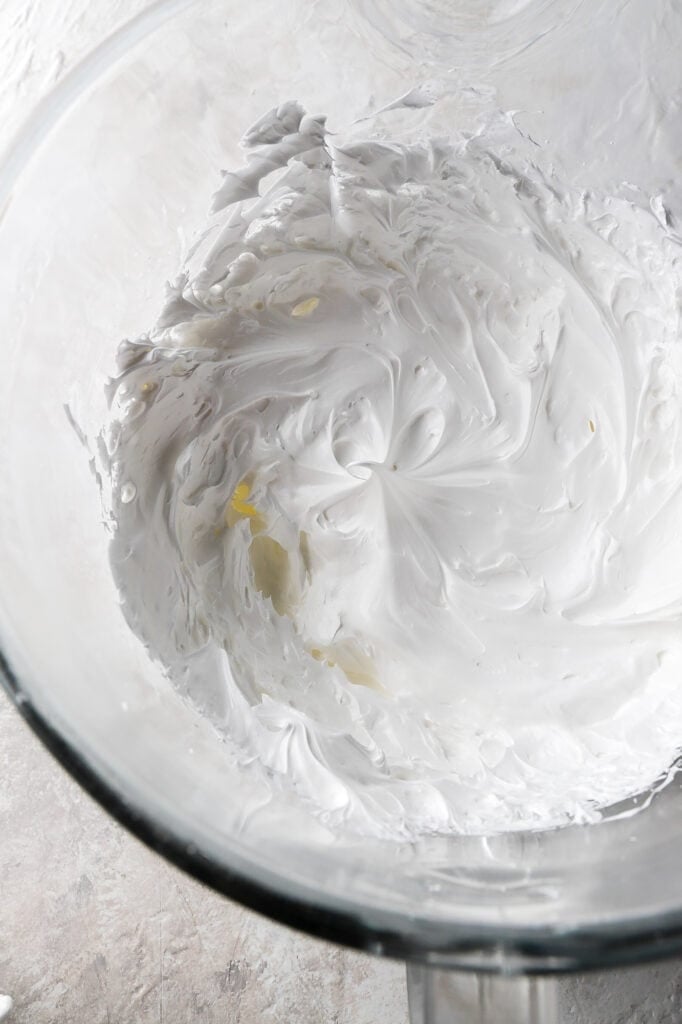
- Whisk the egg whites and sugar over a double boiler until the sugar is completely dissolved.
- Transfer to a stand mixer and beat on high speed for approximately 10 minutes, until thick, fluffy and no longer warm.
- Stir together the espresso powder with the water, just enough to dissolve it.
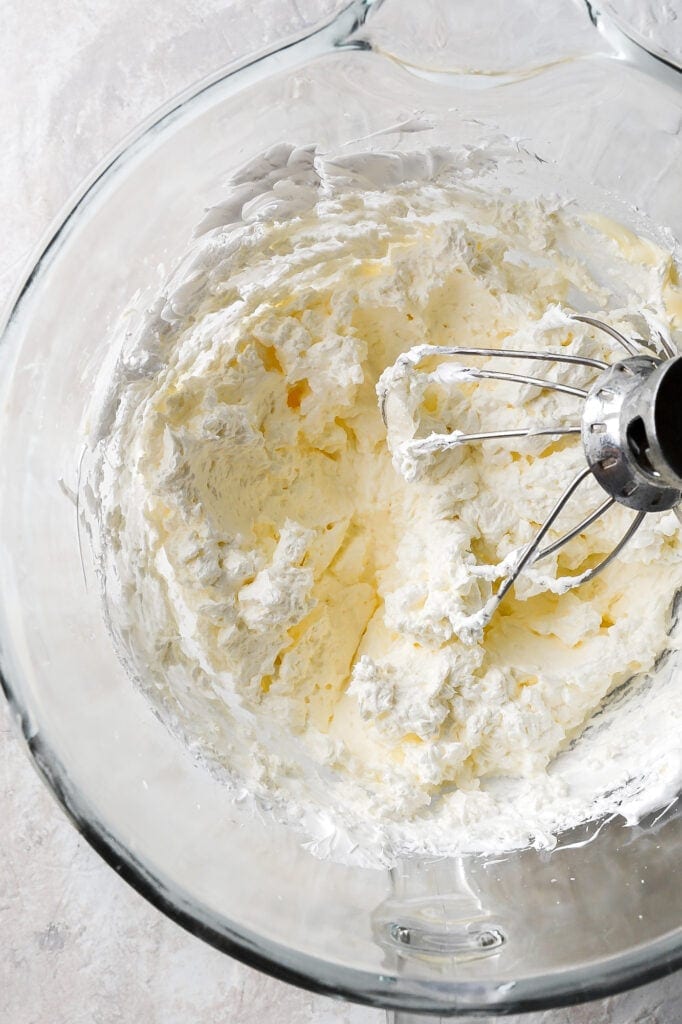
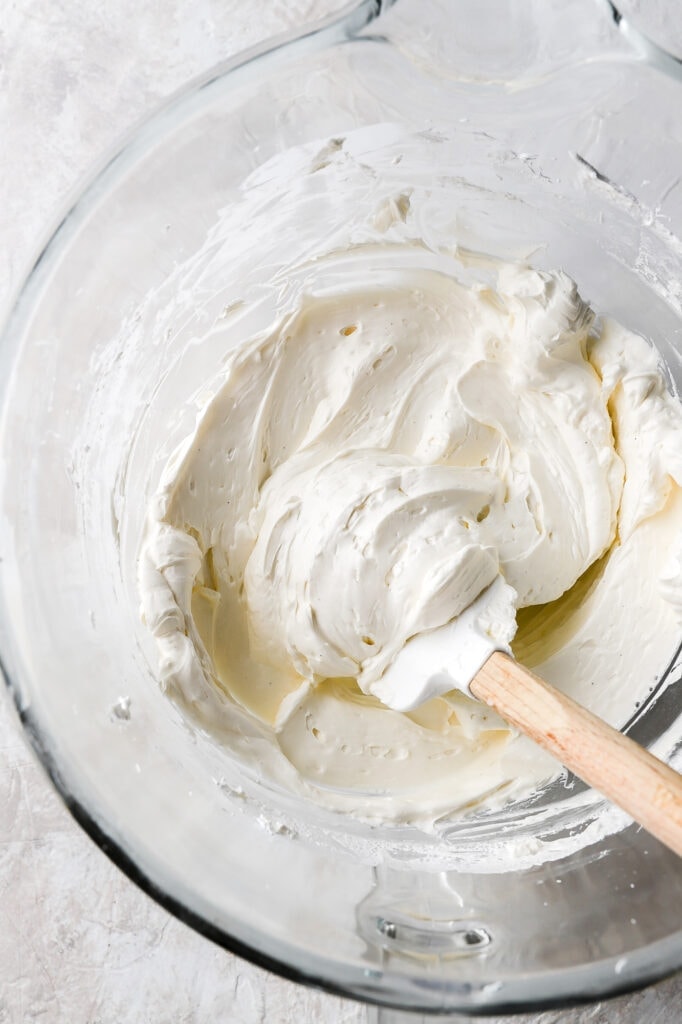
- With the mixer running, add the butter a few tablespoons at a time. Once incorporated, beat on high speed until the buttercream is smooth and fluffy.
- Add the dissolved espresso powder and vanilla bean paste, mixing just until combined.
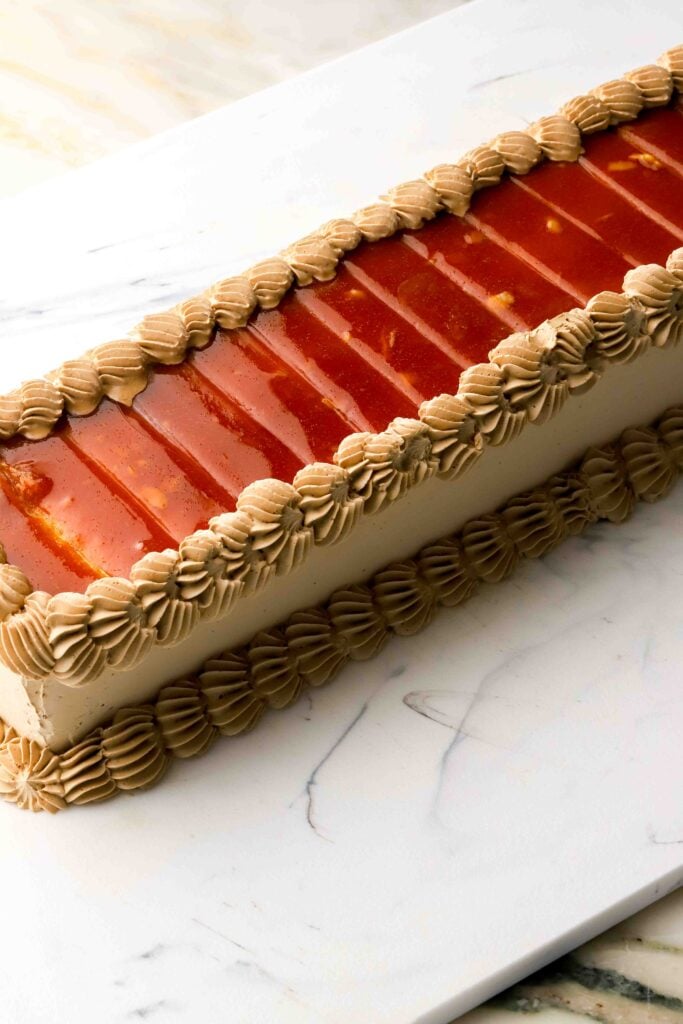
- Frost the outside of the chilled cake, reserving about one-third of the buttercream for piping around the caramel topping.
Caramelized Sugar Topping
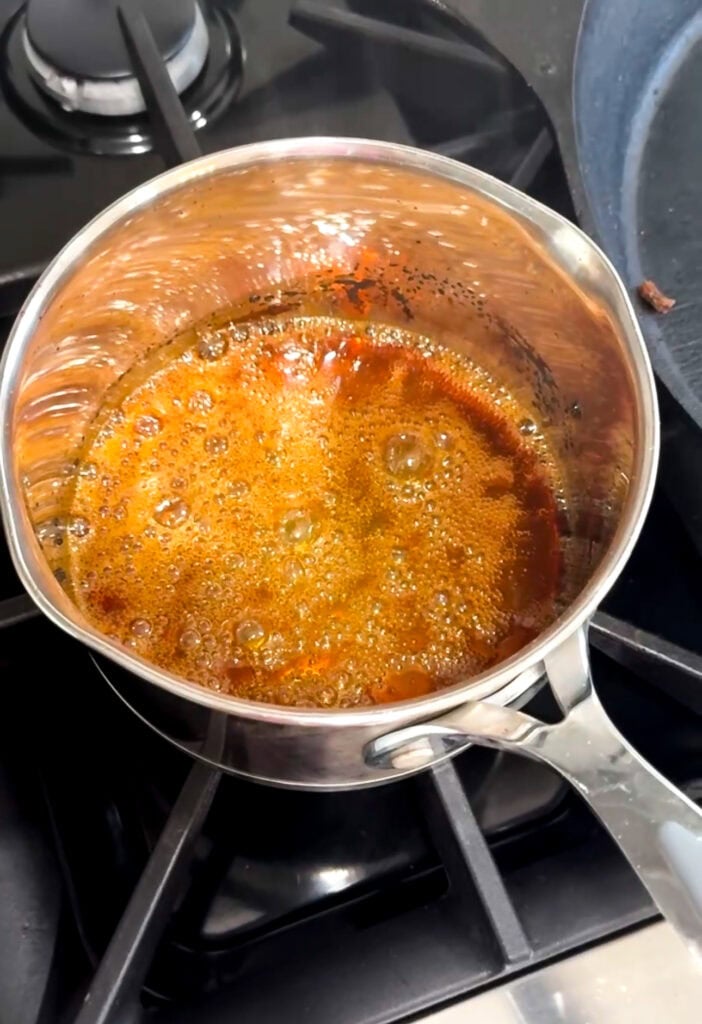
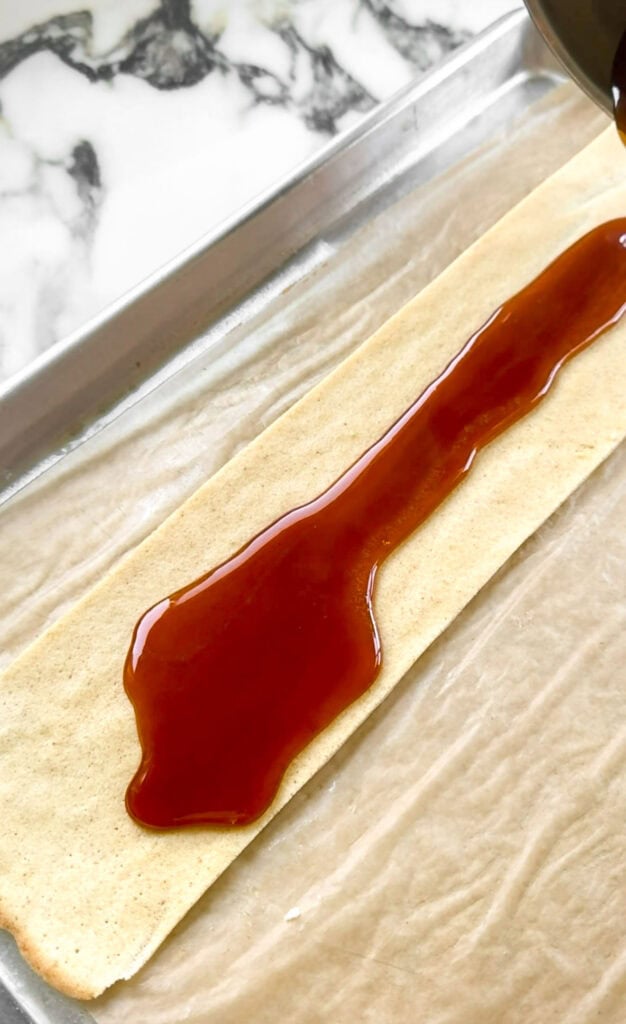
- Melt the sugar in a saucepan, swirling occasionally, until the whole thing is an even amber color.
- Pour over the reserved 9th sponge layer and spread evenly.
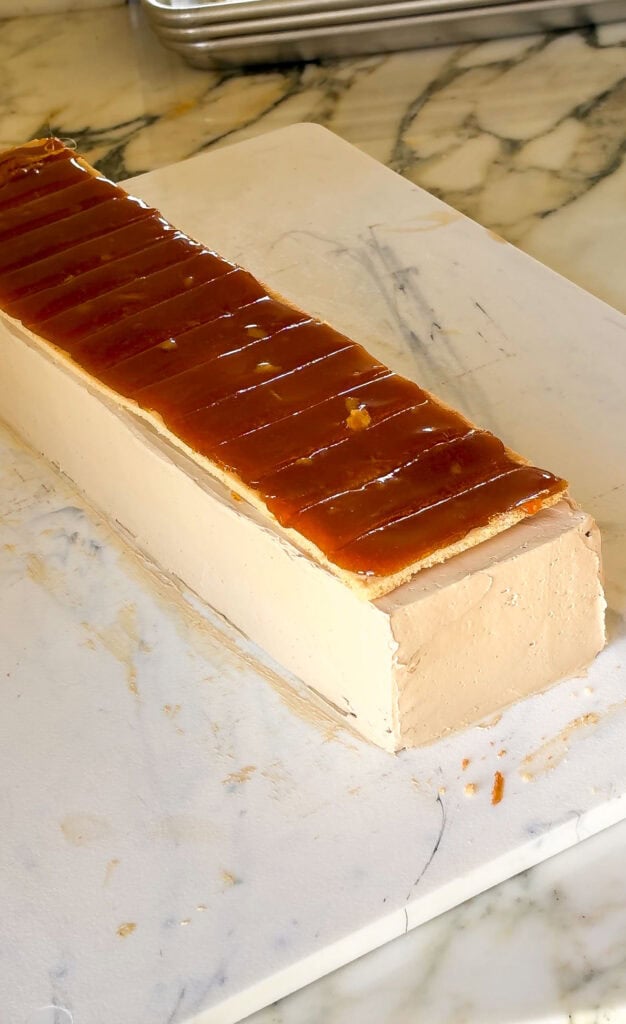
- Before the caramel hardens, score it into about 16 slices with a greased knife, greasing between each cut.
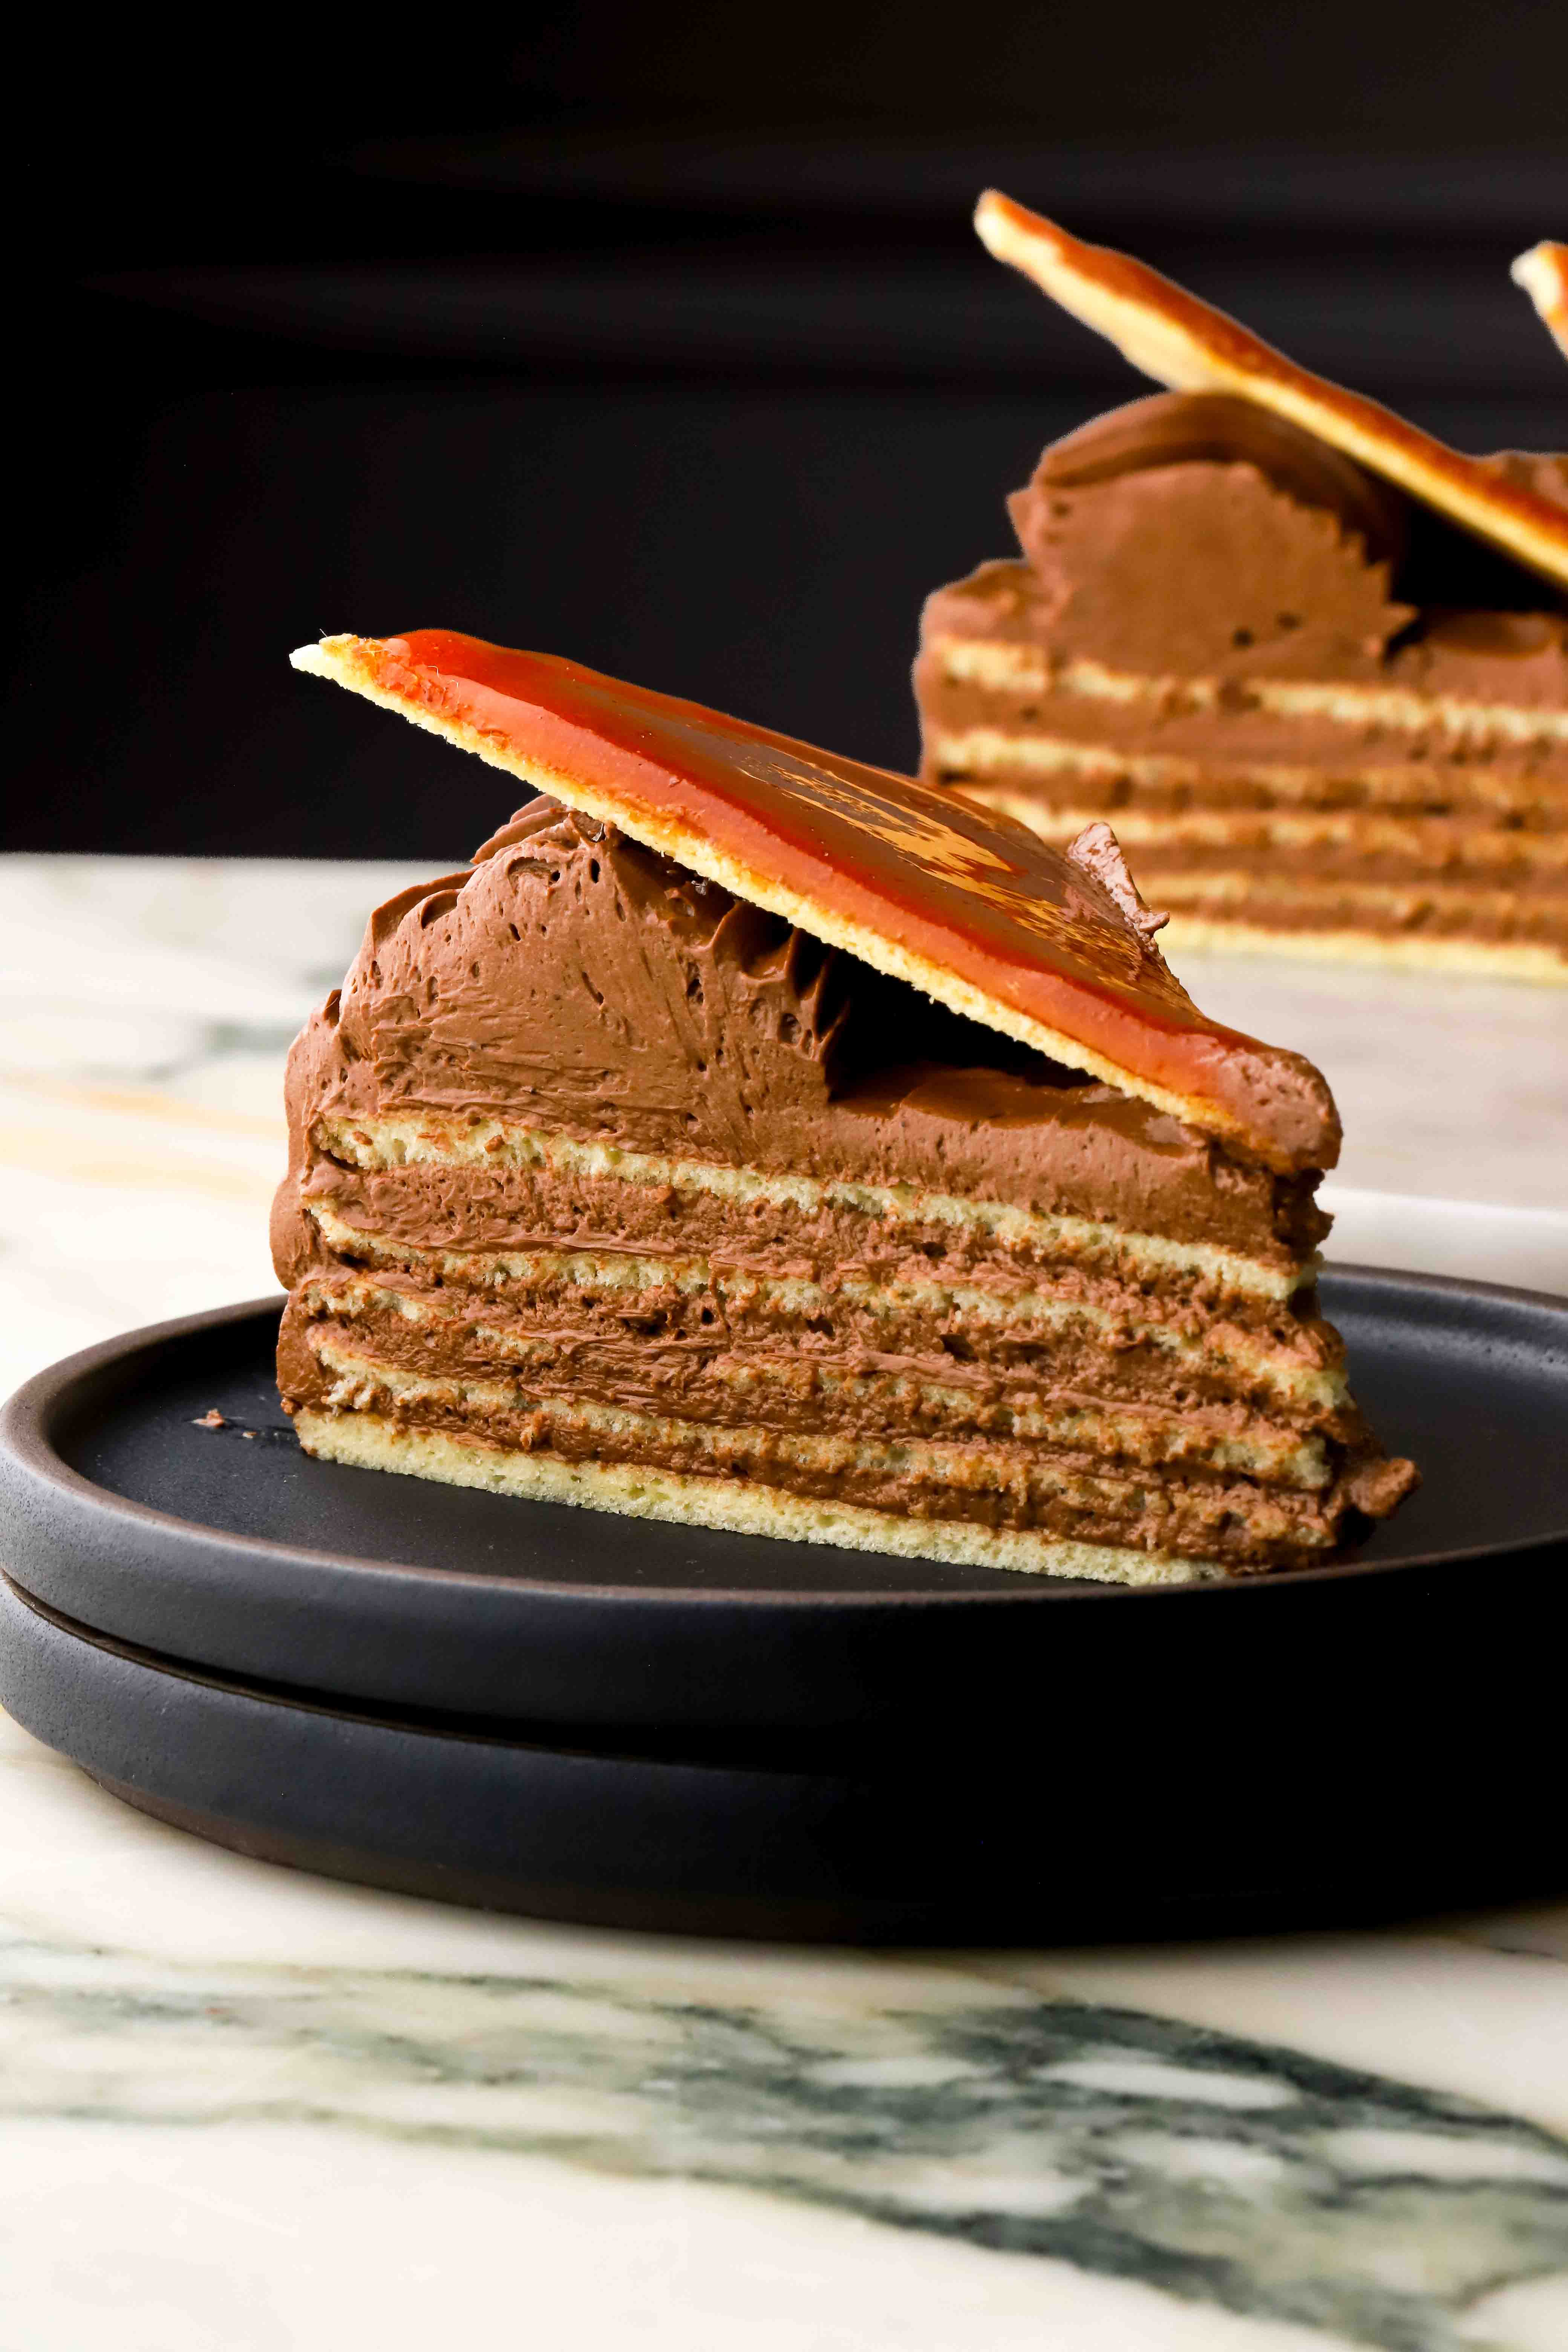
- Once set, either cut completely through each slice and place them individually on top of the cake OR place the full sheet on top of the cake and slice it when slicing the cake. This can make slicing a little more messy but the overall cake looks cleaner.
Decorating The Outside Of The Cake
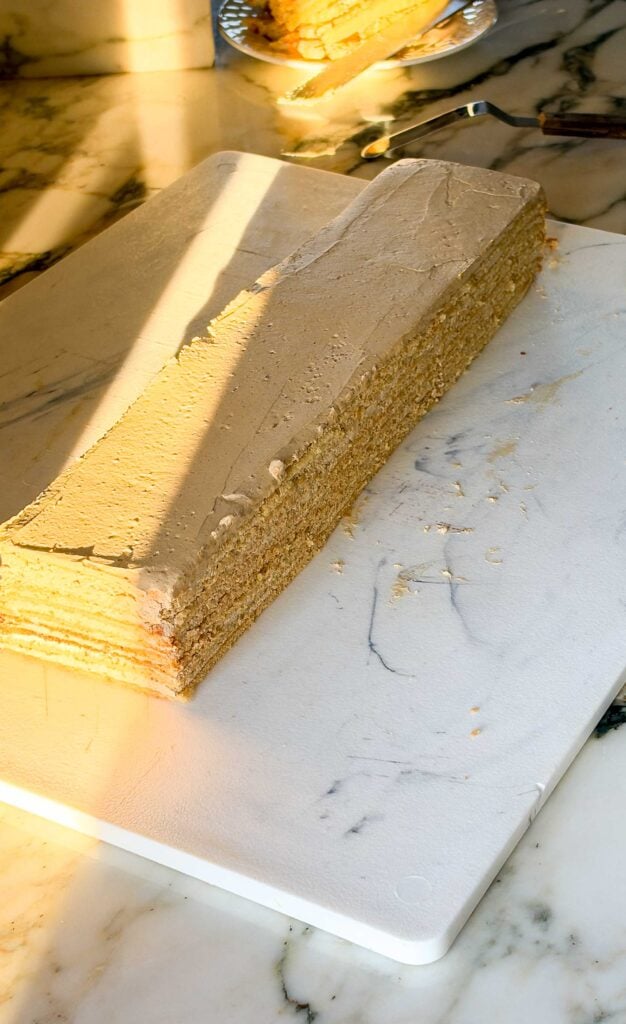
You can definitely skip the decorating for this and leave it naked but I made this for my birthday so I used the leftover egg whites to make a Swiss Meringue Buttercream. I had enough to cover the whole cake and pipe around it like in the photo and I had none leftover.
It is kind of difficult to slice the cake with the burnt sugar topping, even if it’s scored so next time I would do it the same way I did the original Dobos, where you slice the topping through before putting it on the cake and then just place each slice on the cake individually.
If you don’t decorate it, you can see the edges might look a little wonky with the topping so here’s what my mom does to make a little more smooth:
- Freeze the finished cake WITH the 9th layer on top but no cream on it.
- Then once it’s fully chilled, make the sugar topping and pour it over the cake, score it and allow it to set completely before slicing.
- This makes the last layer of cake a little more coherent with the whole cake HOWEVER, if your cake is not chilled, it can melt the cream.
Serving & Storing
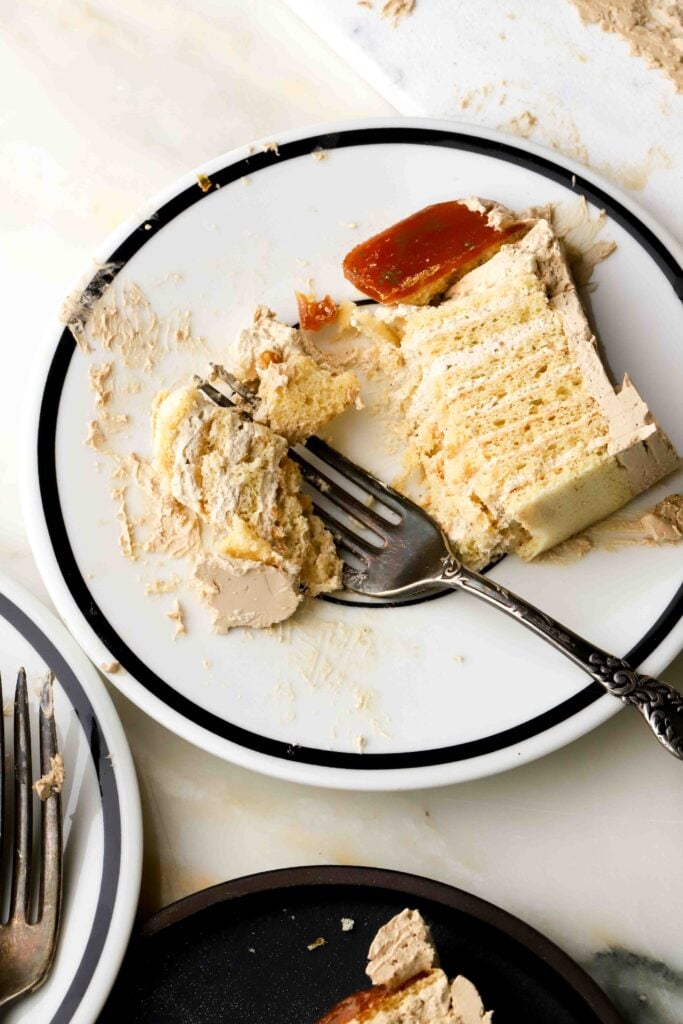
I prefer this cake served cold or slightly chilled, but it can also be served at room temperature if desired.
It’s easiest to slice when cold and should be stored in the refrigerator. If serving at room temperature, just don’t leave it out for too long.
To get clean slices, run a large serrated knife under hot water, wipe it dry, and use the hot knife to slice the cake. Repeat this between every single slice so the cream doesn’t smear and the layers show clearly.
If you have any questions feel free to comment down below.
Have a blessed day & happy baking!
Love, B