
My Mom’s Famous Dobos Torte
My mother was a baker, and Dobos was by far her most popular cake. It inspired one of the first cakes I ever made – my Reverse Dobos.
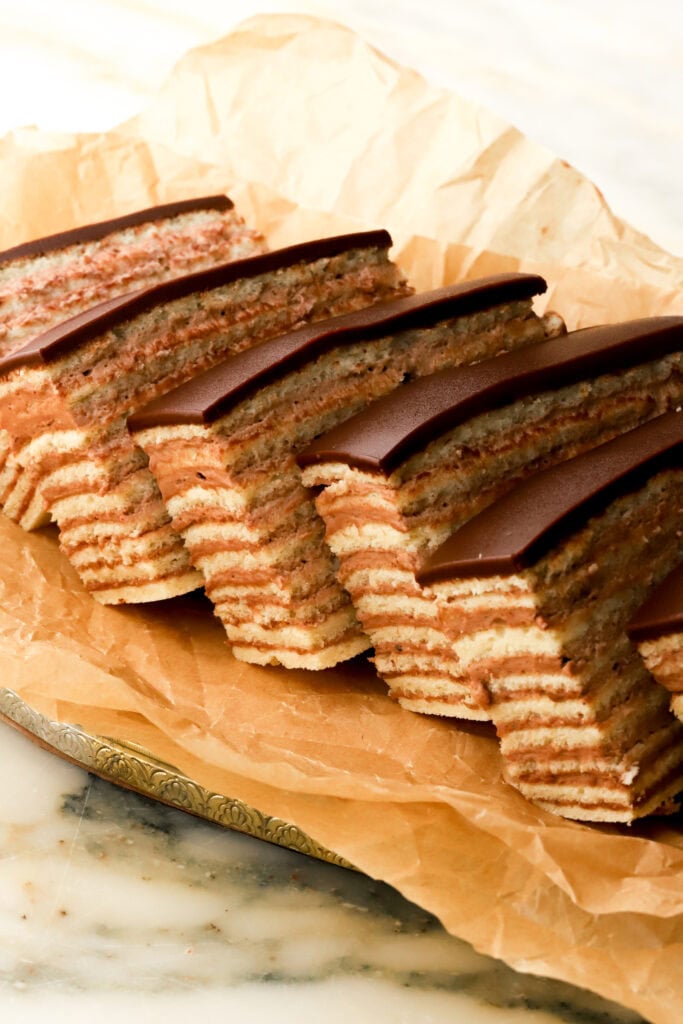
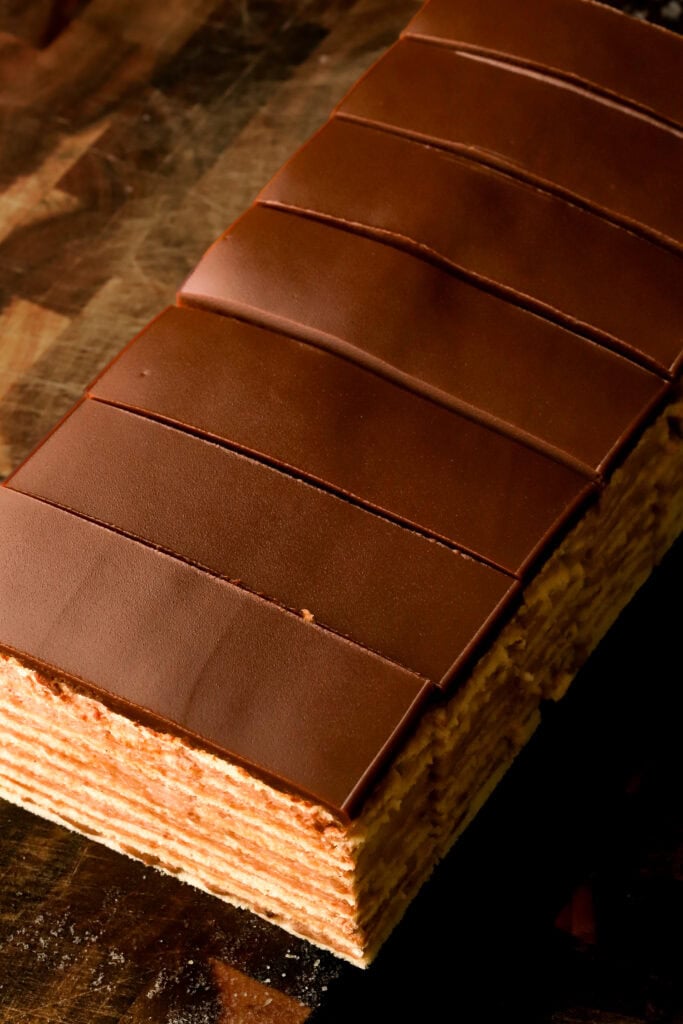
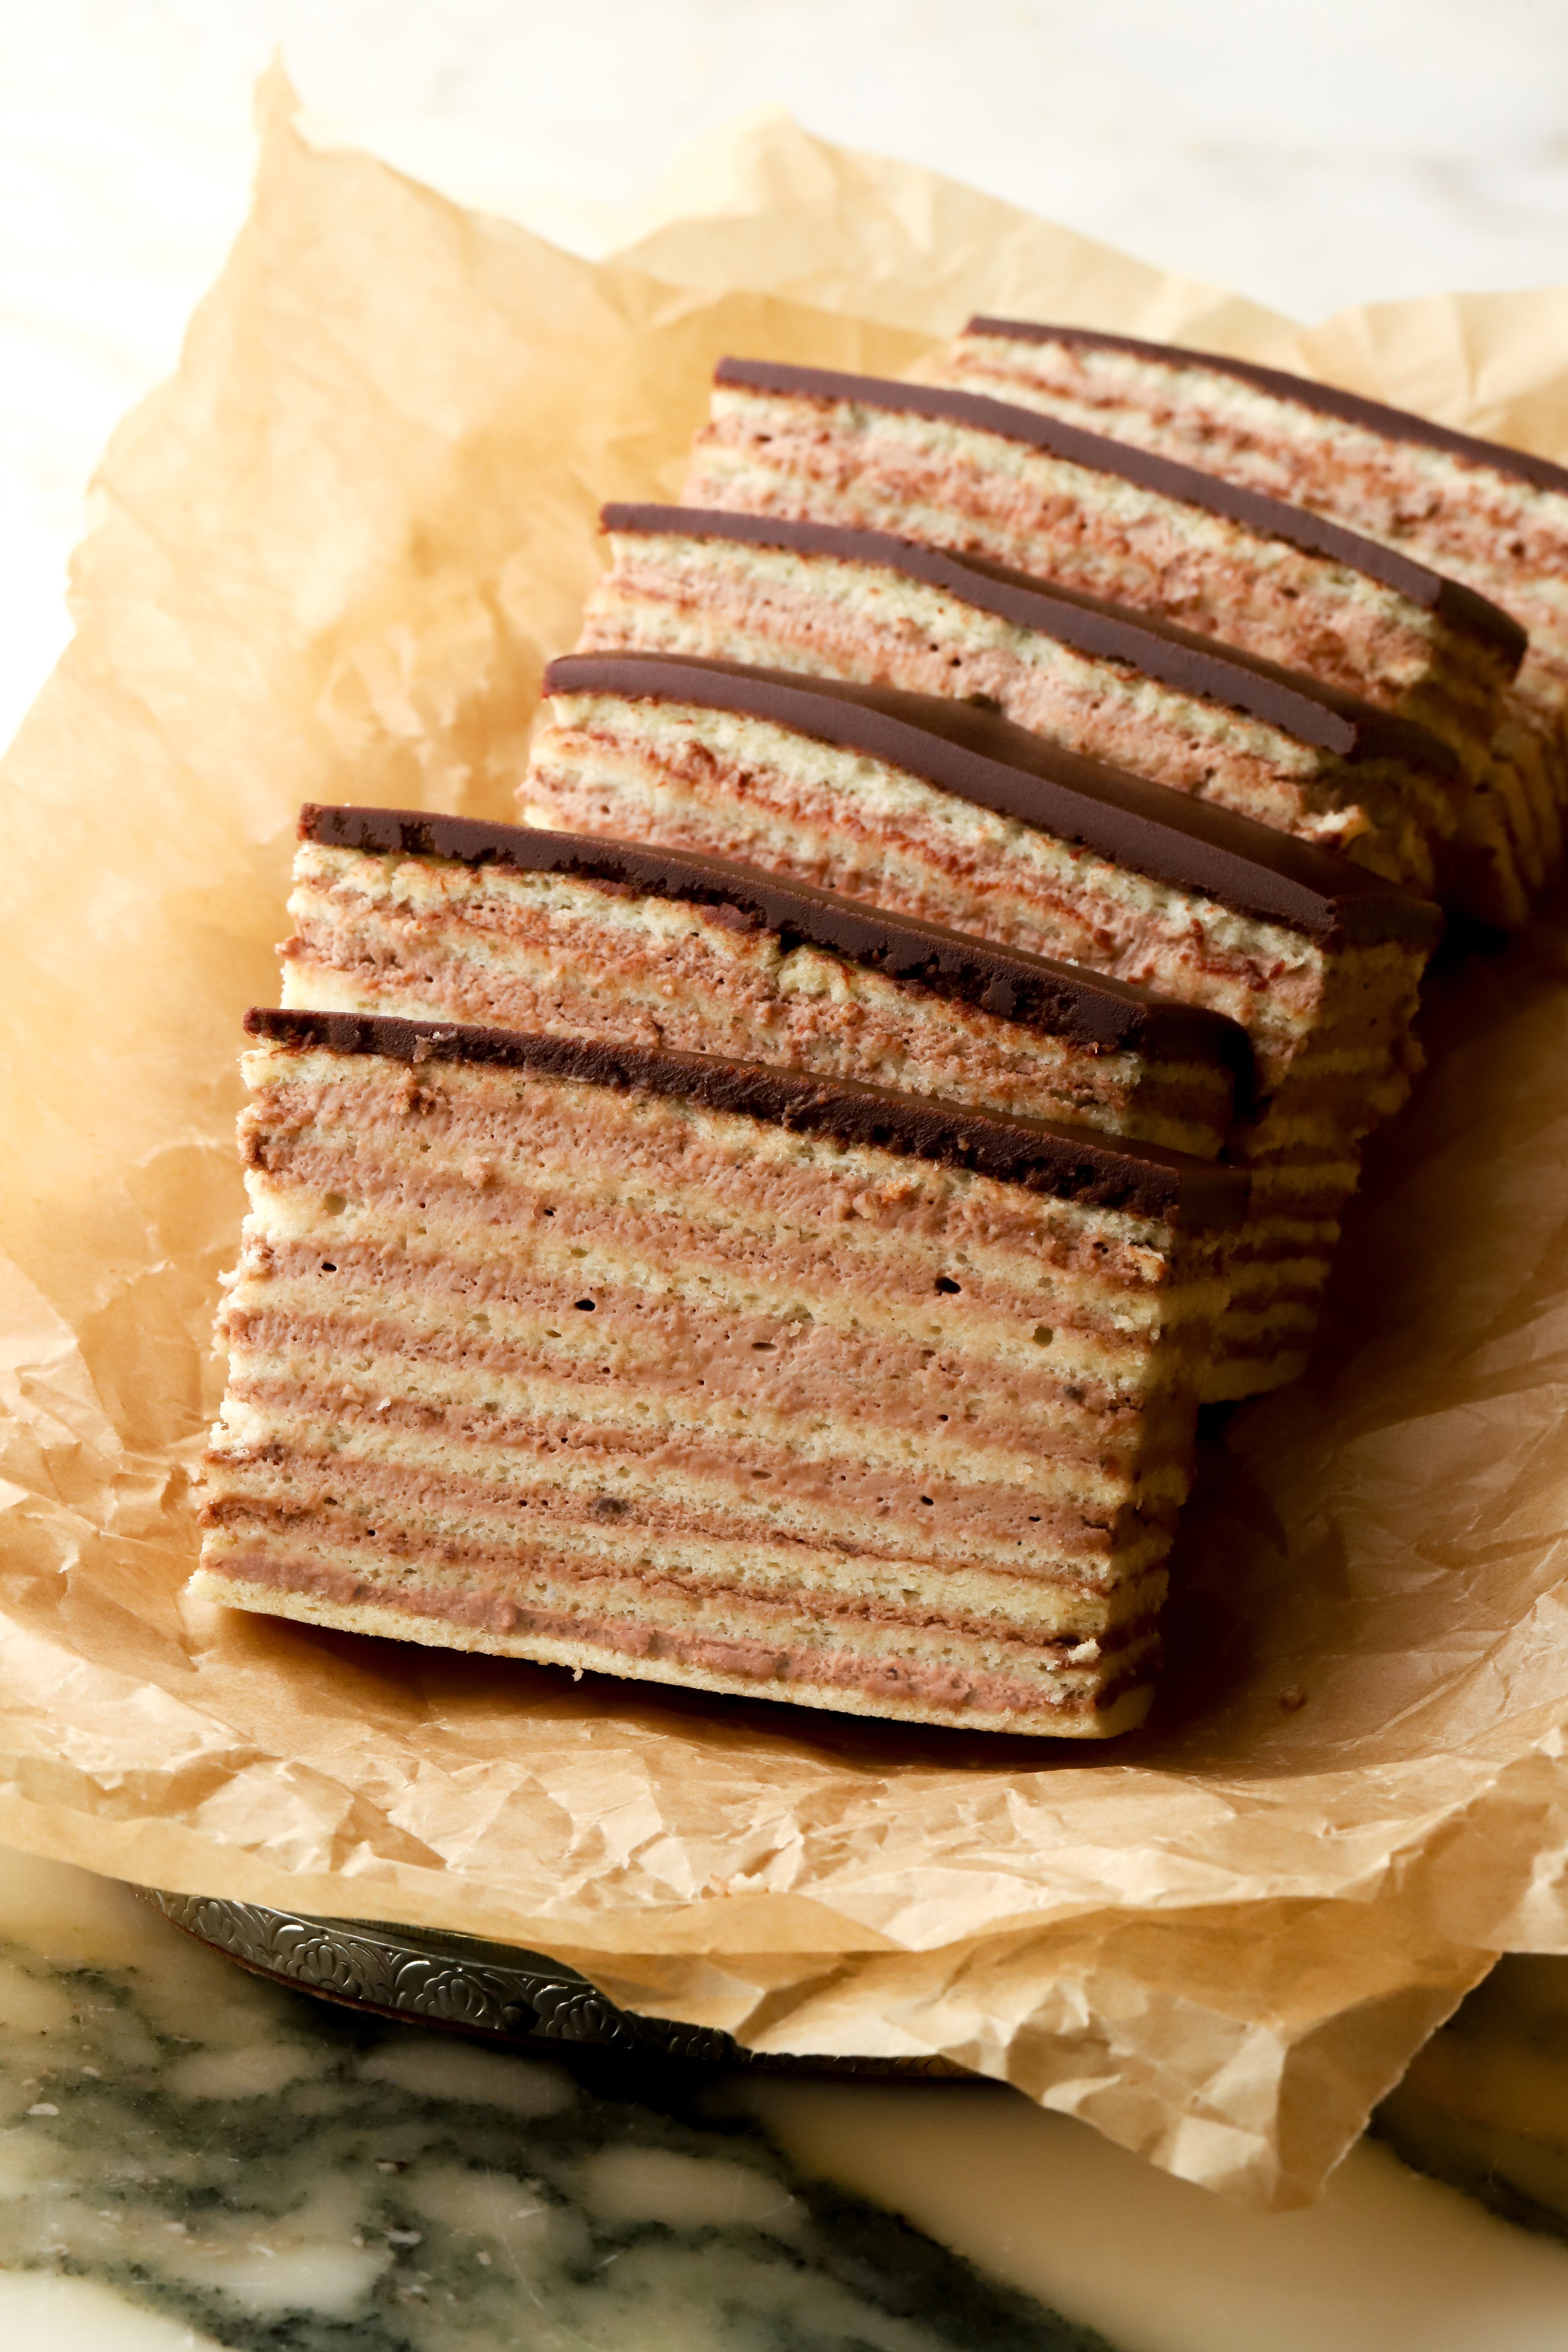
Dobos is a classic Eastern European cake known for all its gorgeous layers. It’s traditionally made with six vanilla sponge cakes and chocolate buttercream, but my mom makes hers with 10 really thin cake layers and chocolate diplomat cream.
Authentic dobos is made with a burnt sugar topping which my mom would make on occasion but it wasn’t feasible for selling so she usually made it with a chocolate glaze. I love them both so I included both recipes below.
This cake is not difficult to make once you get the hang of it but there is a lot of room for error so I included every detail I could think of.
Ingredients & Substitutions
The ingredients are pretty straightforward and the full recipe is in the recipe card at the bottom but here are a few things to note.
- Eggs – I recommend using large eggs and if they’re at room temperature they whip up quicker.
- Flour – please please please, use a digital scale to measure the flour – trust me when I say I had to learn the hard way when using my mom’s recipes. She measures with A SPOON…an actual spoon, not even a measuring spoon… So I have her make her recipes, her way, but with my scale underneath the bowl lol.
- Cocoa Powder – my mother uses natural cocoa powder but I made it with dutch-processed cocoa powder and there isn’t much of a difference.
- Chocolate – My mother uses semi-sweet chocolate chips for the cream (chips or chopped are fine). Dark chocolate also works if you prefer that. I did learn that the mini semi-sweet chocolate chips don’t melt well compared to the larger size so I don’t recommend using the minis.
- Cool Whip – Not an ingredient I typically use, but I’m staying true to my mom’s recipe. Use Cool Whip specifically—it doesn’t work as well with store-brand alternatives. I’ve included instructions below for using homemade whipped cream if you prefer.
- Rum Essence – Unfortunately, they no longer sell the one my mom used to buy. I had a tiny bit left for testing this recipe, but I haven’t tried any other brands yet, so I can’t recommend anything specific. You can skip it and use a little vanilla instead, or start with a smaller amount of rum essence if you’re using a brand you’re unsure of.
A Few Notes
Like many European grandmas, she follows her own style of a “recipe” that can’t really be replicated. For instance, she measures her flour and oil using a specific spoon, not a measuring cup lol. She uses extra-large eggs (which most people don’t have on hand) and she worked in a way that made it very efficient for her since she was selling large quantities. That means, her pans that she baked on were seasoned like cast irons – we can’t just go out and buy that.
She also simplified the cream into a thick custard mixed with cool whip (SPECIFICALLY Cool Whip and not a store brand frozen whipped cream). I have tested this with whipped cream and gelatin in place of the cool whip because it’s universally consistent. However, it’s not going to give the same exact texture and flavor as hers. I do think it’s 99% there and most people wouldn’t notice a difference but the cream is much softer before refrigerating if you choose to go that route so it may be slightly more difficult to assemble.
I took her recipe – measured everything precisely and wrote a version that you can also recreate at home without as much room for error.
She also makes this as a full sheet cake that gets sliced into 60 small servings. I’m sharing ⅓ of that recipe here so if you want the full sheet cake, click the 3x button on the recipe card.
Because she baked the layers on the back of the pan, it was a little easier for her to get them especially thin. She made 10 layers, but to scale her recipe down to one-third, I baked 3 sheets and cut each into thirds to make 9 layers. Each layer has about 10% more batter than hers, but the difference isn’t noticeable. If you’re making the full triple batch, you can bake 10 full-size layers like she did.
Let’s Talk Details
There aren’t a lot of parts to this cake, just a lot of those parts LOL
- Chocolate Cream – Diplomat cream is pastry cream lightened up with whipped cream HOWEVER, my mother makes her own version so it is different from what you’d normally see in my recipes.
- Vanilla Cake – these are super thin sponge cakes but the technique is different to get the layers so thin.
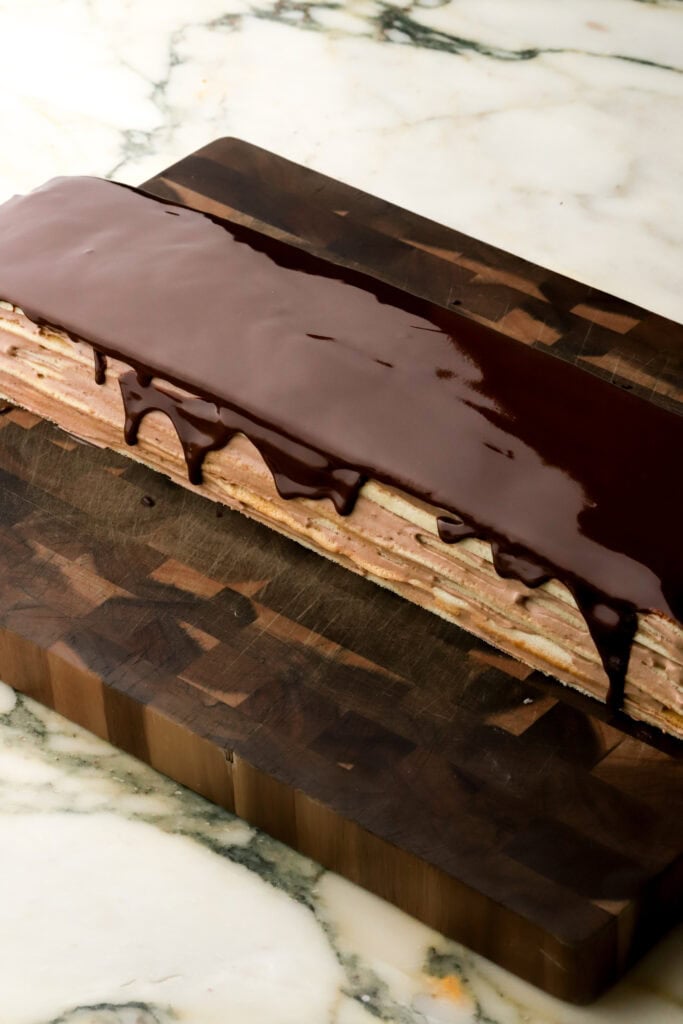
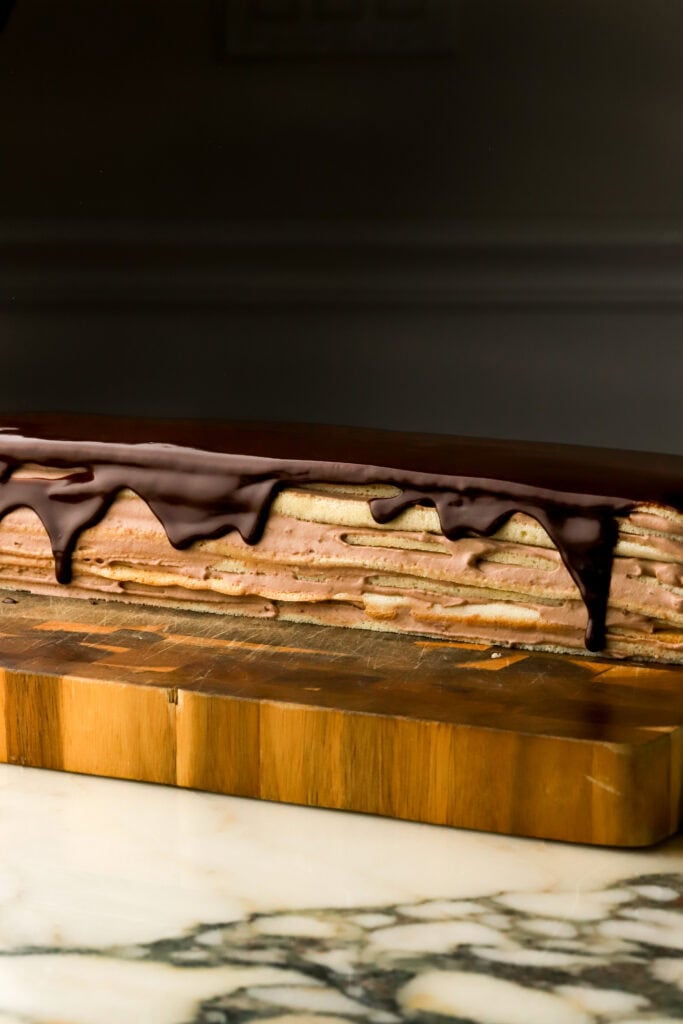
- Chocolate Glaze – similar to a chocolate ganache but instead of heavy cream, she uses oil and a splash of milk. As a chocolate lover, it’s my favorite part of the cake.
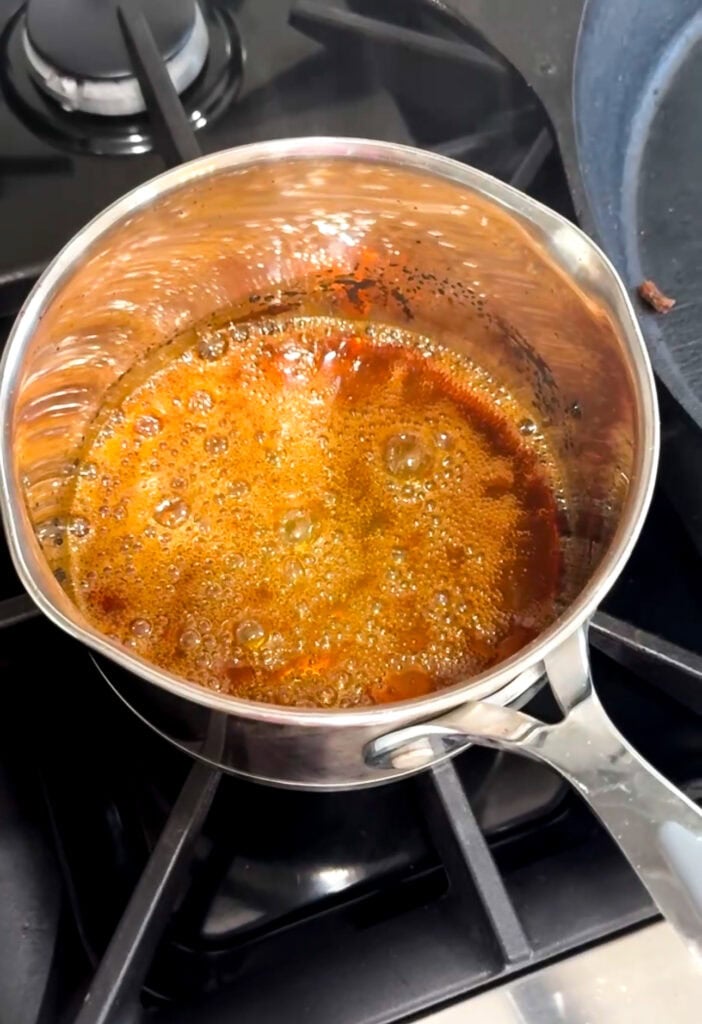
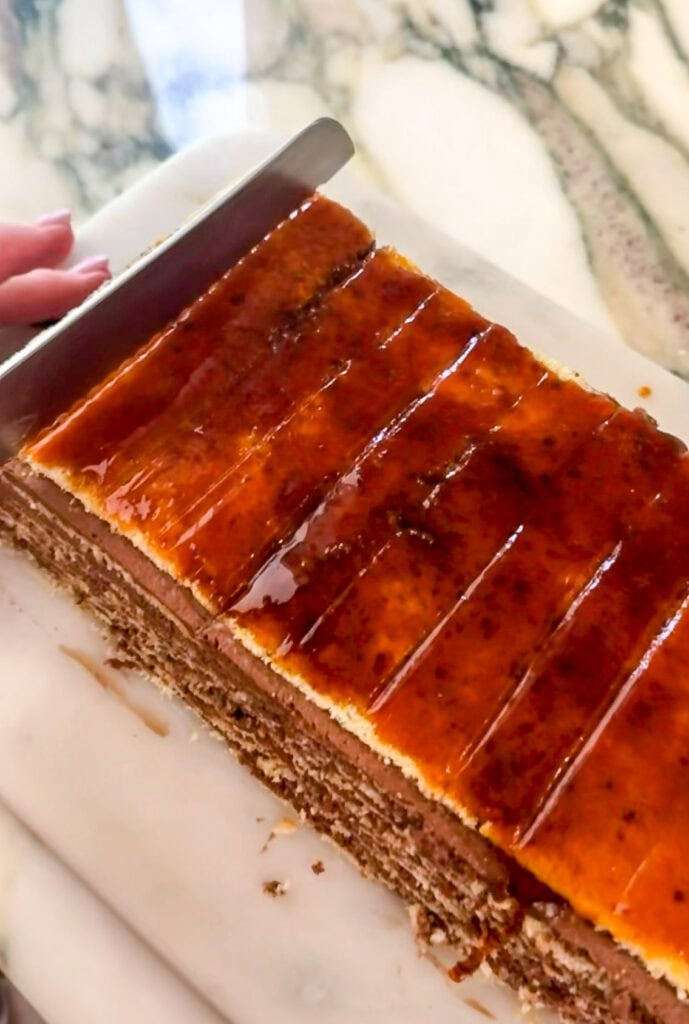
- Burnt Sugar – essentially like a creme brulee topping where we cook the sugar until it’s fully caramelized and then pour it on top of the cake.
Chocolate Diplomat Cream
We’re starting with the cream because the pastry cream takes longer to cool than the cake layers.
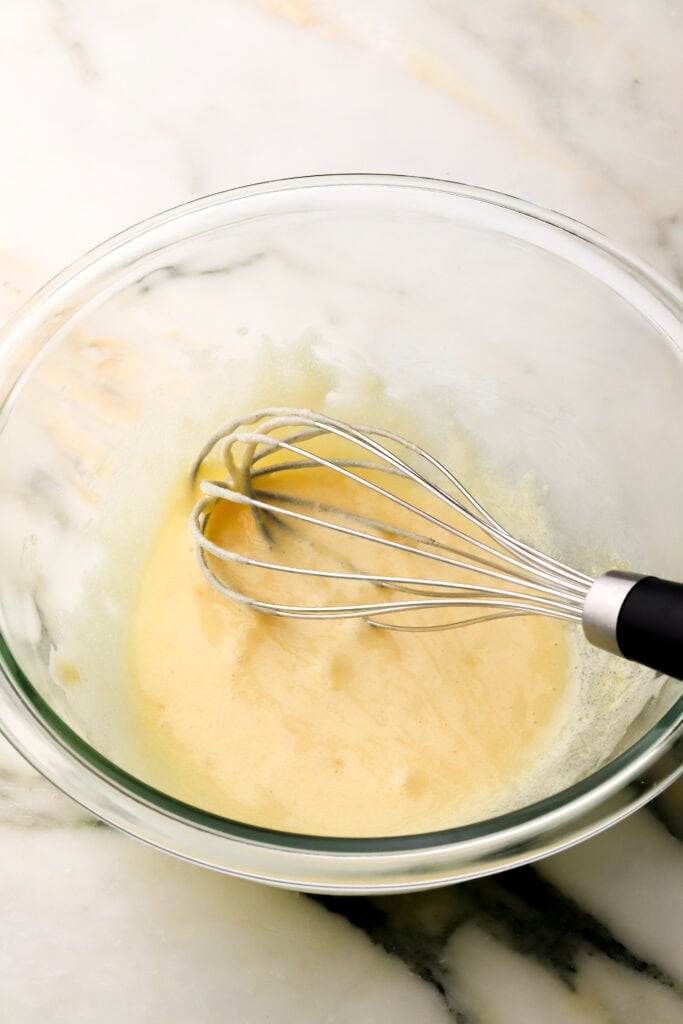
- Whisk egg yolks with sugar until smooth.
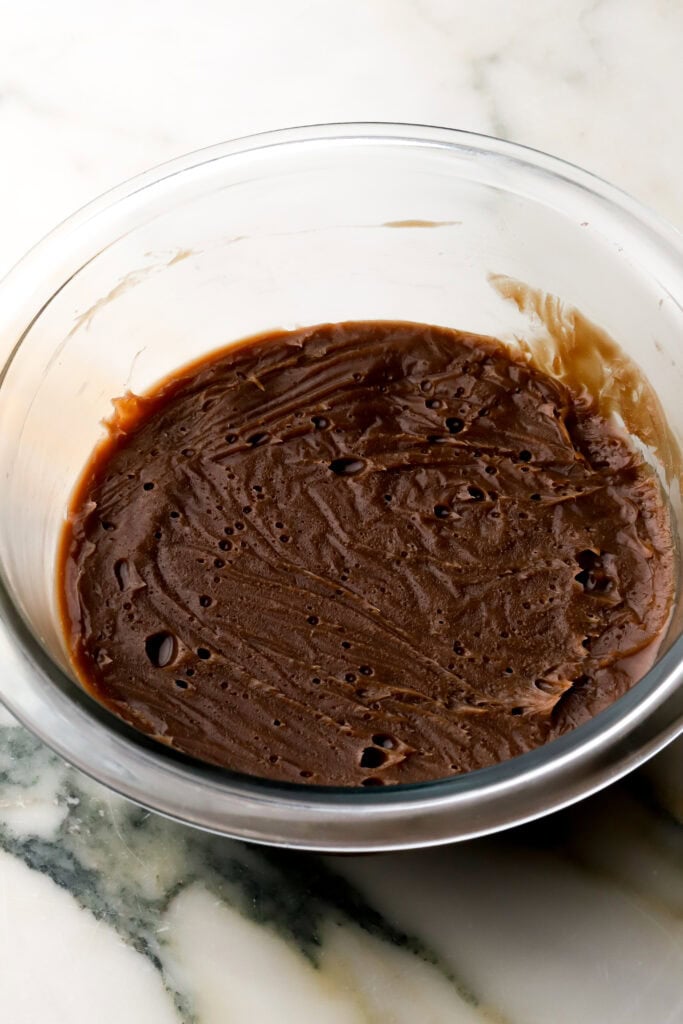
- Melt the butter in a saucepan halfway then add the chocolate chips and mix until it’s all fully melted and combined.
- Temper the egg yolks with the melted butter mixture by slowly pouring it into the bowl while whisking continuously.
- Return the whole mixture to the pot and cook the whole thing, until it thickens and leaves streaks.
- Quickly remove from the heat, pour back into the bowl and cover with plastic wrap to cool completely. Don’t refrigerate it or it sets too thick and leaves the cream chunky.
Vanilla Cake Layers
- Preheat the oven and sift the flour.
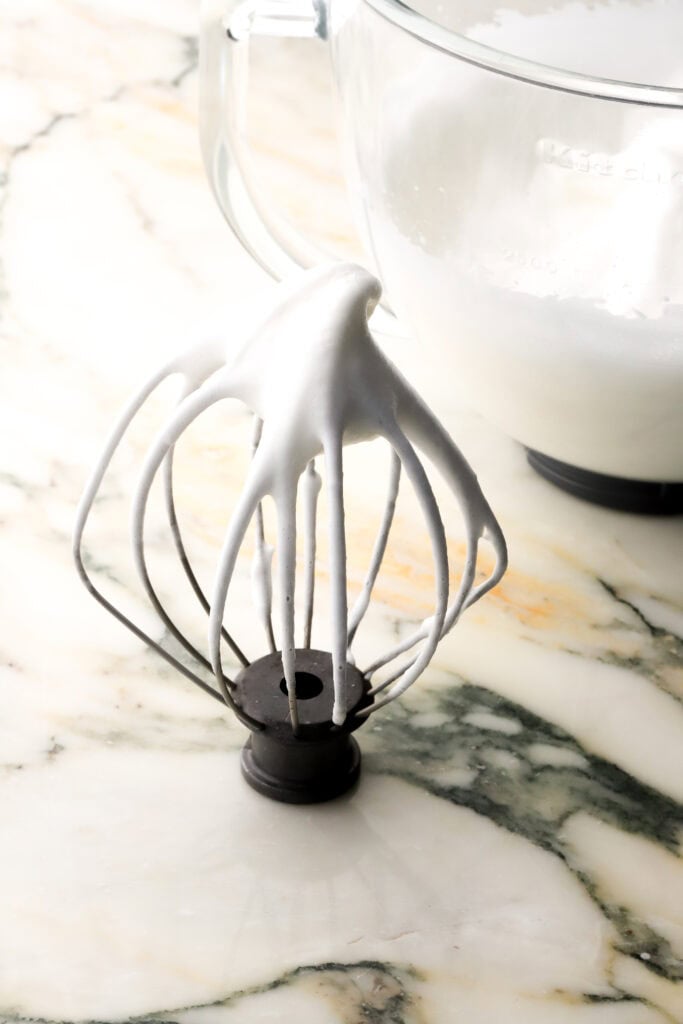
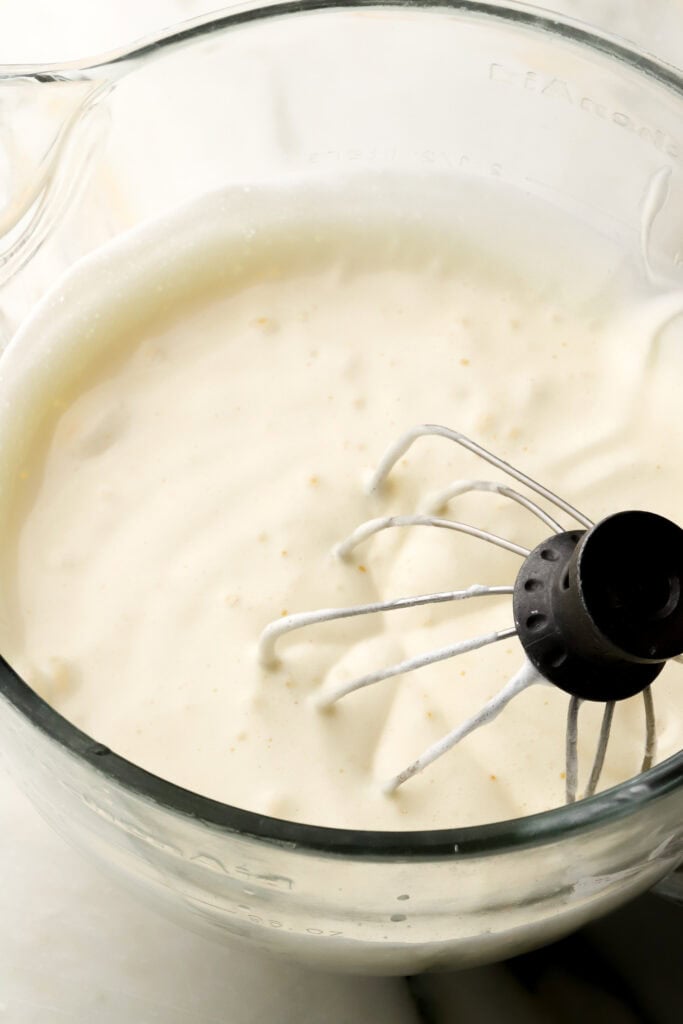
- Beat the egg whites, with the sugar and water until it’s thick and fluffy like a meringue.
- Add in the egg yolks, followed by the oil.
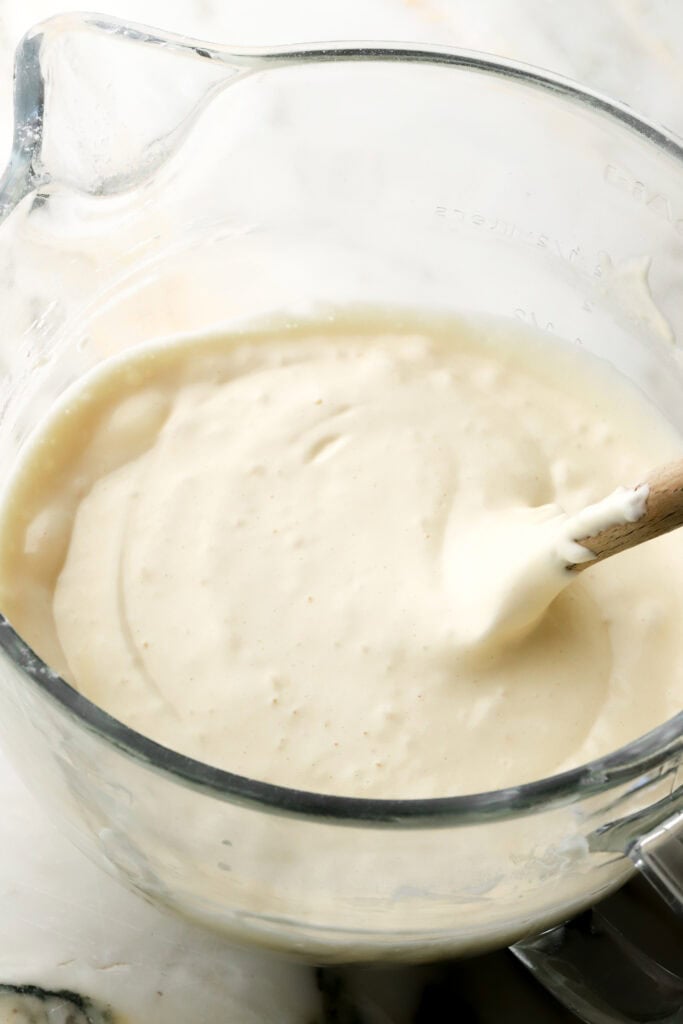
- With the mixer on, spoon in the sifted flour.
- Scrape the edge of the bowl to make sure all the flour is mixed in.
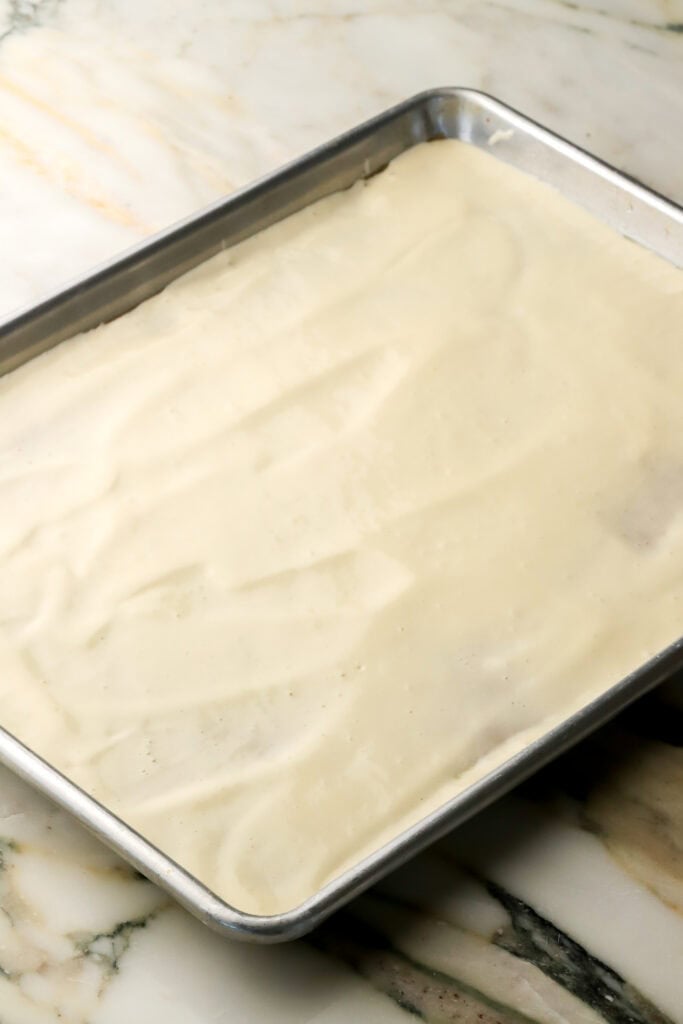
- Grease and line the sheet pan with parchment paper and spread ⅓ of the batter in the prepared pan – it will be very thin.
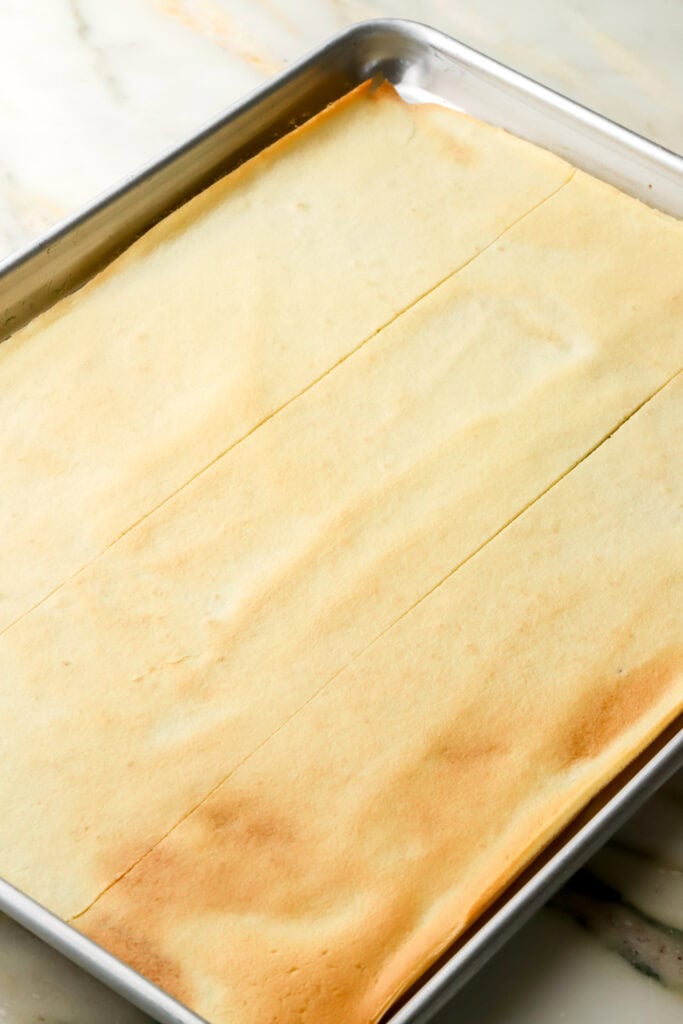
- Bake until it’s golden – if it’s white, the cake will be softer but slightly more gummy; if it’s brown, the layers will be very difficult to handle and may shatter.
- Allow the cakes to cool in the pan for a few minutes before removing.
- Repeat until you have 3 full cake layers.
Assemble The Cake
The assembly is actually very similar to my Opera Cake.
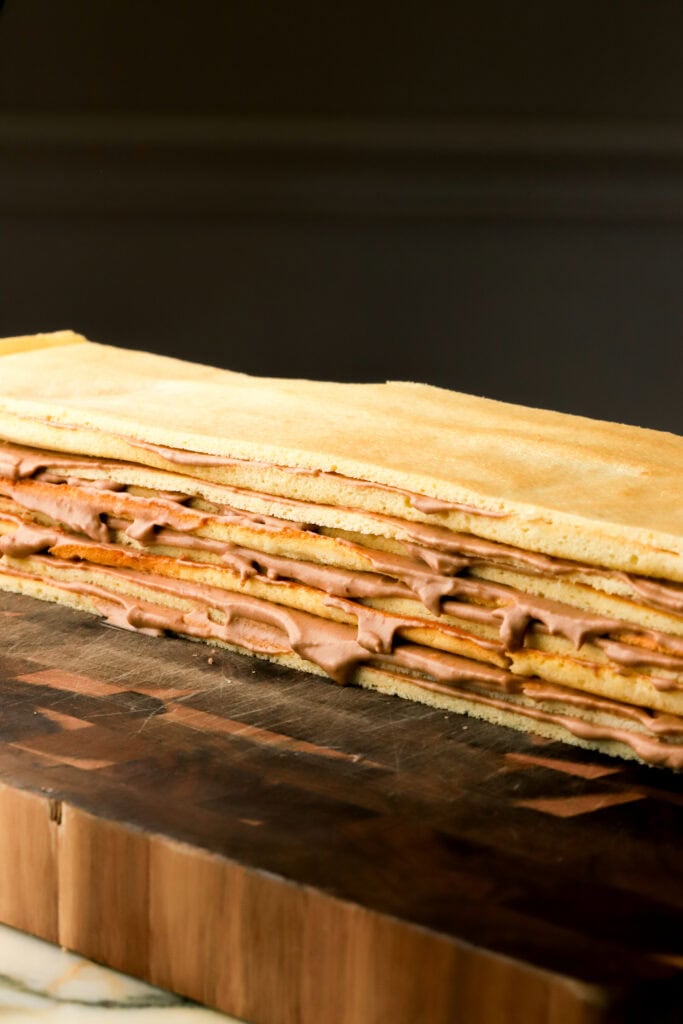
Start by slicing each layer of cake INTO THIRDS from short edge to short edge (hot dog style). This should give you 9 long rectangular layers to stack.
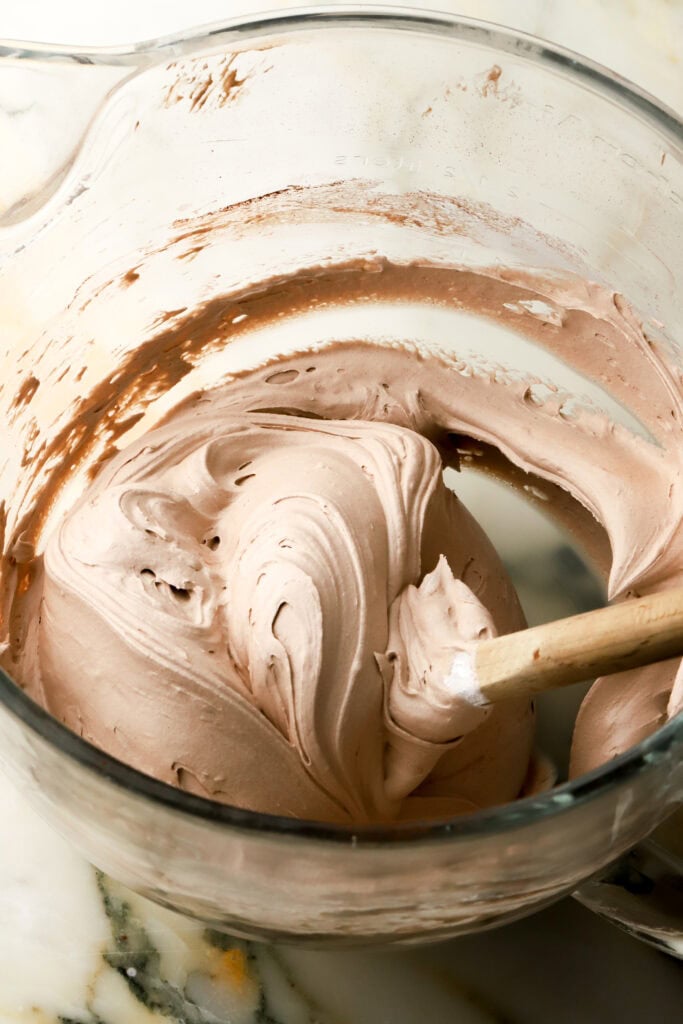
- Once the cakes are done, add the cooled custard, Cool Whip, cocoa powder and Rum essence to the mixer bowl and mix just until it’s all combined.
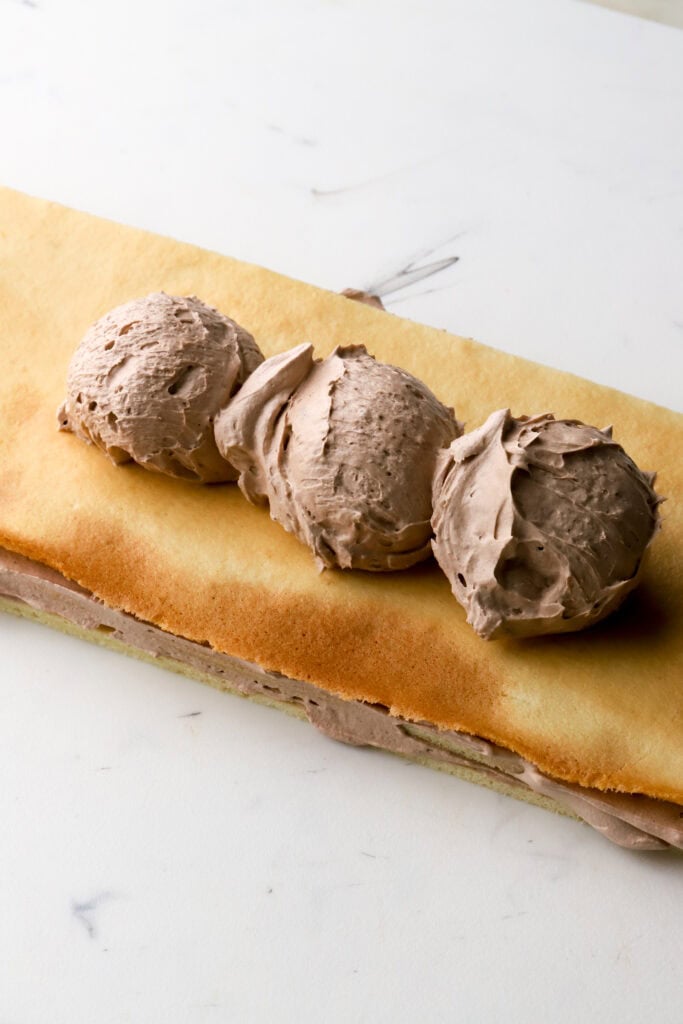
- Place the first layer of cake on the bottom of a tray and use a small cookie scoop to scoop out even amounts of cream – I did three small scoops which totaled to about 2.6 ounces of cream per layer.
- Spread the cream into a thin, even layer. Repeat until you reach the last layer. Don’t cover the last layer in cream, leave it bare.
- Refrigerate the cake for several hours to allow the cream to set before making the topping. Freeze if making the burnt sugar topping.
Chocolate Glaze
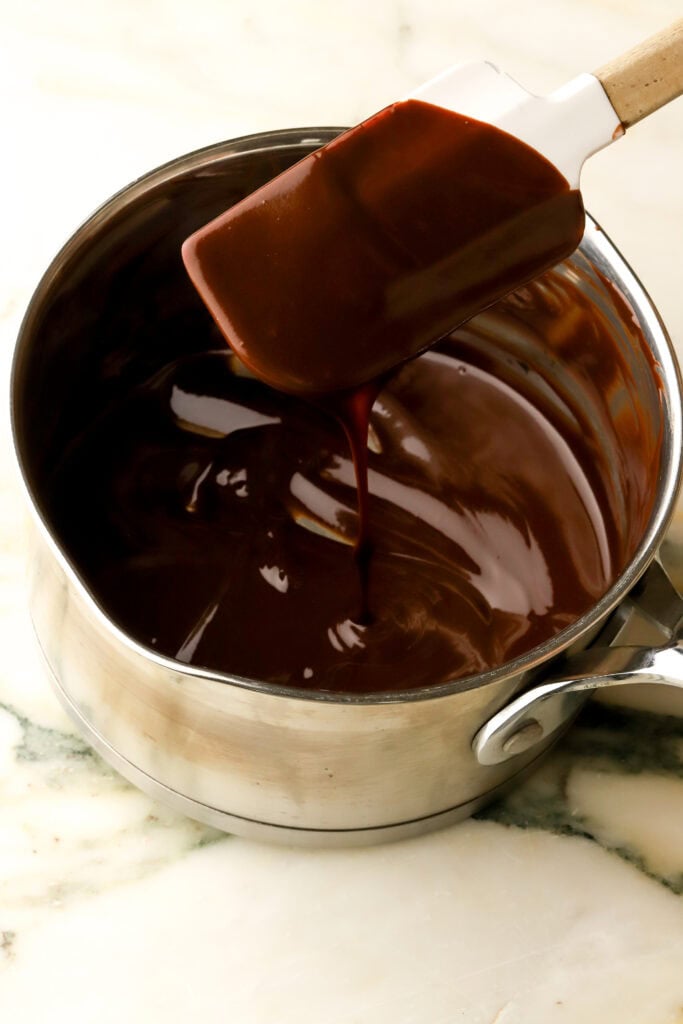
This is not a traditional chocolate ganache like I normally make. She makes it with oil and a splash of milk instead of heavy cream. The taste and texture are different from ganache.
- Heat the chocolate chips, oil and milk on the stove.
- Stir until it’s completely melted and then pour over the chilled cake, allowing it to run off the edge.
- Spread it out evenly and then lightly tap the cake on the counter to even out the top.
Burnt Sugar Topping
- Melt the sugar and water in a small saucepan – swirl the pan gently every so often so it melts evenly.
- It’ll start to brown, swirl it again if it’s not browning evenly.
- Once it’s a nice golden amber color, remove the pot from the heat and let it rest for a minute before slowly pouring on top of the FROZEN cake so it doesn’t melt the cream underneath. Use a spoon to spread it out a bit.
- While it’s still hot, use a large SERRATED knife to score the sugar topping (don’t slice through – just score it so it’s easier when you go to slice). My mom greases her knife between each one so it doesn’t stick.
Pro Tip: the hot sugar makes the sponge shrivel a little once it hardens so save your largest slice of cake for the top layer to avoid it getting smaller than the layers underneath.
What Pan To Use
I recommend an 18×13 half sheet pan, which gives you exactly 3 layers if you’re using 7 ounces of batter per layer.
Obviously if you use a smaller pan, you’ll either get more layers or thicker layers and vice versa.
My mom would bake the layers on the back side of her pan because it was quick and avoided wasting so much parchment paper. It does work that way too but I find it quite difficult with a pan that’s not as seasoned as hers. It also tends to ruin the pans so she uses them specifically for this cake.
Making This Without Cool Whip
Should you choose to make this with whipped cream, you’ll need:
- 360 mL (1 ½ cups) heavy cream
- 30 grams (¼ cup) powdered sugar
- 1 tsp of gelatin
- 1 Tbsp cold water
- Bloom the gelatin by mixing it with the cold water and let it set.
- Microwave it for 5 seconds and then add in 1 Tbsp of the custard, mixing it until it’s smooth.
- Add the gelatin mixture to the custard and whisk until it’s completely combined.
- Beat together the heavy cream, powdered sugar, cocoa powder and rum essence until they’re smooth and stiff peaks form (don’t overbeat, just until silky stiff).
- Add ¼ of the whipped cream to the custard and whisk it to thin it out, then add all the custard to the whipped cream and mix until it’s fully combined (don’t over-mix).
Decorating The Outside Of The Cake
Absolutely! Once the cake is fully chilled and set, you can frost the outside if you want to turn it into more of a celebration cake. I would skip the burnt sugar topping though – the chocolate one is fine.
OR if you do really want the burnt sugar topping and a frosted cake, I would save the last layer of cake that we placed on top – don’t put it on the cake. Frost the rest of the cake as you normally would and refrigerate it. Meanwhile, make the burnt sugar and pour it on top of the layer of cake we saved. Slice this into little triangles and use it to decorate the frosted cake.
If you’re frosting the cake, you can double the cream in the recipe for a more casual look OR personally, I would use the leftover egg whites from the cream to make a Swiss Meringue Buttercream and flavor it however you want. Swiss buttercream is much easier to decorate with if you want to make it look really nice.
What To Do With Leftover Egg Whites
Speaking of egg whites, you’ll be left with four egg whites (or 12 if you’re making a triple batch!). They freeze well so you can freeze them and use them for later or I have several recipes I like to make to use these up.
- Swiss Meringue Buttercream – 1 batch uses 4 egg whites. If I don’t need it right away, I just freeze it and use it when I need to decorate a cake next time.
- Egg White Cookies – a single batch uses 2 egg whites and makes 9 cookies; you can easily double this.
- Any recipe that uses meringue – my favorites are S’mores Sheet Cake, Chocolate S’mores Cake, or S’mores Cupcakes.
- Macarons – 1 batch uses 4 egg whites; fill them with Cream Cheese Frosting or Ganache, whatever you prefer.
Serving & Storing
I prefer this cake served cold or slightly chilled, but it can also be served at room temperature if desired.
It’s easiest to slice when cold and should be stored in the refrigerator. If serving at room temperature, just don’t leave it out in a warm environment for too long.
To get clean slices, my mother ran a large NON-serrated knife under hot water, wiped it dry, and used the hot knife to slice the cake (use the serrated knife just to score the sugar topping if you’re making that one). She repeated this between every single slice so the cream wouldn’t smear and the layers would show clearly.
If you have any questions feel free to comment down below.
Have a blessed day & happy baking!
Love, B


…also, what’s the recipe for the chocolate ganache on top?
I normally make my chocolate ganache with 1 cup chocolate & 1/2 cup heavy cream, I will add it the recipe!
I would actually double that for this recipe though, so 2 cups chocolate & 1 cup cream. I’ve added it above.
Ok thanks very much!! Definitely going on my list of cakes to make very soon. 🙂
So glad to hear that! I’d love to see it & I hope you like it ?
This looks spectacular!!! How far ahead could you make this?
So glad you like it Kristen! I have refrigerated it for up to a week & you can also freeze it for a few weeks. However, if you leave some of the layers exposed, like I did, they may dry out. To avoid that, you can keep in an airtight container or wrap it with plastic wrap .
Beautiful layers! ❤ If I want to the plain one, omit the cocoa powder & replace with 3/4 cups of flour?
Yes, that should work Linda!
Love, B
Amazing !!!!!! Beautiful !!!!!! I will make this cake as soon as possible ???hahahha , and I will let you know????????
Thank you sooo much! I’d LOVE to see it <3