
Banoffee Cake
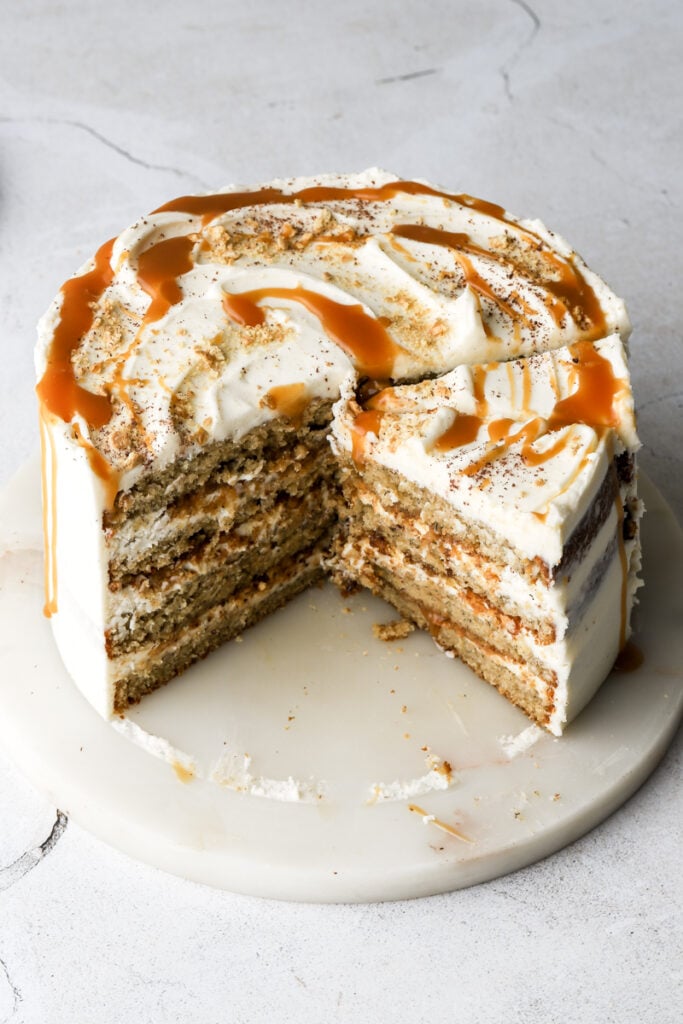
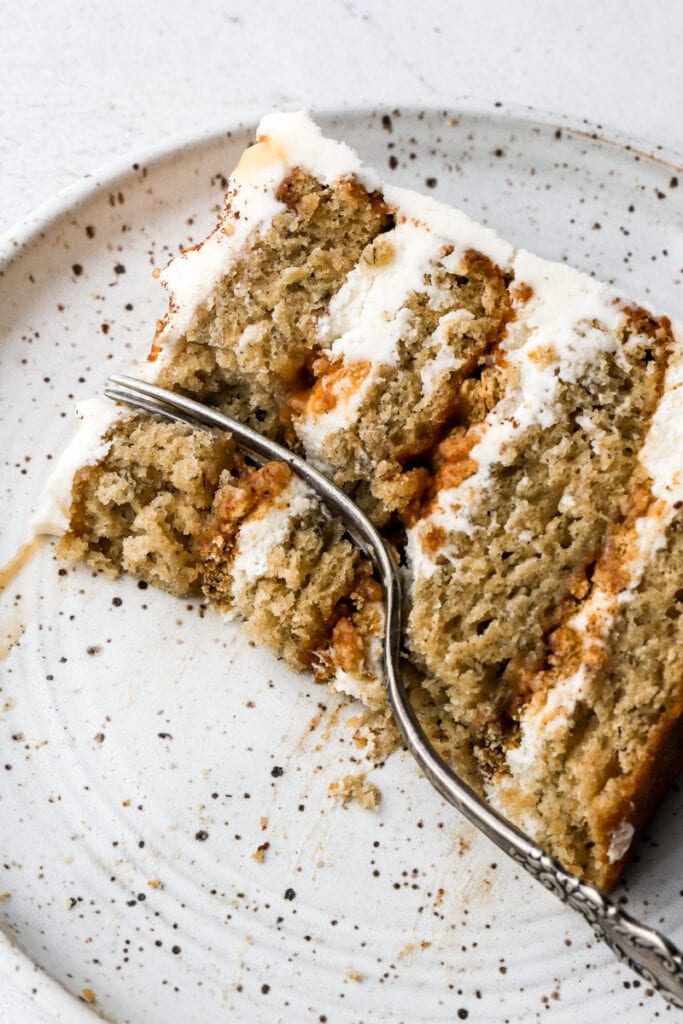
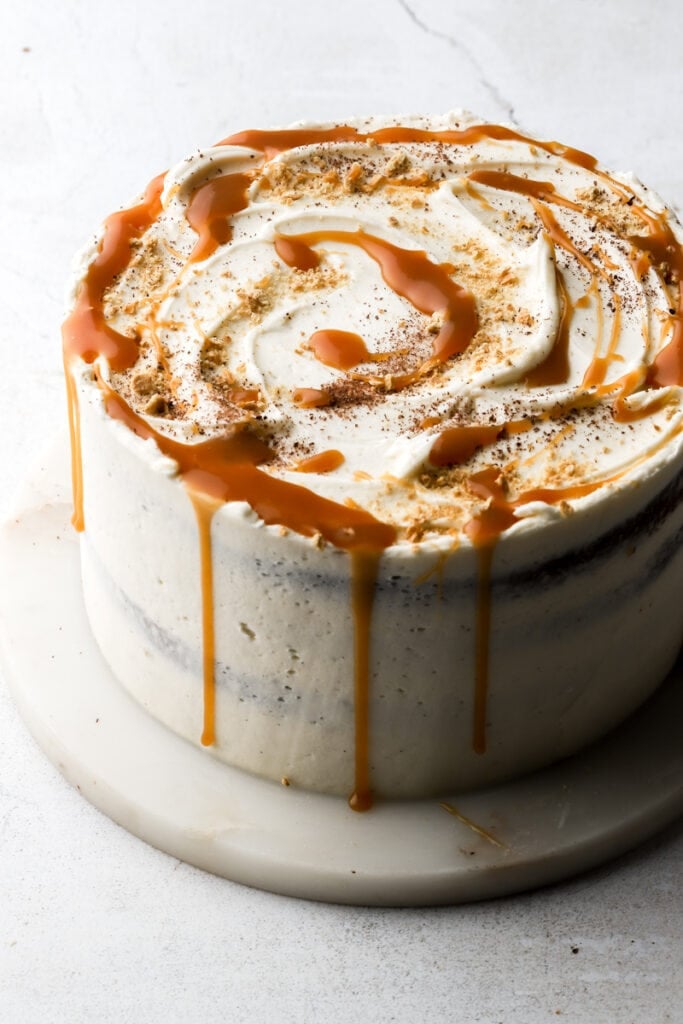
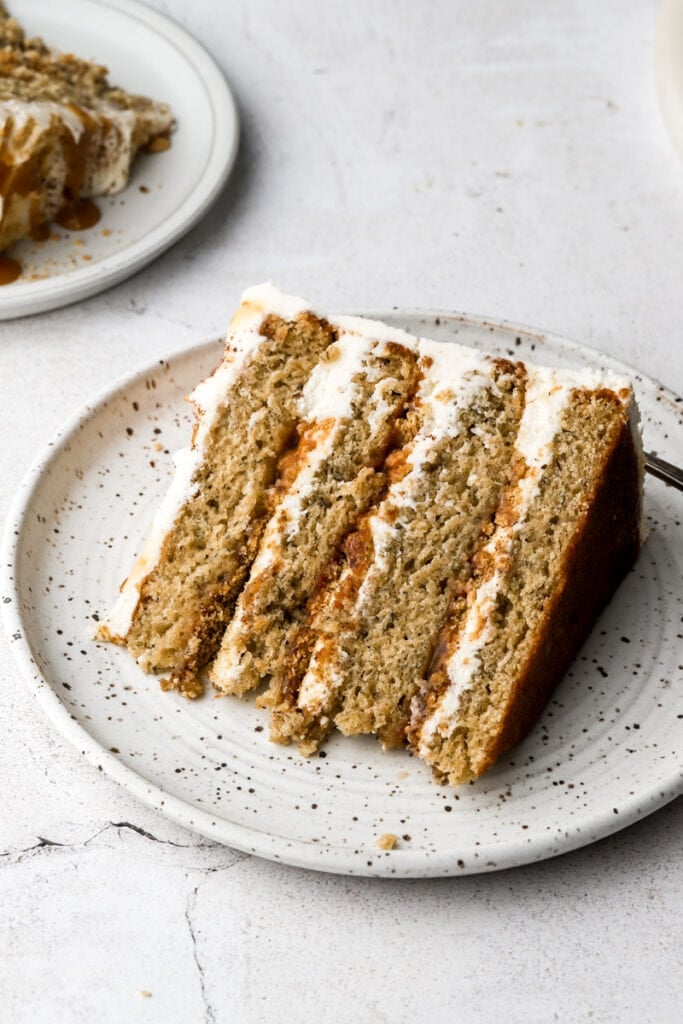
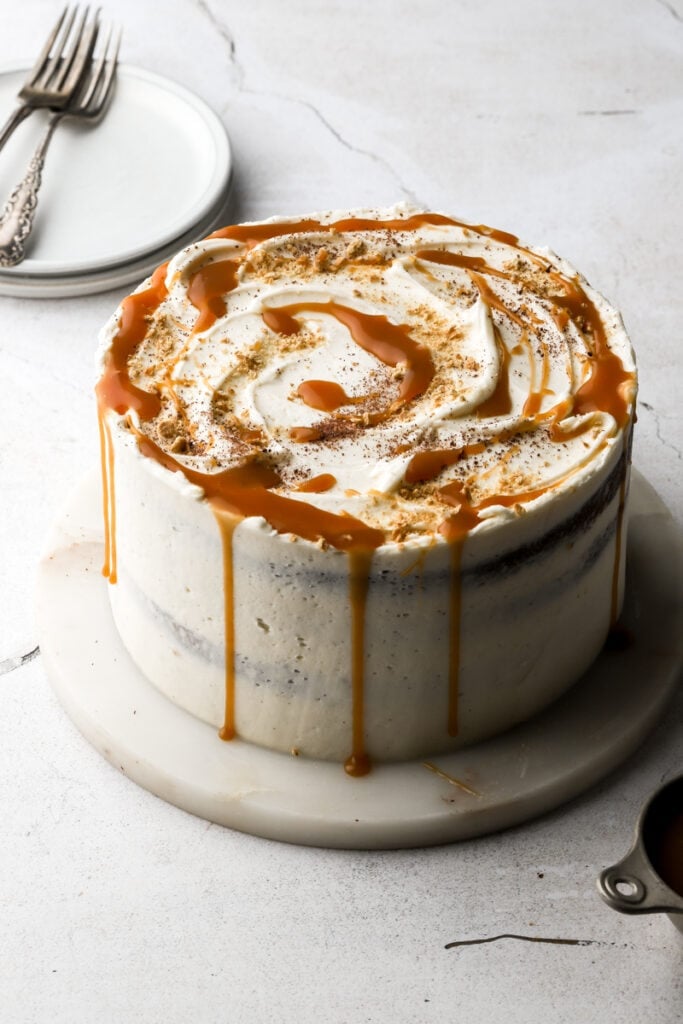
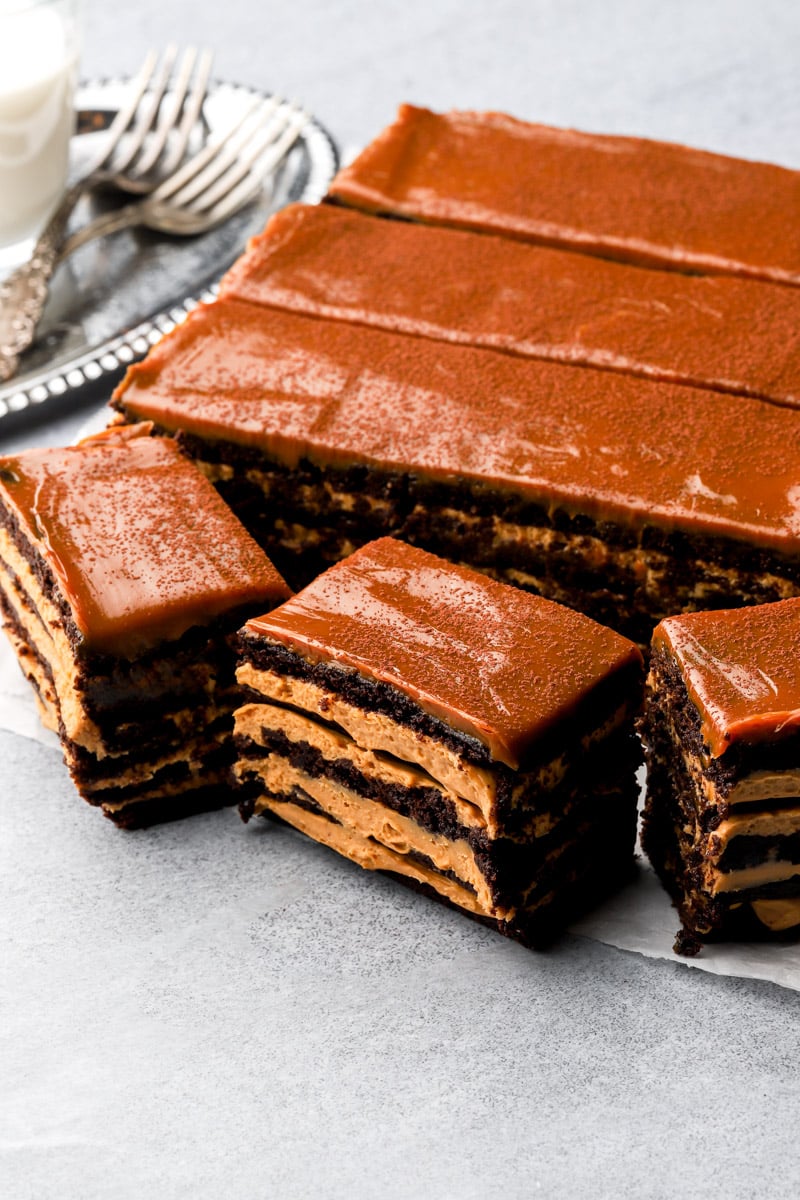
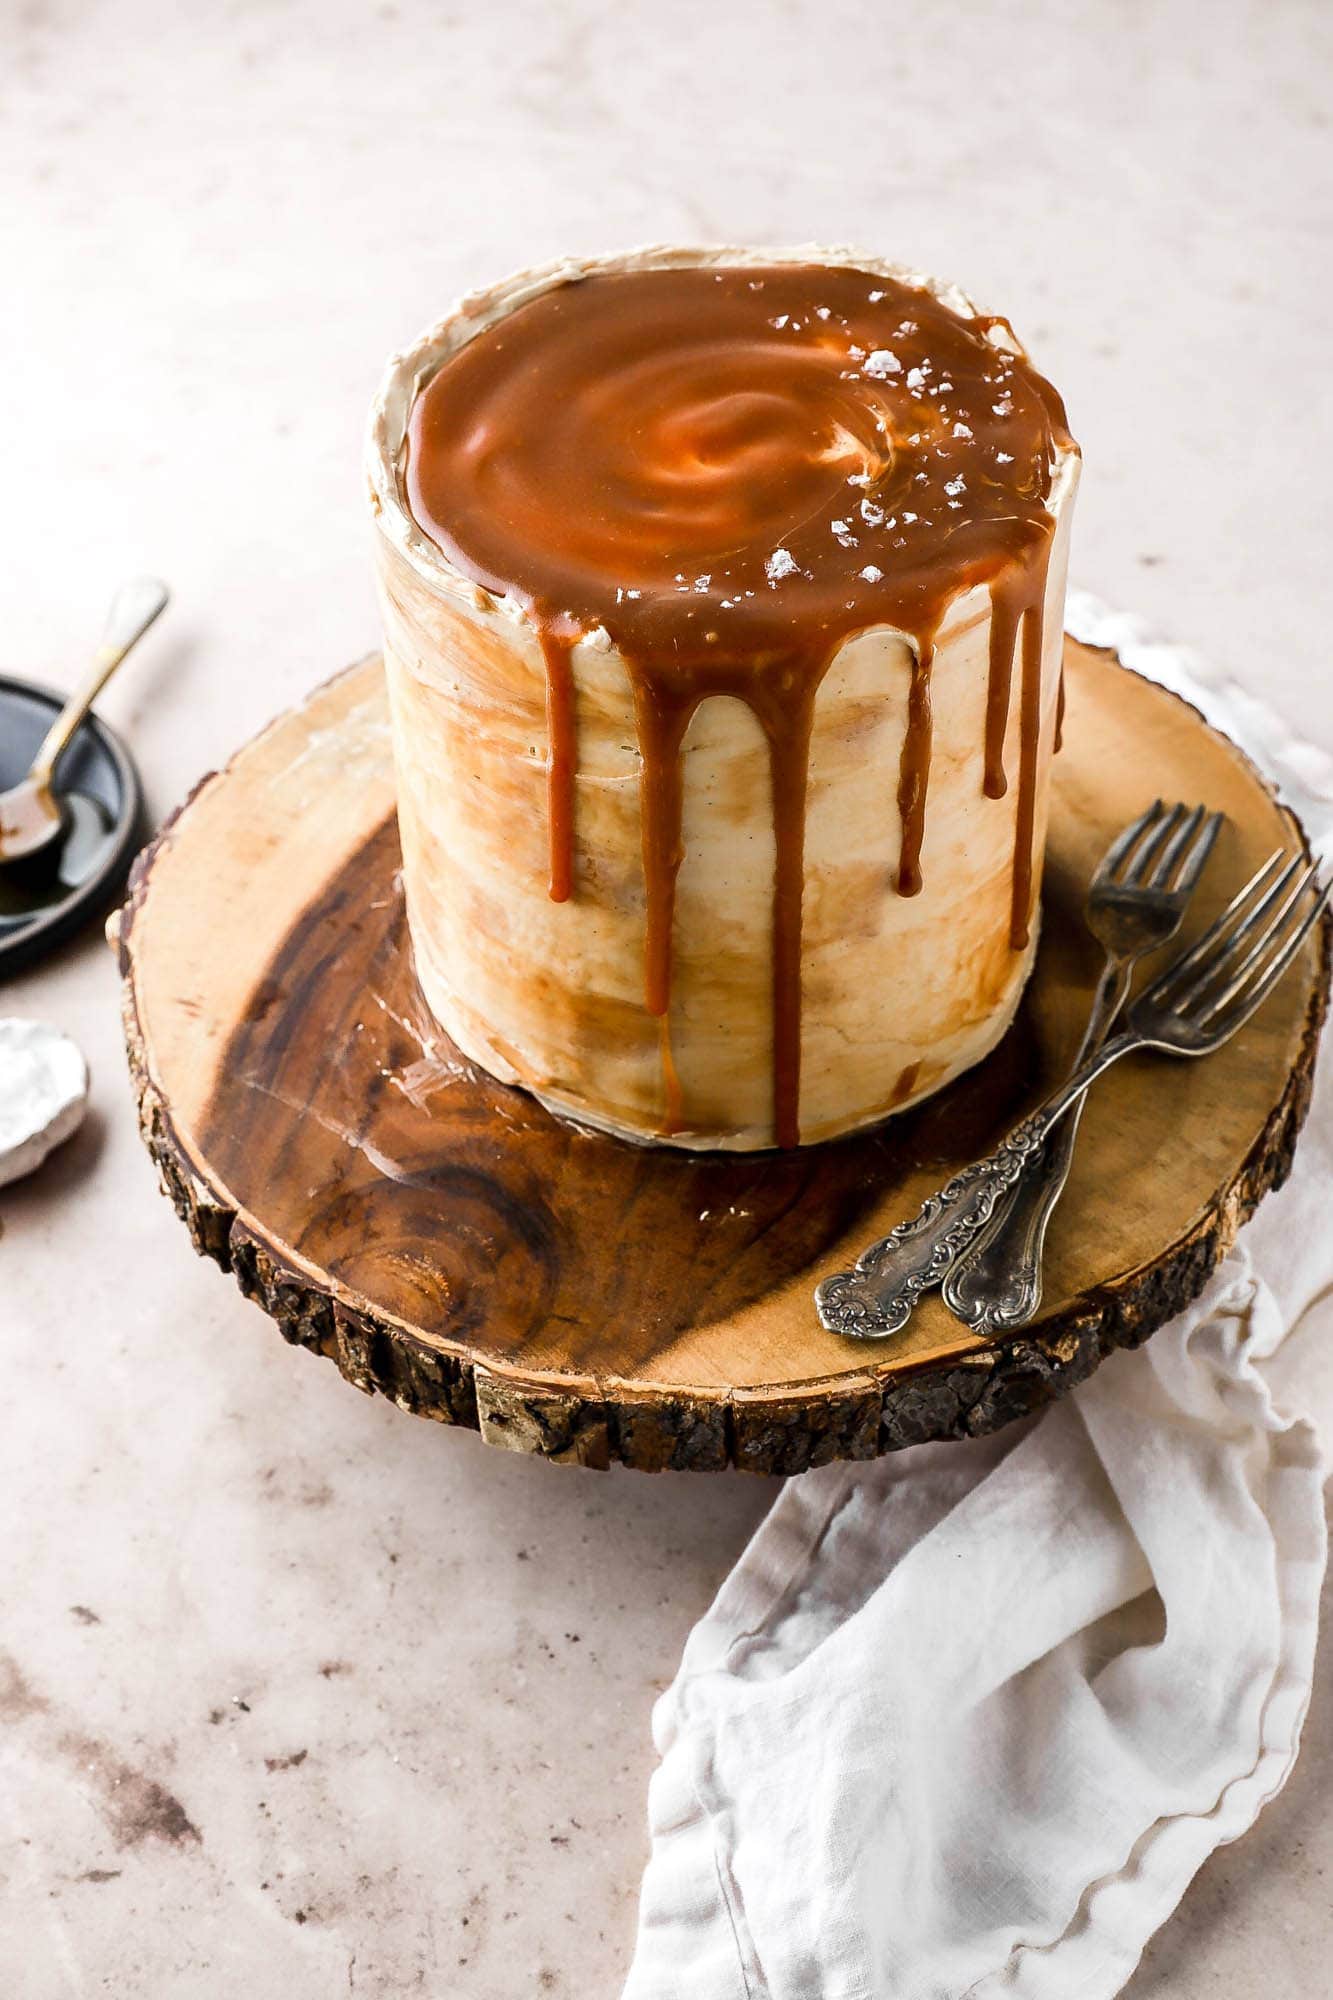
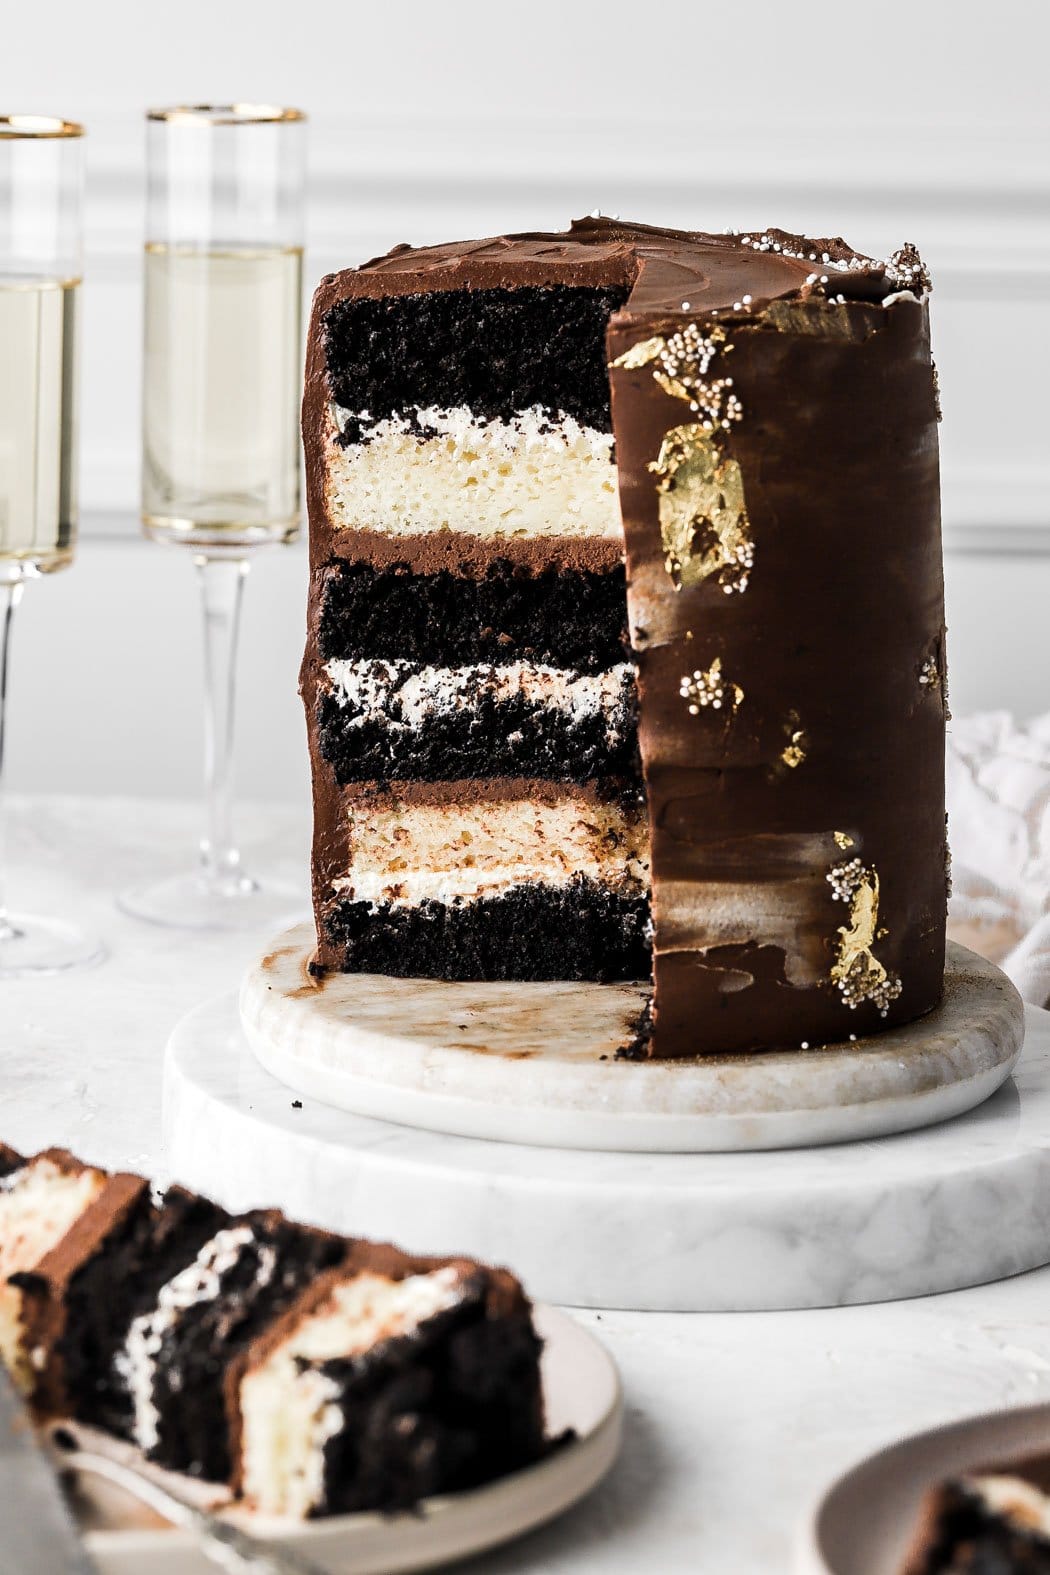
This banoffee cake is made with four layers of banana cake, frosted with whipped vanilla bean buttercream and filled with homemade salted caramel sauce, crushed graham crackers and chocolate shavings. It’s an absolute dream.
Why you’ll love this banoffee cake
- It’s way more simple than it looks and sounds.
- Use up those brown bananas sitting on your counter, without another banana bread.
- The caramel sauce can also be store bought if you’re feeling that.
- It’s frosted with a whipped vanilla bean frosting.
- The cake recipe is very forgiving and allows for many substitutions and dietary restrictions.
If you’re here for all the banana things, I have the best classic banana bread and muffins. A chocolate banana bread and two of my favorite cake, fluffernutter banana cake and chocolate chip peanut butter banana cake.
What is banoffee?
The name kind of sounds like “banana” & “coffee” but it’s actually “banana” & “toffee”. Banoffee is an English pie that starts with a buttery biscuit crust and is filled with banana slices, toffee sauce, whipped cream and chocolate shavings.
Toffee is just caramel taken to a temperature a little hotter than traditional caramel. The hotter temperature dries up the caramel sauce, making it a thicker consistency. You’ll often see caramel candies labeled as “toffee”. Essentially it’s just a thicker caramel sauce that’s often replaced with dulce de leche but I MUCH prefer a homemade salted caramel sauce.
What is banoffee cake?
As usual, I had a few brown bananas in the fruit basket so I thought I’d take inspiration from the banoffee pie. I made banana cake layers instead of slices (the slices just don’t sound good to me in a cake, sorrrryyy).
Then I made a whipped vanilla frosting so it feels whipped and light like the whipped cream on top of the pie but it’s sturdy enough to hold the cake up.
Instead of “toffee” or the more popular “dulce de leche”, I made salted caramel sauce. You can use a store bought or a homemade one. You can also use dulce de leche if you prefer that. The texture will be a little thicker and creamier with the dulce de leche.
I used graham crackers between the layers to represent my pie crust and because I love anything made with graham crackers.
Ingredients & Substitutions
- Flour: I use all purpose flour in most of my recipes and I HIGHLY recommend using a digital scale, as flour is so often over measured.
- Baking Powder/Soda: I used both baking powder and baking soda for cake batters that are heavy like banana/carrot/pumpkin, etc.
- Sugar: I used light brown sugar in the cake, granulated sugar in the caramel sauce and powdered sugar in the frosting. I don’t recommend cutting any out but you can use a less sweet frosting if you want (see FAQs).
- You can use dark brown sugar or granulated sugar (or both) in the cake, as well if you’re in a pinch.
- Butter: I like to use salted butter in my cakes but you can also use unsalted butter. Dairy free butter also works well.
- I use unsalted butter in the buttercream.
- Oil: I recommend using a neutral oil like sunflower, vegetable or canola oil.
- Eggs: make sure to use room temperature, large eggs.
- Pop them in hot water for a few minutes if they’re cold.
- Cinnamon: I just can’t bake anything with bananas and not add cinnamon… I used just a little ground cinnamon, not strong but compliments the banana flavor.
- Greek Yogurt: You can also use sour cream or plain yogurt here, just make sure it’s unsweetened.
- Vanilla: I usually just use a simple vanilla extract in cake batters but I like to use vanilla bean paste for buttercreams and frostings.
- Heavy Cream: I use heavy whipping cream for the caramel sauce and for the frosting. Make sure it’s at room temperature for both so the frosting doesn’t split and the caramel doesn’t splatter.
- Graham Crackers: I added a generous layer of crushed graham crackers between the layers because banoffee is originally a pie and the graham crackers give it a sort of pie nostalgia.
- Chocolate: There’s generally a little chocolate shaving on top of the whipped cream on the banoffee pie so I added the chocolate shavings between every layer as well. It’s super subtle but the flavors play so well together.
- I just used a Trader Joe’s Pound Chocolate Bar and grated it.
Step-by-Step Instructions
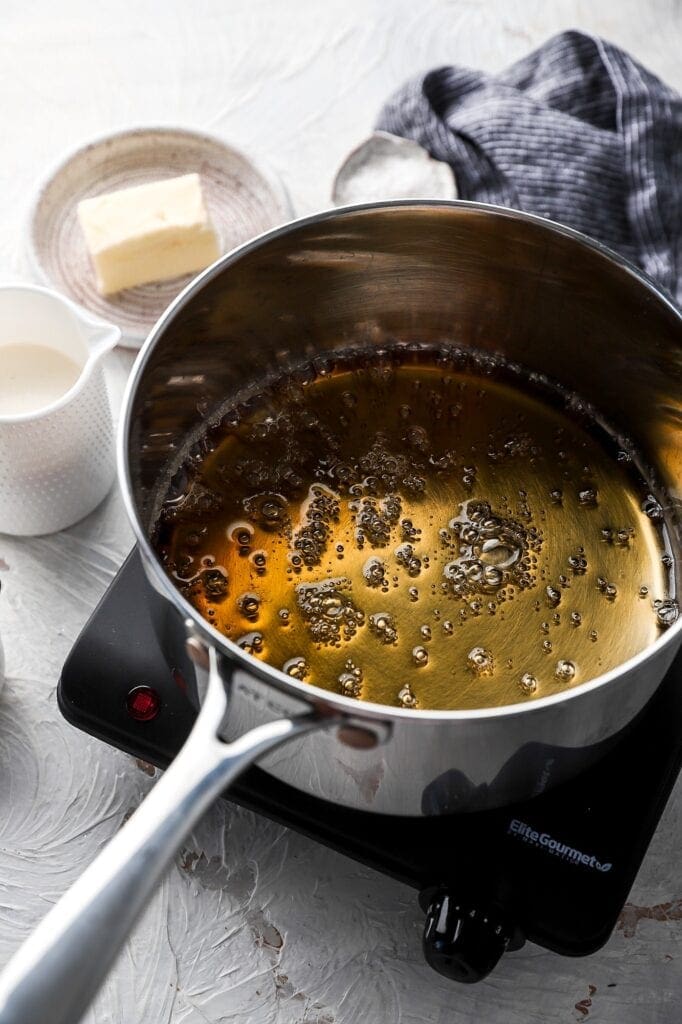
Step 1: Start by making the caramel sauce so it has time to cool. Cook the sugar with the water until it turns into a dark amber color.
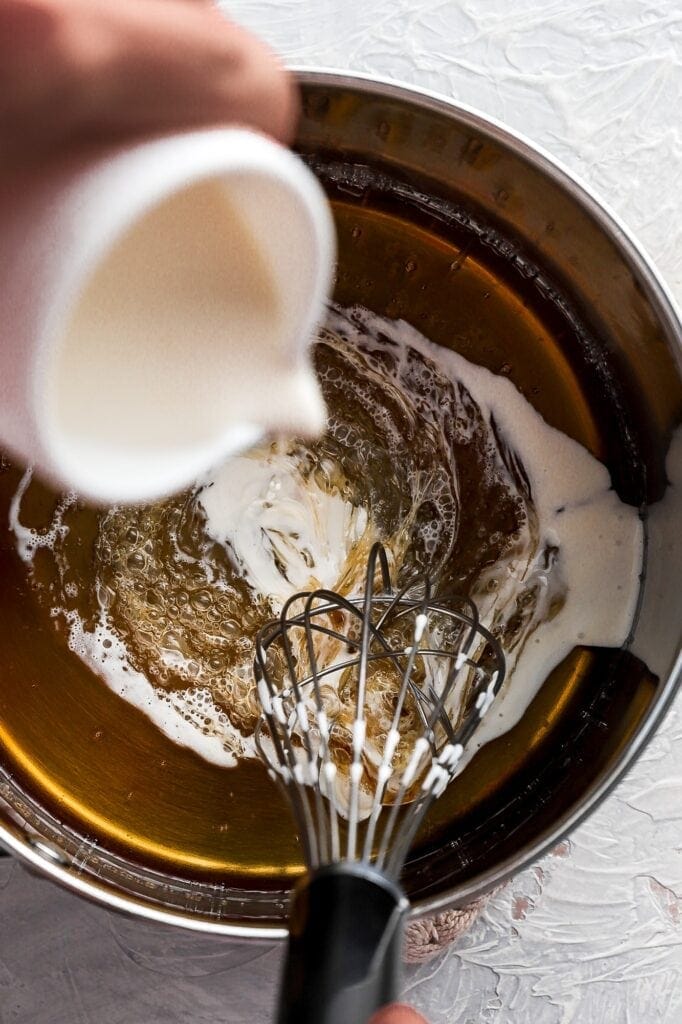
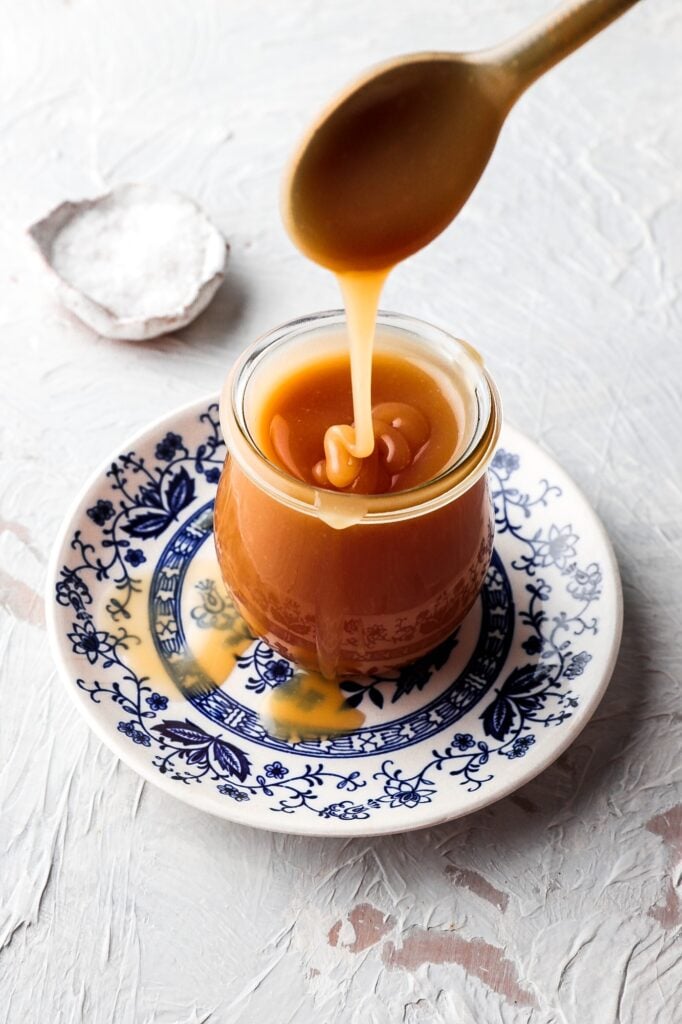
Step 2: Whisk in the butter followed by the heavy whipping cream. Pour into a heat safe bowl/jar and stir in the salt and vanilla.
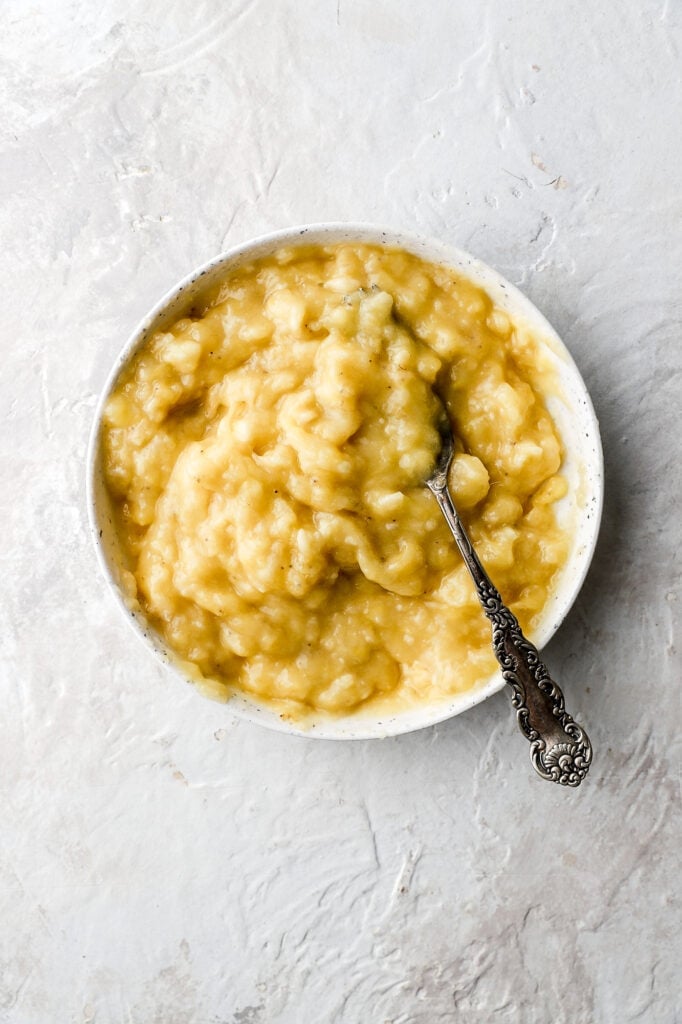
Step 3: Make the cake by whisking together all of the dry ingredients and set them aside. Mash the bananas really well so there are no large chunks.
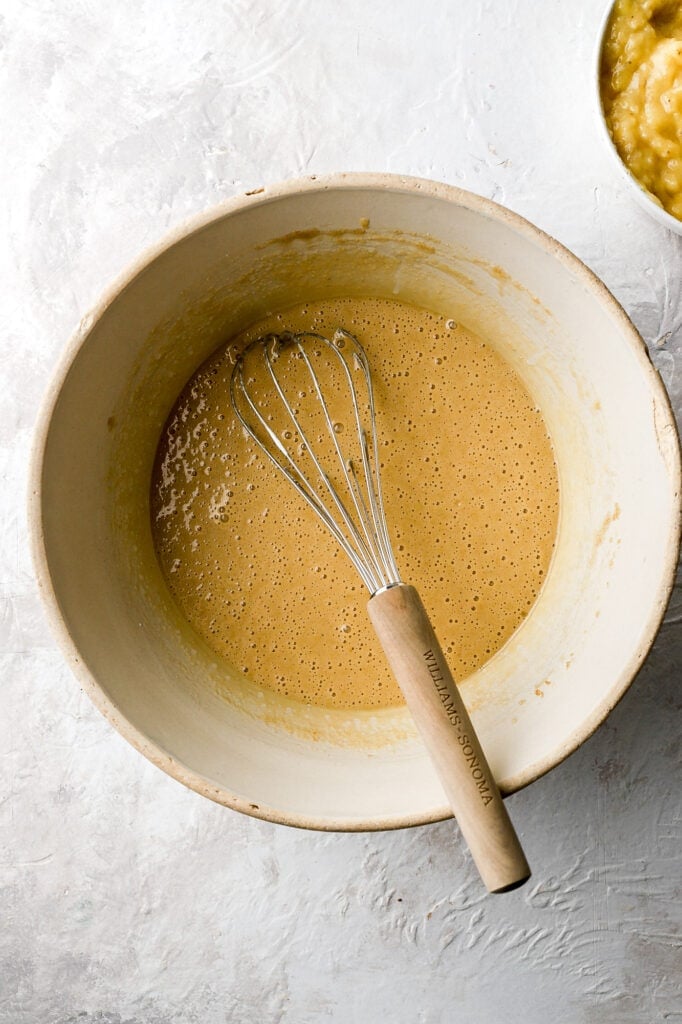
Step 4: Whisk together the eggs and sugar really well. Then add the oil, greek yogurt, vanilla and mashed bananas, mixing until it’s smooth.
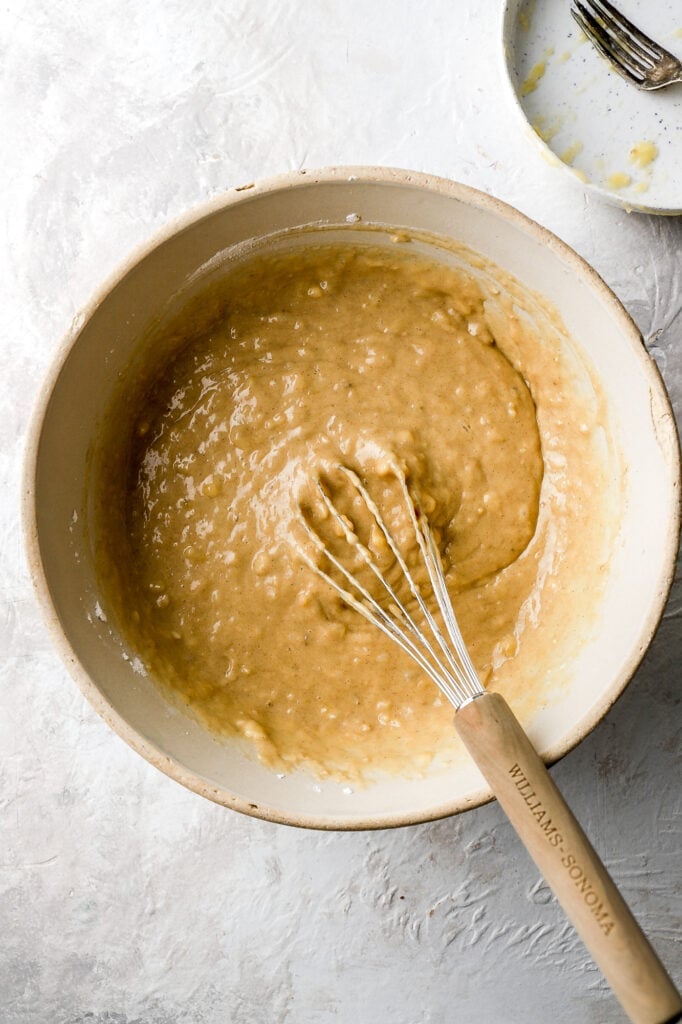
Step 5: Add the dry ingredients and whisk just until there are no streaks of flour left.
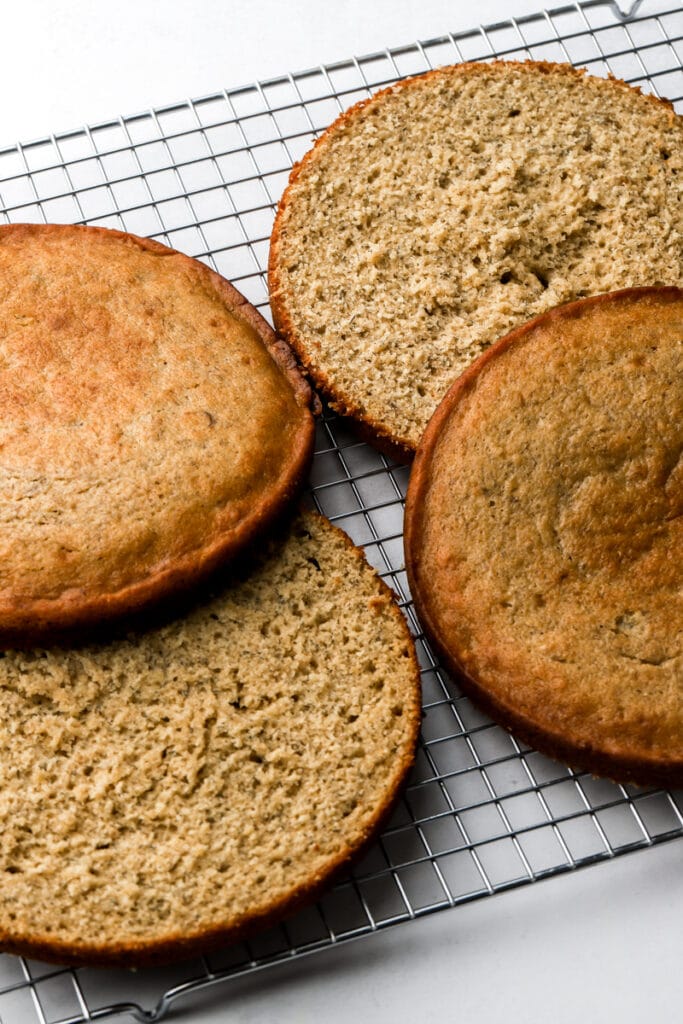
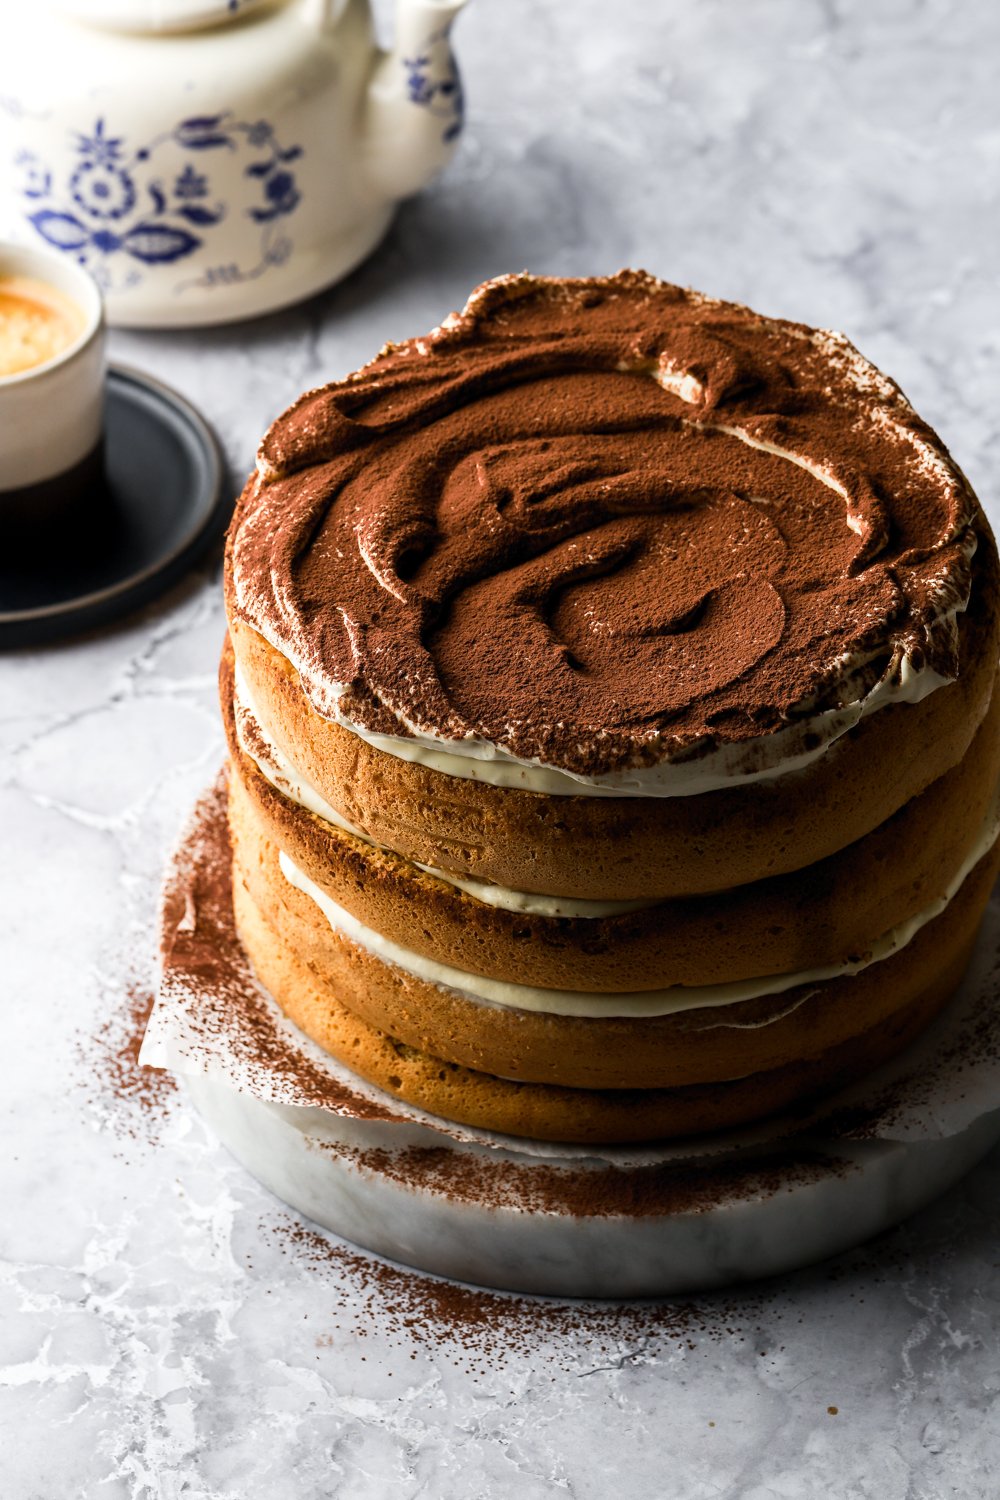
Step 6: Distribute the batter evenly among the two cake pans and bake for about 30 minutes. When the cake is done baking, it will release itself from the edge of the pan and spring back when you press on the center. Flip the cakes over onto a cooling rack or a tea towel right away. Allow them to cool to room temperature. Once they’ve cooled, slice each one in half.
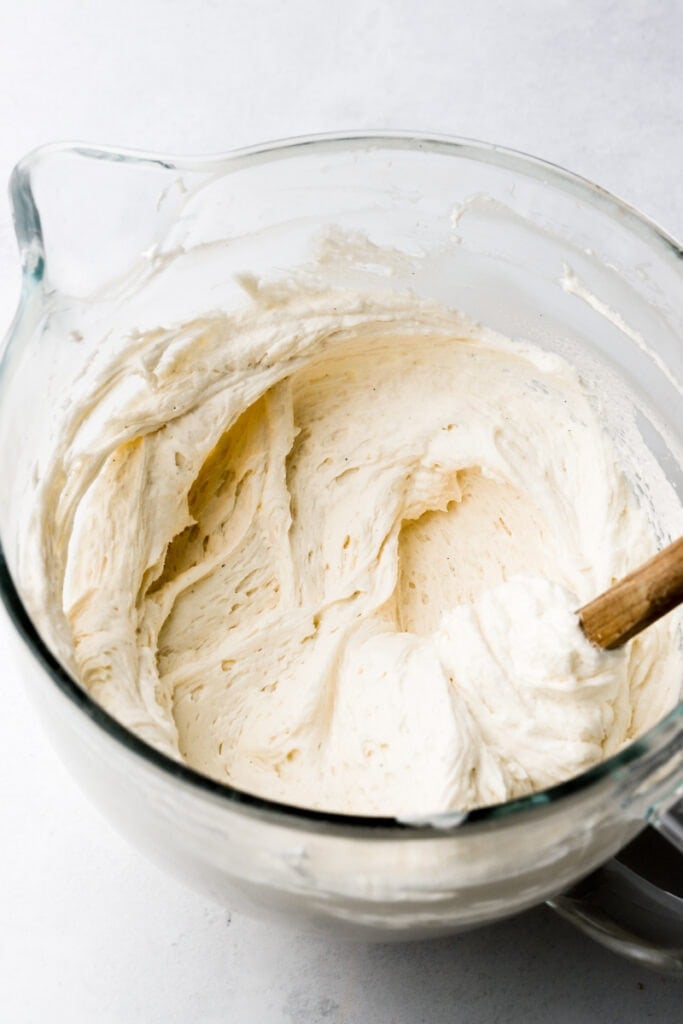
Step 7: Make the buttercream by beating the butter until it’s pale and fluffy. Add the powdered sugar and beat until the sugar is combined into the butter. Then add the vanilla bean paste and the heavy whipping cream, beating until the frosting is smooth and fluffy.
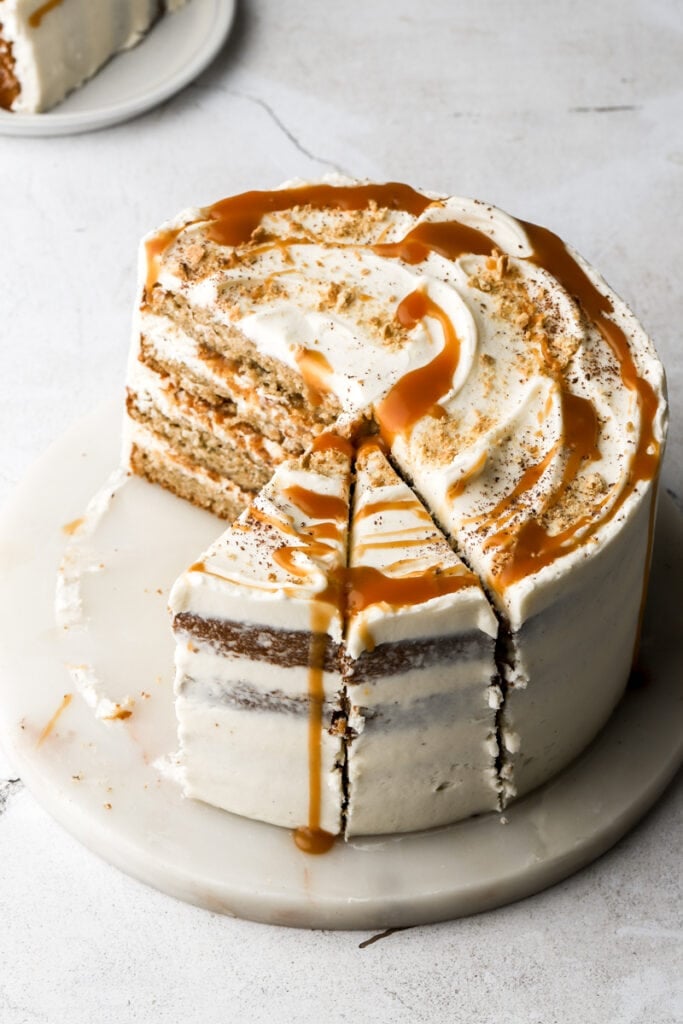
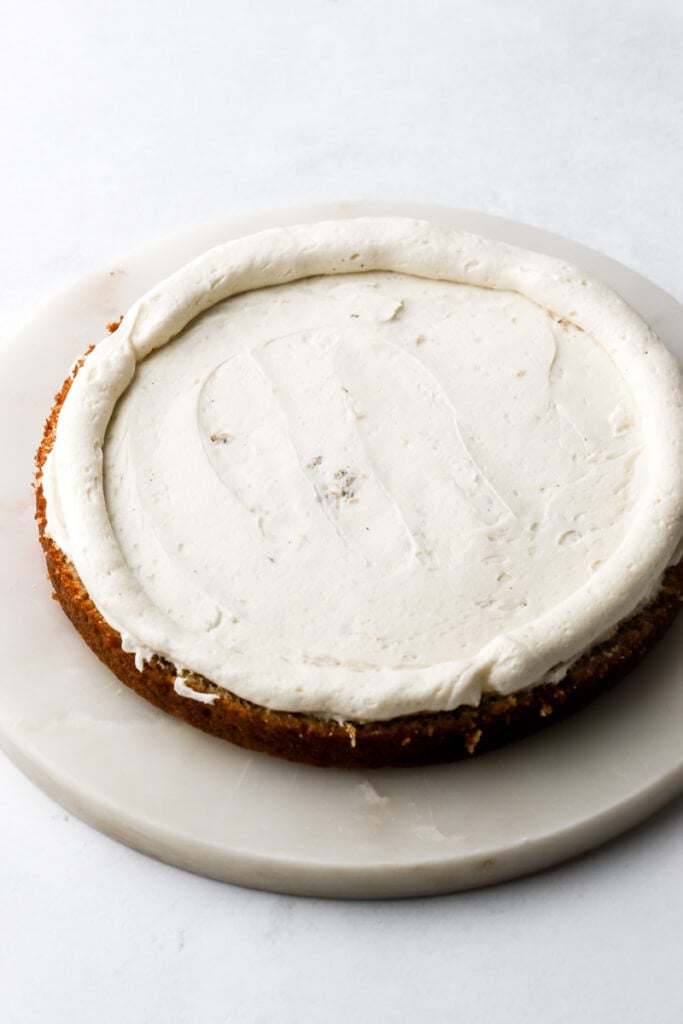
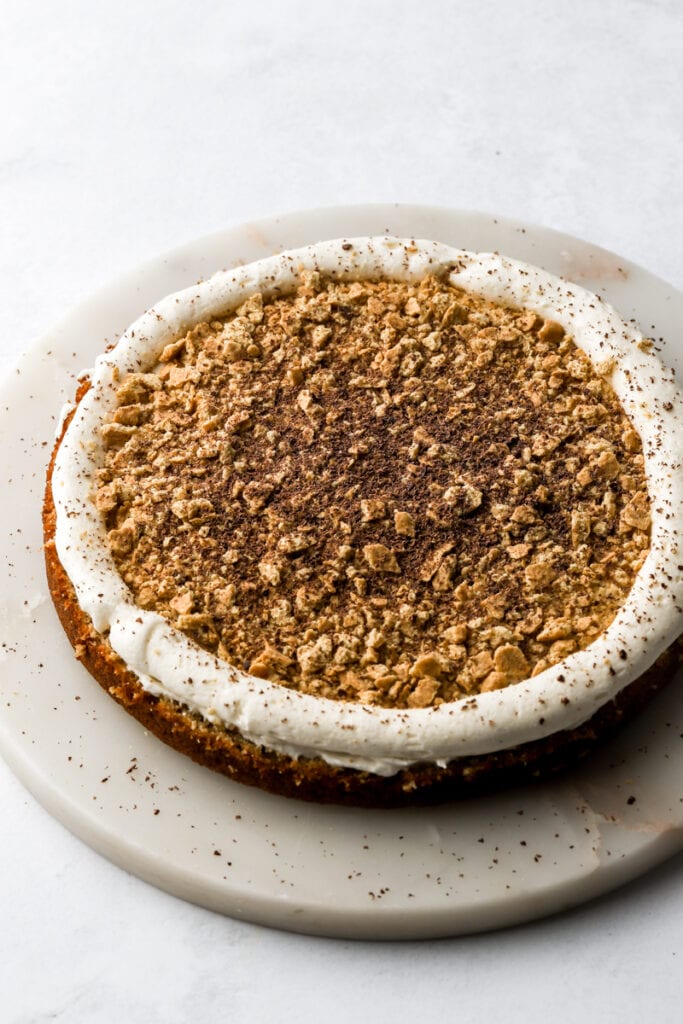
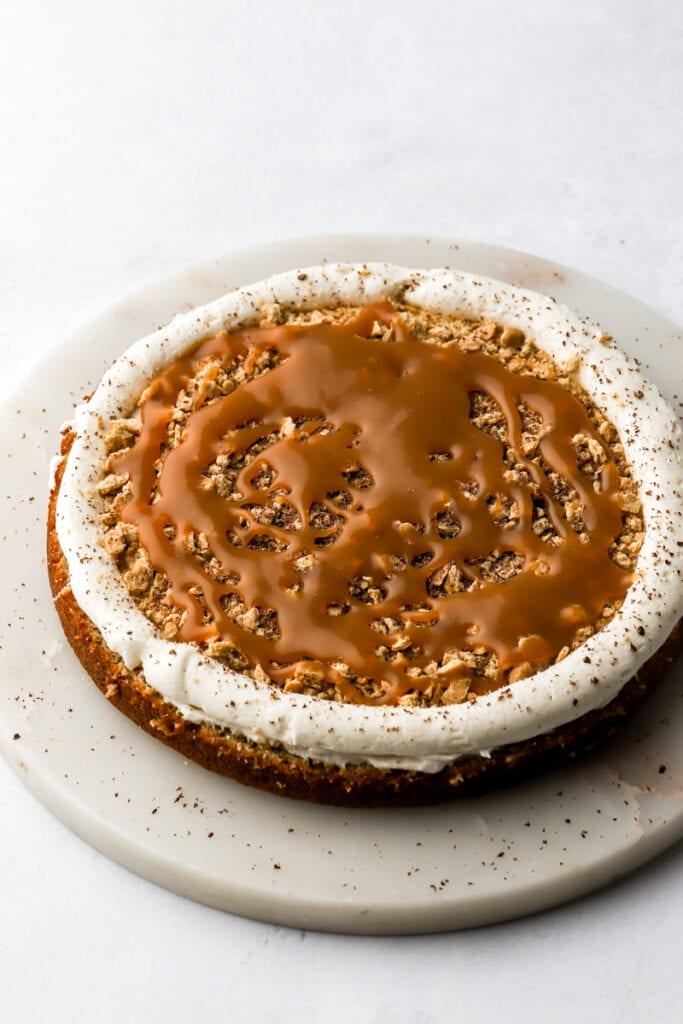
Step 8: Assemble the cake by placing the first layer of banana cake onto a flat surface. Spread a thin layer of the vanilla bean frosting and then pipe a border of the frosting around the edge of the cake. Fill in that border with the crushed graham crackers and the chocolate shavings. Top with a generous drizzle of salted caramel sauce (make sure it’s cooled completely). Place the next layer of cake on top and repeat.
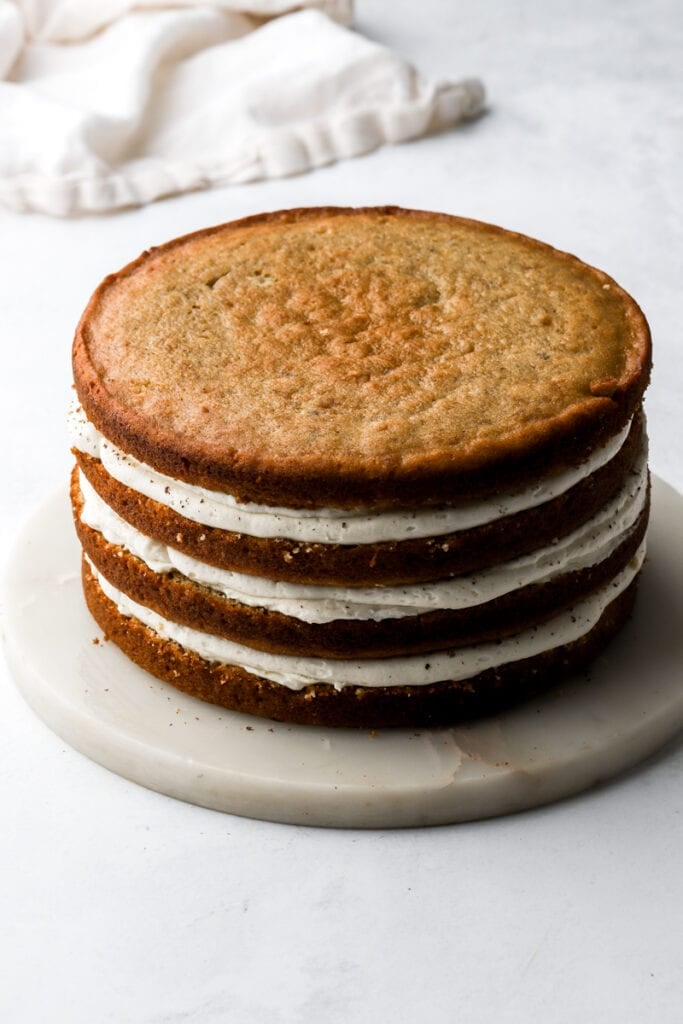
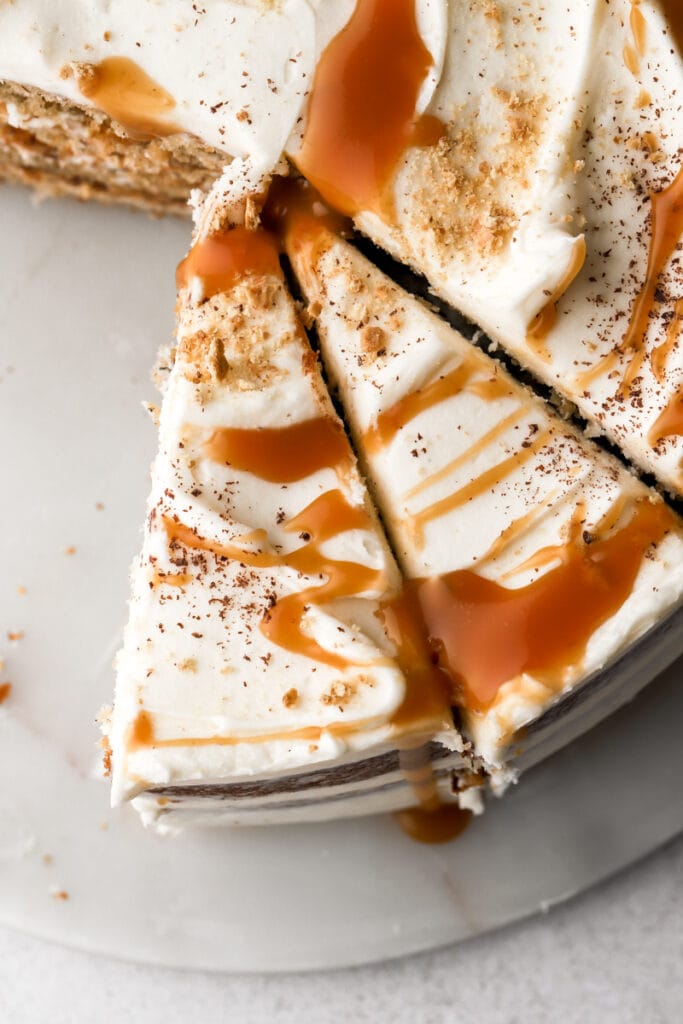
Step 9: Frost the cake on the outside with the rest of the frosting and then top with a little graham cracker crumbs, chocolate shavings and caramel sauce.

Frequently Asked Questions
You can use dairy free butter, dairy free milk/cream to make any of my cakes.
All my cake recipes work well with a 1:1 gluten-free flour like Bob’s Red Mill and King Arthur Flour.
Yup, you can use homemade or store bought. You can also use dulce de leche if you prefer.
I normally wouldn’t opt for a sweet American buttercream but vanilla is difficult to flavor. If you use another buttercream that isn’t sweet, like Swiss meringue buttercream or French buttercream, you’ll have a much more buttery flavor and the vanilla won’t shine as much. If you like that, then go for it!
I recommend checking out my cookbook, Frosted, for all the different types of frosting and how I like to use them!
You can make this cake in:
Three (or more) round or square 6 inch baking pans
Two round (or more) or square 8 inch baking pan
Two round or square 9 inch baking pan (will be thinner than the cakes in the photo)
One round or square 10 inch baking pan – increase bake time by 10-15 minutes, look for ques.
A 9×13 inch pan – increase bake time by at least 10-15 minutes, look for ques.
Cupcakes – Should make about 23 cupcakes, bake for 16-18 minutes
Just like all the rest of my cakes, I test if it’s done baking by pressing gently on the tallest part of the cake. The cake will spring back if it’s done baking. If it stays indented, give it a few minutes in the oven, before testing again.
You can also insert a toothpick into the center of the cake (the tallest part) and make sure it comes out clean or with a few crumbs but without any batter on it.
I had a good amount of frosting to fully cover the cake but if you want to generously decorate the cake, you can double the recipe for the buttercream.
Personally if I were fancy decorating the cake with piping, etc. I would just use a batch of Swiss meringue buttercream.
How to make ahead
To make the cake ahead of time you can make the cakes even a month in advance. When you remove them from the oven, let them cool for about half an hour and then wrap them individually in plastic wrap. Then place them in a freezer bag, squeezing out all the excess air.
Make sure to work quickly if you frost them while they’re frozen, because the frosting can set way too quickly from the cold cake and make it difficult to spread. Or just pull them out of the freezer 1 hour before frosting.
To make the buttercream ahead of time: I don’t prefer to make buttercream ahead of time as it can be temperature sensitive but it is doable. You can cover it and leave it at room temperature overnight or refrigerate or freeze it in an airtight bag or container for weeks. Make sure to bring it back to room temperature well before frosting the cake. You may have to re-whip it. If it splits (from the temperature change), American buttercream is usually a goner.
To make the caramel ahead of time just follow the instructions until it’s done, place it in an airtight container and refrigerate for a few days. Bring back to room temperature before assembling the cake.
How to store finished cake
I usually just cover my cakes with a cake dome or place it in an airtight container and store it at room temperature for 1-2 days.
It’ll stay well covered in the fridge for about a week but it dries out quicker than the freezer so I recommend freezing after 2-3 days.
To freeze the whole cake, refrigerate it until it’s firm. Then wrap it in plastic wrap so it’s completely covered. Then wrap it in aluminum foil and freeze.
To freeze slices, place the slices in an airtight container and then place the container in a freezer bag, squeezing out all the excess air.
Bring it back to room temperature by thawing at room temperature for a few hours before serving.
Thanks so much for reading today’s post, if you have any questions just comment down below. Make sure to leave it in the comment section because I can’t answer in the rating section.
If you make this incredible banoffee cake, I’d love it if you left a star rating for me. If it’s less than five stars, please let me know why! 🙂
As always, have a blessed day and happy baking!
Love, B


Greetings from Lithuania! ? Just wanted to share a tip for lazy-pants like myself: if you’re too lazy to make homemade caramel, canned works perfectly! The Lithuanian one we use here (called “Rududu”) is a bit too thick for cake, but adding hot, strong moka coffee makes it smoother—and adds a bit of ✨magic✨ to the flavor. Maybe it turns the cake into something more Lithuanian than British. ? but it’s still yummy!
Hi Auguste! How much of the canned caramel did you use?
I’m making this cake again for my sons birthday! I think the 8in cake is a bit small. Do you have any recommendations for making it in 10in pans? Should I double recipe or 1.5?
Hi Andy, yeah I would do about 1.5x for a 10inch cake
Is it 1/2 cup of heavy cream in the buttercream or 1-2 tablespoons?
2 tbsp at a time, up to half a cup depending on the consistency!
Hi, how ahead of time can I make this cake? Can I used carnation caramel instead? We don’t have heavy cream, but I have carnation caramel to hand
Hi, there are instructions on making it ahead in the blog post!
I’ve never used carnation caramel so I can’t say for sure. You can sub heavy cream for whole milk and increase butter to 6 Tbsp in the caramel though.
The place where I love doesn’t have gharam crackers. Can I use a digestive biscuit? Or any other you recommend close to the crackers you mentioned ?
digestive biscuits are fine too or any biscuit you like!
I made this cake for my son’s 9th birthday. After trying banoffee ice cream on a summer vacaion in Greece it quickly became his favorite thing!
This was the BEST cake I’ve ever made by far! Not one plate had any left overs on it! Everyone loved it!
Your direction in your recipe was super easy to follow for a novice baker like myself! I never made caramel before and i did make a second batch to perfect it. 1st batch was too light and started crystallizing on me… i think temp was too low (slow). 2nd batch perfect… i used some of each.
I will be making this again! Thank you!
Hi Andy, thanks so much for sharing!! I’m so glad you guys enjoyed the recipe 🙂