
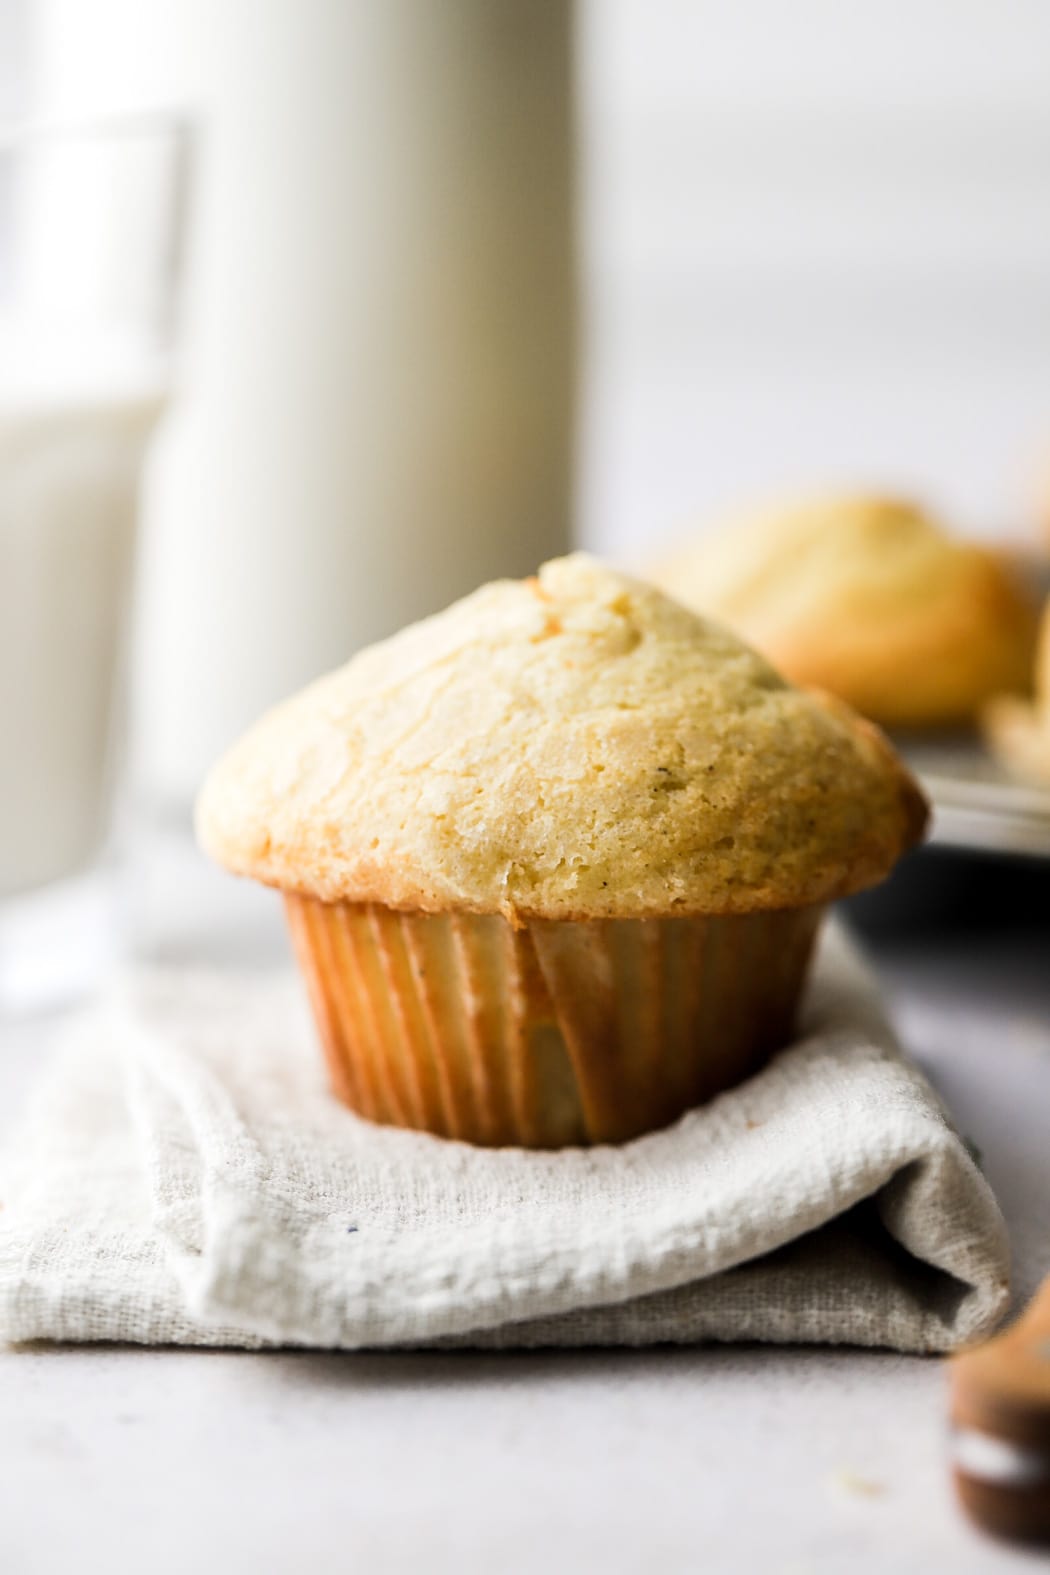
The BEST Vanilla Muffins
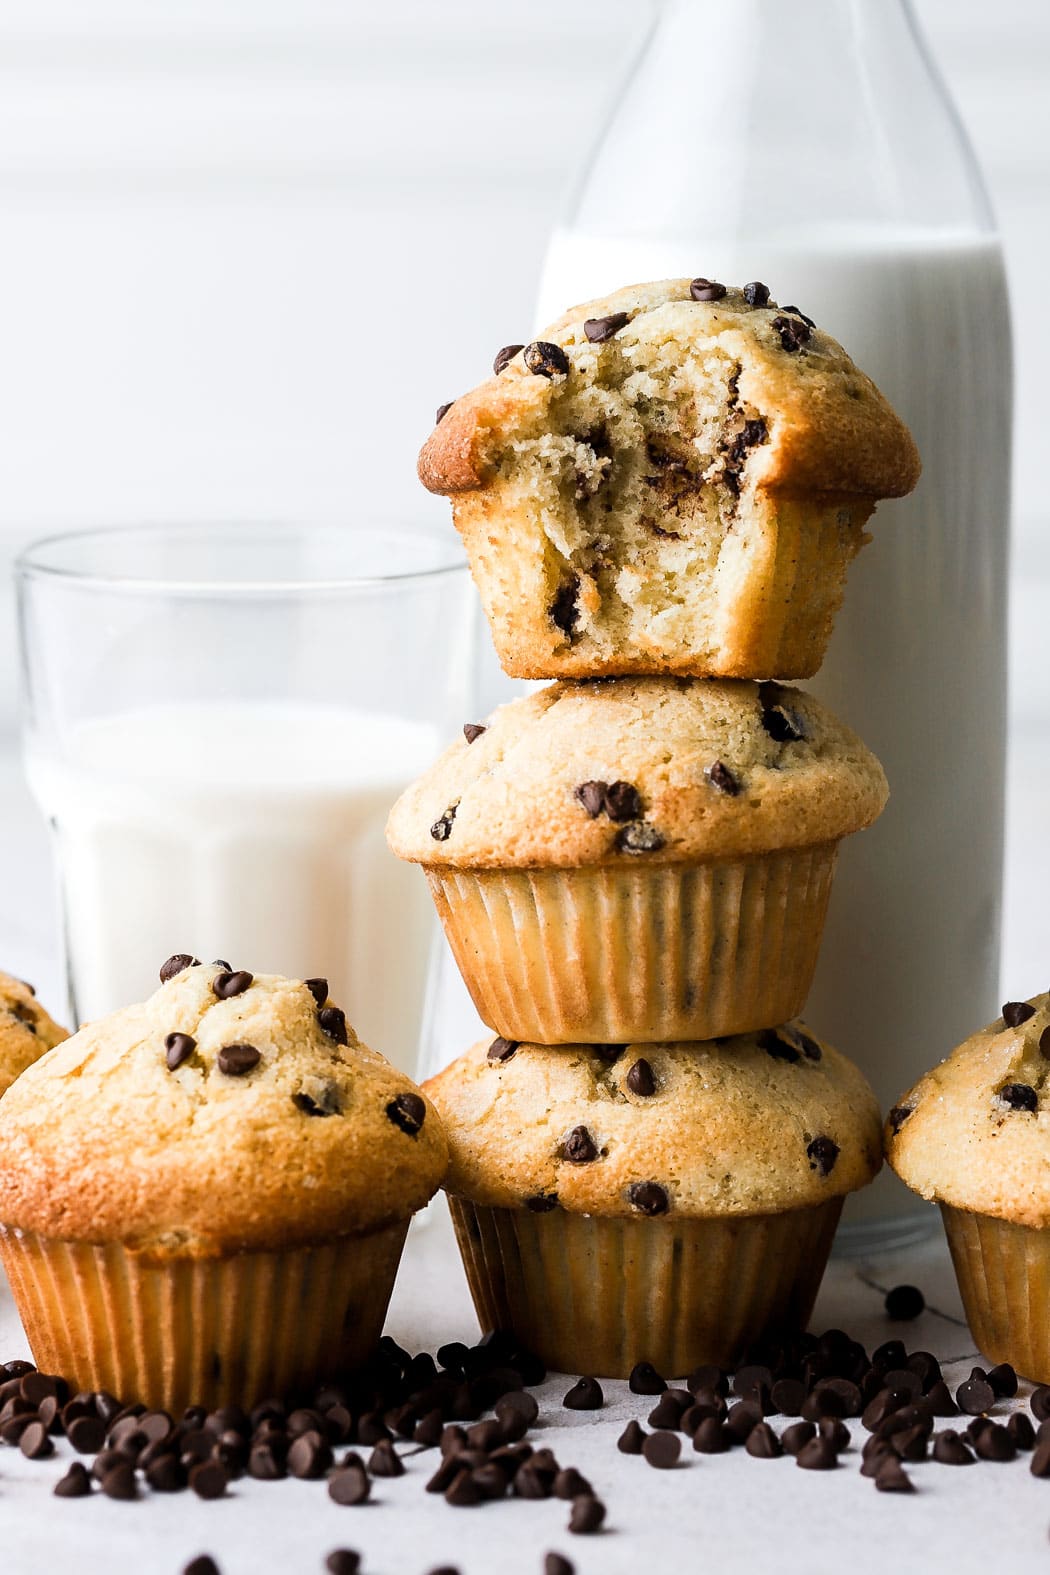
I said it…these are the BEST vanilla muffins.
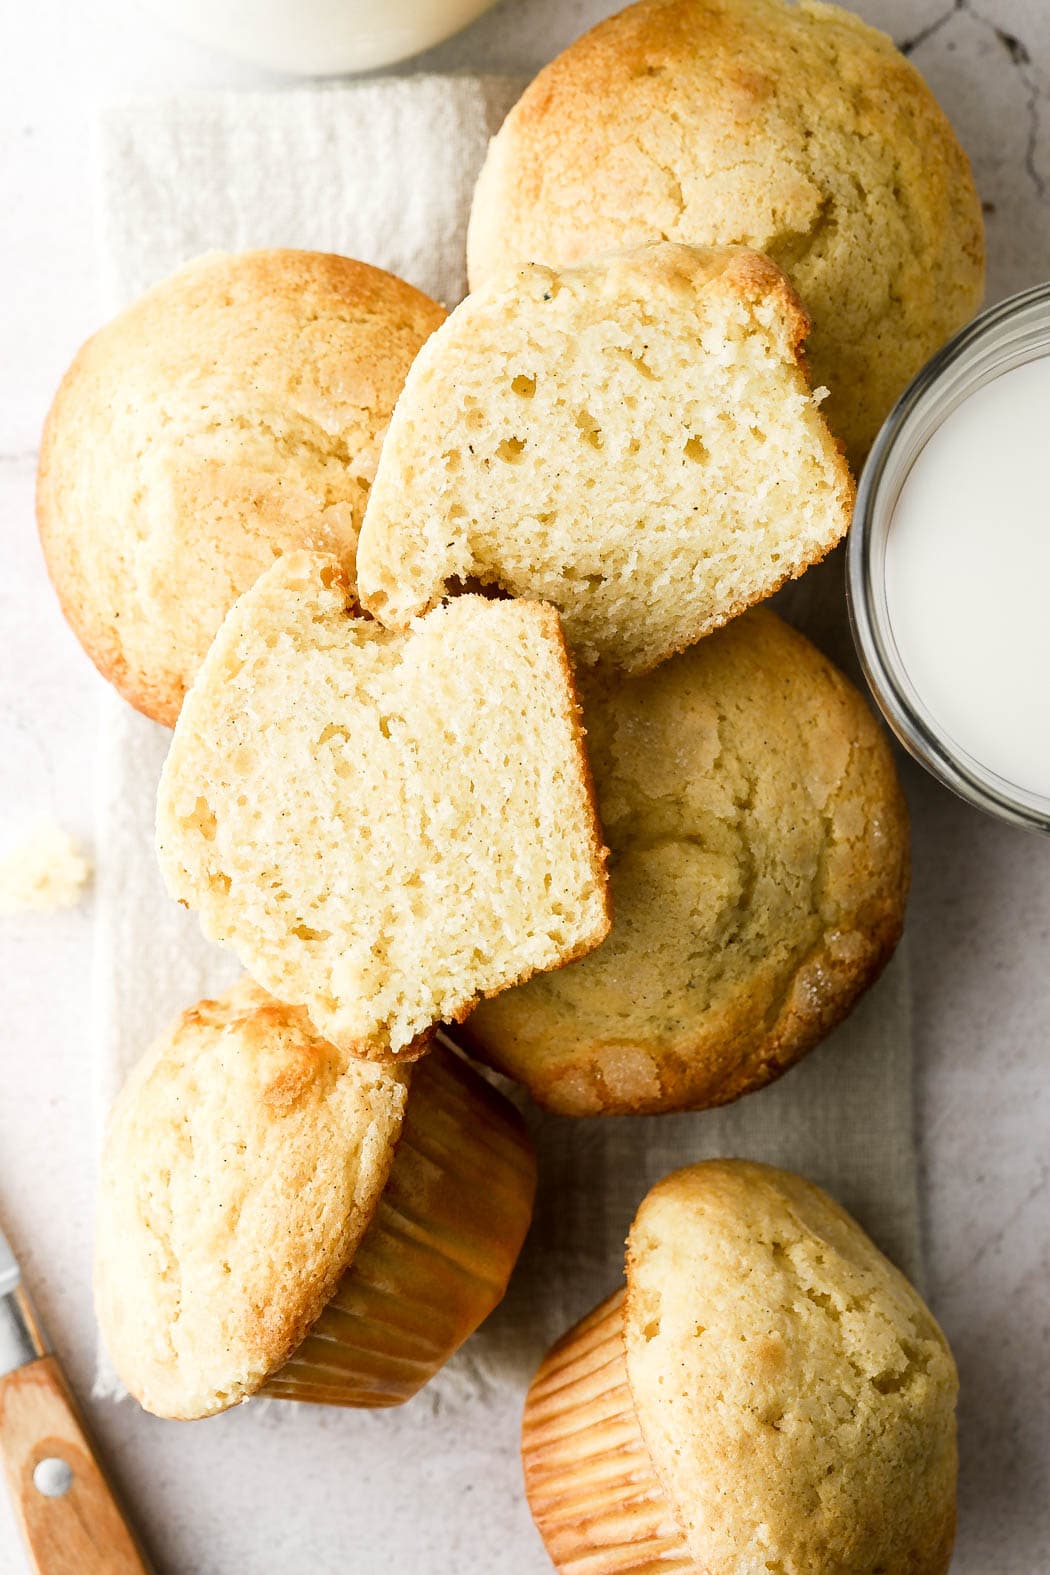
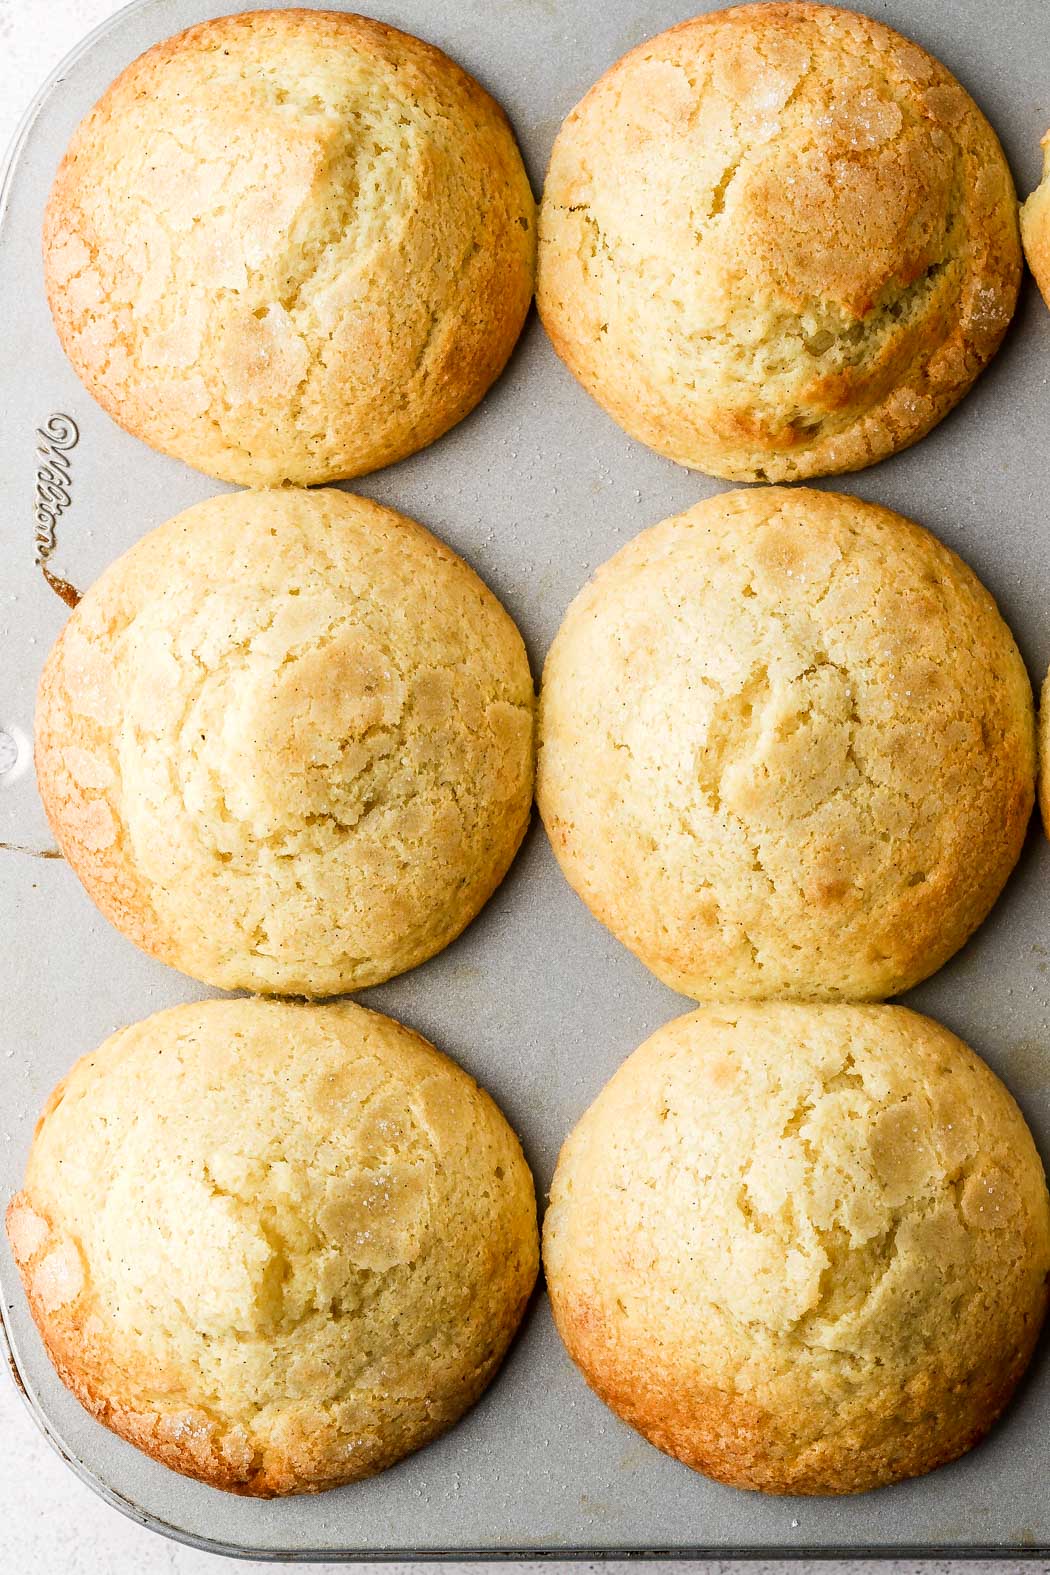
Perfectly fluffy and bouncy, a gorgeous, crispy muffin top and noticeable buttery, vanilla flavor. The perfect base muffin recipe to adapt into other flavors.
I have tested A LOT of muffin recipes and I always struggled with getting that perfect muffin texture. Then one of my readers asked me for a vanilla butter muffin… which never would have crossed my mind to make.
I also normally used oil in my muffins because I THOUGHT it would be more moist that way. So I got to work on this vanilla muffin made with butter and I think I got lucky or something because it only took two tries this time and OMG I think I’ve eaten more muffins in the last couple of weeks than I have in my whole life.
So I really try not to call my recipes “the BEST” because there’s like a million out there that claim to be the best and aren’t so the term really lost its value lol. BUT I am actually obsessed with these. I’ve made them so many times (I lost count) and countless variations of these and eventually even turned it into a muffin cake.
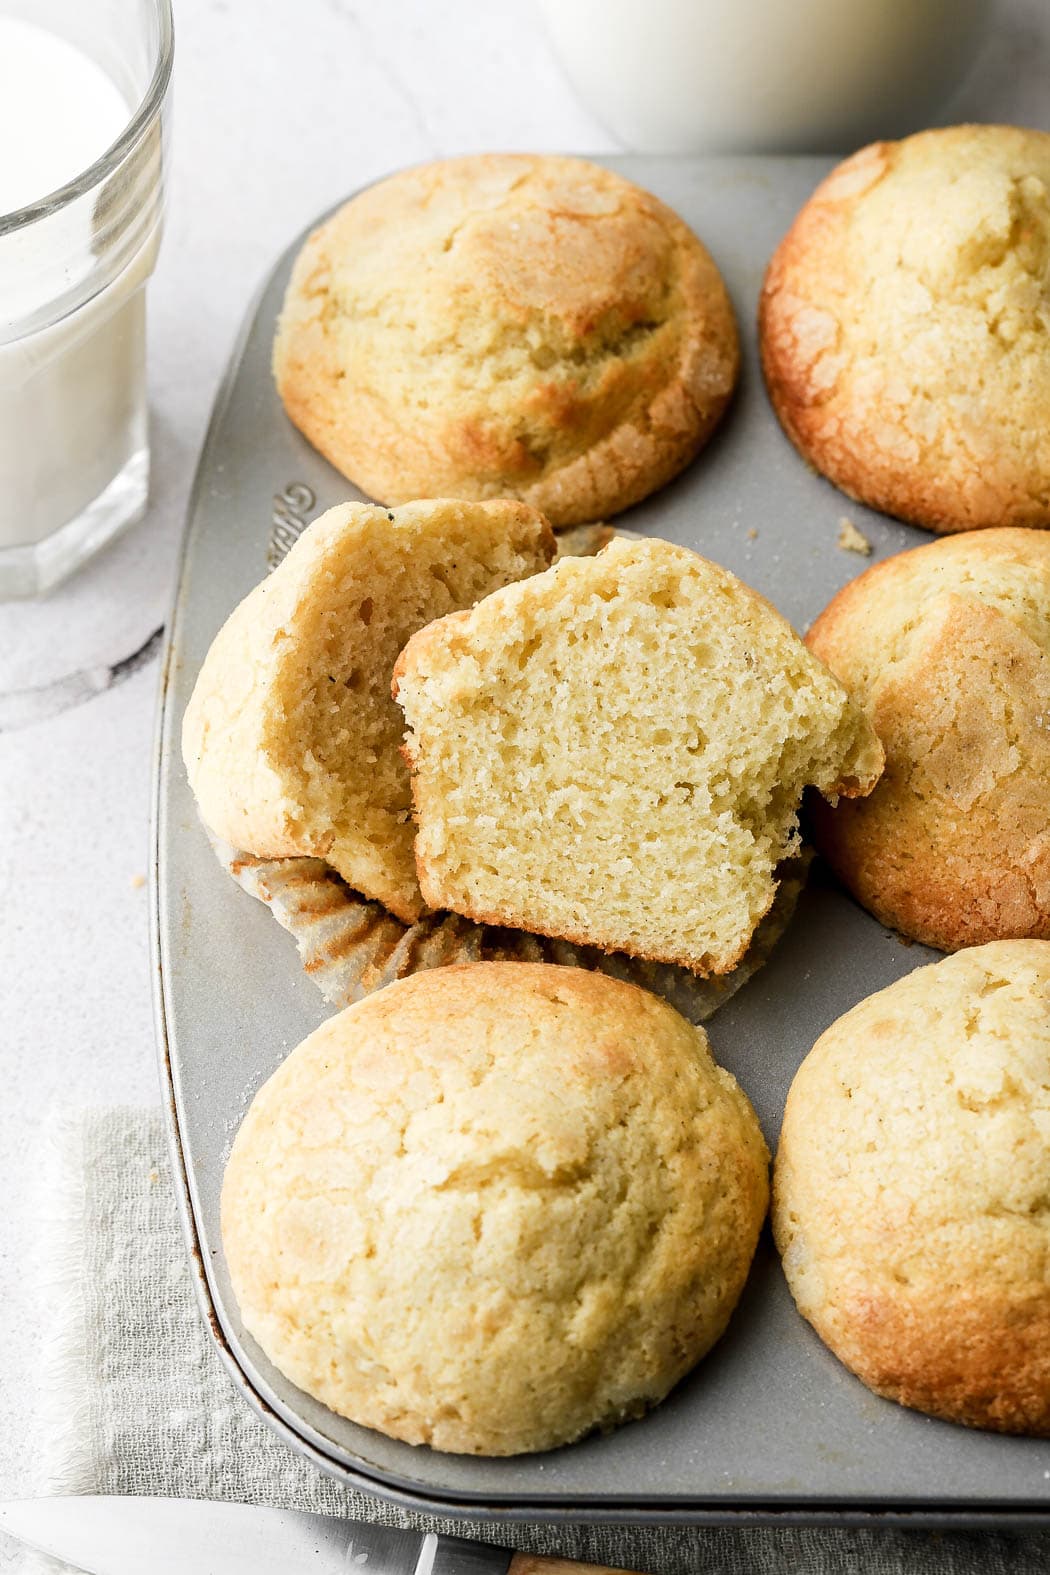
Ingredients & Substitutions
The full recipe is in the recipe card at the bottom but I just wanted to point out a few differences from traditional muffin recipes.
- Flour – any flour works, I used all-purpose flour but I recommend weighing it.
- Sugar – I use granulated sugar here and have used brown sugar for other variations but I DON’T recommend reducing it. It seems like a lot but it’s not overly sweet and gives a more tender texture.
- Butter – a vanilla muffin can be kind *boring* so it’s important that we support the vanilla flavor with our other ingredients. I highly recommend a good quality salted butter like Kerry gold (but any butter does work fine). I do use oil in other variations but not where the flavor is dependent on the butter.
- Yogurt & Heavy Cream – I’ve tested many variations between sour cream, milk and buttermilk and these two make THE BEST flavor and texture. The recipe does work fine with sour cream and milk or buttermilk but I think the flavor is noticeably better with heavy cream. I also use a low fat greek yogurt because heavy cream is so high in fat.
- Vanilla – again, you want to use a good quality vanilla extract and vanilla bean paste or real vanilla beans from a pod. The recipe still works fine with just vanilla extract but if you really want your vanilla to shine, I recommend using both.
Step-by-Step Photo Instructions
This recipe couldn’t be easier. It’s a simple whisk the wet and add the dry ingredients recipe the key step is let them rest for 30-60 minutes before baking. This activates the leaveners before it even hits the oven, allowing for that gorgeous dome to form on top!
And as always with dry ingredients, I HIGHLY recommend using a digital scale, because they are almost always over measured.
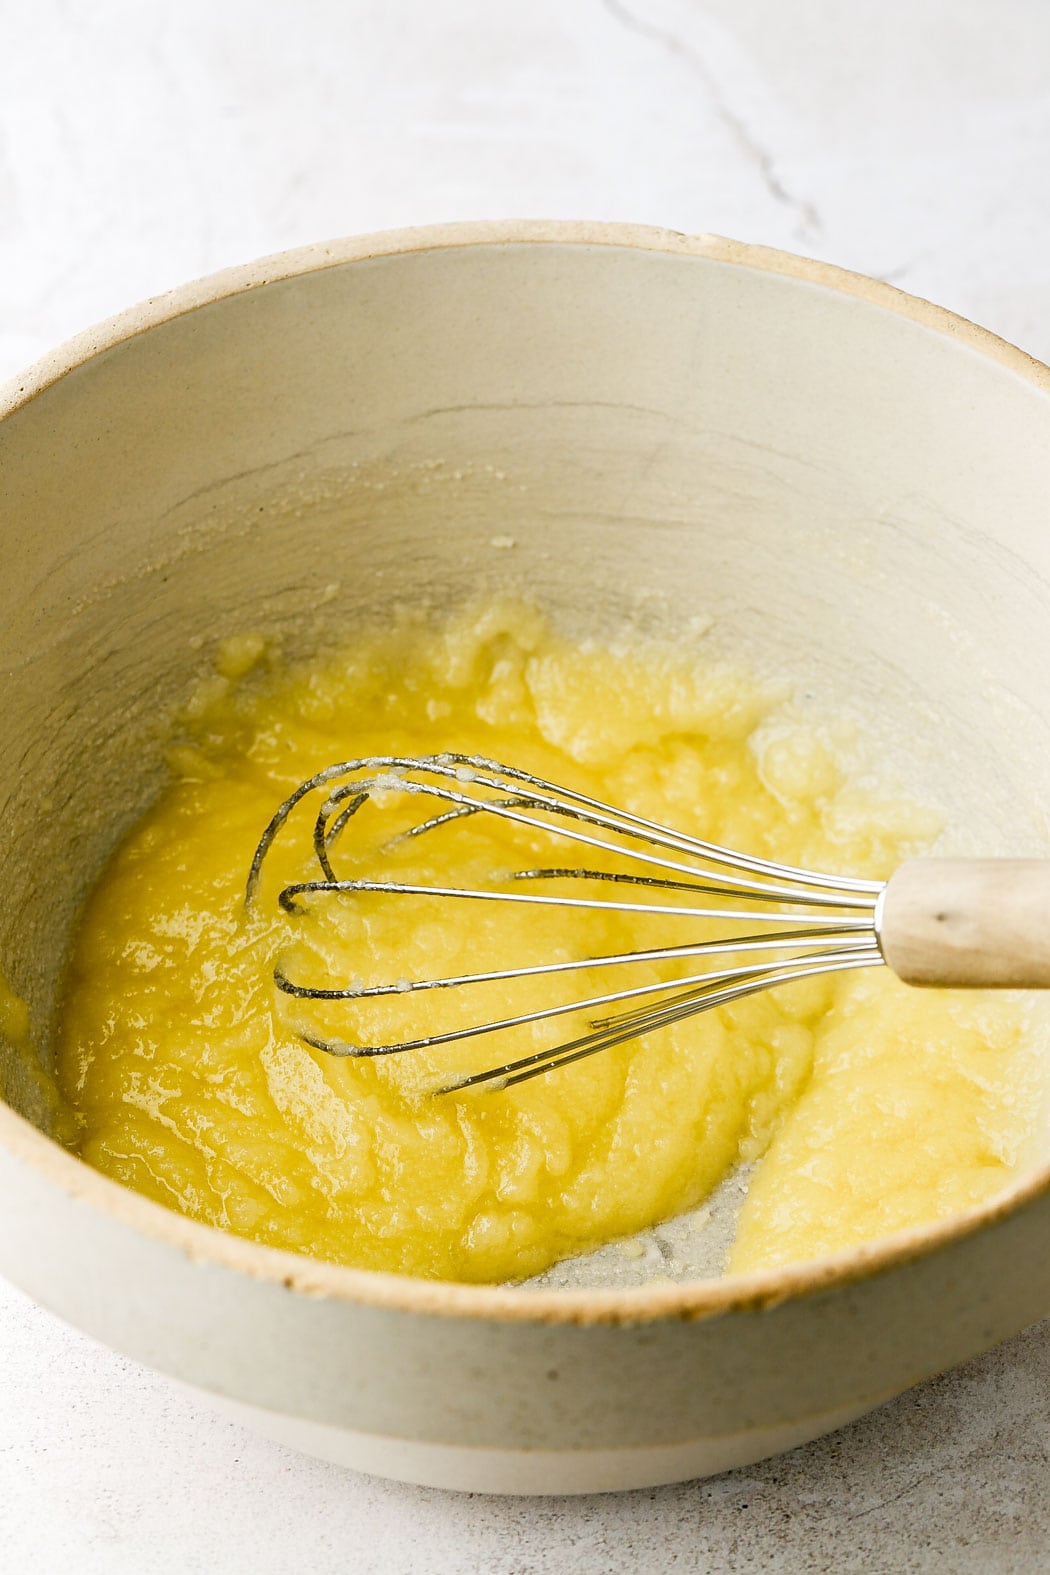
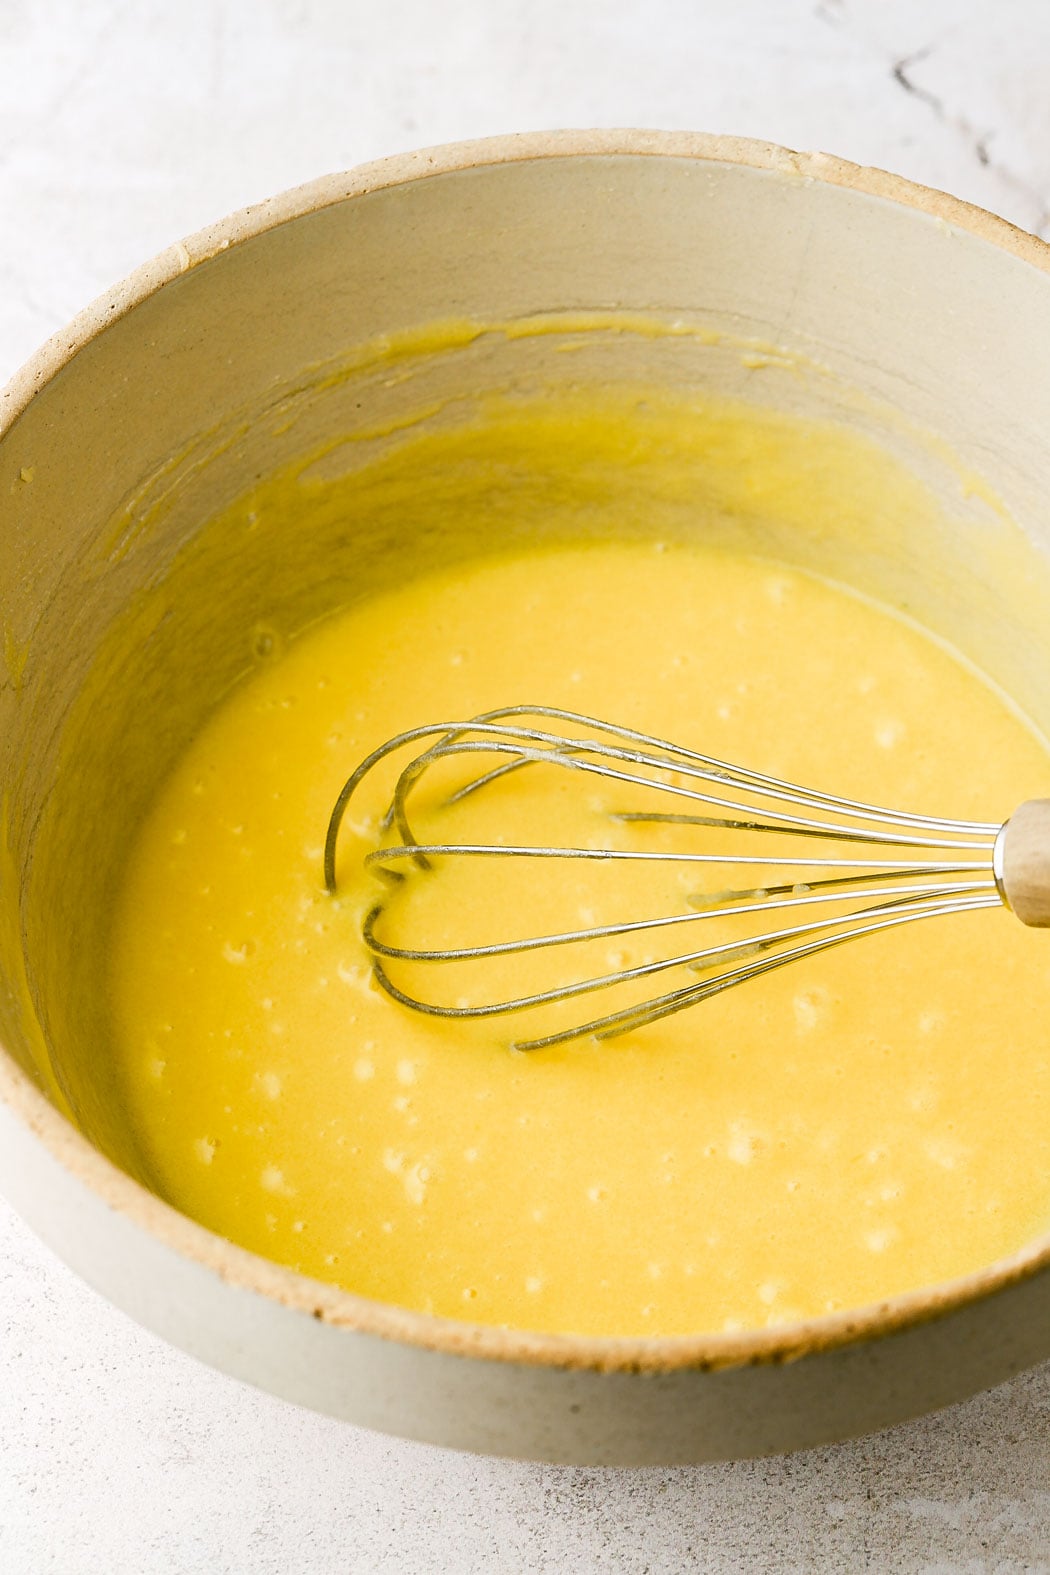
- Whisk together the melted butter and sugar: let the butter cool a little before combining with the sugar.
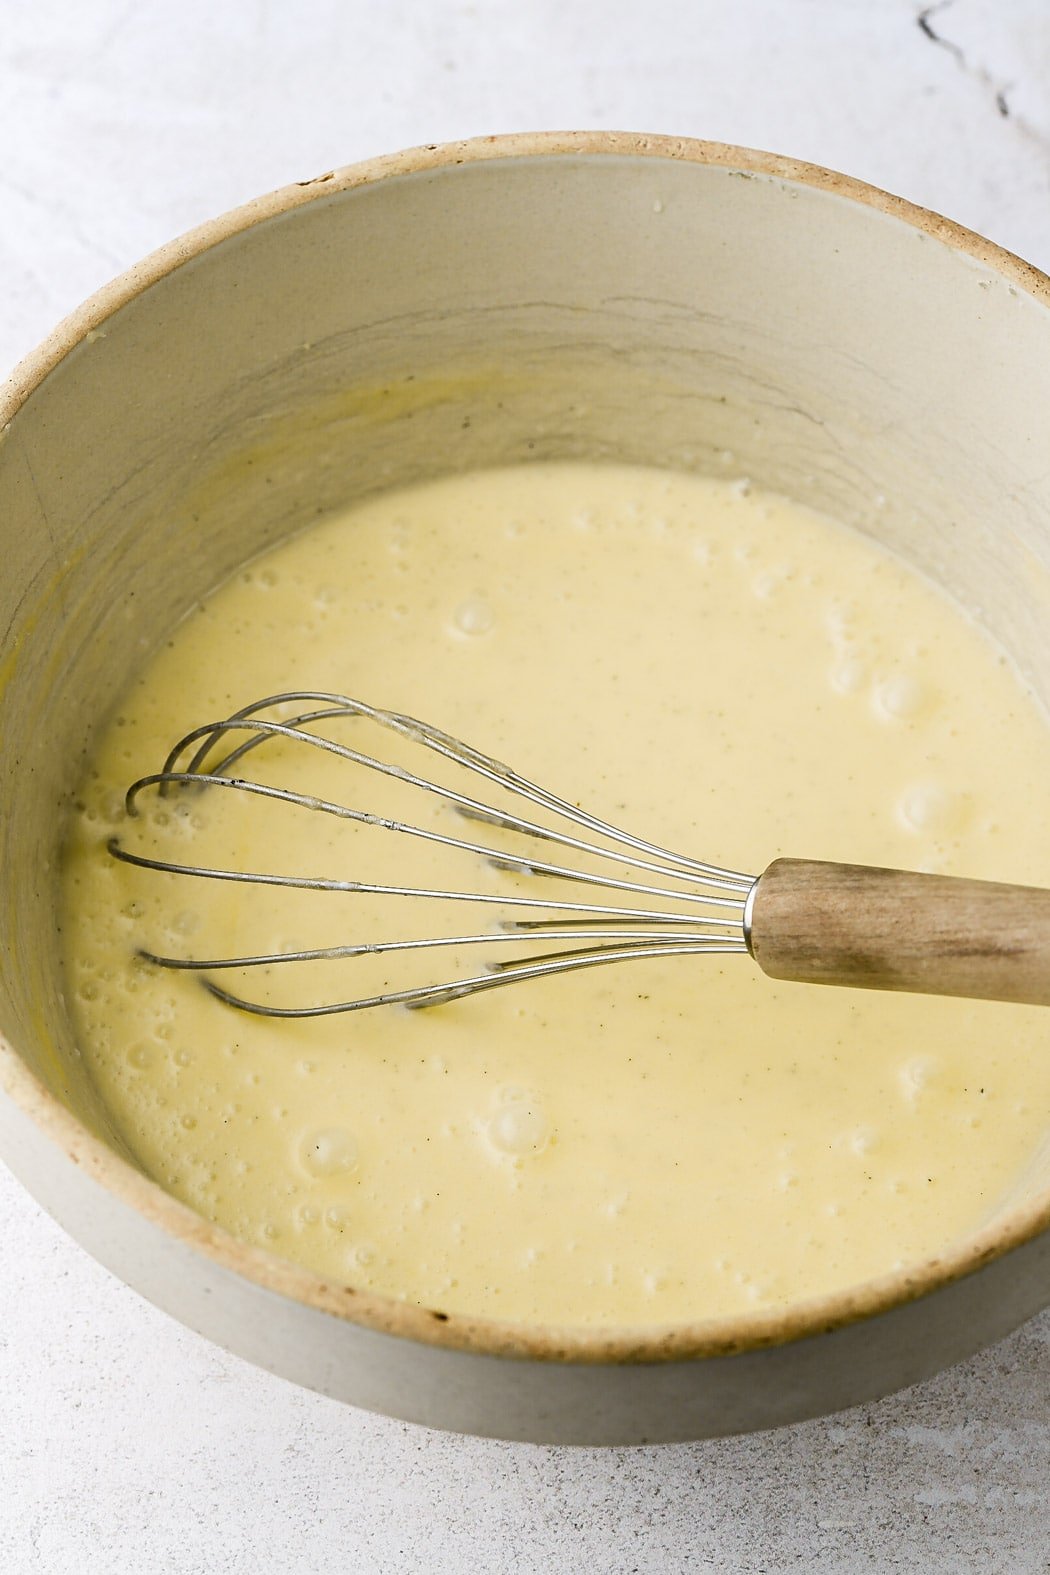
- Whisk in the eggs: this is important; whisk in one egg at a time for about 30 seconds, until it’s completely combined, pale and fluffy. Then add another egg, etc.
- Add the dairy: whisk in the greek yogurt and vanilla until it’s smooth, then add the room temperature cream and whisk until it’s smooth.
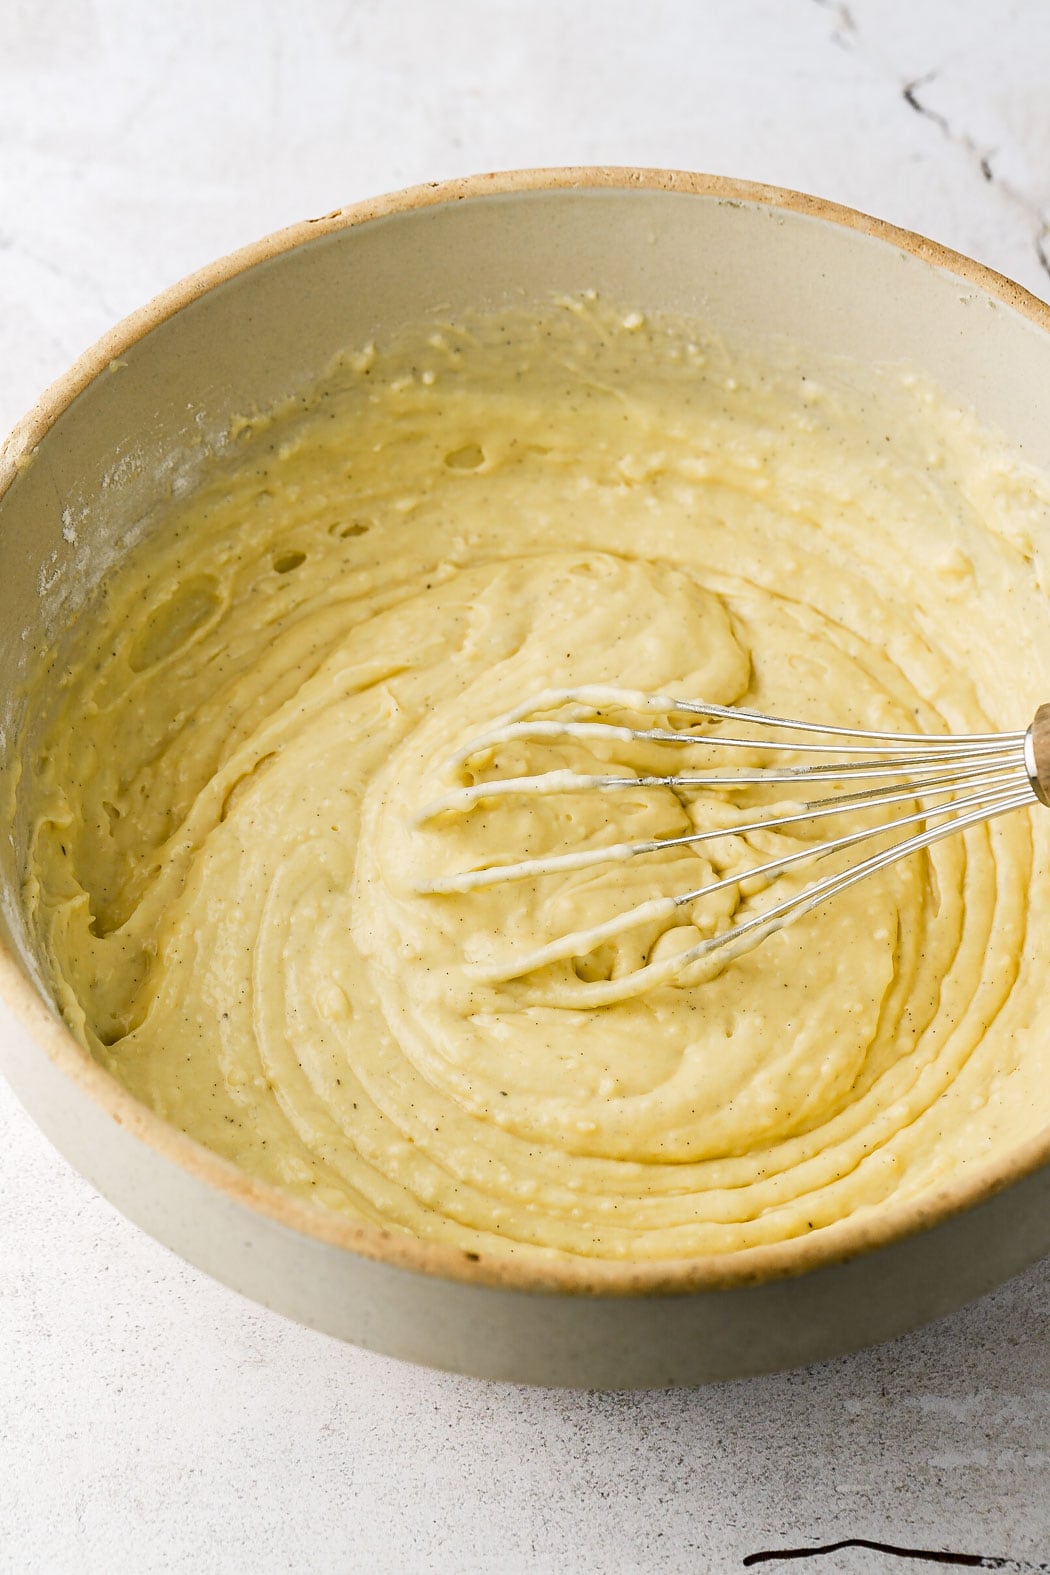
- Add the dry ingredients: whisk in the flour, baking powder, baking soda and salt into the wet ingredients until they’re completely combined.
- Rest the batter: another important step – Cover the bowl and let the batter rest at room temperature for 1 hour. This allows the gluten to relax and the leaveners to get a head start. (If you’re in a rush, 30 minutes is fine but definitely don’t go past 90 minutes or you’ll get a wonky bake).
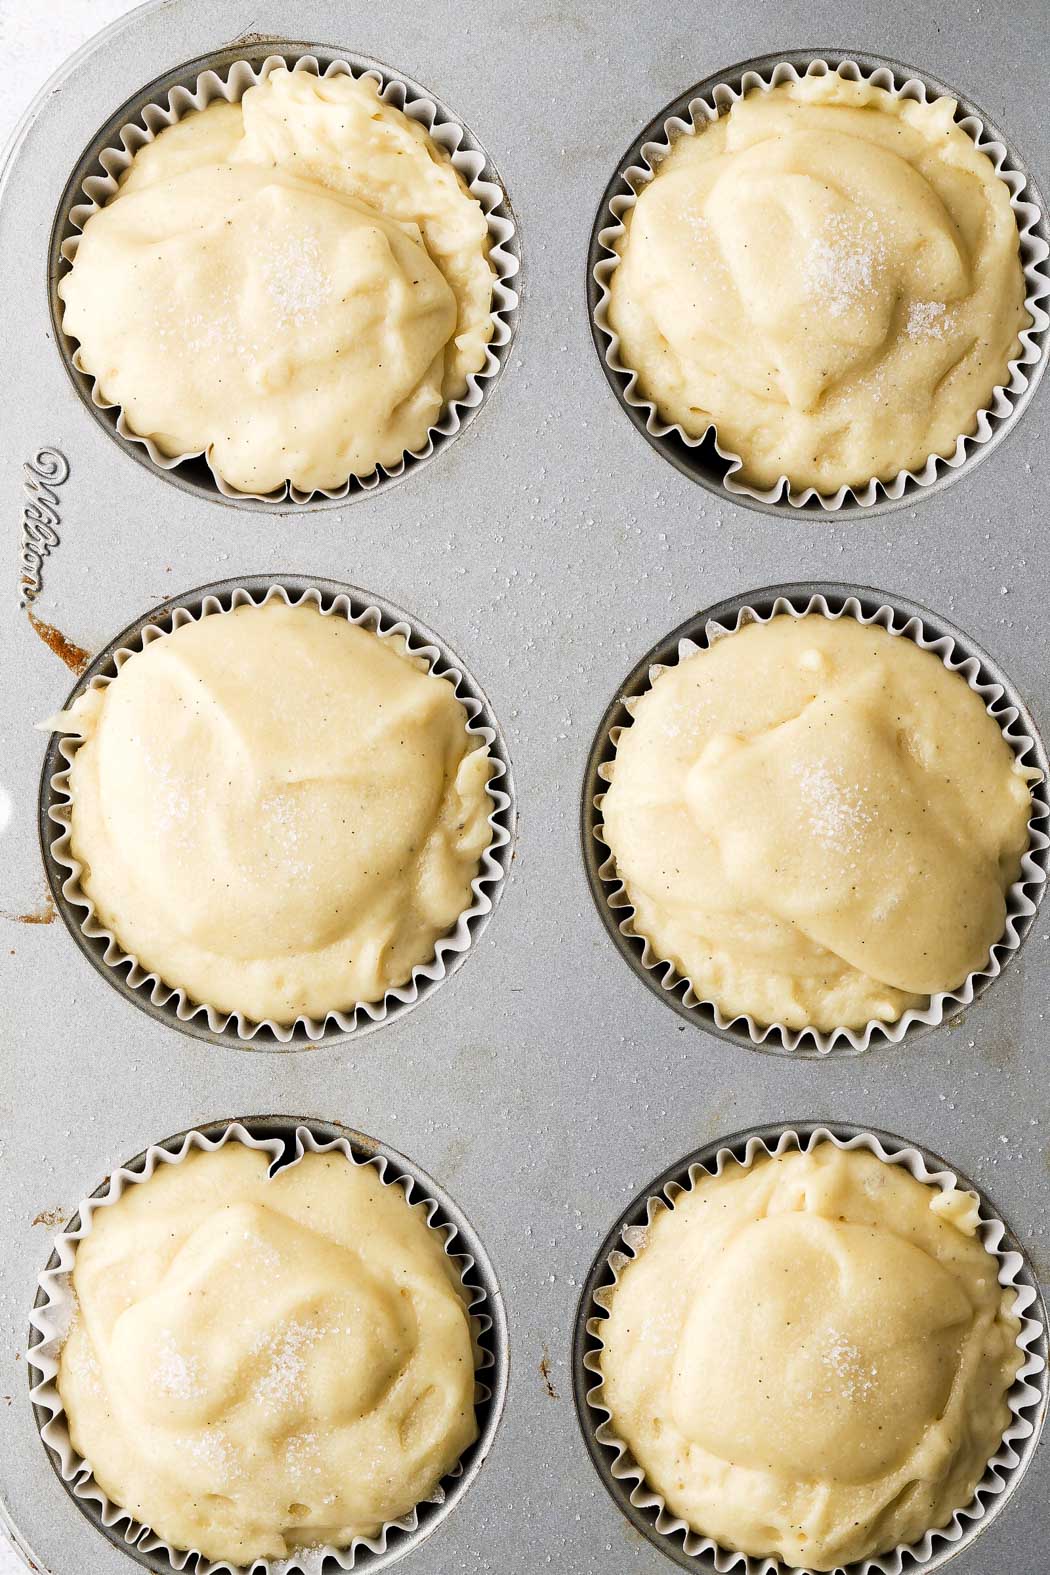
- Fill the muffin tins: all the way to the top rim and top with ½-1 tsp of granulated sugar to make a crunchy muffin top.
- Bake: for five minutes at 425F and then reduce oven temperature to 375F and bake for another 10 minutes.
I also recommend an oven thermometer just because oven’s can vary a lot and the temperature does affect the way these muffins puff up enormously!
Using this as a base recipe for variations
I’ve used this recipe as the base to all the rest of my muffins (posted after this recipe) because it’s that good and versatile!
- Chocolate Chip Muffins
- Carrot Cake Muffins
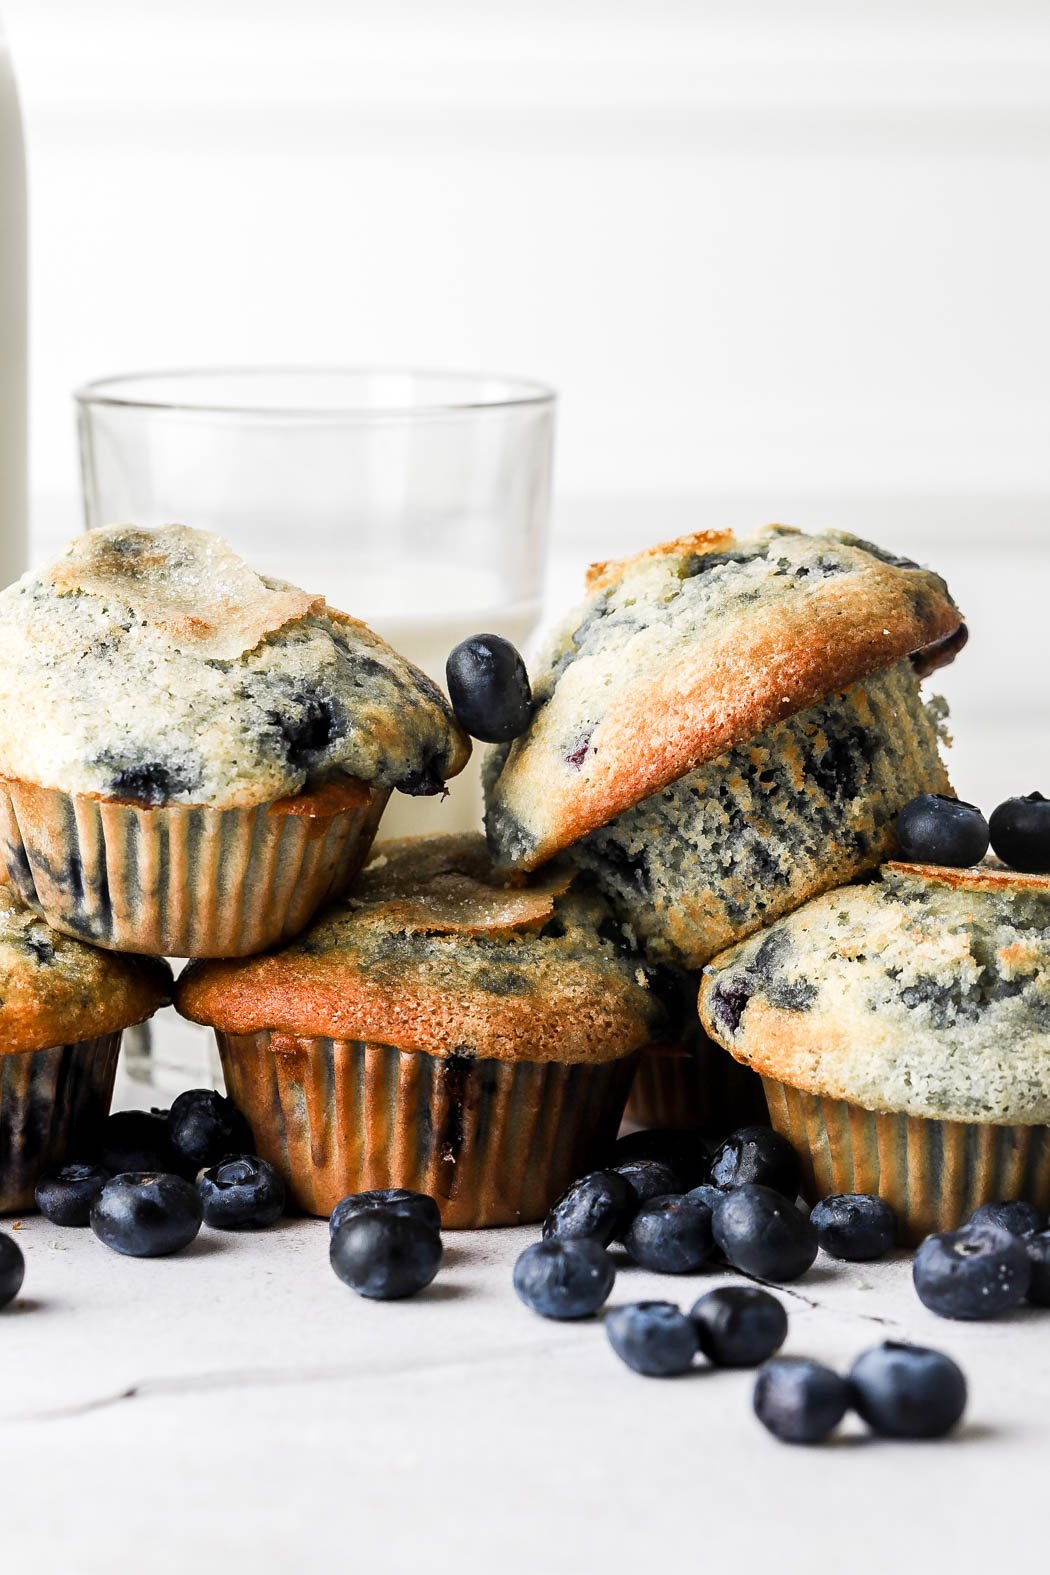
- Blueberry Muffins
- Strawberry Crumble Muffins
- Pumpkin Muffins
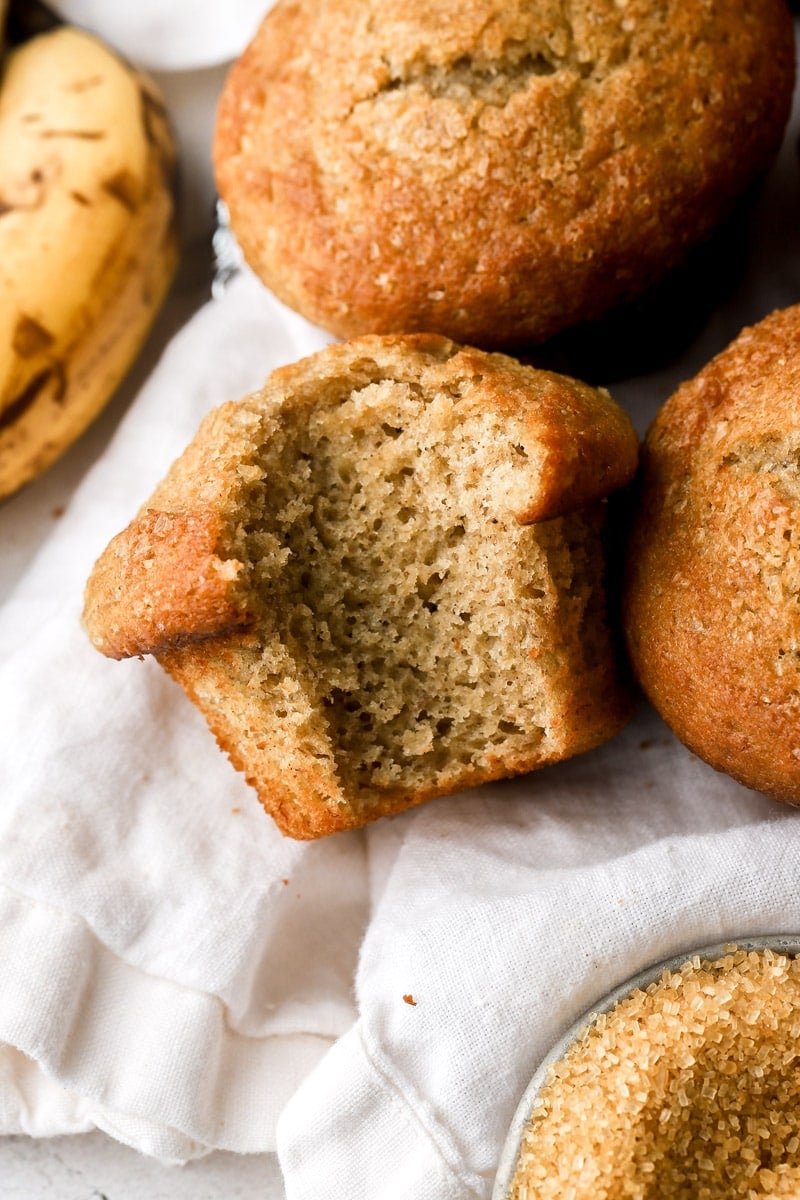
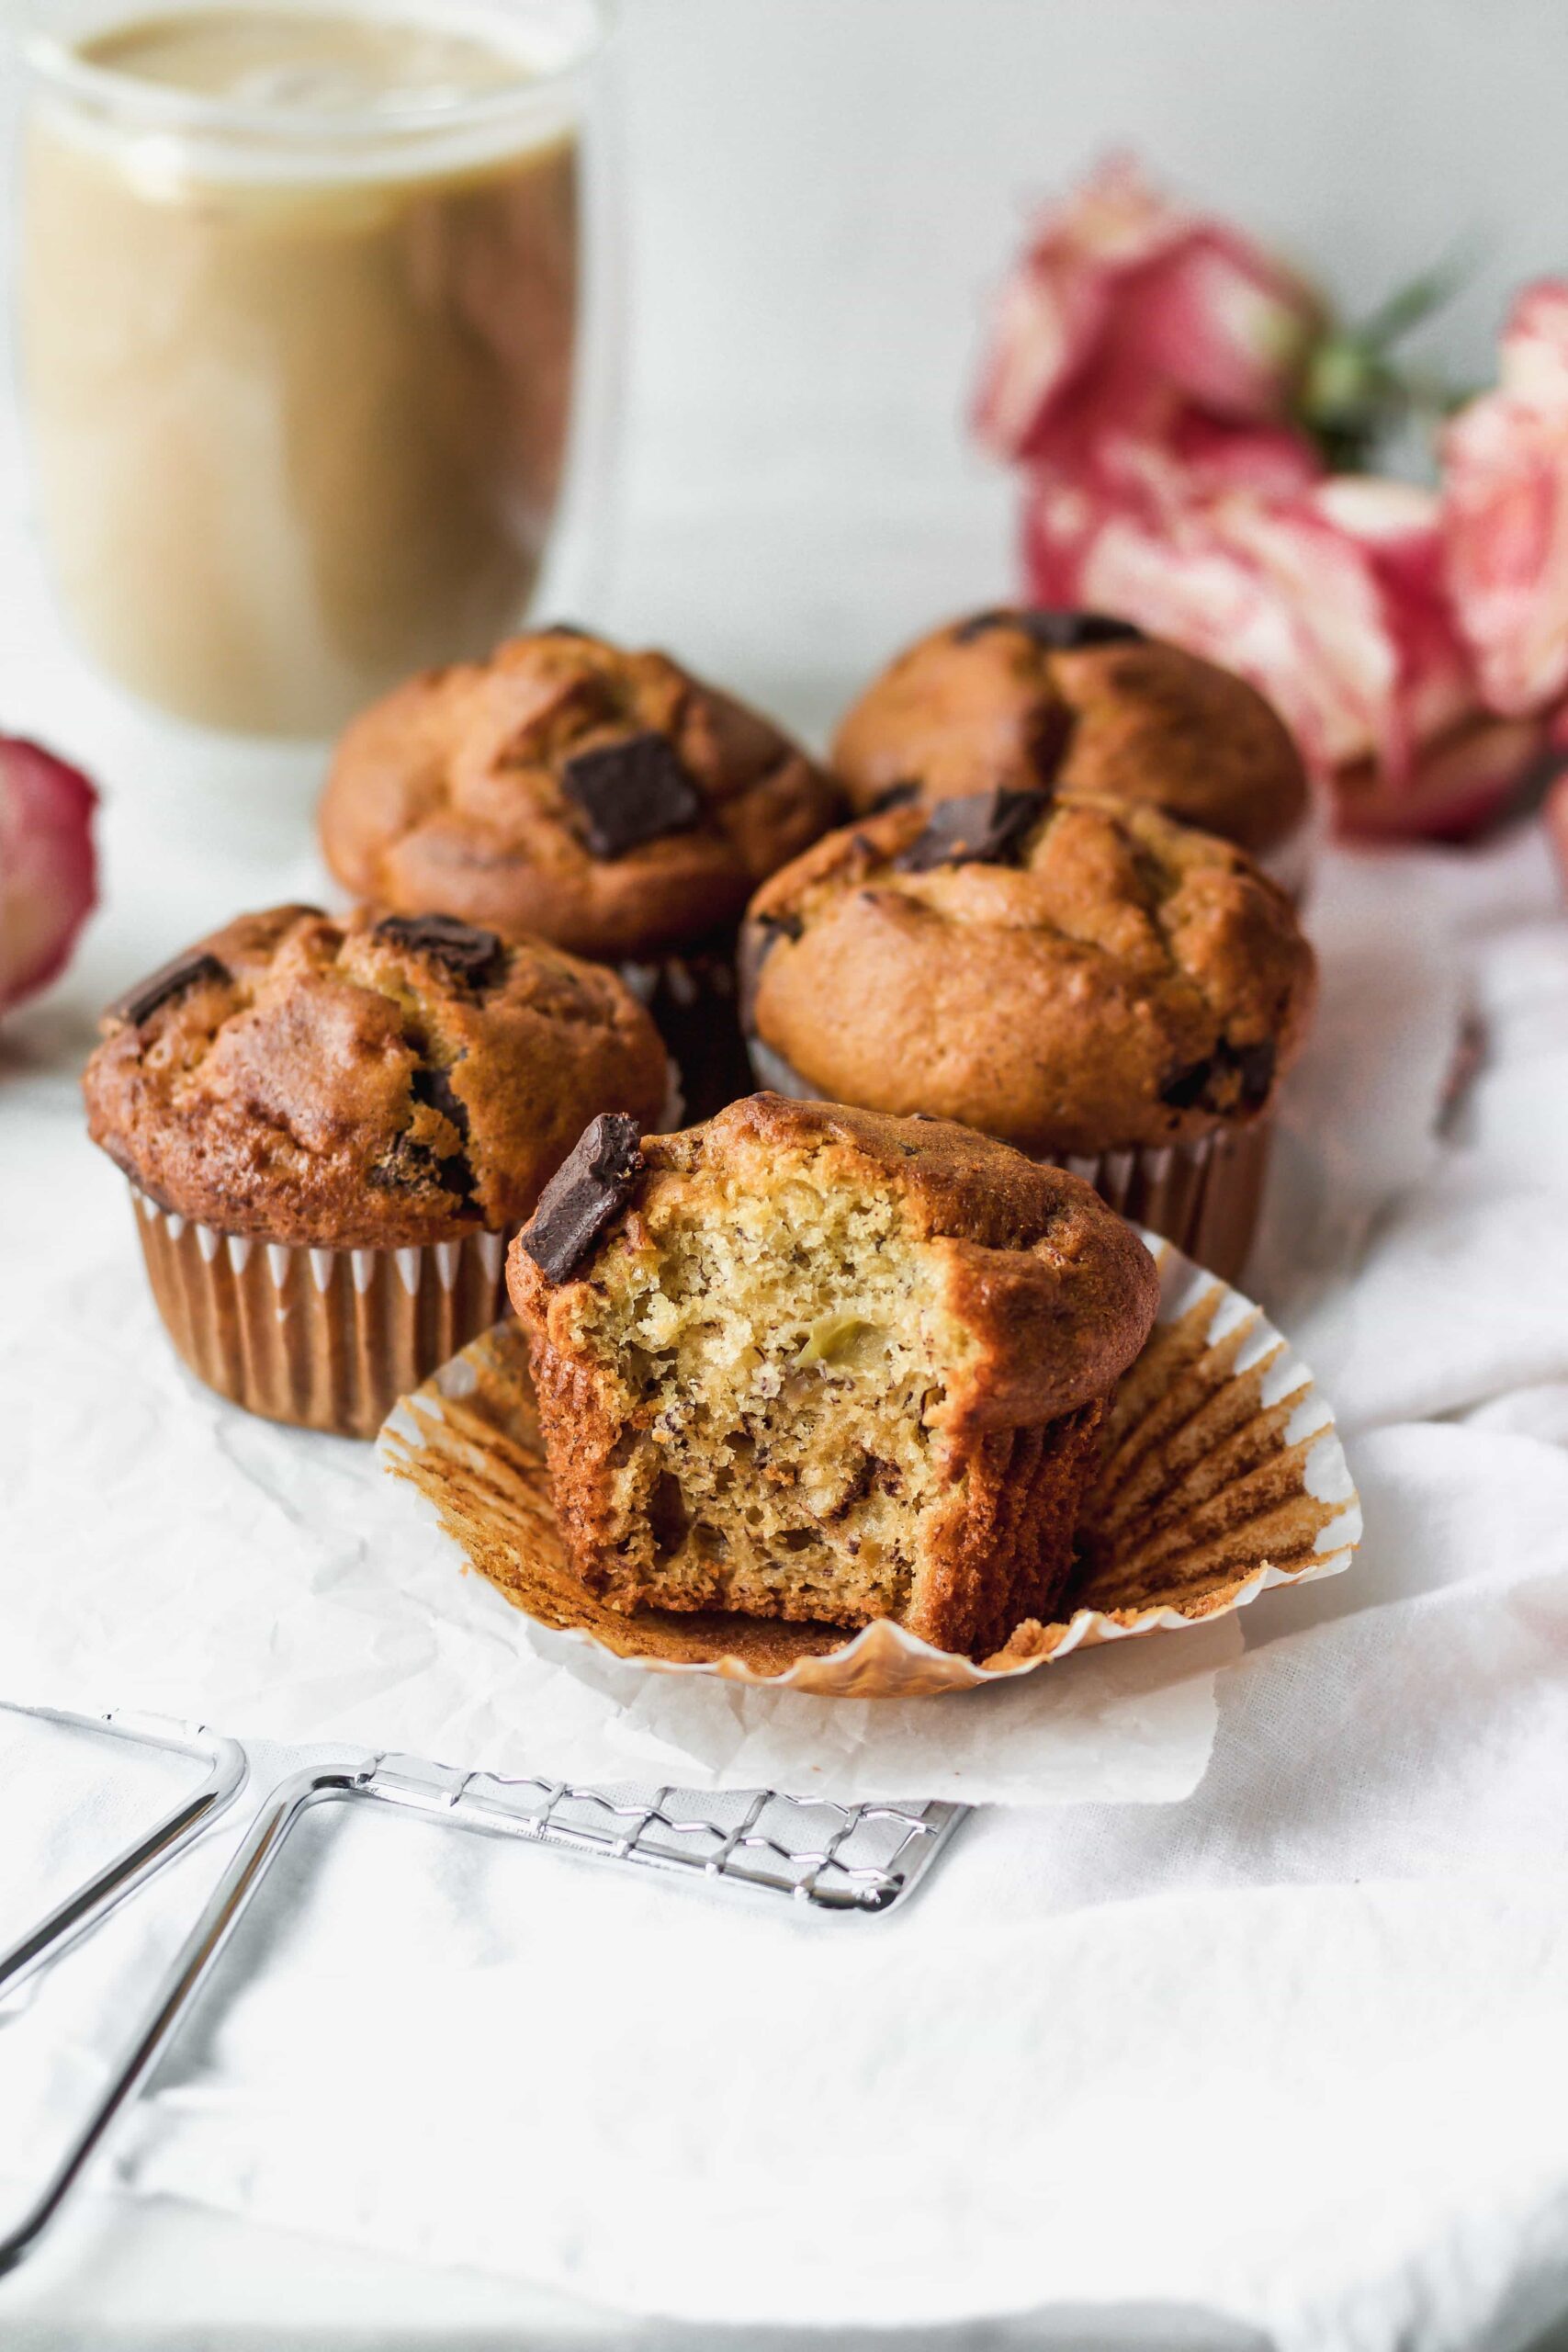
- Banana Bread Muffin
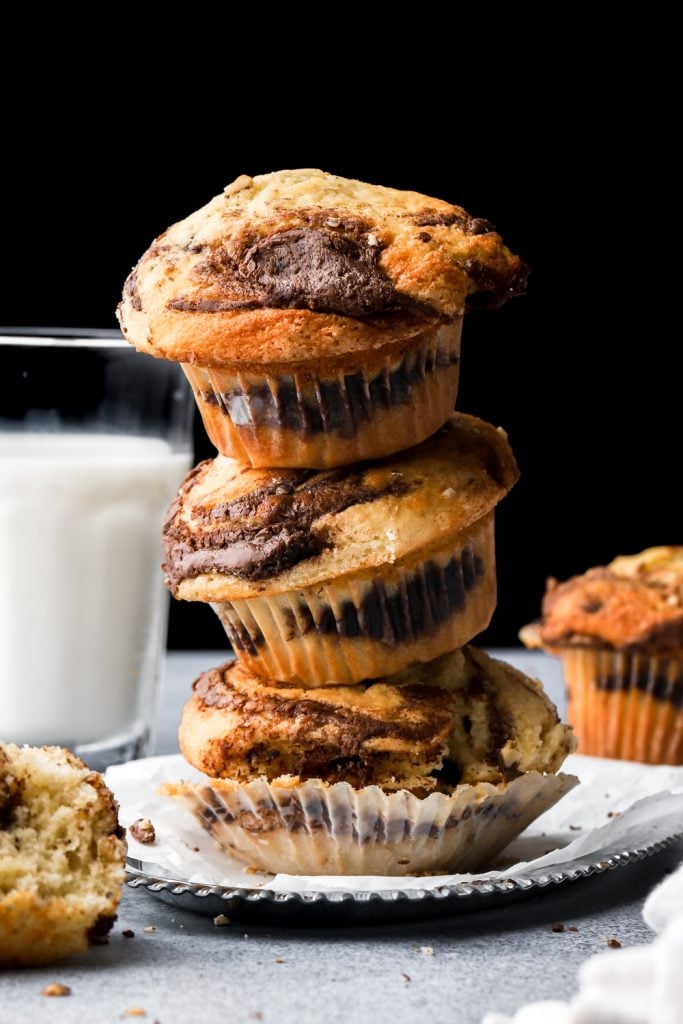
- Nutella Muffins
- White Chocolate Raspberry Muffins
- Oreo Muffins
- Apple Cinnamon Muffins
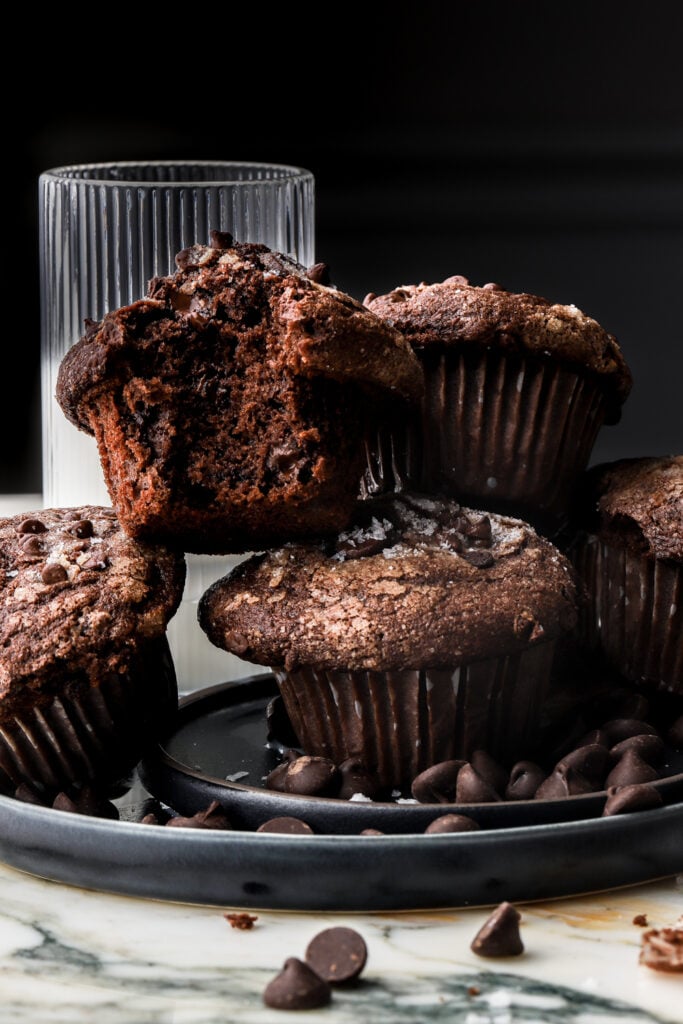
- Double Chocolate Muffins
There’s honestly sooo many more opportunities for these muffins. Chocolate base with peanut butter swirl and chocolate chips or chocolate chunks, chocolate base with raspberries and chocolate chips, banana bread with cookie butter or peanut butter or Nutella swirl. I could go on lol.
Storing Muffins The Right Way
I LOVE the crispy muffin top but if you store these in an airtight container, you lose that crispiness on top. So I leave them out overnight to preserve that.
After the first night, I store them in an airtight container at room temperature for a couple days so they don’t dry out.
You can also refrigerate them for up to a week and bring them back to room temperature or microwave before serving but again, you’ll lose that delicious crispy muffin top.
Bakes stay more fresh when they’re frozen so if I’m not eating within a couple days I prefer to freeze them. Place muffins in an airtight container and freeze for up to a couple of months. Bring back to room temperature before serving.
Thanks so much for reading today’s post, if you have any questions just comment down below.
If you make love these muffins I would really appreciate if you left me a 5-star rating or a review.
As always, have a blessed day and happy baking!
Love, B

Hiii