Pistachio Crunch Dobos
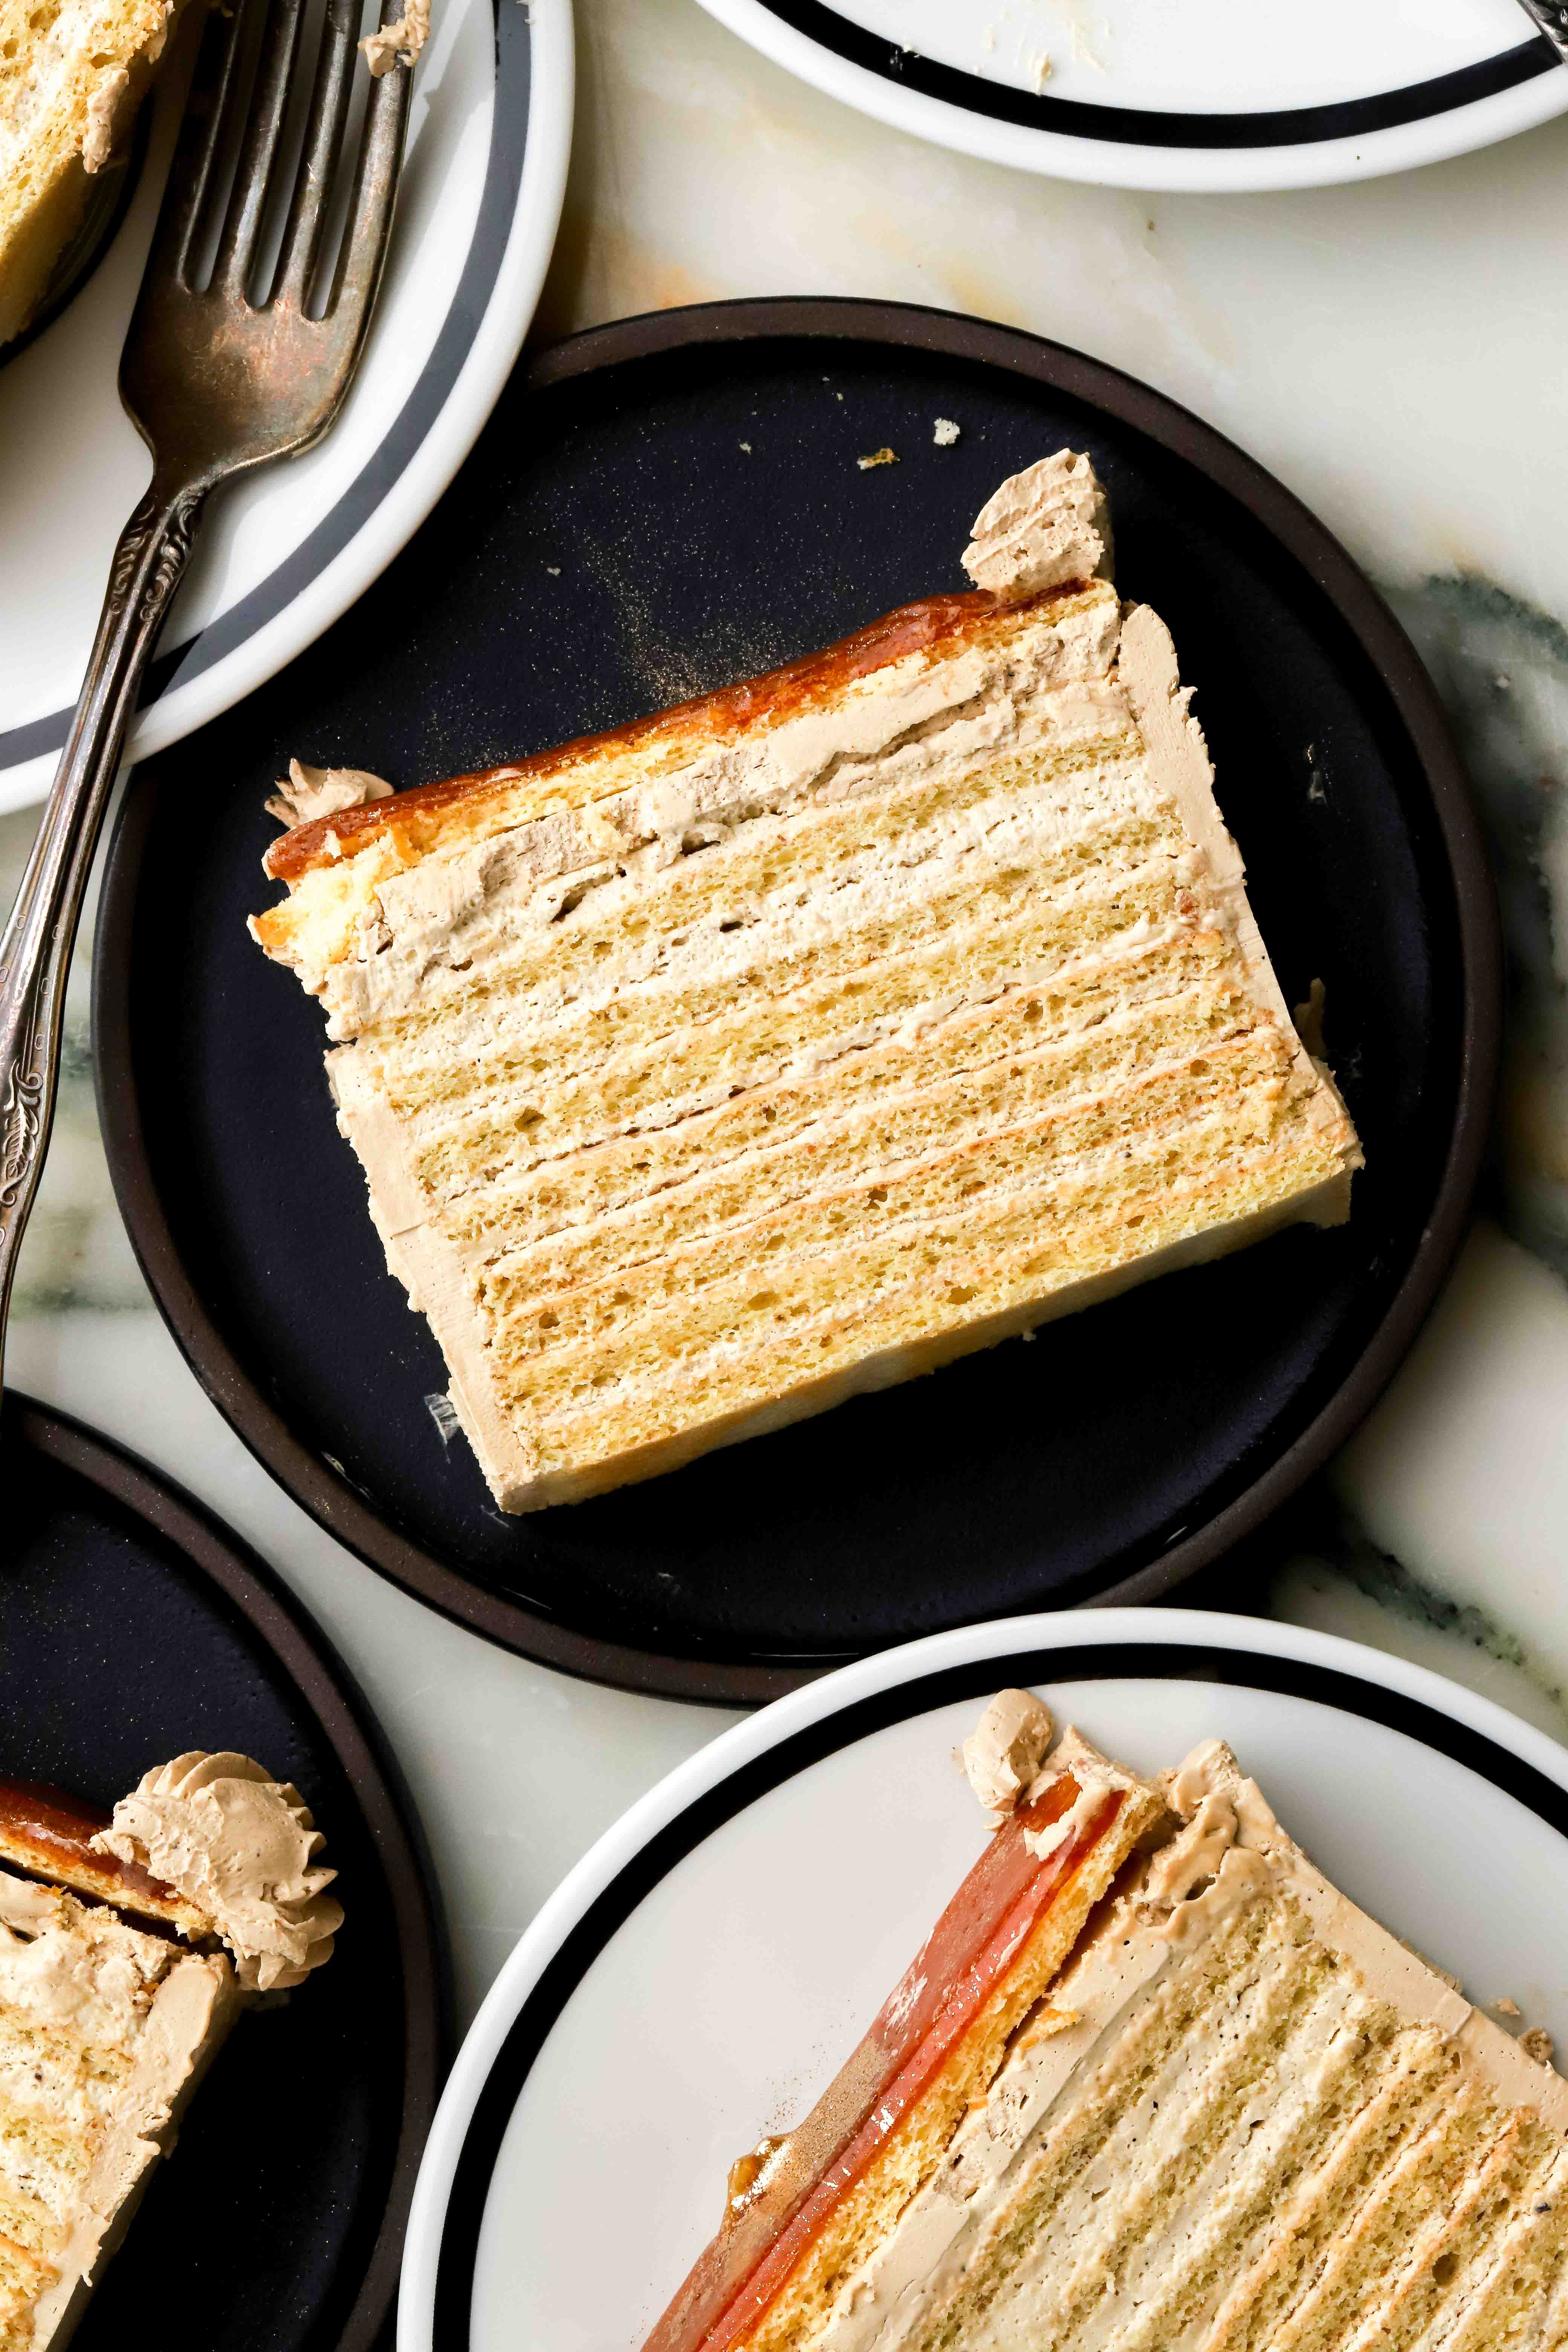
My dobos series continues – in case you missed it, I’m taking my Mom’s Famous Dobos recipe and changing the flavors while keeping the structure.
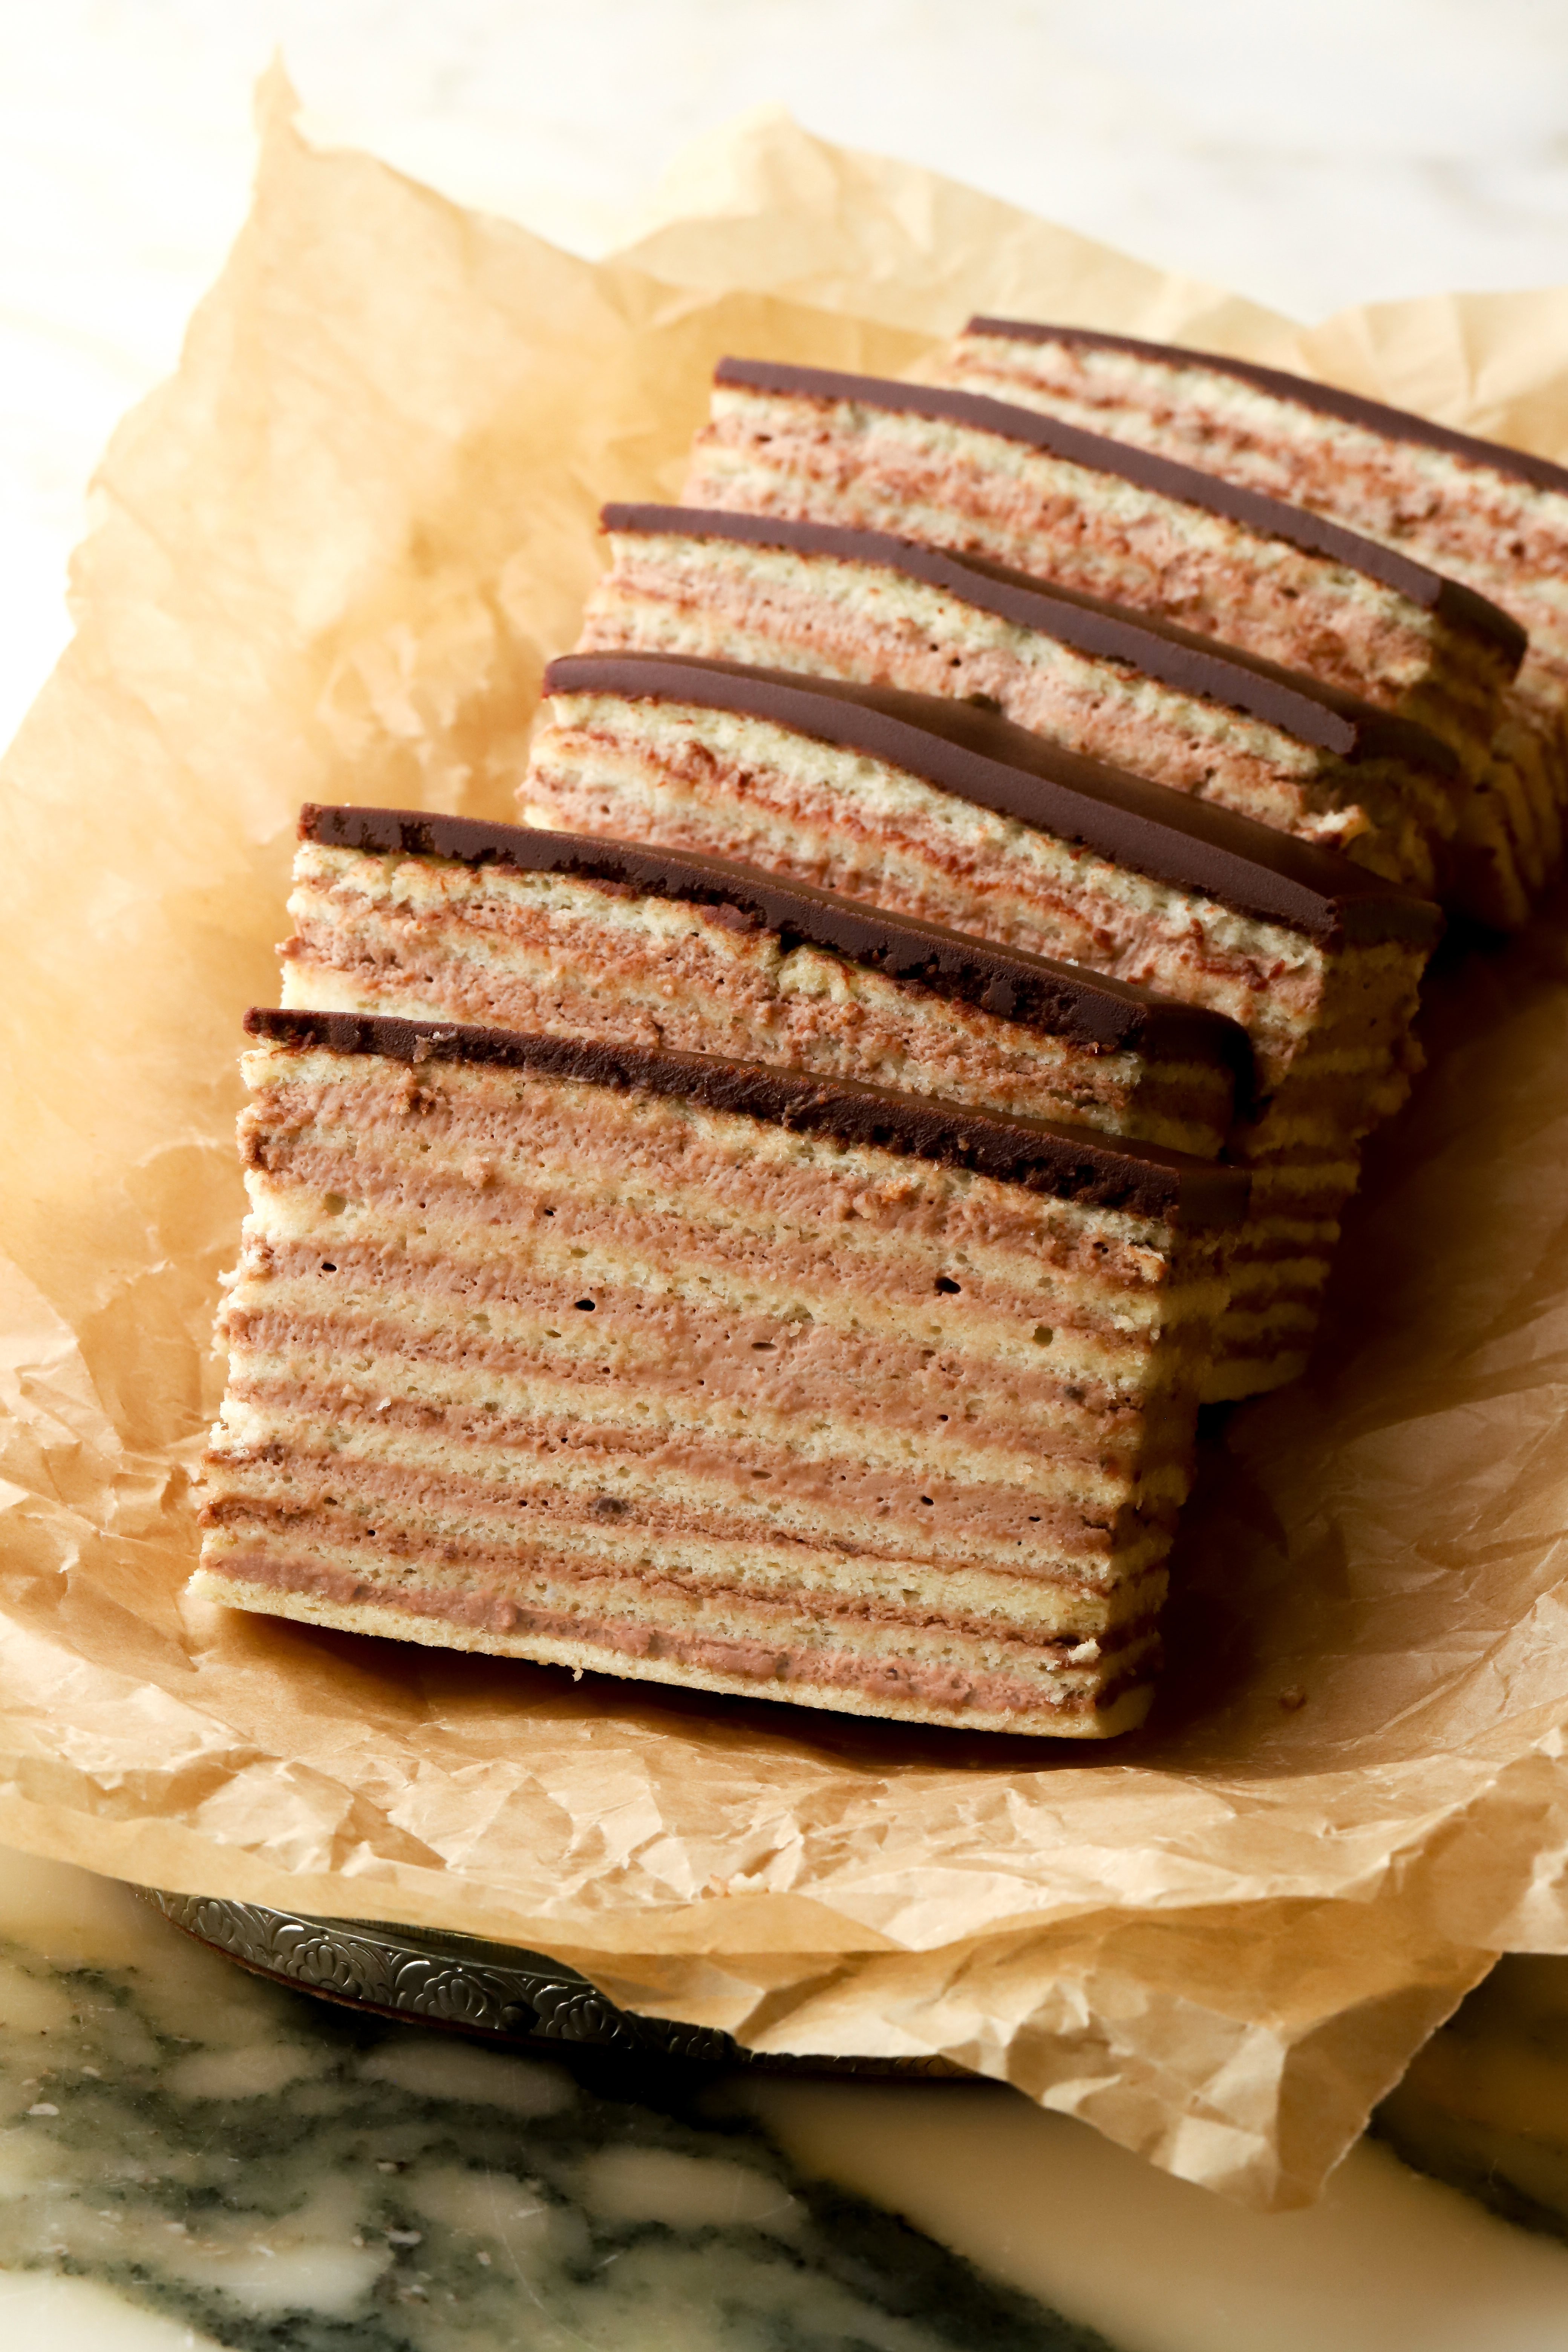
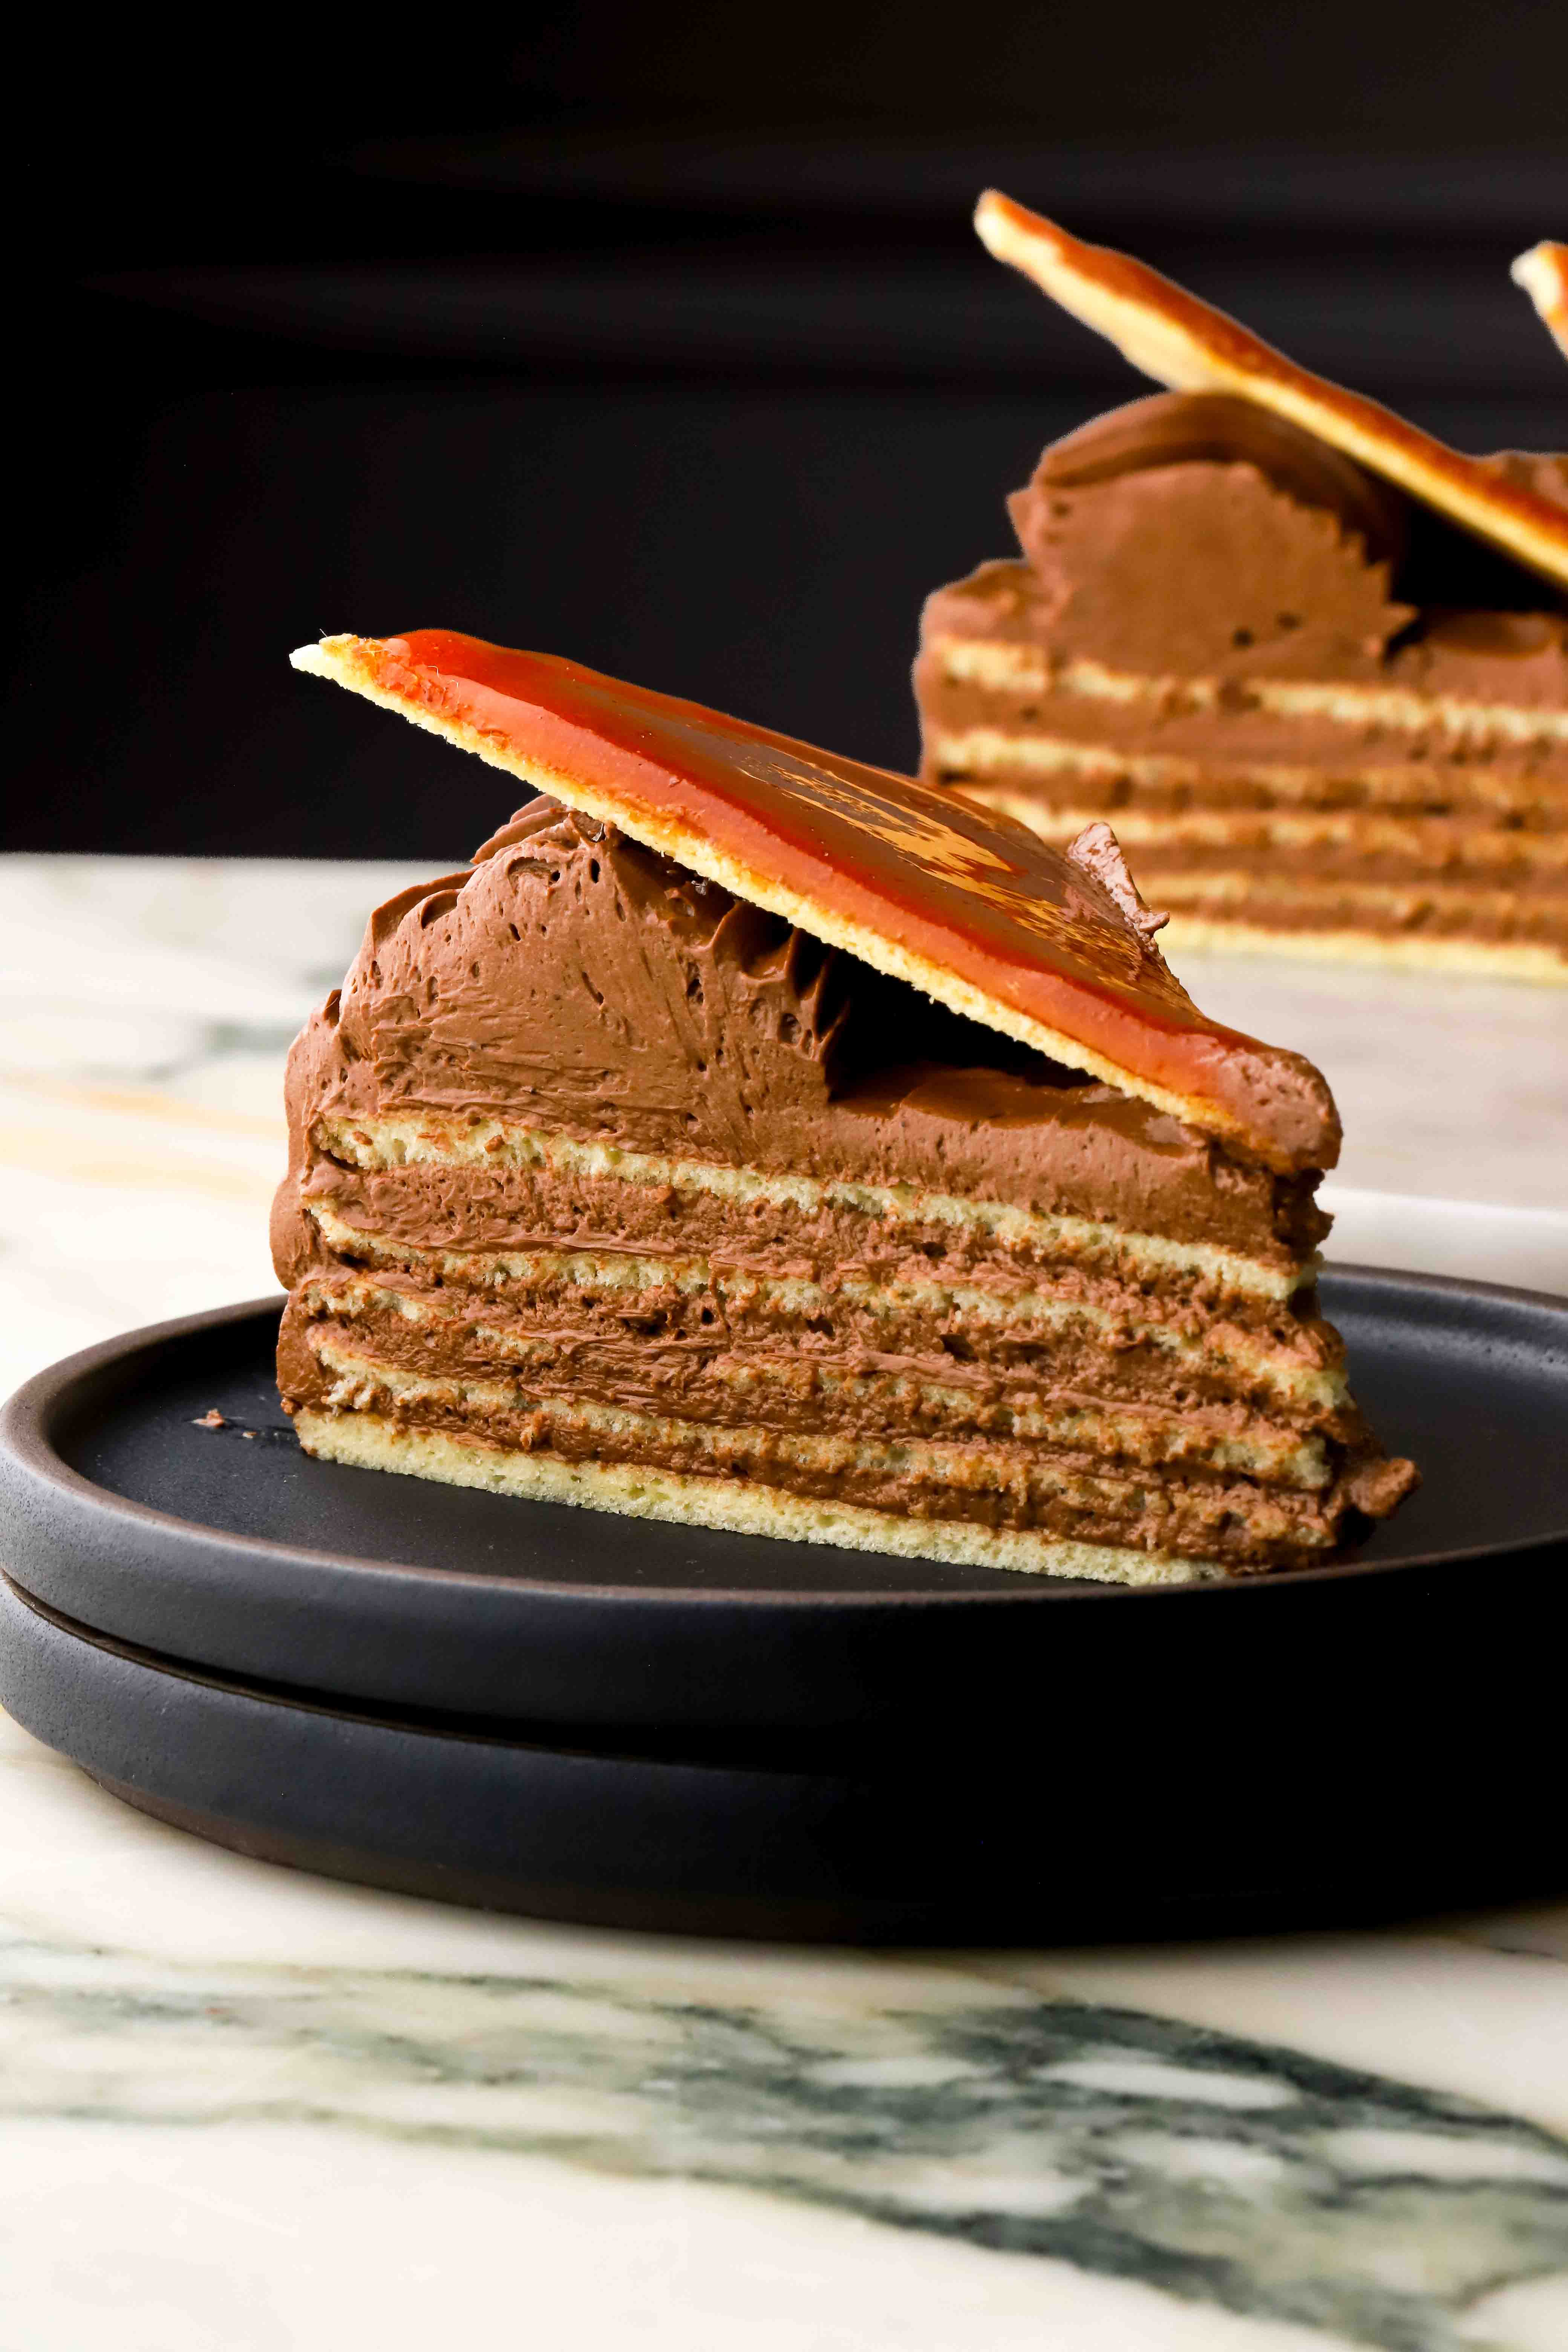
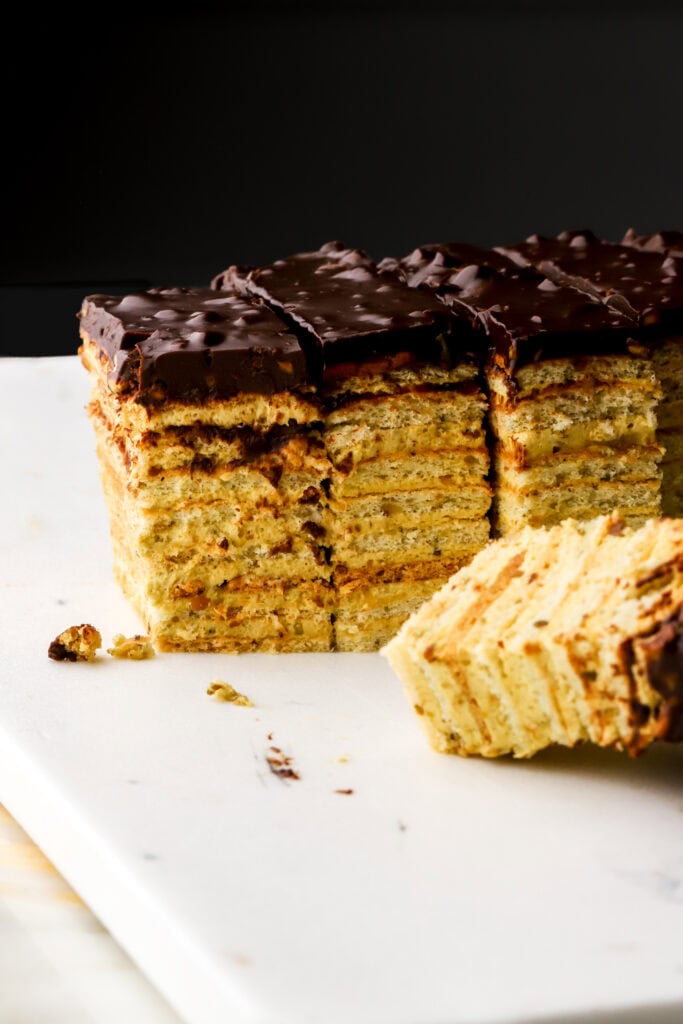
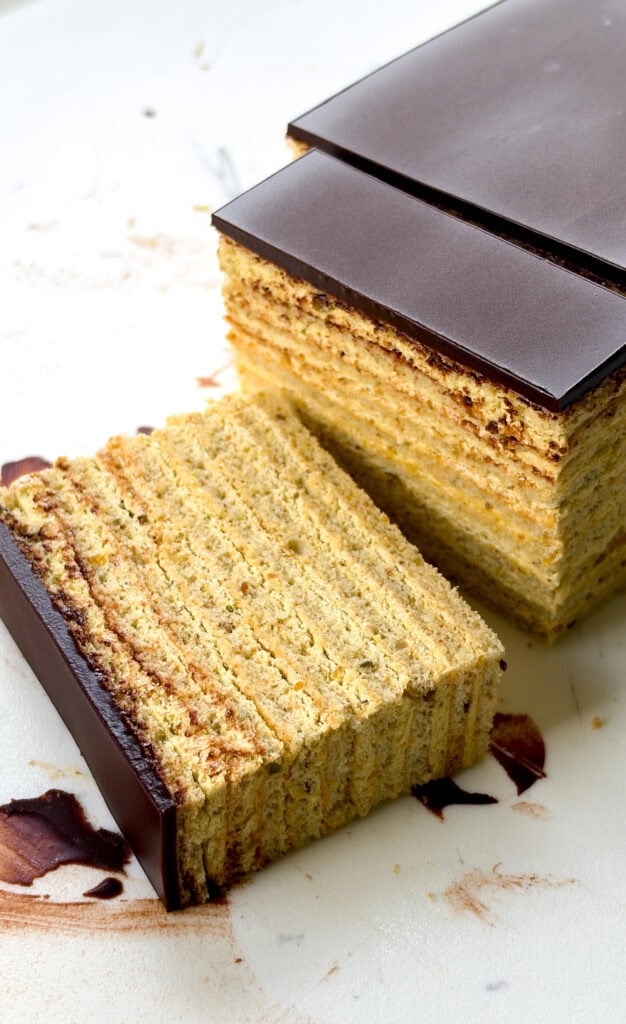
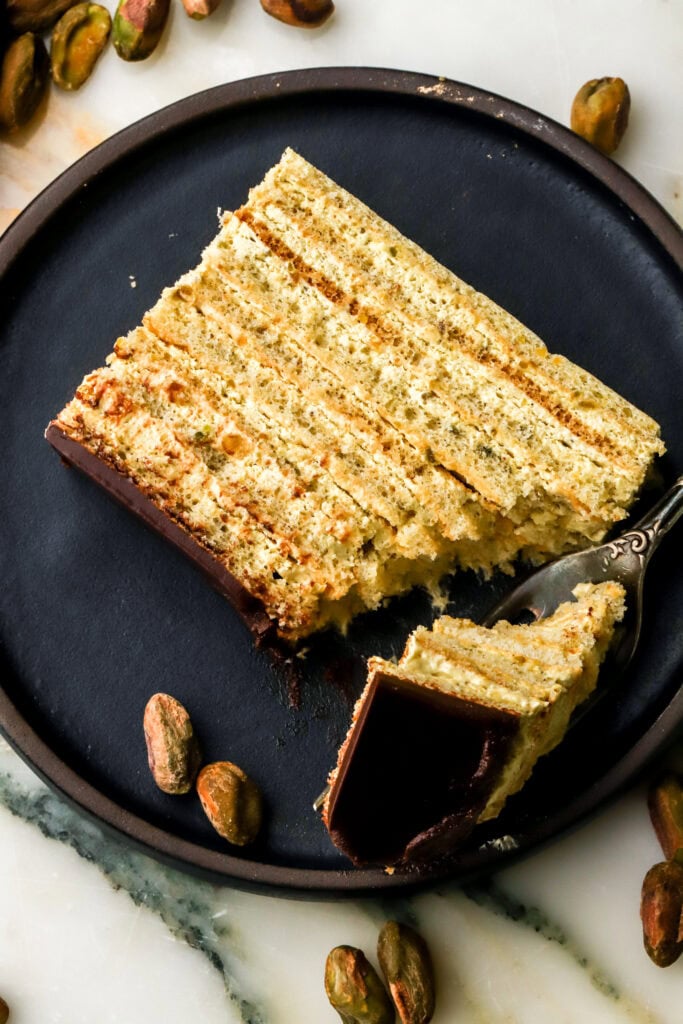
So think 9 super thin layers of sponge cake with a fluffy cream and some kind of topping.
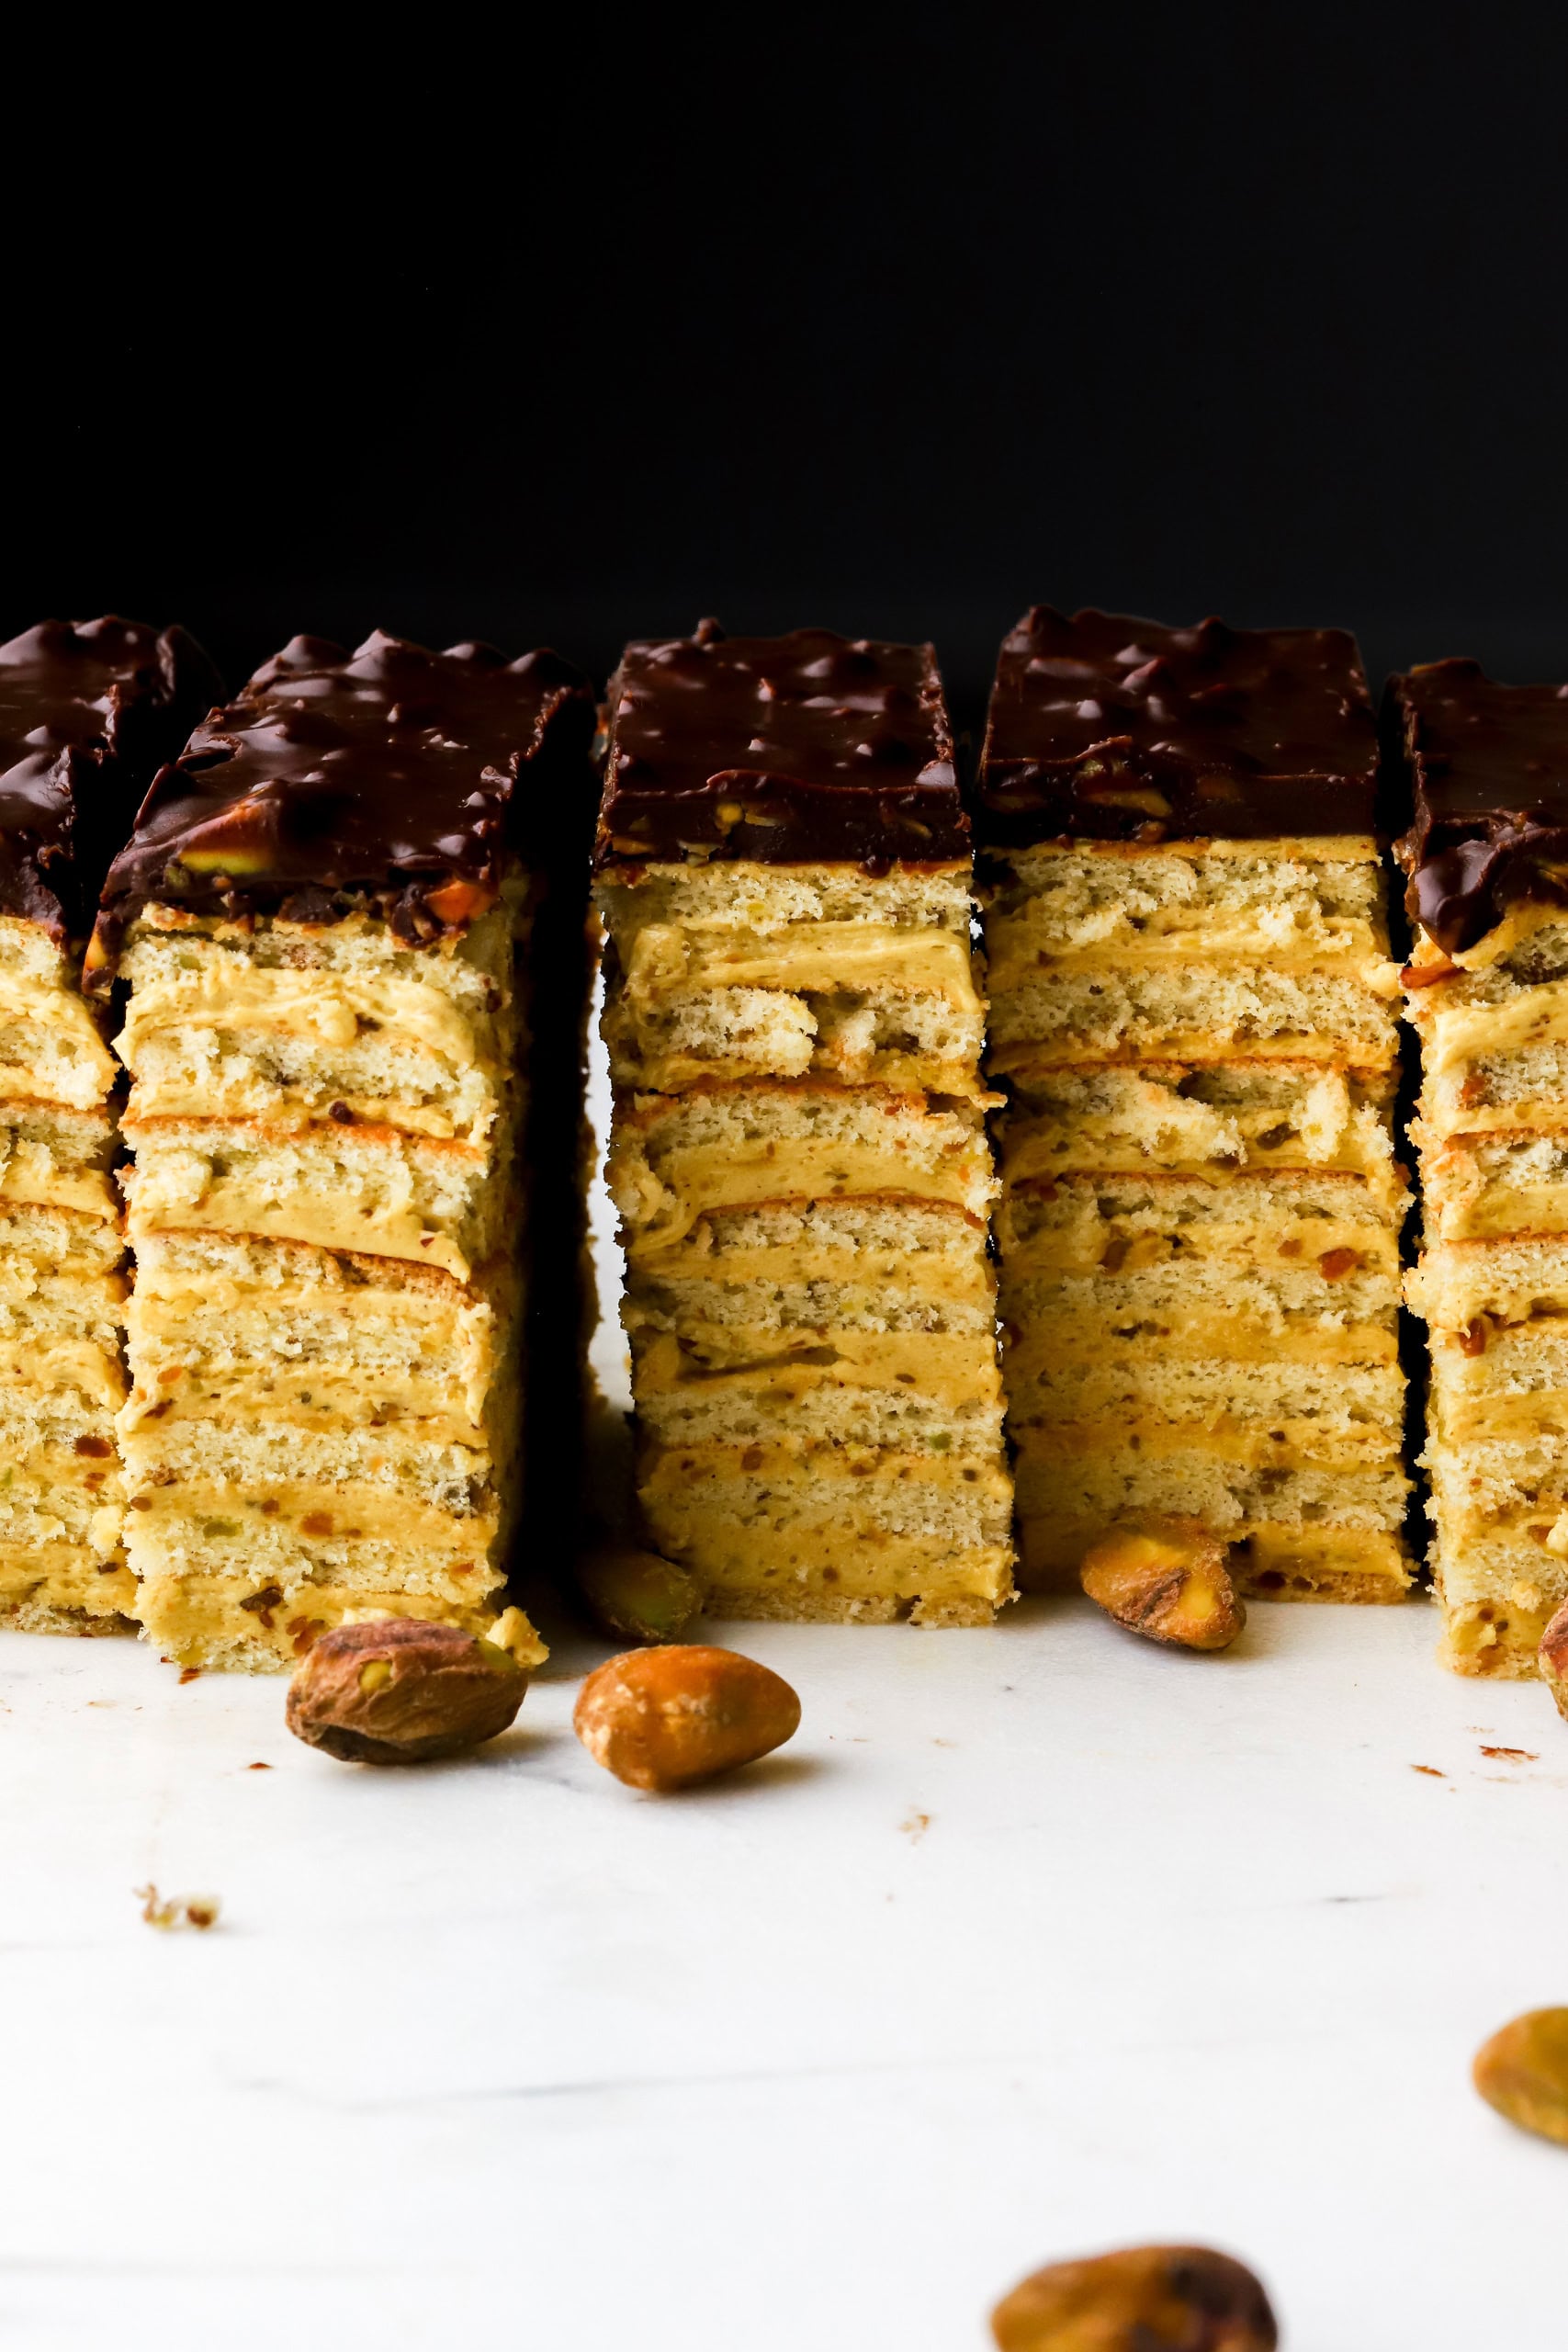
This flavor was a recommendation from so many of you, everyone wanted to see something with pistachio so I paired it with olive oil and dark chocolate.
I thought for sure this one would be the most difficult and give me the most trial and error but to my surprise, not only did it turn out PERFECTLY on the first try, but I think I may even love her more than the coffee one.
I truly am so proud of this one and if there was a cake that I would ever make for sale, it would be this one because I wish you could all taste it…although I’d probably never make a profit because the pistachio butter alone, for this small cake, cost me $22 LOL.
Ingredients & Substitutions
The ingredients are pretty straightforward and the full recipe is in the recipe card at the bottom but here are a few things to note.
- Eggs – I recommend using large eggs and if they’re at room temperature they whip up quicker.
- Flour – please please please, use a digital scale to measure the flour – trust me when I say I had to learn the hard way when using my mom’s recipes. She measures with A SPOON…an actual spoon. So I have her make her recipes, her way but with my scale underneath lol.
- Pistachios – I used lightly salted pistachios and weighed them AFTER they’re removed from the shell. I don’t peel the skin off or anything crazy like I did in this cake lol.
- Chocolate – I used dark chocolate for this because I am a dark chocolate lover. Of course, milk or semi-sweet works too and either chips or chopped bar also work fine.
- Cool Whip – Not an ingredient I typically use, but I’m staying true to my mom’s recipe. Use Cool Whip specifically—it doesn’t work as well with store-brand alternatives. I’ve included instructions below for using homemade whipped cream if you prefer.
- Pistachio Butter – I use pure pistachio butter which means the only ingredient in the jar is pistachios; this is to ensure we’re getting as much pistachio flavor as possible.
Let’s Talk Details
There aren’t a lot of parts to this cake, just a lot of those parts LOL
- Pistachio Cream – I used the same cream my mom uses but I flavored it with pistachio butter instead of chocolate.
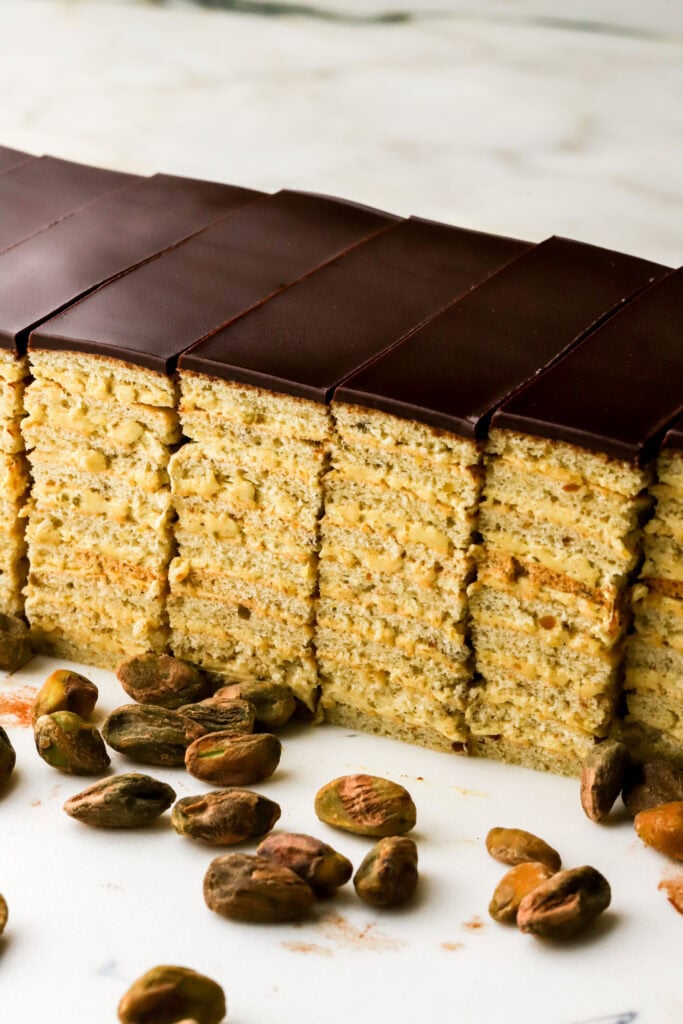
- Pistachio Sponge Cake – these are super thin sponge cakes but I blended in some pistachios with the flour. It gives it a little texture which is sooo nice.
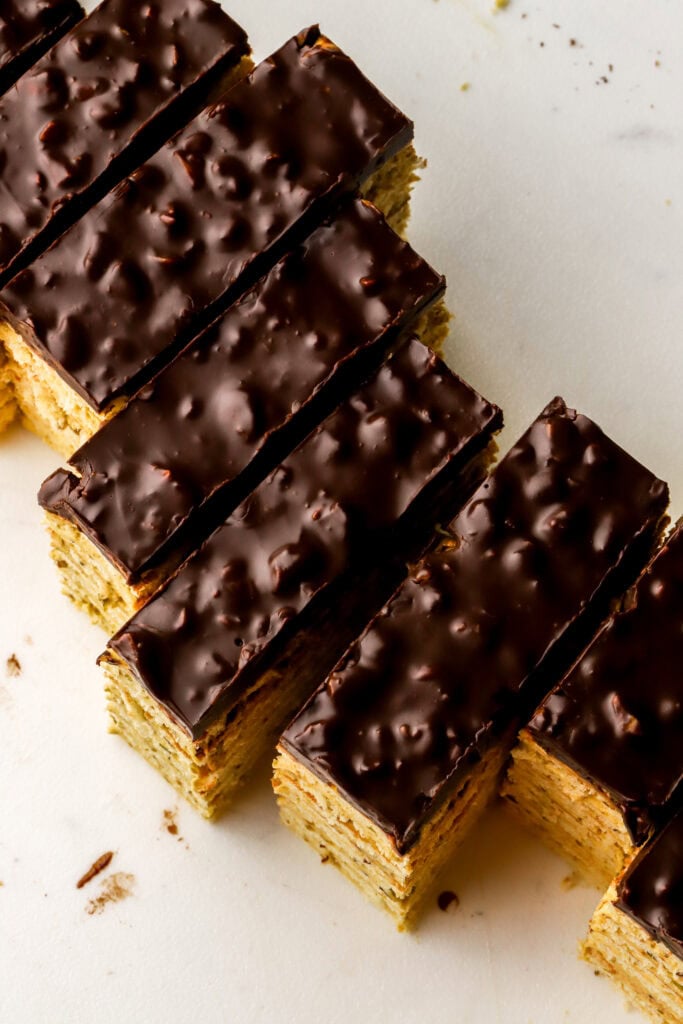
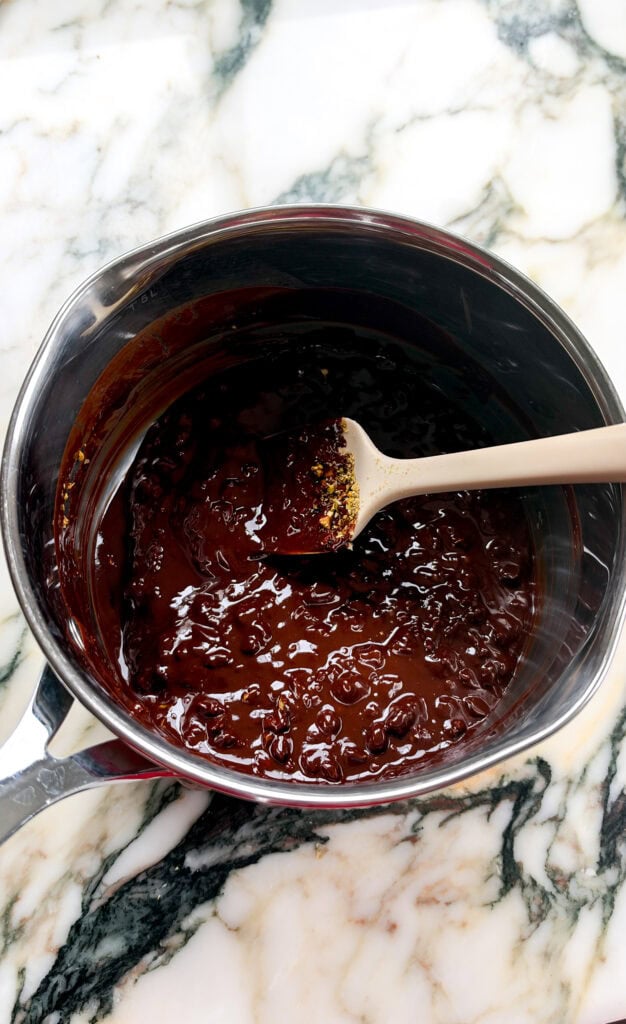
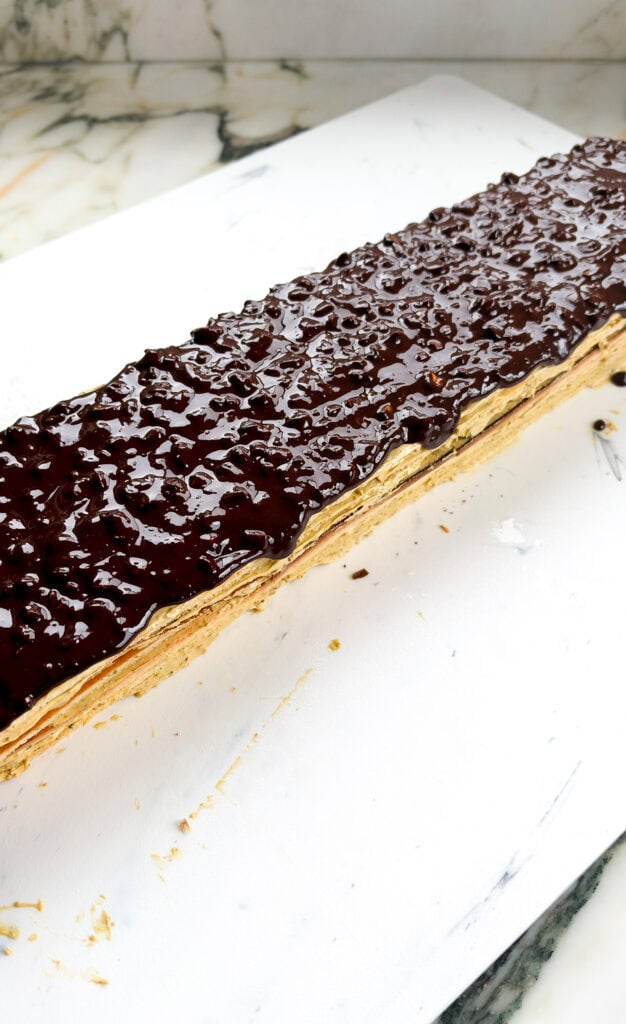
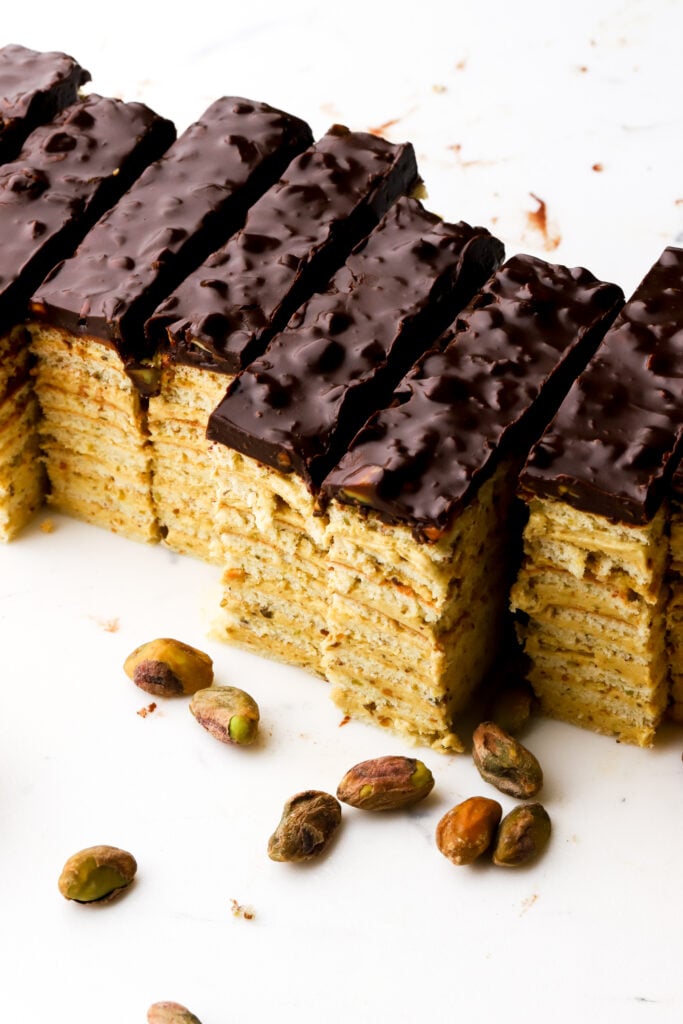
- Olive Oil Chocolate Topping – similar to my mom’s chocolate glaze but I used olive oil instead and if you want the ‘crunch’ look and texture, use a smidge less oil and just fold in chopped pistachios.
Pistachio Cream
We’re starting with the cream because the pastry cream takes longer to cool than the cake layers.
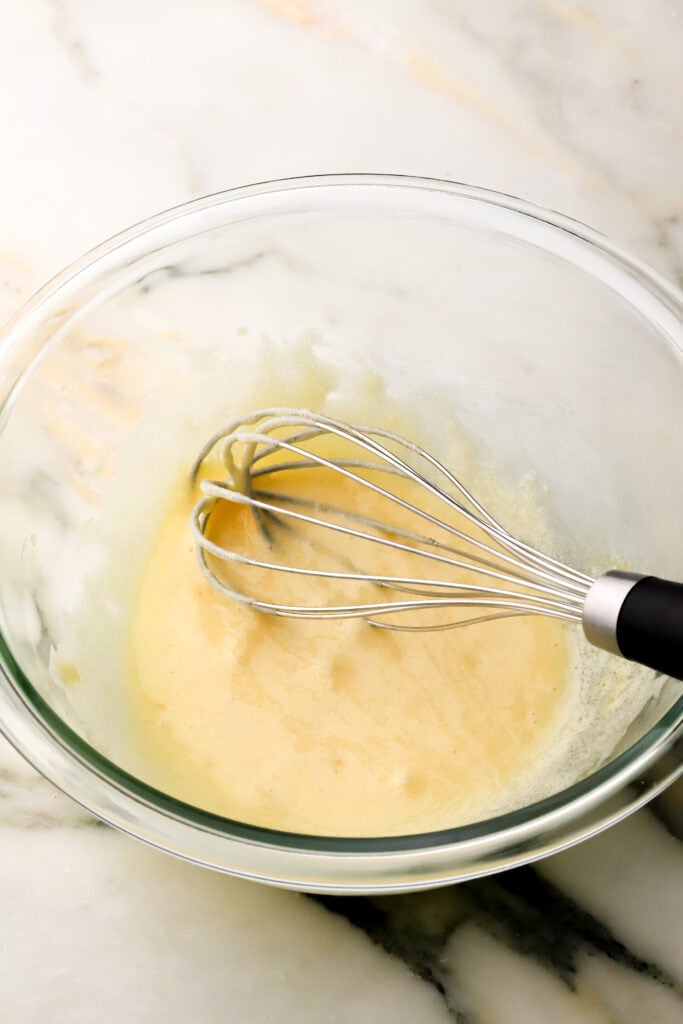
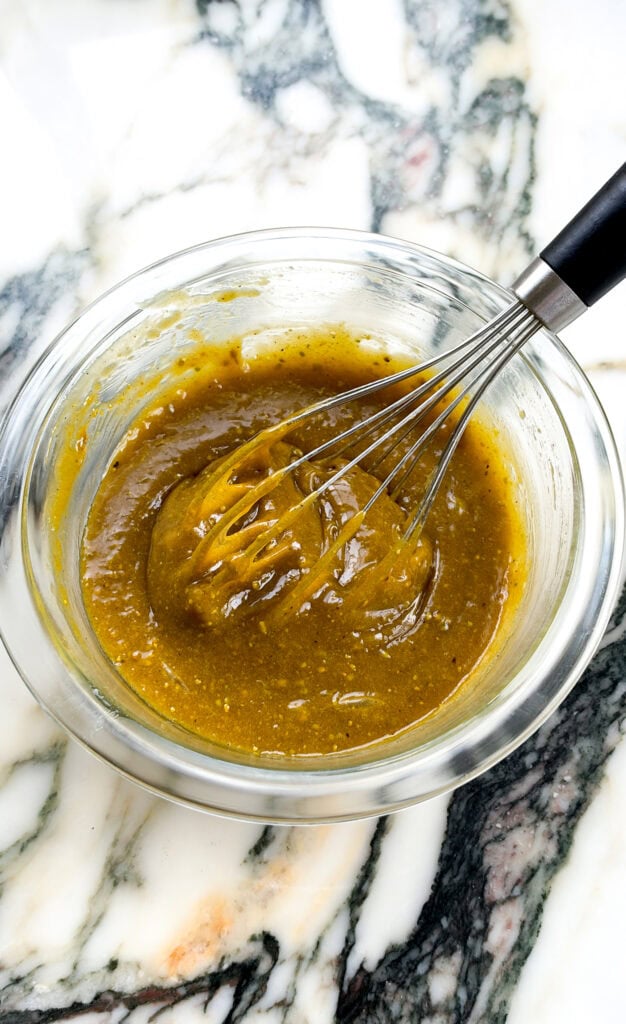
- Whisk egg yolks with sugar until smooth.
- Heat the butter in a saucepan until it’s melted.
- Temper the egg yolks with the melted butter by slowly pouring it into the bowl while whisking continuously.
- Return the whole mixture to the pot and cook the whole thing for 5ish minutes, until it thickens and leaves streaks.
- Quickly remove from the heat, pour back into the bowl and stir in the pistachio butter.
- Cover with plastic wrap to cool completely.
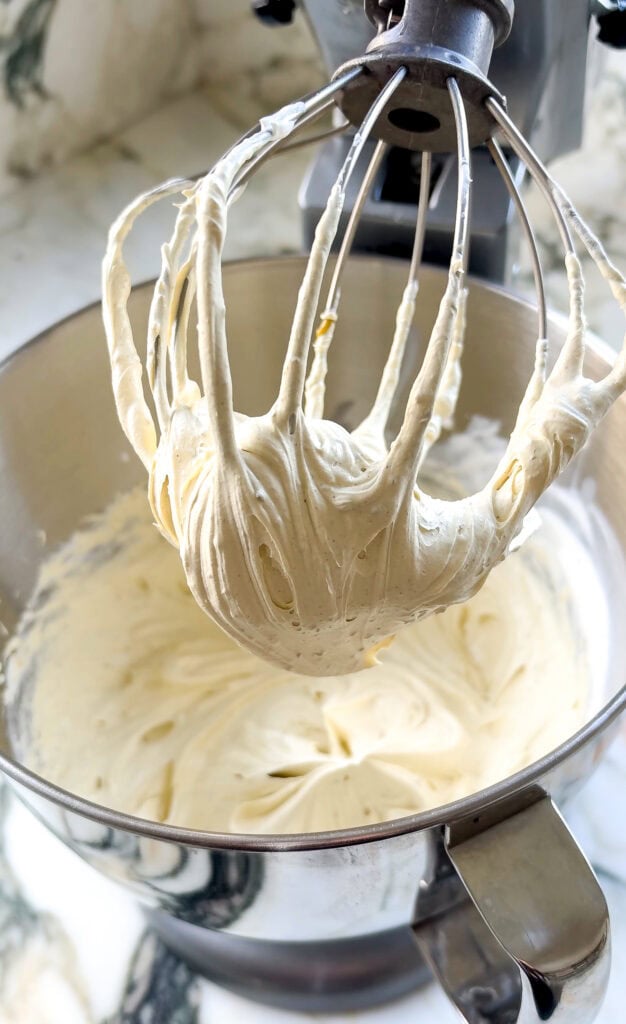
- After you finish the cake layers, whip the cooled custard with the Cool Whip, mixing just until it’s all combined.
Pistachio Cake Layers
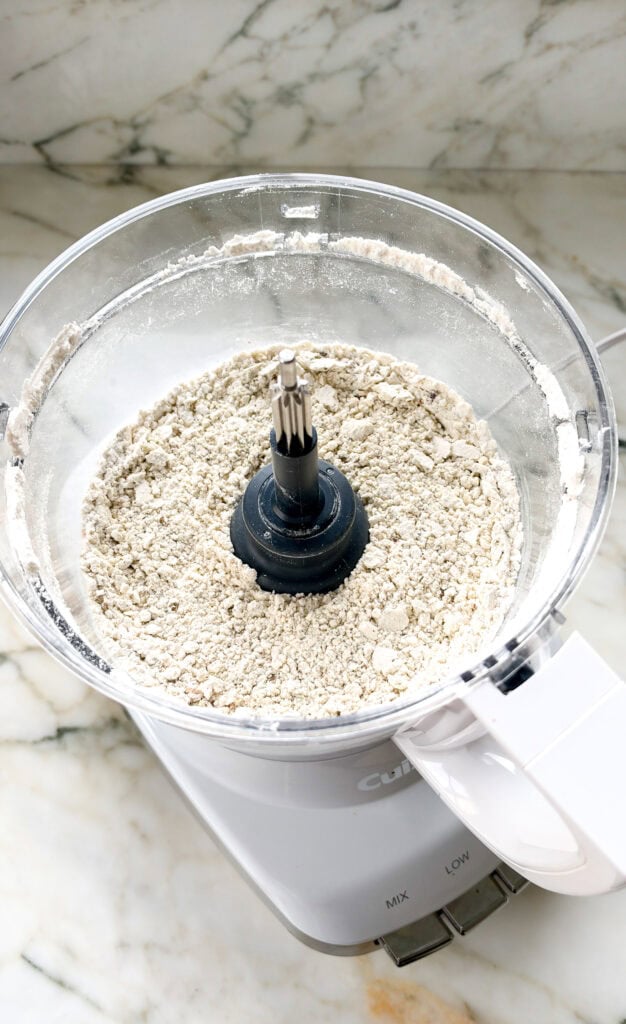
- Blend the pistachios with the flour until it’s mostly ground up and there are no more large chunks.
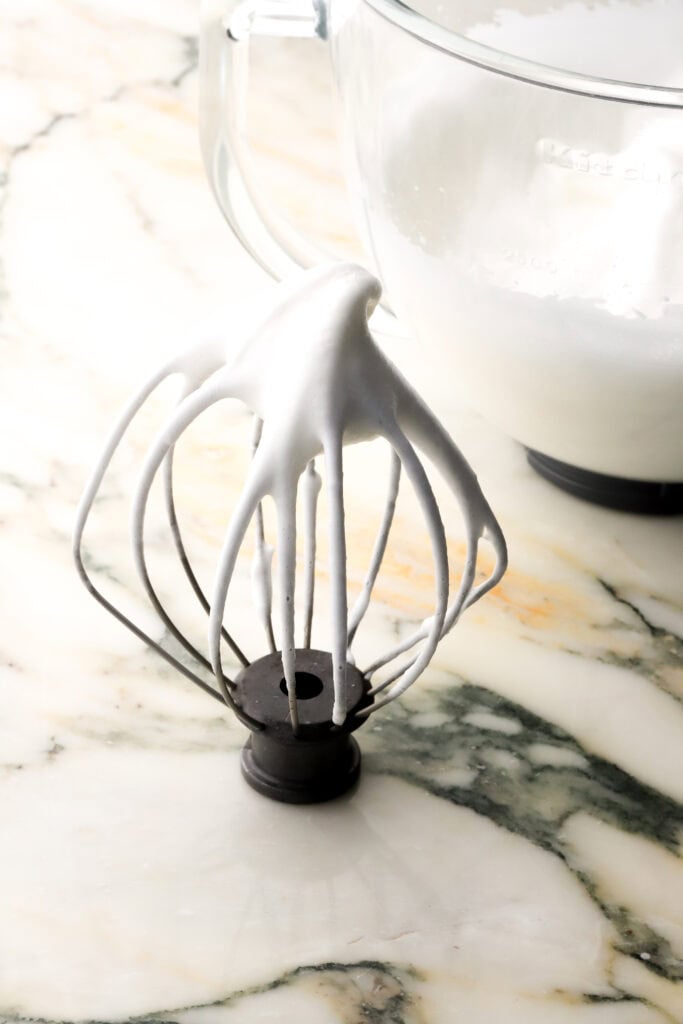
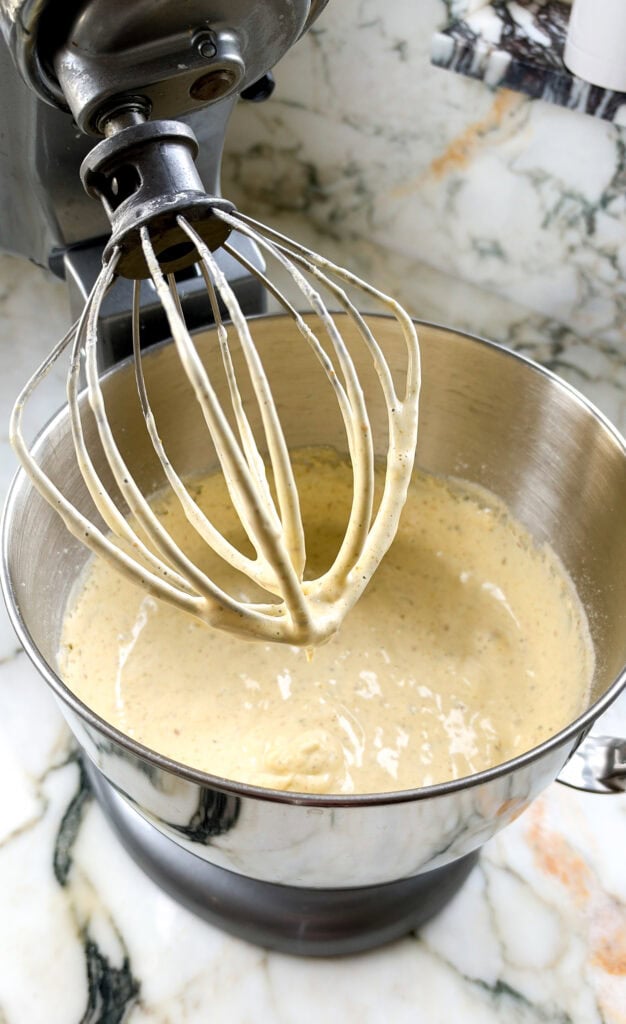
- Separate the eggs and beat the egg whites with the sugar and water until it’s thick and fluffy like a meringue.
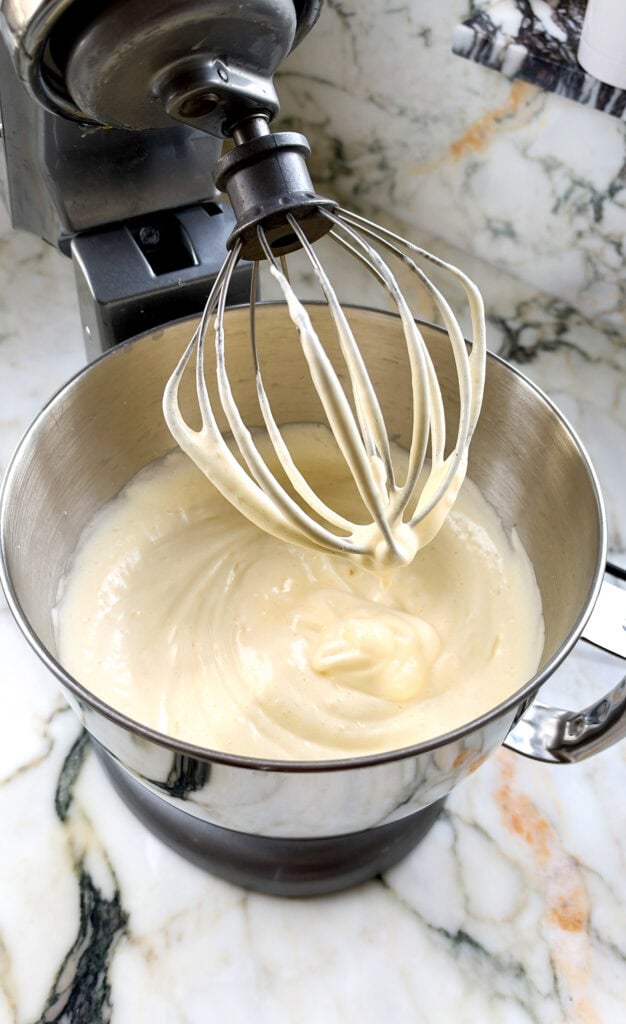
- With the mixer running, add in the egg yolks, followed by the oil.
- Scrape the edge of the bowl and with the mixer on low-medium speed, spoon in the flour.
- Scrape the edge of the bowl again to make sure all the flour is mixed in.
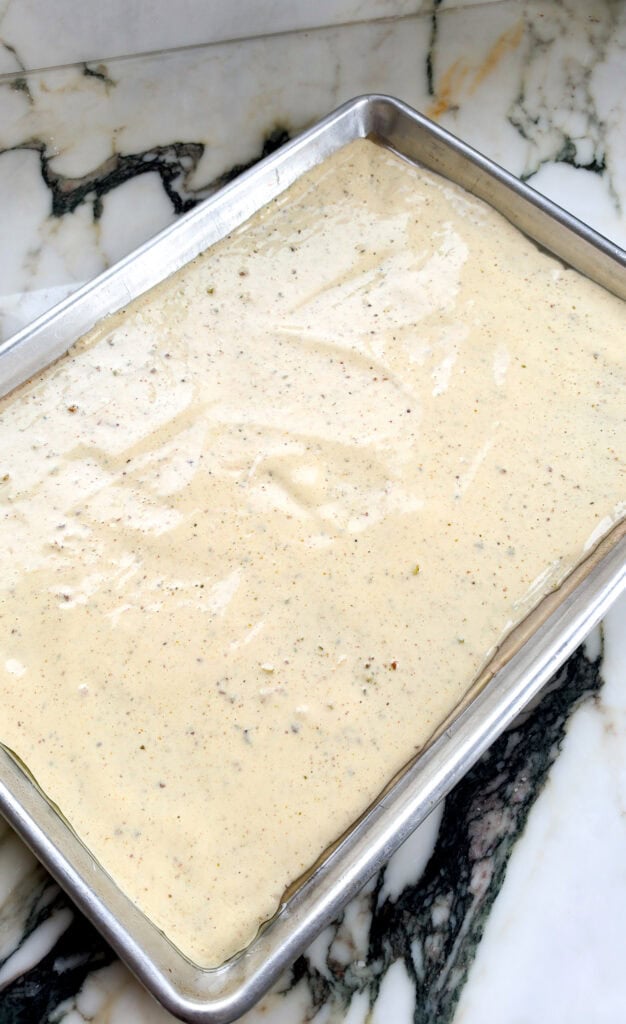
- Grease and line the sheet pan with parchment paper and spread ⅓ of the batter (7 ounces) in the prepared pan. It will be very thin.
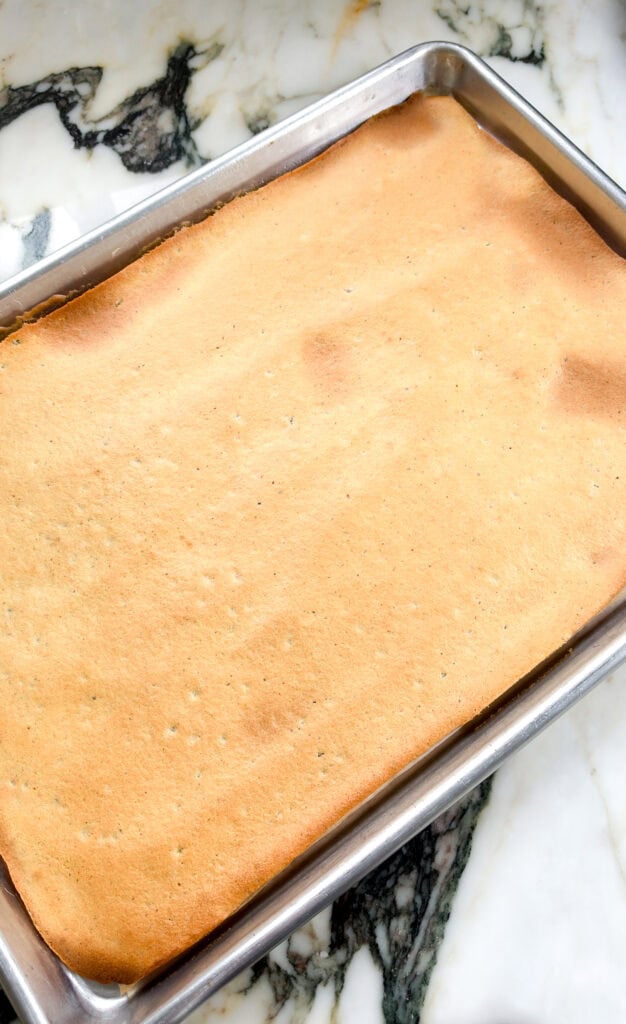
- Bake for 6 minutes, until it no longer looks wet and is golden brown. If it’s white, the cake will be softer but slightly more gummy; if it’s brown, the layers will be very difficult to handle and may shatter.
- Allow the cakes to cool in the pan for a few minutes before removing.
- Repeat until you have 3 full cake layers.
Assemble The Cake
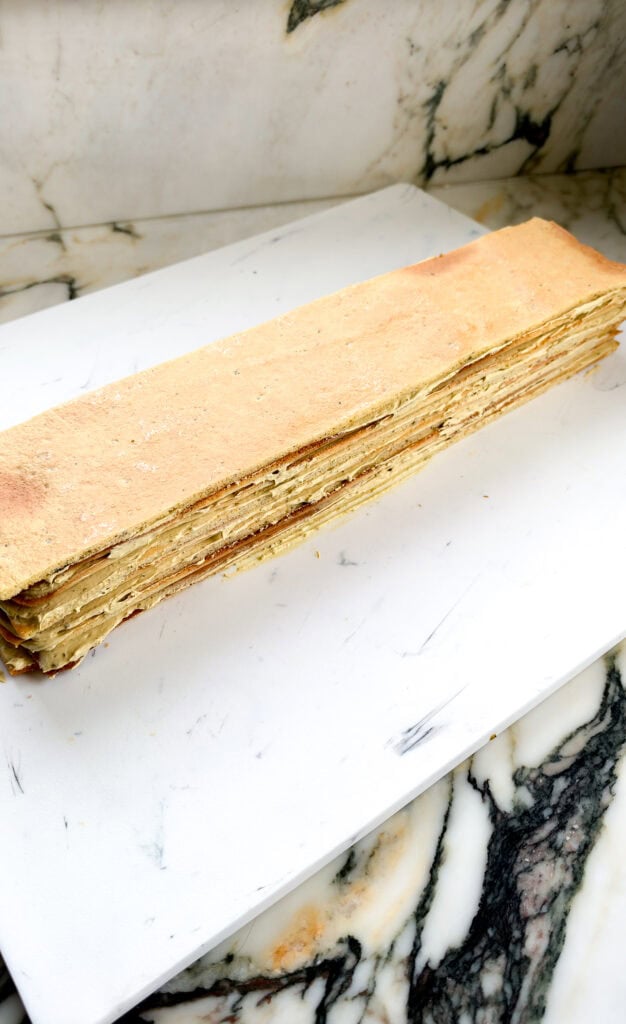
Start by slicing each layer of cake INTO THIRDS from short edge to short edge (hot dog style). This should give you 9 long rectangular layers to stack.
- Place the first layer of cake on the bottom of a tray.
- Use a small cookie scoop to scoop out even amounts of cream – I did three small scoops which totaled to about 2.7 ounces of cream per layer.
- Spread the frosting out as thin and evenly as possible.
- Repeat until you reach the last layer. Don’t cover the last layer in cream, leave it bare.
- Refrigerate the cake for several hours to allow the cream to set before making the topping.
Chocolate Olive Oil Glaze
I want you to know that you CAN taste the olive oil in this. If you don’t like that earthy olive oil flavor, you can use a neutral oil here too however I do think it pairs so well with the other flavors.
My husband LOVED it plain and smooth and says I ruined it when I made it with the pistachio crunch BUT I AM OBSESSED with the crunch version lol. So just know you can make it with or without!
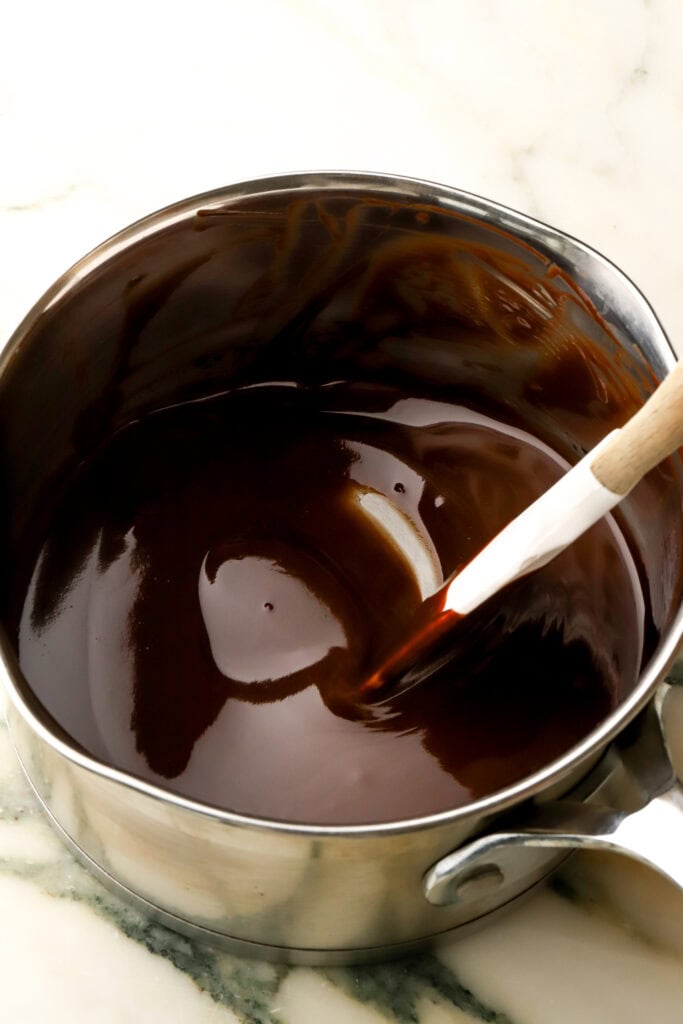
- Place the chocolate chips, oil and milk in a small saucepan over medium-low heat.
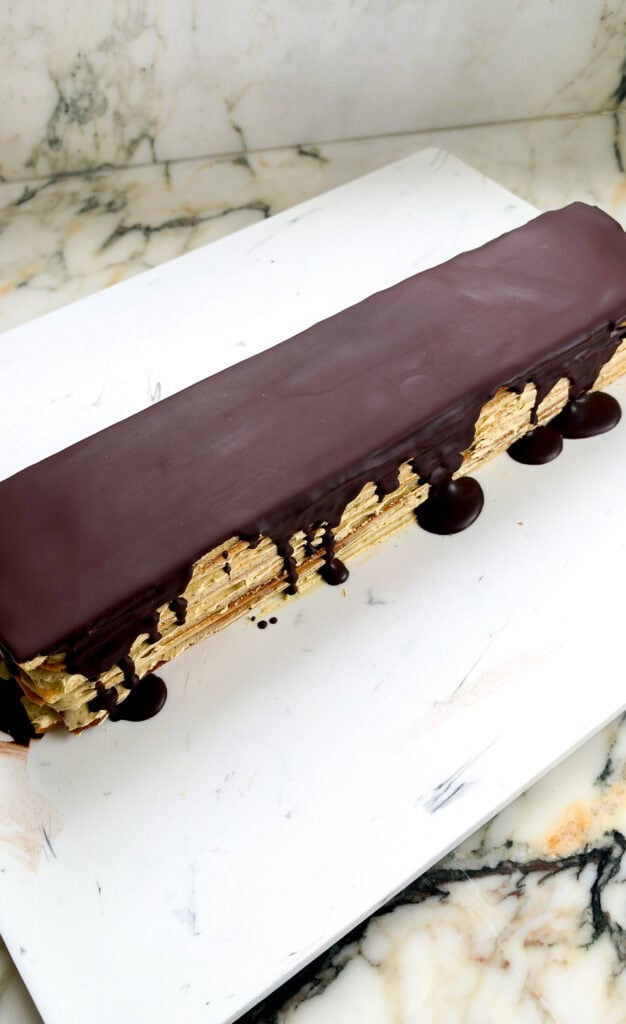
- Stir until it’s completely melted and then pour over the chilled cake, allowing it to run off the edge OR fold in chopped pistachios and spread on top of the cake.
- Spread it out evenly and then lightly tap the cake on the counter to even out the top.
What Pan To Use
I recommend a 18×13 half sheet pan, which gives you exactly 3 layers if you’re using 7 ounces of batter per layer.
Obviously if you use a smaller pan, you’ll either get more layers or thicker layers and vice versa.
Making this without Cool Whip
Should you choose to make this with whipped cream, you’ll need:
- 1 ½ cups heavy cream
- 30 grams (¼ cup) powdered sugar
- 1 tsp of gelatin bloomed
- 1 Tbsp cold water.
- Bloom the gelatin by mixing it with the cold water and let it set.
- Microwave it for 5 seconds and then add in 1 Tbsp of the custard, mixing it until it’s smooth.
- Add the gelatin mixture to the custard and whisk until it’s completely combined.
- Beat together the heavy cream and powdered sugar until they’re smooth and stiff peaks form (don’t overbeat, just until silky stiff).
- Add ¼ of the whipped cream to the custard and whisk it to thin it out, then add all the custard to the whipped cream and mix until it’s fully combined (don’t over-mix).
Can I Decorate The Outside Of The Cake?
Absolutely! Once the cake is fully chilled and set, you can frost the outside if you want to turn it into more of a celebration cake.
If you’re frosting the cake, you can double the cream in the recipe for a more casual look OR personally, I would use the leftover egg whites from the cream to make a Swiss Meringue Buttercream and flavor it however you want.
Swiss buttercream is much easier to decorate with if you want to make it look really nice and smooth.
As for the topping – you can frost the cake around it, revealing the top like I did my coffee one, or you can just follow the directions all the way to the end, topping and all, slice the edges of the cake and chill it completely before frosting the outside with buttercream.
Serving & Storing
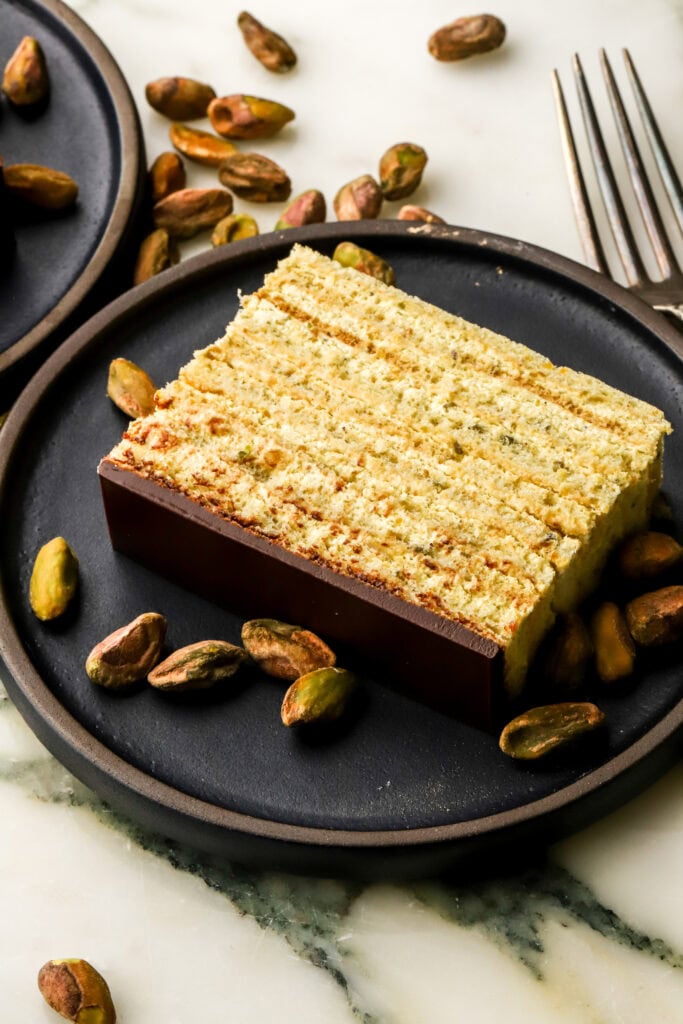
I prefer this cake served cold or slightly chilled, but it can also be served at room temperature if desired.
It’s easiest to slice when cold and should be stored in the refrigerator. If serving at room temperature, just don’t leave it out for too long.
To get clean slices, run a large non-serrated knife under hot water, wipe it dry, and use the hot knife to slice the cake. She repeated this between every single slice so the cream wouldn’t smear and the layers would show clearly.
If you have any questions feel free to comment down below.
Have a blessed day & happy baking!
Love, B