

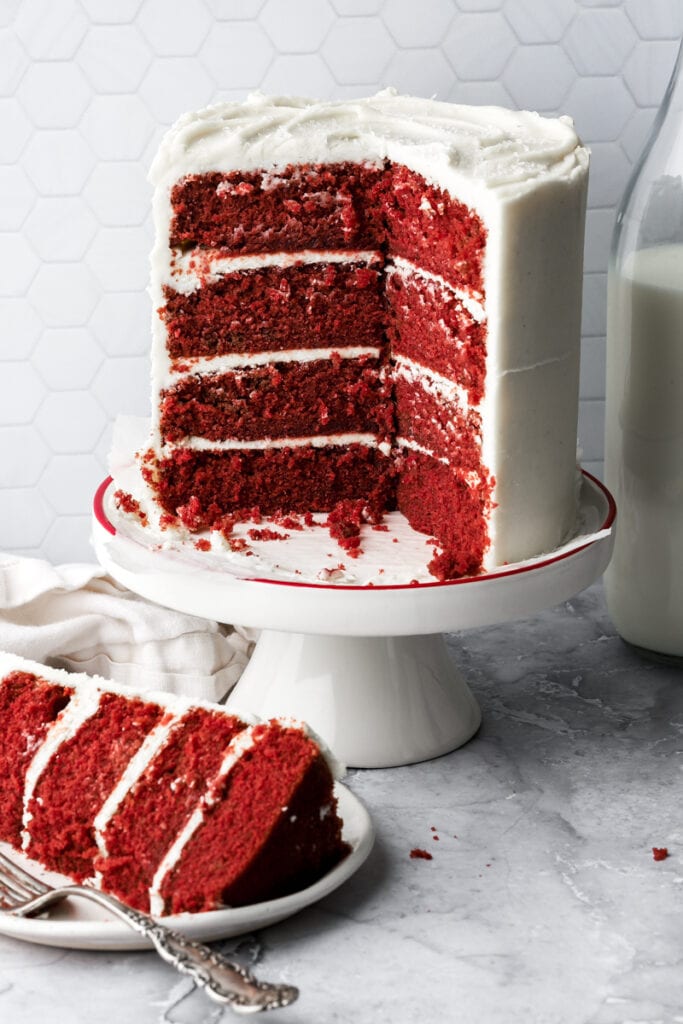
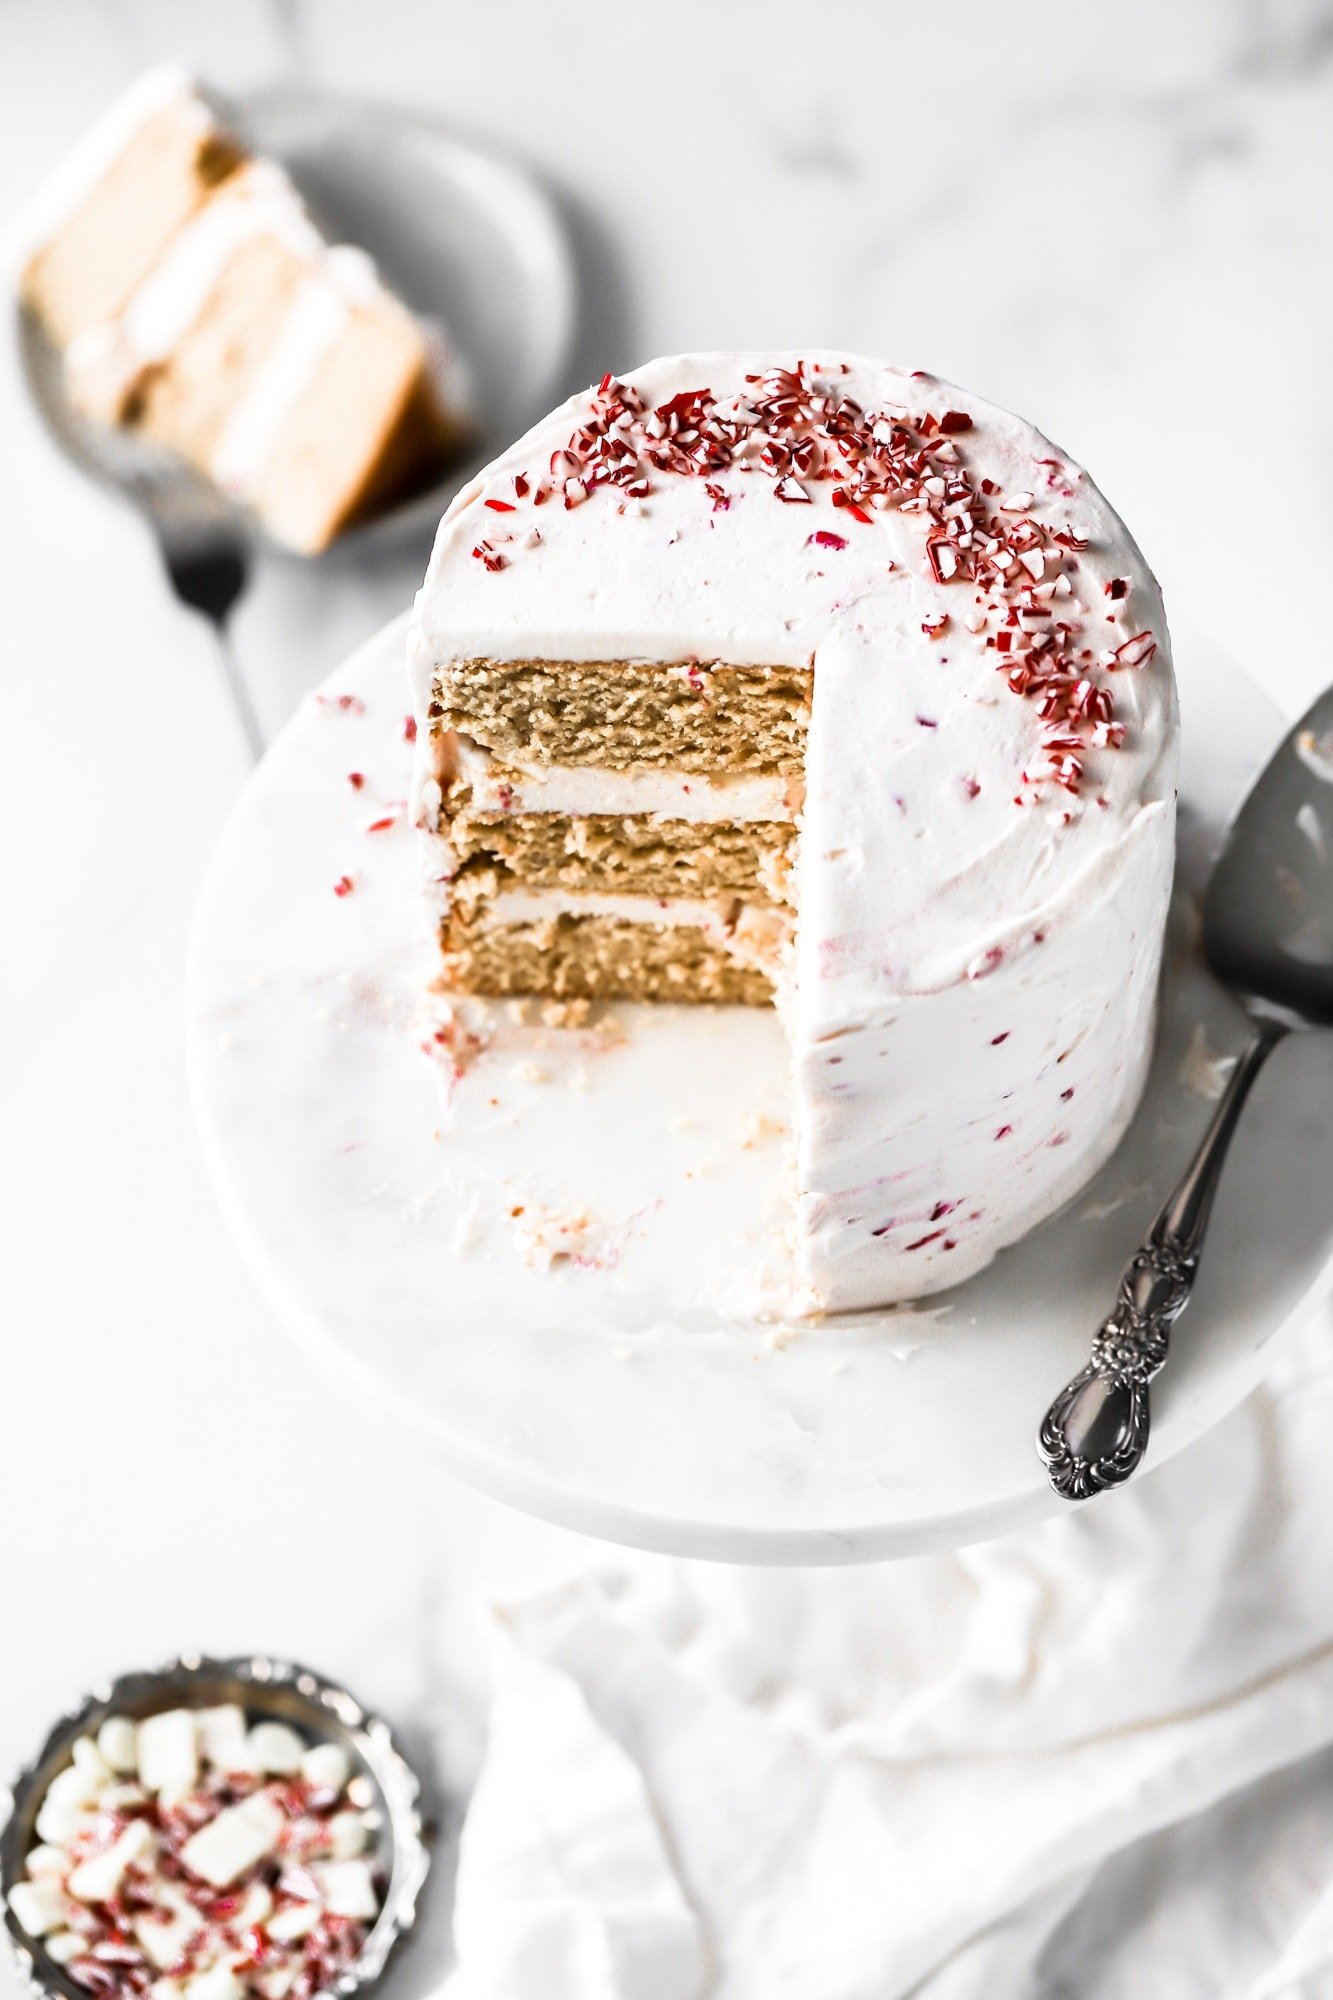
Red Velvet Cake
The red velvet cake that made appreciate red velvet.
You guys asked me for a red velvet cake for YEARS so I finally accepted the challenge of creating a red velvet cake I liked. I learned to appreciate the light cocoa flavor and I made the cake to be a very VELVETY texture.
I included all my personal thoughts below because but feel free to jump to the recipe at the bottom if you don’t care lol.
My personal thoughts on red velvet
I know people hate backstories on recipe blogs so forgive me for this one but I need to explain my thoughts on red velvet to anyone who will listen lol.
I don’t like red velvet. I don’t like color so therefore I really don’t like it in my food, I just find it repulsive (personal, don’t hate me lol and no judgement to people who do like/use food coloring). I use it subtly once in a while but not very often.
I also think it tastes like wanna-be chocolate with cream cheese frosting so I prefer it with the boiled milk frosting and heavily flavored with vanilla beans.
I love cream cheese frosting but I prefer the tanginess balanced with warm and cozy spices like in carrot cake, pumpkin bread, etc. or with strawberries like my strawberry vanilla cake. However I did make my red velvet cupcakes using cream cheese frosting to make it different from this one. 🙂
All that said, it doesn’t mean red velvet isn’t good, in-fact, this cake is really good lol. It just means I don’t like the general idea of what it has been turned into. The history of it on the hand, I find interesting.

What is red velvet anyway?
In the past, there was no such thing as “cake flour” or “pastry flour”. Cakes were more dense and bread-like than they are nowadays but the addition of a little cocoa powder and vinegar lightens up the crumb and makes it more tender.
Cocoa powder is high in fat and has no gluten so replacing some of the flour with cocoa will make the crumb more tender and less tough. Natural cocoa is a light brown color with a reddish hue. It is by no means “red”, it just has a red undertone but it is still brown.
Acid also makes a crumb more tender because it inhibits the development of gluten (which is a protein that can make the crumb tough). So oftentimes you’ll see people use buttermilk or vinegar to lower the pH of red velvet cake.
Acid also inhibits browning so if you have a batter with a lower pH and you add a little natural cocoa powder, you’ll end up with a very tender, slightly reddish brown cake that melts in your mouth. THAT is red velvet.
Being the humans that we are, we have to take things to the next level with an entire bottle of food coloring so here we are.
Side Note: Historically, red velvet was frosted with boiled-milk frosting, also known as Ermine Buttercream, not cream cheese frosting. So my recipe uses boiled milk frosting but feel free to substitute it for cream cheese frosting if you want!

Some Notes on the Ingredients:
- Flour: I use all purpose flour in most of my recipes but I’m looking for an extra tender crumb here so I went for cake flour. You can sub all-purpose flour for the cake flour if you need to but I would replace 2 tablespoons of the flour with cornstarch then.
- Cocoa Powder: natural cocoa powder is what originally gave the cake its red velvet name. I’ve tested this cake with both natural and dutch processed cocoa and both work fine. Natural cocoa will produce its own natural red(ish) hue but the cake is overall lighter in color and flavor, whereas dutch gives a slightly darker more intense color and flavor. I used dutch because I liked the darker color and more flavor but either is fine.
- Vinegar & Buttermilk: I used apple cider vinegar AND buttermilk to lower the pH of the cake. This helps reduce the browning, allowing the red to shine. It also really helps make the cake more tender. If you don’t have buttermilk, you can sub it for milk and double the vinegar.
- Vanilla: Since there’s only a subtle hint of cocoa flavor in this, make sure to use a good quality pure vanilla extract or vanilla bean paste.
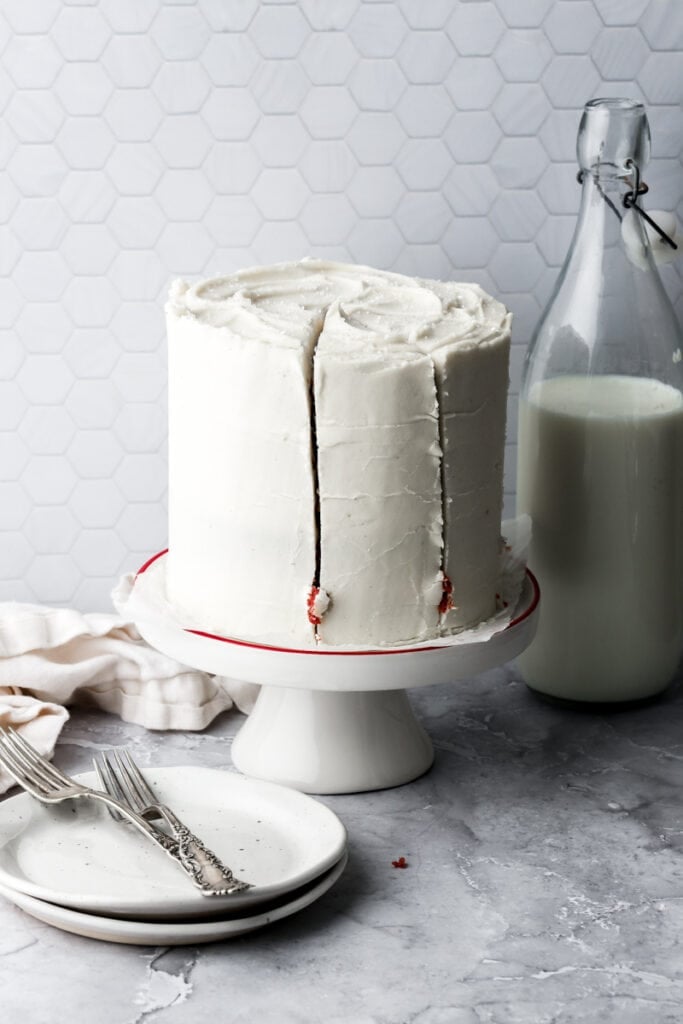
Step-by-Step Photo Instructions
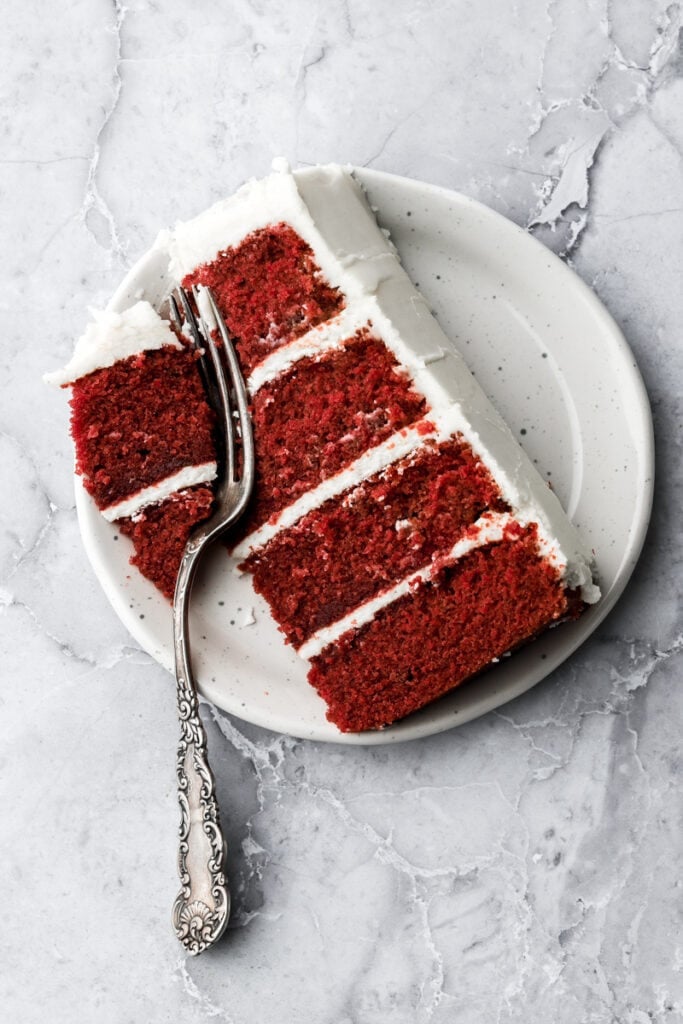
This is a simple beauty, just the red velvet cake and ermine buttercream.
Red Velvet Cake
Tip: I HIGHLY recommend using a digital scale, as flour (and cocoa) is so often over measured.
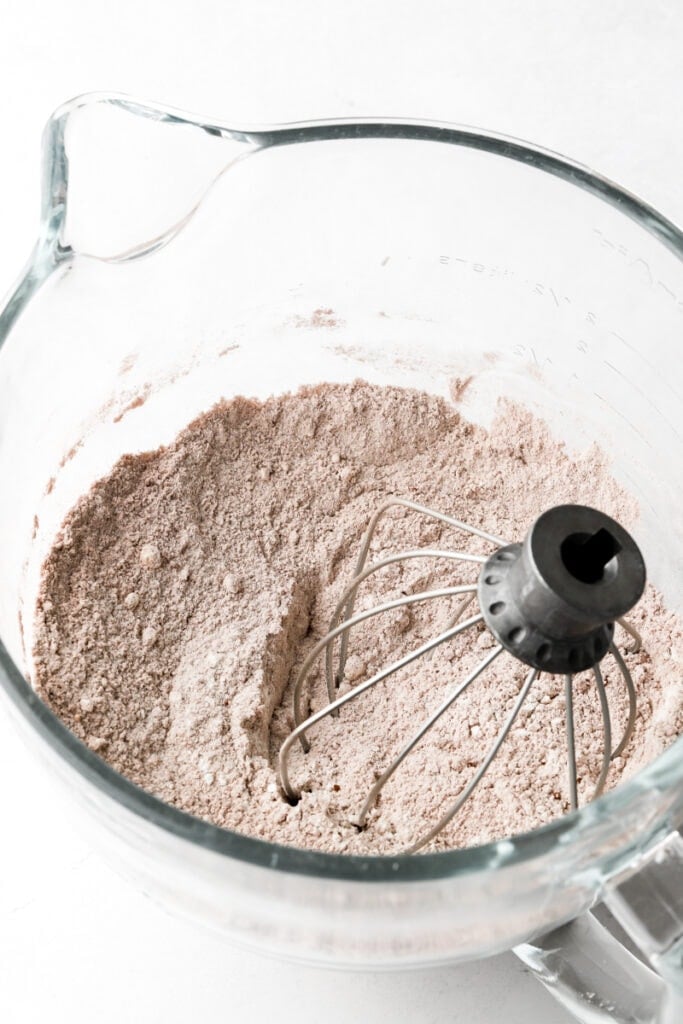
- Make the cake by whisking together the flour, cocoa powder, sugar, baking soda and salt until they’re evenly distributed.
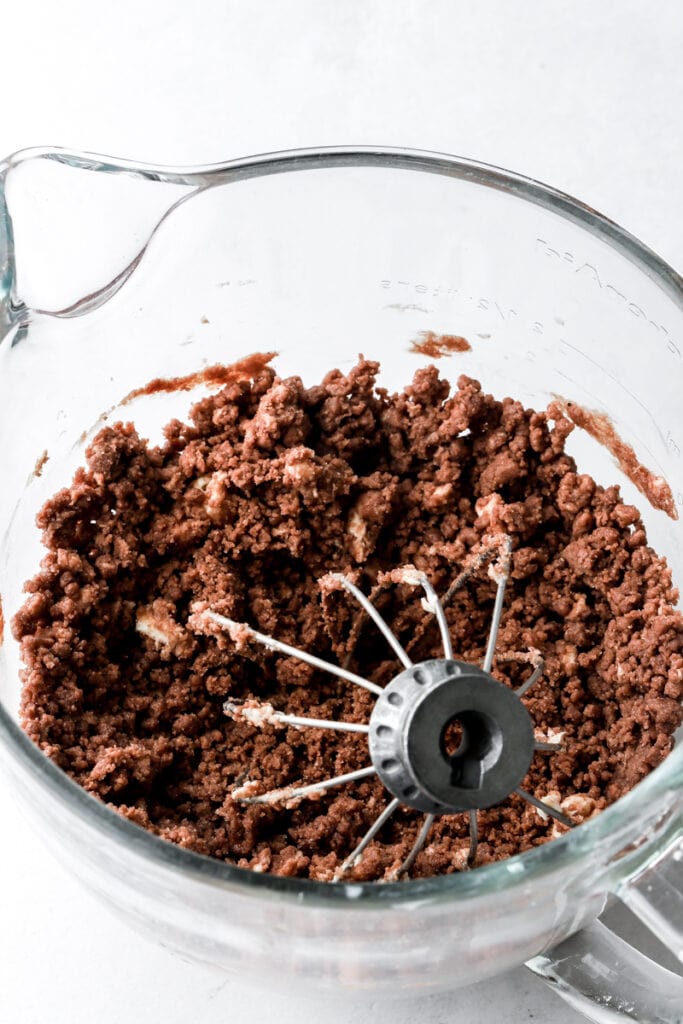
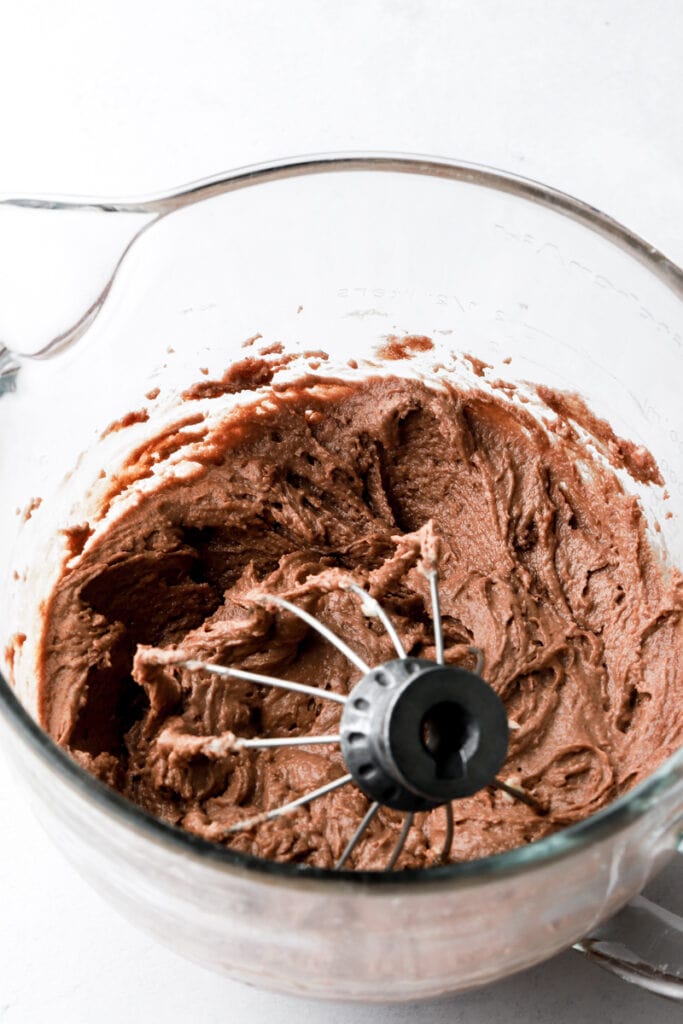
- Add the butter and oil one at a time and mix just until the dry ingredients are fully coated with the fats. Don’t over-mix.
- Add the eggs, one at a time, with the mixer on low speed and mix just until the eggs are incorporated and the batter looks like paste.
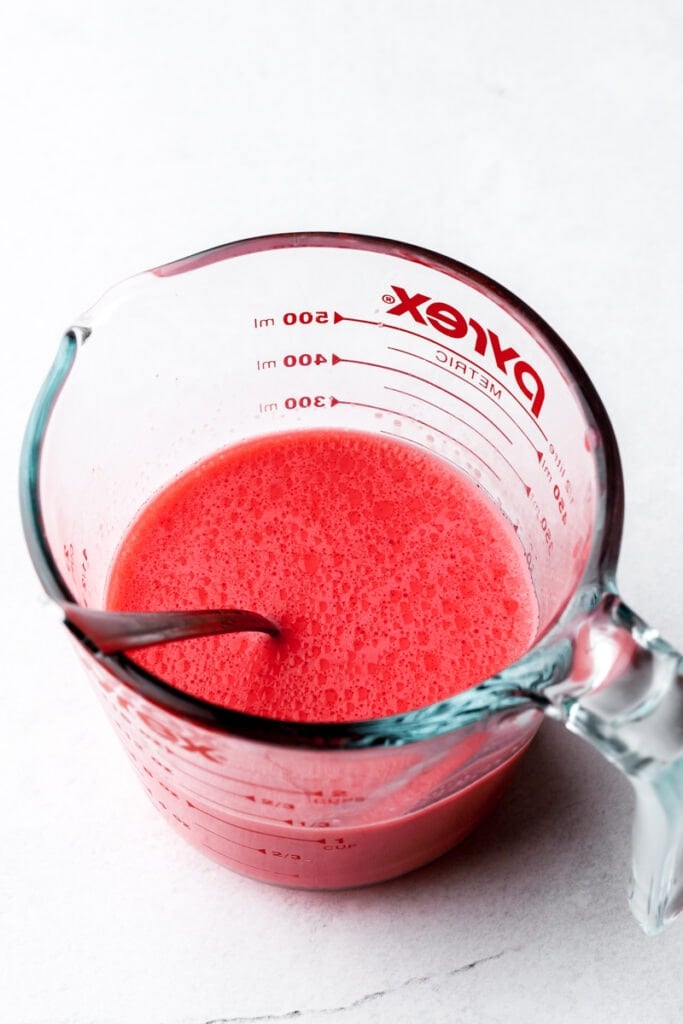
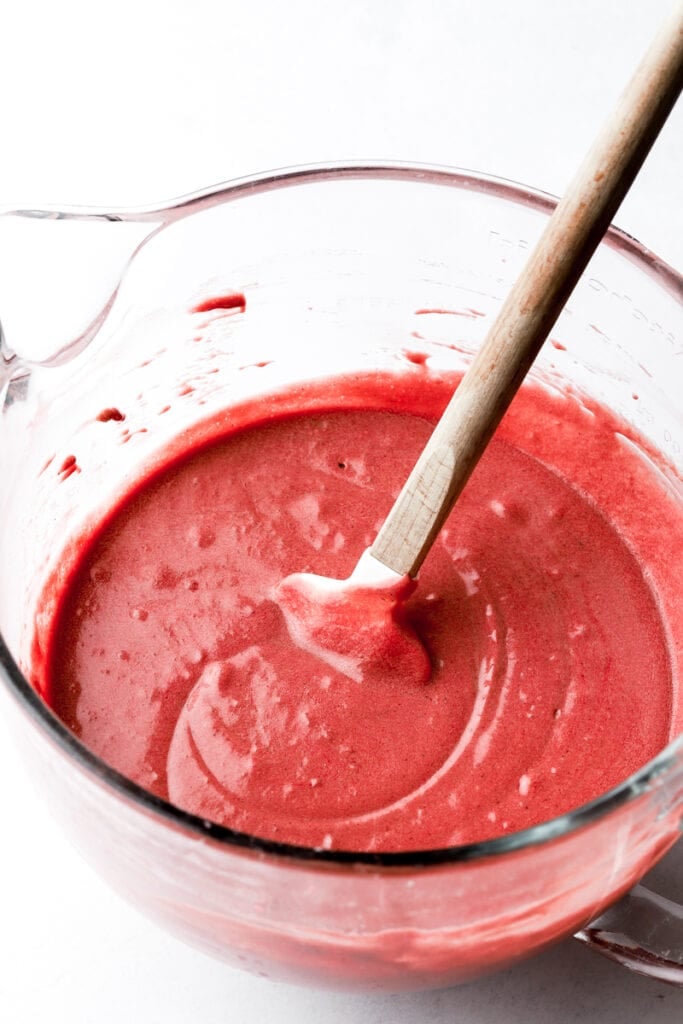
- Dissolve the food coloring in the milk with the vanilla and vinegar and then stream it into the batter with the mixer on low speed (or do a little at a time, in 3-4 increments, if using a hand mixer). Mix just until it’s incorporated.
- Distribute the batter evenly among the four cake pans. You should get about 10-11 ounces in four 6 inch cake pans.
- Bake for about 25-30 minutes. When the cake is done baking, it will release itself from the edge of the pan and spring back when you press on the center.
- Flip the cakes over onto a cooling rack or a tea towel right away. Allow them to cool to room temperature.
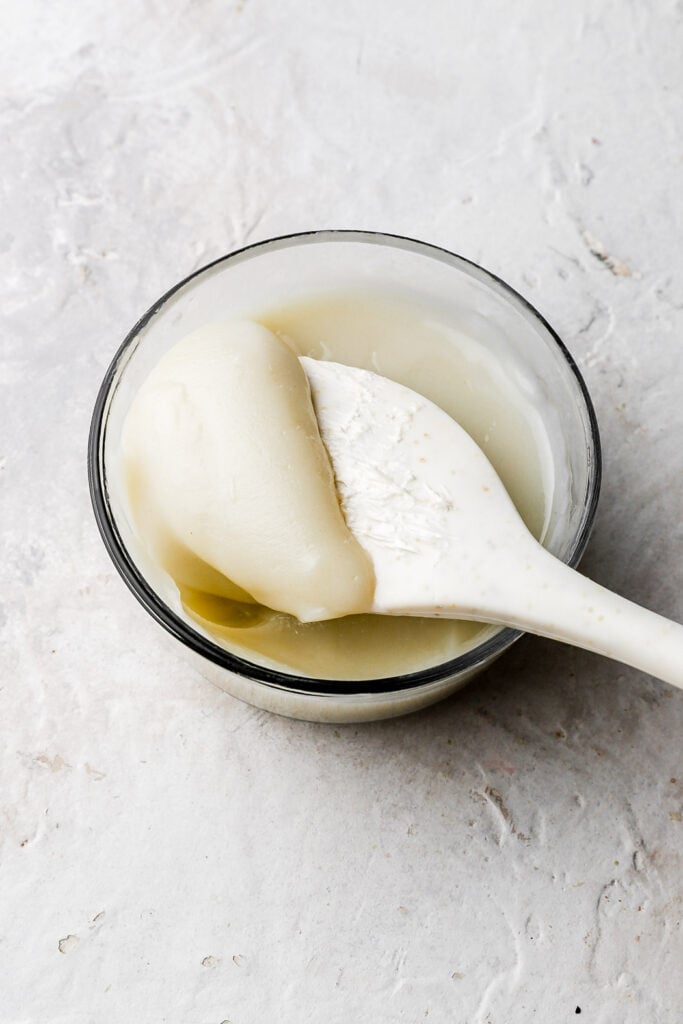
Ermine Buttercream
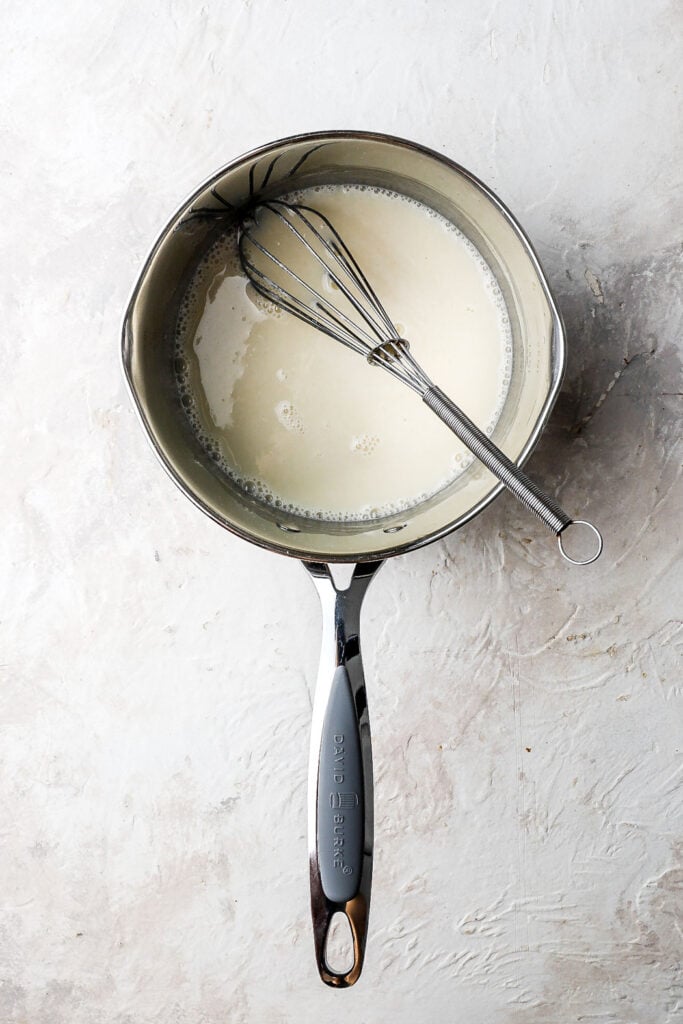
- Start by making the custard for the buttercream so it has time to cool. Cook the sugar with the flour and milk until it’s thick like custard. Cover and set it aside to cool.
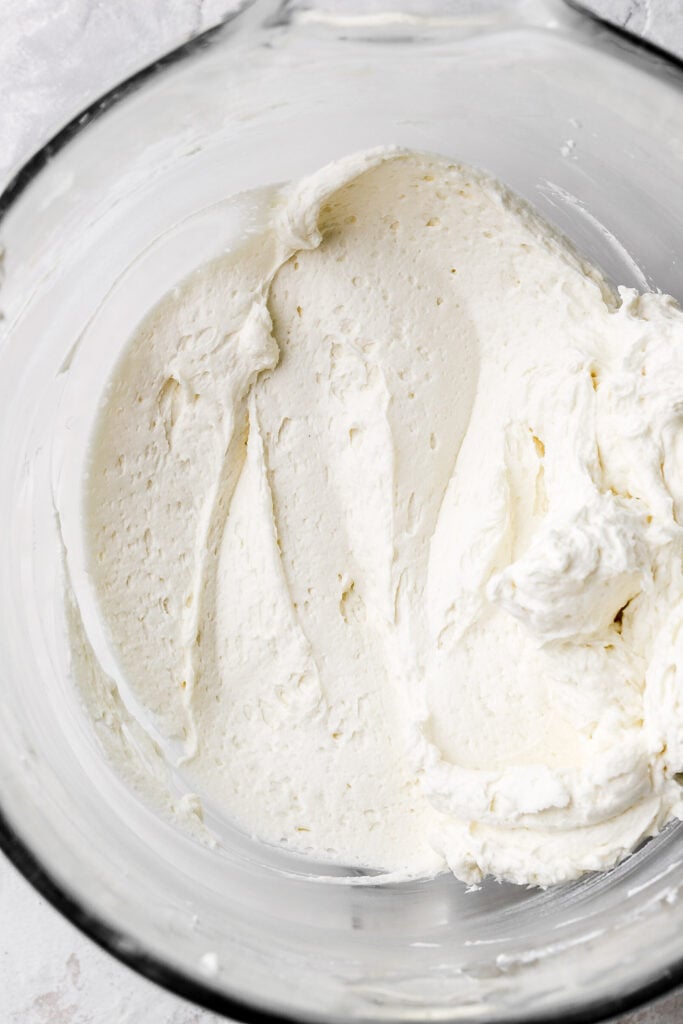
- Once the custard (and the cakes) have cooled, whip the butter for a few minutes, until it’s pale and fluffy.
- Add vanilla and the cooled custard in 3-4 increments, mixing well between each increment.
- Layer the cake with the frosting and refrigerate until it feels sturdy, then frost the outside of the cake.
How to color red velvet cake
Getting the perfect red velvet color can be difficult. A few of you asked me how I got this deep warm red color so I have a few tips for you.
- Make sure you are using gel food coloring like Americolor. Don’t use an oil based or water based because you’ll need way more to get an intense color.
- I only used 6 drops of Americolor Bright Red gel food color. So I squeezed the bottle just a second and whatever falls out is a drop. Don’t squeeze continuously.
- I mix the food coloring with WARM buttermilk before adding it to the batter. Since this is the last ingredient being added to the recipe, make sure to mix the food coloring really well with the milk to dissolve it completely so you don’t over-mix it with the flour.
- Like I said before, using natural cocoa powder will naturally give it a more reddish hue, making it easier to color with less dye.
- I was SO tempted to skip the egg yolks in this recipe to avoid the yellow tint but egg yolks contribute so much to the texture so I left them, that’s why it’s such a warm red.
How to get a white frosting
There are frostings that are more yellow toned than others so I recommend sticking with either Ermine Buttercream (boiled milk frosting), Cream Cheese Frosting, American buttercream or Swiss meringue buttercream. The boiled milk frosting is in the recipe card below, and the others are linked.
To help brighten the color:
- make sure to whip the butter for 5-10 minutes, scraping the edge of the bowl every few minutes. This will significantly lighten the color of the butter.
- Using cheaper, low quality butter is much more pale in color than butters like Kerry Gold.
- Using half or all shortening instead of butter will make the whitest color because there’s no yellow hue like butter.
- Add vanilla beans to the buttercream – the black speckles will give it a cool toned perception but it’ll be speckled up close.
- Add a TINY drop of purple food coloring to cool down the hue.
*Cream cheese frosting is a little more difficult to frost cakes with. I find it easiest to freeze my cake layers before assembling so that the frosting sets quickly (see section on making ahead for how to freeze the layers). If you don’t freeze the layers, make sure to chill the cake at any point where it feels unsteady.

Serving & Storing a Cake with Ermine Buttercream
I usually just cover my cakes with a cake dome or place it in an airtight container and store it at room temperature for 1-2 days. However with ermine buttercream (or cream cheese if you went that route) I like to refrigerate it just to be safe.
Keep it airtight so it doesn’t dry out and bring it back to almost room temperature before serving.
Thanks so much for reading today’s post, if you have any questions just comment down below.
If you make this gorgeous red velvet cake, I’d love it if you left a 5-star rating or a review for me below!
As always, have a blessed day and happy baking!
Love, B


Hi! Just wondering where I could find your cream cheese frosting recipe
I would double the cream cheese frosting from this recipe 🙂
https://baranbakery.com/red-velvet-cupcakes/#recipe
Did you try using cornstarch with all-purpose flour? Does it work well? If so I will do it
Yes
Hi,
I must say all the recipes I have tried are marvellous. The country where I dwell doesn’t have cake flour. I am reluctant to use cornstarch with all the purpose flour. Can I only use all-purpose flour? Please suggest.
All purpose flour works as well, it’s just slightly less tender/light. Pastry flour would work well too if you find that.
Do you have any recommendations on the cocoa powder brand?
Also, can I just omit the red dye? I get that it technically wouldn’t be modern day red velvet anymore, but I’m not really interested in adding the red food coloring.
Hi Kayla, yes you can def omit the red dye (I don’t prefer it either lol)
I like rodelle Dutch processed and King Arthur bensdorp cocoa 🙂
Hi,
I tried this recipe and i was so lovely everyone loved it, i was hoping to double the recipe and to an 8ich cake, would i use three 8inch tins and how would i adjust the baking time?
Hi, so glad you like all loved it! Doubling the whole recipe would make a really tall 8 inch cake, at least four layers. If you have 3 inch high pans then you can probably get away with three thick layers. Bake time would be longer, at least 45 minutes. I would just leave the oven light on and once it no longer looks wet on top and is puffed, gently press on the tallest part and if it springs back its done, if it leaves an indent, let bake longer.
I recommend baking them in 9 inch pans if you’re going to the double the recipe though. You can still get 3 thicker or 4 thinner layers out of that.
Hello! I’m wondering if the cocoa can be replaced with cocoa rouge and thereby omitting the need for food colouring?
I’ve tried just about every alternative to getting a red crumb without food coloring and unfortunately nothing worked for me. You can use it but it won’t be red.
Hello ?
Can i leave the remaining batter outside whilst the other half of it is in the oven baking? As i only have two baking tins
Yes!
Hi there. I was hoping to try this out looks amazing, can i bake it in three 8inch pans instead?
Hi Maria, you can but the layers will be a little thinner than mine 🙂 bake about 20 minutes