
Pumpkin Brownies
These pumpkin brownies are my favorite fudgy brownie recipe sandwiched around a perfectly spiced pumpkin cream layer. The perfect fall treat for all my chocolate lovers.
This post was sponsored by C&H® Sugar, all thoughts and opinions are 100% my own. Thank you so much for supporting the brands that support Baran Bakery!
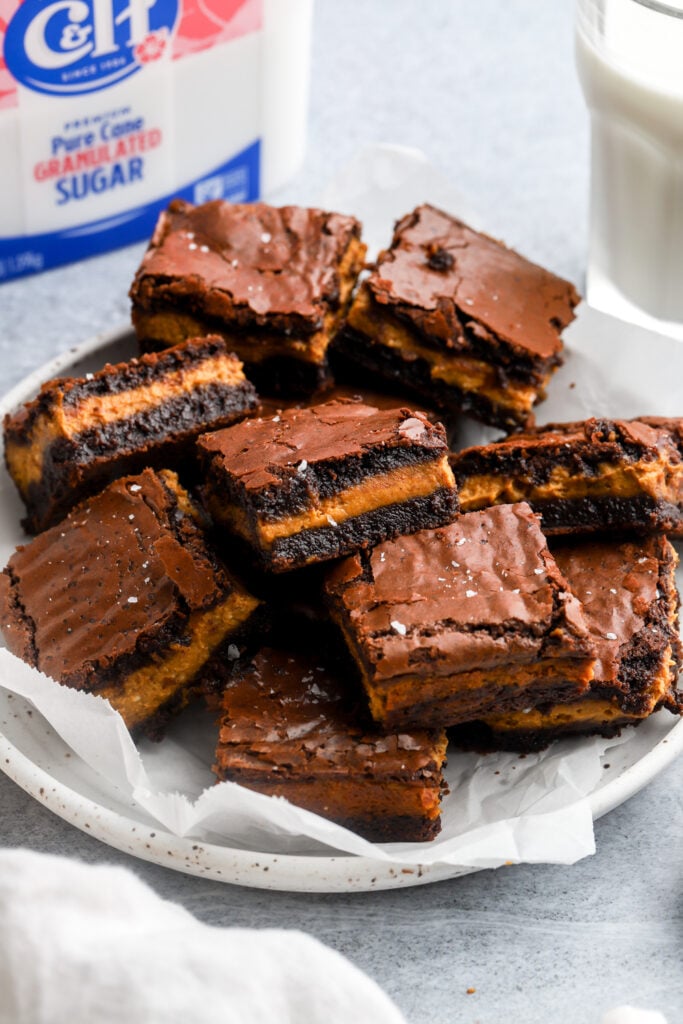
Why you’ll love these pumpkin brownies
- Not everyone is here for pumpkin pie but everyone is here for brownies. So why not bring the pumpkin pie into a brownie?!
- They get that PERFECT crackly top EVERY. SINGLE. TIME.
- They’re fairly quick and super easy to make.
If you’re a brownie lover, make sure to try my traditional brownies or my favorite, brown butter brownies. I also have a biscoff brownie, oreo fudge brownie and hot chocolate brownies and peppermint marshmallow brownies, that I think you’ll love!
[adthrive-in-post-video-player video-id=”i6R7HKQW” upload-date=”2023-10-13T14:37:28.000Z” name=”Pumpkin Brownies” description=”These pumpkin brownies are my favorite fudgy brownie recipe sandwiched around a perfectly spiced pumpkin cream layer. The perfect fall treat for all my chocolate lovers. ” player-type=”default” override-embed=”default”]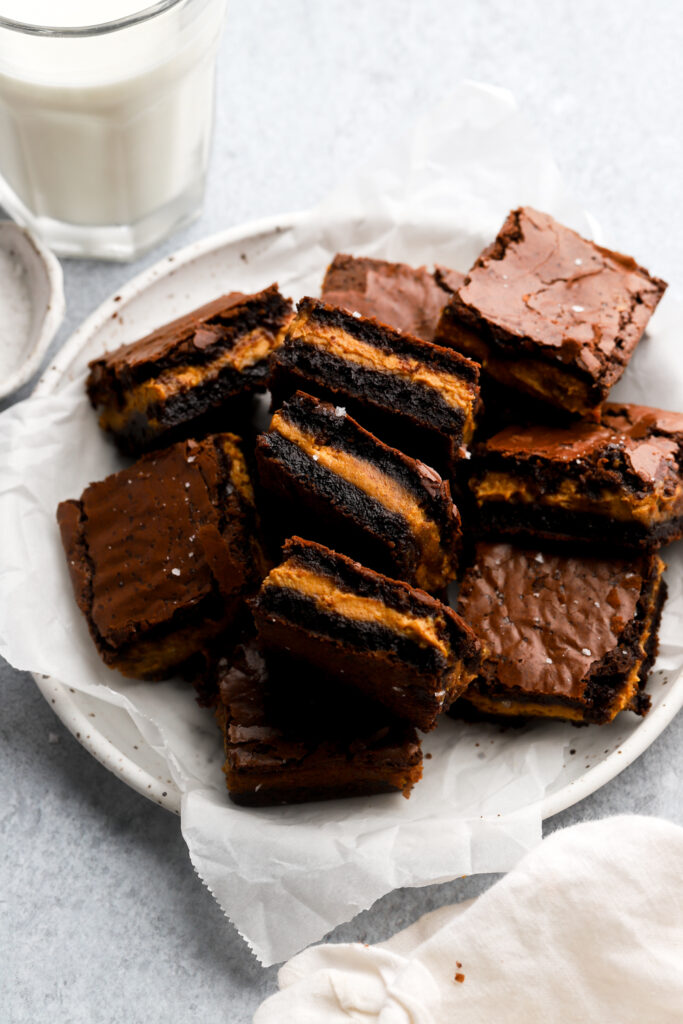
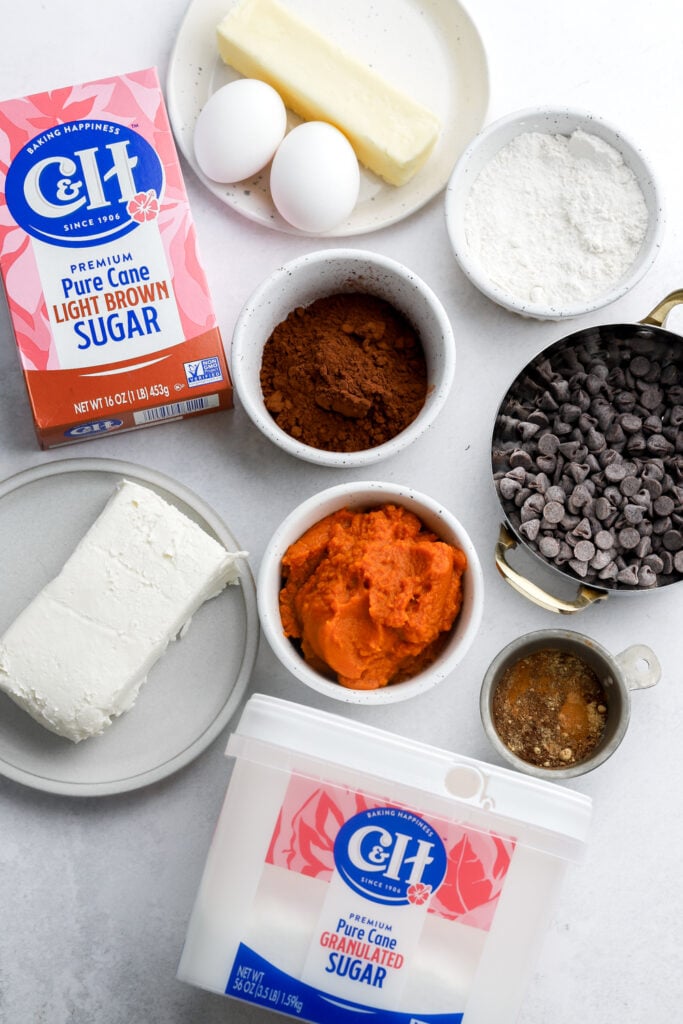
Ingredients & Substitutions
- Butter: the butter gets melted so it doesn’t matter if it’s cold but it is quicker if the butter is already soft. I like salted butter but unsalted works too, just add an extra ¼ tsp of salt.
- Dairy free butter also works well.
- Chocolate: you can use milk chocolate, semi-sweet chocolate or dark chocolate. I always prefer dark chocolate.
- Dairy free chocolate also works well.
- Eggs: always use large, room temperature eggs. Place them in hot water for 5-10 minutes if they’re cold.
- Sugar: I use both C&H® Light Brown Sugar and C&H® Granulated Sugar Easy Baking Tub in this recipe for the perfect flavor and texture combination. They now offer an Easy Baking Tub that allows you to scoop the sugar straight from the tub, making baking even more convenient.
- Flour: I always use all-purpose flour and don’t recommend substituting. Should work fine with a 1:1 gluten-free flour blend though.
- I also HIGHLY recommend using a digital scale, as flour is almost always over measured.
- Cocoa Powder: the better quality your cocoa powder is, the better your brownies will taste! Don’t use sweetened cocoa powder though!
- Salt: salt brings out the flavor in all baked goods and little flakey sea salt on top is what I live for.
- Pumpkin: I used canned pumpkin puree. I always recommend weighing the ingredients to ensure the proper measurement.
- Cream Cheese: Always use full-fat cream cheese and make sure it’s at room temperature or microwave it for 15-30 seconds before using.
- Dairy free cream cheese should work well too. Make sure the fat content is similar to full-fat dairy cream cheese.
- Spices: I used a combination of spices to make my own pumpkin pie spice but if you have a premixed pumpkin pie spice, you can use 1 ½ Tbsp of that.
Step-by-Step Instructions
Brownie Layer
- Melt the butter with the chocolate chips and stir until they’re completely smooth.
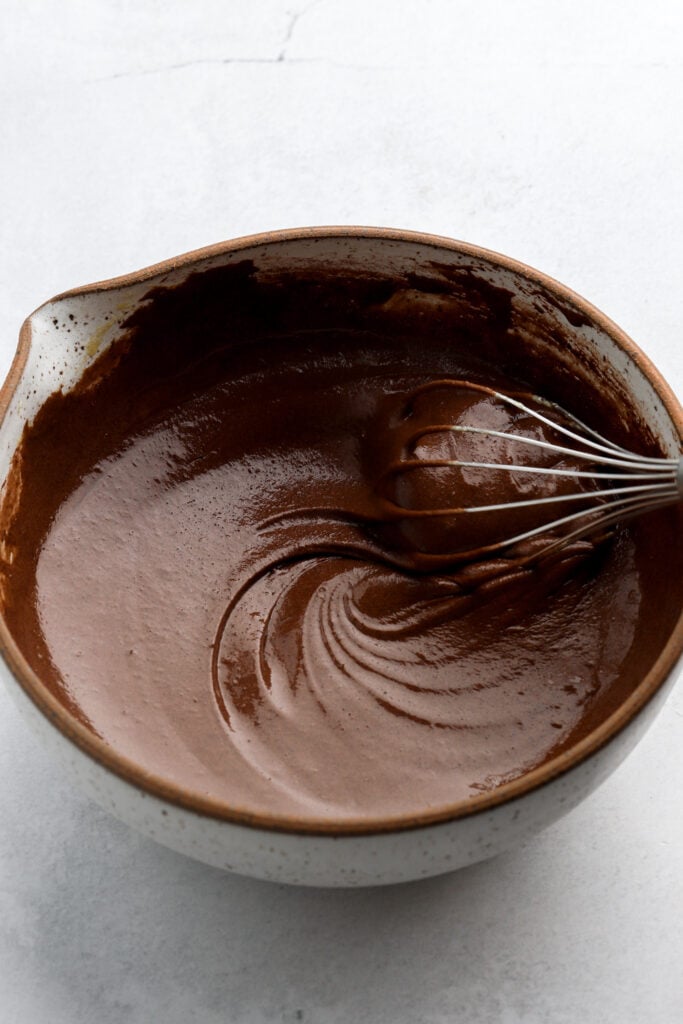
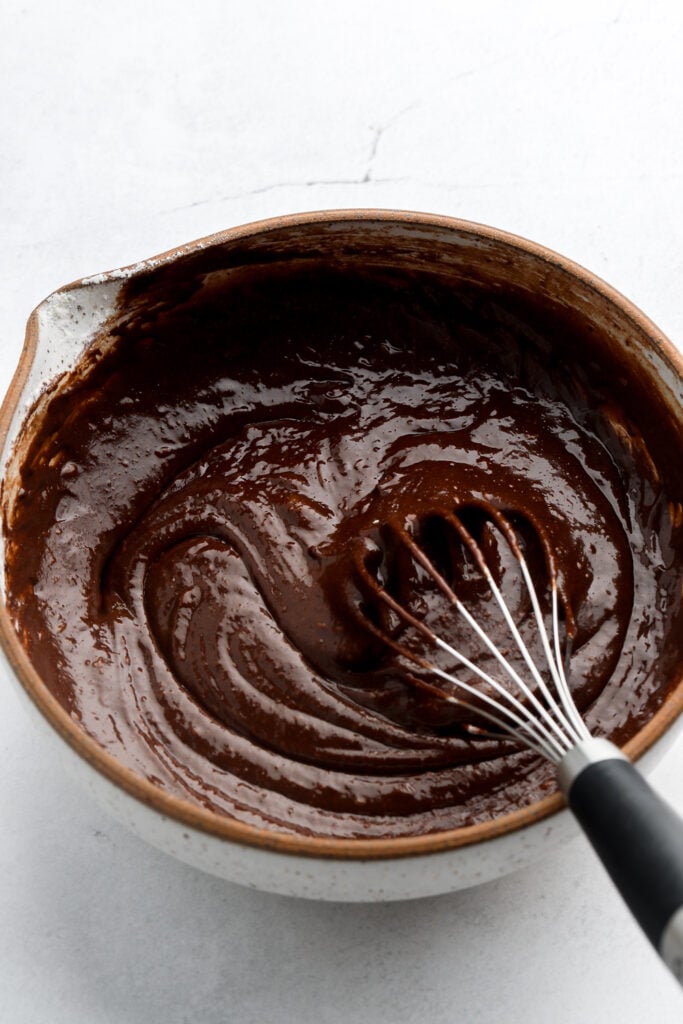
- Whisk the eggs with the sugars and cocoa powder aggressively for 2-3 minutes.
- Add the chocolate mixture to the egg mixture and whisk again until it’s completely combined.
- Add the flour and salt and whisk just until the dry ingredients are incorporated.
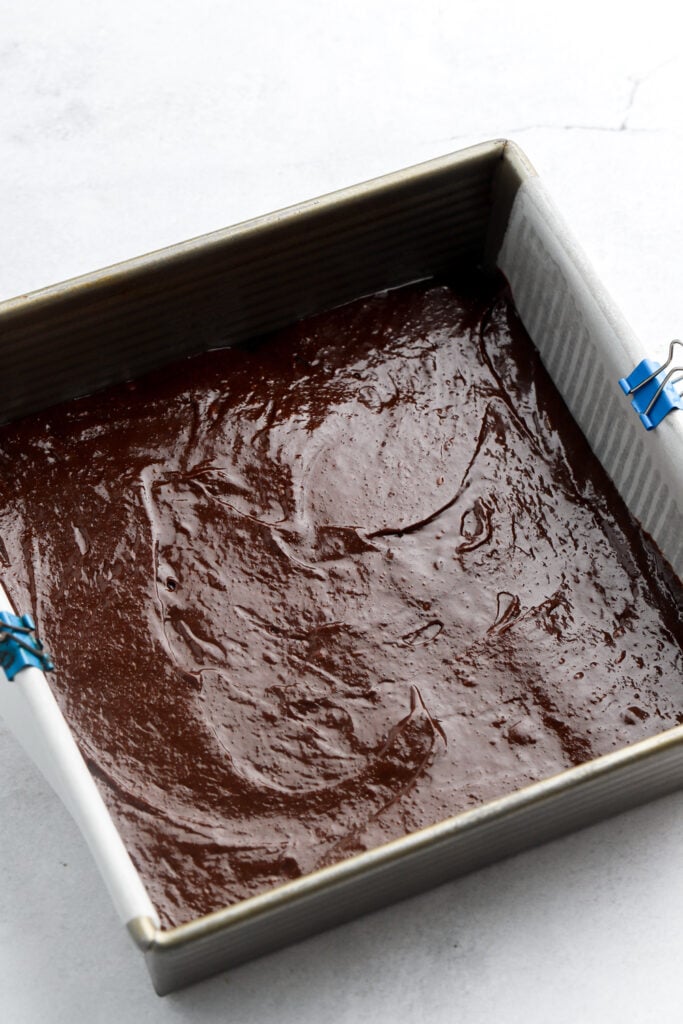
- Spread the brownie batter in the pan and bake for about 45 minutes, remove and tap it on the counter. The brownies should level off if they’re baked. If they sink below the edge, put them back in the oven for a few minutes.
- Allow to cool in the pan for 30-60 minutes before removing and slicing.

Pumpkin Layer
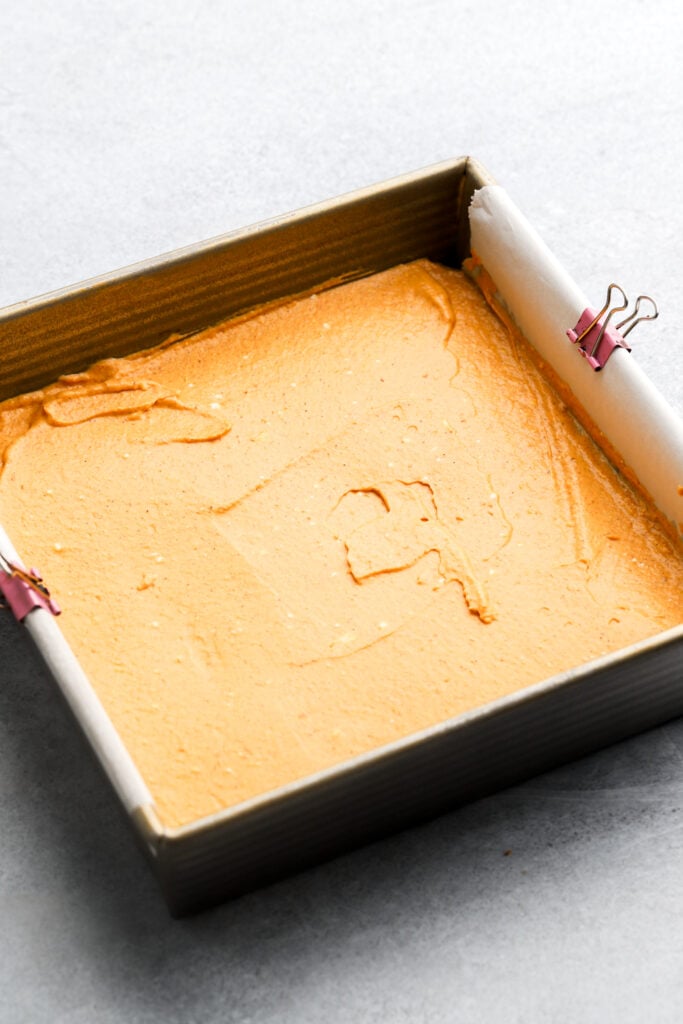
- If the cream cheese isn’t soft and room temperature, microwave it so it’s soft and spreadable.
- Mix it with the pumpkin puree, sugar and spices until it’s smooth. If you can’t get the chunks out, microwave it again for 15-30 seconds and then mix.
Expert Tips for the Best Pumpkin Brownies
- Don’t swap ingredients unless they’re mentioned above in the ingredient section.
- Digital scales and oven thermometers are every bakers life saver! The most common baking issues are related to ingredients (mostly flour and cocoa powder) not being measured properly and the oven not being calibrated.
- Use high quality ingredients like C&H® Sugar. I LOVE using C&H® Light Brown Sugar because it has the perfect nutty, caramel flavor and the texture is always perfectly smooth and not chunky. They’re Granulated Sugar Easy Baking Tub is easy to store and allows you to scoop right out of the tub. It also clicks closed for confident resealing.
- Bonus: They’re products also do not contain and are not packaged on equipment that handle any of the 9 major allergens identified by the FDA.
When are the pumpkin brownies done baking?
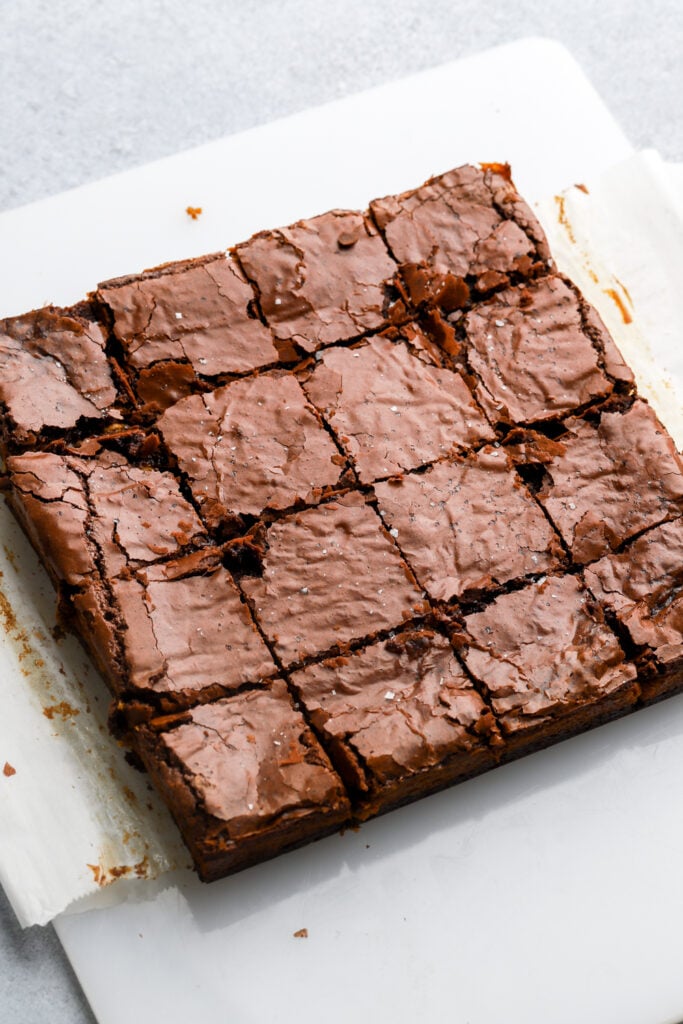
Brownies are by far the hardest thing for me to assess when they’re done baking. This is especially difficult when you have a meringue top instead of a thin crackle, because the top gets hard and crunchy so touching it with your finger doesn’t really help. That’s why I made this new recipe because it makes a beautiful, thin crackly top every time.
When the top of your brownies have a thin little crackle on top, you can press on it with your finger to see how firm the brownies are underneath. When you move the pan, if the batter jiggles, it’s definitely not done baking.
You want to be able to push your finger on the top (in the center) and feel some resistance. It should feel like a brownie that’s a little “too gooey but almost perfect”. At this point, because of the pumpkin in the center you’ll need another 10 minutes in the oven.
Can I just use the toothpick test?
Many people like to insert a toothpick into the center of baked goods to test for doneness. Usually if the toothpick is clean or if there are only a few moist crumbs on it then a cake is done baking. That doesn’t work for brownies. We want gooey, fudge brownies so when we remove them from the oven, they will still be a little undercooked and will finish baking as they cool.
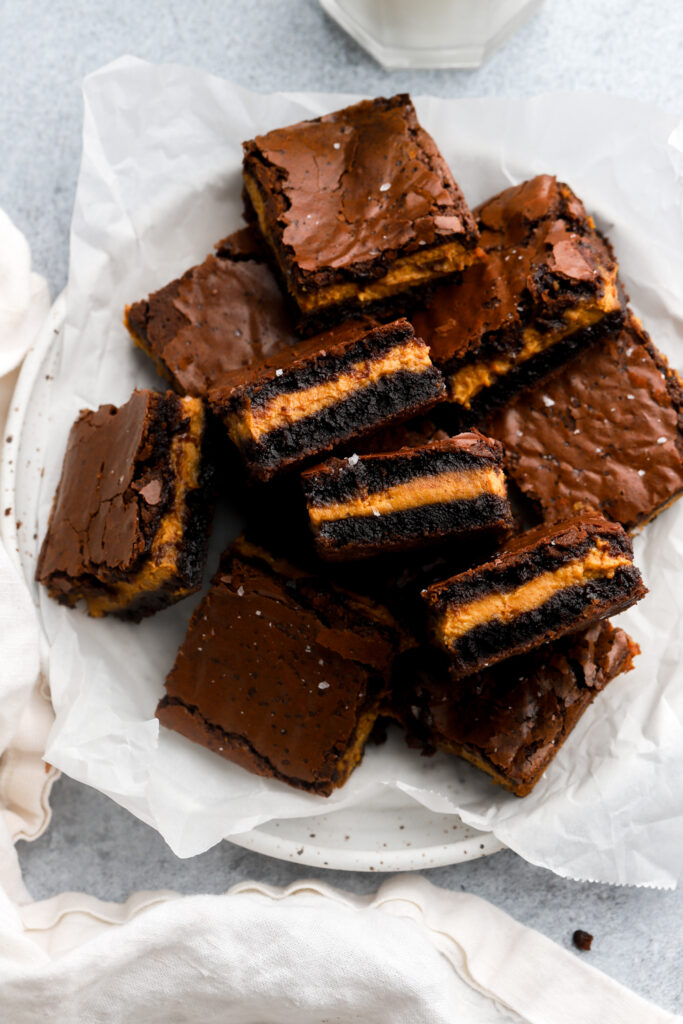
How to get a thin crackly top for homemade brownies?
To get the perfect crackly top on these brownies you want to make sure you whisk the eggs with the sugar aggressively for 2-3 minutes. It helps if the eggs are at room temperature and using a high quality sugar like C&H® Granulated Sugar Easy Baking Tub.
Also the melted chocolate chips contribute to that crackly top so make sure not to skip anything in the recipe!
How to perfectly slice brownies?
Ok I don’t know if it’s just me but if I’m not careful to take these extra steps, my brownies always end up looking like a pile of not so tasty brown stuff instead of a delicious pile of brownies.
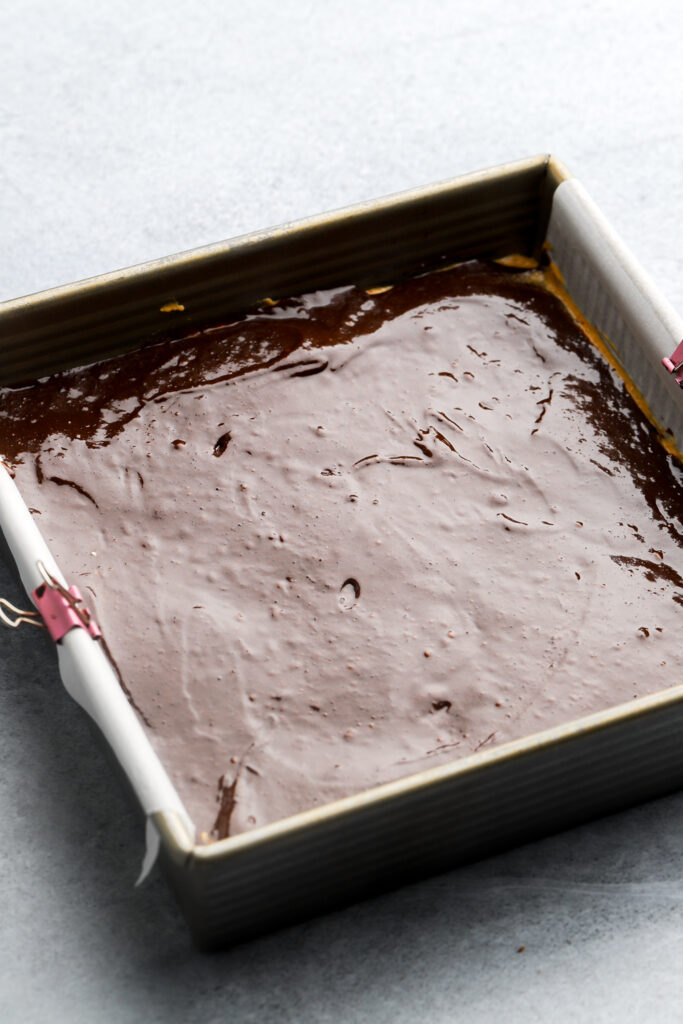
To get my brownies perfectly sliced even with the pumpkin layer throughout, I froze them for about 20 minutes AFTER they’ve cooled and then I ALWAYS run my large knife under hot water between every slice I cut.
Yes, between every slice. Because they’re fudgy, some of the gooey chocolate gets stuck on the knife and if you just go to cut another slice it gets less and less pretty.
How to store brownies?
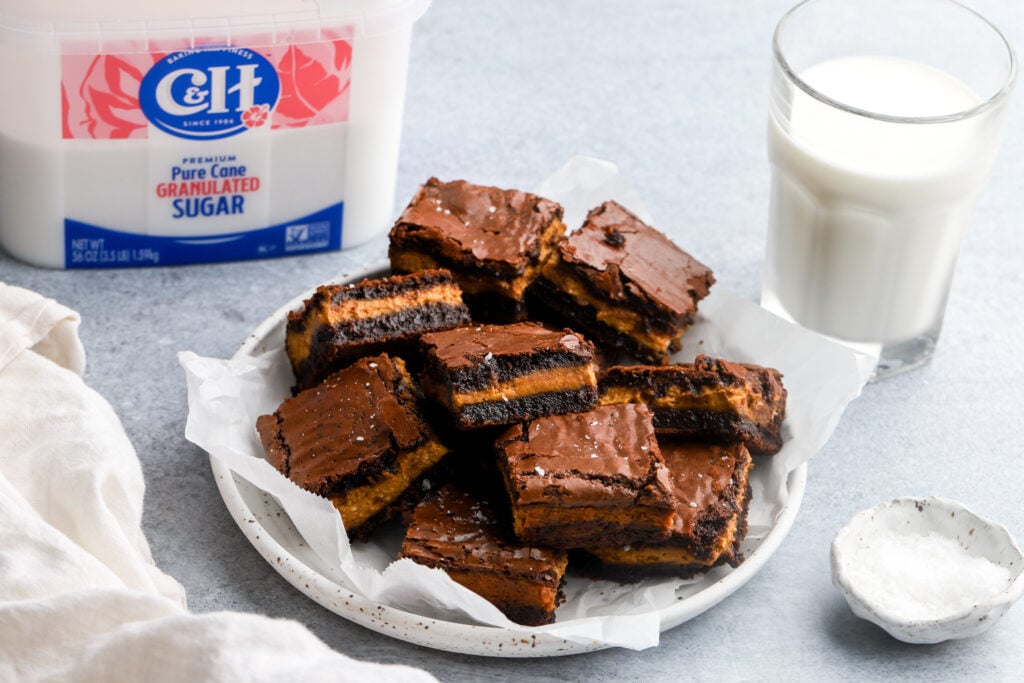
Once the brownies have cooled completely, store them in an airtight container. Because of the cream cheese, make sure you refrigerate them. They can be refrigerated for 7-10 days.
There are so many brownie recipes out there and I’m sure so many of them are amazing but I hope you give my pumpkin brownies a chance.
If you make these new pumpkin brownies, make sure to leave a review!
As always, have a blessed day and happy baking!
Love, B


I accidentally used rice flour instead of regular flour but still turned out delicious (though crumbly due to my mistake)! Definitely takes longer than your classic brownies but that’s no problem. Not overly sweet and the pumpkin layer makes it so yummy. Got a great brownie crust on top too 🙂