Ice Cream Sandwiches
I used my favorite black cocoa cake to make homemade ice cream sandwiches. It’s like a cross between a traditional nostalgic ice cream sandwich and one of those giant Oreo ice cream sandwiches.

Why I love these ice cream sandwiches
- The chocolate cake is so simple to make and you can easily adjust the recipe to make double or half.
- The ice cream is a no-churn recipe soooo it’s quick, easy to make.
- The possibilities are ENDLESS! You can pretty much make any flavor from this and you know I have a good one coming asap!
You can honestly fill it with any of my ice cream flavors. Some good ones would be caramel macchiato, biscoff, caramel cheesecake, white chocolate raspberry cheesecake, dark chocolate or chocolate marshmallow.
I also have a butter pecan ice cream sandwich that is phenommmm.

Ingredients for Ice Cream Sandwiches
- Flour: I use all purpose flour in most of my recipes BUT sometimes you just cannot beat the texture of cake flour. I highly recommend King Arthur’s Cake Flour. It is far superior to some alternatives in the grocery stores.
- I have used the “homemade cake flour” trick by replacing 1 tablespoon of all-purpose flour with cornstarch.
- I HIGHLY recommend using a digital scale, as flour is so often over measured.
- Baking Powder: to leaven the cake. I haven’t tested this with baking soda but it should work fine with ½ tsp.
- Sugar: I used granulated sugar in the cake and I don’t recommend cutting any out as it contributes a lot to texture and it’s not overly sweet… it’s actually not very sweet at all (even though it seems like a lot).
- I also used powdered sugar in the frosting and don’t recommend cutting any out.
- Oil: I like oil in chocolate cake recipes – any neutral oil, like avocado, canola, etc. is fine.
- Eggs: I use large eggs, make sure they’re room temperature. If not, then just place it in a cup of hot water for 10 minutes before using it.
- Sour Cream: I’ve used greek yogurt and sour cream in this recipe and they both work well. You can also use plain yogurt.
- Coffee: I use hot coffee in this recipe. I usually use Americanos but fresh brewed coffee is fine too. If you don’t want to use coffee, hot water will work as well, the flavor will just be a little less intense… The acid from the coffee also helps make it a little more tender and it’s not a noticeable coffee flavor so I do recommend the coffee.
- Vanilla: Vanilla bean paste, extract or beans work fine.
- Sweetened Condensed Milk: You’ll definitely need this for the no-churn ice cream, it’s what keeps it nice and creamy and prevents it from getting ice-y.
- Heavy Whipping Cream: I recommend using the cream with the highest fat you can find and make sure it’s cold when whipping.

Step-by-Step Instructions
Black Cake
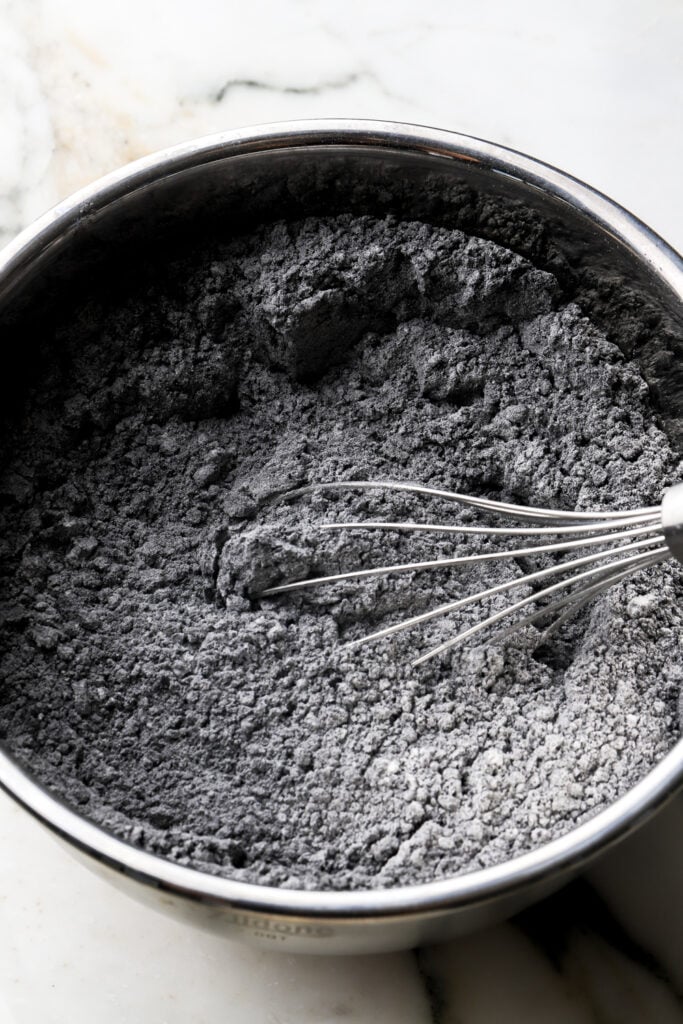
- Whisk together the flour, cocoa powder, baking powder and salt until they’re evenly distributed.
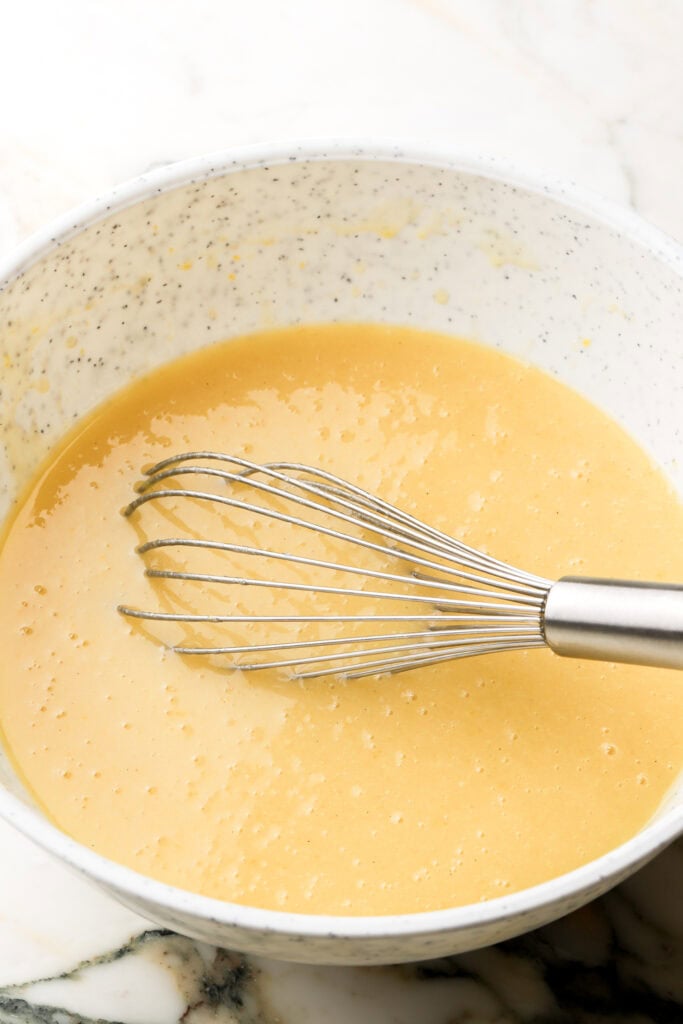
- In a separate bowl, whisk the oil, sugar, eggs and sour cream until they’re well combined and smooth.
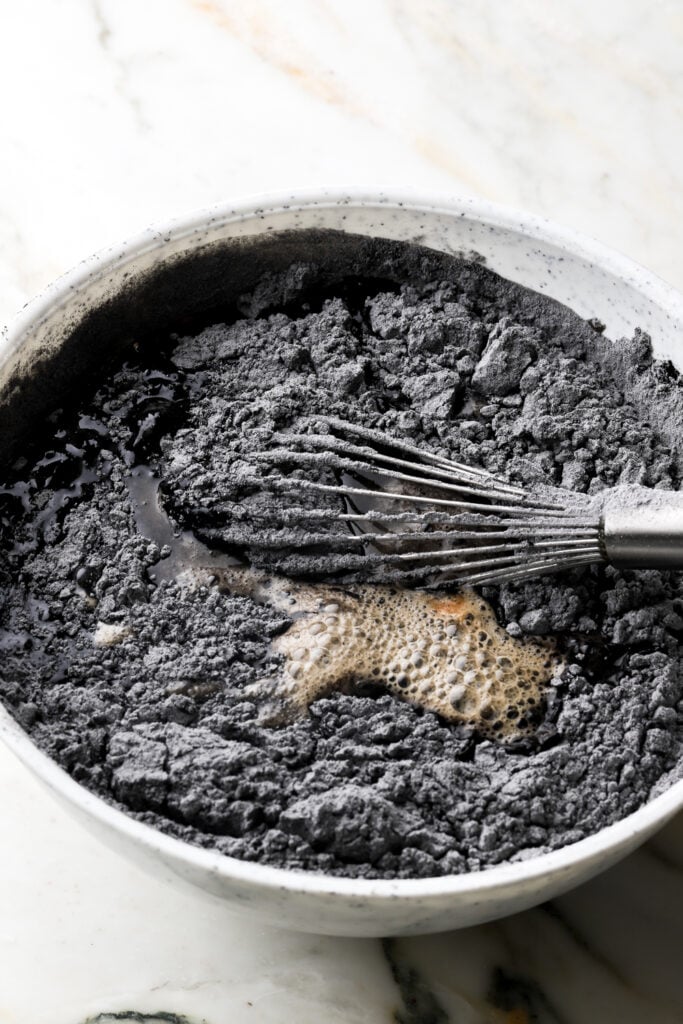
- Sift the dry ingredients over the wet and whisk just a little – about halfway.
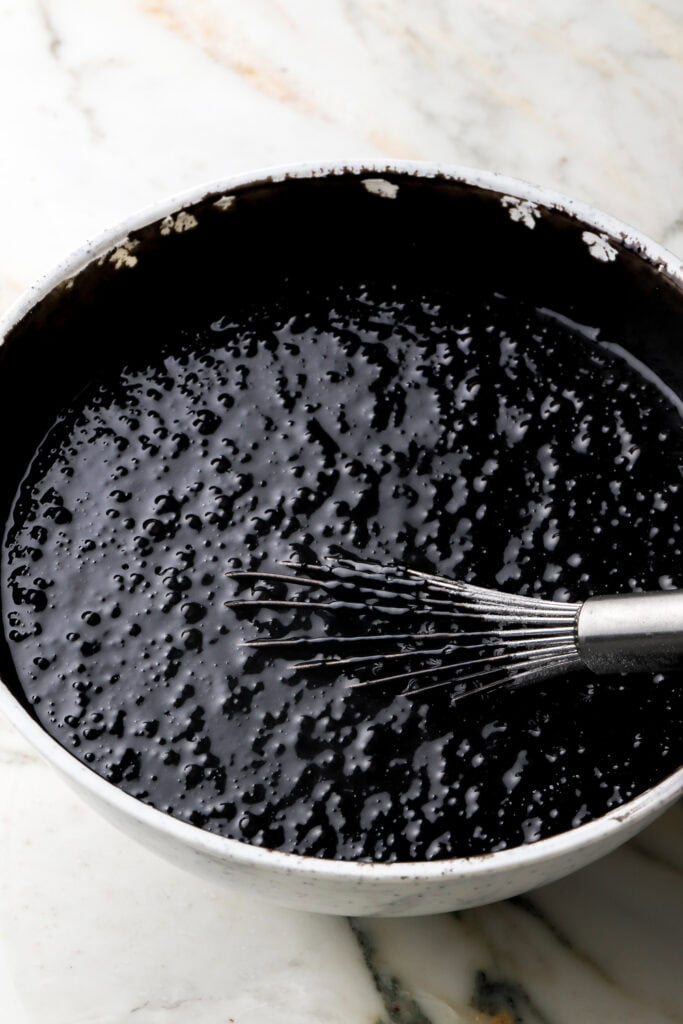
- Pour in the hot coffee and whisk until the batter is completely smooth.
- Scrape the edge of the bowl and give it a good mix. Pour into prepared cake tin(s).
- Bake for 20-25ish minutes, until the tallest part of the cake, in the center, springs back when you press on it. If you’re hesitant, give it another minute or so.
- Let the cake rest for 10 minutes in the pan, then flip over onto a tea towel.
- Let the cake cool upside down for 30 minutes or so and then flip back over.


Vanilla Ice Cream
- Beat the cold heavy whipping cream for a few minutes at medium-low speed until it starts to thicken. Then increase the speed to medium-high and beat just until you get stiff peaks.
- Add in the sweetened condensed milk, salt and vanilla and mix just until combined.


Assemble
- Once the cake has cooled, slice it in half.
- Clean the pan and reline it with parchment paper, leaving an overhang to easily remove the ice cream sandwich once it’s done.
- Place the bottom half back in the lined pan and smash it down with your fingers or a flat bottomed cup so it’s not as thick.
- Spread the ice cream on top of the bottom layer of cake and freeze for at least 6 hours.
- Once the ice cream feels firm, place the top layer of cake on top of the ice cream and press down firmly again, trying to get it flatter.
- Freeze for at least another 4 hours or overnight.
- To remove, run an offset spatula or butter knife around the edge of the pan and then use the parchment overhang to remove from the pan.
- Slice into desired sizes – I do 12-18 slices.


Expert tips on getting perfect Ice Cream Sandwiches
- Don’t swap ingredients unless I mentioned them in the ingredient section above.
- Don’t reduce the sugar. I know a lot of people do that for some recipes but not this one.
- Weigh your ingredients with a digital scale
- Weigh the batter for each cake tin to get even layers.
- Fresh brewed espresso is the best but if not, fresh coffee is second best.
- Make sure the heavy cream is cold before making the ice cream.
- Use hot coffee for the cake.
What size can I make these ice cream sandwiches
Make sure to read my Black Cocoa Cake post for more details on how to adjust the cake to the different sizes but if you’re using just the recipe in the recipe card and not adjust that at all then you could bake it in an 8 or 9 inch square pan or a 9 inch round pan.
Round pans are a little smaller than square so I don’t recommend baking it in an 8 inch round pan or you’ll get a thicker/taller cake which isn’t ideal for ice cream sandwiches.
You could bake it into two separate pans or just one pan and slice it in half and then press down each side firmly to flatten them for the sandwiches.
For slicing, you could do 3 rows one way and 5 or 6 slices in each row or 2 rows and then 5 or 6 slices in each row. I like to do 3 so I get about 15-18 slices because they’re a little heftier than traditional ice cream sandwiches.
Pro Tip: If you make it in a 9 inch round pan or even the 8 inch round pan, you can serve it as an ice cream cake!

Frequently Asked Questions
I have used the “homemade cake flour” trick by replacing 1 tablespoon of all-purpose flour with cornstarch. The cake will work if you make them this way but they won’t be quite as soft and tender.
I HIGHLY recommend using a digital scale, as flour is so often over measured.
Yes! If you want to make this even more simple, you could grab your favorite pint of ice cream and let it soften until it’s spreadable.
You can definitely use a dairy free yogurt or sour cream in the cake. For the ice cream, you could use coconut cream and dairy free sweetened condensed milk or get a store bought dairy free ice cream.
I haven’t tested it but pretty much all my other cakes work fine with a 1:1 substitute like Bob’s or King Arthurs so I don’t see why not.
I used black cocoa powder because this is my black cocoa cake and I love it but it should work just fine with regular cocoa powder.
Just like all the rest of my cakes, I test if it’s done baking by pressing gently on the tallest part of the cake. The cake will spring back if it’s done baking. If it stays indented, give it a few minutes in the oven, before testing again.
Make sure it’s frozen solid and use a large knife. I wipe it off between every slice.
How to store ice cream sandwiches
Freeze overnight before slicing, that’ll help get you nice clean slices. Place in a container with an airtight lid or wrap the container in foil.
You could also wrap each slice individually to prevent them from getting freezer burn.

Thanks so much for reading today’s post, if you have any questions just comment down below. If you make these ice cream sandwiches, I’d love it if you left a star rating or a review for me!
As always, have a blessed day and happy baking!
Love, B

