
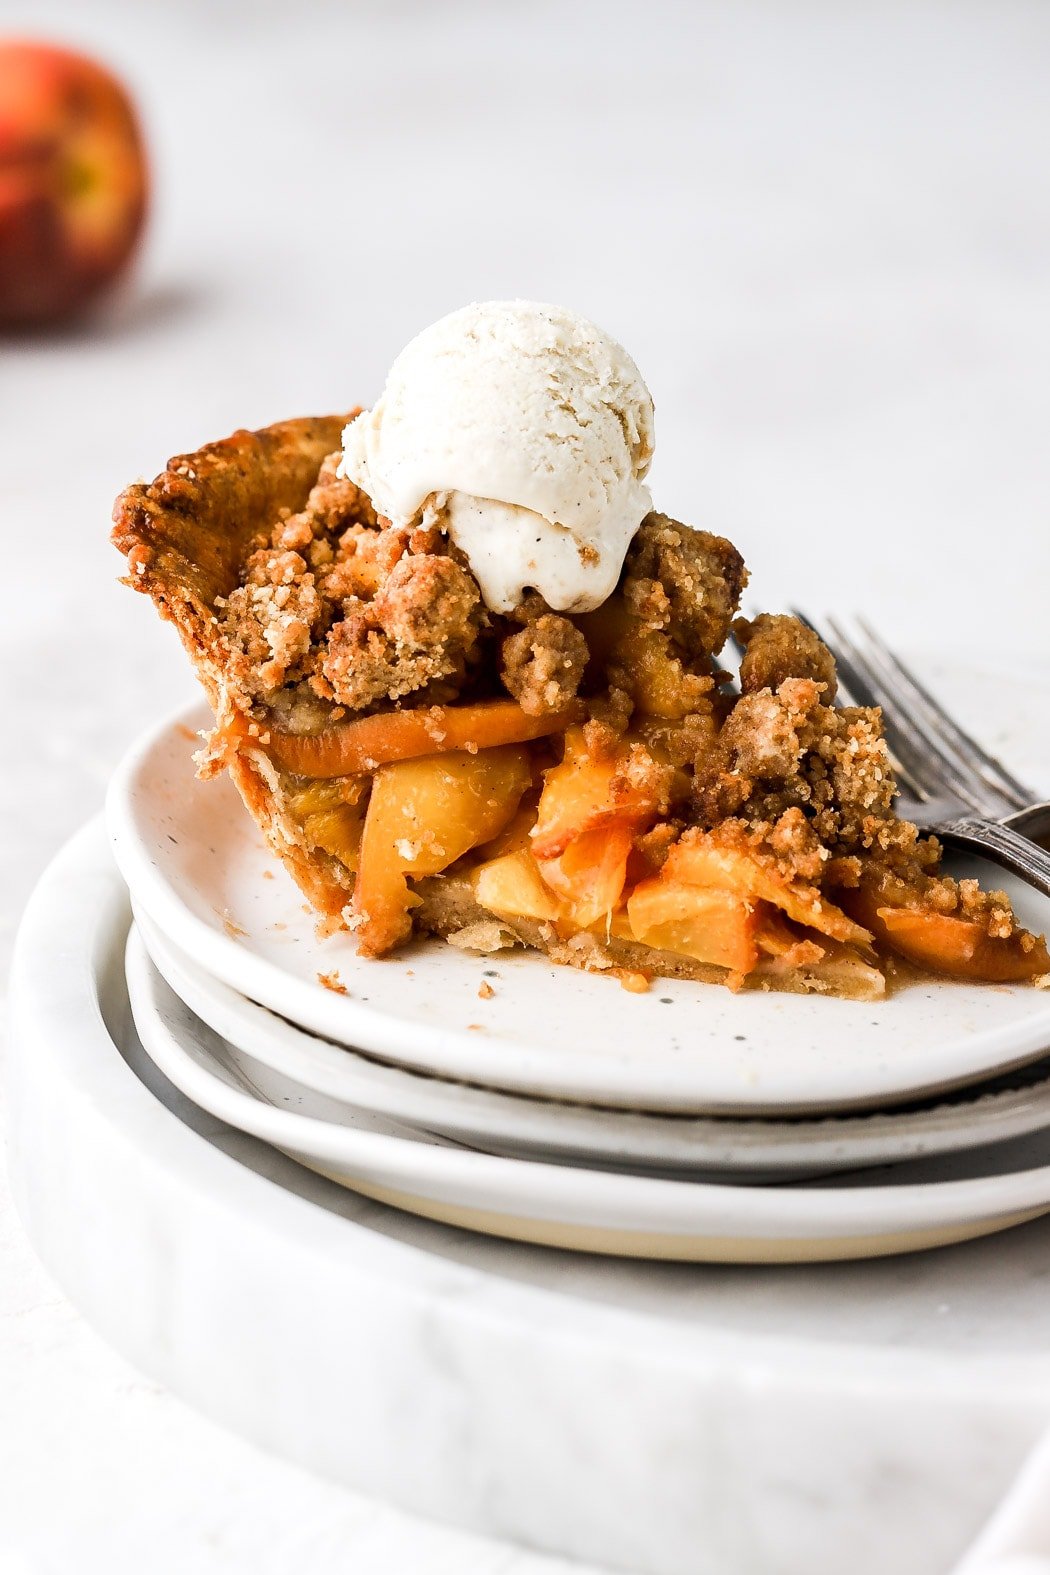
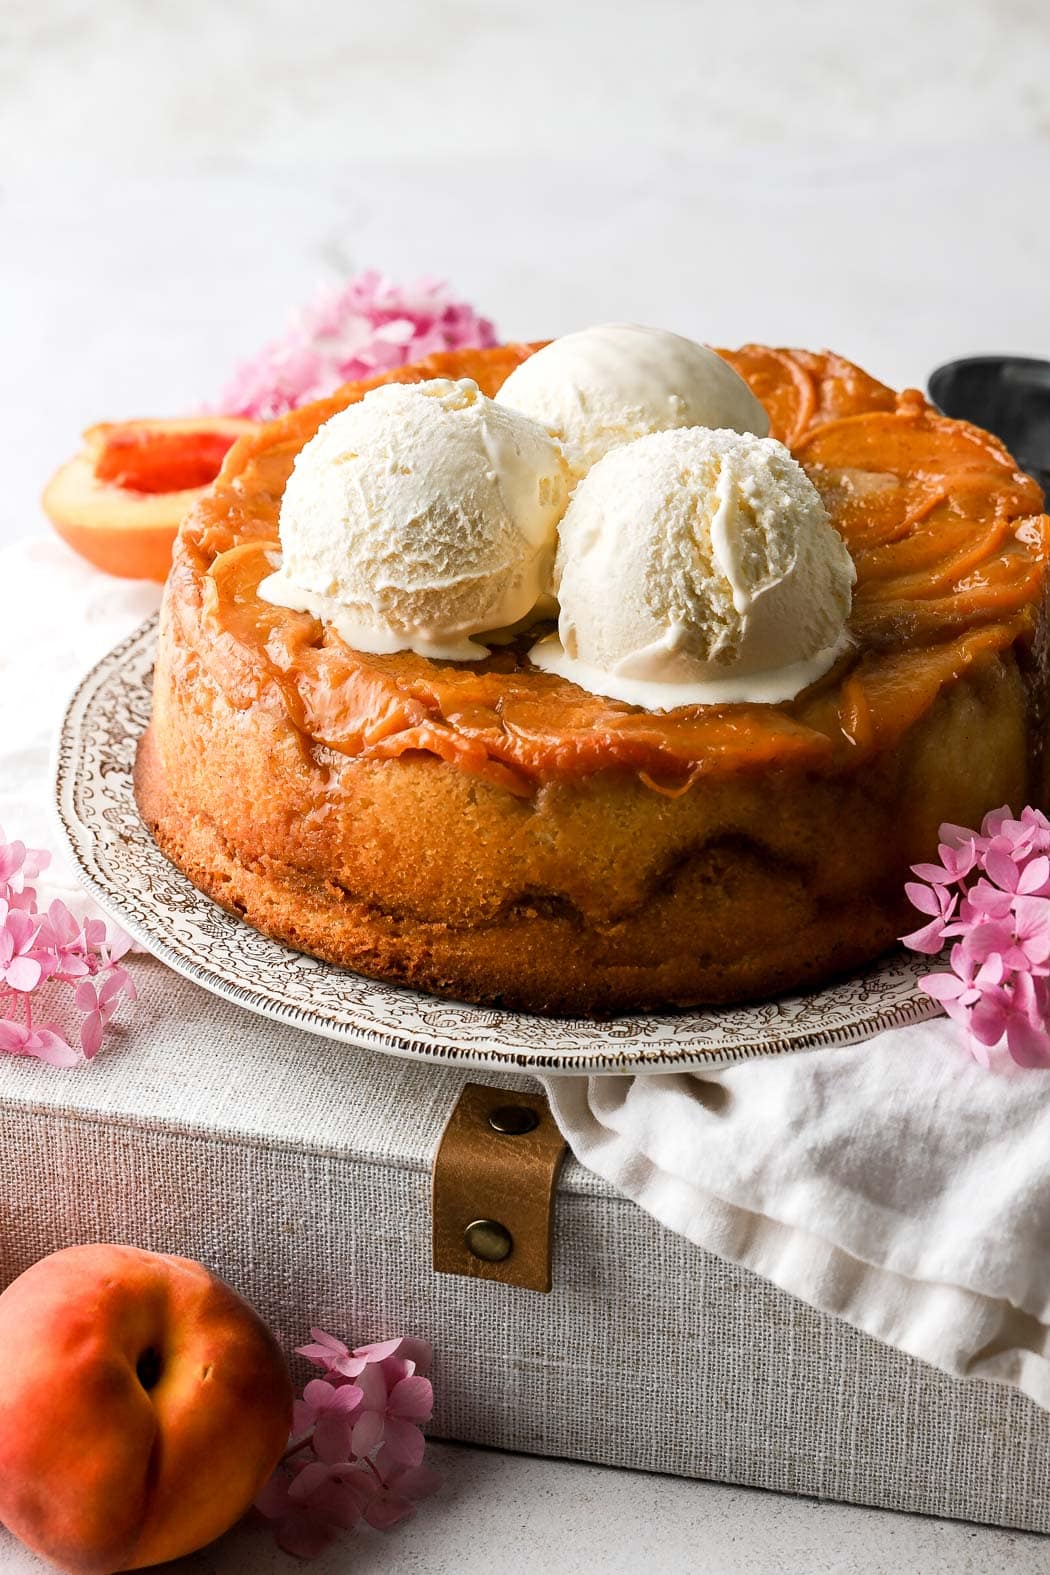
Peach Mango Pie
Warm and cozy meets summer fruit with this peach mango pie recipe infused with vanilla beans, cinnamon, brown butter and dark brown sugar.

It’s peach season and the only thing I love more than peaches is a warm and cozy, cinnamon and vanilla infused peach pie. But it’s the middle of summer and fresh mangoes are so delicious so let’s toss some of those in too lol.
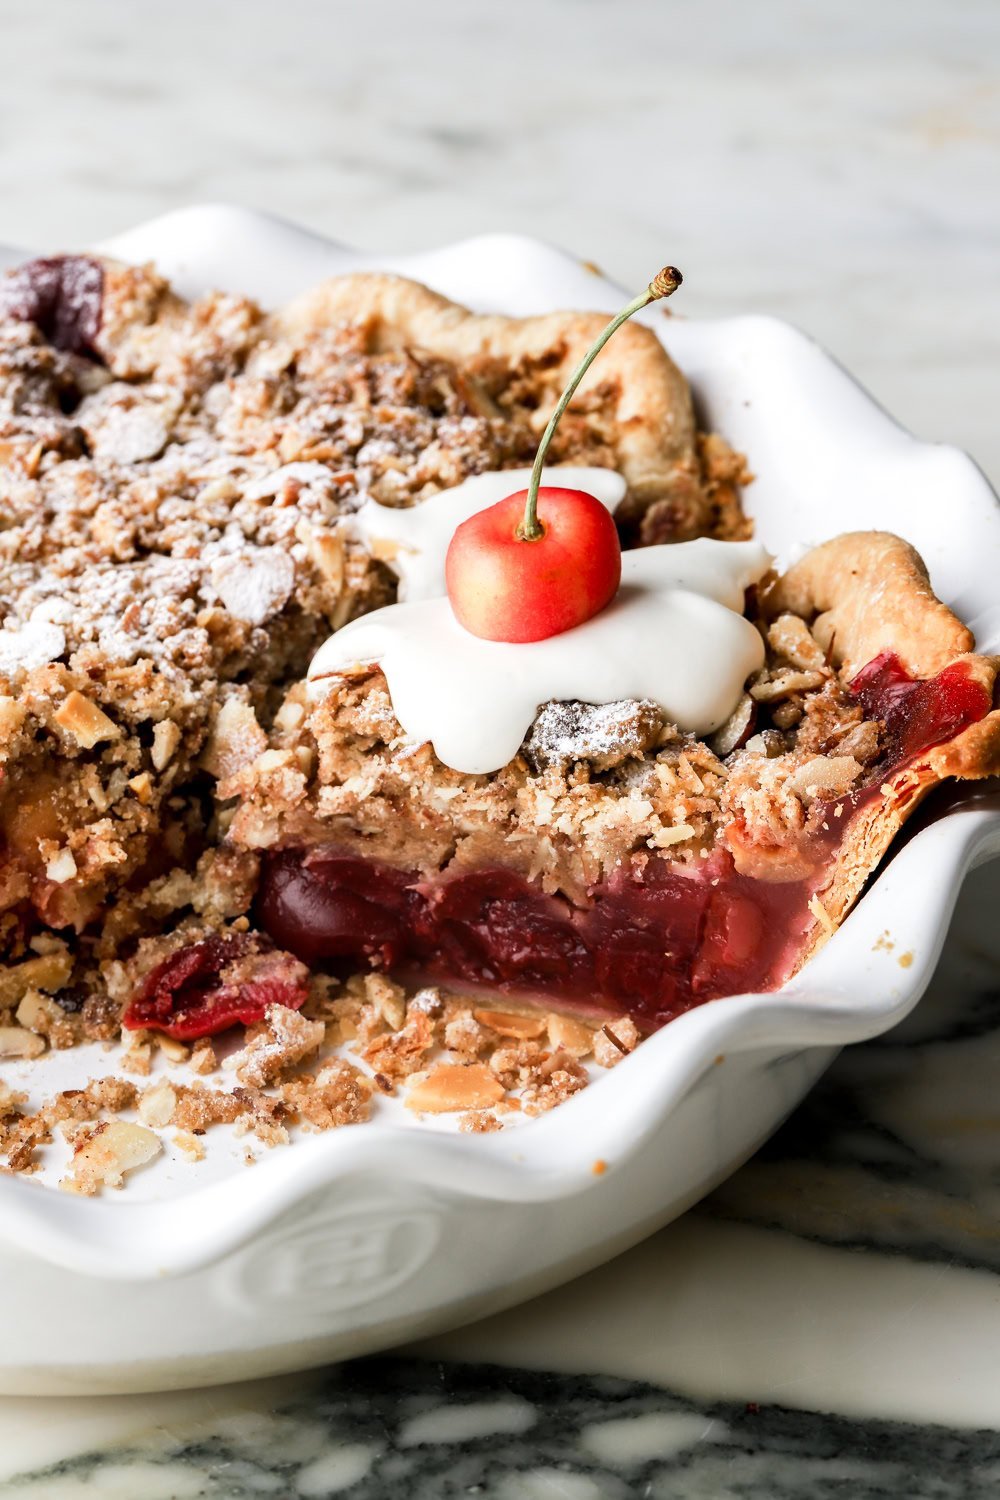
This pie baby is made with a homemade pie crust, a brown sugar cinnamon-y vanilla peach mango filling and topped with a crispy brown sugar streusel.
Wait. It gets better.
I used the leftover juice from the fruit to make a brown butter, brown sugar, cinnamon-y, vanilla bean ice cream… it is to die for. Read at the bottom to see how I made it.
How To Make A Peach Mango Pie
I know peaches and mangos are traditionally seen together in a pie but it’s so lovely. I updated this recipe to use a par-baked pie crust because I really don’t want you to have a soggy bottom. The original recipe I didn’t bake the pie crust and it was fine but not crispy like it should be.
Ingredients & Substitutions
- Flour: I just use all purpose flour. There is such a thing as pastry flour and I know some people like cake flour for pie crusts too but all-purpose works perfectly here.
- I also HIGHLY recommend using a digital scale, as flour is almost always over measured.
- Sugar: I use brown sugar in the pie filling – light or dark is fine.
- Butter: I prefer salted butter but unsalted is fine too. I haven’t tested it with dairy free butter, shortening or lard but I would assume it works fine as well.
- Water: you’ll want ice cold water. I measure my water first, place it in the freeze while I get the rest of my ingredients ready and then bring it out when I need it (make sure it doesn’t actually freeze).
- Alcohol: optional but this gives the FLAKIEST pastry – I just use a little whiskey or vodka.
- Peaches: I used fresh peaches and I did not peel them – frozen should also work fine (I would thaw them and drain them).
- Mangos: I used fresh mangos but frozen should also work fine (I would thaw them and drain them).
- Cornstarch: this thickens the pastry, I don’t recommend swapping it but I do recommend measuring with a digital scale.
The Pie Crust, Step-By-Step Photos
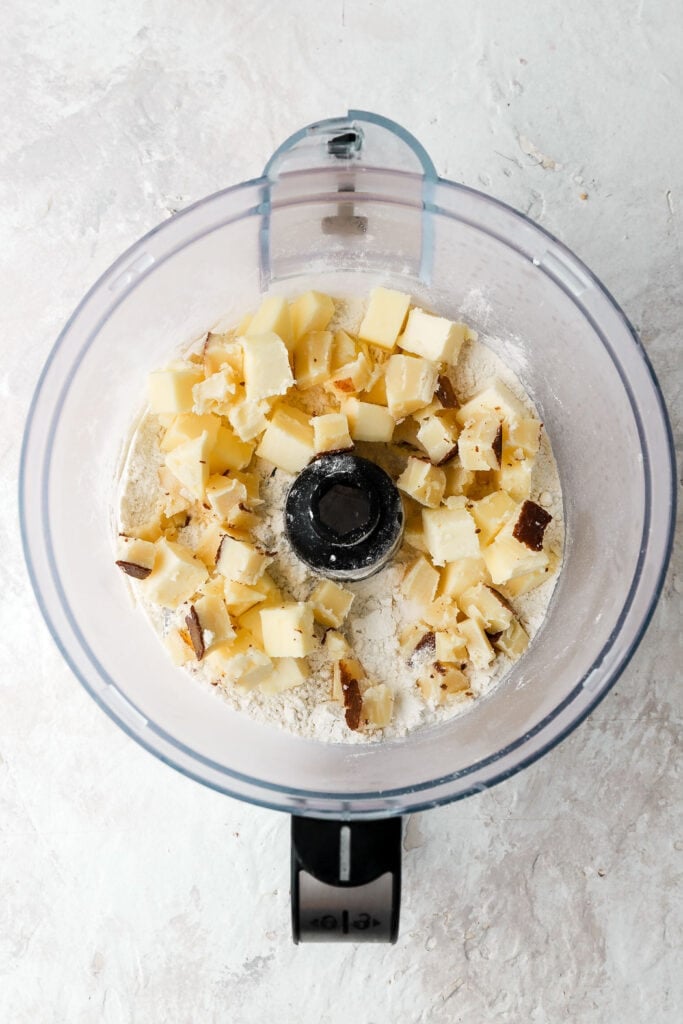
- Cube cold butter and then place it back in the fridge, measure out flour and place it in the fridge or freezer, measure out water and place it in the freezer for 15 minutes.
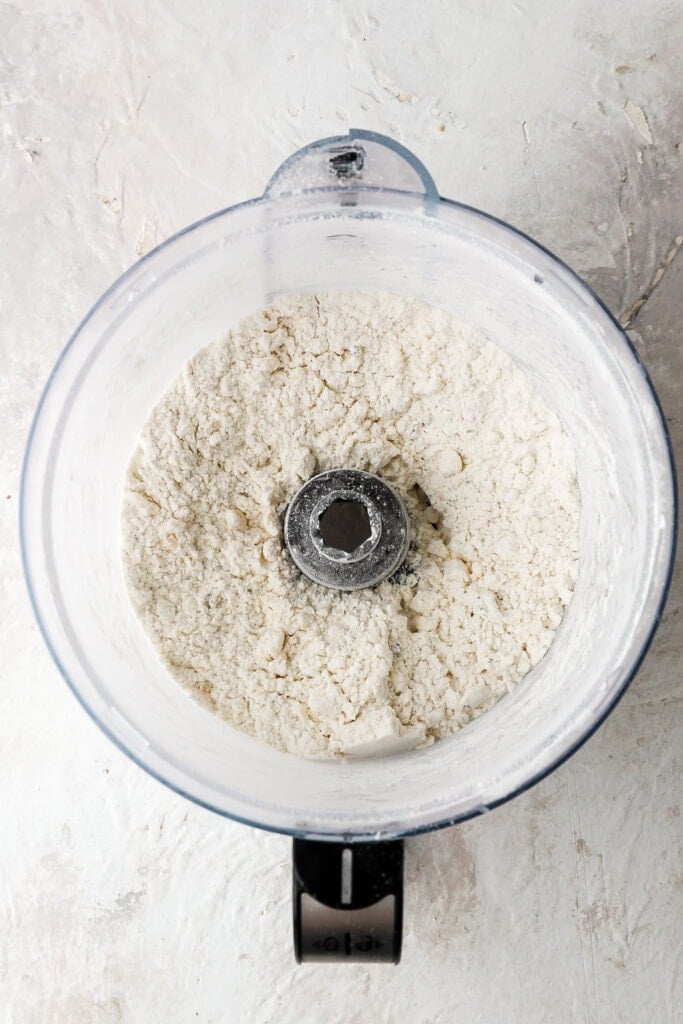
- Place flour in a food processor and place the cubed butter on top. Pulse for a few seconds until the butter and flour look like small crumbles.
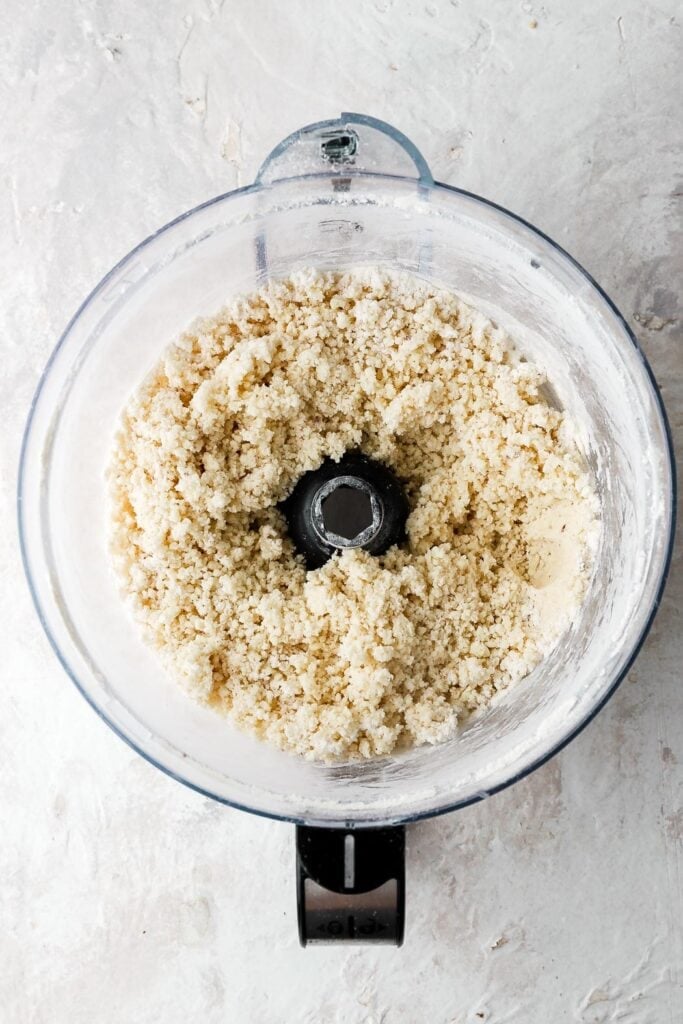
- Drizzle in half the water and alcohol and pulse, then drizzle in a little more at a time just until the dough starts to look more wet. The dough will still be crumbly but when you press on it, it should stick together.
- Dump the mixture onto the countertop and use your hands to press it all together and fold it over itself a couple of times so it all sticks together nicely. You should see bits of butter in the dough and it should be fully hydrated (so no dry.flour spots) but not too sticky to handle.
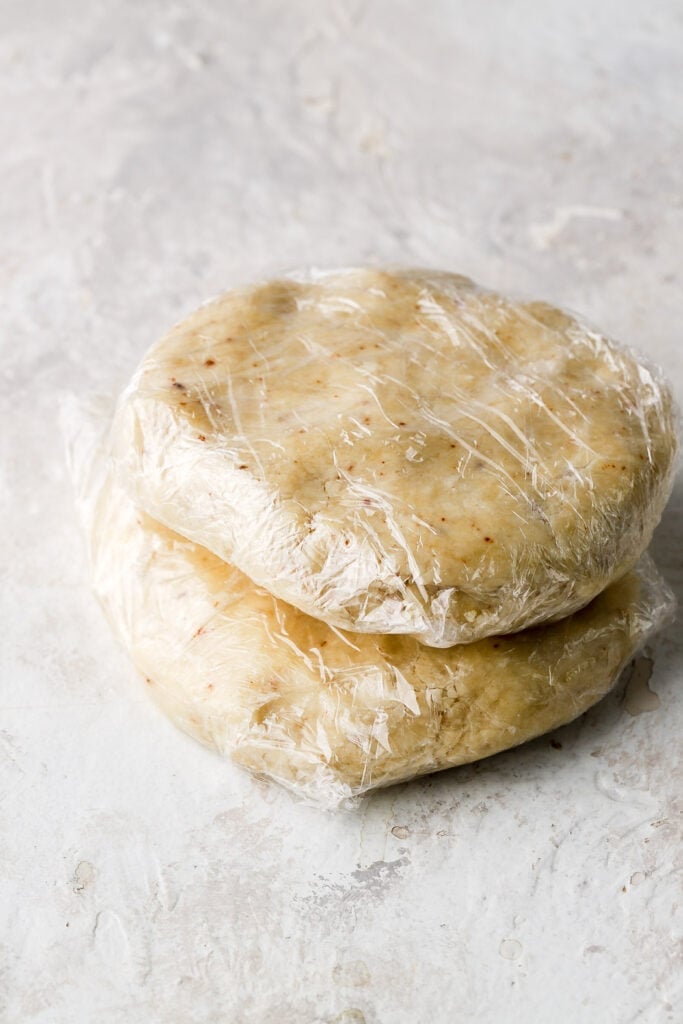
- Form a flat disc with the dough and wrap it in plastic wrap and place in the fridge for 1-2 hours, up to 3 days or freeze for a couple of months and use as desired.
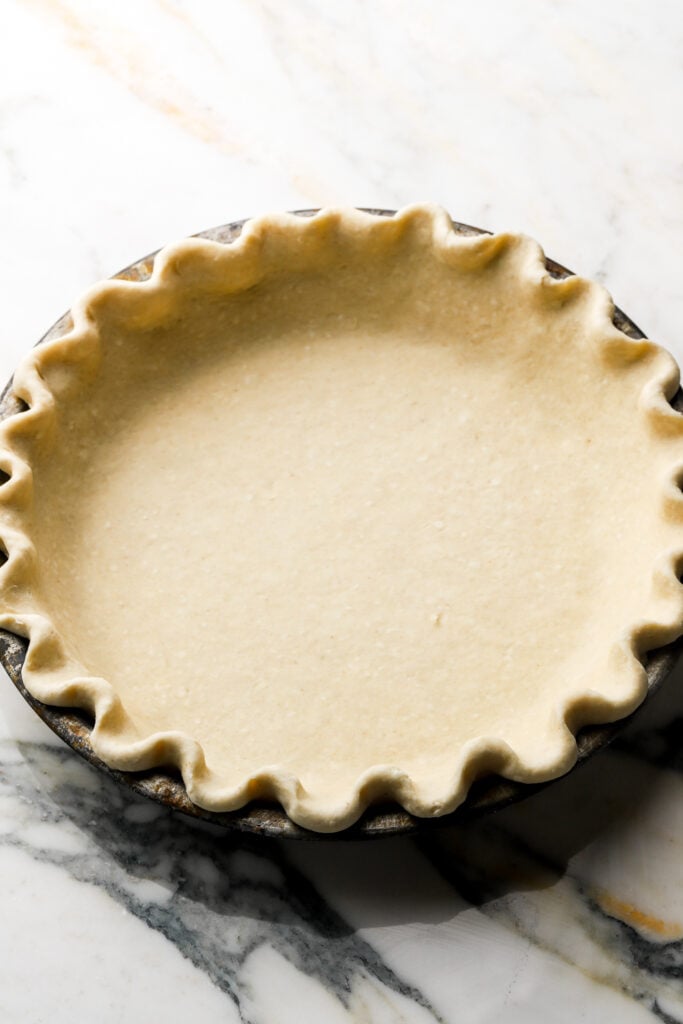
- Roll out your dough onto a well floured surface. Fold or roll the dough up and place it over the pie dish. Press it down on the bottom and adjust the sides as needed. Do whatever design you desire along the edge of the crust and then refrigerate or freeze for at least 30 minutes, until the pie feels firm.
- During this time preheat the oven 425F (212C). Once the dough is cold and firm, place a sheet of parchment paper (I like to crumple mine so that it fits better) on top of the dough and fill it with pie weights. If you don’t have pie weights, use uncooked rice, dried beans or even flour. Place the pie dish on top of a metal cookie sheet (just in case there’s any butter spillage) and bake for 20 minutes (a little longer if oven temp is reduced a little), until it starts to get some color.
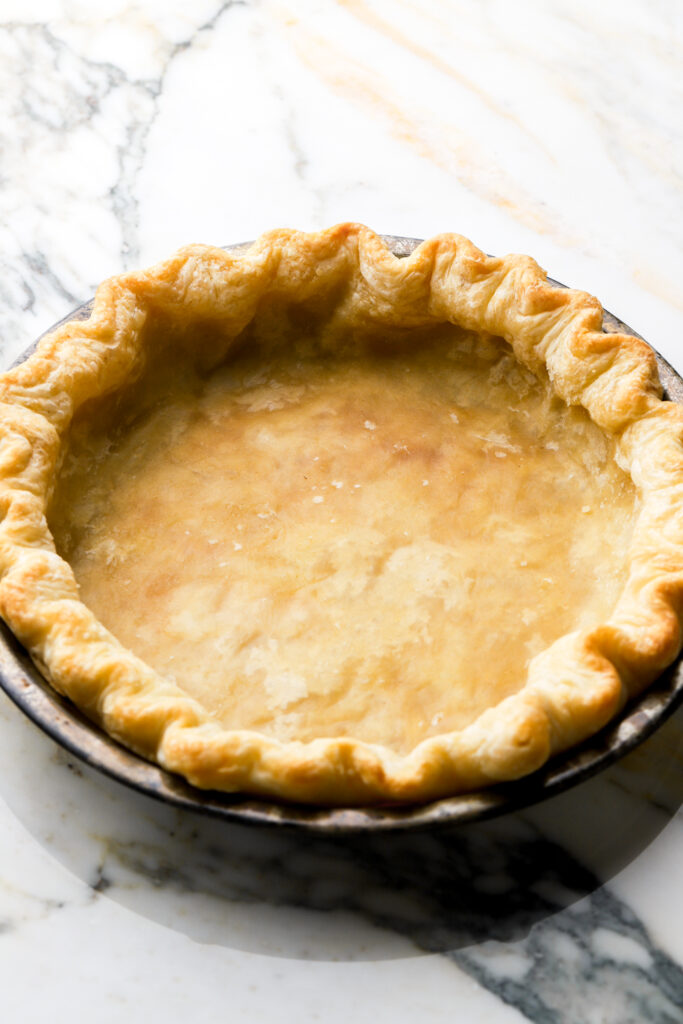
- Remove the pie crust from the oven and carefully remove the parchment paper with the weights from the pie crust. Allow to cool.
Mango Peach Filling
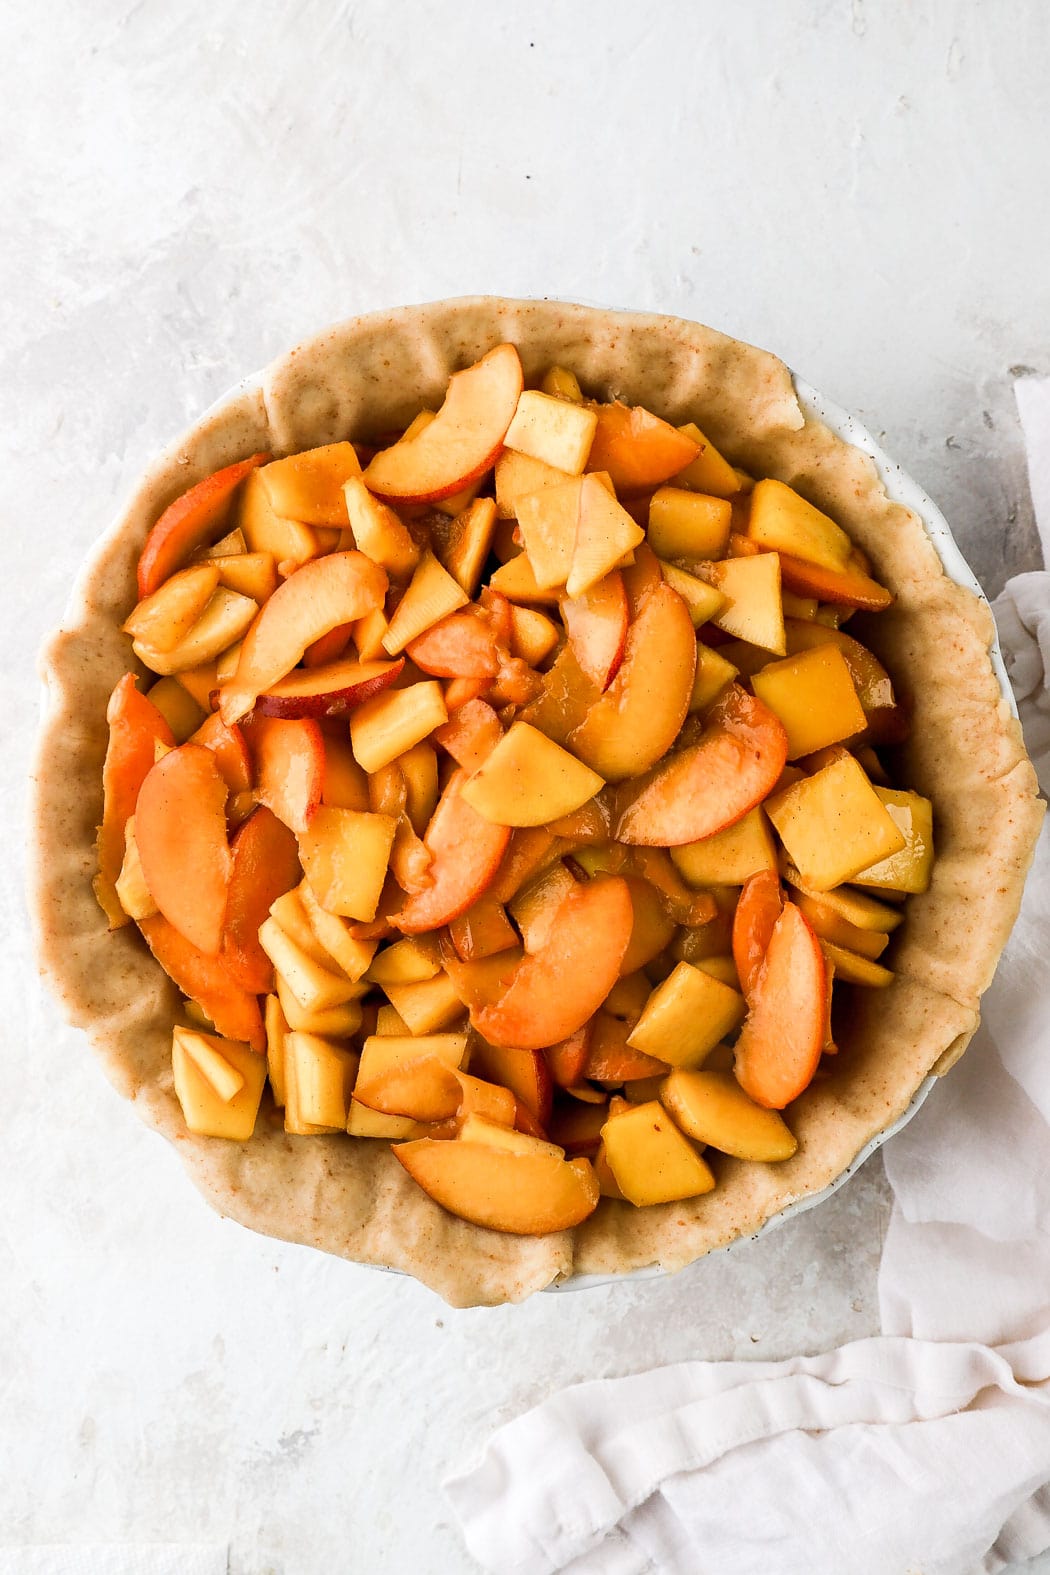
- Slice the fruit (or thaw if using frozen) and toss in a bowl with sugar to macerate for an hour.
- Strain the liquid from the fruits well.
- Toss the fruit with the rest of the sugar, vanilla, cinnamon and cornstarch.
- Place fruit on the cooled par-baked pie crust.
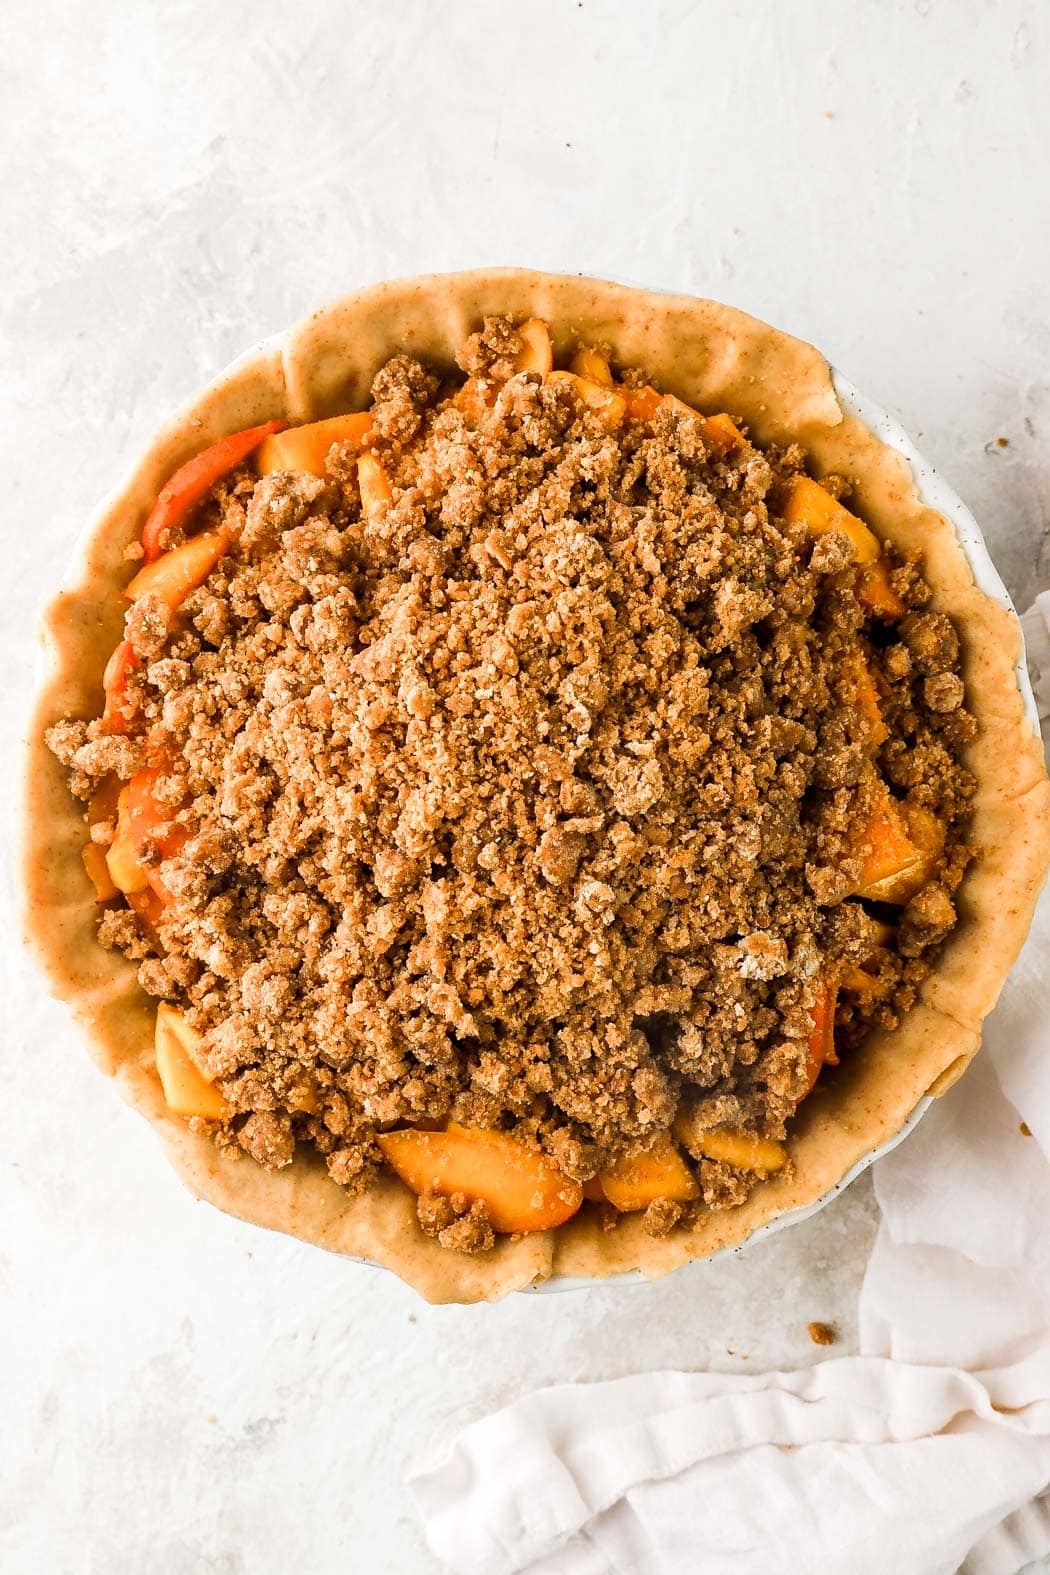
Streusel
- Combine the melted butter with the sugar, cinnamon and flour until pea size chunks form.
- Top the fruit with the streusel and bake for almost an hour, until it’s browned and the juices are bubbling around the edge.
*the photos below show the fruit on a raw pie crust but I recommend par-baking it*
Tips for getting the pie crust just right
- Temperature matters: to create a flaky crust, you want the butter to be cold so it doesn’t melt into the other ingredients. To keep the butter as cold as possible I like to put my flour and sugar in the food processor bowl and then freeze the whole bowl while I cube my cold butter.
- Add the butter to the bowl and freeze while you measure the ice cold water. For ice water, I just put 1-2 ice cubes in the cup and then measure the water or measure the water and freeze it for a few minutes.
- Temperature matters again: Refrigerate the pie dough after you’ve made it and once it feels a little more firm, about 30-60 minutes later, you can roll it out. I roll out half at a time (so the bottom crust first and then the top crust) so the other half doesn’t get too warm.
- If you’re making designs with the top crust and it starts to feel sticky/soft, just refrigerate it again for a few minutes.
- Temperature matters one more time: You want the pie crust and the streusel to hold their shape while they’re baking. If you bake room temperature pie dough, the butter will melt right out and the crust will shrivel up. The streusel will melt into one nice big streusel chunk lol.
- What you want to do is, once the pie is all done, pop it in the fridge or the freezer for about half an hour before baking. You want the crust to be firm and cold before baking so that it holds its shape.
What to do with the leftover fruit juices from the pie filling?
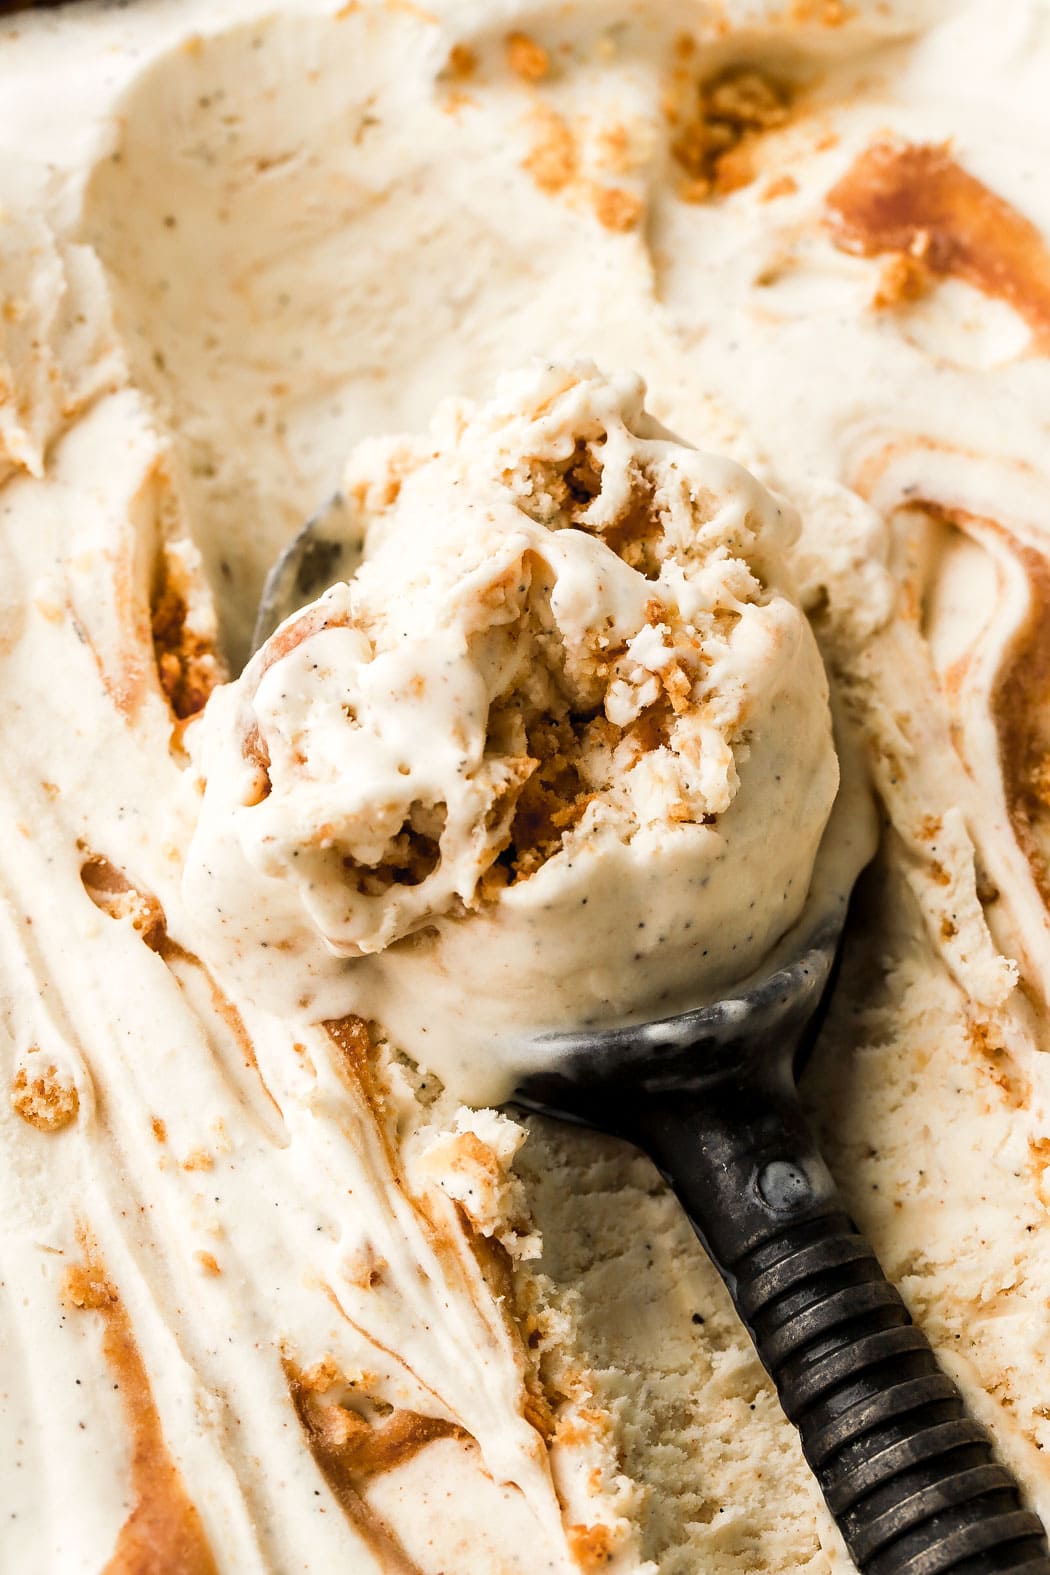
I’M SO GLAD YOU ASKED!!! This juice smelled amazing so I knew I couldn’t toss it. You reduce it to make a thicker syrup and use it in cocktails, icecreams, coffee, etc.
Here’s what I did:
- I reduced the juice on the stove over medium heat until it was about half of the amount and slightly thicker. I went from about 6oz to 3.5oz.
- Then I combined it with the leftover brown butter that I had, about ¼ cup (56g). Refrigerate it while you make your favorite vanilla ice cream.
- I used an easy no-churn recipe with 2 cups of heavy whipping cream, whipped and combined with 1 14oz can of sweetened condensed milk and vanilla beans.
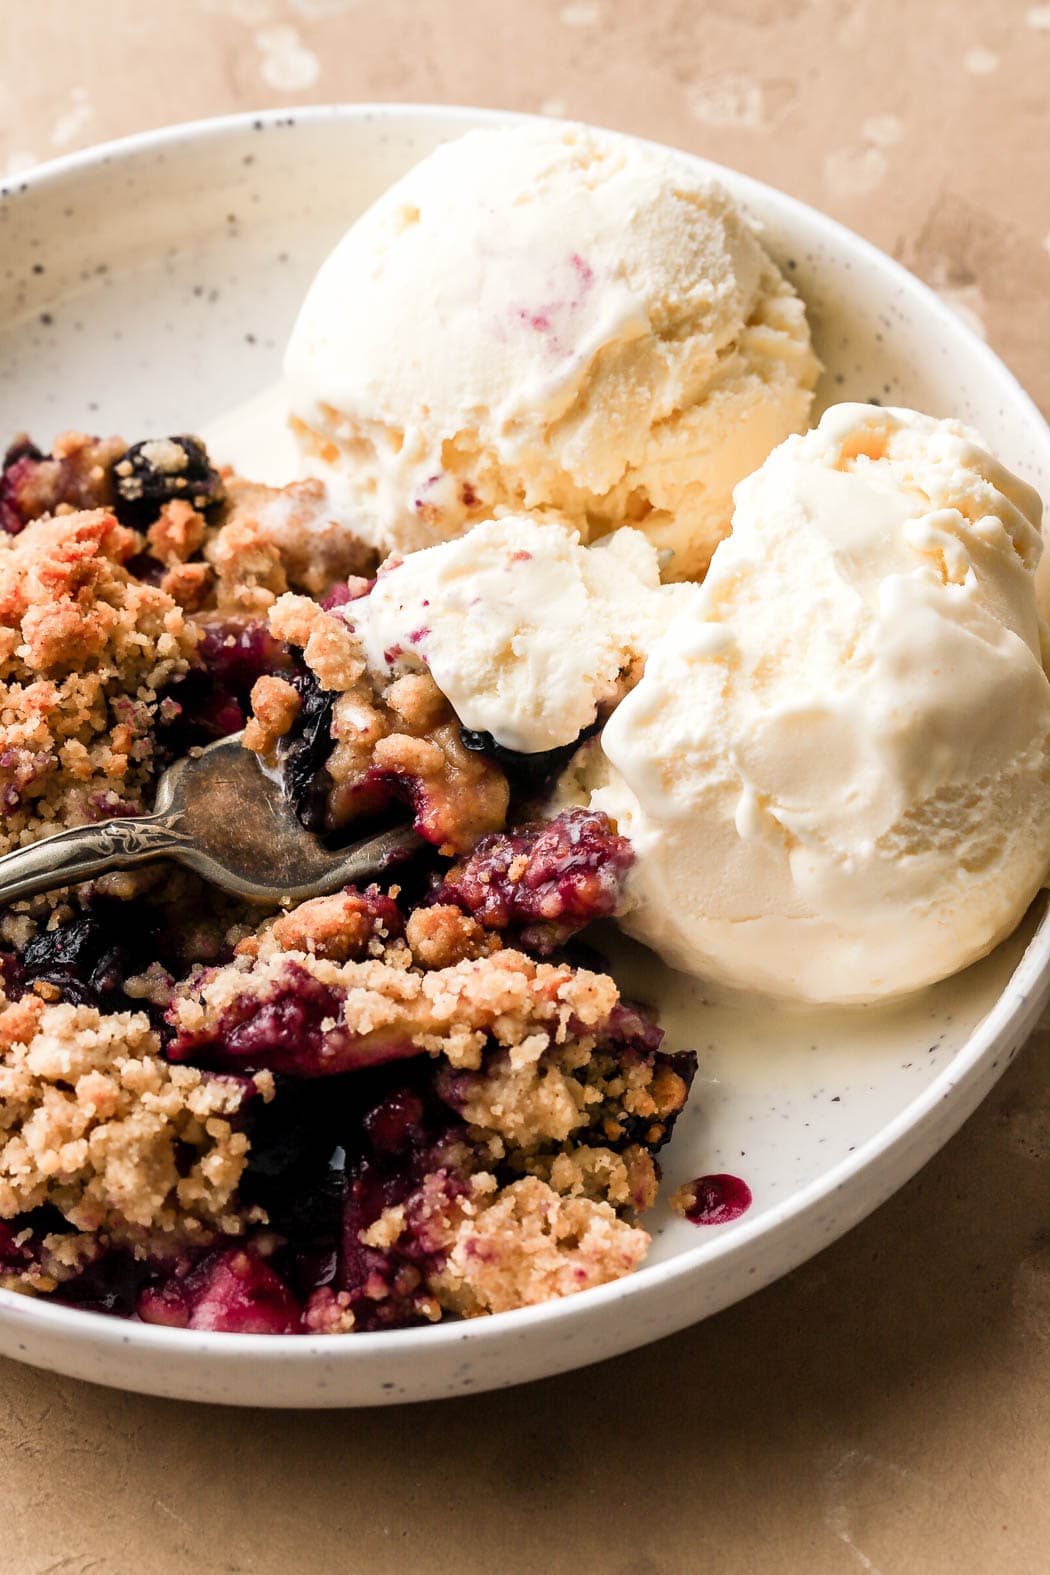
- Spread a layer of ice cream into the pan, then swirl with some of the sauce we made. Top with crushed graham crackers and repeat 3x.
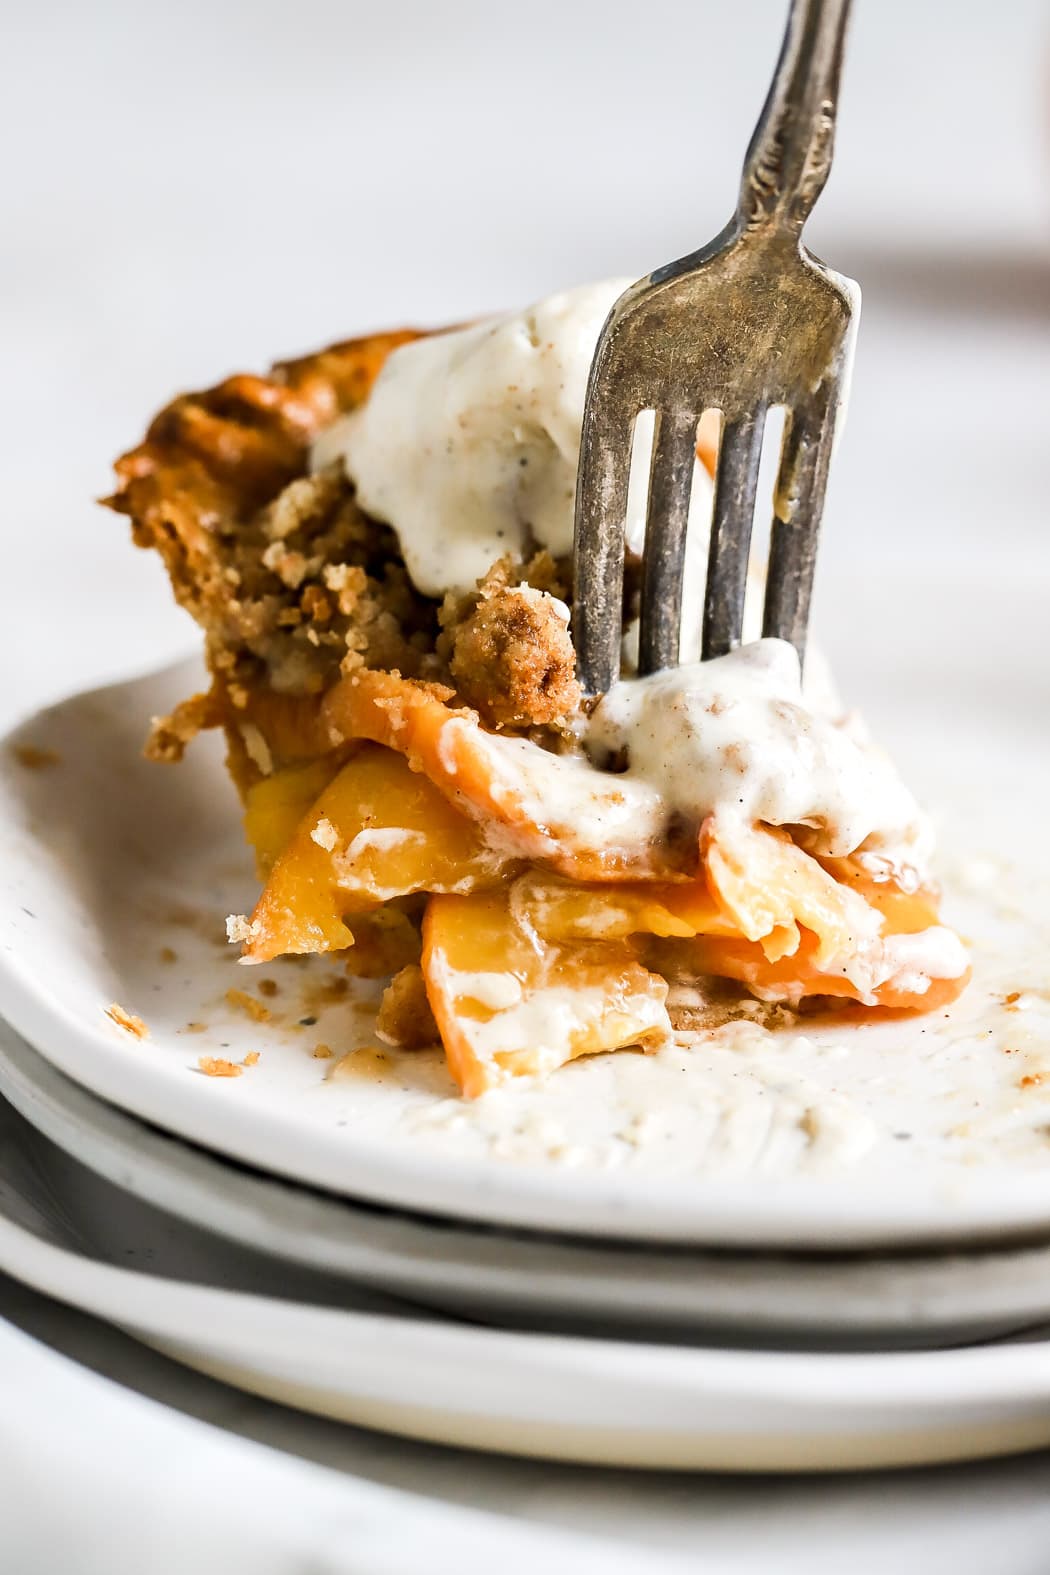
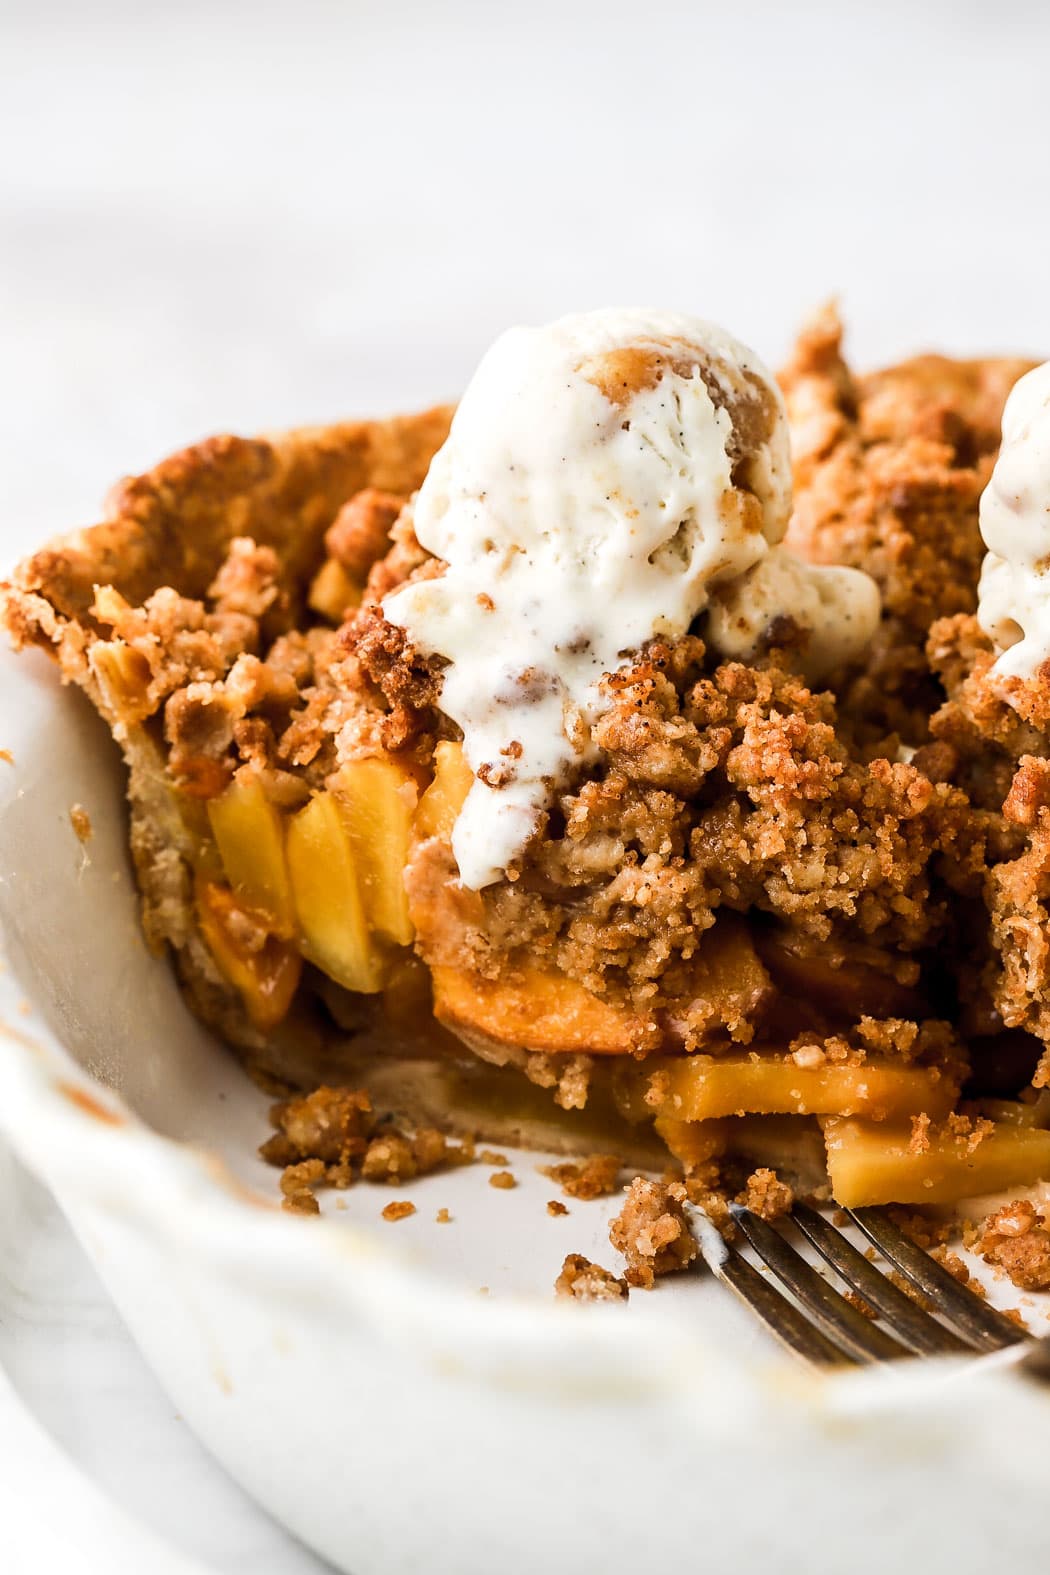
- Freeze and top the pie with this deliciousness.
How to store peach mango pie
If you slice the pie while it’s warm, it will definitely still leak some of the juices out. It needs to come to room temperature in order for the filling to set properly.
Mine was still just slightly warm when I sliced it for these photos. If you want to eat it warm, you can either embrace the mess or just microwave the slice for 10-15 seconds after slicing it.
If you want to make it a little less runny, another option is to use 1/2 cup (64g) cornstarch instead of the 1/3 cup (42g).
Thanks so much for reading today’s post, if you have any questions just comment down below.
If you liked this peach-mango pie recipe I would I appreciate it if you left a 5-star rating or a rewiew.
As always, have a blessed day and happy baking!
Love, B


PERFECT