
Caramel Apple Cake
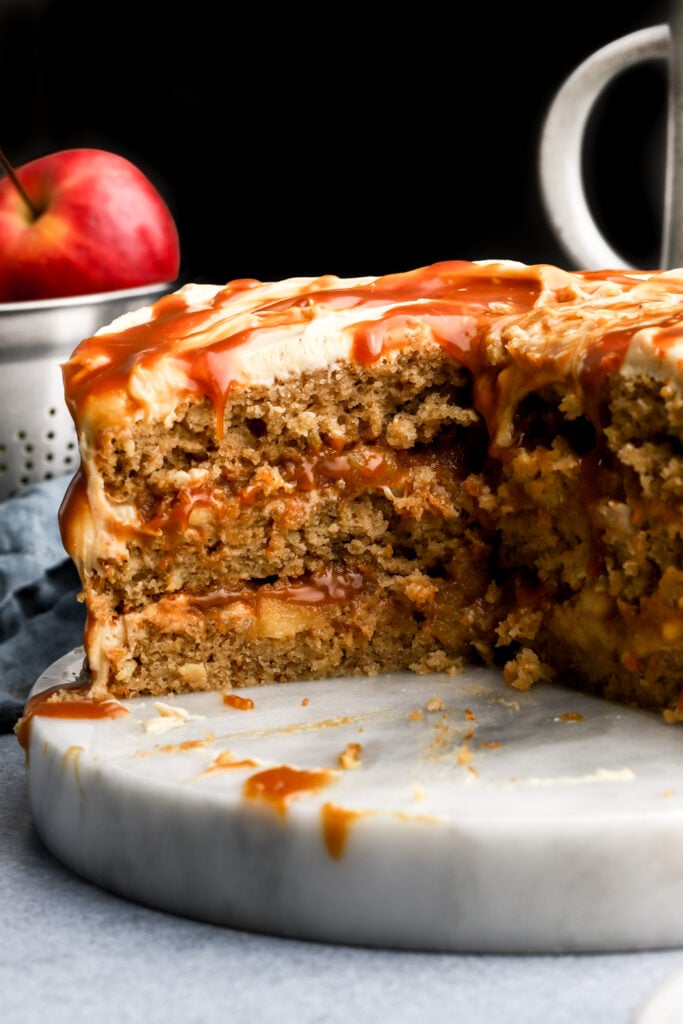
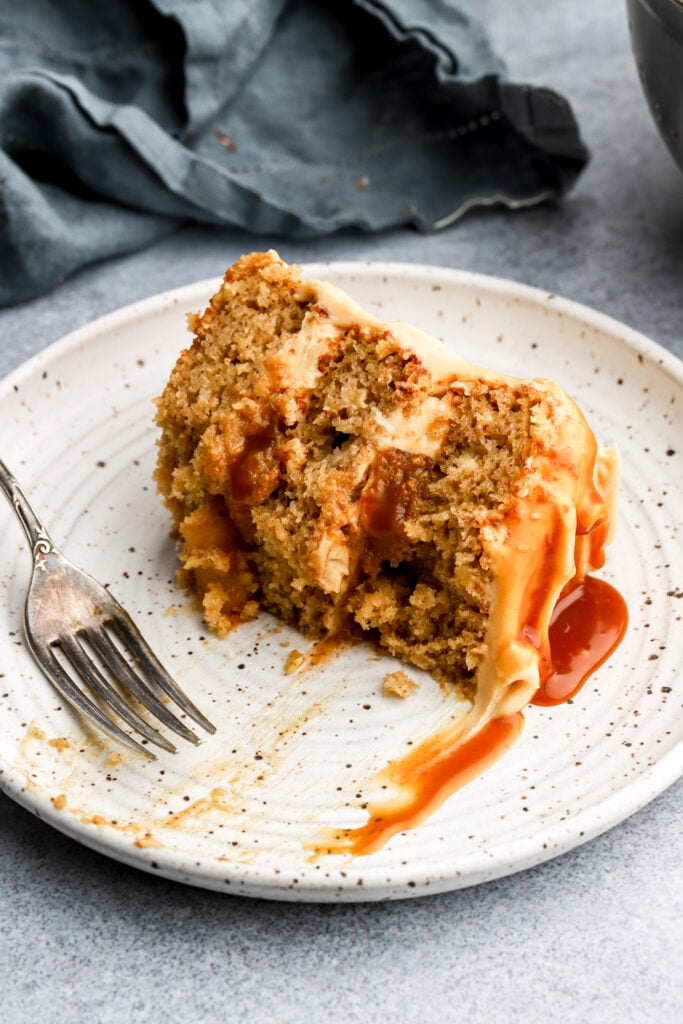
This caramel apple cake is literally Autumn inside of a cake. It’s made up of an apple cake with shredded apples, frosted with a caramel cream cheese frosting, filled with an apple pie filling and topped with homemade salted caramel sauce.

Why You’ll Love This Caramel Apple Cake
- There is literally caramel and apples infused into every layer of this cake. If you could bite a fall candle, this is what I’d imagine it to taste like.
- There’s a lot of parts to this cake but I’ll walk you through each step and most of it can be made ahead of time.
- The cake stays moist and fluffy for days!
My favorite way to incorporate apple flavor is to add apple butter or applesauce and fresh apples. I adapted this cake recipe from Apple Cinnamon Muffins because they have a great texture and good apple flavor, which can sometimes be very subtle in bakes.
If you’re a caramel apple lover, I am obsessed with my new Caramel Apple Ice Cream. If you like this cake, I also think you’ll love my pumpkin cheesecake cupcakes and my apple pie cupcakes (which I definitely need to turn into a layer cake!).
Ingredients:
- Apples: I used 2 large granny smith apples for the cake.
- I tested this with other apples and felt like the flavor wasn’t strong enough but since there are apples in the filling too, it won’t make much of a difference. Other apples I like using for the filling are fugi, honeycrisp and gala apples.
- I love to use my apple corer to peel, core and slice the apples all in one.
- Sugar: I use light brown sugar in the cake and the apple pie filling and I wouldn’t cut the sugar as this can alter both the taste and texture of the cake.
- Granulated sugar is used in the salted caramel sauce and powdered sugar is used in the cream cheese frosting.
- Oil: I recommend any neutral oil like vegetable oil, canola oil or avocado oil.
- Applesauce: Unsweetened apple sauce – any brand is fine.
- Flour: I use all purpose flour in most of my recipes and I HIGHLY recommend using a digital scale, as flour is so often over measured.
- A 1:1 gluten-free flour substitute should work fine for the cake.
- Baking Powder & Baking Soda: We’re going to need both here and a lot of them to get that gorgeous muffin top.
- Eggs: I use 3 room temperature, large eggs. Place them in hot water for a few minutes if they’re cold.
- Salt: salt brings out the flavor in all baked goods – I prefer fine sea salt.
- Spices: I use ground cinnamon and nutmeg in this recipe and cinnamon sugar for the topping.
- If you don’t have nutmeg, just cinnamon is fine as well
- Vanilla: I use extract in this recipe but vanilla bean paste would work as well.
- Butter: I like to use salted butter for the caramel sauce, apple filling and the cream cheese frosting. You can also use unsalted butter, just add an extra ¼ tsp of fine sea salt to every cup of butter used. Dairy free butter also works in the caramel and the frosting.
- Cream Cheese: I always recommend full-fat Philadelphia cream cheese. Dairy free cream cheese should also work fine if you like the flavor.
- Heavy Whipping Cream: I use 36-40% heavy whipping cream for the caramel sauce but it also works with milk or dairy free milk (it just might be slightly more runny so use a little less in the frosting).
Step-by-Step Instructions
Apple Cinnamon Cake
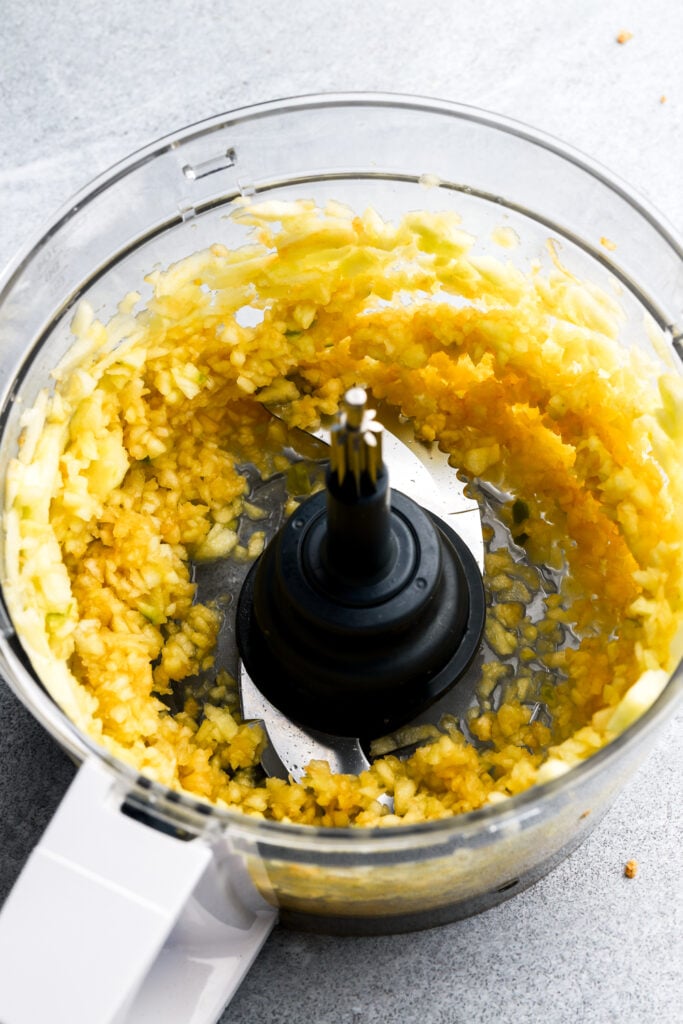
Step 1: Peel, core and slice the apples. Place them in a food processor and shred until they’re tiny but not pureed.
Step 2: Whisk together the flour, baking powder, baking soda, salt and spices in a bowl. Set aside.
Step 3: Whisk together the oil and sugar in a large bowl.
Step 4: Add in one egg at a time and whisk aggressively until it’s well combined and has lightened in color, about 30 seconds.
Step 5: Add in the applesauce and the vanilla extract and whisk until it’s well combined.
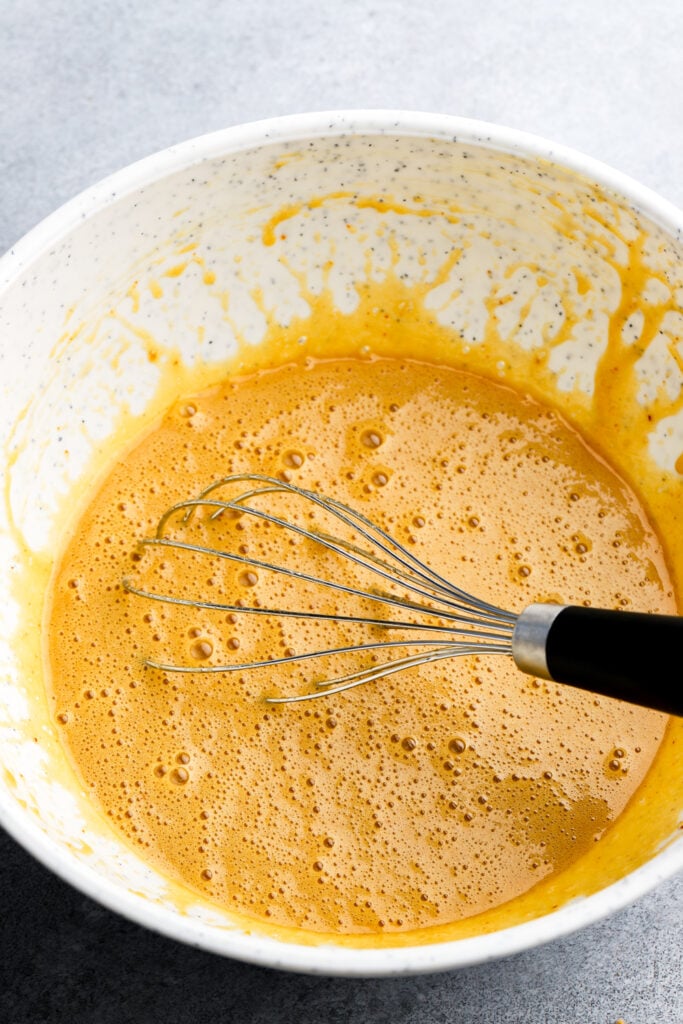
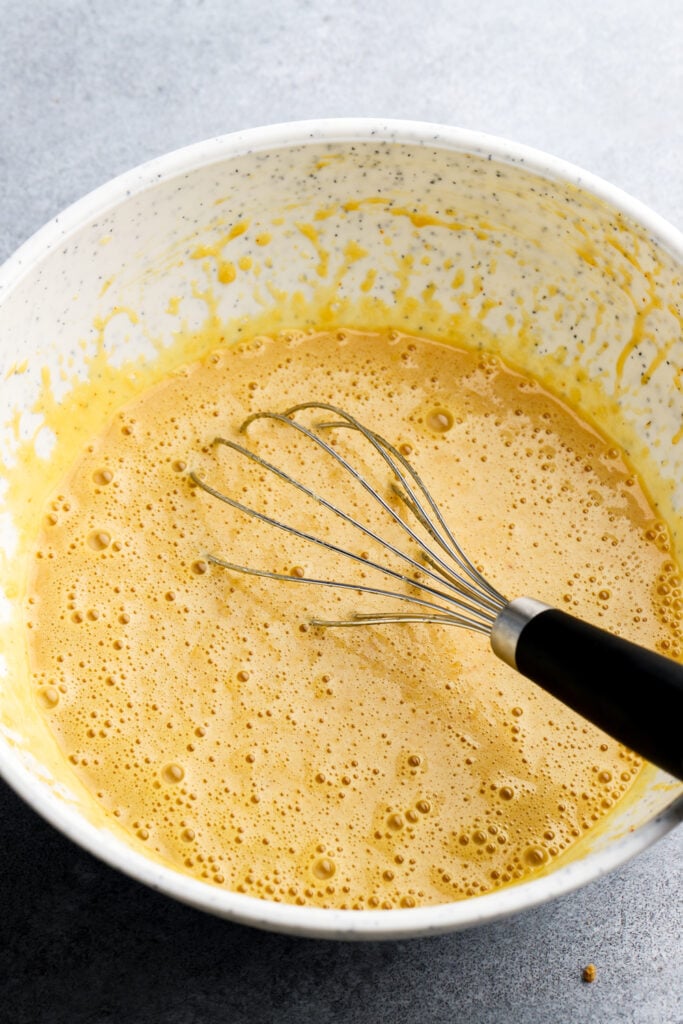
Step 6: Add in the dry ingredients and whisk again just until it’s combined.
Step 7: Fold in the shredded apples, cover and set aside to rest at room temperature for 1 hour.
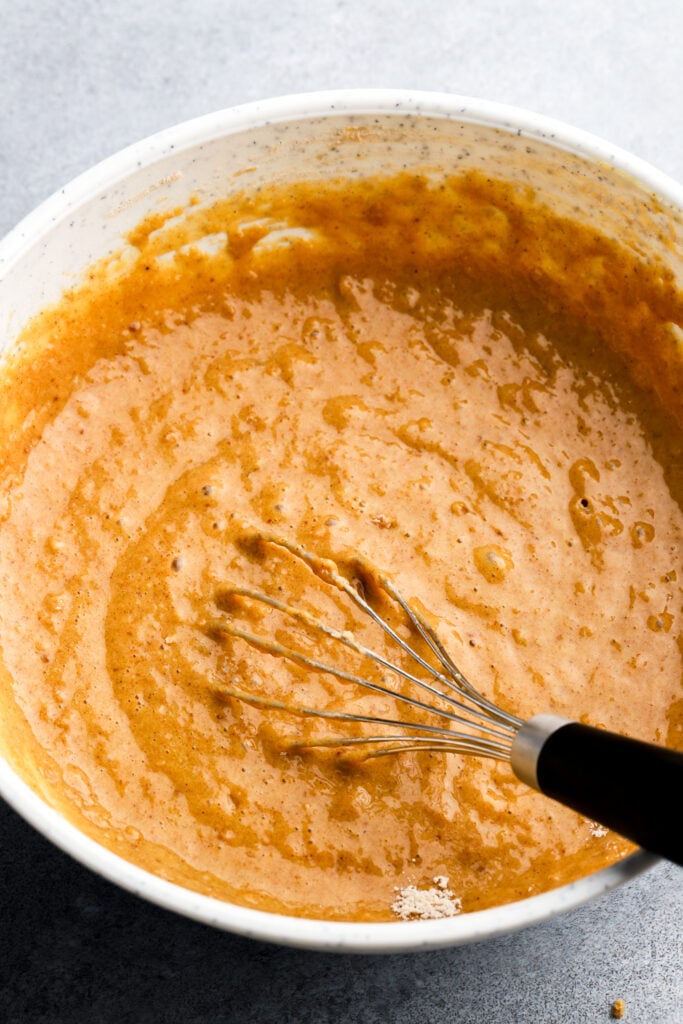

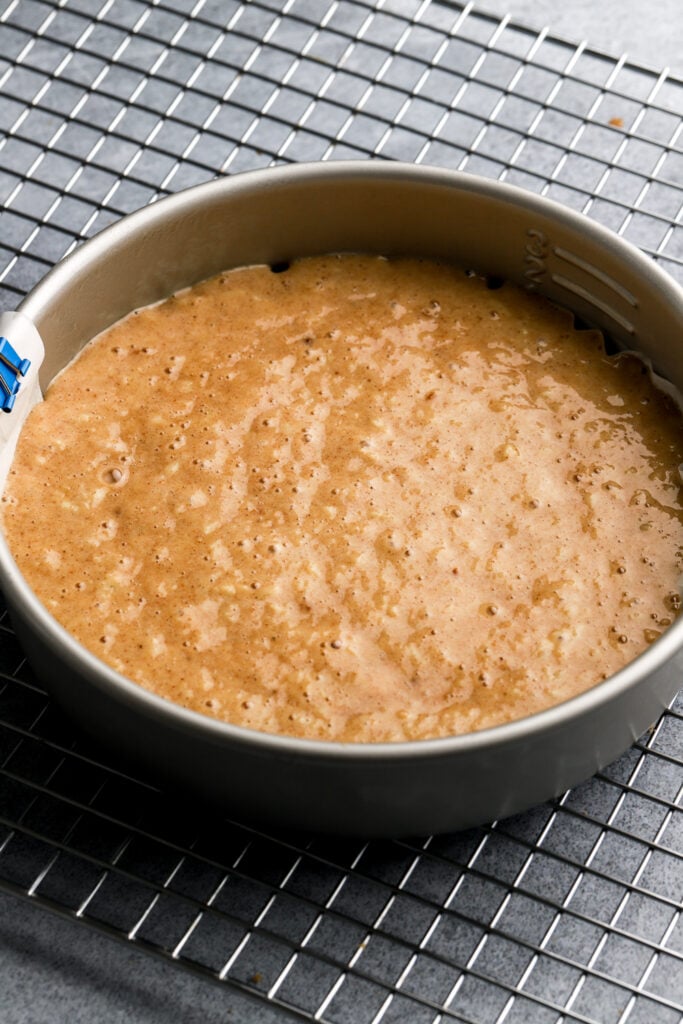
Step 8: Distribute the batter evenly among 3 cake pans, about 16-17 ounces in each pan.
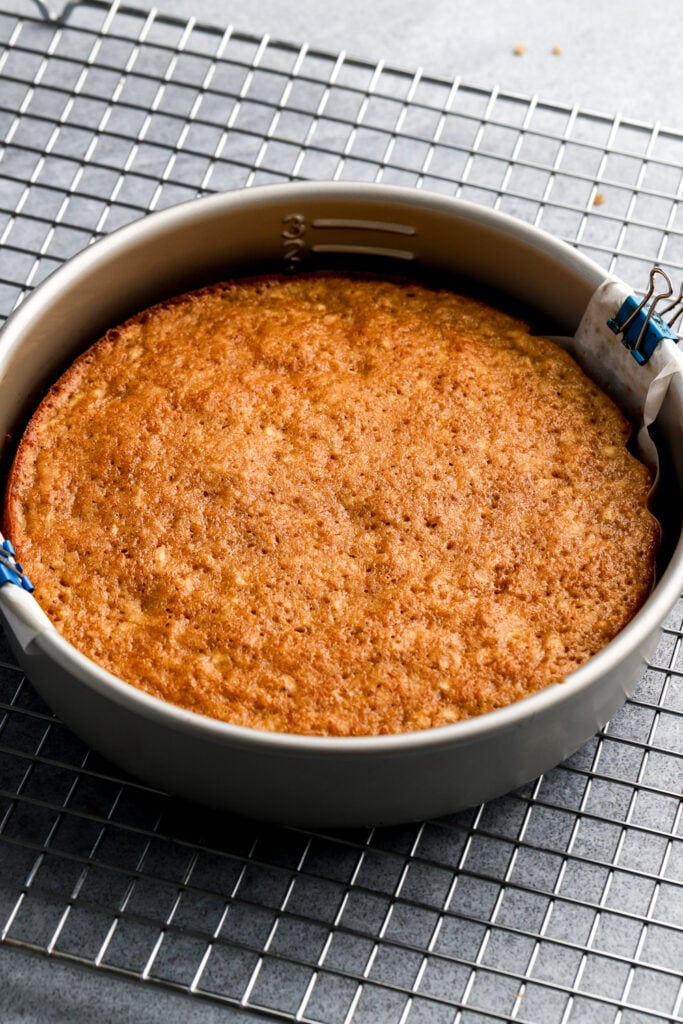
Step 9: Bake for about 25-30 minutes, until it springs back when you press on it. Allow it to cool in the pan for about 10 minutes before flipping onto a tea towel. Allow to cool completely to room temperature.
Salted Caramel Sauce
Step 1: Heat the sugar in a saucepan until it dissolves. Don’t stir it, just swirl the pan as needed, until it turns into an amber color.
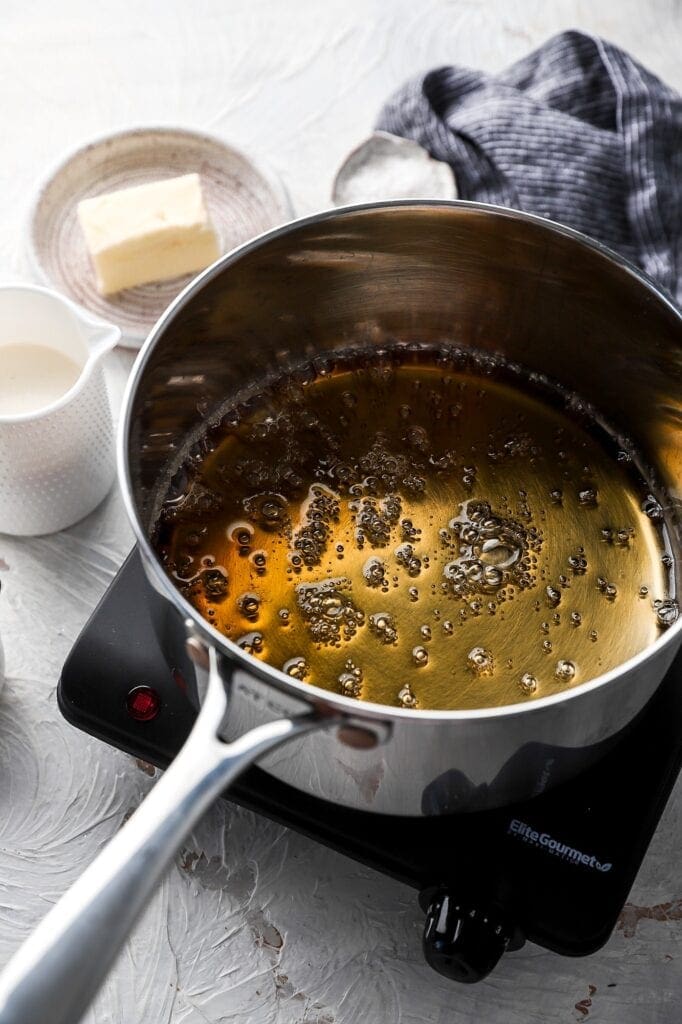
Step 2: Remove it from the heat and pour in the softened butter while stirring constantly.
Step 3: Then stir in the room temperature heavy whipping cream.
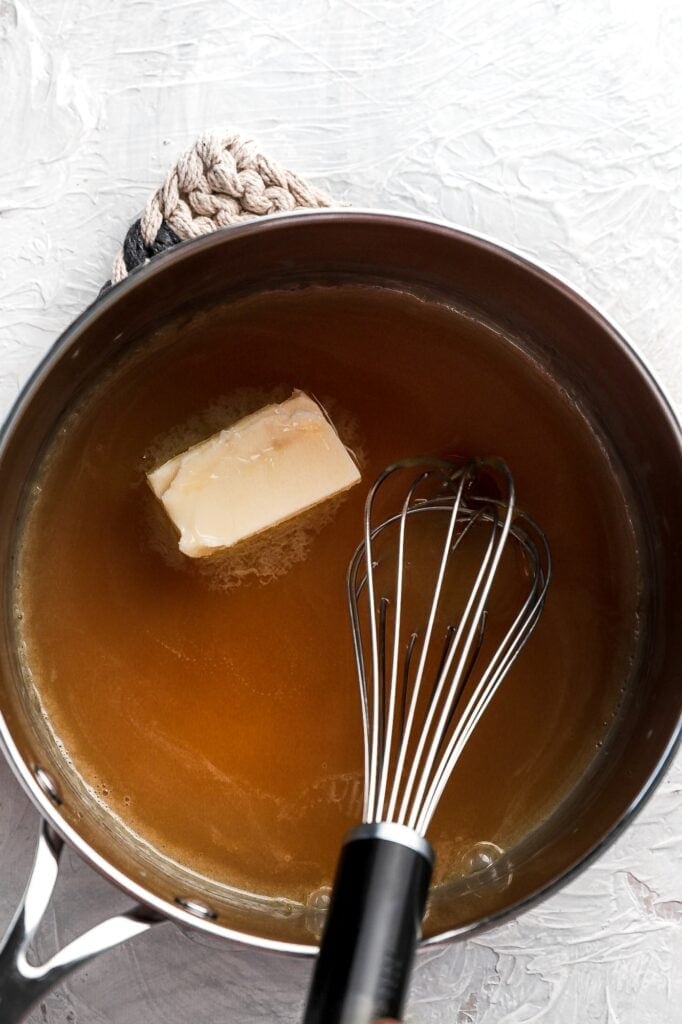
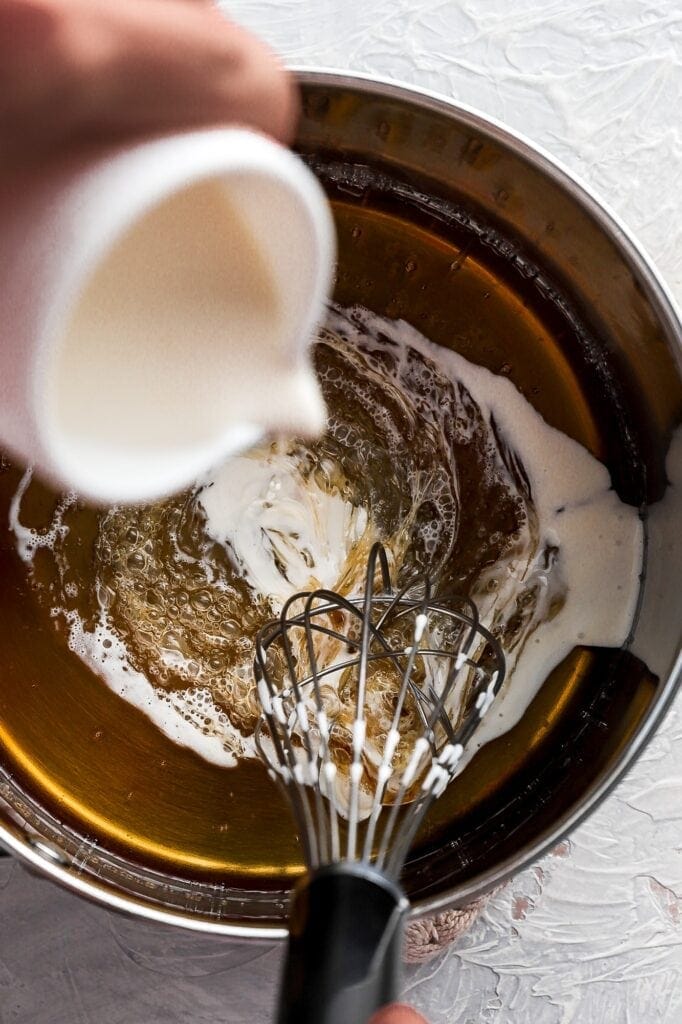
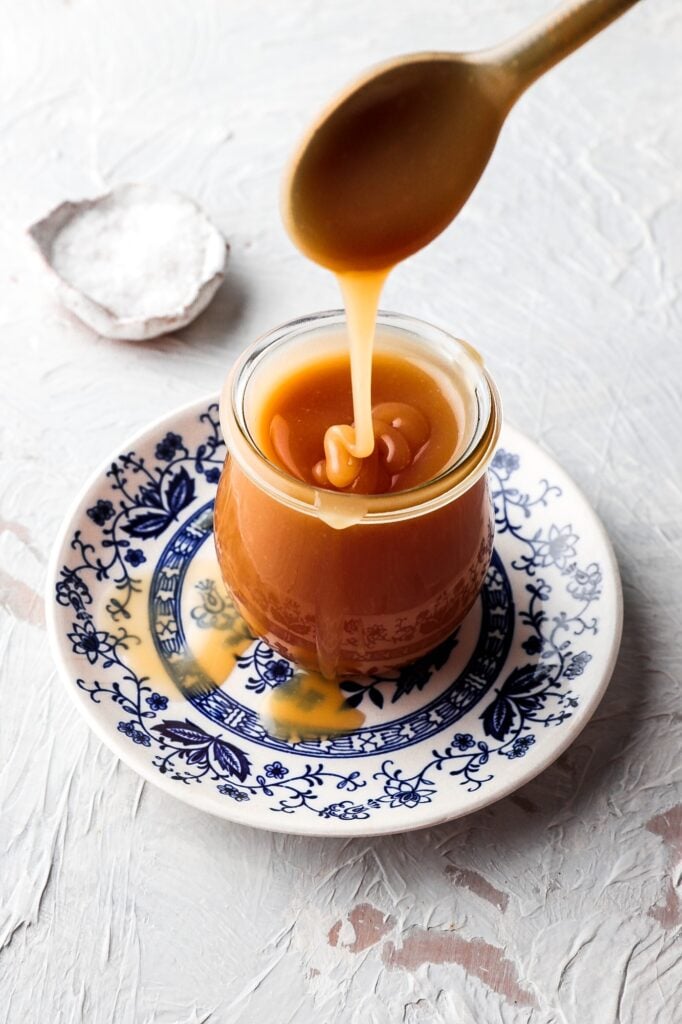
Step 4: Pour the caramel sauce in a heat proof jar and stir in the salt and vanilla extract. Set aside to cool completely.
- make sure to read my post on salted caramel sauce for all the details and troubleshooting help.
Apple Pie Filling
Step 1: Toss the diced apples with the lemon juice, sugar, salt and spices until they’re well combined.
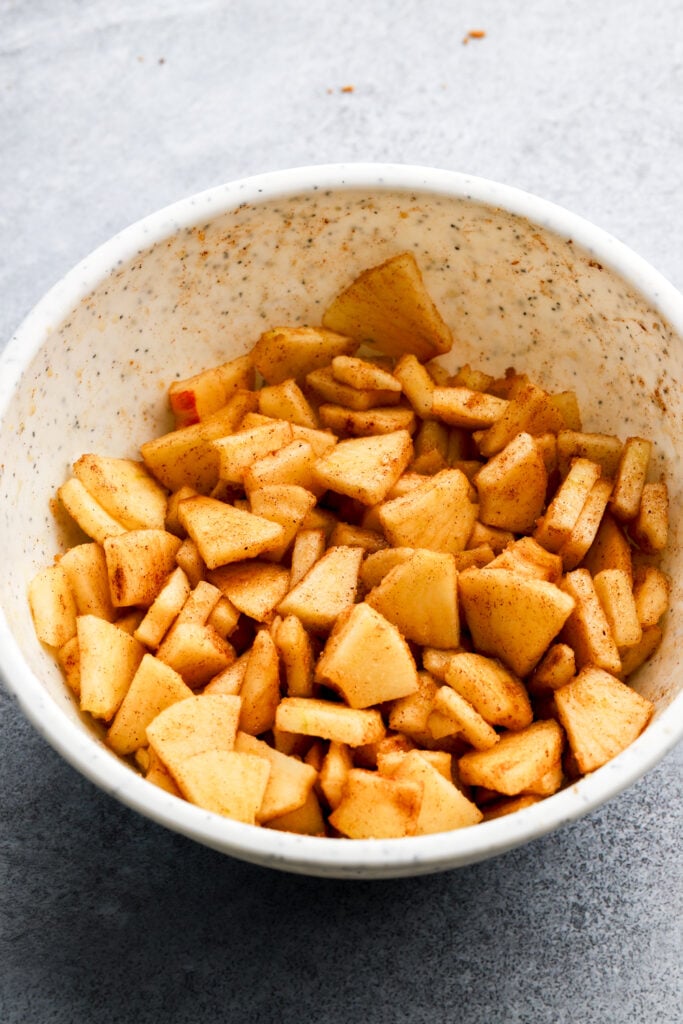
Step 2: Heat the butter in a saucepan until it’s melted and then toss in the apples, stirring intermittently for about 7 minutes, until the apples feel tender.
Step 3: Remove 2 Tbsp of the liquid from the pan and mix it with the cornstarch to create a slurry. Add the slurry to the pot and cook for another 1-2 minutes, until it thickens slightly. Pour into a bowl and set aside to cool completely.
Caramel Cream Cheese Frosting
Step 1: Once the caramel sauce is completely cooled to room temperature (or slightly chilled), cream together the butter and cream cheese until they’re smooth.
Step 2: Add the caramel sauce and vanilla extract to the butter and mix until it’s smooth.
Step 3: Add the powdered sugar and mix slowly until it comes together. Then increase the speed and beat for a couple minutes until it’s smooth.
The frosting may be soft right now, refrigerate it for about 30 minutes before using.

Assemble
Step 1: Spread a thin layer of frosting onto the first layer of cake and then pipe a thick border of the cream cheese frosting around the edge of the cake.
Step 2: Fill in the border with half of the apple pie filling (don’t let the filling come up past the border though) and then drizzle a generous amount of caramel sauce on top.
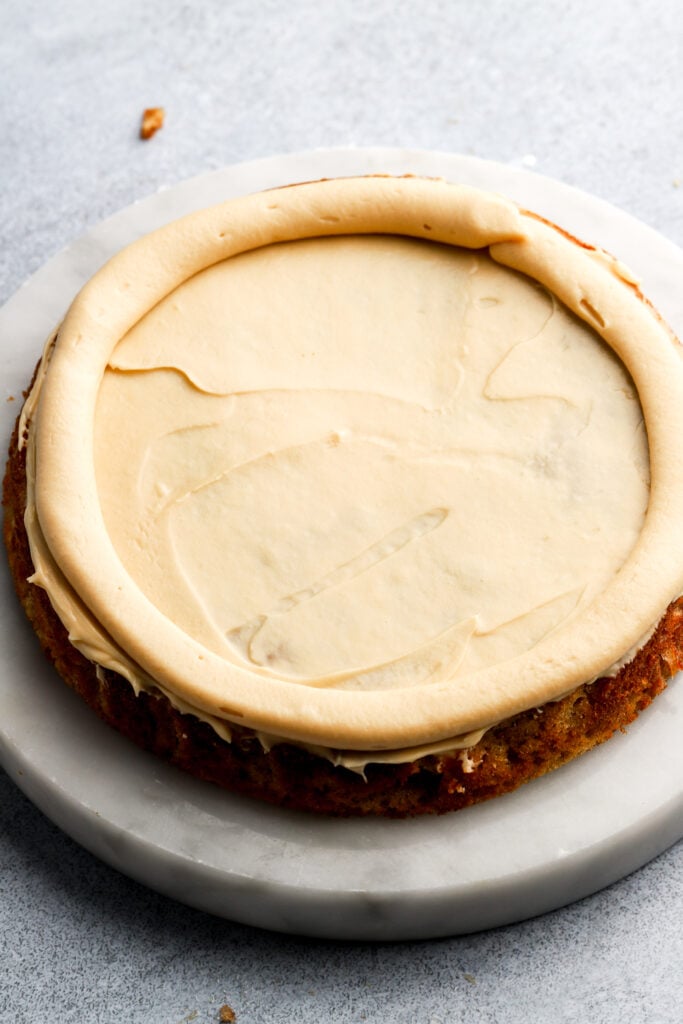
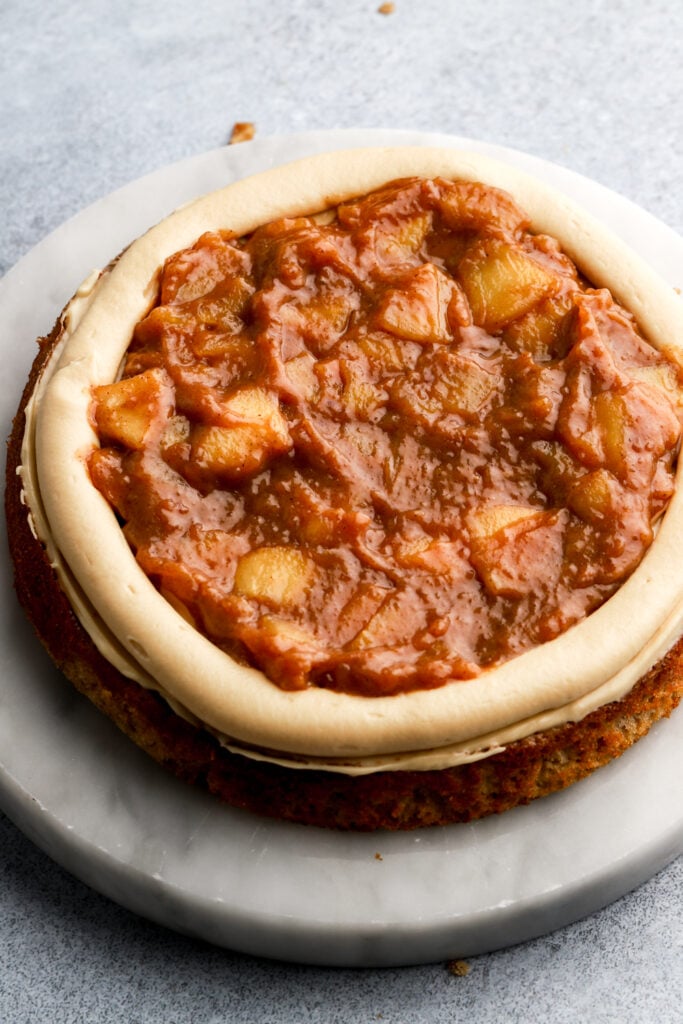
Step 3: Freeze the cake for 15-30 minutes and then repeat with the next layer. Do this for every layer to ensure that you have a solid cake.
Step 4: Frost the outside of the cake and then freeze again, just until the frosting feels set. Drizzle with salted caramel sauce or decorate as desired.
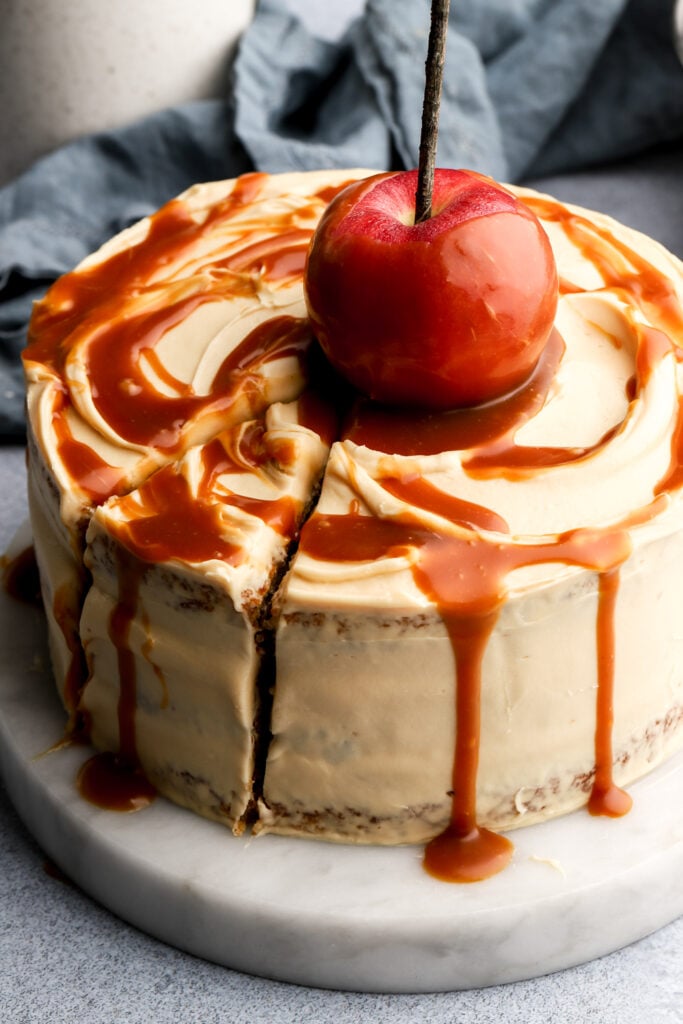
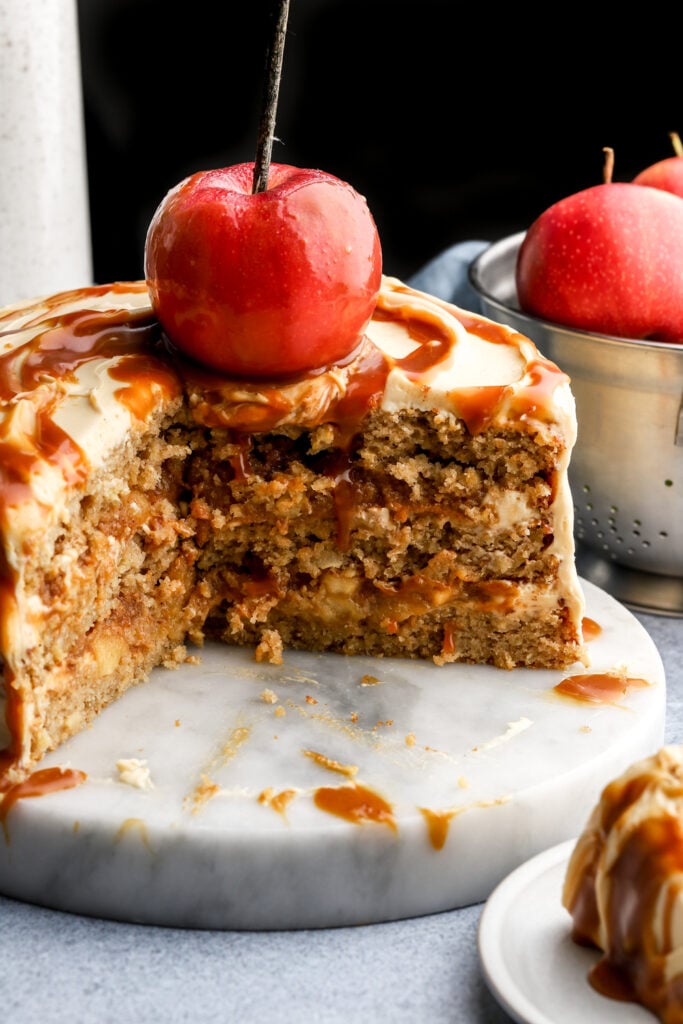
How to make a caramel apple for decorating
DISCLAIMER: This is not the type of caramel sauce used to make traditional caramel apples. I just want to make that clear even though I did use it for my caramel apple on top of the cake. This type of caramel is a pourable sauce, it will not set/harden on the apple, it will slowly drip off.
I didn’t want to make another type of caramel just for decorating the apple (although you could buy some) so what I did was freeze the apple for a couple of hours before dipping it into the caramel. The caramel must be at room temperature when dipping the apple into it and the cold apple will set it temporarily (while slowlyyyy dripping off).
So I recommend freezing your apple and right before serving/presenting you cake, dip the frozen apple into the room temperature caramel sauce and place on top of the cake. Then when you go to cut the cake, just remove the apple (you can cut it up and eat it if it’s not too frozen).

Expert tips on getting the perfect cake
- Don’t swap ingredients unless I mentioned them in the ingredient section above.
- Don’t over-mix the cake or the creams at any stage.
- Don’t reduce the sugar in the cake or the creams (I promise it’s not overly sweet).
- Weigh the ingredients with a digital scale.
- Weigh the batter for each cake to make them even (15-16 ounces each).

How to Frost/Decorate this Carmael Apple Cake
I frosted the outside of the cake with cream cheese frosting because I wasn’t planning on making it fancy. It is very difficult to decorate with cream cheese frosting so unles you’re leaving it simple like mine, you might want to use another type of buttercream for decorating.
You can just follow the recipe as is and then do a layer of buttercream on top of the cream cheese frosting (once it’s firm) and proceed with decorating. OR you can replace the cream cheese frosting with a more stable buttercream and add the salted caramel to that.
I recommend Swiss Meringue buttercream for decorating but American buttercream also works fine.
For more on different types of frosting and how to use them, make sure to check out my cookbook Frosted and get my ‘part 2’ downloadable guide below.
What can I make ahead of time?
The salted caramel sauce can be made weeks ahead of time. I keep it in the fridge for over a month sometimes, just bring it back to room temperature as needed.
The apple pie filling can be made 1-2 days in advance and just store it in an airtight container in the refrigerator.
The cakes can be made in advance. If it’s 1 day, wrap them in plastic wrap as soon as they’ve cooled and leave them at room temperature. If it’s longer, freeze the cakes for up to a few weeks. Remove them from the freezer 1-2 hours before assembling.

Frequently Asked Questions
To be honest I’m just not a fan of store bought caramel sauce. There’s literally nothing like homemade salted caramel sauce. However, if you want to buy it, make sure it’s a thicker consistency and not super runny.
You can use dairy free butter, cream and cream cheese to make this caramel apple cake.
I have not tested this one specifically but all my other cake recipes work well with a 1:1 gluten-free flour like Bob’s Red Mill and King Arthur Flour.
Of course! I have actually never used store bought apple pie filling in a recipe but I imagine that it’s sweeter than mine so just expect that.
This cake can be baked in:
– Four 6 inch cake pans (but the cake will be tall and quite difficult to assemble, make sure to freeze/refrigerate often).
– Three 8 inch cake pans, like I did.
– Two 9 inch cake pans they’ll be a little thicker than pictured so increase bake time by at least 5-10 minutes.
– One 9×13” pan – increase the bake time by at least 15-20 minutes. I would frost the cake with the cream cheese frosting, top it with the apple pie filling and a generous drizzle of salted caramel sauce.
How To Store This Caramel Apple Cake
The cake is very soft at room temperature so make sure to refrigerate the cake often and store it refrigerated overnight.
To freeze it, make sure to refrigerate it until it’s firm so you don’t mess up the frosting. Then either wrap it in plastic wrap and foil or a cake container and freeze. Or slice the cold cake, wrap each one in plastic wrap and foil/ziplock bag or place them in individual containers.
Thanks so much for reading today’s post, if you have any questions just comment down below.
If you make this caramel apple cake, I would love it if you left a star rating or a review in the recipe card or the comments below!
As always, have a blessed day and happy baking!
Love, B


Love your recipes can I make cupcakes with this recipe?
Thank you
Hi Olga, I haven’t tried it so I can’t say for sure how it would bake as cupcakes! Let us know if you try it!
I love all your recipes I have tried thus far but this one well, takes the cake! It was flavor perfection and the perfect ending to our Thanksgiving feast! Thank you!
Hi Ashley, thank you so much for the review, I’m so glad you all liked the cake!! Thank you for trying my recipes <3
This was so flavorful and delicious. Cake is moist and tender, and the apple filling is perfect. It’s like the best of both worlds; apple cake and apple pie, all in one bite. The only issue I had was with the caramel. I made it twice and both times I had crystal formation on the surface of the sugar/water solution. I didn’t stir it either time, so I’m not sure where I went wrong. I used a different recipe for the caramel.
Hi Deb, thanks so much for sharing! For the caramel, I would probably try increasing the temperature of the stove just a little bit 🙂