
Apple Ice Cream
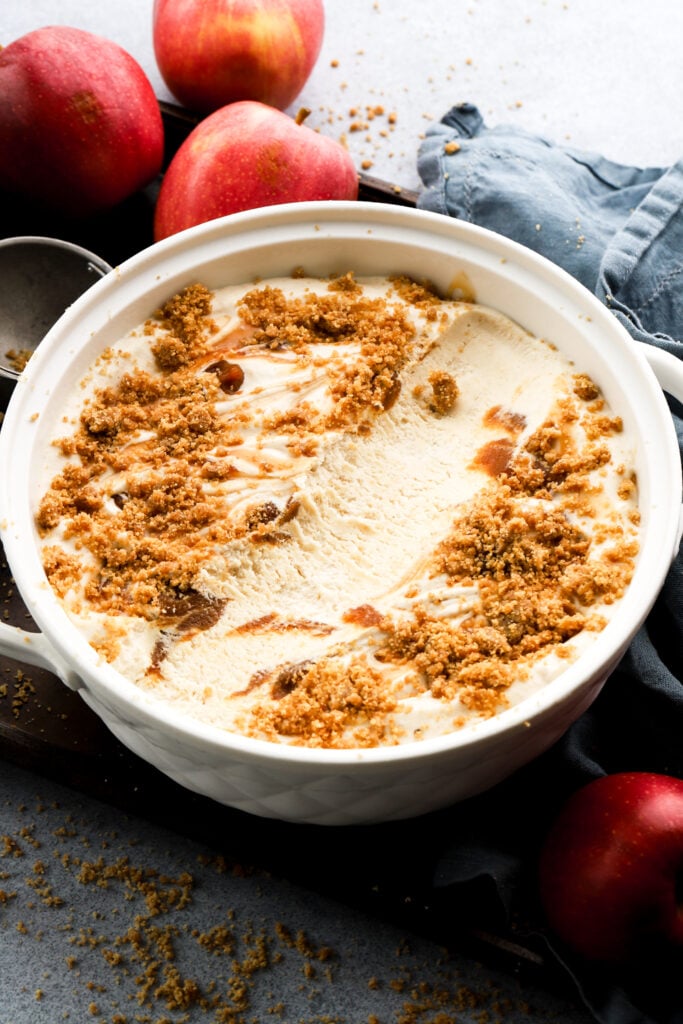
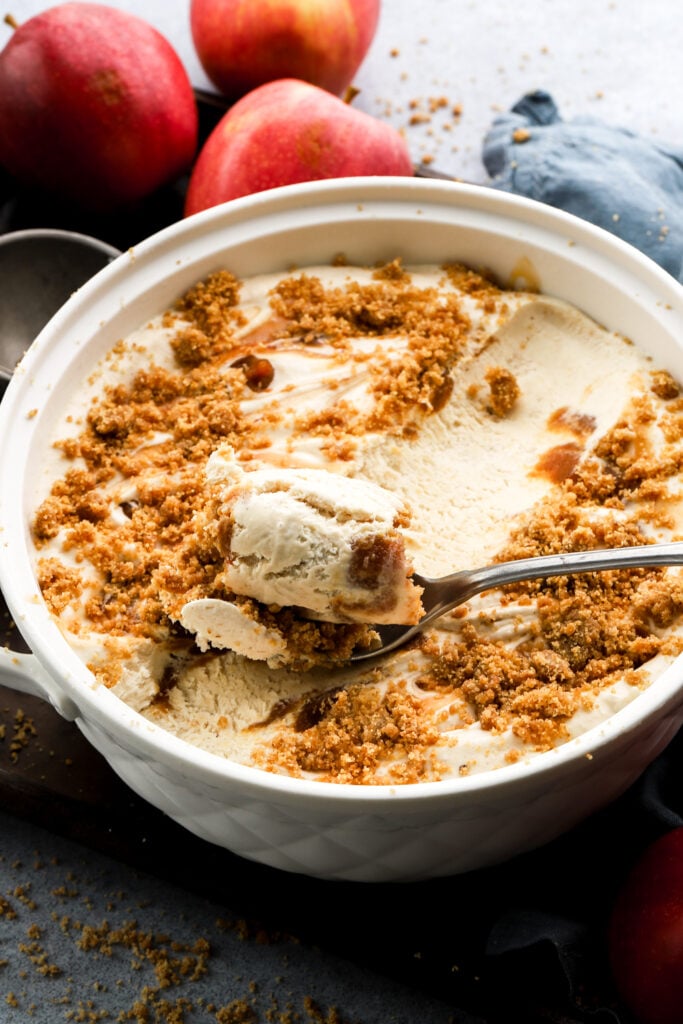
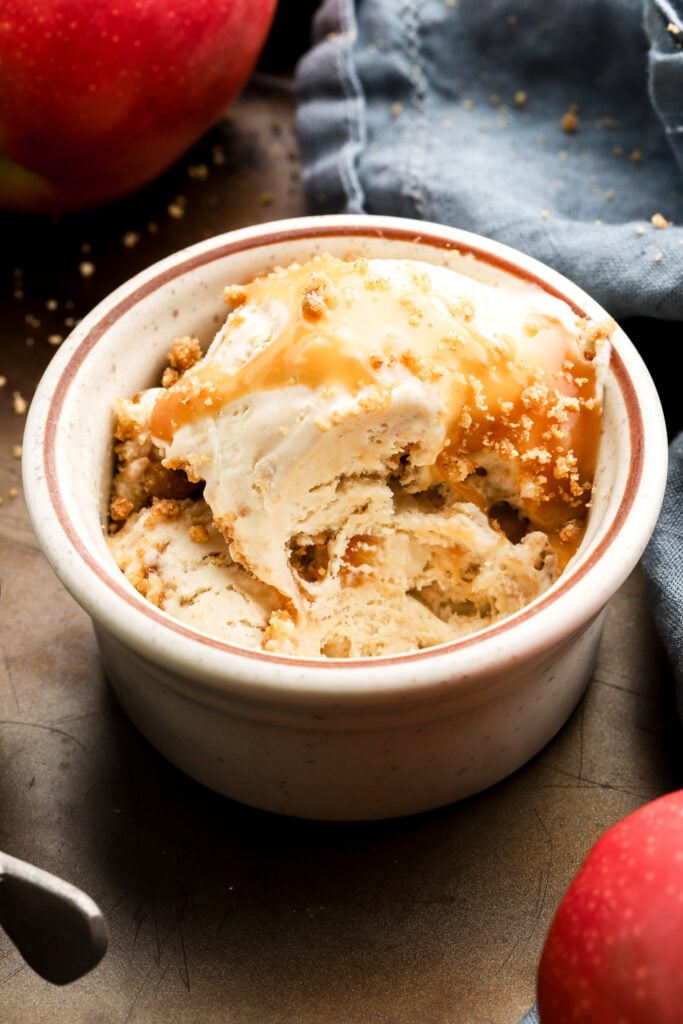
This apple ice cream is flavored with apple butter and then swirled with salted caramel sauce, more apple butter and layered with a graham cracker streusel. She’s the perfect transition from summer to fall.
Hello friends 🙂
I feel like I’ve gotten so formal around here and I wanted to take it back a notch and just say hello, hope you are having a great day!
Every time I make a new ice cream flavor, it is my new favorite ice cream LOL so until I make a new one this apple ice cream is the dreamiest thing ever.
Why You’ll Love This Ice Cream
- This no-churn homemade ice cream recipe is SO QUICK & EASY to make! It also only uses a few ingredients for the ice cream base!!
- As a no-churn base, this ice cream recipe requires fewer steps and no ice cream machine making it a perfect dessert to make at home.
- Ice cream on top of apple pie anyone?! How about apple pie INSIDE ice cream with cozy spiced apple butter, globs of homemade caramel and the best graham cracker streusel, YUM!
What is the Difference Between Churn and No-churn Ice Cream?
Churned ice cream, made traditionally, involves an ice cream maker that simultaneously freezes and churns the mixture, incorporating air and preventing large ice crystal formation, resulting in a smooth texture.
While no-churn ice cream, eliminates the need for an ice cream maker by incorporating air with whipped cream and an extra creamy consistency from the condensed milk. The result is usually a denser, creamier ice cream with a smooth texture.
If you are looking for more quick and easy no-churn ice creams check out my Berry Streusel Ice Cream, Cinnamon Roll Ice Cream, or my Caramel Cheesecake Ice Cream.
If you’re ready for more fall flavors (and weather!) **cough I am!** Let’s grab our fav fall sweaters and get our apple flavors on! I got the hook up on Apple Cider Cupcakes, Iced Apple Crisp Macchiato, Apple Cider Donuts OR make this apple ice cream and serve it on a Dutch Apple Pie or a Puff Pastry Apple Pie. I can keep going…for real…I think you now know what my favorite baking season is 🙂
Ingredients
- Sweetened Condensed Milk: this is what sweetens the ice cream and makes it super creamy.
- This cannot be replaced for something like sugar, as it’s what makes this ice cream possible as a no-churn. I found that using other sweeteners made the ice cream crystallize.
- There is a vegan version made from oat milk that may work but I have not tested it.
- Heavy Whipping Cream: this gets whipped into fresh whipped cream and makes the ice cream super light and fluffy
- To make this dairy free, use coconut cream, it may alter the flavor a little though.
- Sugar: I used granulated sugar when making the caramel sauce and light or dark brown sugar for the streusel.
- Butter: I like salted butter for caramel but unsalted works too, just add an extra ¼ tsp of salt.
- Vanilla: I use vanilla extract in the caramel sauce and vanilla bean paste in the ice cream, vanilla extract works in both if that’s all you have.
- Flour: I used all-purpose flour in the streusel and haven’t tested substituting it. However it isn’t baked so you could try other flours and just aim for it to turn into pea sized chunks. Should work fine with a 1:1 gluten-free flour blend too.
- I also HIGHLY recommend using a digital scale, as flour is almost always over measured.
- If you’re worried about consuming raw flour, you can place it on a baking sheet and bake at 350F for 5 minutes, or until the flour is 160 F+, to kill any bacteria.
- You can also place it in a bowl and microwave it for 1-2 minutes, until it reaches 160 F+.
- Graham Crackers: Any brand works fine to make the streusel; I grind it in a food processor.
- Spices: I used just ground cinnamon in the streusel here. There’s also cinnamon in the apple butter.
- Apple Butter: any store bought brand will work OR you can quickly make your own homemade apple butter using an instant pot.
- Caramel: I highly recommend Homemade Caramel Sauce over store-bought. You can use store bought but i know once you make your own, you’ll never go back lol.
Step-by-Step Instructions
Homemade Salted Caramel Sauce
Step 1: Place sugar and water in a saucepan. Mix and heat to fully dissolve while gently swirling.
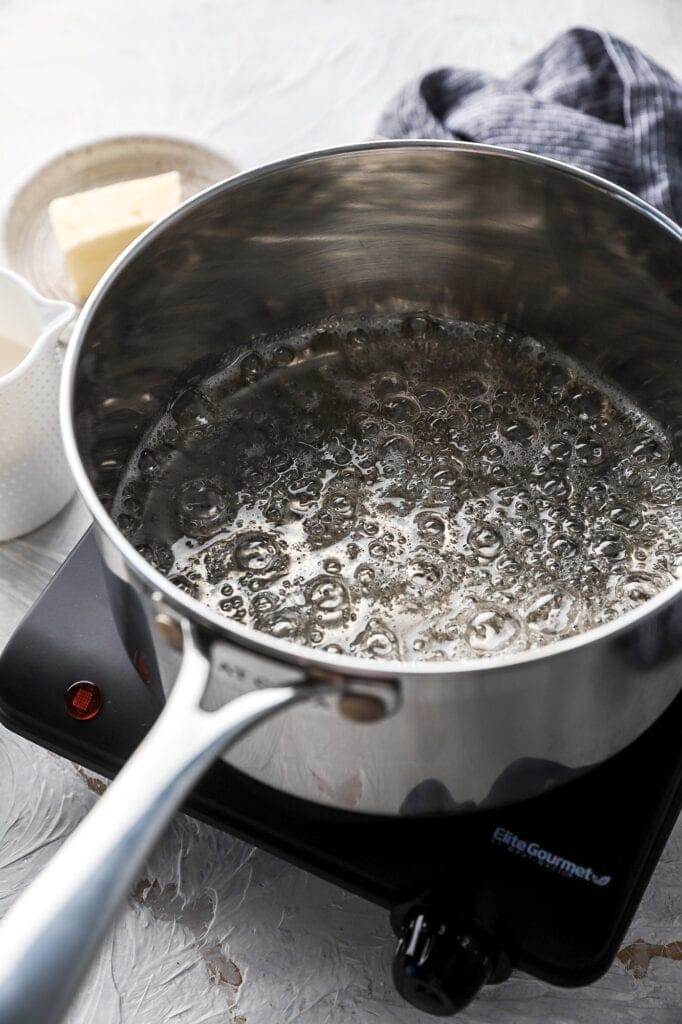
Step 2: Bring the mix to a simmer and continue until the color begins to darken to an amber color.
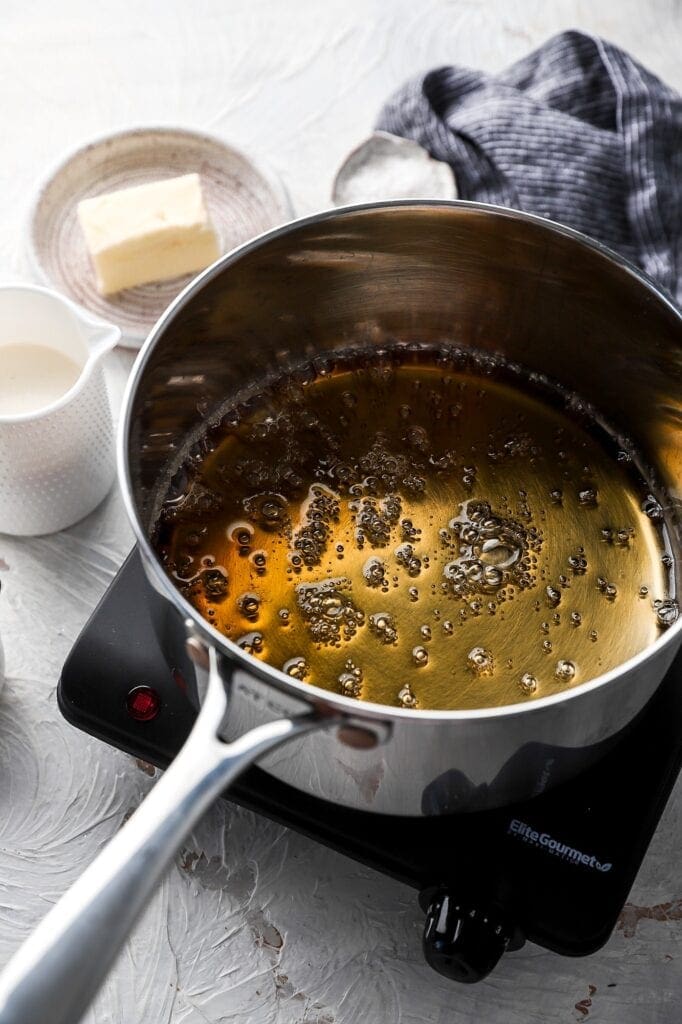
Step 3: Gently swirl the pan every couple minutes, but do NOT stir it.
- If there are crystalized pieces of sugar on the sides of the pan, the steam running down from the lid should dissolve them but if it doesn’t, you can use a wet pastry brush wet to brush them away.
Step 4: Once the sugar is an amber color, remove it from the heat and stir in the butter.
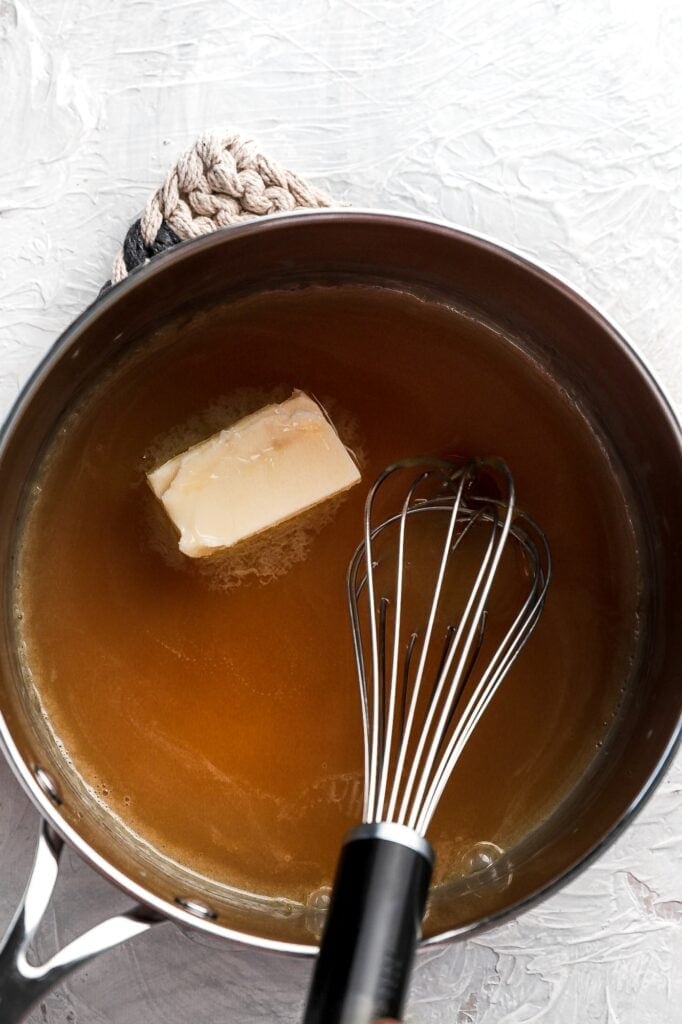
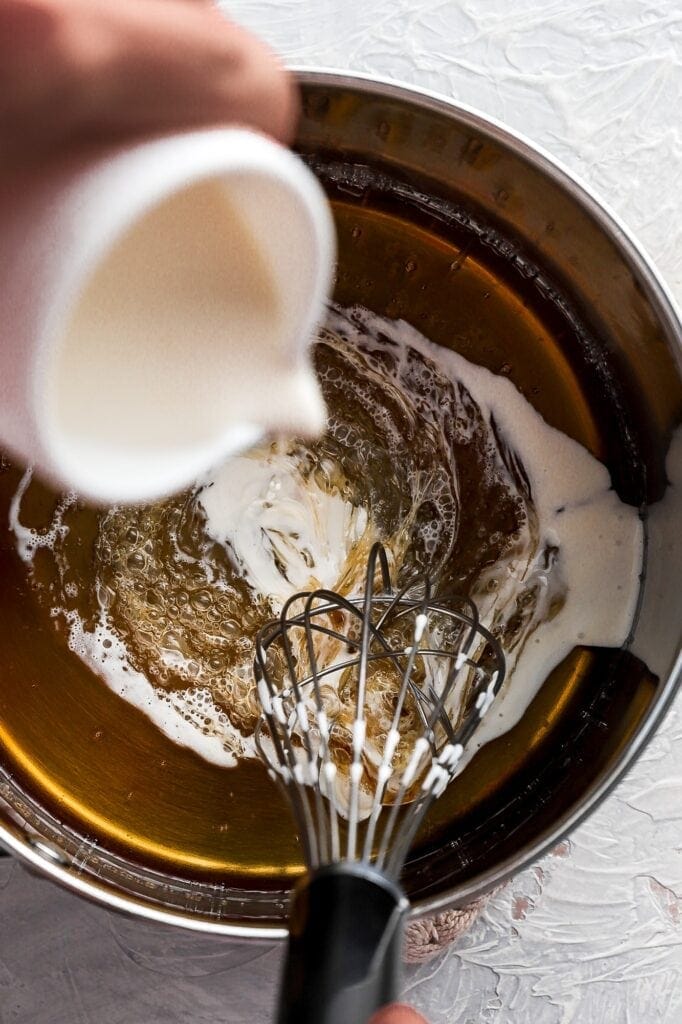
Step 5: Pour in the heavy whipping cream carefully while stirring.
- If you have some crystalized hard chunks on your edges leave them there, don’t stir them in so that you can have a smooth sauce.
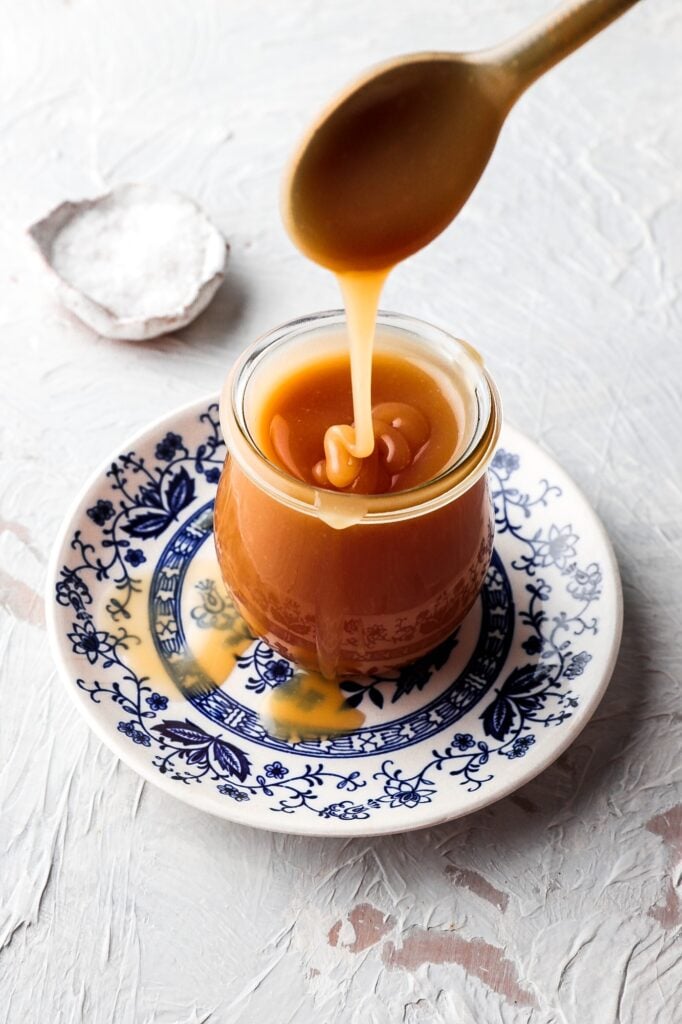
Step 6: Pour the caramel sauce into a heat proof jar and stir in the salt and vanilla. Set aside to cool for a little and then refrigerate it before making the ice cream.
Graham Cracker Streusel
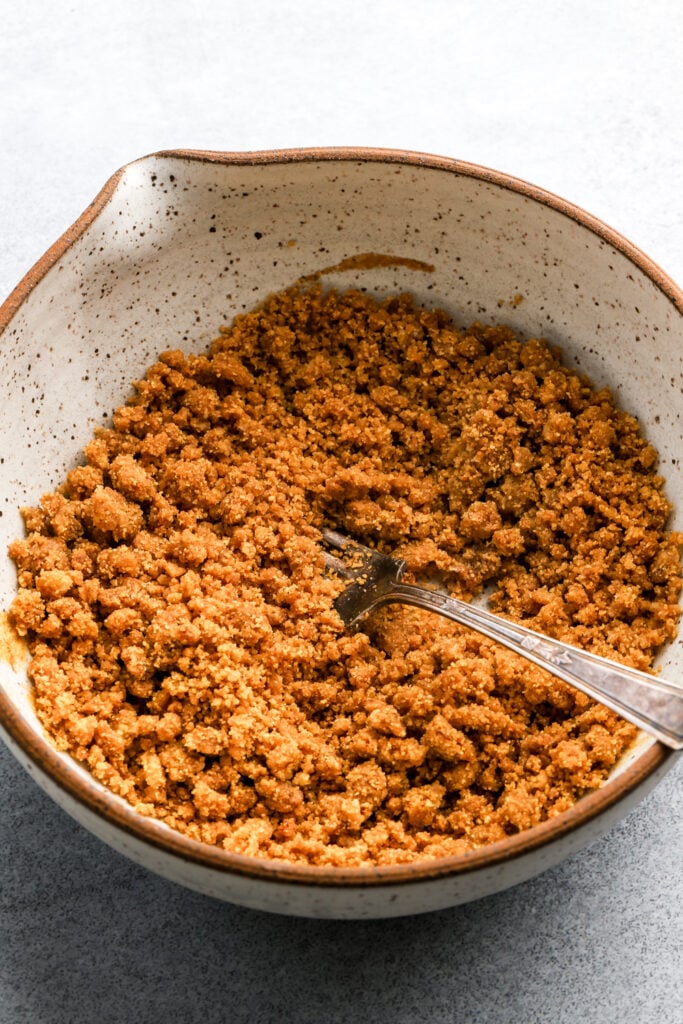
Step 1: In a medium bowl, microwave the butter just until it’s melted.
Step 2: Add the sugar, flour, graham cracker crumbs, cinnamon, and salt. Use a fork to mix it together until pea-sized chunks form.
- If it’s too wet and sticks together, add 1 tsp of flour at a time just until the mixture crumbles.
Ice Cream and Assembly
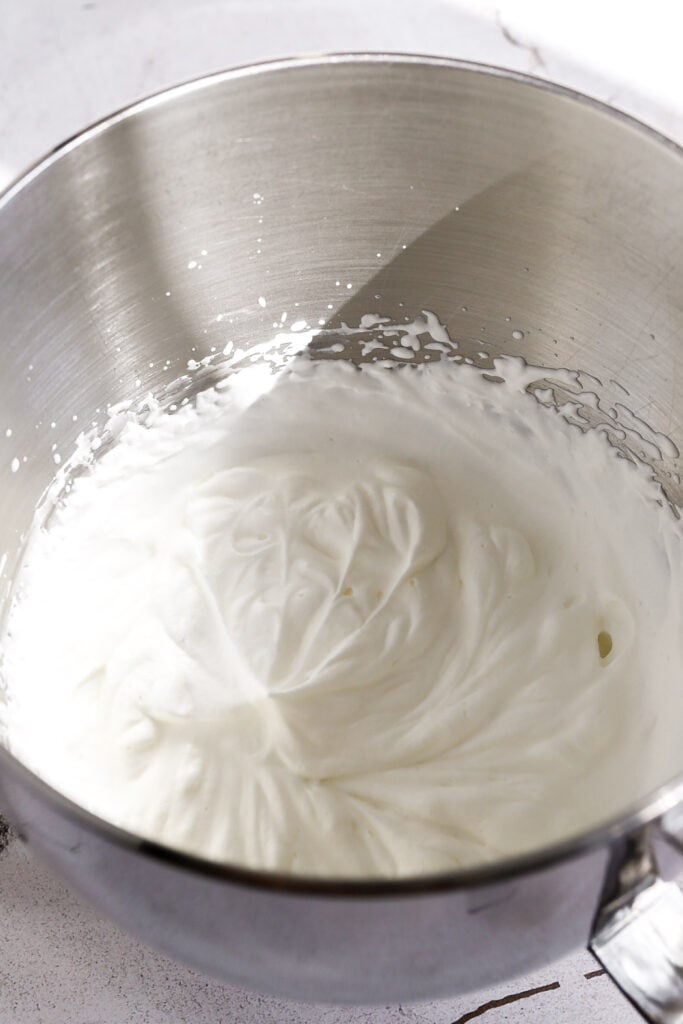
Step 1: Mix heavy whipping cream in a stand mixer until it thickens and then forms stiff peaks.
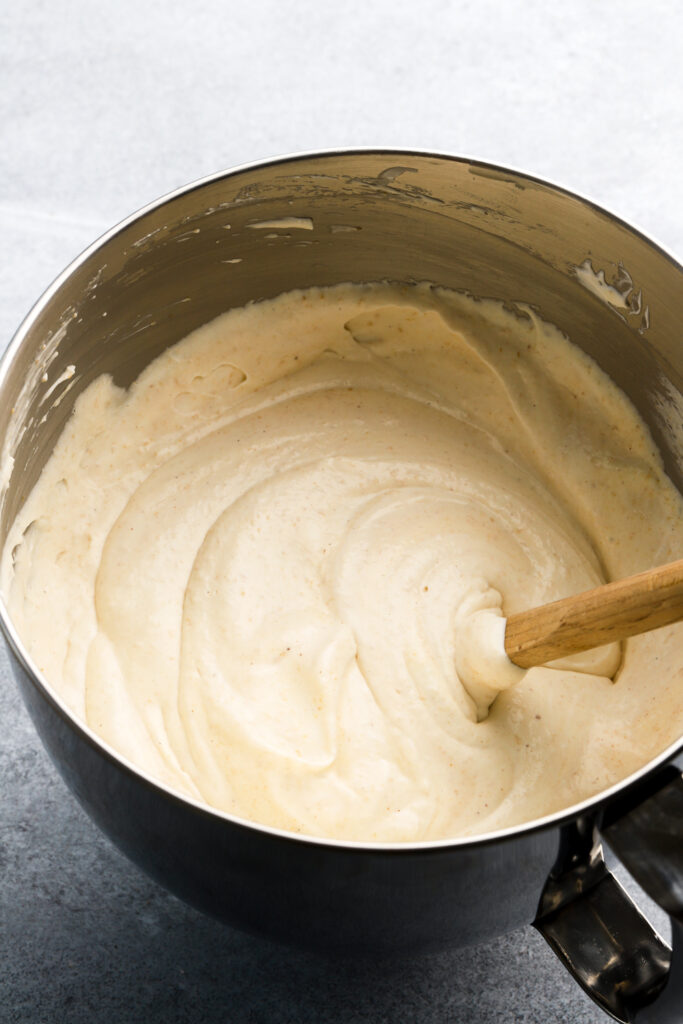
Step 2: Add sweetened condensed milk, apple butter, vanilla bean paste and salt, beating until it’s fully combined.
Step 3: Spread a third of the ice cream in a container/pan and drop extra globs of apple butter and drizzle some chilled caramel sauce over it. Use a knife to swirl and then top with the streusel (you may not need all the streusel but I used most of it).
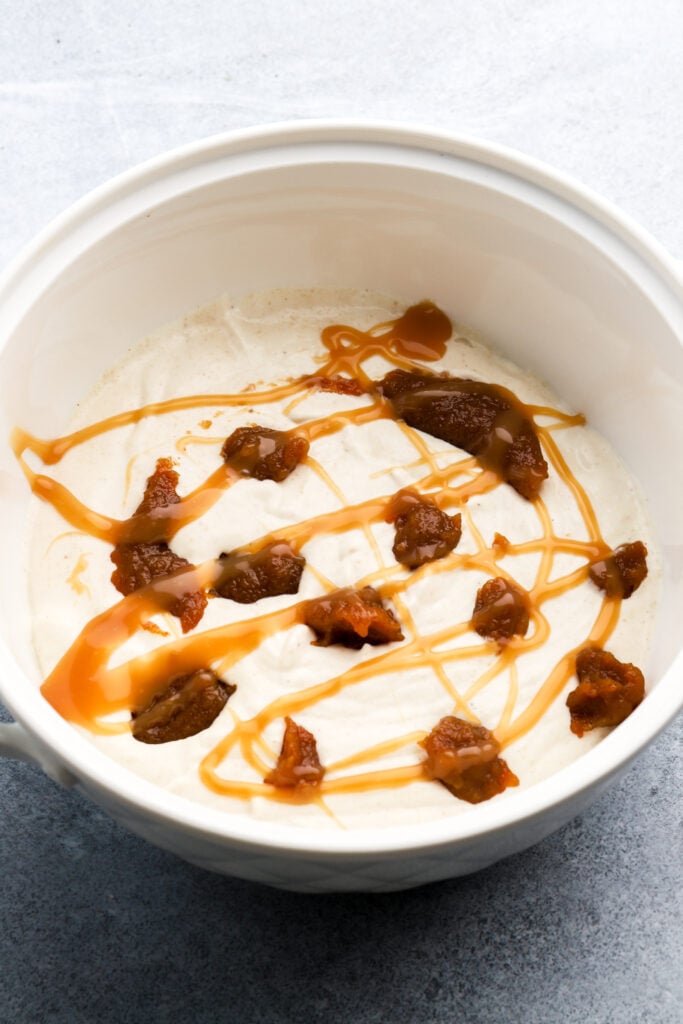
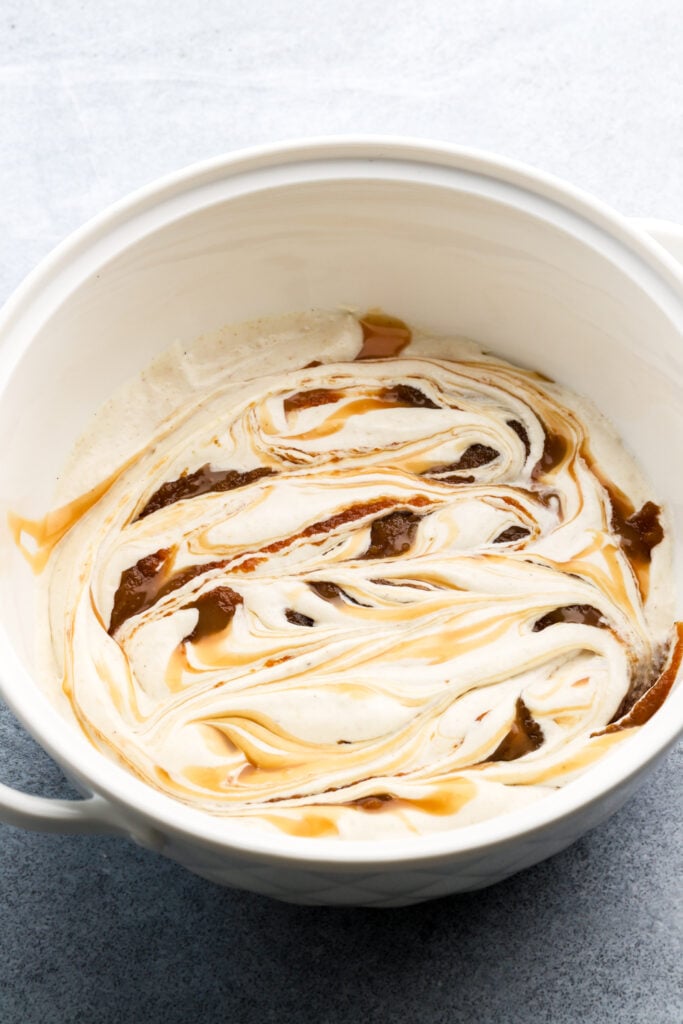

Step 4: Repeat with 2 more layers of apple butter, caramel sauce, and streusel (totaling 3 layer of each).
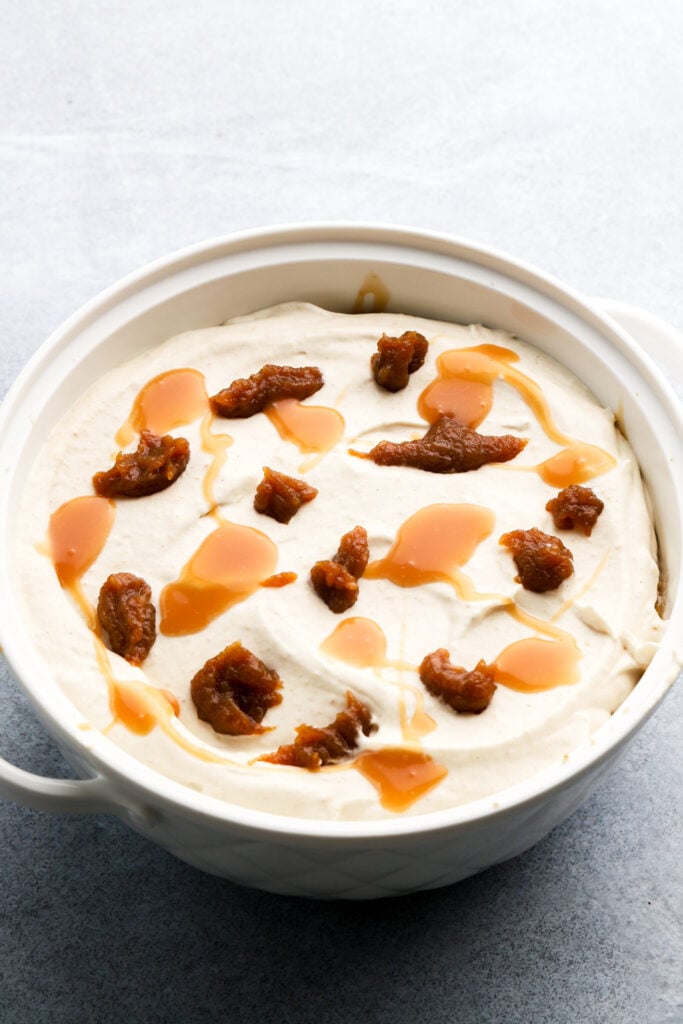
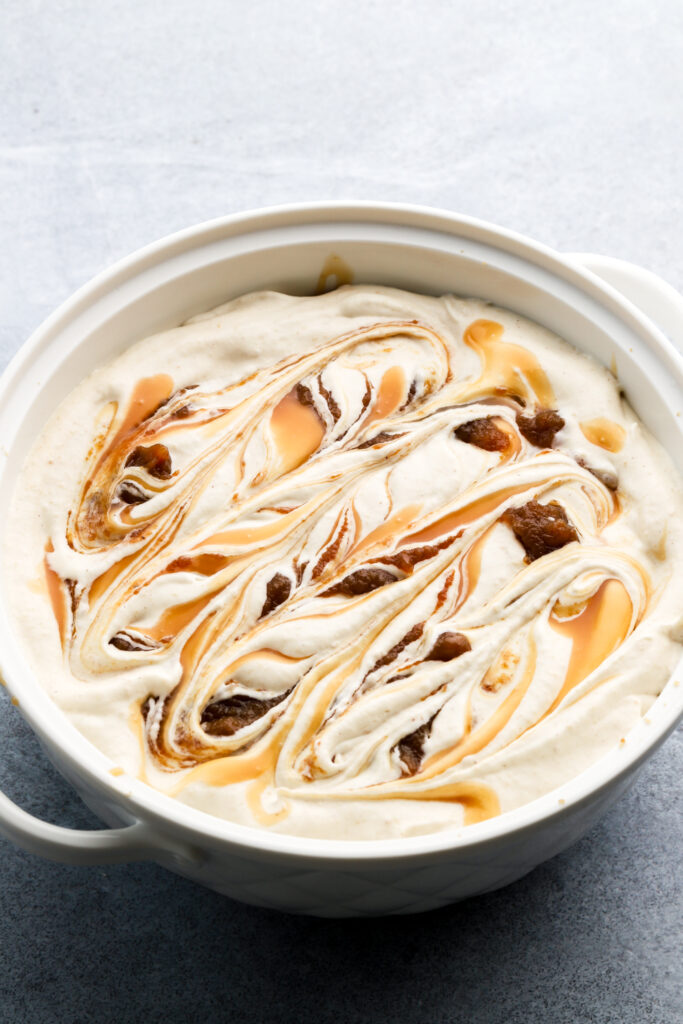

Step 13: Freeze – cover with a lid, foil or plastic wrap and freeze for at least 8 hours or overnight.
Frequently Asked Questions
Yup, just use coconut cream and dairy free sweetened condensed milk (like oatmilk). The flavor will obviously be different.
This no-churn ice cream does not require an ice cream machine.
Yesss, use whatever base you like, churn or no-churn and just follow the instructions with the caramel sauce, apple butter, and streusel after churning your ice cream.
Of course! Especially if you’re in a pinch and you want to save time. But trust me, like I said before, the homemade version is so much better!
Of course! Especially if you’re in a pinch and you want to save time. I think the apple butter is more forgiving so if I was going to make one and buy the other, I would buy the apple butter and make the caramel.
If you’re worried about consuming raw flour, you can place it on a baking sheet and bake at 350F for 5 minutes, or until the flour is 160F+, to kill any bacteria.
You can also place it in a bowl and microwave it for 1-2 minutes, until it reaches 160 F+.

How to Store Apple Ice Cream
Make sure the ice cream is fully covered with plastic wrap or a container with a lid and freeze for at least 8 hours. Ice cream keeps well in the freezer for a few weeks.
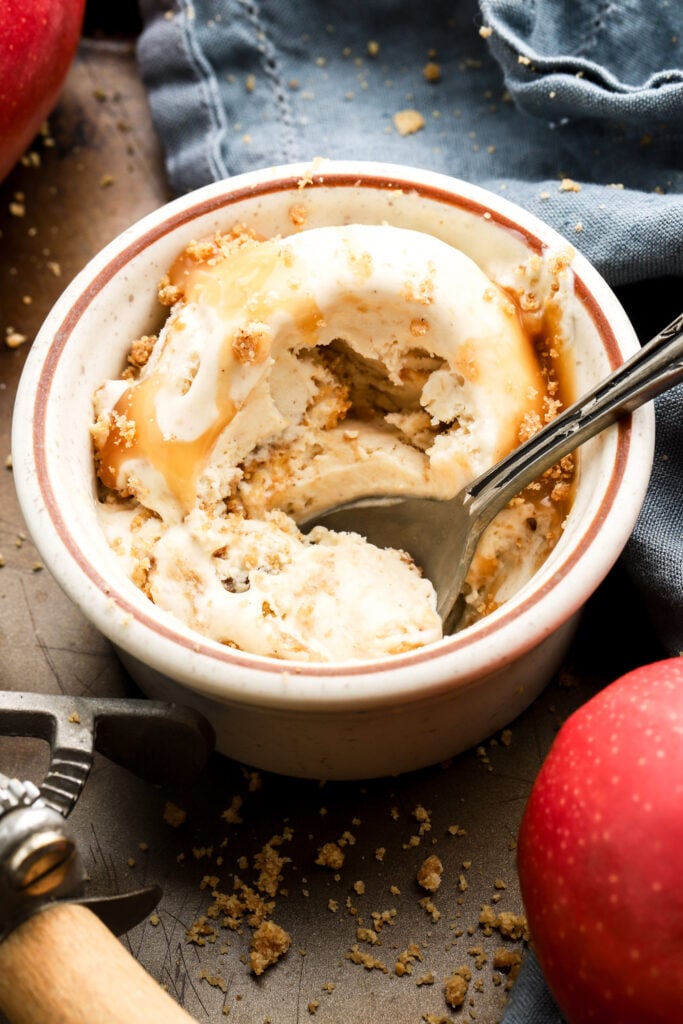
Thanks so much for reading today’s post, if you have any questions just comment down below.
If you make this caramel apple ice cream, I would love it if you left a star rating for it in the recipe card.
As always, have a blessed day and happy baking!
Love, B


I made this last Thanksgiving. Since then I have had to make this for family and friends at least every couple months. My kids love it. I can’t keep enough apple butter on my canning shelves. Thank you for this fantastic recipe.
Hi Melinda, thanks so much for the review, I’m so glad you all like it 🙂