Apple Cinnamon Rolls
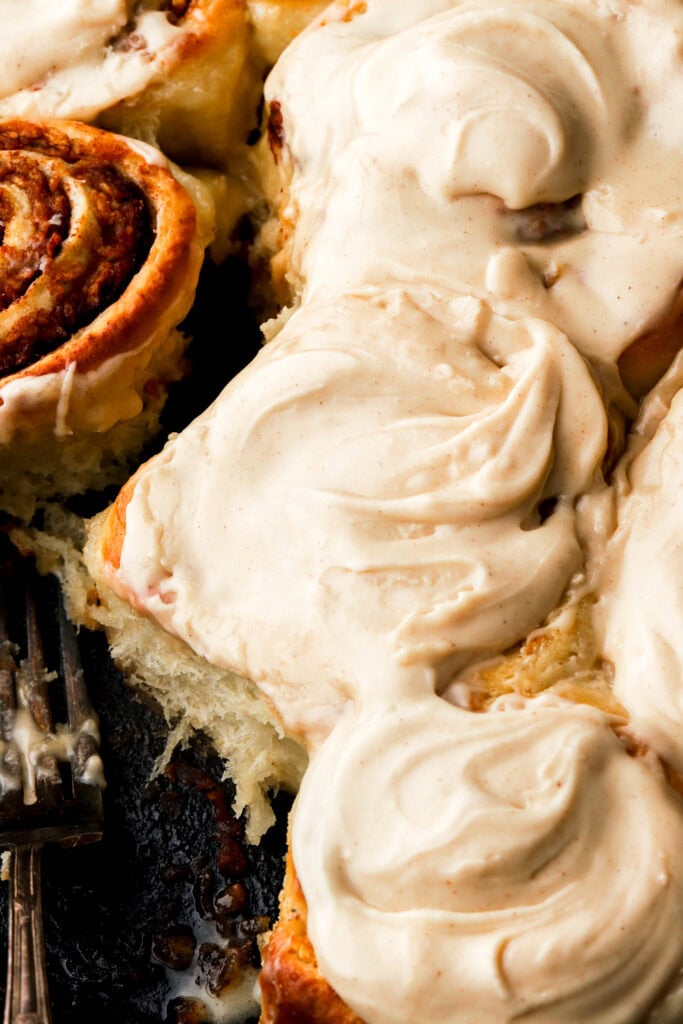
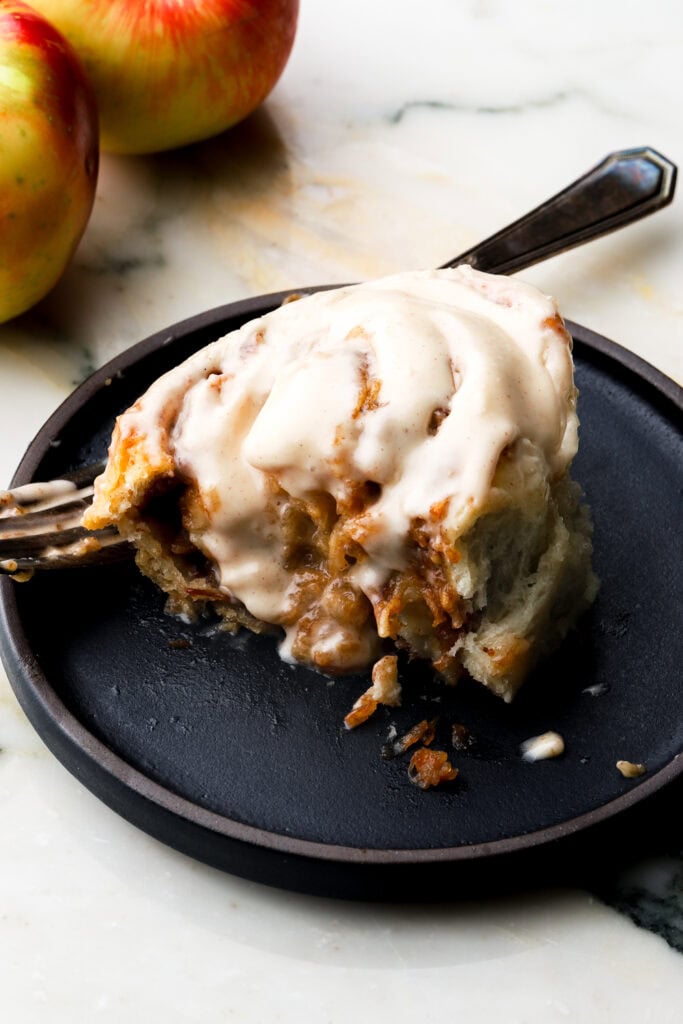
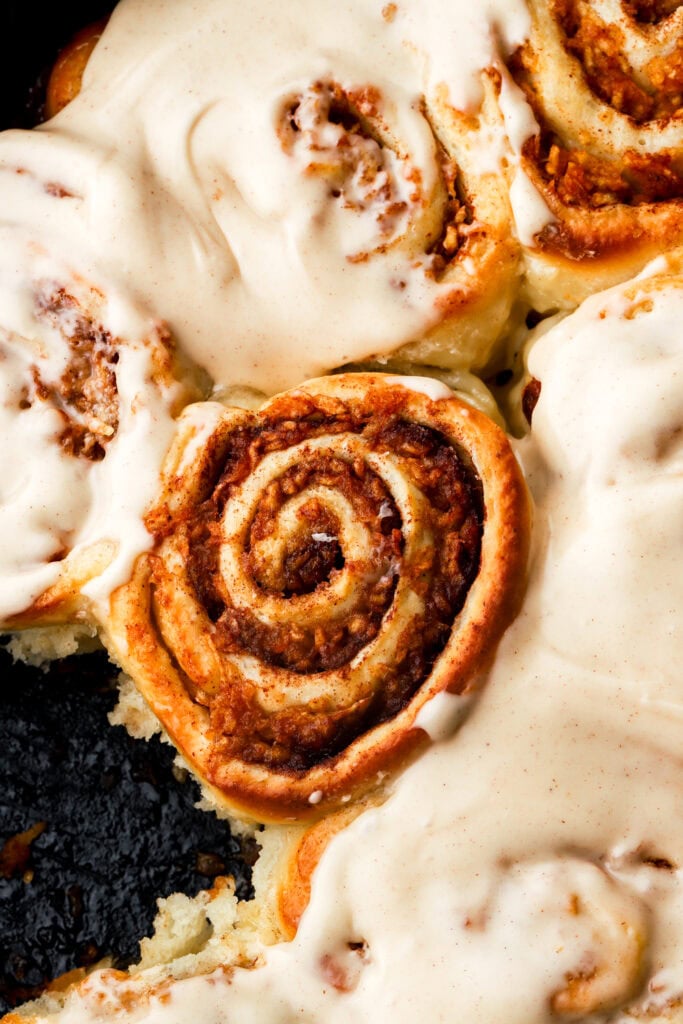
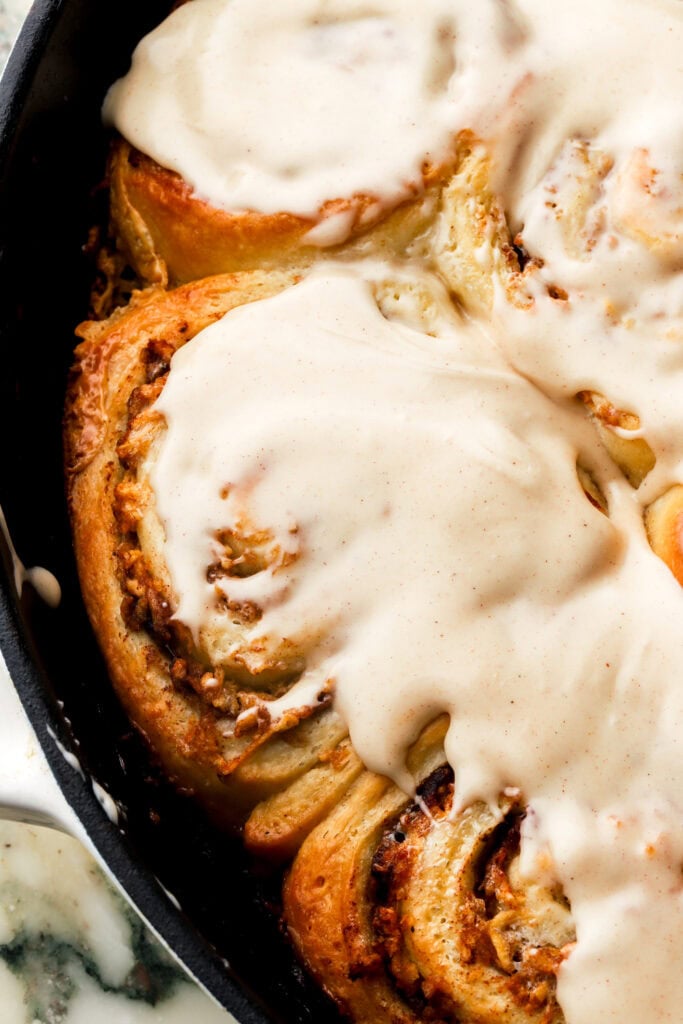
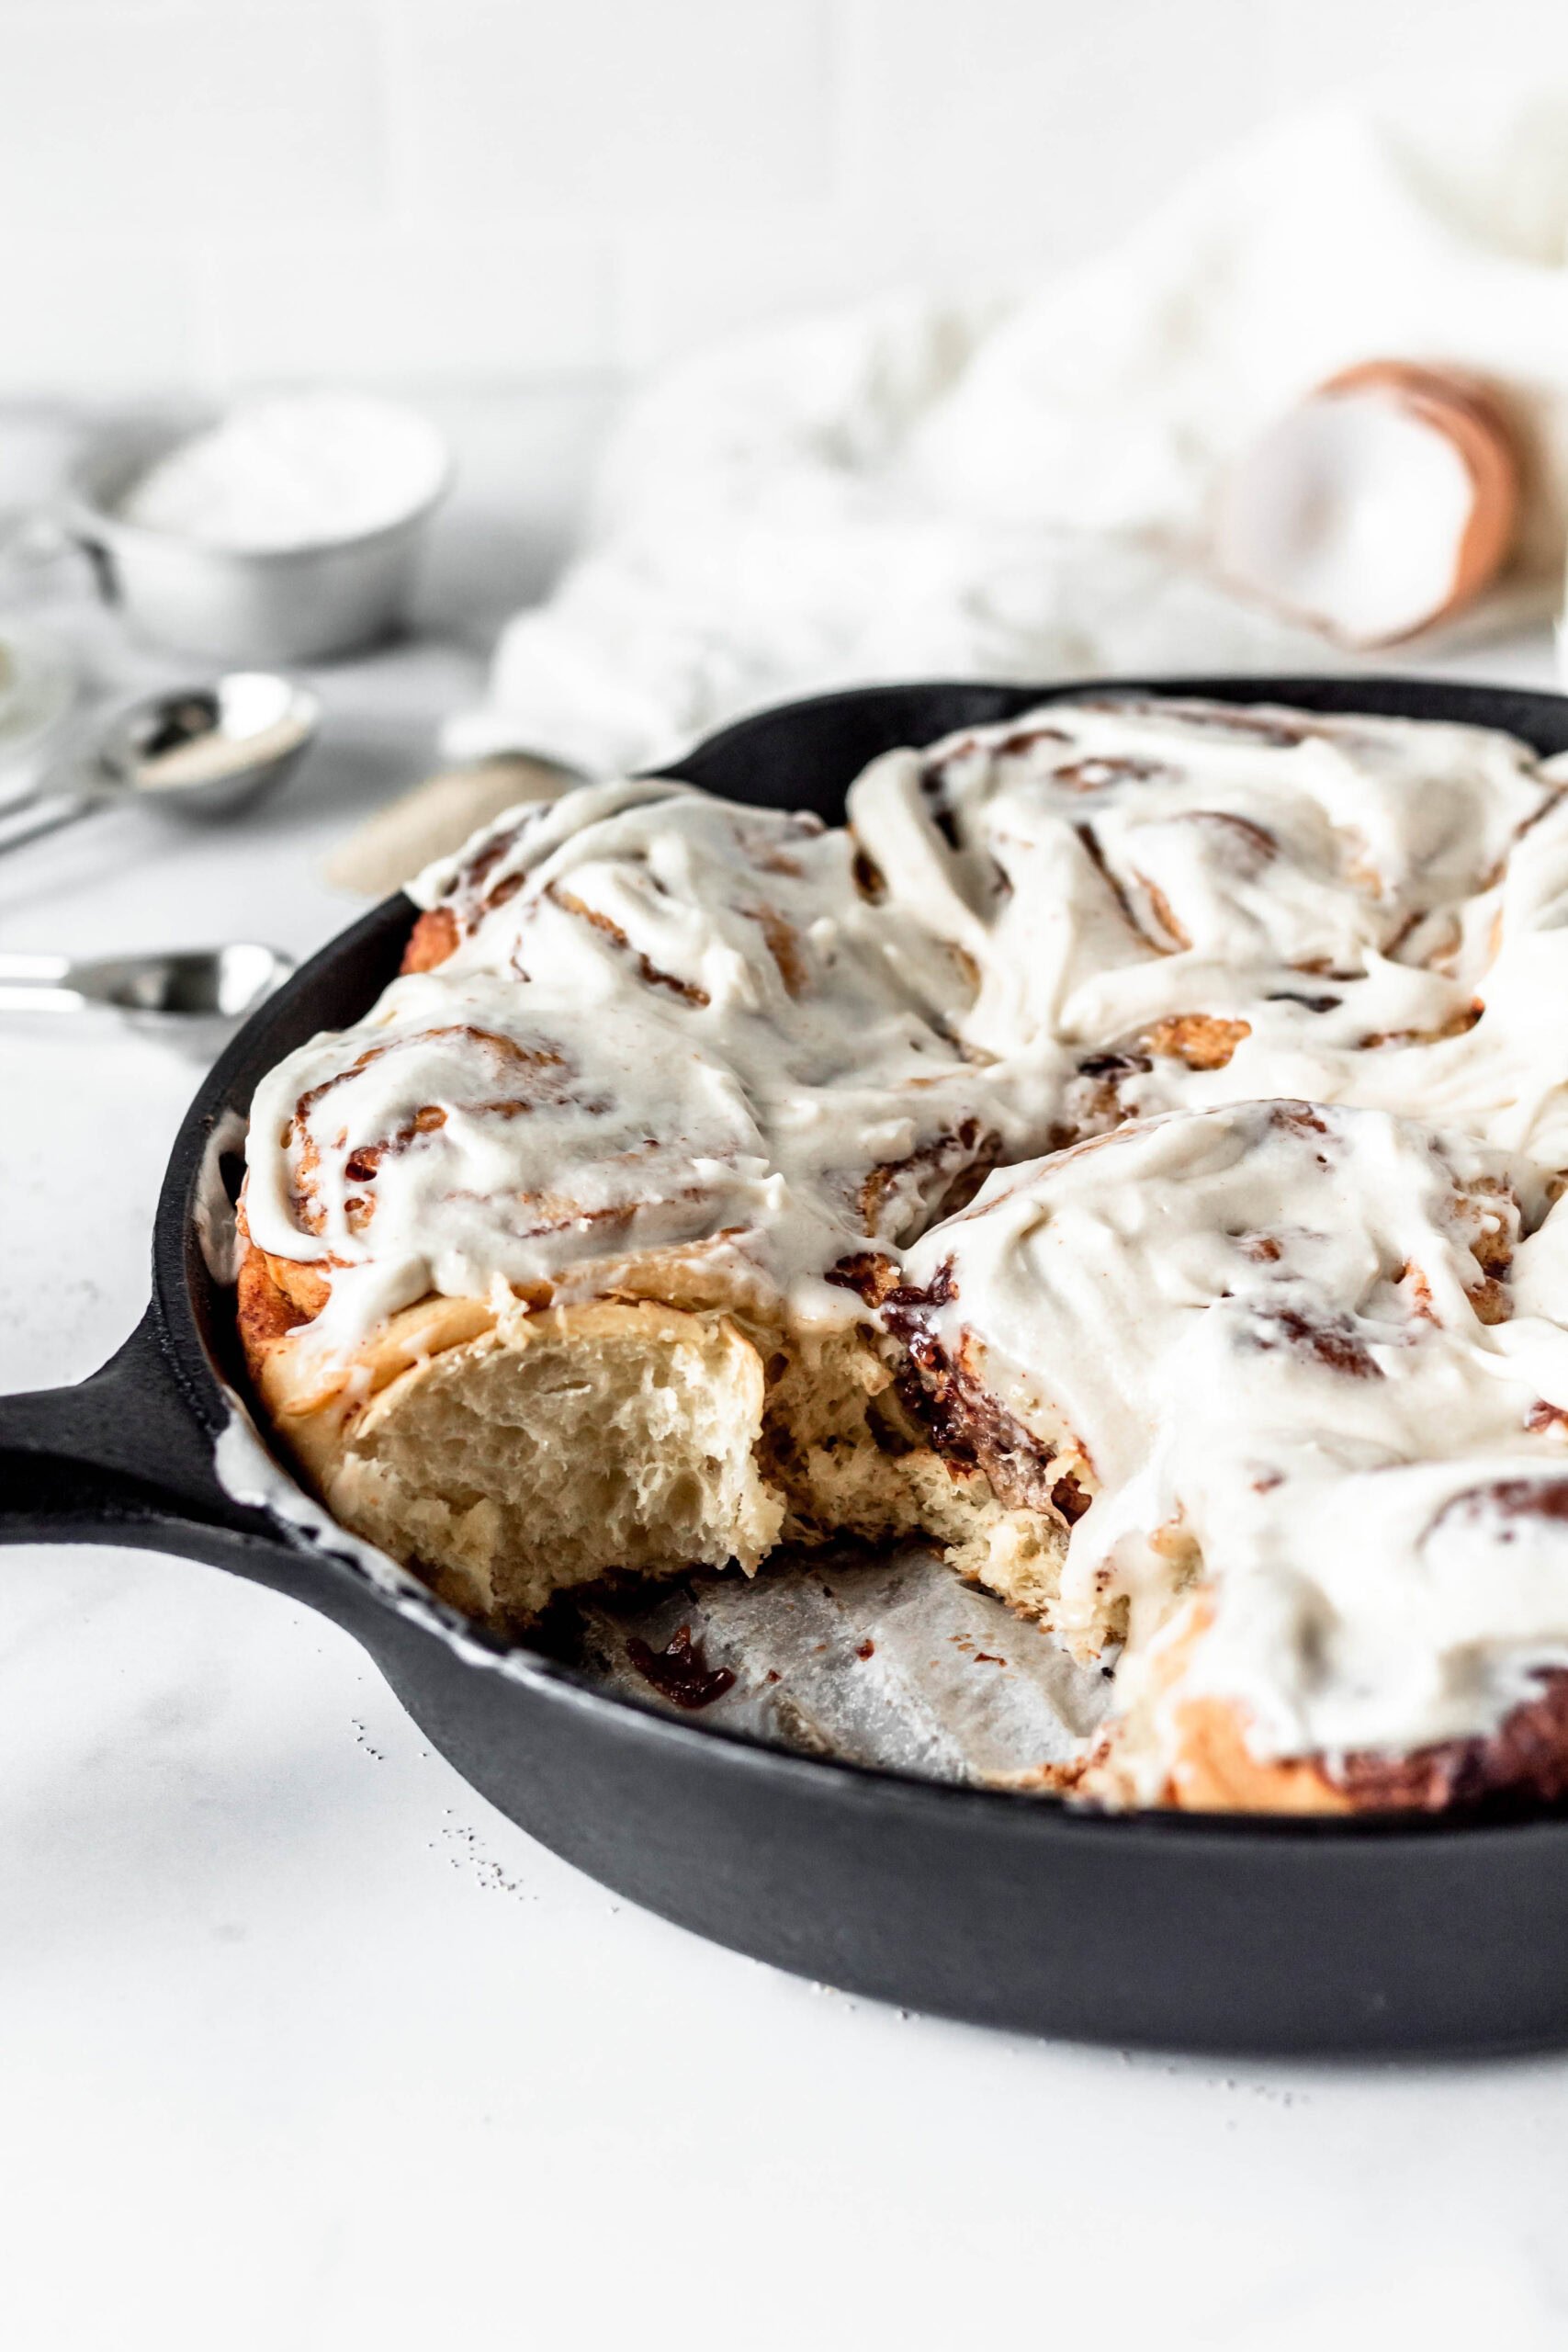
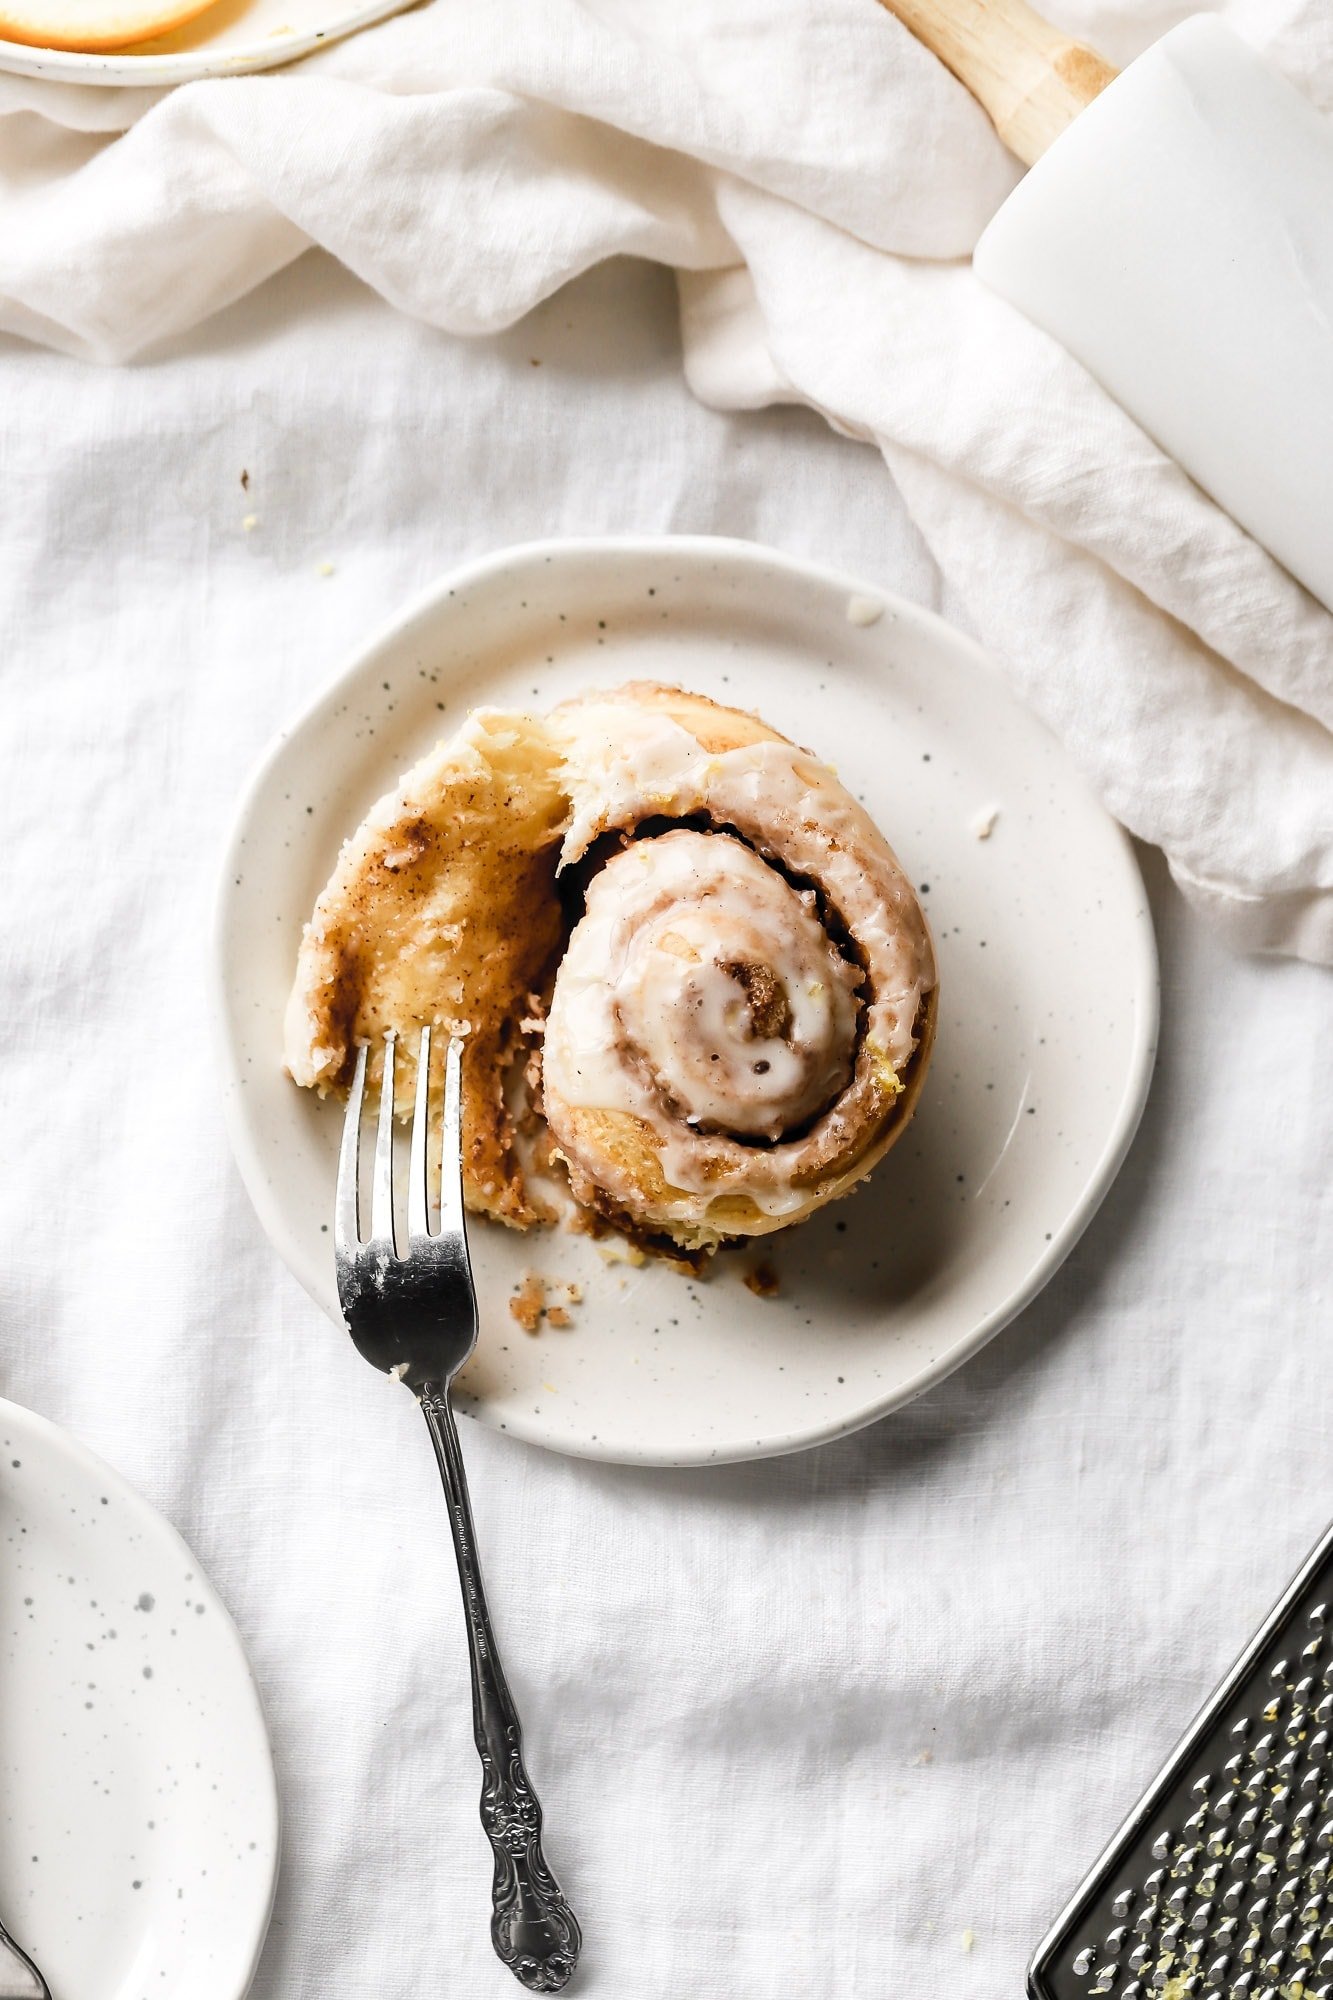
These apple cinnamon rolls are made using my favorite fluffy brioche dough rolled around brown sugar, cinnamon and shredded apples. Topped with none other than an apple cream cheese icing, the perfect fall morning treat.
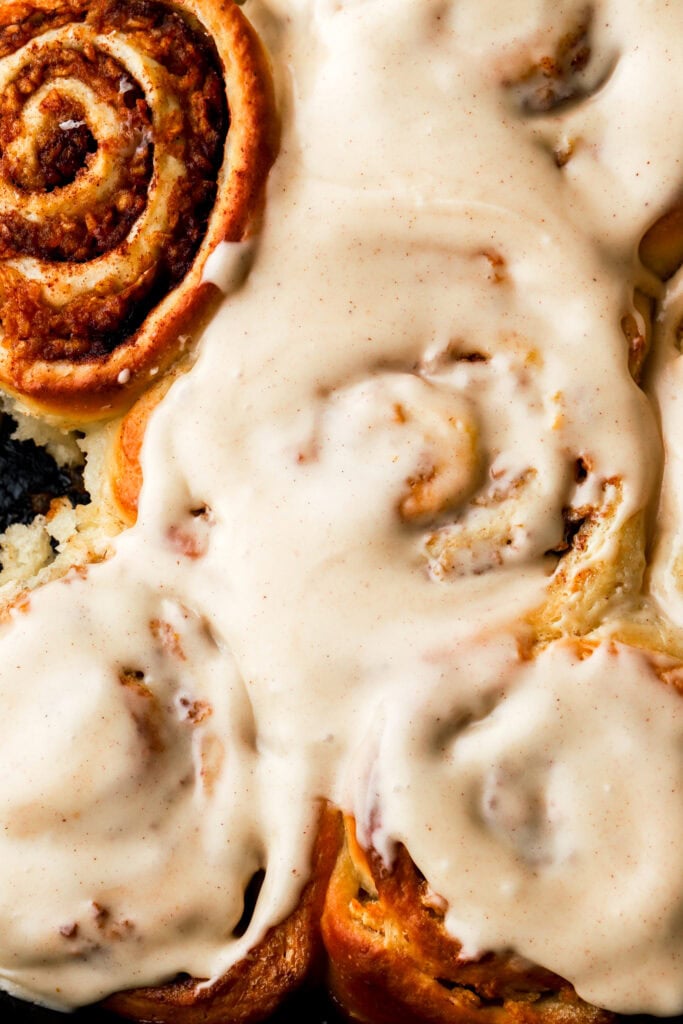
Why You’ll Love Apple Cinnamon Rolls
- Making dough can be intimidating and it sounds a lot more complicated than it actually is. But I’ve really simplified it into steps that are EASY to follow.
- Homemade cinnamon rolls are super fluffy and there’s nothing like serving them warm and fresh with an extra gooey center.
- Your friends won’t believe you made them yourselves (trust me even some of mine didn’t when I first started baking lol) if you serve them these homemade apple cinnamon rolls.
For more cinnamon roll recipes check out my traditional Homemade Cinnamon Rolls, Gingerbread Cinnamon Rolls, Apple Butter Cinnamon Rolls, and S’mores Cinnamon Rolls among others. I’ve always known cinnamon rolls were one of my weaknesses so naturally I’ve made every flavor I can think of lol.
If your fall flavor is everything about apples, then I got more recipes than I can list here. Apple Cider Cupcakes, Iced Apple Crisp Macchiato, Apple Cider Donuts OR make this Apple Ice Cream and serve it on a Dutch Apple Pie or simply on my Classic Apple Pie. But really just click the magnifying glass and type “apple” on my site and you will find anything you can think of!
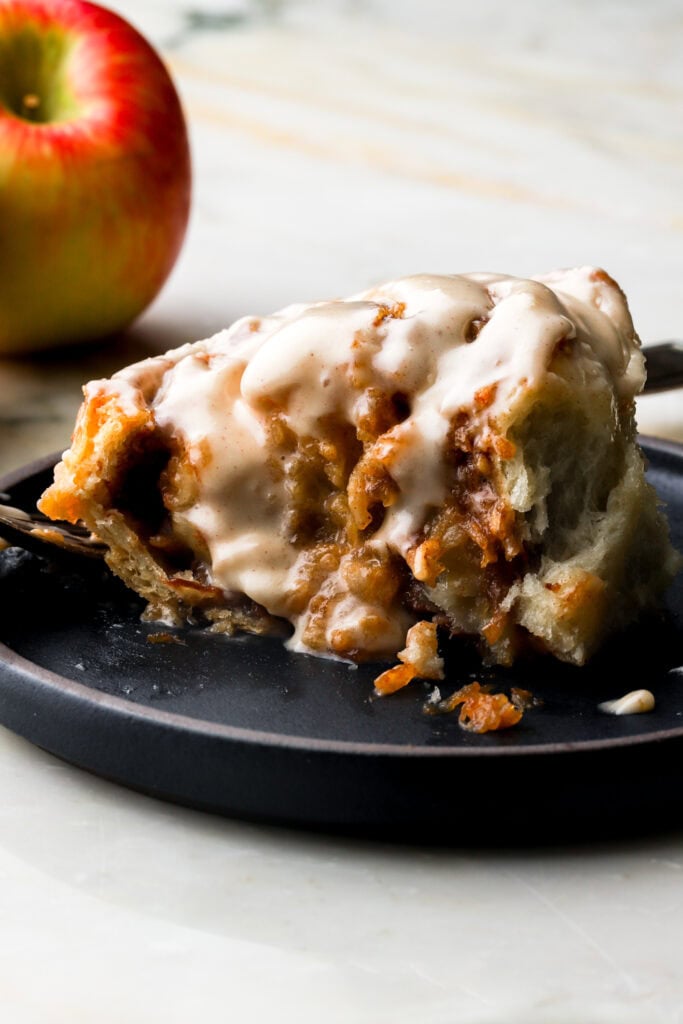
Ingredients:
- Flour: I’ve made this dough with both bread flour and all purpose flour with no noticeable difference in the dough.
- I HIGHLY recommend using a digital scale, as flour is so often over measured.
- Yeast: I use one package of active dry yeast. That can also be subbed with instant yeast, just skip the activation step and mix it in with the rest of the ingredients. I still do both proofs with instant yeast, it’s just usually much quicker (about half the time).
- If you store yeast in a jar instead of individual packages you can use a scant tablespoon of yeast. Also make sure to store the yeast in the fridge if it’s an open jar.
- Sugar: I use granulated sugar for the dough, light brown for the filling and powdered sugar to make the cream cheese icing
- Water: this may seem weird since most people make brioche with milk. I have tested this SO MANY times both with milk and water and I found that water makes a much softer dough.
- Butter: I like to use salted butter but you can also use unsalted butter as well, just add an extra pinch of salt. Dairy free butter also works well.
- Eggs: make sure to use one room temperature large egg.
- Place it in hot water for a few minutes if it’s cold.
- Spices: I use ground cinnamon and nutmeg for the filling.
- Apples: I use 7-8 medium apples to make the filling. I love a good honey crisp apple but those can get pricey. Really, any apples work for this since they’re shredded but I would recommend something a little more firm just because if you get a soft apple it can mush while you’re shredding it. That always happens to me with gala apples and golden apples, so I like granny smith or fuji apples for baking.
- Heavy Whipping Cream: I use this to make the filling and icing. It is my (not so secret) trick to extra gooey cinnamon rolls.
- You can also use milk for the icing
- Cream Cheese: I always use full-fat cream cheese. Make sure it’s room temperature so it mixes well with the powdered sugar.
- Vanilla: Use vanilla bean paste or extract for the icing.
- Salt: brings out natural flavors and cuts the sweetness a bit. I like to use fine sea salt.
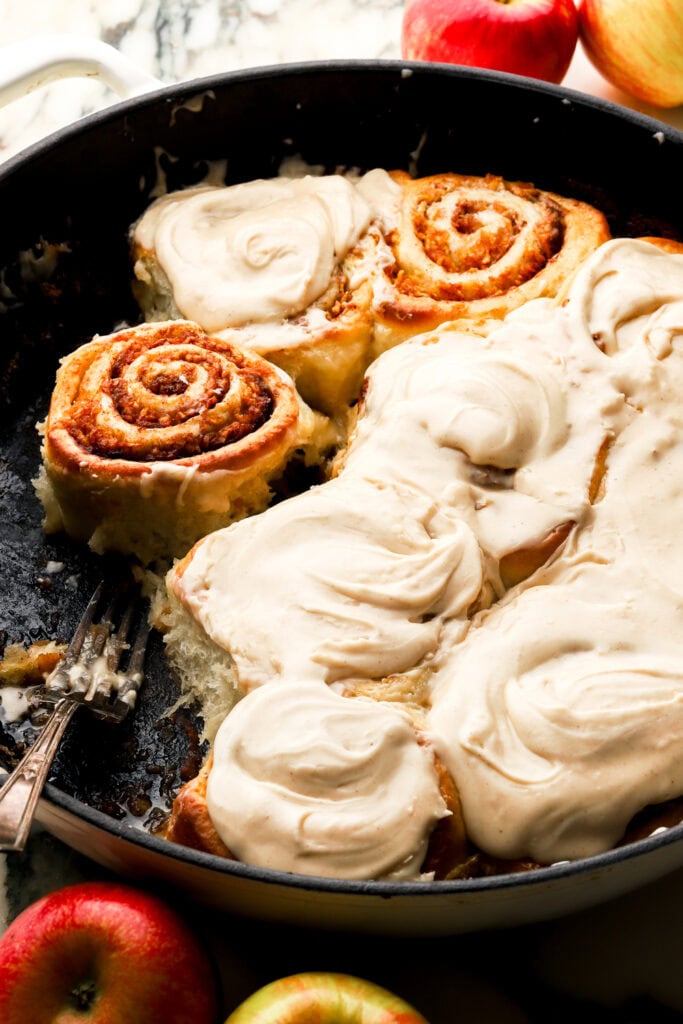
Step-By-Step Instructions
Dough
Step 1: Place the yeast with half of the sugar and the warm water in the bowl of a stand mixer. Mix and allow it to rest for 5-10 minutes, until the yeast starts to foam (can skip this step if using instant yeast and just mix yeast with flour and spices).
Step 2: Add the rest of the sugar, melted butter, and egg mixing until combined.
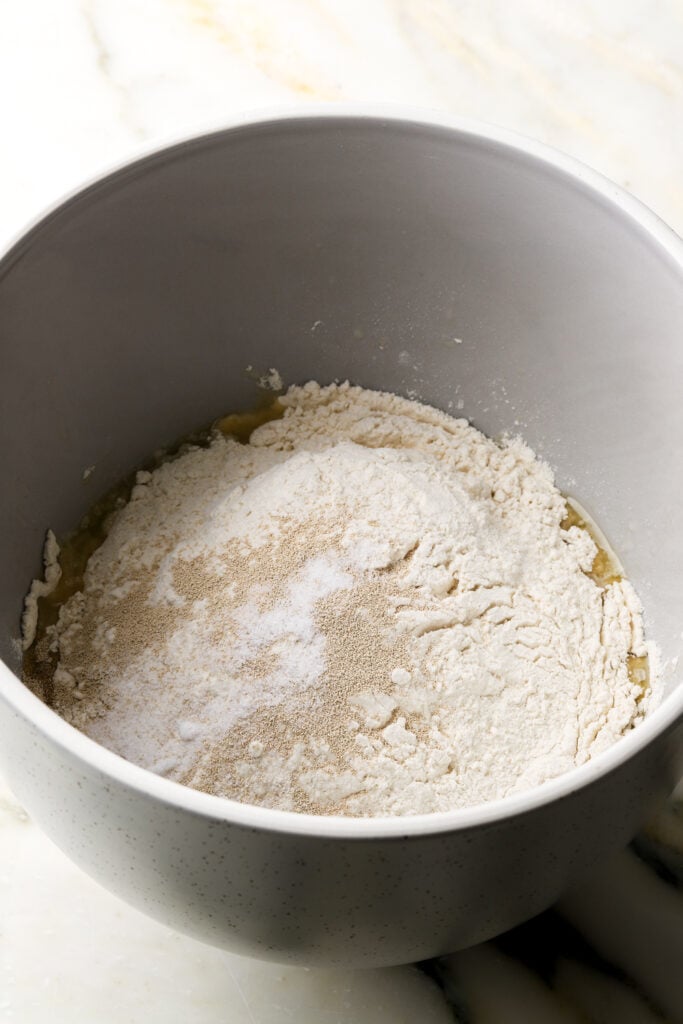
Step 3: Add the flour, salt and spices and mix until it comes together.
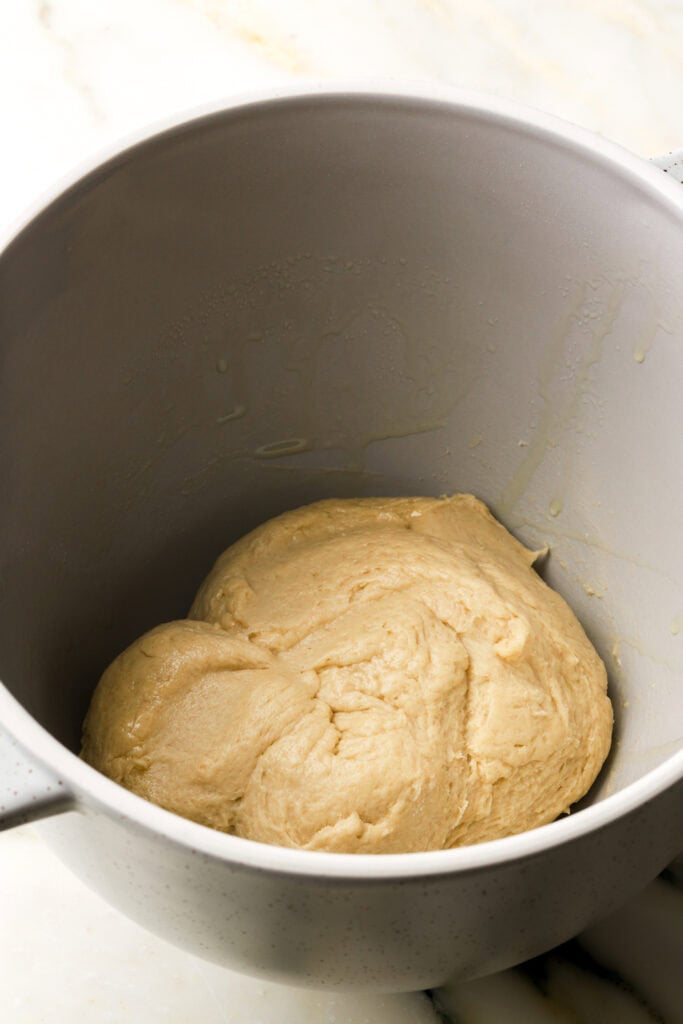
Step 4: Use the hook attachment to knead the dough for about 5-10 minutes, the dough should be soft but strong enough to stick to itself, not the bowl or your hand.
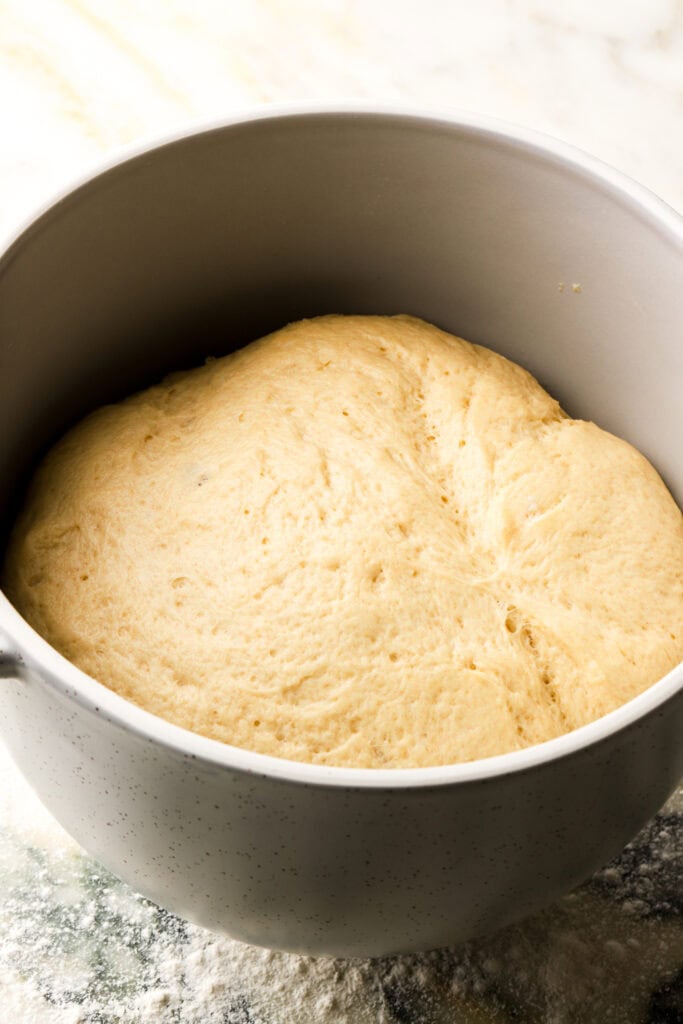
Step 5: Cover and let it proof for about 90 minutes in a warm environment (could be half this time with instant yeast or depending on room temperature).
Filling
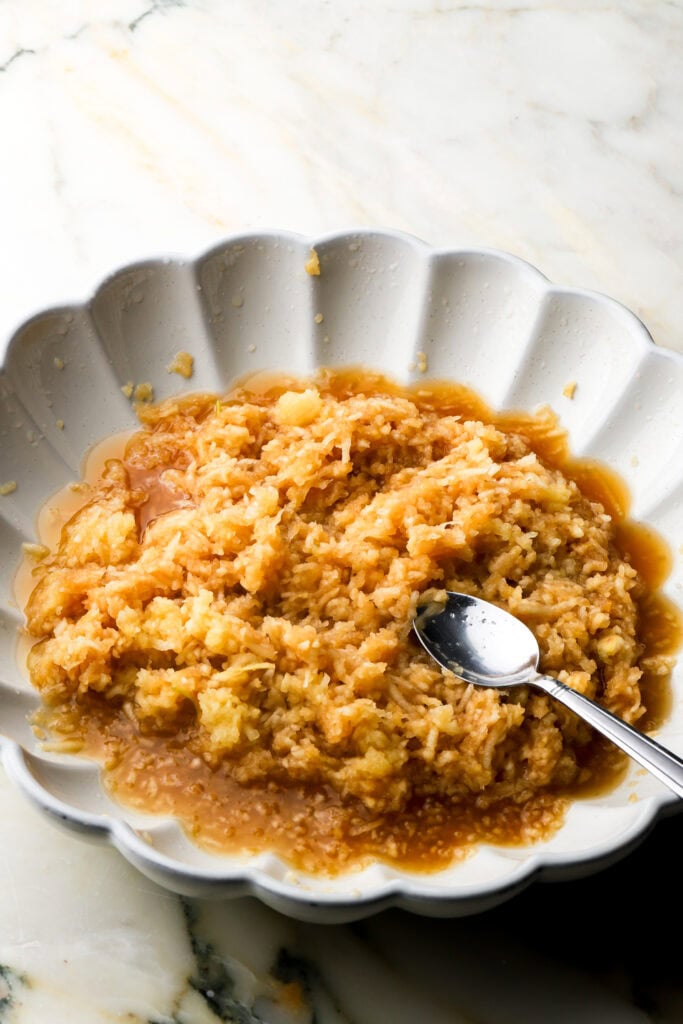
Step 1:Peel, core and shred apples. I use an apple corer and a cheese grater or a kitchen aid shredder attachment for this step.
- I didn’t want my filling to be chunky so that’s why I shredded the apples – there’s a lot of apple flavor but the texture is almost not even noticeable because it blends right in with the gooey cinnamon roll.
Step 2: Combine apples with 1-2 tablespoons of sugar and set aside.
Step 3: Combine the rest of the sugar with cinnamon and nutmeg, then set aside.
Shape
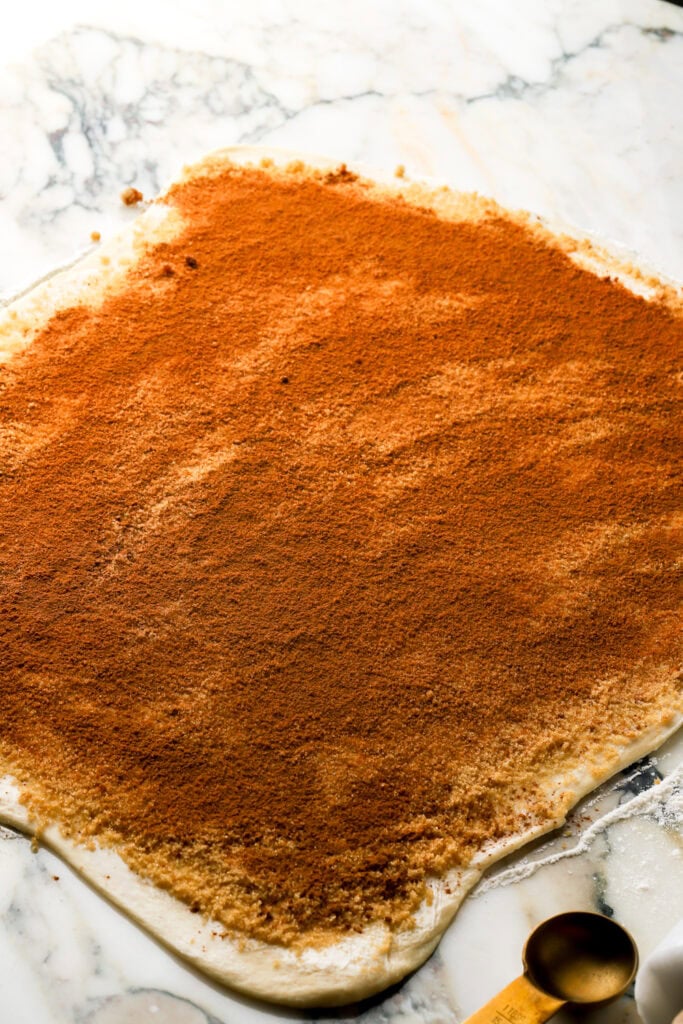
Step 1: Start by punching down the air and placing the dough onto a floured surface. Gently stretch it out into a rectangle with your hands then use a rolling pin to make it into a 12×16 inch rectangle (doesn’t have to be perfect or exact).
Step 2: Spread butter evenly on top of the dough and sprinkle the brown sugar and spices on top.
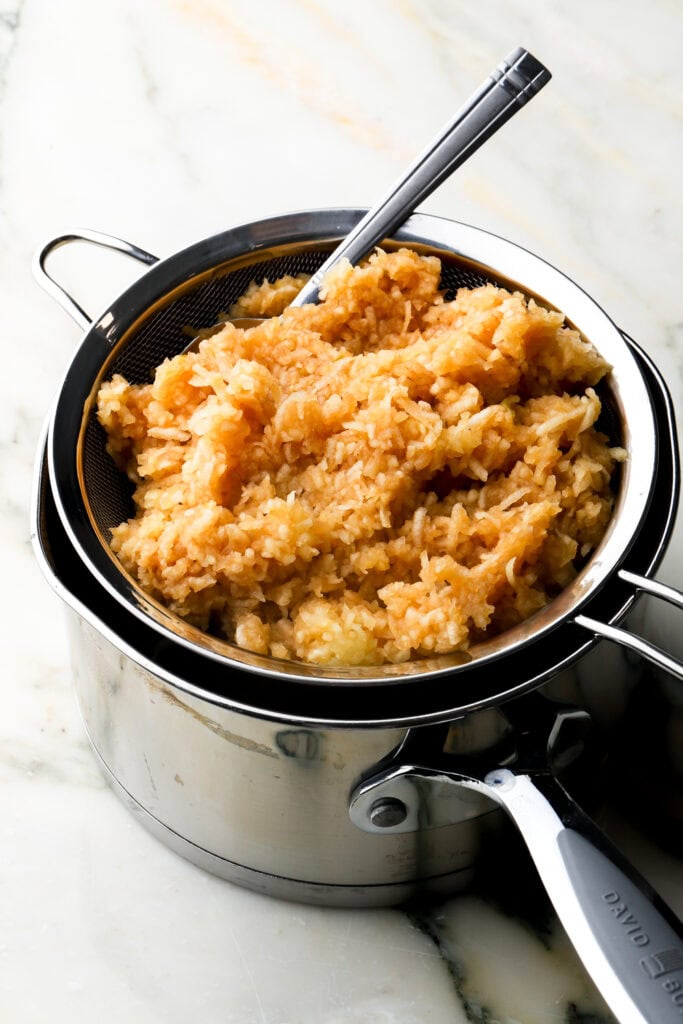
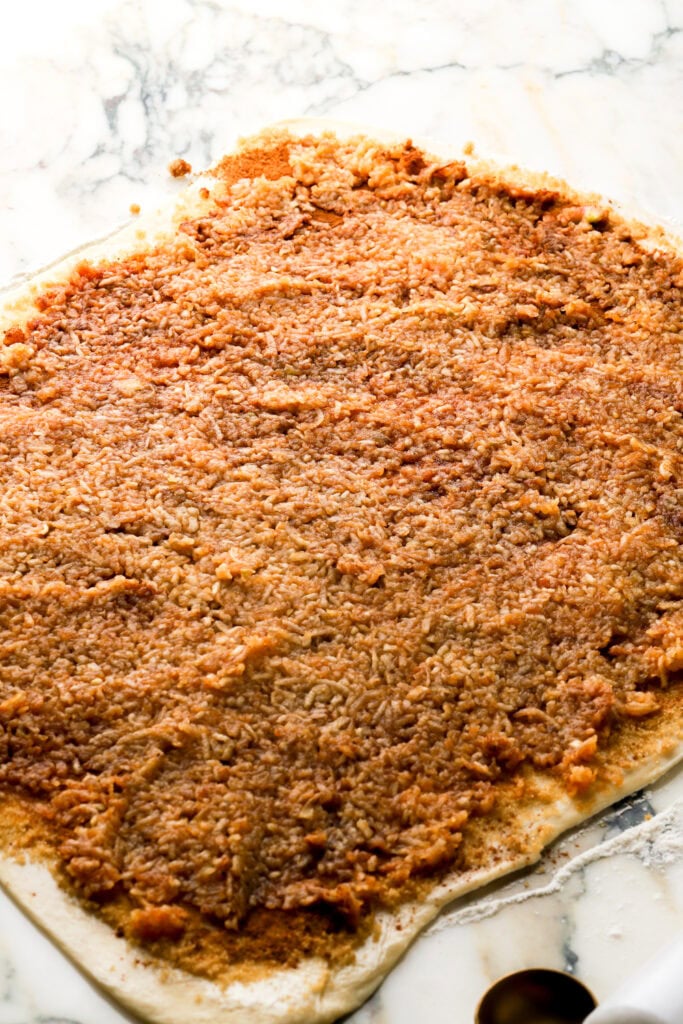
Step 3: Strain the apples by squeezing out as much of the juice as you can – I usually get between 1-1 1/2 cups of juice left.
- Meanwhile place the apple juice in a small pot to simmer for 15-30 minutes until you have just 2 ounces left – it should be thick. Allow it to cool for the frosting.
Step 4: Spread the strained apples on top of the cinnamon sugar mixture on the dough, then roll the dough into a tight log.
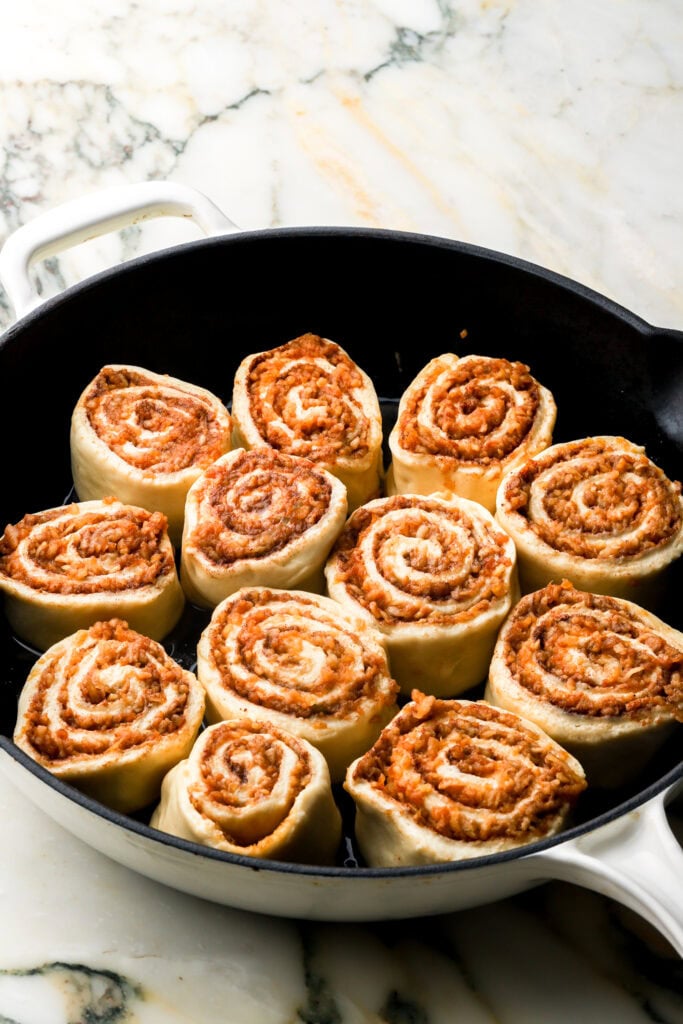
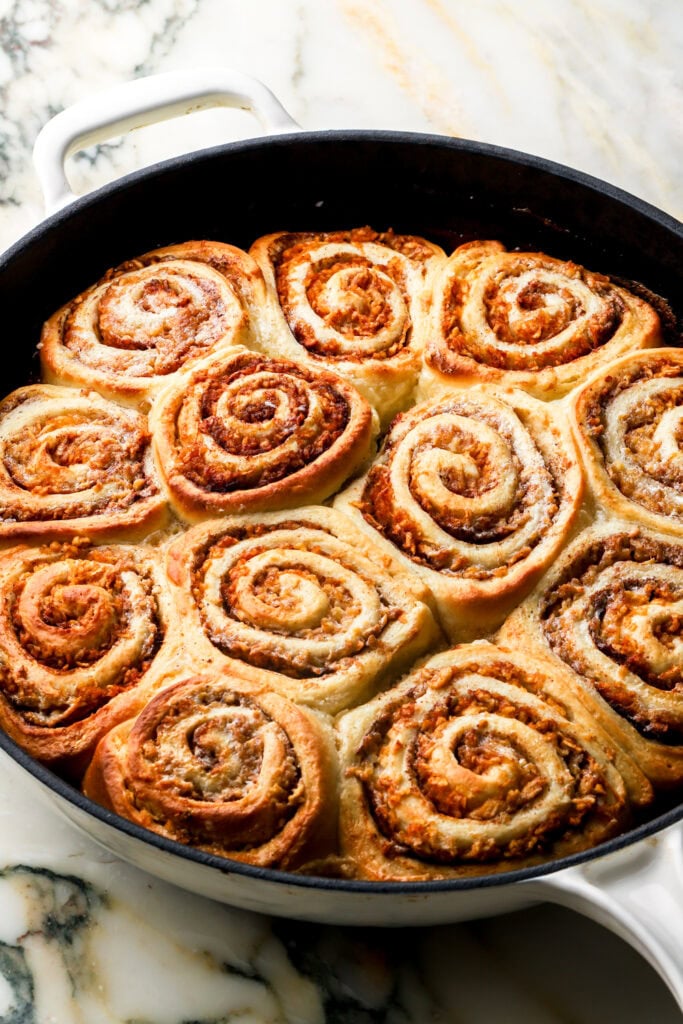
Step 5: Slice the roll with a large serrated knife (I grease the knife between each slice if it’s sticking) and place into your greased pan. Cover and allow to proof another 45-60 minutes. They will double in size.
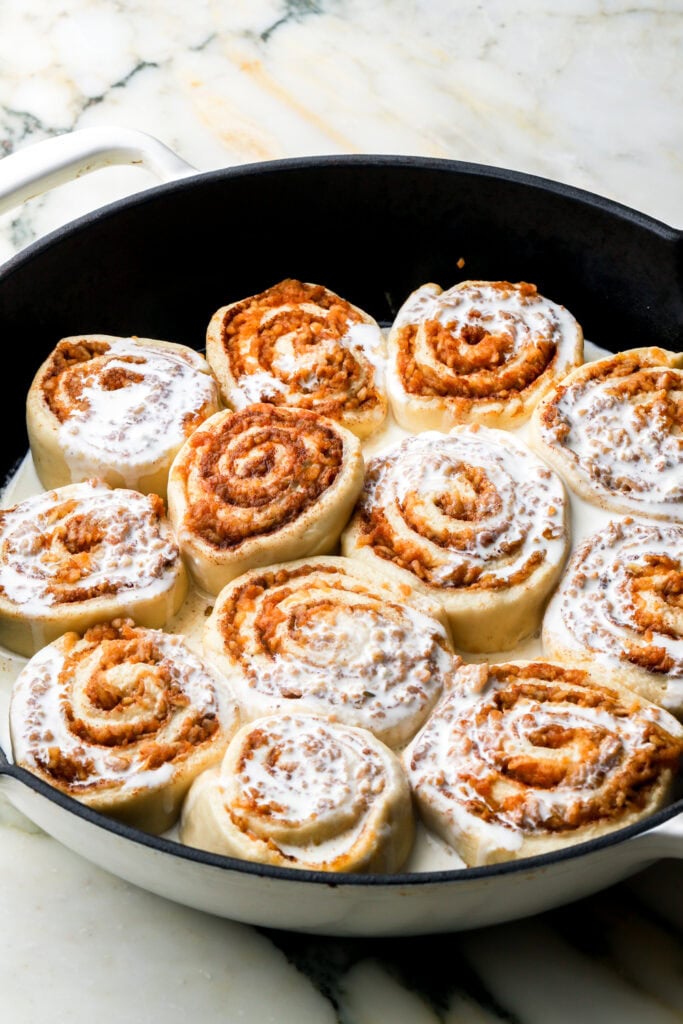
Step 6: Drizzle heavy whipping cream in between the cinnamon rolls then bake for about 30ish minutes.
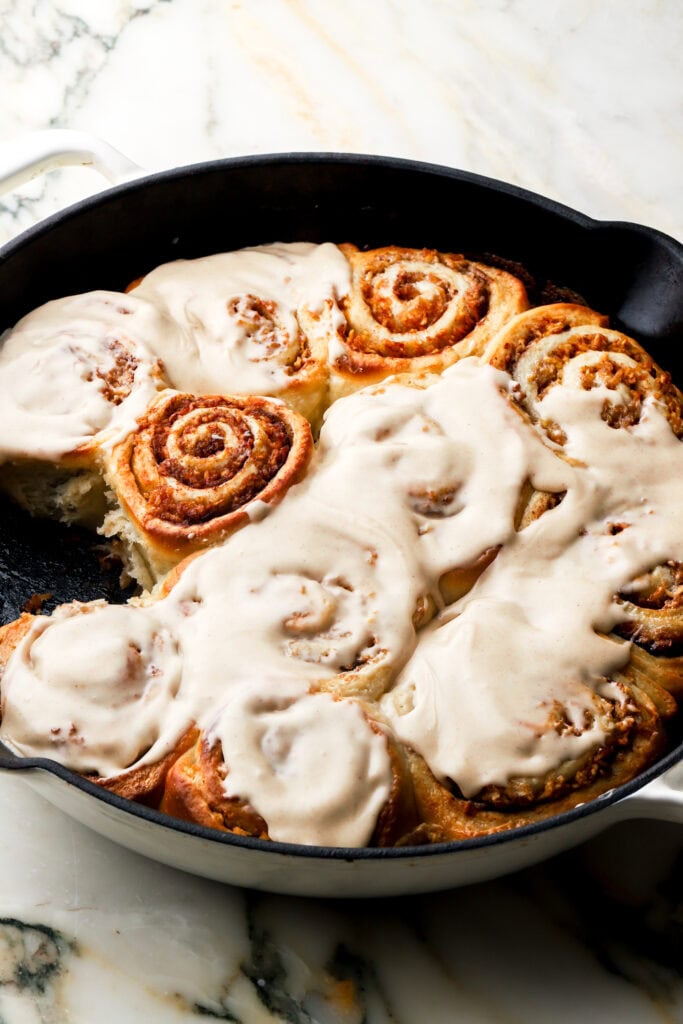
Step 7: Allow to cool for 15-20ish minutes before frosting.
Cream Cheese Icing
Step 1: Have your apple reduction done by now, allow it to cool completely to room temperature.
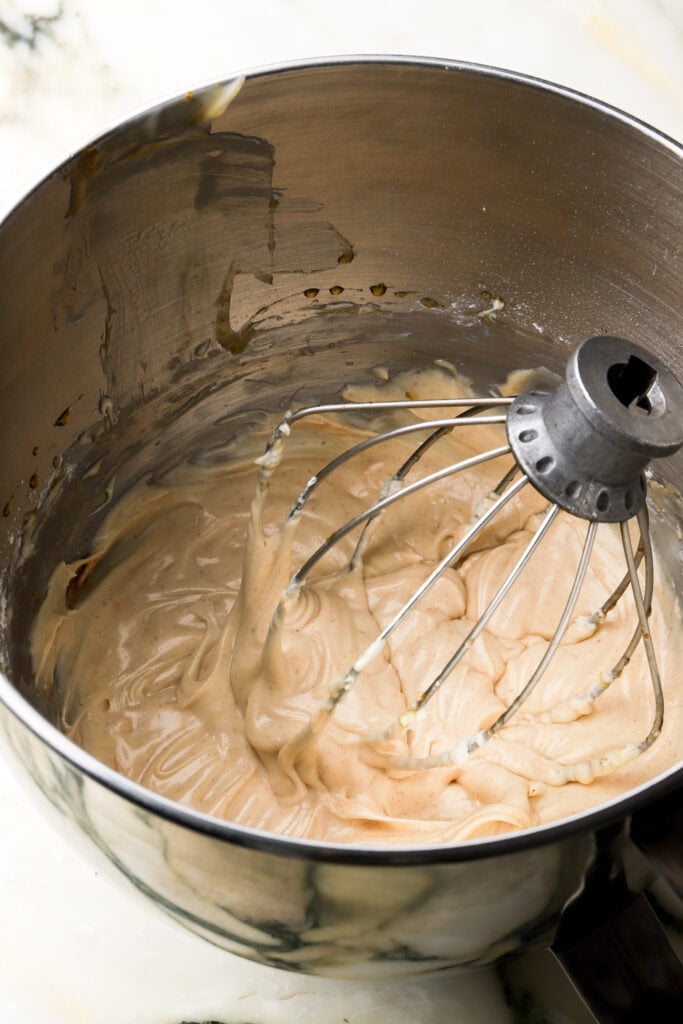
Step 2: Combine the softened cream cheese with the powdered sugar, salt, cinnamon and vanilla mixing until they’re well combined and creamy.
Step 3: Add the cooled apple reduction in 3-4 increments, mixing well between each addition, so it doesn’t separate.
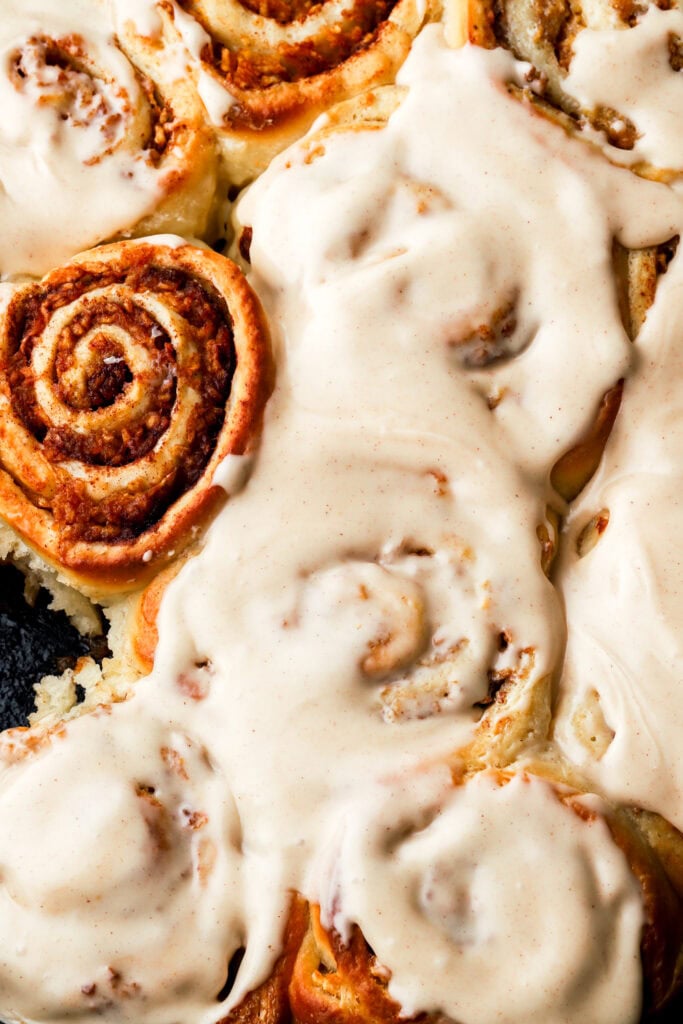
Step 4: Spread on top of the just slightly cooled rolls. Serve and enjoy warm rolls!
What Kind Of Yeast To Use For Brioche Dough
I wanted to do a whole separate section on this to explain how to use both active dry yeast and instant yeast in this recipe. I’ve made this recipe many many times with both types and both of them turn out amazing.
The recipe is written using active dry yeast because that’s what most people use. But if you want to substitute it for instant/rapid rise yeast, just skip the activation.
Active Dry Yeast
Active dry yeast needs to be activated. To do this, combine the warm water with the yeast and HALF of the sugar in a large cup. Mix it and let it rest for 10 minutes. The water should develop a thick layer of foam on top (see photo above).
If the yeast mixture doesn’t foam after at least 10-15 minutes, then the water was either too hot and killed the yeast or the yeast has expired. To be safe, make sure the water is lower than 120 °F (50 °C).
After the mixture has foamed, combine it with the rest of the ingredients and proceed to kneading.
Instant Yeast
If using instant yeast, skip activation.
Combine all the wet ingredients with the sugar in the bowl of the stand mixer, then add the flour, yeast and salt on top and mix until it comes together. Proceed the same way with the kneading.
How Long To Knead Brioche Dough
Kneading brioche can take anywhere from 5-15 minutes with a stand mixer or double/triple that by hand.
I like to use my Kitchen aid 5qt stand mixer with a hook attachment on speed 2. You can see in the images below how the dough looks when it first comes together vs. when I’m done kneading. It generally takes me about 10-12 minutes.
There’s a few markers I use to know when the dough is done kneading.
- The dough should form a ball around the hook attachment on the stand mixer and not stick to the sides of the bowl anymore. It may still stick to the bottom of the bowl a little but not all over the sides.
- The dough should also pass the windowpane test. The windowpane test is when you stretch a piece of the dough between your fingers until it’s thin enough to see light through before the dough tears.
If your dough is not passing any of these but is fairly close, that’s ok, just move on after kneading for 10-15 minutes.
If your dough is still really sticky and you can’t even touch it without it sticking to everything, add 2 more tablespoons of flour at a time, until your dough is able to be handled without sticking to your hand.
What Temperature To Proof Dough At?
You want to make sure your dough is proofing at a comfortable temperature. Generally, room temperature is fine but if it’s slightly warmer, you’ll get a much quicker rise.
Yeast dies at around 120F (50C) so make sure the temperature is lower than that. I recommend anywhere between 75F (24C) to 100F (38C).
The dough can also be proofed in the refrigerator. This is called a retarding proof because it really slows down the process. The Benefit of this is that you can just pop the dough in the fridge overnight and the dough will develop a stronger flavor if it proofs for longer.
You can refrigerate the dough overnight for the first proof or the second proof, just bring it back to room temperature before proceeding with the recipe.
How To Know When Dough Is Done Rising/Proofing
Rising and proofing are typically used interchangeably but the initial ‘resting time’ is actually the rising and the second ‘resting time’ is the proofing. The time needed for rising/proofing is dependent on the recipe and the environment.
Typically with instant yeast, you’re “allowed” to skip the first rise and just let the dough relax for just 10 minutes instead before shaping the dough. I prefer to still let it rise. It works both ways but I get a fluffier dough from letting it proof twice.
A general guideline is that the dough should double in size each time. It should also slowly spring back when you press on it, but also leave a small indent.
If the dough springs back quickly, then it needs more time to rise. If it doesn’t spring back at all, it may be over proofed and result in a flat, deflated bread.
How To Assemble The Rolls (Different Sizes)
Typically the dough gets stretched out to about a 12×16 inch rectangle. Spread the filling on top and then it gets rolled from short end to short end and you’re left with a shorter, thick log.
- You can get 12 good size cinnamon rolls from rolling it this way. Bake them for about 26-28 minutes.
- You can slice the log into 9 slightly larger cinnamon rolls instead. Bake these for about 30-32 minutes.
- If you want to make smaller rolls, roll the dough from long end to long end and you’ll end up with a longer, thinner log. Slice into about 18 rolls and bake for 18-22 minutes, depending on the size.
To get clean slices, you can use unflavored floss, thin twine or a large greased serrated knife.
*You can either spread the butter onto the dough and then top with a cinnamon sugar mixture OR you can mix together the softened butter with the cinnamon sugar mixture and then spread that all on top. Either way works fine!
What Pan To Bake The Cinnamon Rolls In
I prefer a cast iron pan or a metal pan. Ceramic and glass pans are ok too but they usually heat more unevenly and brown less.
- For 12 rolls I use my metal, 13″ round cast iron pan (3 rolls in the center, 9 around the edges), a 9x13x2 inch pan or one that is just slightly larger than that.
- You can also do 6 rolls in two smaller pans like I did below.
- For 9 larger cinnamon rolls, I like a 13 inch round cast iron pan but a regular pan also works and a 12 inch square pan will work fine too.
- For smaller rolls (18 or so) you can use any of the pans mentioned, just space them out to allow them to double in size, like I did in the pictures below.
Baking Cinnamon Rolls With Heavy Cream
Ok, if you’re on tiktok this won’t surprise you but to the rest of the world I think it’s quite weird lol. There was this pillsbury cinnamon roll hack where people added heavy cream to the pan of cinnamon roll dough before baking and they baked into giant clouds of cinnamon roll goodness.
So I tried it with my regular cinnamon roll recipe and LET ME TELL YOU, I am never going back. I will forever bake my cinnamon rolls in a heavy cream bath so that’s what I did here too. It’s quite simple, you just pour a little heavy cream, about half a cup, in the gaps between the proofed cinnamon rolls and bake for a few extra minutes.
What it does is basically make the whole cinnamon roll feel like that gorgeous center nugget we all can’t wait to get to. All I can say is thank you to the genius who came up with this and you’re welcome for sharing it with all the lovely people who read my little blog lol.
How To Make Cinnamon Rolls Overnight
Apple cinnamon rolls can easily be prepped the night before and baked in the morning. After the dough is rolled and sliced and placed in the prepared pan, cover it tightly with plastic wrap and place it in the fridge or freezer. Refrigerate overnight or freeze for a couple of weeks and then bring to room temperature before baking.
From the fridge, it may take 1-2 hours to bring to room temperature (again, don’t want to overproof so don’t leave it out too long).
From the freezer it may take several hours, feel free to thaw it in the fridge overnight so it’s quicker.
Proceed with normal baking instructions (heavy cream goes in right before baking).
How To Store Apple Cinnamon Rolls
All cinnamon rolls are best served fresh and warm. If they’re not served immediately, it’s best to
reserve the frosting and frost them before serving.
The rolls can stay in an airtight container at room temperature for 1-2 days (unfrosted) and refrigerated for up to a week. When serving cinnamon rolls, reheat them in the microwave or the oven just until they’re warm and then frost.
If they are frosted and not eaten right away, refrigerate them and reheat them before serving, keeping in mind the frosting will melt and probably look separated but it will still taste good.
I recommend microwaving to reheat them or bake at a low temperature and keep an eye on it. I once placed them back in the oven at 350F after refrigerating overnight with the frosting and the frosting kind of toasted on there LOL it was like crisp on top and not pleasant so now I just use the microwave.
Thanks so much for reading today’s post, if you have any questions just comment down below.
If you make these apple cinnamon rolls, I would love it if you left a star rating for it in the recipe card.
As always, have a blessed day and happy baking!
Love, B


AMAZING recipe. Crowd favorite that I will be making for Thanksgiving and for Christmas!
Oh that makes me so happy!! So glad you all like them <3