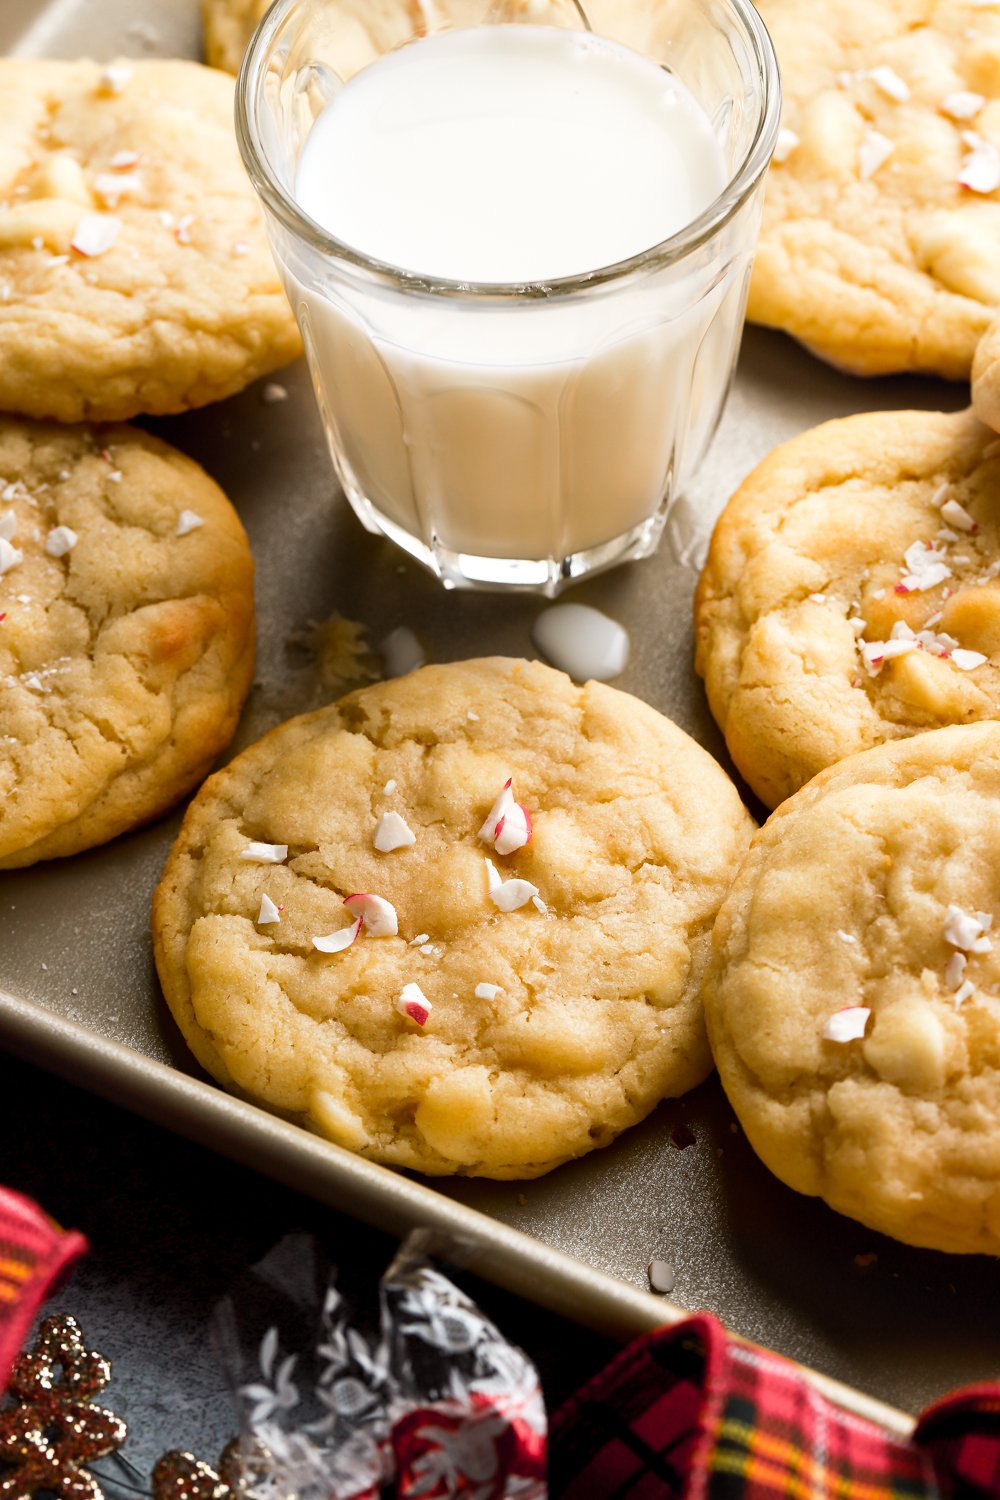
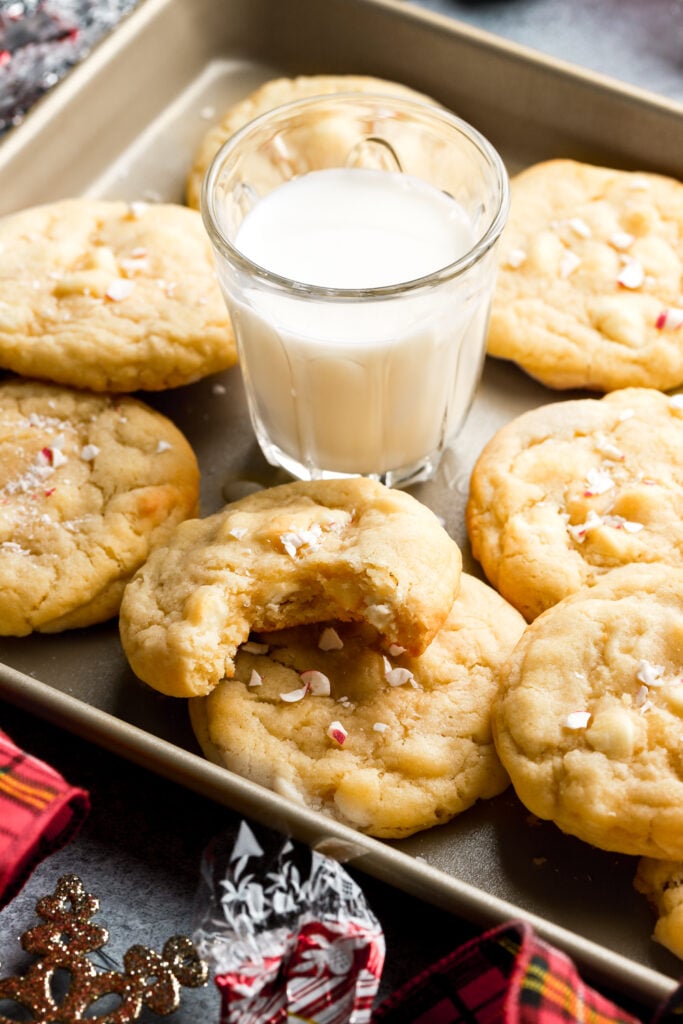
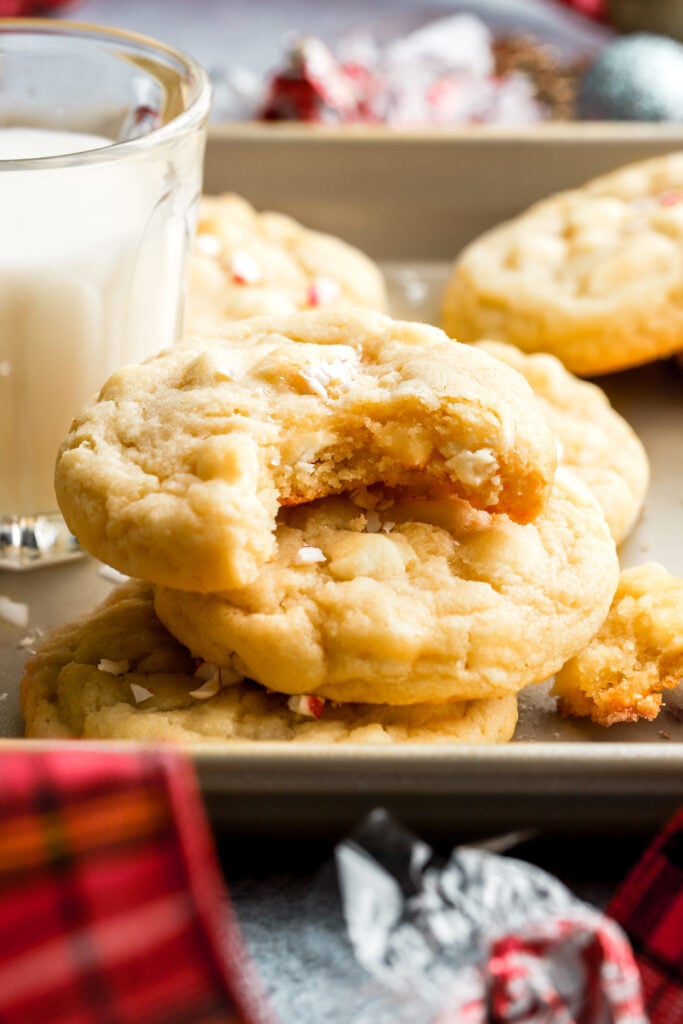
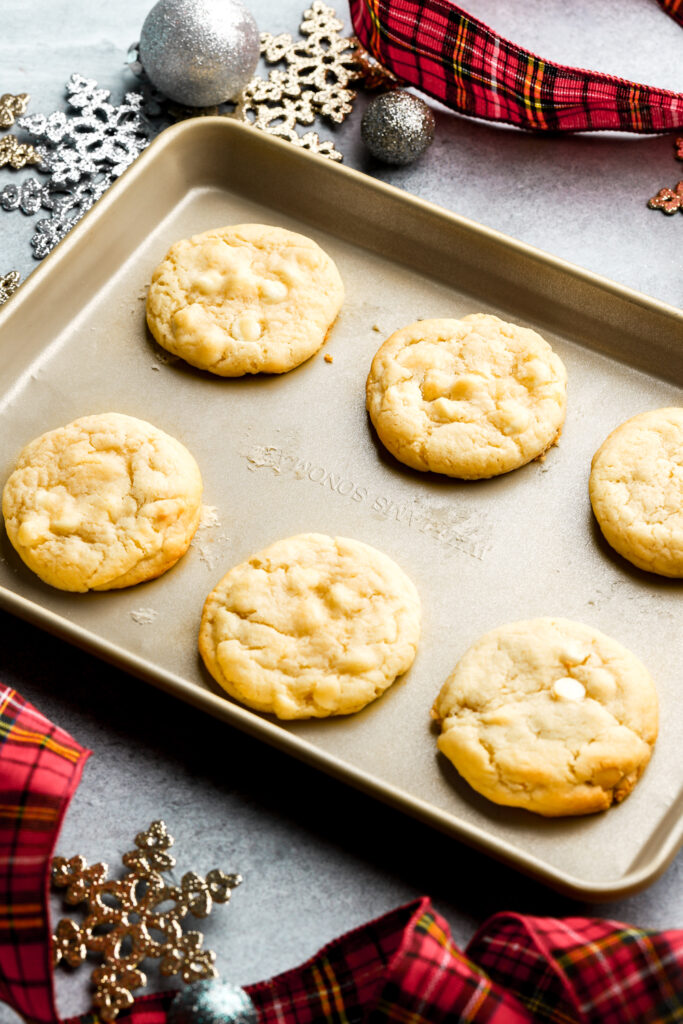
White Chocolate Peppermint Cookies
Soft, melt in your mouth, peppermint sugar cookies studded with white chocolate chips. Perfect for the holidays or any time you’re fancying a cookie!
Why You’ll Love These Peppermint Cookies
- They are soft and chewy, with sweet white chocolate chips and a refreshing, crisp peppermint flavor. The peppermint is fairly subtle so it’s not overpowering. .
- These cookies might require a little extra time in the fridge/freezer but other than that, they’re SUPER simple.
- Super versatile recipe – white chocolate or dark chocolate, dairy free, gluten-free options, etc.
- They’re good for days and freeze well.
It’s almost Christmas and I am here for it. I’m not exactly a peppermint fanatic but there’s something about December that makes me crave peppermint, specifically with white chocolate.
The main reason I made these cookies is because I’m actually ADDICTED to Lindt White Chocolate Peppermint Truffles. They are to die for, imo.
In fact, that’s what I tried to use in the cookies however, it just doesn’t work well because the center part of those truffles gets too melty. Not to mention, it got really expensive testing the recipe with those lol. It’s definitely possible but it’s much easier to use white chocolate chips and peppermint extract and it tasted the same.
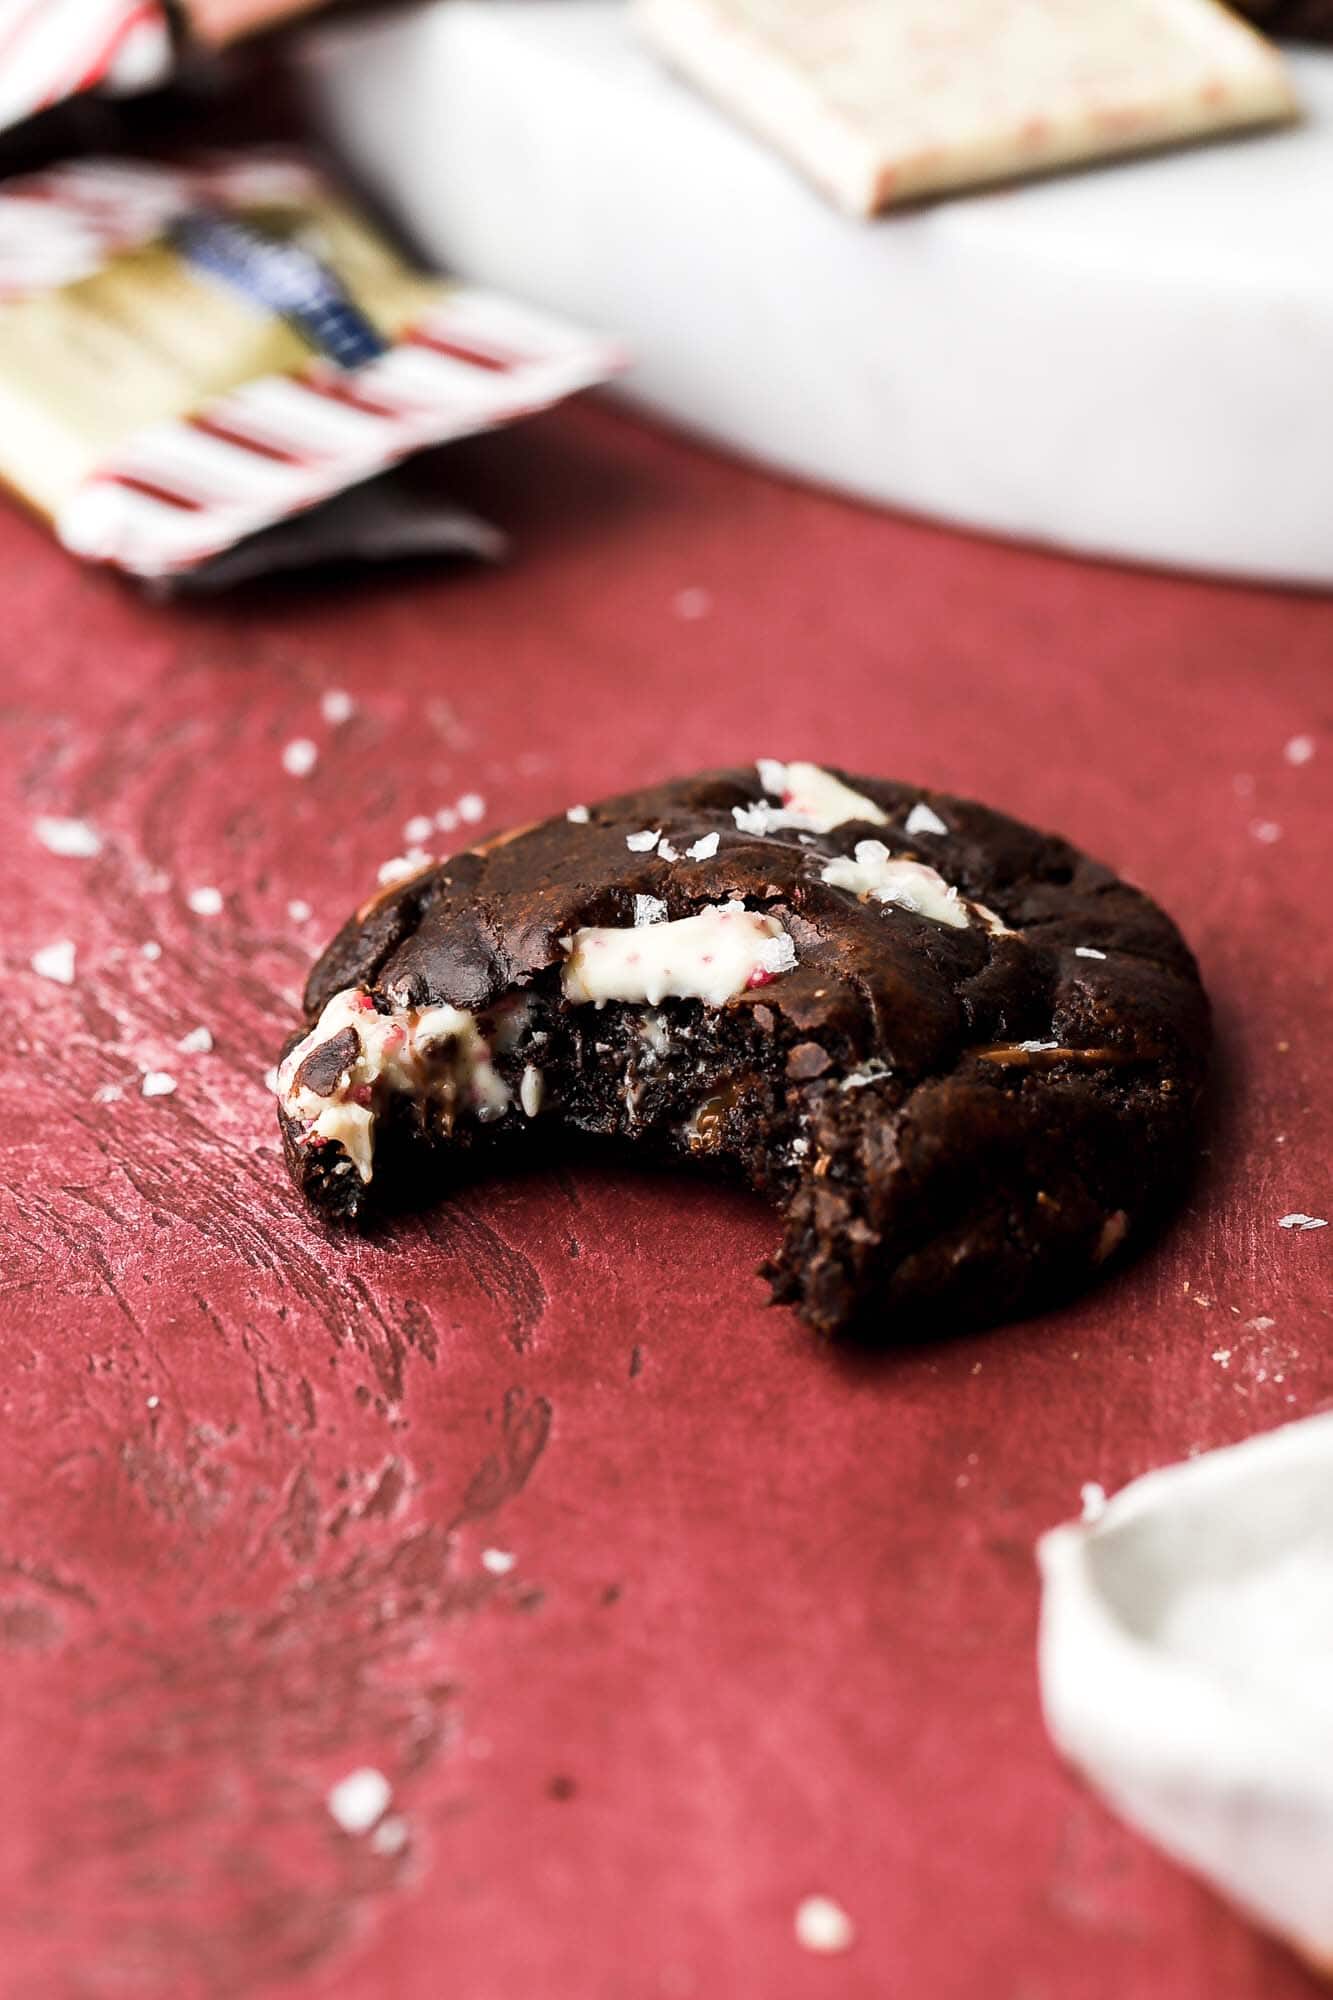
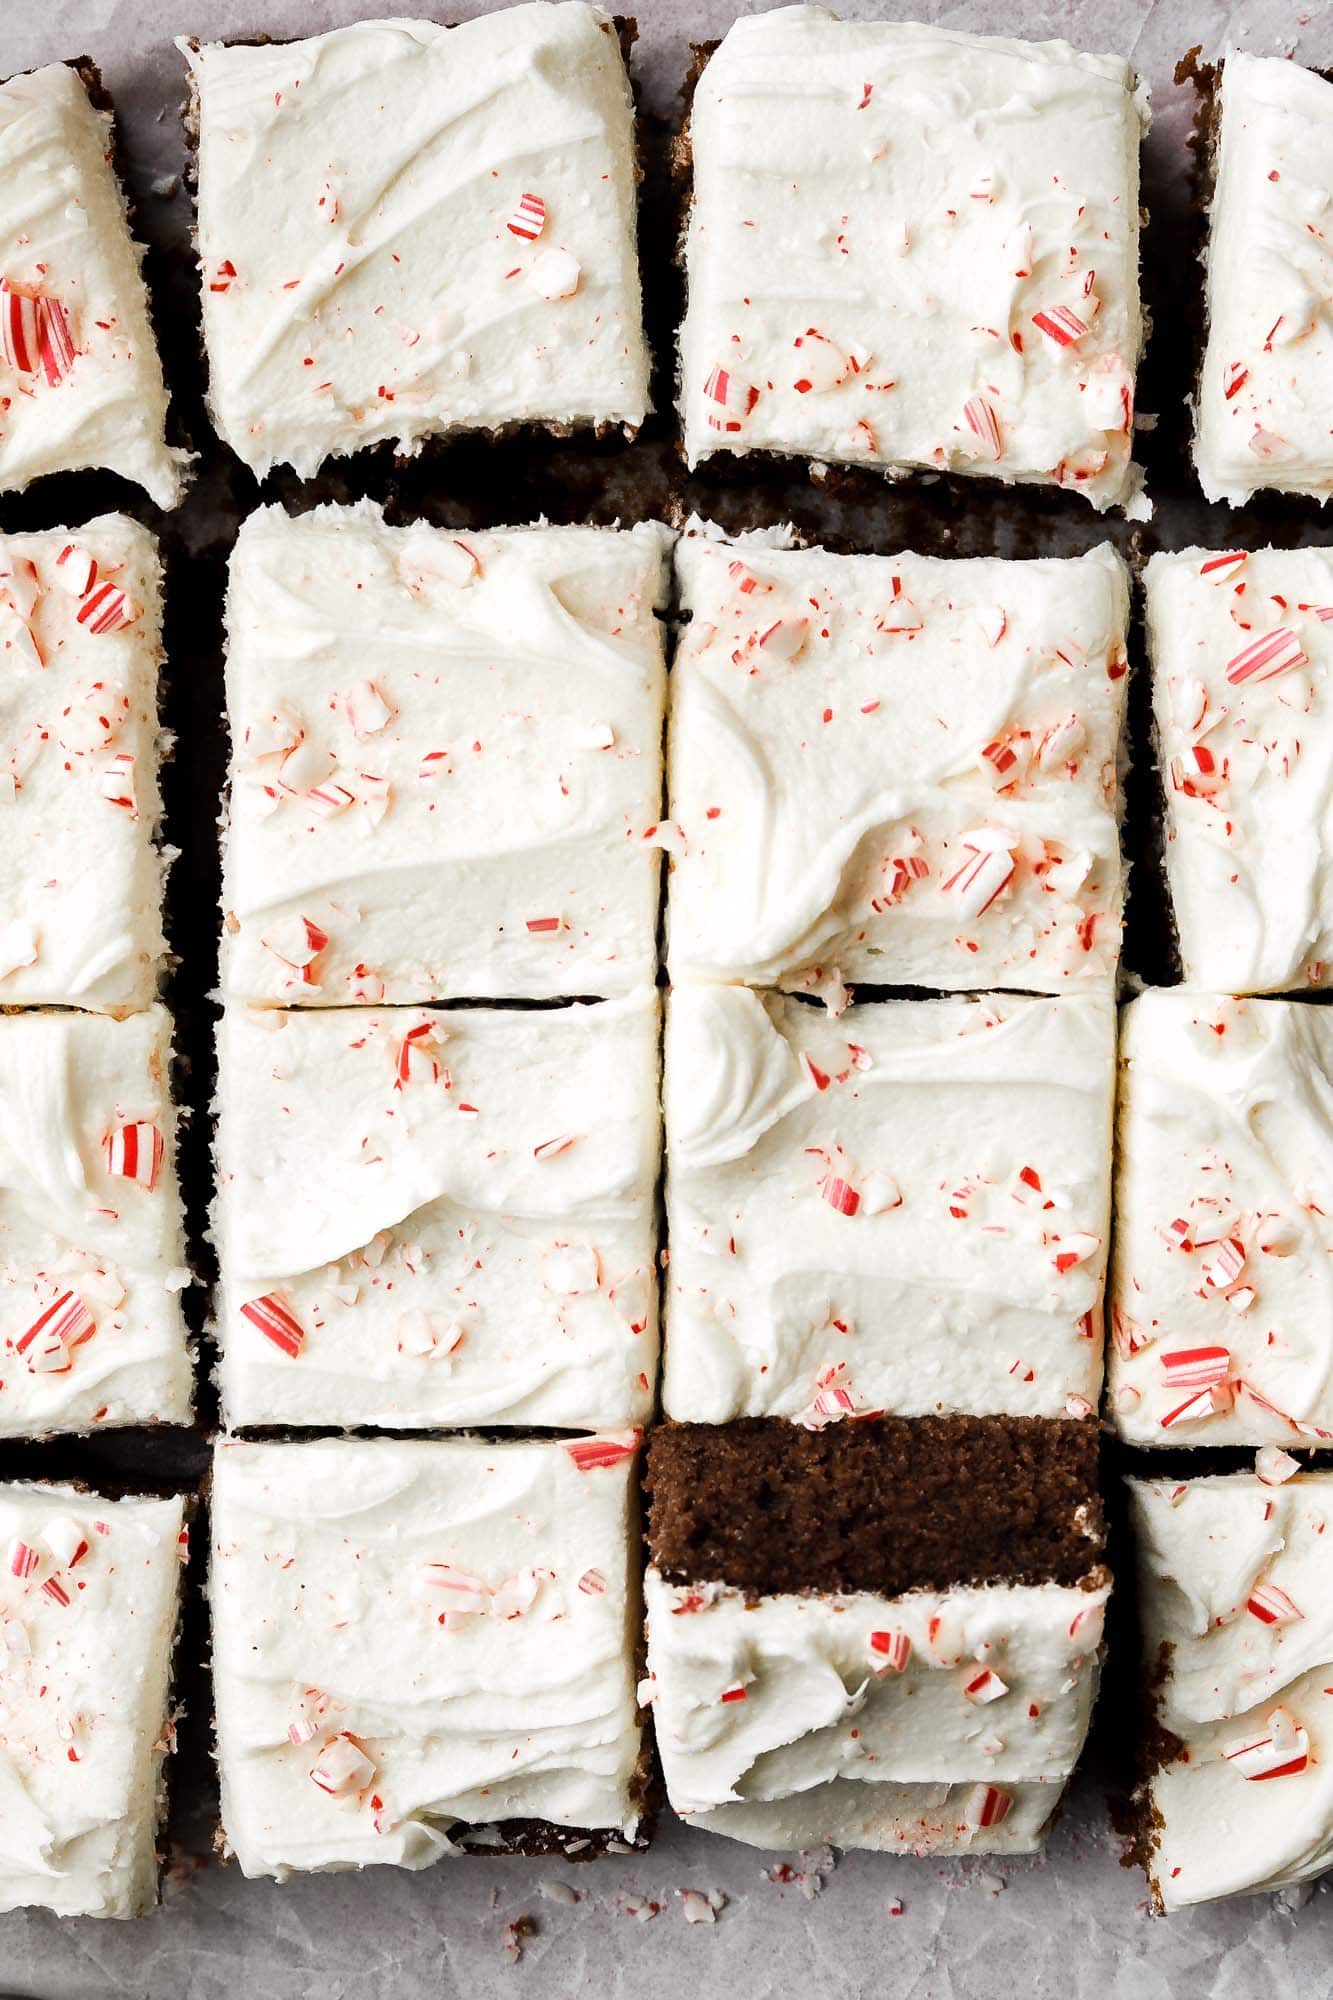
If you’re a peppermint lover, I think you’ll like my dark chocolate peppermint cookies, my peppermint marshmallow brownies and my chocolate peppermint cake!
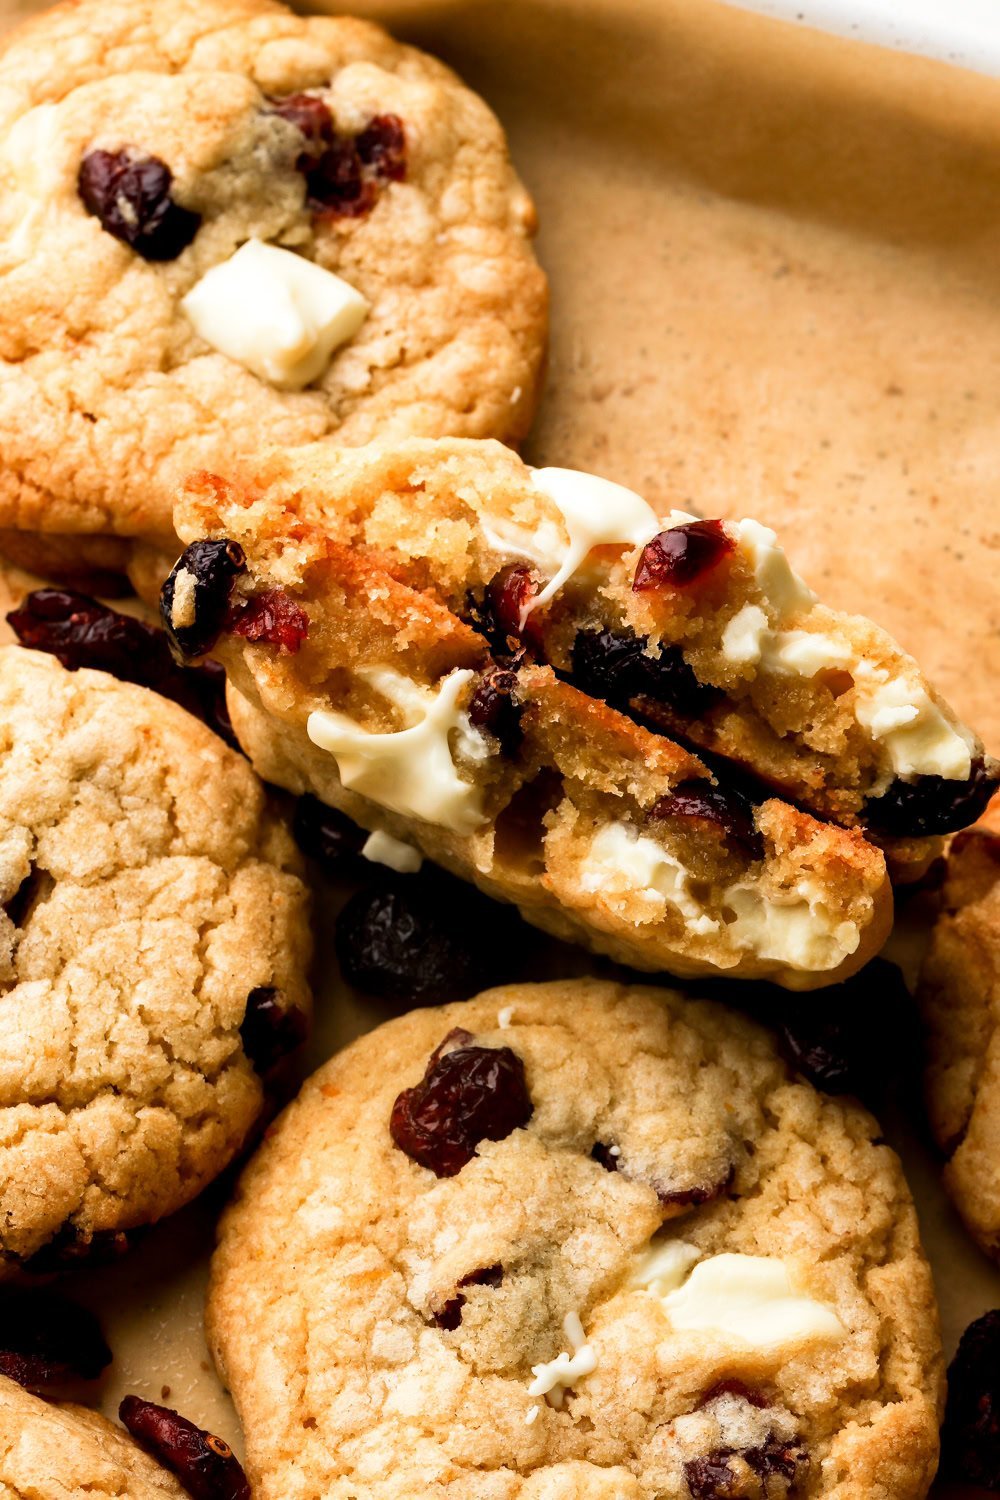
For cookie lovers I’ve got some other festive flavors like Chai White Chocolate Chip Cookies, S’mores Cookies, gingerbread snickerdoodles or my toasty Chocolate Chip Pecan Cookies.
Ingredients & Substitutions:
*Full recipe is in the card below.
- Flour: I just used all-purpose flour for this recipe however, I HIGHLY recommend using a digital scale, as over-measuring the flour is the most common baking mistake and may result in dry cookies.
- Sugar: I used granulated sugar for the cookies.
- Reducing the amount will alter the texture of the cookies so I don’t recommend reducing it.
- Butter: I LOVE using salted butter in cookies! It really balances the sweetness of cookies well but unsalted works fine too.
- Egg: I used 1 large egg in this recipe; place it in hot water for 5-10 minutes if it’s cold.
- Vanilla: Don’t underestimate the power of vanilla extract in a cookie recipe. I stopped putting vanilla in EVERYTHING I make, but for cookies it’s essential. I love vanilla bean paste in cookies and frostings but vanilla extract also works.
- Baking Powder: just baking powder, no baking soda.
- Salt: I like sea salt but any salt works.
- Peppermint: I used peppermint extract (regular mint extract tastes just a little bit different). Also I don’t like using peppermint candies in my cookies because I find the texture so weird lol they melt and re-harden and get all chewy.
- White Chocolate: Like I mentioned earlier, I tried to use the peppermint truffles in the cookies and it was not worth the effort. I got the same flavor from using peppermint extract and white chocolate chips and didn’t have to deal with the chocolate leaking out of the cookies.
- Any white chocolate chips are fine; I don’t recommend using a chopped white chocolate bar because that could also leak a bit too much (chips don’t melt like real chocolate).
Step-By-Step Instructions
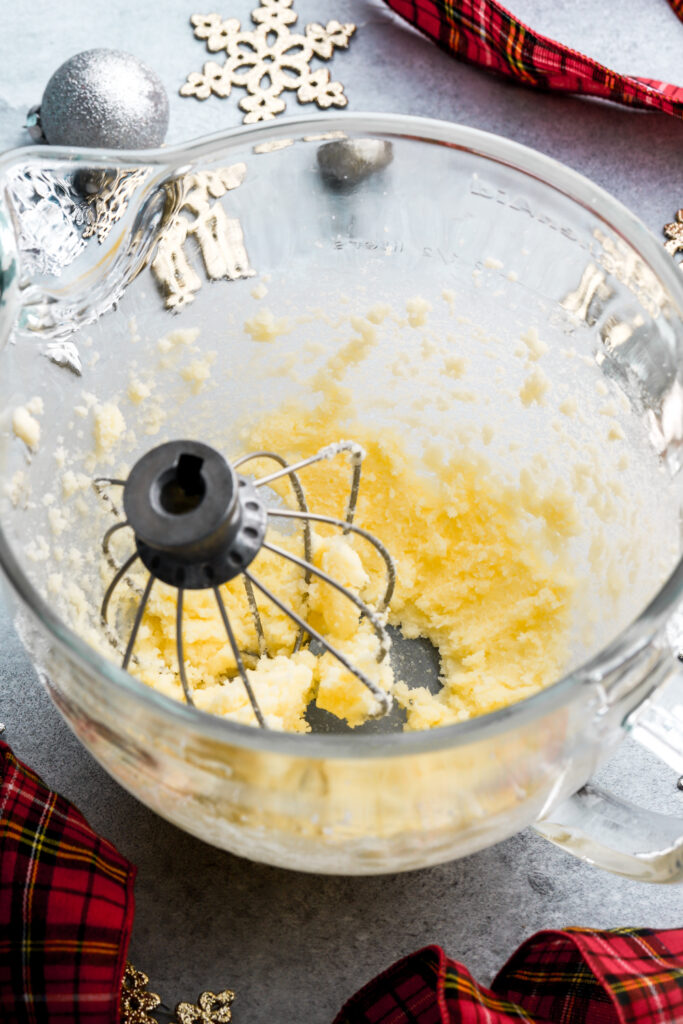
Step 1: Beat together the butter and granulated sugar using a mixer, at medium-high speed, for about 2-3 minutes, until they’re creamed together.
Step 2: Scrape the edge of the bowl and then add the egg, vanilla and peppermint, mixing for another 2 minutes.

Step 3: Scrape the edge of the bowl again and then add the flour, baking powder and salt mixing until just until there’s only a few streaks of flour left.
Step 4: Add the white chocolate chips and mix on low speed, just until the white chocolate is evenly dispersed and there are no more streaks of flour.

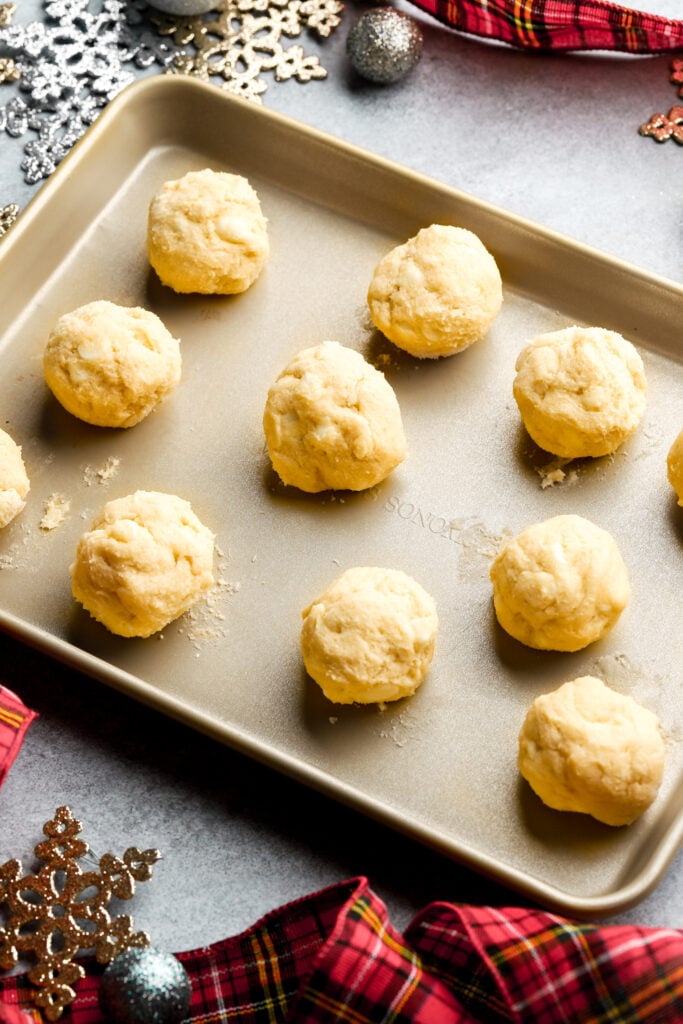
Step 5: Scoop 2 ounces of cookie dough onto a baking sheet or plate. Roll them into balls and freeze for one hour or refrigerate for several hours/overnight.
Step 6: Bake the cookies for 14-15 minutes until the edges are starting to get a golden color and the top no longer looks wet. I like to tap the tray on the counter half way through baking and again at the end, to make the cookies spread just a little more.
Step 7: Remove from the oven bang them on the counter and use a biscuit cutter to scoot or a utensil to press the sides in to make the cookies round (if needed). Sprinkle with crushed peppermint candies and/or sea salt.
How To Bake These Cookies (Convection And Conventional)?
I always bake cookies in a convection (fan) oven but when I took some polls on instagram, most of you said you either don’t have one or you don’t know how to use your convection oven. So since I developed ALL my recipes in a 350F convection oven, I decided to experiment with a conventional.
If you don’t know the difference, a convection oven has a fan that circulates the heat more evenly. This usually results in a quicker bake, so always do less time if you’re unsure and it also gives a more even browning. If you’re not used to it, the change can be frustrating.
Most convection ovens will automatically reduce the temperature of the oven by 25F. So if I set my oven to 350F, my oven thermometer will read 325F. So when I bake the same thing in a conventional oven, I reduce the temperature to 325F and my oven thermometer still reads 325F.
Baking with a convection oven (fan)
Bake 2.5 oz cookies at 350F/177C (if your oven automatically adjusts) or 325F/162C (if it doesn’t adjust) for total 14-16 minutes.
Baking with a conventional oven (no fan)
Bake 2.5 oz cookies at 325F/162C for 16-18 minutes – make sure to bake on the top rack.

How To Get Perfectly Round Cookies
Most cookies bake a little bit uneven around the edges, especially if the dough is soft and not refrigerated before baking. To get your cookies perfectly round, as soon as you remove them from the oven, use anything round like a biscuit cutter/cup/mug, etc. to scoot the cookies around within the circle.
Be gentle so you don’t break the soft cookie but you have to be quick and do it as soon as the cookie comes out of the oven, before the edges set.

Frequently Asked Questions
Yes, you can scoop it out and freeze or refrigerate the cookie dough balls on a plate or tray until they’re firm.
Then place them in a ziplock bag and freeze. To bake, remove them from the freezer as the oven is preheating and bake.
If they’ve been frozen for a while, refrigerate overnight or bring to room temperature a little before baking.
I haven’t tested egg free cookies but you can make these cookies with dairy free butter and white chocolate.
I have tested my base cookie dough recipes with 1:1 substitute for King Arthur and Bob’s Red Mill Gluten-Free Flour Blends. The cookies turnout perfectly, they just have a traditional gluten-free flour flavor which is a little earthy/nuttier which might be masked by the peppermint anyway.
I use simple white chocolate chips like Nestle or Ghirardelli because they hold they’re shape well. If you use a chocolate bar, it might melt out of the cookies and the cookies will spread more.
You could also use milk or dark chocolate chips if you’re fancying that.
How To Store Peppermint Cookies
Just place them in a ziplock bag and keep them at room temperature for a few days. They obviously will dry out a little more the longer you leave them but I just pop them in the microwave for like 5-10 seconds before eating.

Thanks so much for reading today’s post, if you have any questions just comment down below.
If you make these white chocolate peppermint cookies, I would love it if you left a star rating for it in the recipe card.
As always, have a blessed day and happy baking!
Love, B