
Mini Egg Brownies
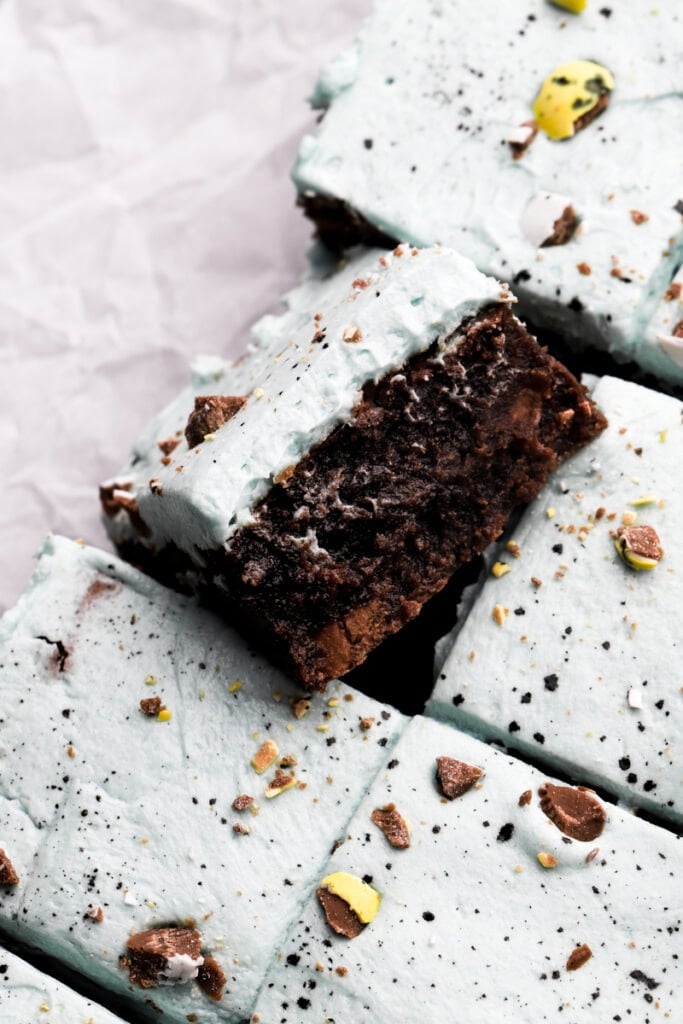
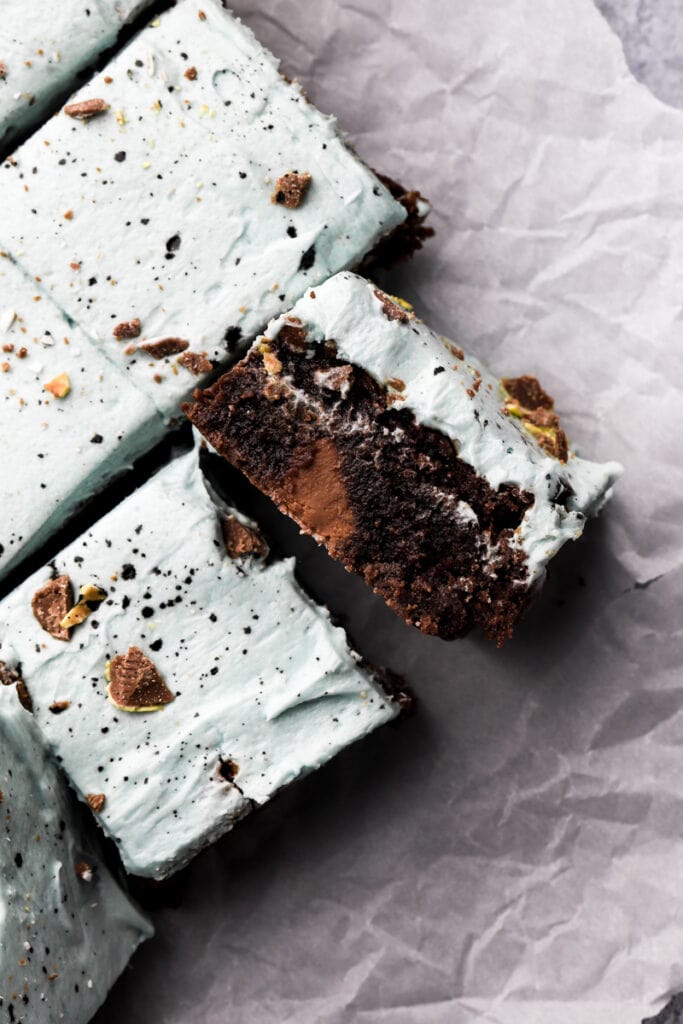
These mini egg brownies are the fudgiest brownies studded with chopped mini Cadbury eggs and frosted with a speckled robins egg malted milk frosting.
Why you’ll love these mini egg brownies
If you’re not familiar with my brownies, I encourage you to check out my PERFECT Fudge Brownies to see why I love them so much. Basically, they’re the perfect combination; thick, chocolatey, fudgy, gooey but not in an “too under-baked” way.
So let’s make them festive, shall we?! I recently made marbled mini egg cookies so I thought it’d be brilliant to add them to brownies too. I wanted them to be a little different than your average mini egg brownies so I frosted them with a speckled robins egg malted milk frosting.
What does that even mean? Well it’s decorated like a speckled robins egg but the flavor is vanilla with malted milk powder. Just something a little different and not so boring!
If you love my brownies, I have some other variations as well like biscoff, oreo fudge, hot chocolate, and peppermint marshmallow, that I think you’ll love!

Ingredients & Substitutions
- Butter: the butter gets melted so it doesn’t matter if it’s cold but it is quicker if the butter is already soft. I like salted butter but unsalted works too, just add an extra ¼ tsp of salt.
- Chocolate: you can use milk chocolate, semi-sweet chocolate or dark chocolate. I prefer dark chocolate for this recipe because the mini eggs and the frosting are already sweet.
- Eggs: always use large, room temperature eggs. Pop them in hot water for 5-10 minutes if they’re cold.
- Sugar: I use both brown sugar and granulated sugar in this recipe for the perfect flavor and texture combination. Light or dark brown sugar works fine.
- You’ll need powdered sugar for the frosting.
- Flour: I always use all-purpose flour.
- I also HIGHLY recommend using a digital scale, as flour is almost always over measured.
- Cocoa Powder: the better quality your cocoa powder is, the better your brownies will taste! My favorite is King Arthur Dutch Process Cocoa Powder or Rodelle Dutch Process Cocoa Powder. Any cocoa powder will work though, even if it’s not dutch processed, just make sure it’s unsweetened.
- Salt: salt brings out the flavor in all baked goods.
- Mini Egg Chocolates: You can use any brand, I used Cadbury but the Hershey’s ones look really pretty. To chop these, smash them with something heavy first and then chop them once they’re broken in half.
- Malted Milk Powder: If you don’t have this, you can make the frosting without it too but I just wanted it to taste a little more unique. I got the King Arthur brand but I’m sure any brand will work fine.
- Heavy whipping cream: I use a 36-40% heavy whipping cream in my frosting. If you use something with less fat play it by sight and see how the frosting looks before adding the whole thing.

Step-by-Step Instructions
- Melt the butter with the chocolate chips and stir until they’re completely smooth.
- Whisk the eggs with the sugars JUST until they’re barely combined. You want it to still be kind of gloopy/eggy, not super thin and smooth.
- Add the chocolate mixture to the egg mixture and whisk just until they’re combined, again still a little gloopy.
- Add the dry ingredients to the wet ingredients and whisk just until the dry ingredients are incorporated.
- Fold in the chopped mini egg chocolates just until they’re evenly distributed.
- Spread the brownie batter in the pan and bake for about 45-50 minutes, remove and allow to cool completely to room temperature.
- Beat the butter with the malted milk powder until they’ve lightened in color and looks creamy.
- Add the powdered sugar and vanilla and beat until they’re well combined.
- Add the heavy cream and food coloring and beat until they’re well combined. Spread the frosting on top of the cooled brownies.
- Dilute a drop of black gel food coloring in ¼-½ tsp of water. Use a small paint brush to speckle the frosting with the black paint and sprinkle some more chopped mini eggs on top.
Make sure to check out my Perfect Fudge Brownies for step-by-step photos and more details on making the perfect brownies!
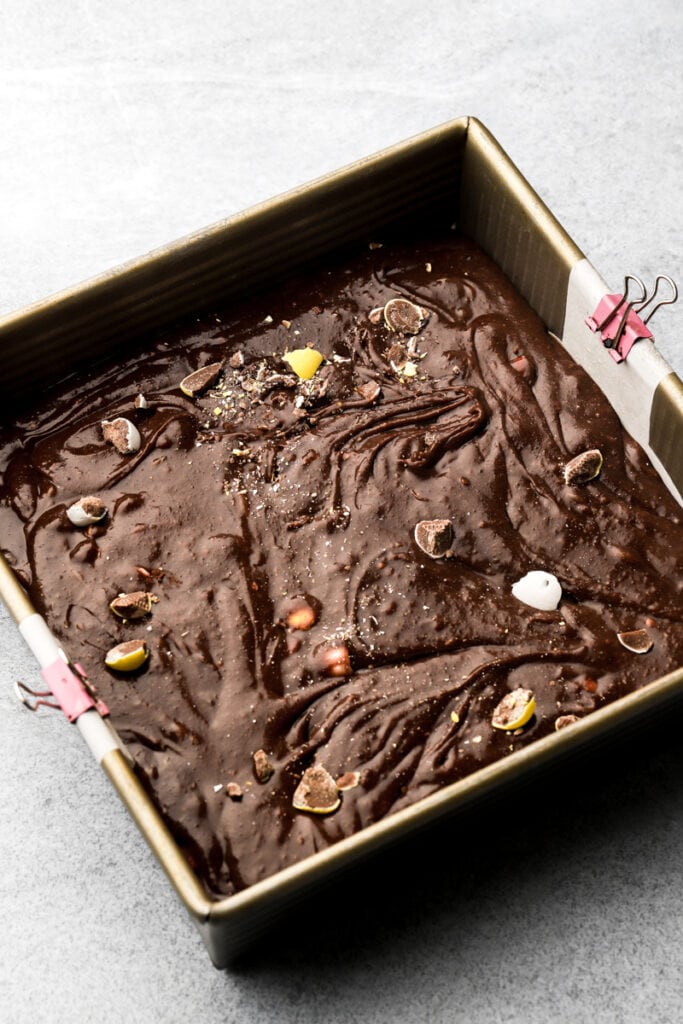

When are brownies done baking?
Brownies are by far the hardest thing for me to assess when they’re done baking. This is especially difficult when you have a meringue top instead of a thin crackle, because the top gets hard and crunchy so touching it with your finger doesn’t really help. I make these brownies with a paper thin, crackle top because:
- They taste better
- They bake up better
- They’re quicker to make
When the top of your brownies have a thin little crackle on top instead of a thick meringue, you can press on it with your finger to see how firm the brownies are underneath. When you move the pan, if the batter jiggles, it’s definitely not done baking.
You want to be able to push your finger on the top (in the center) and feel some resistance. It should feel like a brownie that’s a little “too gooey but almost perfect”. At this point, you’ll remove them from the oven and they will continue to bake as they’re cooling. If they’re firm when you remove them from the oven, they won’t be very gooey once they’re completely cooled.
Can I just use the toothpick test?
Many people like to insert a toothpick into the center of baked goods to test for doneness. Usually if the toothpick is clean or if there are only a few moist crumbs on it then a cake is done baking. That doesn’t work for brownies. We want gooey, fudge brownies so when we remove them from the oven, they will still be a little undercooked and will finish baking as they cool.
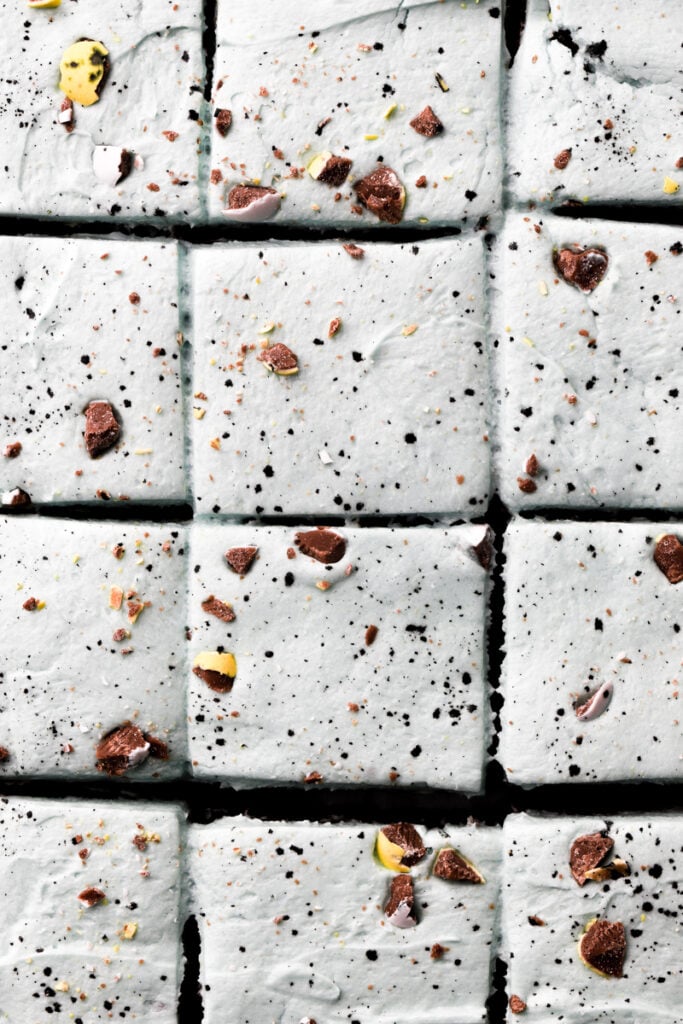
How to get a thin crackly top for homemade brownies?
I know some people are all for the meringue topping but not all brownies are created equal. These brownies will require extra baking time if the top is too thick and meringue-like. The brownies will end up with super crispy edges and a really gooey center.
To avoid making the meringue all you have to do is avoid over-mixing. Do NOT beat the eggs and sugar in the beginning. So many recipes say to beat the eggs and sugar before adding the rest of the ingredients, well don’t for these brownies.
All I do for these brownies (tested like 20x) is combine the eggs with the sugar, use a whisk to lightly mix them and then continue lightly whisking as you add the melted chocolate/butter mixture. Then fold in the dry ingredients until they’re just barely combined.
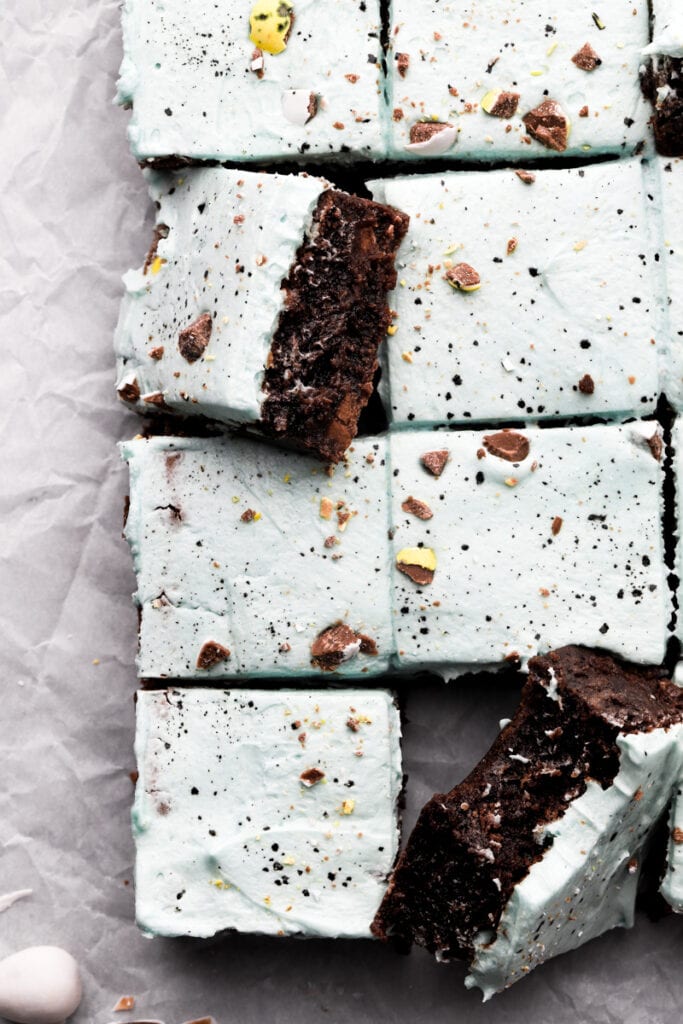
How to perfectly slice brownies?
Ok I don’t know if it’s just me but if I’m not careful to take these extra steps, my brownies always end up looking like a pile of not so tasty brown stuff instead of a delicious pile of brownies.
To get my brownies perfectly sliced, it’s best to chill the brownies briefly. I refrigerated them for about 20 minutes after frosting and then I ALWAYS run my large knife under hot water between every slice I cut.
Yes, between every slice. Because they’re fudg-y, some of the gooey chocolate gets stuck on the knife and if you just go to cut another slice it gets less and less pretty.
How to store mini egg brownies?
Once the brownies have cooled completely, store them in an airtight container. They can stay at room temperature for a few days and in the refrigerator for 7-10 days. Make sure to bring them back to room temperature when serving.

There are so many brownie recipes out there and I’m sure so many of them are amazing but I hope you give my mini egg brownies a chance.
If you make these brownies, make sure to leave a star review if you liked it. If not, please comment below and let me know what you think.
As always, have a blessed day and happy baking!
Love, B

