
Maple Spice Cake with Maple Frosting
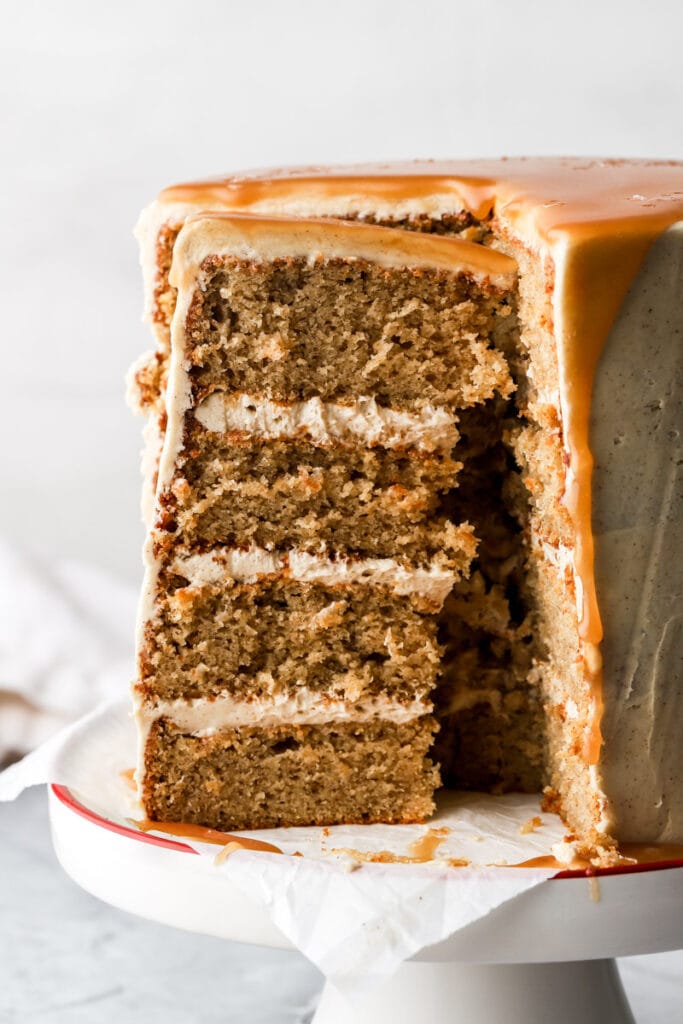
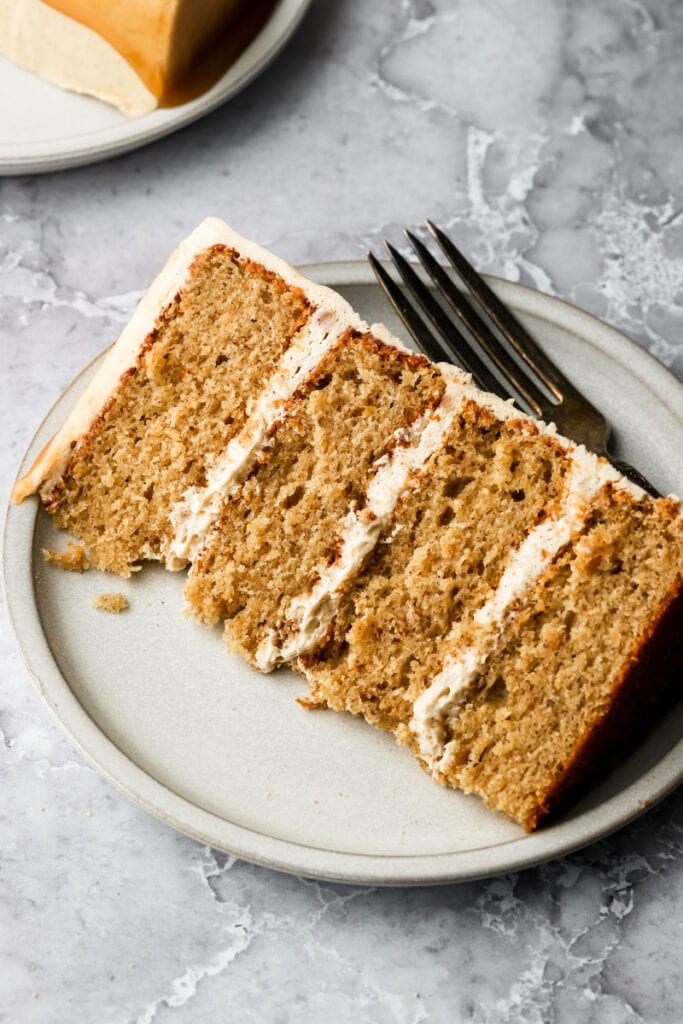
Spice cake sweetened with pure maple syrup and frosted with a brown sugar maple ermine buttercream. Top with salted caramel sauce and pinch of sea salt flakes.
*This recipe has been updated from the original post to make maple syrup the main sweetener and omit the use of extracts. If you want the original recipe feel free to contact us.
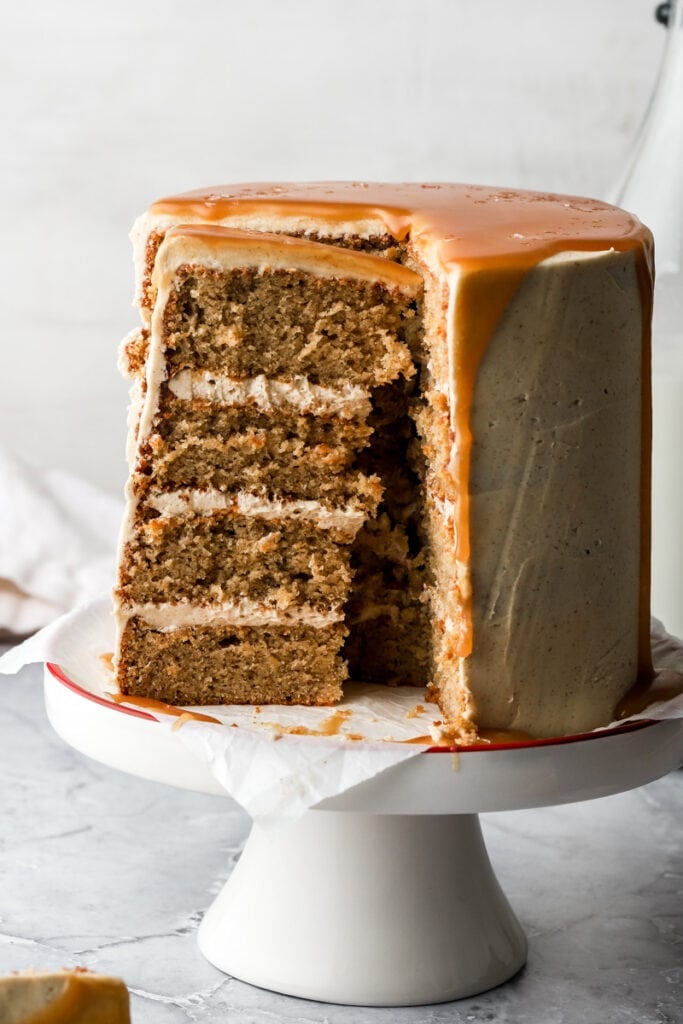
Why you’ll love this maple spice cake
- It’s super simple but tastes so elevated.
- The cake and the buttercream are both sweetened with maple syrup so it has a true maple flavor without using extracts.
- The spices dance perfectly with the maple and brown sugar.
- The cake recipe is very forgiving and allows for many substitutions and dietary restrictions.
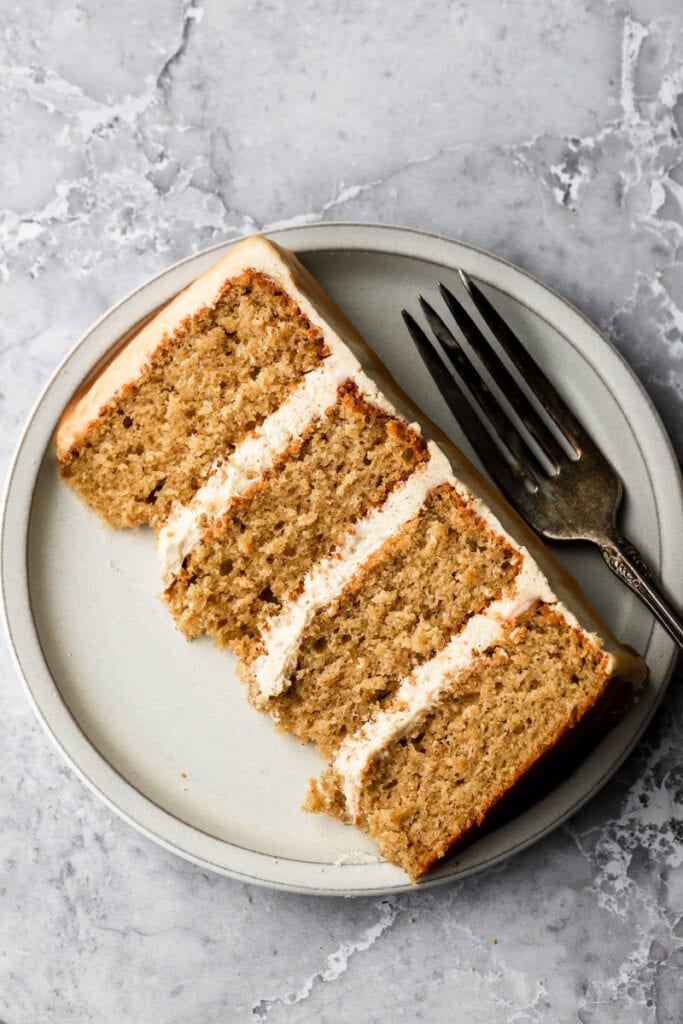
Ingredients & Substitutions
- Flour: I use all purpose flour in most of my recipes and I HIGHLY recommend using a digital scale, as flour (and cocoa) is so often over measured.
- Baking Powder: I used just baking powder here. If you only have baking soda, you can just use 1 tsp of that instead.
- Sugar: I used a little bit of brown sugar in the buttercream and the cake to cream with the butter and incorporate some air. I don’t recommend cutting any out as it affects the texture and the flavor of the cake.
- Light or dark brown sugar works for the buttercream and the cake.
- Maple: make sure to use pure maple syrup and not pancake syrup. You can use whatever kind you like; the darker the stronger the flavor.
- Butter: I like to use salted butter in my cakes but you can also use unsalted butter. Dairy free butter also works well.
- I use unsalted butter in the buttercream.
- Oil: I recommend using a neutral oil like sunflower, vegetable or canola oil.
- Eggs: make sure to use room temperature, large eggs.
- Pop them in hot water for a few minutes if they’re cold.
- Sour cream: I love the combination of sour cream and milk for cakes. The sour cream can be replaced with plain yogurt or greek yogurt. Make sure they are unsweetened.
- Milk: I use whole milk or 2% milk but any milk works fine, even dairy free milk.
- Spices: I use ground spices – cinnamon, nutmeg, ginger, allspice and cloves. If you have only allspice or cloves, one or the other works but don’t skip the cinnamon, nutmeg or ginger.
Step-by-Step Instructions
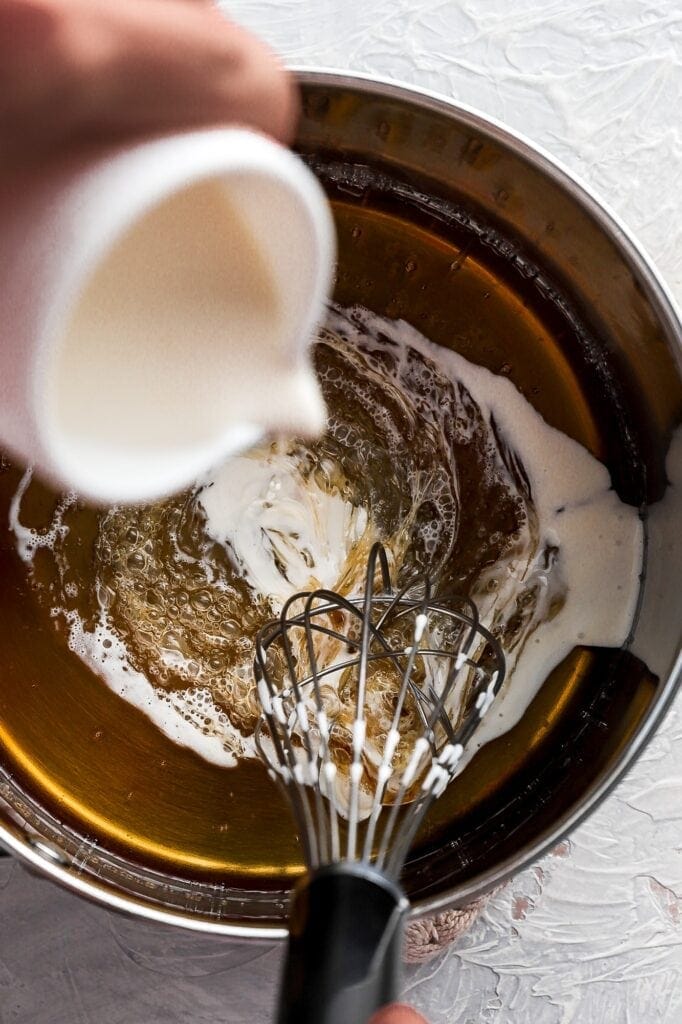
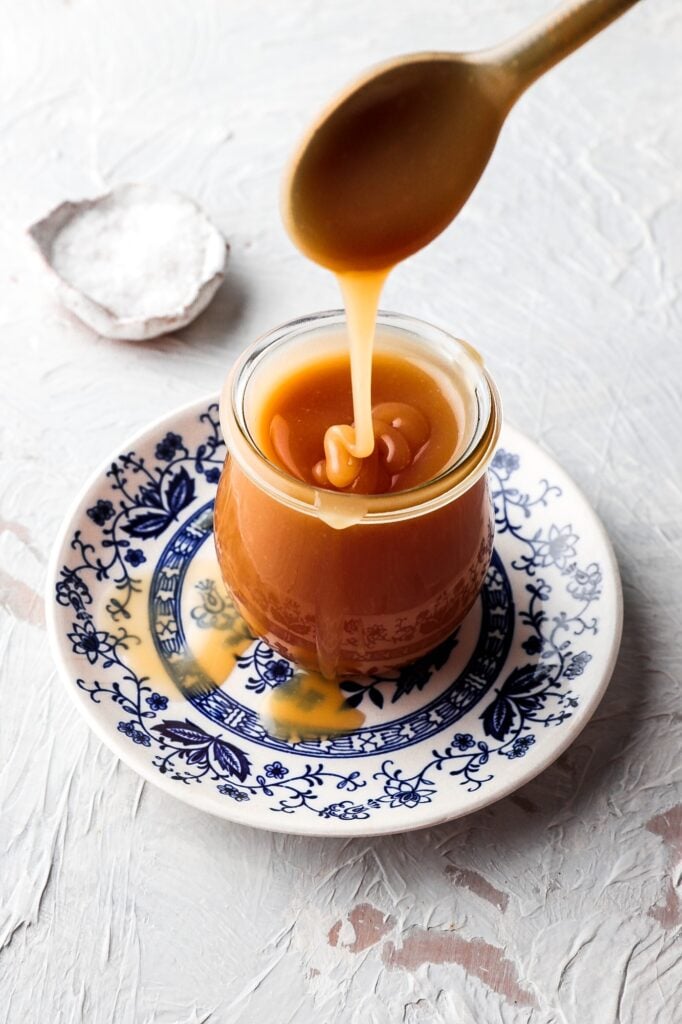
Step 1: Start by making the caramel so it has time to cool. Cook the sugar and water until it turns a dark amber color. Then add the butter and heavy cream and stir until it’s smooth. Add the salt and vanilla and mix until it’s combined.
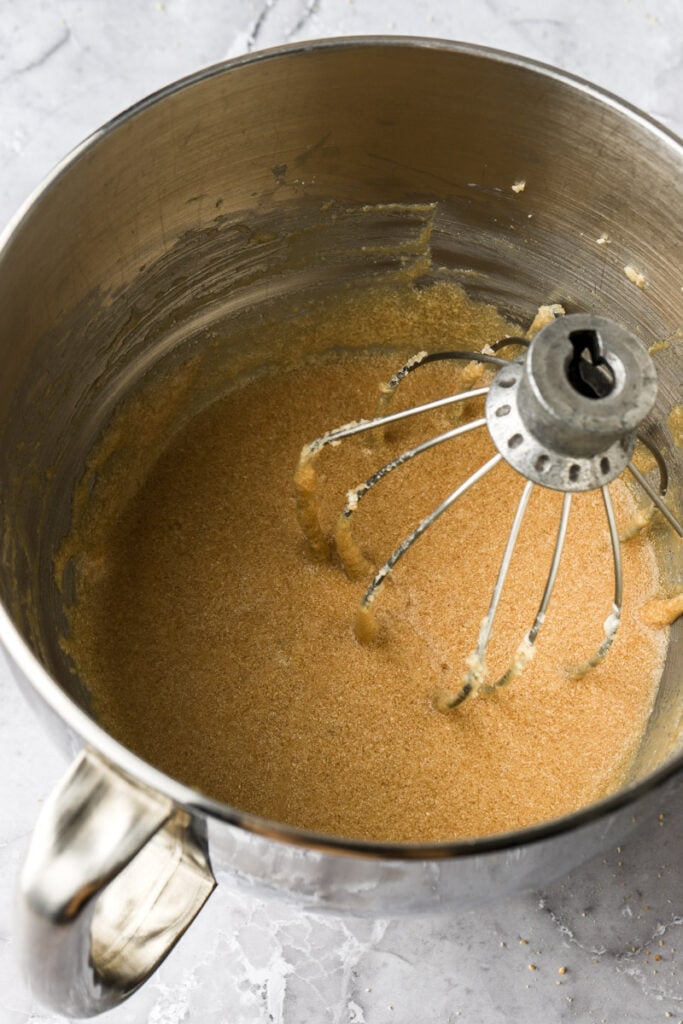
Step 2: Make the cake by creaming the butter with the brown sugar for 1-2 minutes. Then add the oil and maple and beat at full speed for another 1-2 minutes. The batter may look a little split.
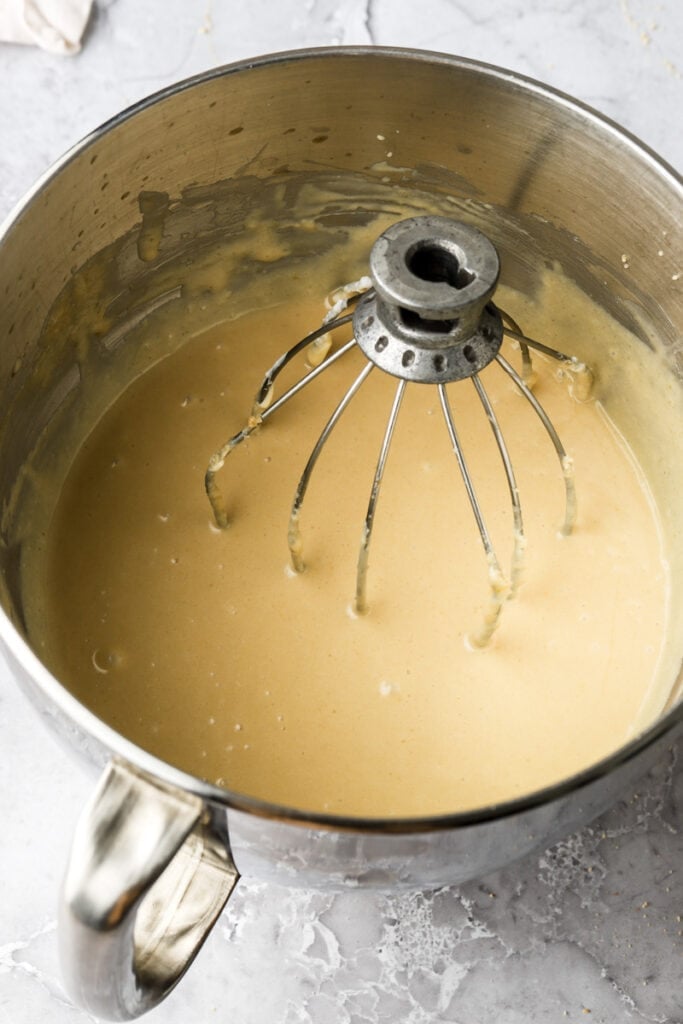
Step 3: Add the eggs one at a time. Make sure each egg is fully incorporated before adding the next egg. Then add the sour cream, mixing just until they’re combined. The batter should emsulify after adding the eggs and should not be split anymore.
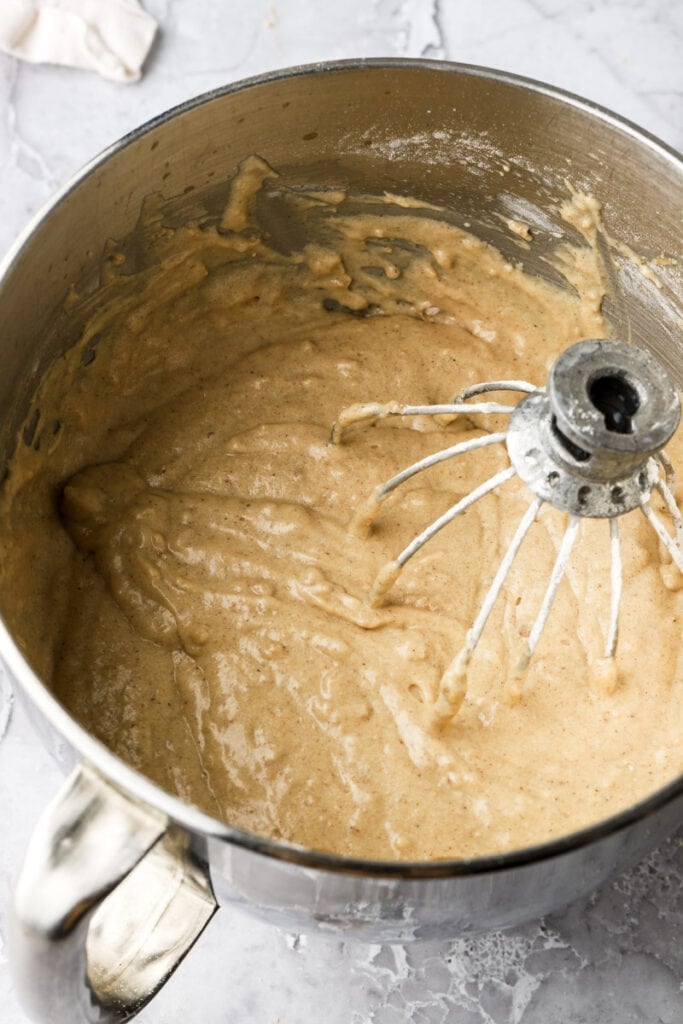
Step 4: Add half of the dry ingredients, followed by the milk and the other half of the dry ingredients. Make sure to scrape the bottom and sides of the bowl well so it’s evenly mixed.
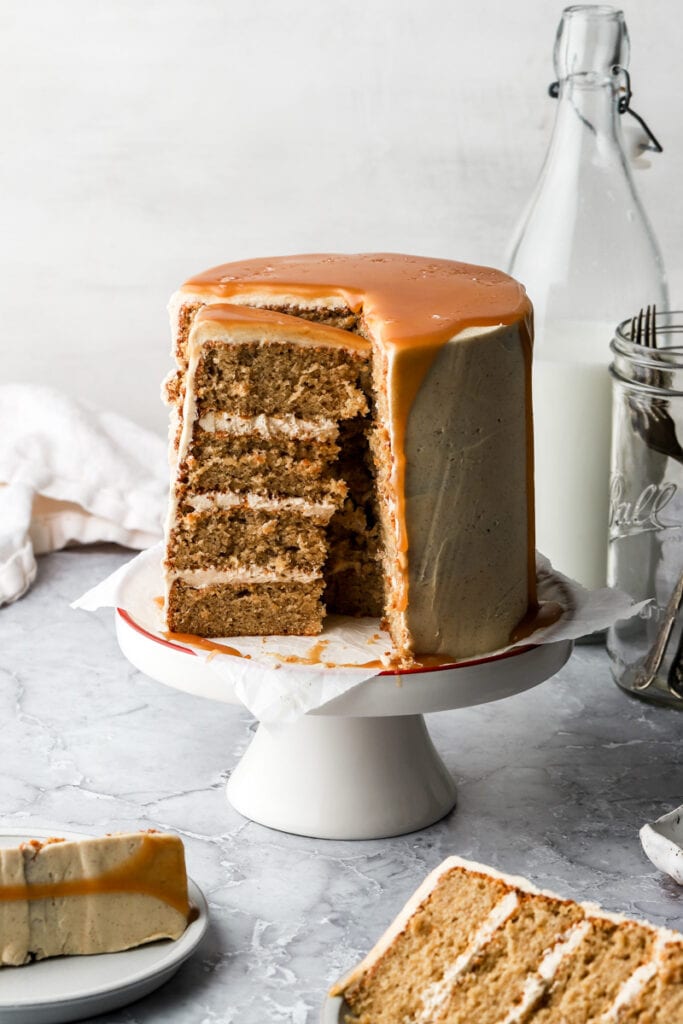
Step 5: Distribute the batter evenly among the four cake pans. You should get about 11 ounces in four 6 inch cake pans.
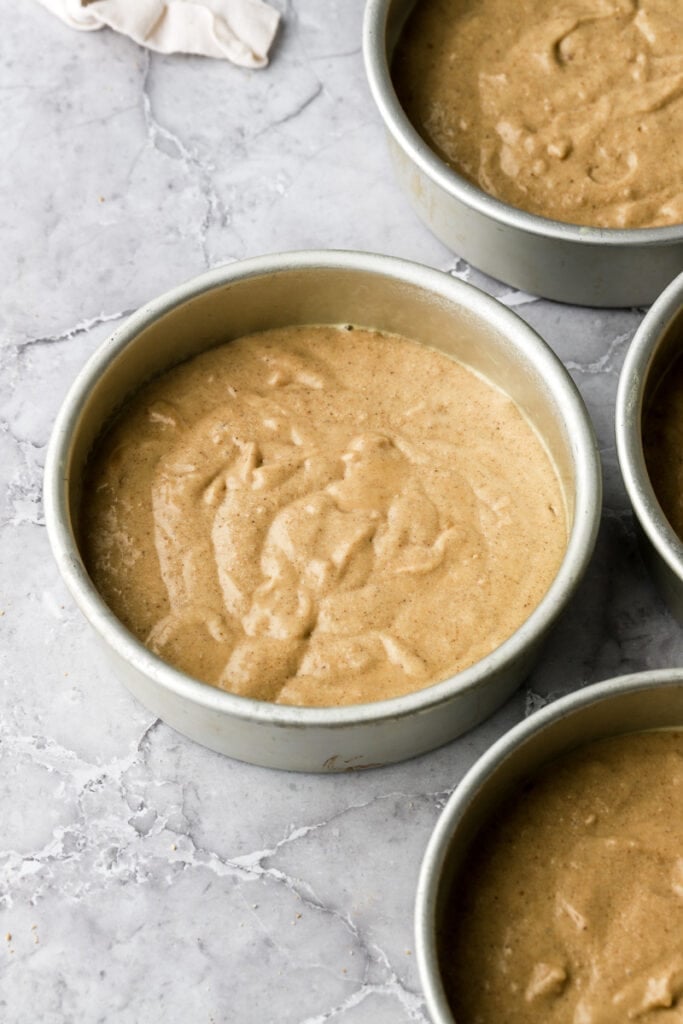
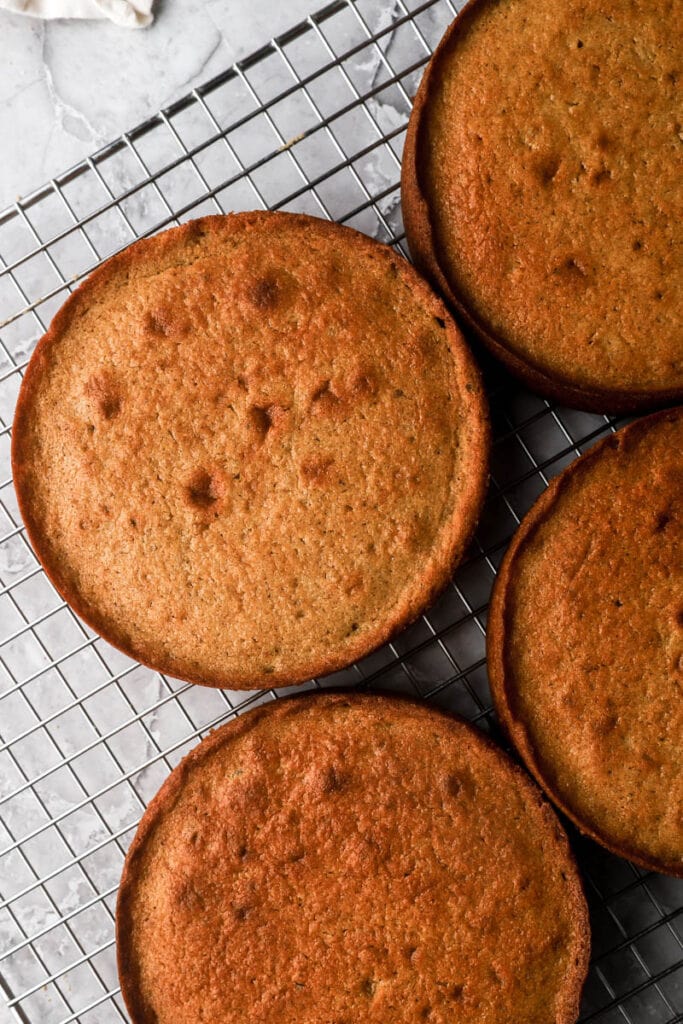
Step 6: Bake for about 25-30 minutes. When the cake is done baking, it will release itself from the edge of the pan and spring back when you press on the center. Flip the cakes over onto a cooling rack or a tea towel right away. Allow them to cool to room temperature.
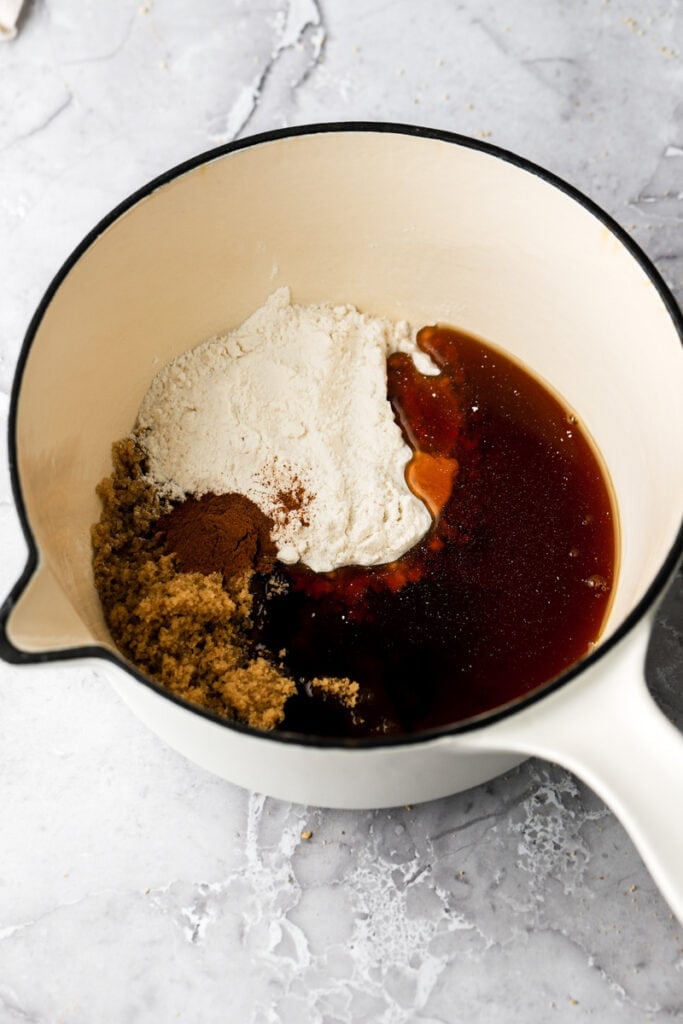
Step 7: Make the buttercream by cooking the brown sugar, flour, cinnamon, maple and milk until it’s thickened like custard. Cover it and set it aside to cool.
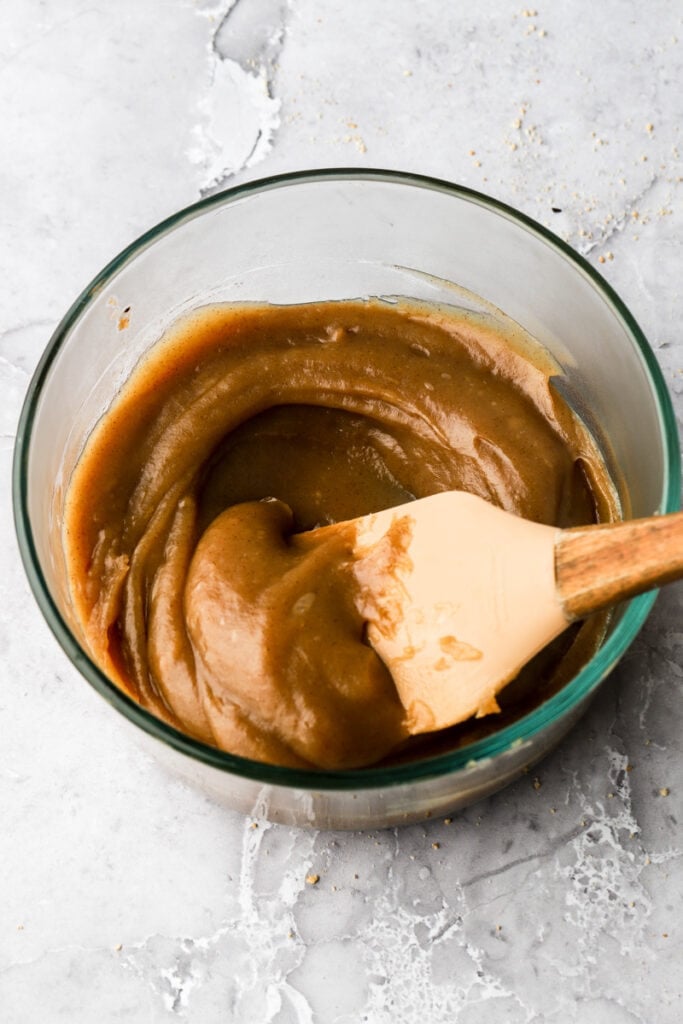
Step 8: Finish making the buttercream by whipping the butter until it’s pale and fluffy. Add the cooled custard in 3-4 increments and mix until it’s smooth.
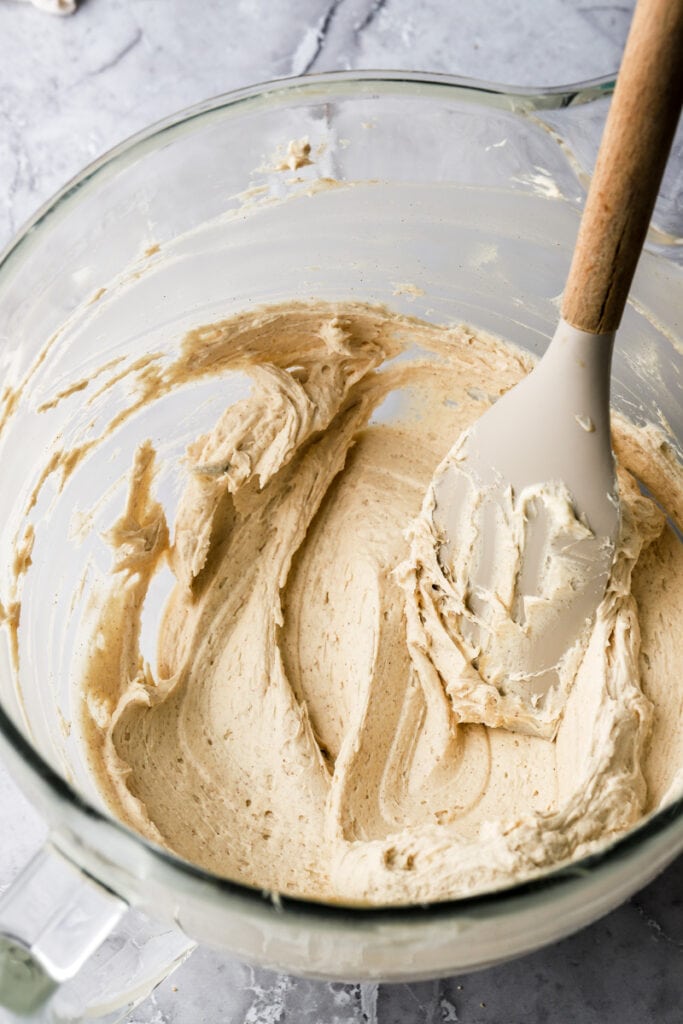
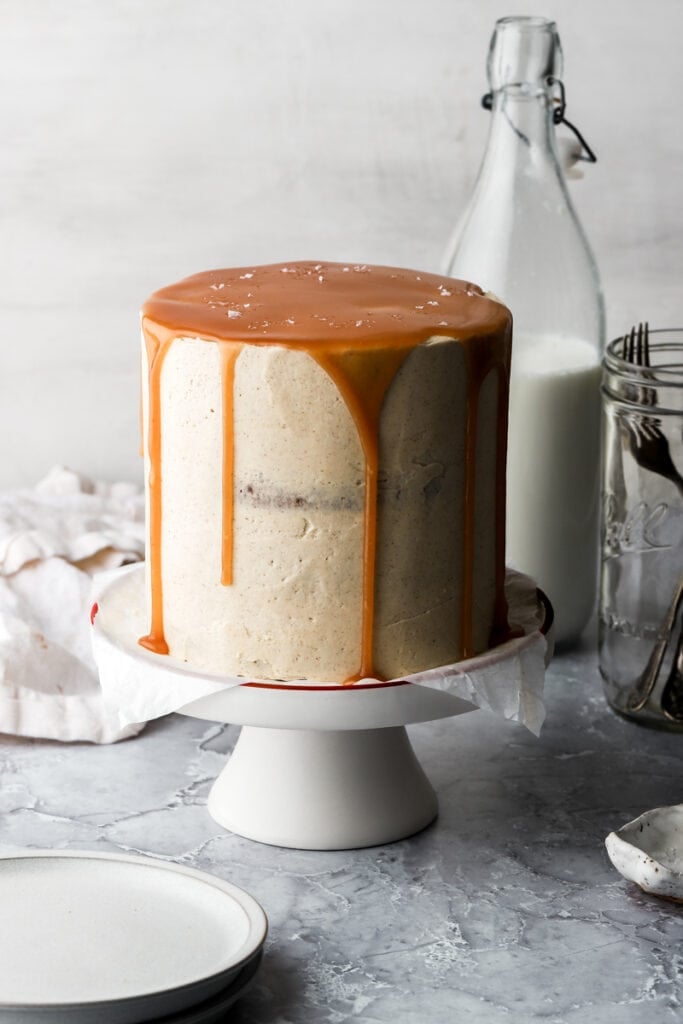
Step 9: Frost the cake and refrigerate until the frosting feels chilled. Spread the cooled salted caramel sauce on top and slowly spread it out so it drips off the edge.
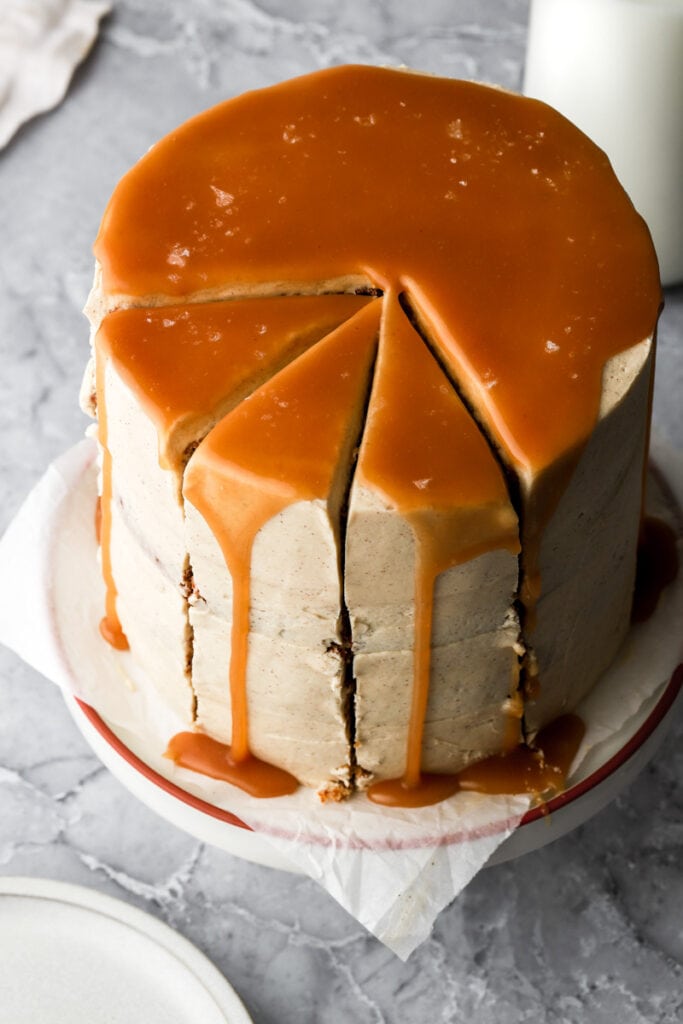
How to get the perfect caramel drip
- Make sure the caramel sauce has cooled completely to room temperature so it doesn’t over drip and doesn’t melt the frosting at all.
- Make sure the cake is chilled when you pour the caramel sauce on top – this will help the caramel set so it doesn’t drip too much.
- Less is more; start slow and little – caramel drips much more than chocolate. It’ll thin on and continue dripping even after it looks set.
- For a waterfall drip, pour the caramel on top of the cake and use an offset spatula or a spoon to spread it out to the edges, allowing it to fall off of the cake naturally.
- For a more uniform drip, refrigerate the caramel for a little so it’s not quite as runny. Then place it in a piping bag with a small tip and pipe the drips along the edge of the cake. Then spread the rest on top, being careful not to ruin the drips on the side of the cake.
Frequently Asked Questions
You can use dairy free butter, dairy free milk/cream to make any of my cakes. You can also use a dairy free cream and butter to make the caramel sauce.
All my cake recipes work well with a 1:1 gluten-free flour like Bob’s Red Mill and King Arthur Flour.
You can make this cake in:
Three (or more) round or square 6 inch baking pans – I used round
Two round (or more) or square 8 inch baking pan
Two round or square 9 inch baking pan (will be thinner than the cakes in the photo) – reduce bake time by 5-10 minutes
One round or square 10 inch baking pan – increase bake time by 10-15 minutes, look for cues.
A 9×13 inch pan – increase bake time by at least 10-15 minutes, look for cues.
Cupcakes – Should make about 23 cupcakes, bake for 16-18 minutes
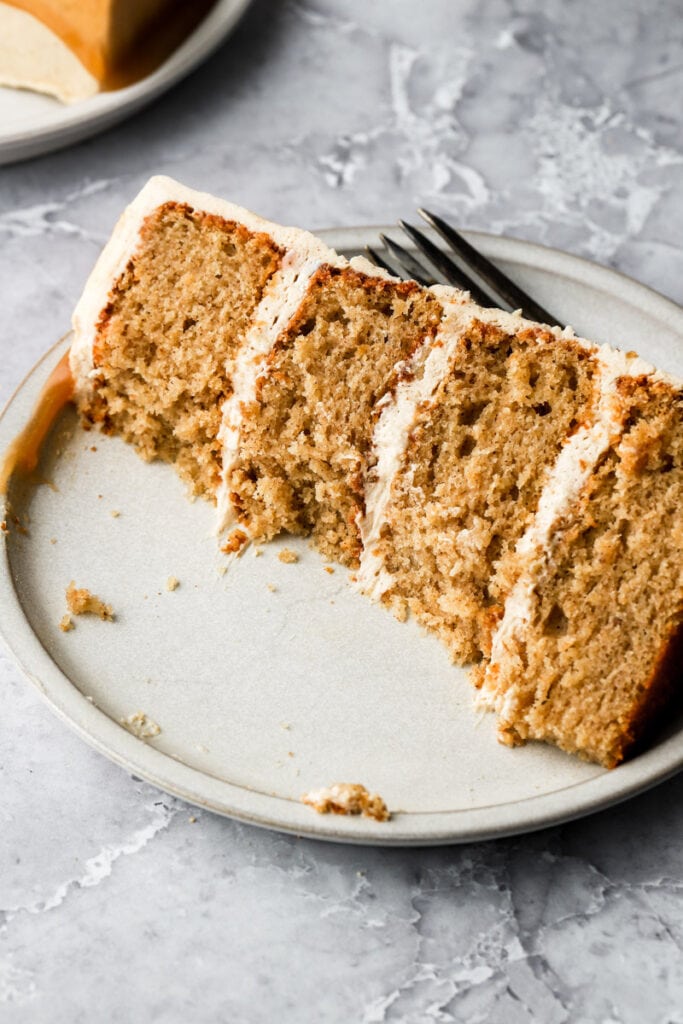
Just like all the rest of my cakes, I test if it’s done baking by pressing gently on the tallest part of the cake. The cake will spring back if it’s done baking. If it stays indented, give it a few minutes in the oven, before testing again.
You can also insert a toothpick into the center of the cake (the tallest part) and make sure it comes out clean or with a few crumbs but without any batter on it.
You can double the recipe for the buttercream if you want to decorate the outside as well.
Alternatively you can also just make one batch of swiss meringue buttercream, french buttercream or american buttercream to decorate the outside of the cake as well.
How to make ahead
To make the cake ahead of time you can make the cakes even a month in advance. When you remove them from the oven, let them cool for about half an hour and then wrap them individually in plastic wrap. Then place them in a freezer bag, squeezing out all the excess air.
To make the buttercream ahead of time: I don’t prefer to make this buttercream ahead of time as it can be temperature sensitive but it is possible. You can cover it and leave it at room temperature for 1-2 days or refrigerate or freeze it in an airtight bag or container for weeks. Make sure to bring it back to room temperature well before frosting the cake.
To make the caramel ahead of time just follow the instructions until it’s done, place it in an airtight container and refrigerate for a few days. Bring back to room temperature before assembling the cake.
How to store finished cake
I usually just cover it with a cake dome or place it in an airtight container and store it at room temperature for 1-2 days.
Refrigerate for an additional up to a week but I recommend freezing it to keep it more fresh.
To freeze the whole cake, refrigerate it until it’s firm. Then wrap it in plastic wrap so it’s completely covered. Then wrap it in aluminum foil and freeze.
To freeze slices, place the slices in an airtight container and then place the container in a freezer bag, squeezing out all the excess air.
Bring it back to room temperature by thawing at room temperature for a few hours before serving.
Thanks so much for reading today’s post, if you have any questions just comment down below. Make sure to leave it in the comment section because I can’t answer in the rating section.
If you make this gorgeous maple cake, I’d love it if you left a star rating for me. If it’s less than five stars, please leave a comment with the rating so I know why! 🙂
As always, have a blessed day and happy baking!
Love, B

Hi!! I was wondering if this could be made into cupcakes? It looks delicious!
Hi! I haven’t tested these as cupcakes but if you try them, let us know if it works 🙂 There’s a chance they might sink or bake up flat but I’m sure they would still taste good.
Thanks so much for letting me know! Out of curiosity, is there a reason they may sink?
This batter just bakes up really flat and isn’t quite as sturdy as others and cupcakes are finicky about getting a nice dome 🤣
Hi,
Can I make this in a Bundt pan (10 cup) instead? And would the measurements change?
Thanks