
Hot Chocolate Cupcakes
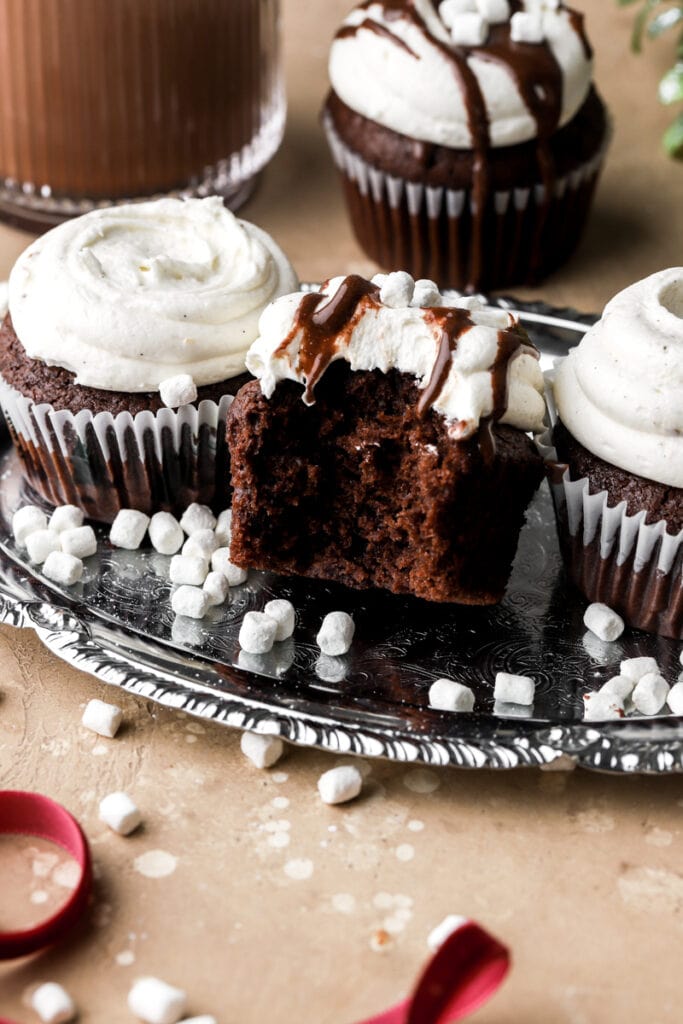
Hot chocolate cupcakes are made with a chocolate base and frosted with a marshmallow buttercream frosting. Finish it with a hot cocoa drizzle and mini marshmallows.
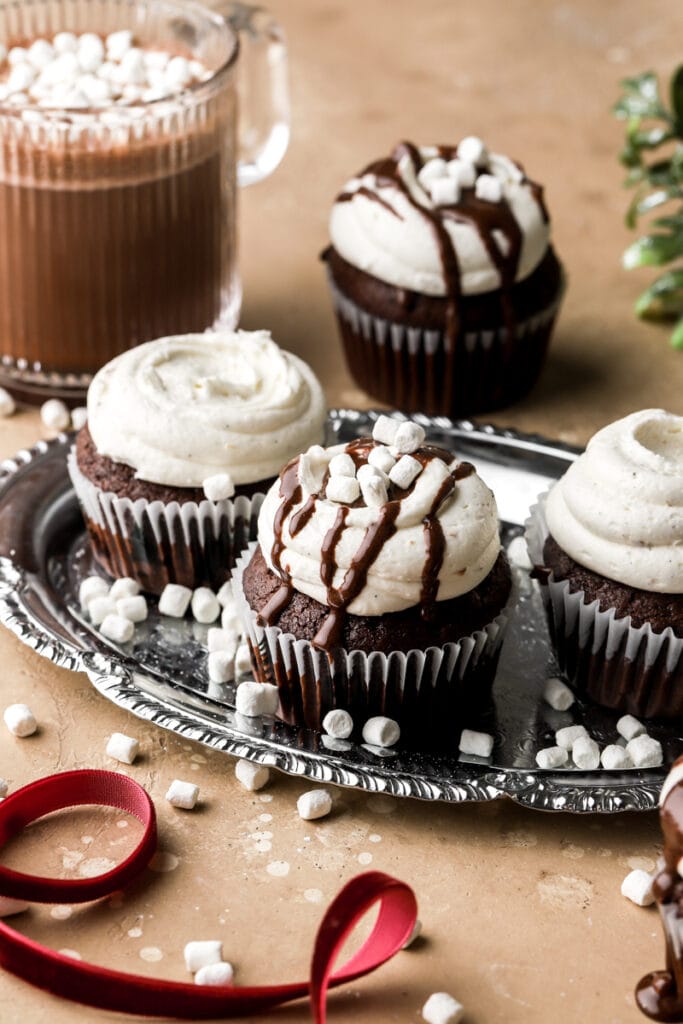
Another holiday-drink inspired cupcake for you! I actually have one more I want to do but may not have time. I’ve always wanted to make white Russian cupcake so maybe next year lol.
Why you’ll love these hot chocolate cupcakes
- They’re fairly simple to make.
- The recipe is forgiving – works well with dairy free butter and milk, and gluten-free flour.
- They’re rich, sweet and super indulgent, just like hot cocoa should be.
For similar recipes make sure to check out my eggnog cupcakes, hot chocolate brownies, ferrero rocher cookies and s’mores cupcakes. You can also make them using my small batch cupcakes.
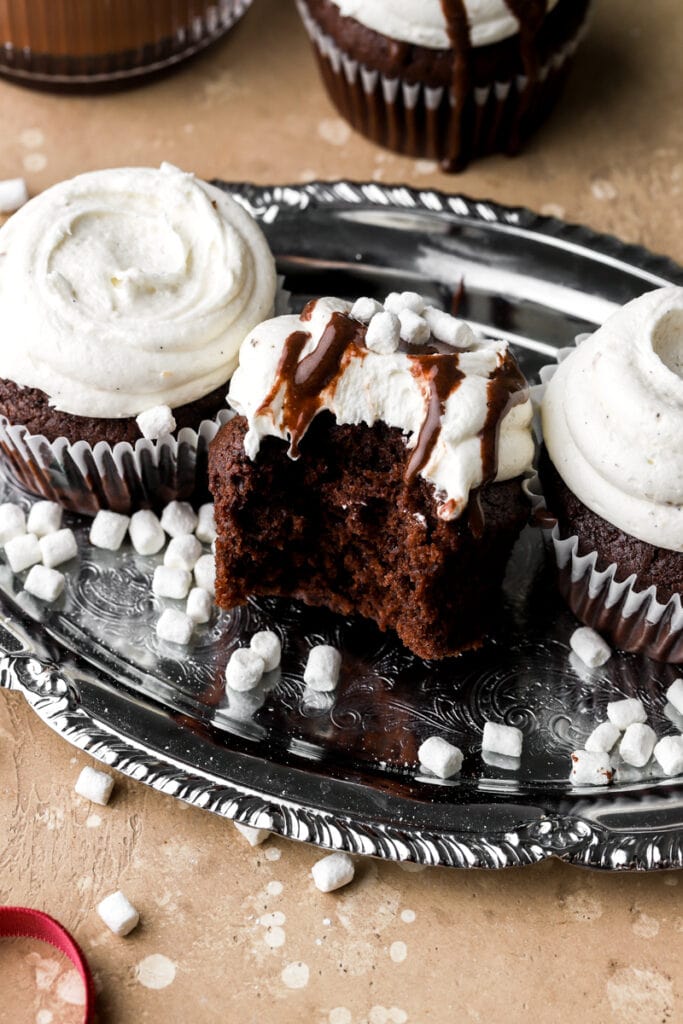
Ingredients
- Butter: I use unsalted butter to make the buttercream. Make sure it’s softened to room temperature so it creams well with the dry ingredients.
- Flour: I use all purpose flour in most of my recipes BUT you cannot beat the texture of cake flour in cupcakes so I highly recommend King Arthur’s Cake Flour. It is far superior to some alternatives in the grocery stores.
- I have used the “homemade cake flour” trick by replacing 1 tablespoon of all-purpose flour with cornstarch. The cupcakes will work if you make them this way but they won’t be quite as soft and tender.
- I HIGHLY recommend using a digital scale, as flour is so often over measured.
- Baking Powder: to leaven the cupcakes.
- Cocoa Powder: I use dutch-process cocoa powder in the cupcake. Any kind of unsweetened cocoa powder will work though.
- I don’t recommend using hot chocolate powder in the cupcake batter, it doesn’t give it a strong enough chocolate flavor and makes it too sweet. I used the hot chocolate powder to make the drizzle on top.
- Sugar: I used granulated sugar in the cupcakes and powdered sugar in the buttercream.
- Oil: I use a neutral oil like vegetable oil, canola oil or sunflower oil here. You can also use olive oil, the flavor will mostly be masked by the chocolate.
- Eggs: use large eggs and make sure they’re at room temperature. Submerge them in hot water for 5-10 minutes if you’re in a pinch.
- Sour Cream: I’ve used greek yogurt and sour cream in this recipe and they both work well. You can also use plain yogurt, make sure it’s unsweetened.
- Hot Chocolate: I used both the Swiss Miss brand and the Aldi’s brand to make the hot chocolate drizzle on top. Any brand should work fine.
- I prefer to remove the mini marshmallows from the packets and save them to put on top.
- Marshmallow fluff: I toasted my marshmallow fluff before adding it to the buttercream because I like the extra toasty flavor. If you want to pipe this frosting and you want it to be smooth, skip the toasting because it makes little dark flakes in the buttercream that don’t pipe smooth.
Step-by-Step Instructions
Step 1: Whisk together the flour, cocoa powder, sugar, baking powder and salt until they’re evenly distributed.
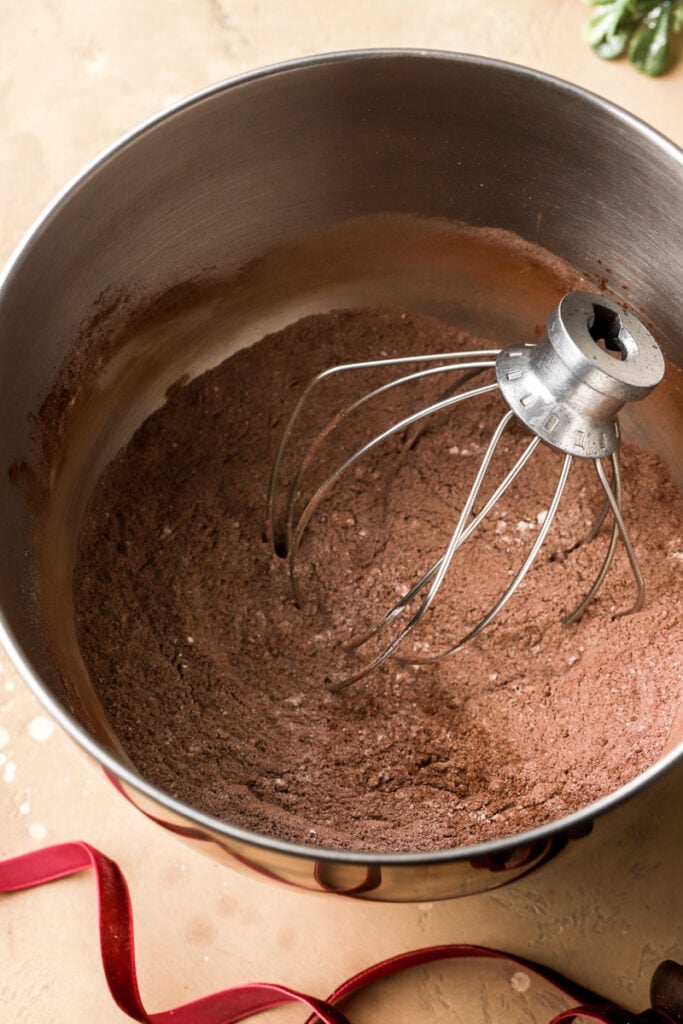
Step 2: Add the oil and use a whisk or electric mixer to beat them at medium, until they’re crumbly like a streusel.
Step 3: Add the eggs and vanilla and mix just until it’s well combined and the batter looks like paste.
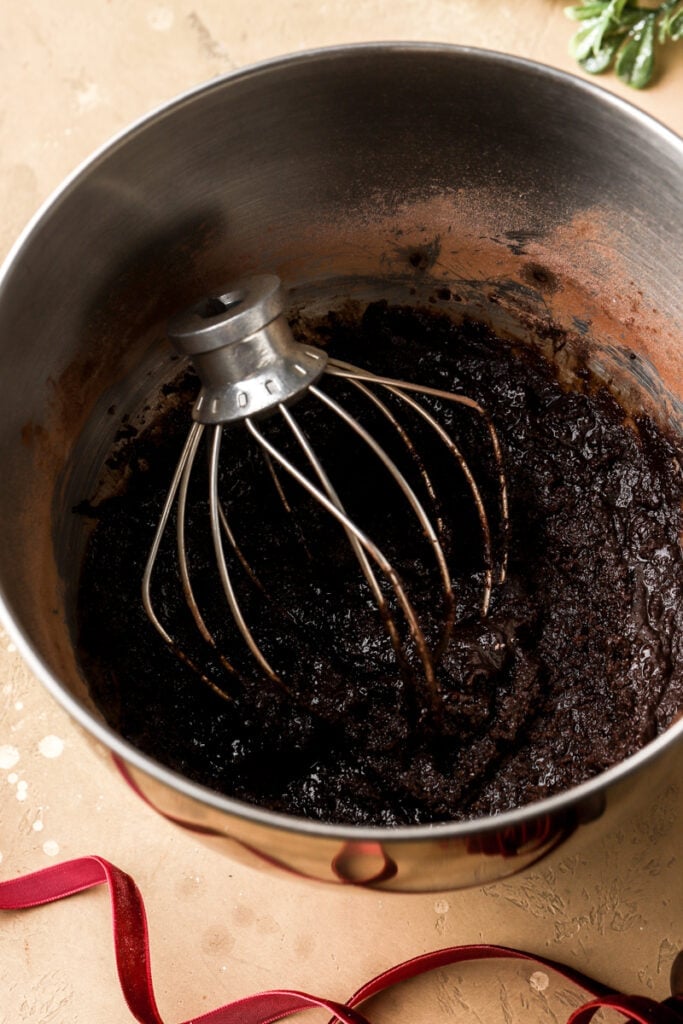
Step 4: Add the sour cream and turn the mixer to low speed while streaming in the milk.
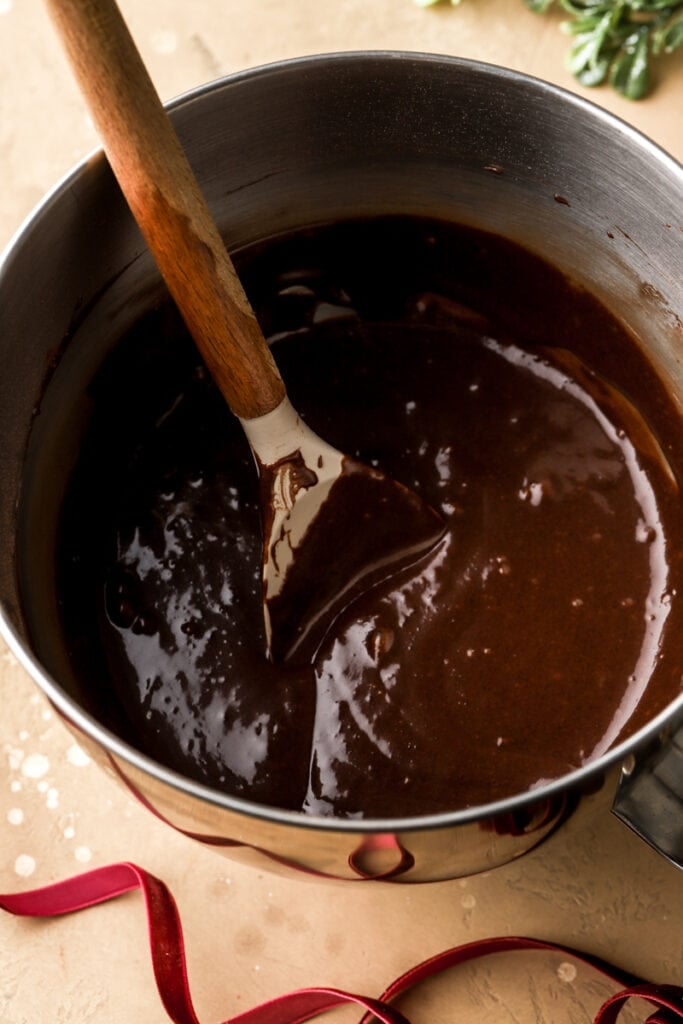
Step 5: Scrape the edge of the bowl and give it a good mix. Fill the cupcake liners about ⅔-¾ full. I recommend weighing them so each cupcake has 50-55 grams of batter.
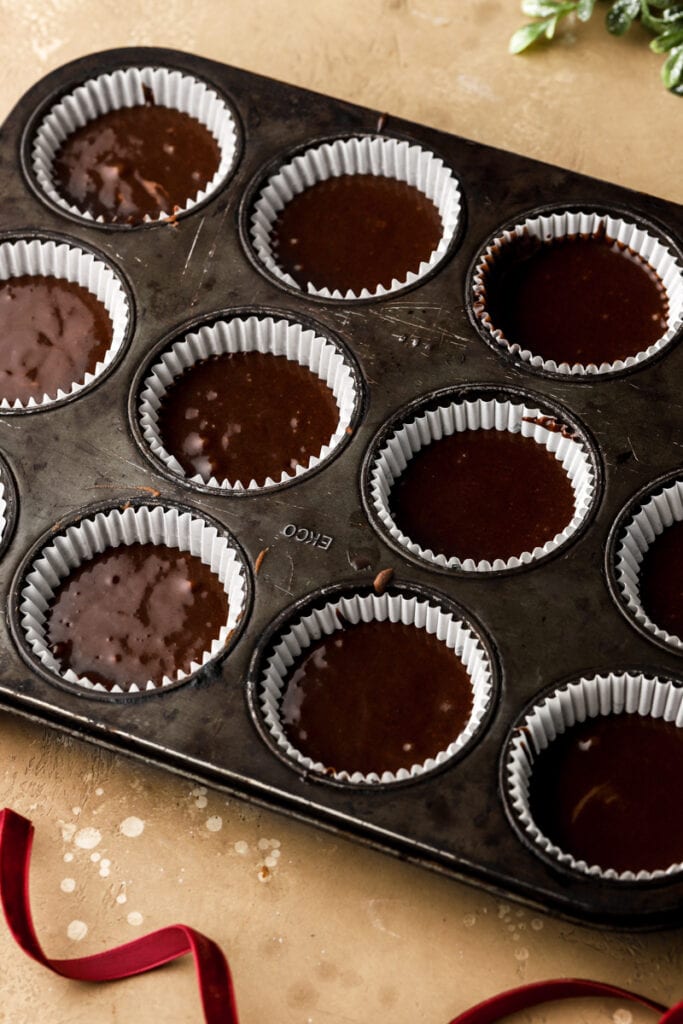
Step 6: Bake for 16-18 minutes, until the tallest part of the cupcake, in the center, springs back when you press on it. If you’re hesitant, give it another minute or so.
Step 7: Let the cupcakes rest for 10 minutes in the pan, then remove them from the pan.
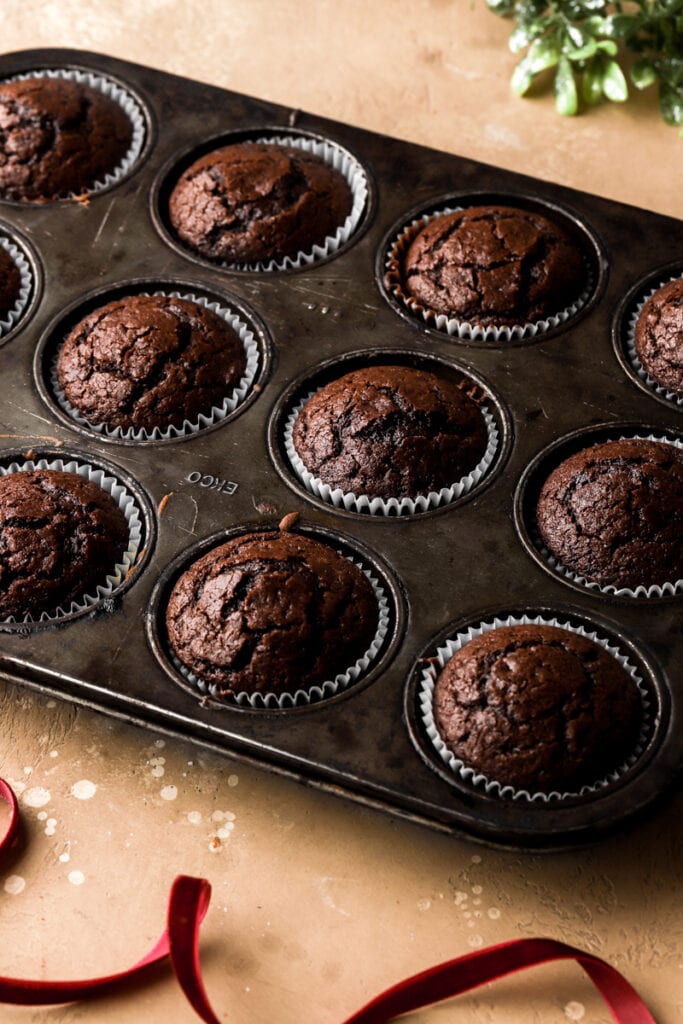
Step 8: If you’re toasting the marshmallow fluff, spread it out in a wider bowl and use a culinary torch to toast the marshmallow fluff.
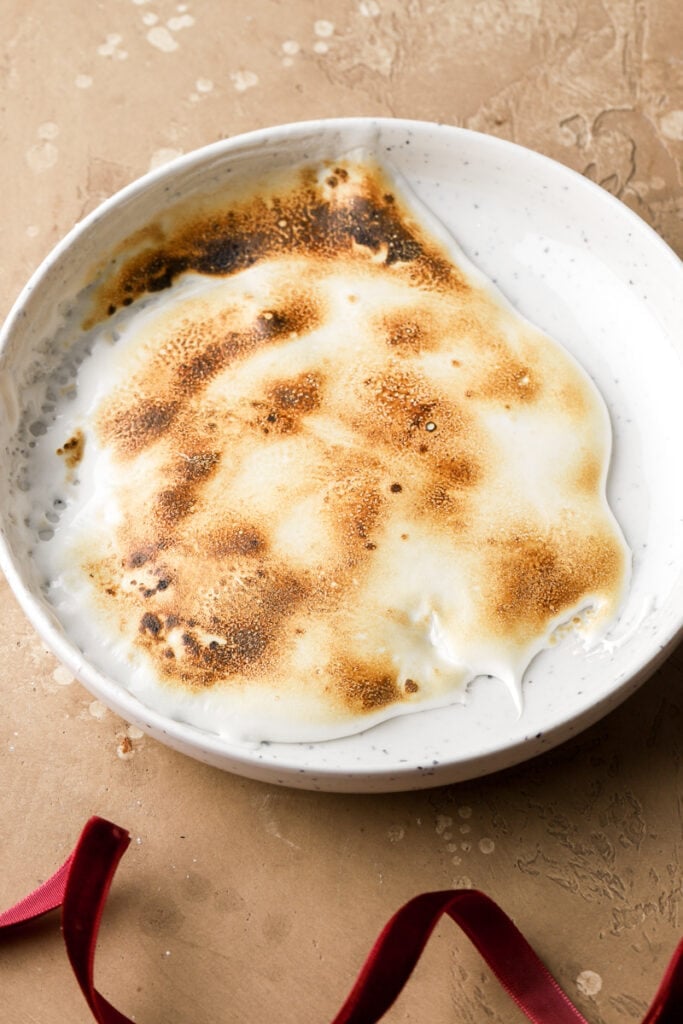
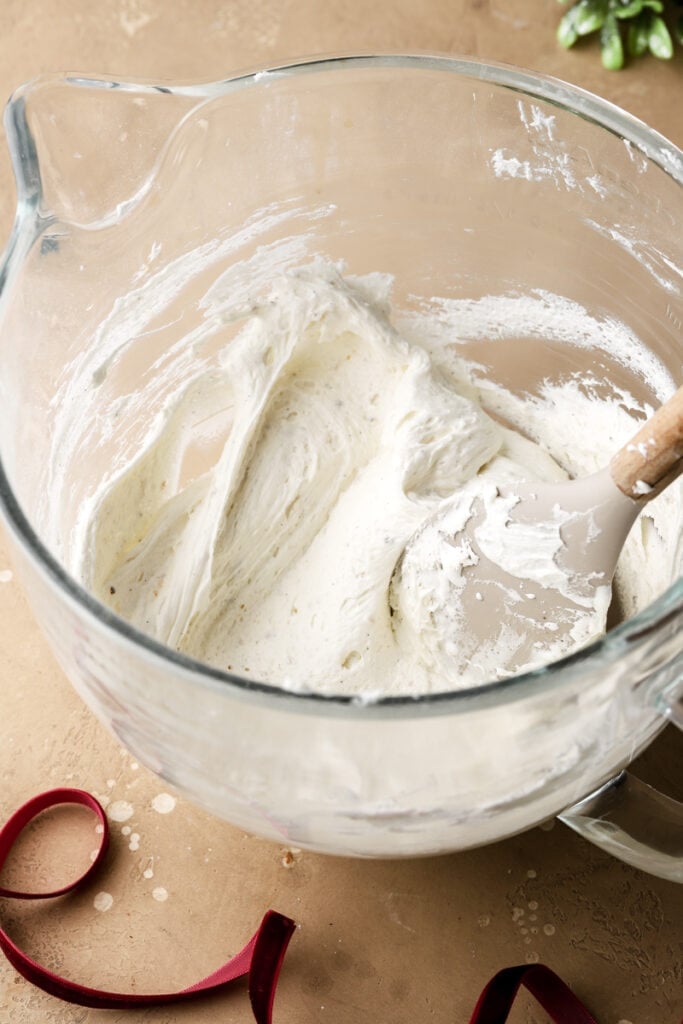
Step 9: Make the frosting by beating the room temperature butter with the powdered sugar and salt, until it’s smooth. Then add the vanilla extract and marshmallow fluff, beating just until it’s combined.
Step 10: Make the hot chocolate sauce by combining a packet of hot chocolate powder with hot water. Stir until the mixture is smooth and runny and drizzle on top of cupcakes.
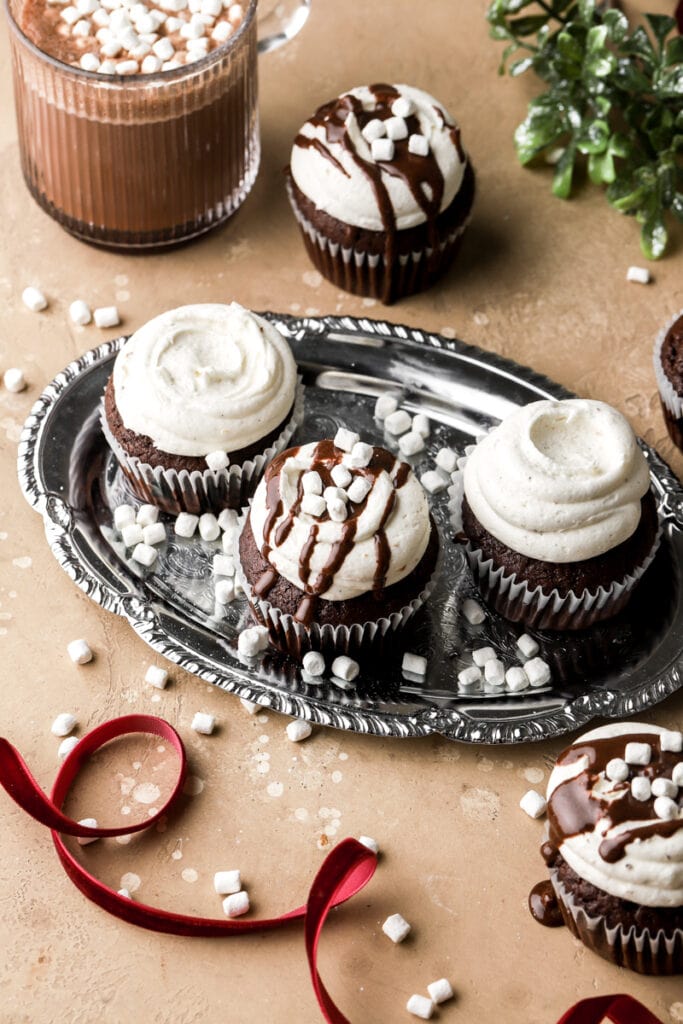
Step 11: Pipe the buttercream on top of the cupcakes and top with a drizzle of hot chocolate sauce and some mini marshmallows.
Why do I use the reverse creaming method?
The reverse creaming method is where you combine all the dry ingredients including the flour, sugar, baking powder, salt, etc. with the butter and oil first. In this step the oil is coating the flour particles. When the flour is coated with fat first, it inhibits the development of gluten, making the cupcakes extra tender (over developing the gluten is what can make cakes tough).
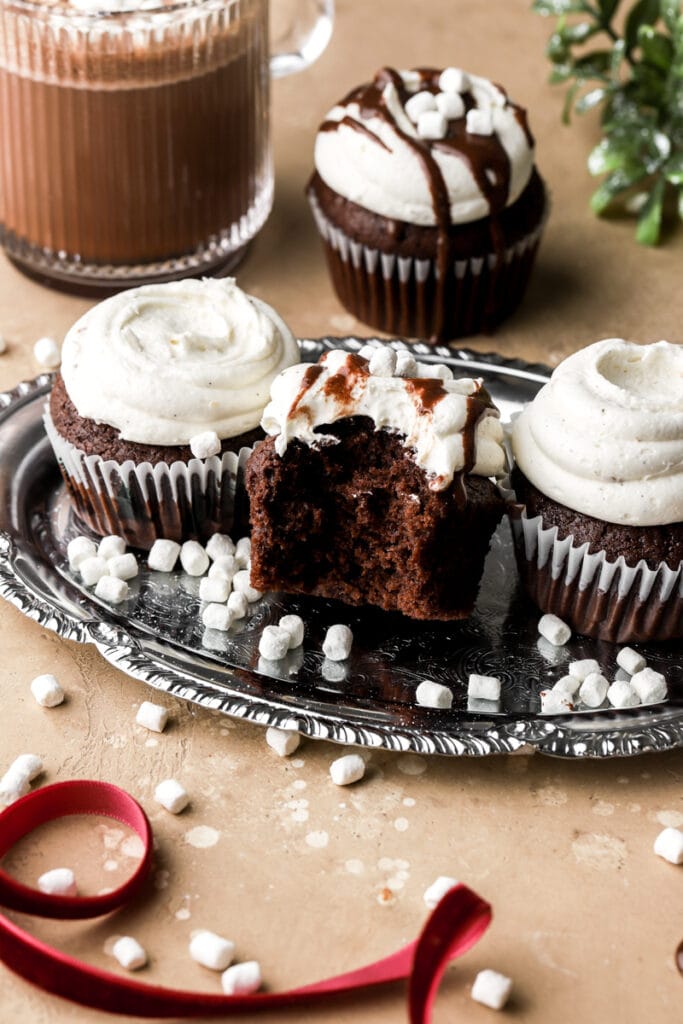
This also provides a ‘tight’ crumb which means you should have large air pockets in the crumb of the cake. The lack of the large air pockets helps the cupcakes rise more evenly so that they’re not lopsided and don’t deflate when you remove them from the oven.
Expert tips on getting perfect hot chocolate cupcakes
- Don’t swap ingredients unless I mentioned them in the ingredient section above.
- Don’t reduce the sugar. I know a lot of people do that for some recipes but not don’t do it for the cake part. The frosting is very sweet so feel free to use less of it on each cupcake or reduce the powdered sugar a little.
- Weigh your ingredients with a digital scale.
- Weigh the batter for each cupcake with a digital scale. I just place the cupcake pan on the scale with the liners and measure out 50-55 grams for each cupcake.
How to store these hot chocolate cupcakes
I usually just cover them with a cake dome or place them in an airtight container and store them at room temperature for 2-3 days. You can store them in the refrigerator for an additional 2-3 days but if it’s any longer, I recommend freezing them.
To freeze the cupcakes, place them in an airtight container and then place the container in a freezer bag, squeezing out all the excess air. Bring them back to room temperature by thawing at room temperature for a few hours before serving.
Frequently Asked Questions
This cupcake holds on to moisture really well so you can make it 1-2 days in advance before serving.
If you only have one muffin pan, the rest of the batter can just wait on the counter until the first 12 are done baking.
Just like all the rest of my cakes, I test if it’s done baking by pressing gently on the tallest part of the cake. The cake will spring back if it’s done baking. If it stays indented, give it a few minutes in the oven, before testing again.
I have not tested this cupcake recipe as a cake recipe but I don’t see why it wouldn’t work.
Another option is to use double this frosting on my 6 inch chocolate cake or triple the frosting on my 8 inch chocolate cake.
Thanks so much for reading today’s post, if you have any questions just comment down below. Make sure to leave it in the comment section because I can’t answer in the rating section.
If you make these hot chocolate cupcakes, I’d love it if you left a star rating for me. If it’s less than five stars, please leave a comment with the rating so I know why! 🙂
As always, have a blessed day and happy baking!
Love, B
Hot Chocolate Cupcake Recipe
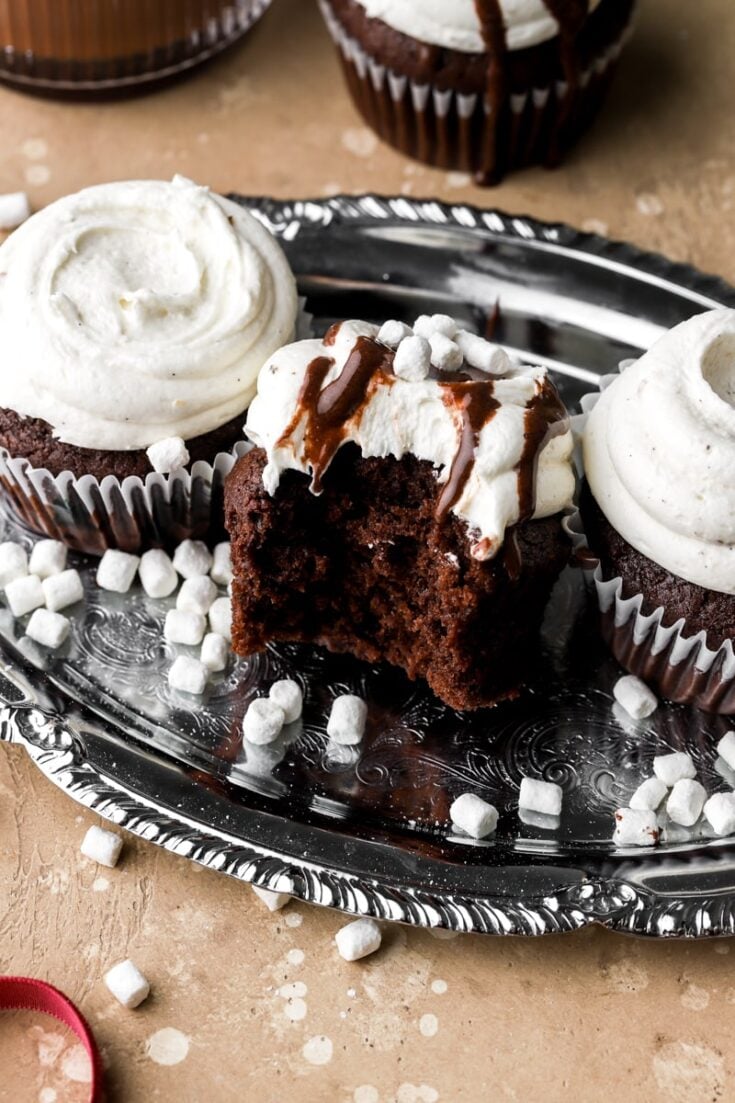
Hot chocolate cupcakes are made with a chocolate base and frosted with a marshmallow buttercream frosting. Finish it with a hot cocoa drizzle and mini marshmallows.
Ingredients
Chocolate Cupcakes
- 1 1/4 cup (150g) all-purpose flour, spooned and leveled
- 1/2 cup (40g) unsweetened cocoa powder (I used dutch process), spooned and leveled
- 1 cup (200g) granulated sugar
- 2 tsp (6g) baking powder
- 1/2 tsp fine sea salt
- 1/2 cup (120mL) vegetable oil
- 2 large eggs, room temperature
- 1/2 cup (113g) sour cream
- 1/2 cup (120mL) milk, room temperature
Marshmallow Frosting
- 1 cup (227g) unsalted butter, room temperature
- 2 1/2 cups (300g) powdered sugar, spooned and leveled
- 1 cup (3oz) marshmallow fluff
- 1 tsp vanilla bean paste or vanilla extract
- Tiny pinch of fine salt
Hot Chocolate Topping
- 2 Tbsp (30mL) hot water
- 2 packets of hot chocolate powder
Instructions
Chocolate Cupcakes
- Preheat the oven to 350F/177C convection (325F/163C conventional) and line 13 muffin tins with cupcake liners (or 12, the batter for the 13th can wait).
- In a medium bowl, whisk together the flour, cocoa powder, sugar, baking powder, and salt.
- Add the oil to the dry ingredients and whisk together until it's combined.
- Add the eggs and mix until it's fully combined.
- Add the sour cream and milk and mix just until the cupcake batter is smooth.
- Fill each cupcake liner about 2/3-3/4 full. Bake for 16-18 minutes. When you press on the center of the cupcake it should spring back.
- Remove from the oven and allow them to cool in the pan for 10 minutes, then move them to a cooling rack.
- Allow the cupcakes to cool completely before frosting.
Marshmallow Frosting
- If you're toasting the marshmallow fluff, start by placing it in a wide bowl and use a culinary torch to char it. If you're not, then skip this step.
- Place the butter in a large bowl or the bowl of a stand mixer and use the whisk attachment to beat at full speed for 2-3 minutes. Make sure to scrape the edge of the bowl every so often.
- Add the powdered sugar and salt and turn the mixer on to low speed, just until the powdered sugar is incorporated. Then turn the speed up to high for 2-3 mintues.
- Add the marshmallow fluff and vanilla and mix just until it's combined.
Hot Chocolate Sauce
- Remove the marshmallows from the hot chocolate powder mix and set aside.
- Mix together the hot chocolate powder with the hot water until it's smooth.
- Once the cupcakes have cooled, use a piping bag to frost the cupcakes. Top with a drizzle of hot chocolate powder and a sprinkle of dehydrated marshmallows.
Nutrition Information:
Yield:
14Serving Size:
1Amount Per Serving: Calories: 391Total Fat: 24gSaturated Fat: 10gTrans Fat: 0gUnsaturated Fat: 12gCholesterol: 94mgSodium: 182mgCarbohydrates: 40gFiber: 1gSugar: 29gProtein: 4g
Nutrition information may not be fully accurate.
