
Banana Brownies
If you’re a chocolate lover & a banana lover (me and pretty much all kids lol) then you will love these banana brownies.
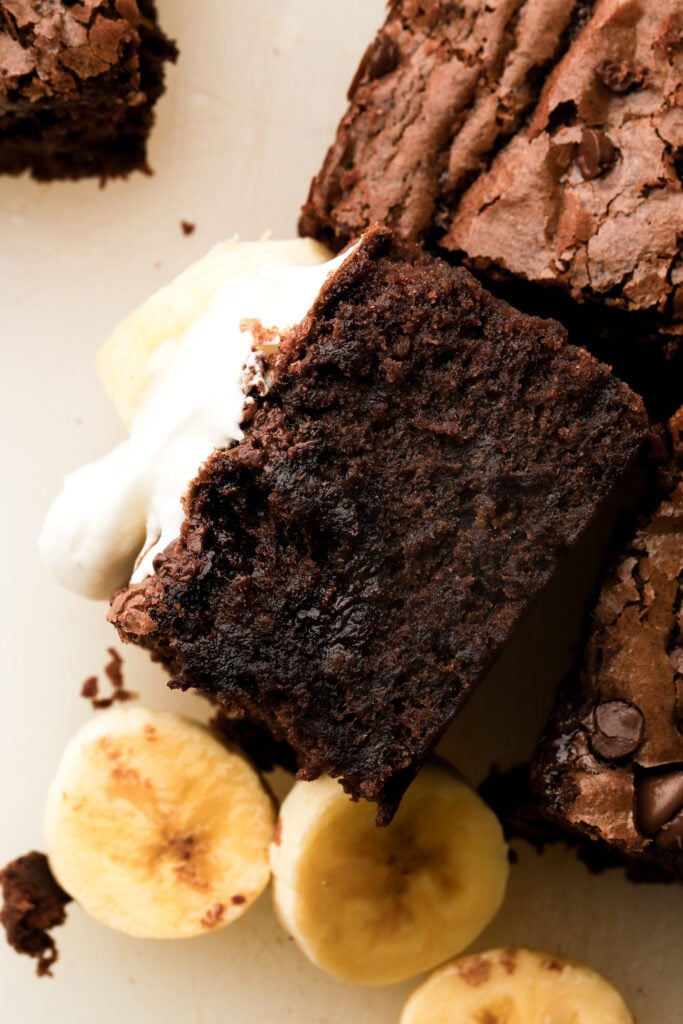
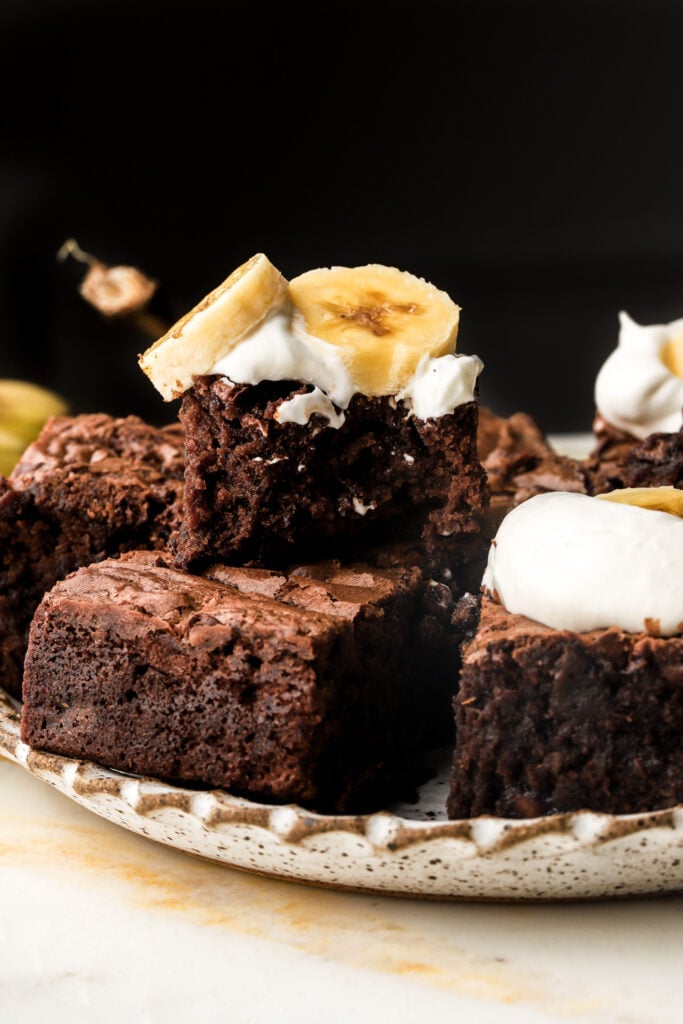
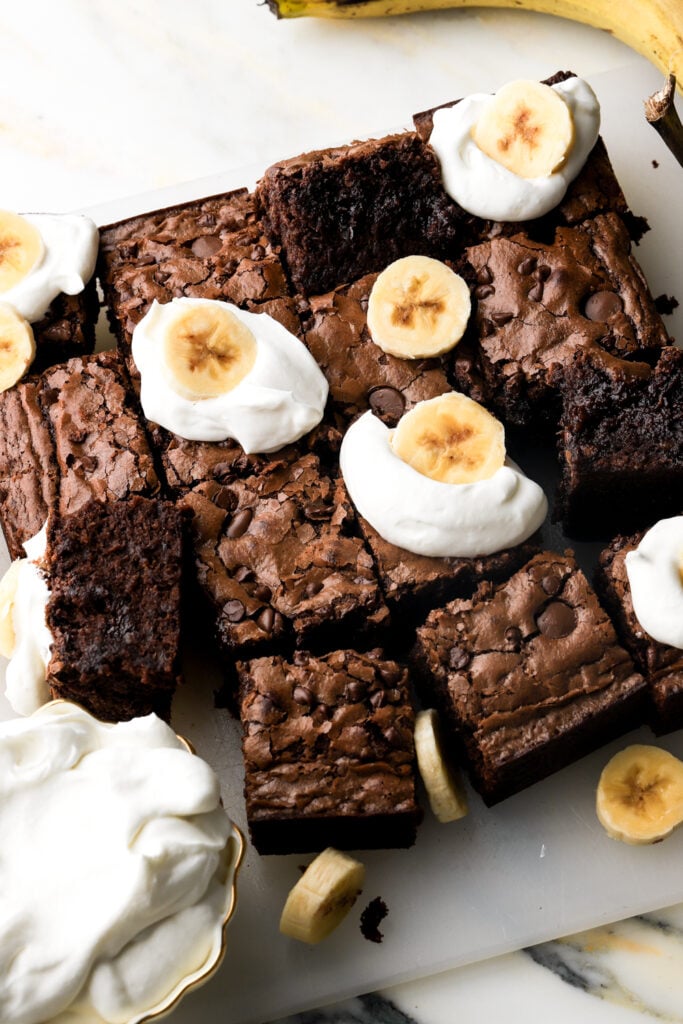
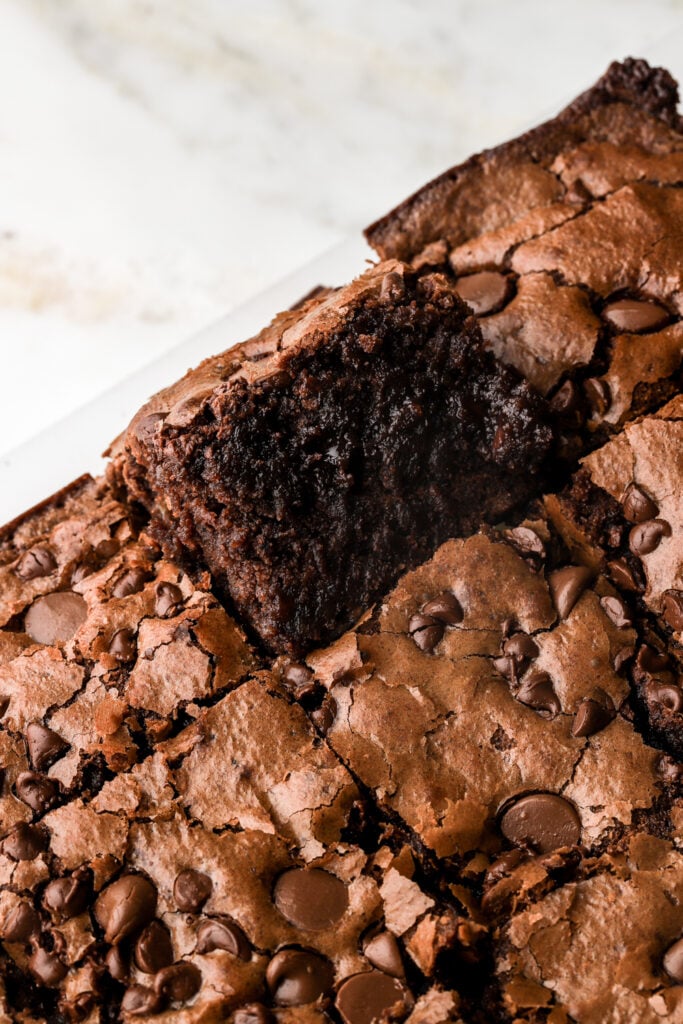
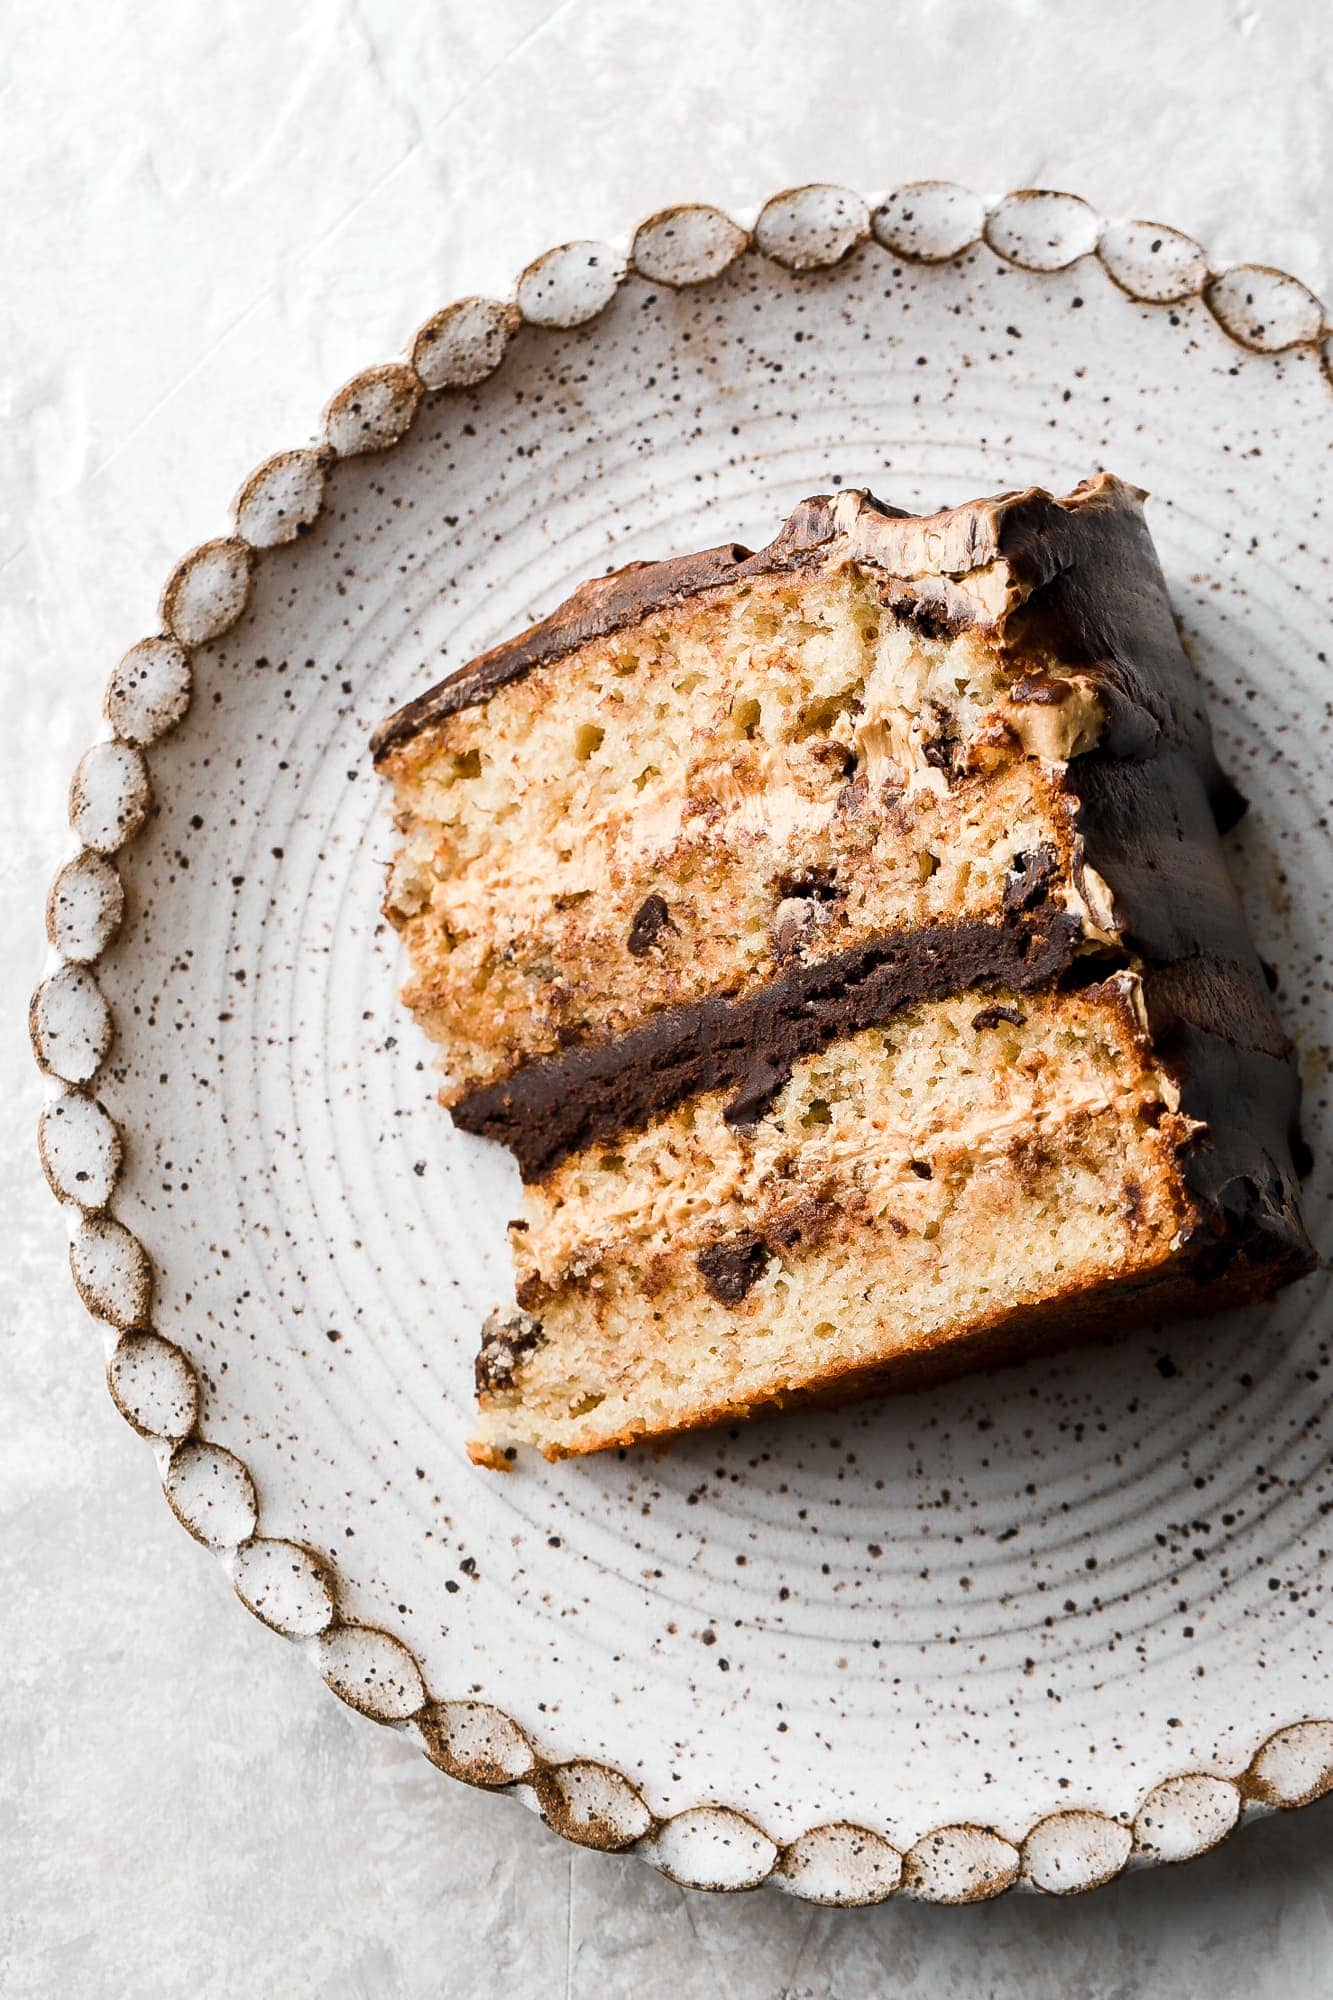
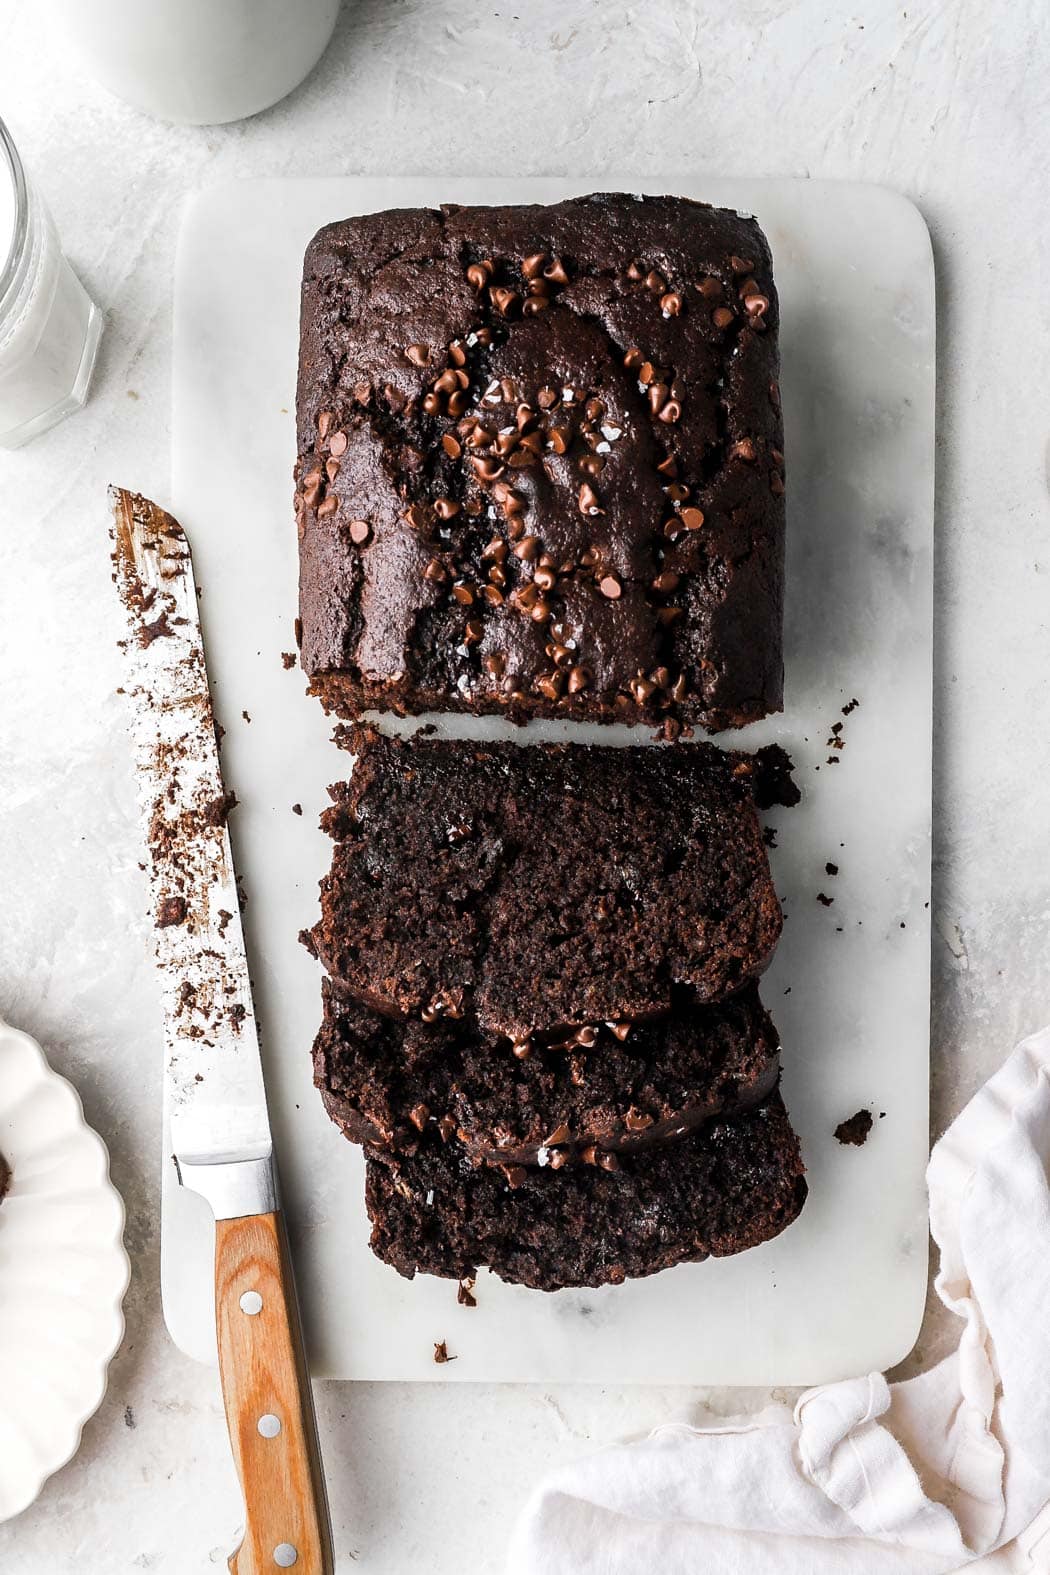
They’re thick, rich, chocolatey and fudgy but with banana flavor. It’s like banana bread and brownies had a baby.
Most of my banana recipes use 3-4 ripe bananas so this recipe is perfect if you only have 2 ripe bananas.
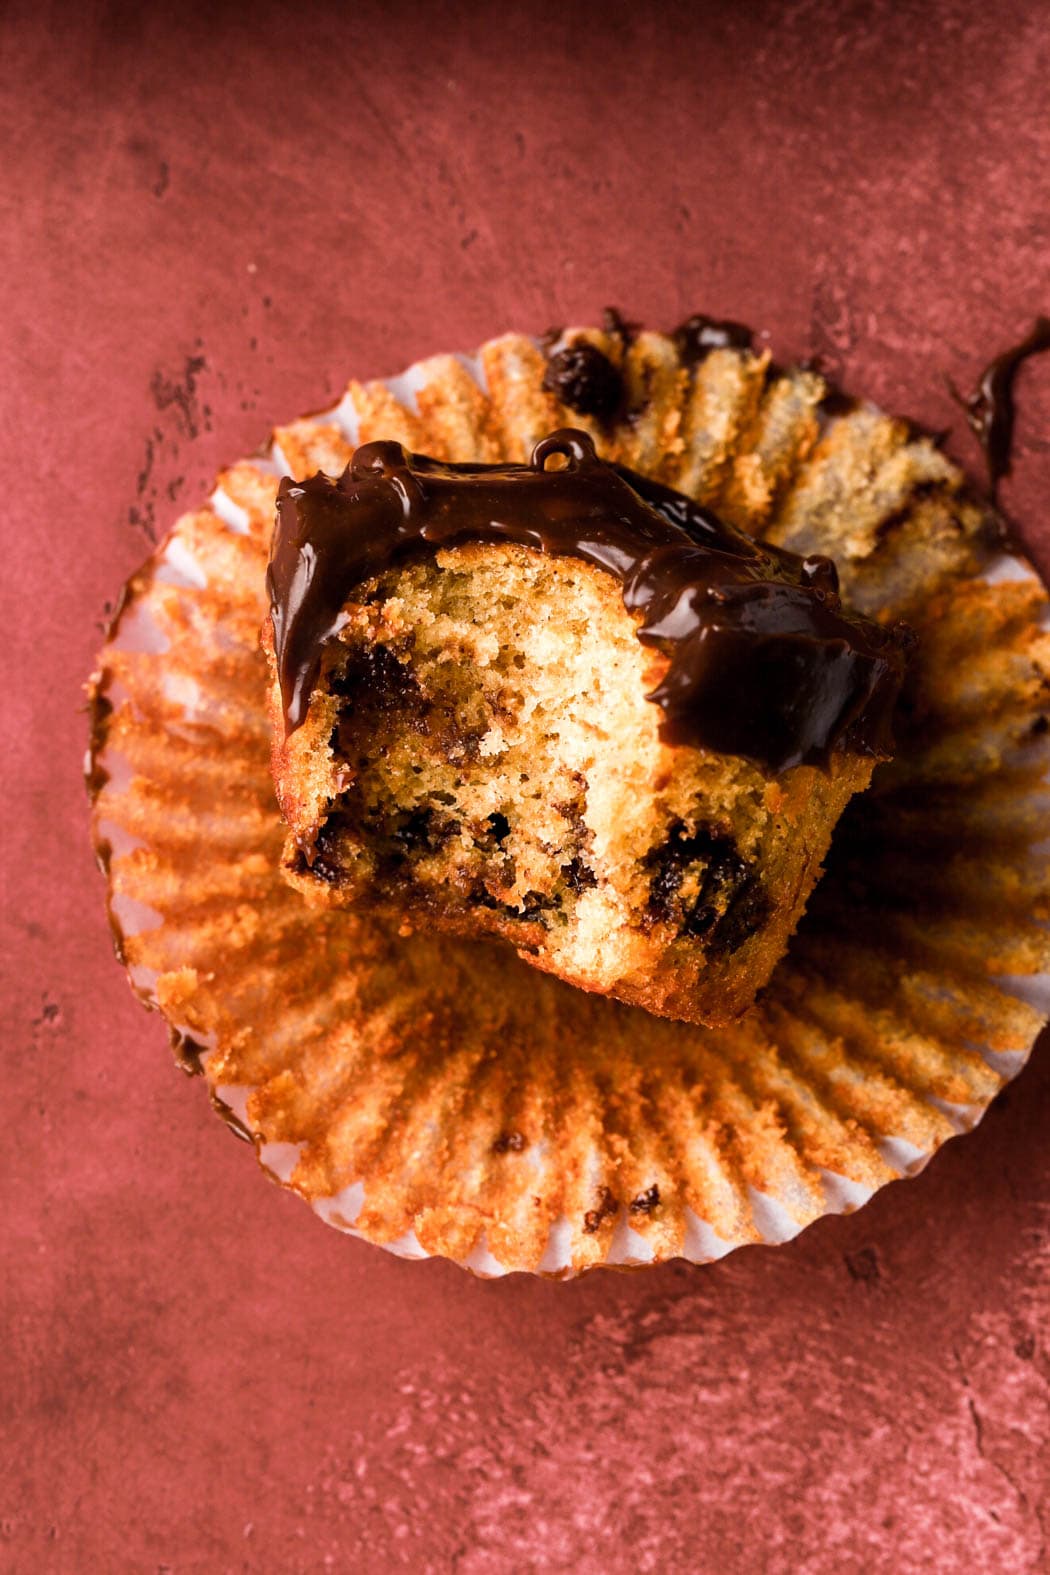
Bonus: it can also be made as a half batch in a loaf pan if you only have 1 banana.
You can also brown the butter, like I did in my Brown Butter Brownies but you’ll have to start with about 3/4 cup of butter and brown it down to about 1/2 cup.
& if you want to serve it with whipped cream, I used my Chantilly Cream recipe (like 1/4-1/2 the amount though).
Ingredients & Substitutions
*full recipe is in the recipe card at the bottom!
- Butter: the butter gets melted so it doesn’t matter if it’s cold but it is quicker if the butter is already soft. I like salted butter but unsalted works too, just add an extra ¼ tsp of salt.
- Chocolate: you can use milk chocolate, semi-sweet chocolate or dark chocolate. I prefer dark chocolate.
- Eggs: always use large, room temperature eggs. Place them in hot water for 5-10 minutes if they’re cold.
- Sugar: I used just granulated sugar in this recipe but light brown sugar would also work fine.
- Sugar helps get a great texture in brownies so if you want them less sweet, I recommend using dark chocolate chips instead of reducing the sugar.
- Flour: I always use all-purpose flour and don’t recommend substituting. Should work fine with a 1:1 gluten-free flour blend though.
- Cocoa Powder: the better quality your cocoa powder is, the better your brownies will taste! My favorite is King Arthur Dutch Process Cocoa Powder or Rodelle Dutch Process Cocoa Powder. Make sure you’re not using sweetened cocoa powder though!
- Salt: salt brings out the flavor in all baked goods and little flakey sea salt on top is what I live for.
- Bananas: I always recommend weighing bananas when baking with them. I use large ripe bananas and weigh them after removing the peel, I almost always get 125 grams per banana. If you have more, leave it out; if you’re just a little short, add a little water to increase the volume.
TIP: I HIGHLY recommend using a digital scale, as dry ingredients are almost always over measured.
Step-by-Step Instructions
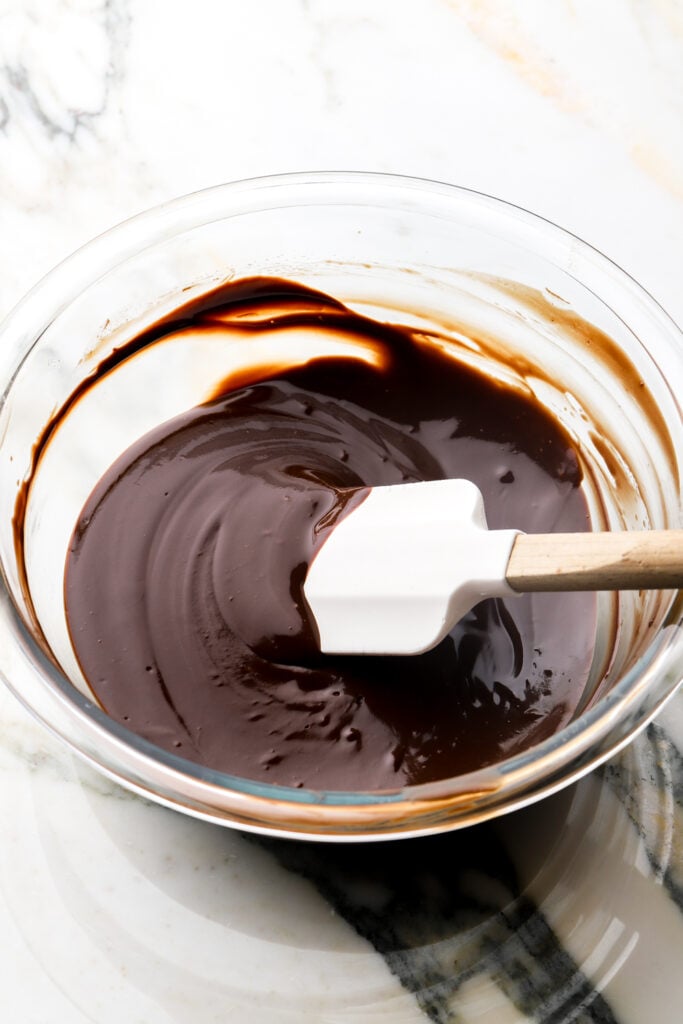
- Melt the butter with the chocolate chips and stir until they’re completely smooth. You can do this in a pot on the stove over low heat or in a microwave on 30 second increments.
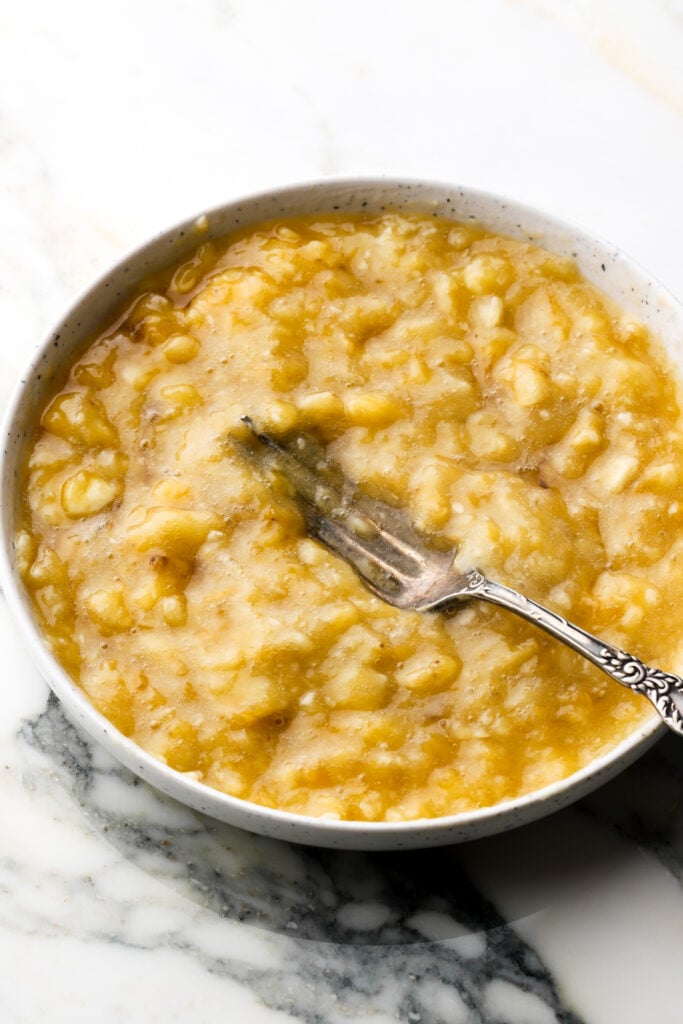
- Mash the bananas until they look like puree. I like to use a fork for this to make sure there are no more large chunks.
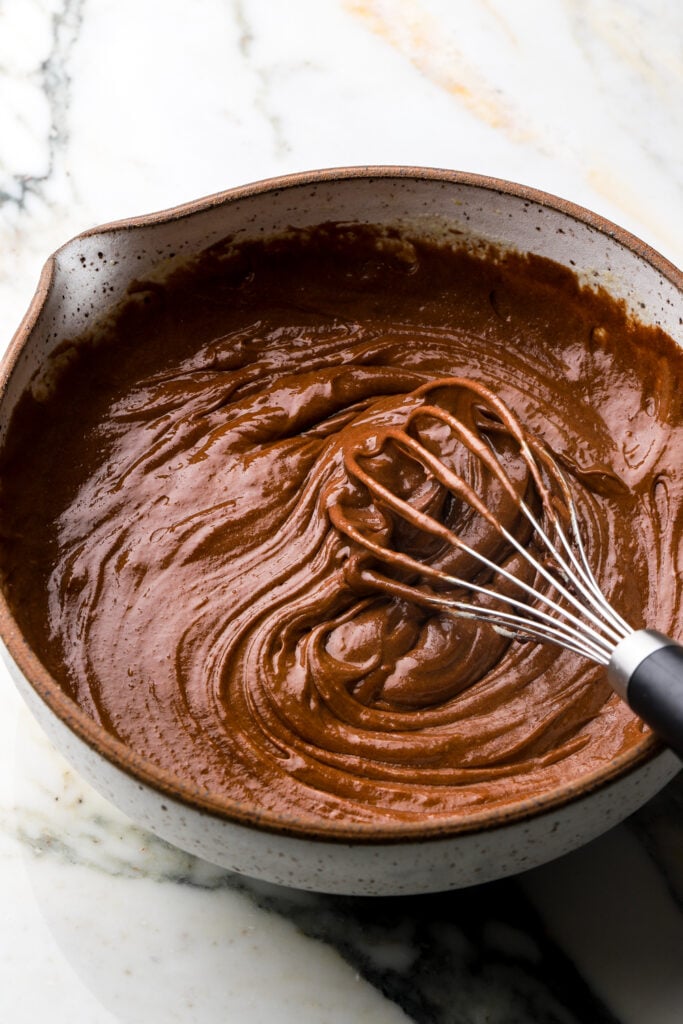
- Whisk the eggs with the sugars aggressively for 2-3 minutes. Getting the sugar dissolved here is what is going to give you that gorgeous crackly topping on brownies.
- Add the chocolate and butter mixture to the egg and sugar mixture and whisk again until they’re completely combined and smooth.
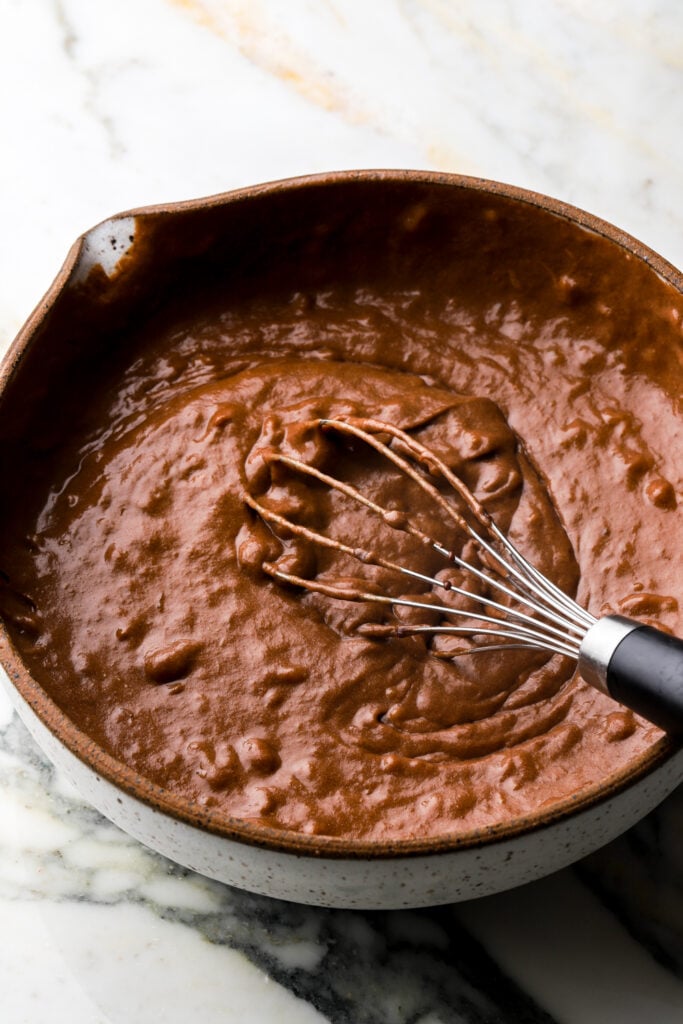
- Add the mashed bananas, mixing until they’re completely combined into the chocolate batter.
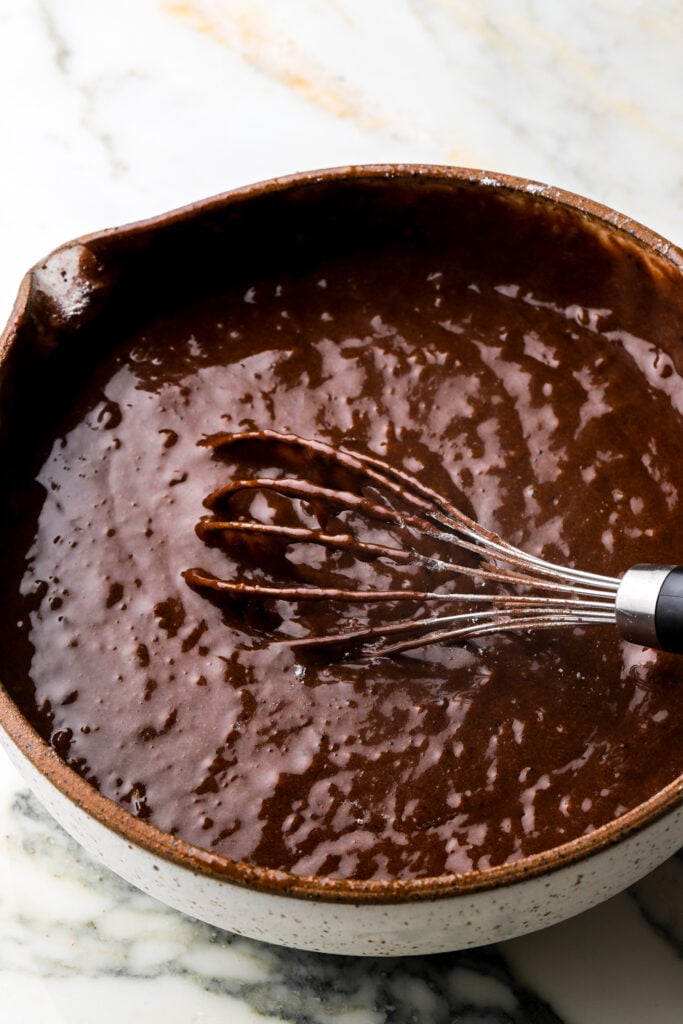
- Add the cocoa powder, flour and salt and whisk just until the dry ingredients are full incorporated.
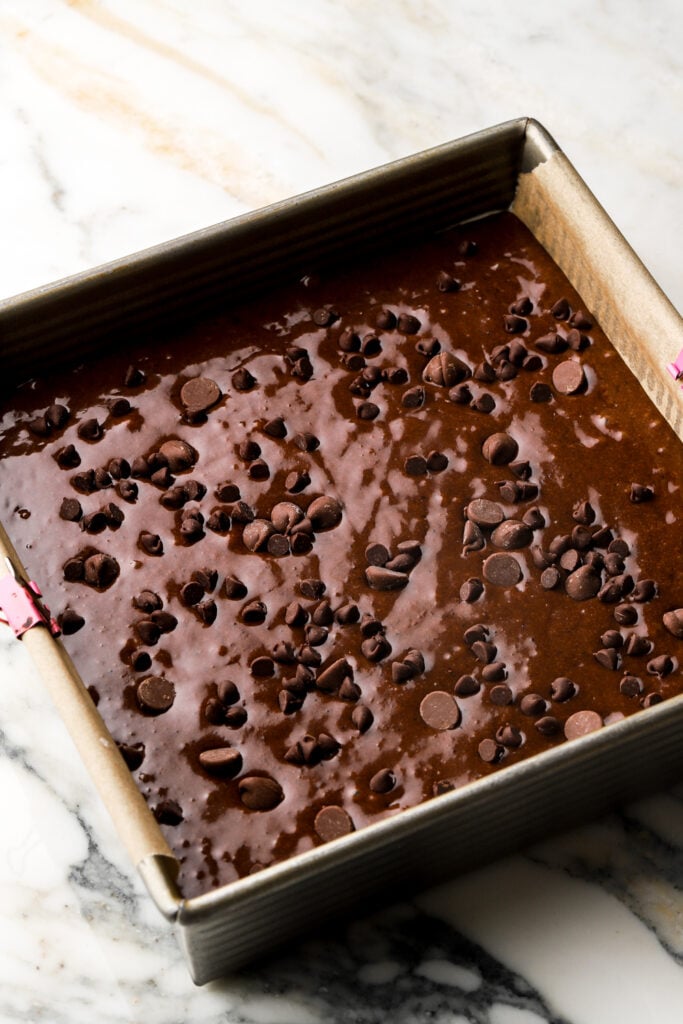
- Add the chocolate chips and fold just until they’re evenly distributed.
- Spread the brownie batter in the prepared pan.
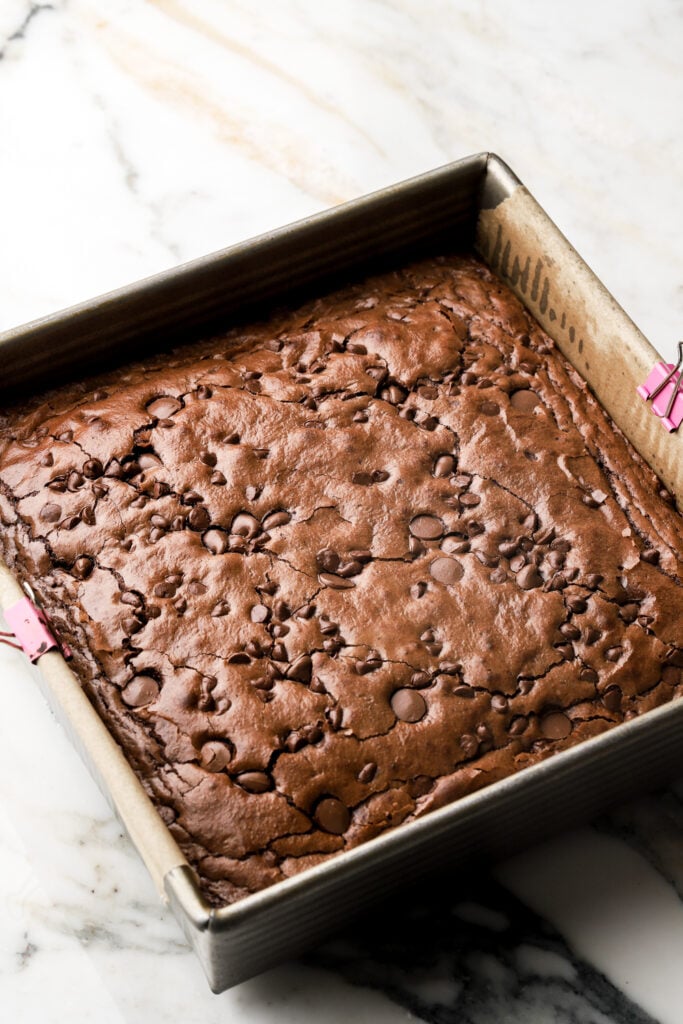
- Bake for about 45 minutes.Remove the pan from the oven and tap it on the counter a couple of times. The brownies should level off if they’re baked. If they sink below the edge, put them back in the oven for a few minutes.
- Allow to cool in the pan for 30-60 minutes before removing and slicing.
Tip: I like to lightly grease my pan and line it with parchment paper, leaving an overhand so I can easily remove it when they’re done. Secure the overhang with metal binder clips so they don’t flop around.

When are brownies done baking?
When the top of your brownies have a thin little crackle on top, you can press on it with your finger to see how firm the brownies are underneath.
When you move the pan, if the batter jiggles, it’s definitely not done baking.
You want to be able to push your finger on the top (in the center) and feel some resistance.
It should feel like a brownie that’s a little “too gooey but almost perfect”. At this point, you’ll remove them from the oven and they will continue to bake as they’re cooling.
If they’re firm when you remove them from the oven, they won’t be very gooey once they’re completely cooled and everyone wants gooey brownies.
Another thing I do to check for doneness is to tap the pan on the counter when I take it out of the oven, if the brownies level off perfectly, they’re done. If the center of the brownies sink below the edges, then put them back in the oven for a few minutes.
Can I just use the toothpick test?
Many people like to insert a toothpick into the center of baked goods to test for doneness.
Usually if the toothpick is clean or if there are only a few moist crumbs on it then a cake is done baking. That doesn’t work for brownies.
We want gooey, fudge brownies so when we remove them from the oven, they will still be a little undercooked and will finish baking as they cool.
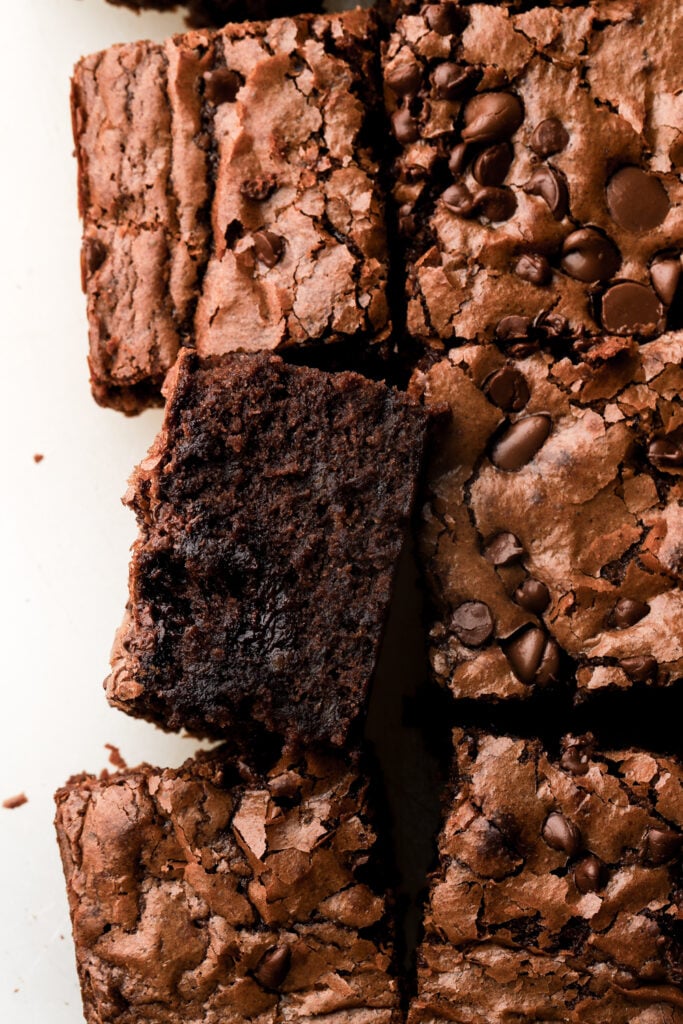
How to get a thin crackly top for homemade brownies?
To get the perfect crackly top on these brownies you want to make sure you whisk the eggs with the sugar aggressively for 2-3 minutes. It helps if the eggs are at room temperature.
Also the melted chocolate chips contribute to that crackly top so make sure not to skip anything in the recipe!
Not to confuse the melted chocolate with the mixed in chocolate chips though. The chocolate chips are optional.
How to perfectly slice brownies?
Ok I don’t know if it’s just me but if I’m not careful to take these extra steps, my brownies always end up looking like a pile of not so tasty brown stuff instead of a delicious pile of brownies.
To get my brownies perfectly sliced it’s best to chill the brownies briefly.
I froze them for about 20 minutes after they’ve cooled and then I ALWAYS run my large knife under hot water between every slice I cut.
Yes, between every slice. Because they’re fudgy, some of the gooey chocolate gets stuck on the knife and if you just go to cut another slice it gets less and less pretty.
How to store brownies?
Once the brownies have cooled completely, store them in an airtight container.
They can stay at room temperature for a few days, in the refrigerator for 7-10 days or frozen for a few weeks.
Make sure to bring them back to room temperature when serving.
There are so many brownie recipes out there and I’m sure so many of them are amazing but I hope you give my banana brownies a chance.
If you love these, I would love it if you left me a 5-star rating or a review 🙂
As always, have a blessed day and happy baking!
Love, B


The best banana brownie I ever tried
Hi, im already using dark choc chips but i want to reduce sugar further as i dont like my brownies overly sweet . Is it possibel to reduce to 150-180g?
Hi Max, you can reduce the sugar if you prefer but the texture will definitely change if you go that low. You’re welcome to try it and let us know how it turns out but I personally would do at least 200 grams to keep the texture as close as possible.
I’ve been searching for the perfect brownie recipe for years ….I bake every one I find, and try my own tweaks too. I’m looking no further. This is it 🙌
It’s gooey and rich in exactly the way I love, but actually half the fat and less sugar than my very close second contender.
The bananas give it that amazing moisture, but actually barely come through in the flavour (maybe a negative for some people, but a bigger hit in my house because of it 🙌): I gave it to some guests without telling them the secret ingredient and they couldn’t believe it when I told them!
This recipe in my life has legit made me happy 🙌
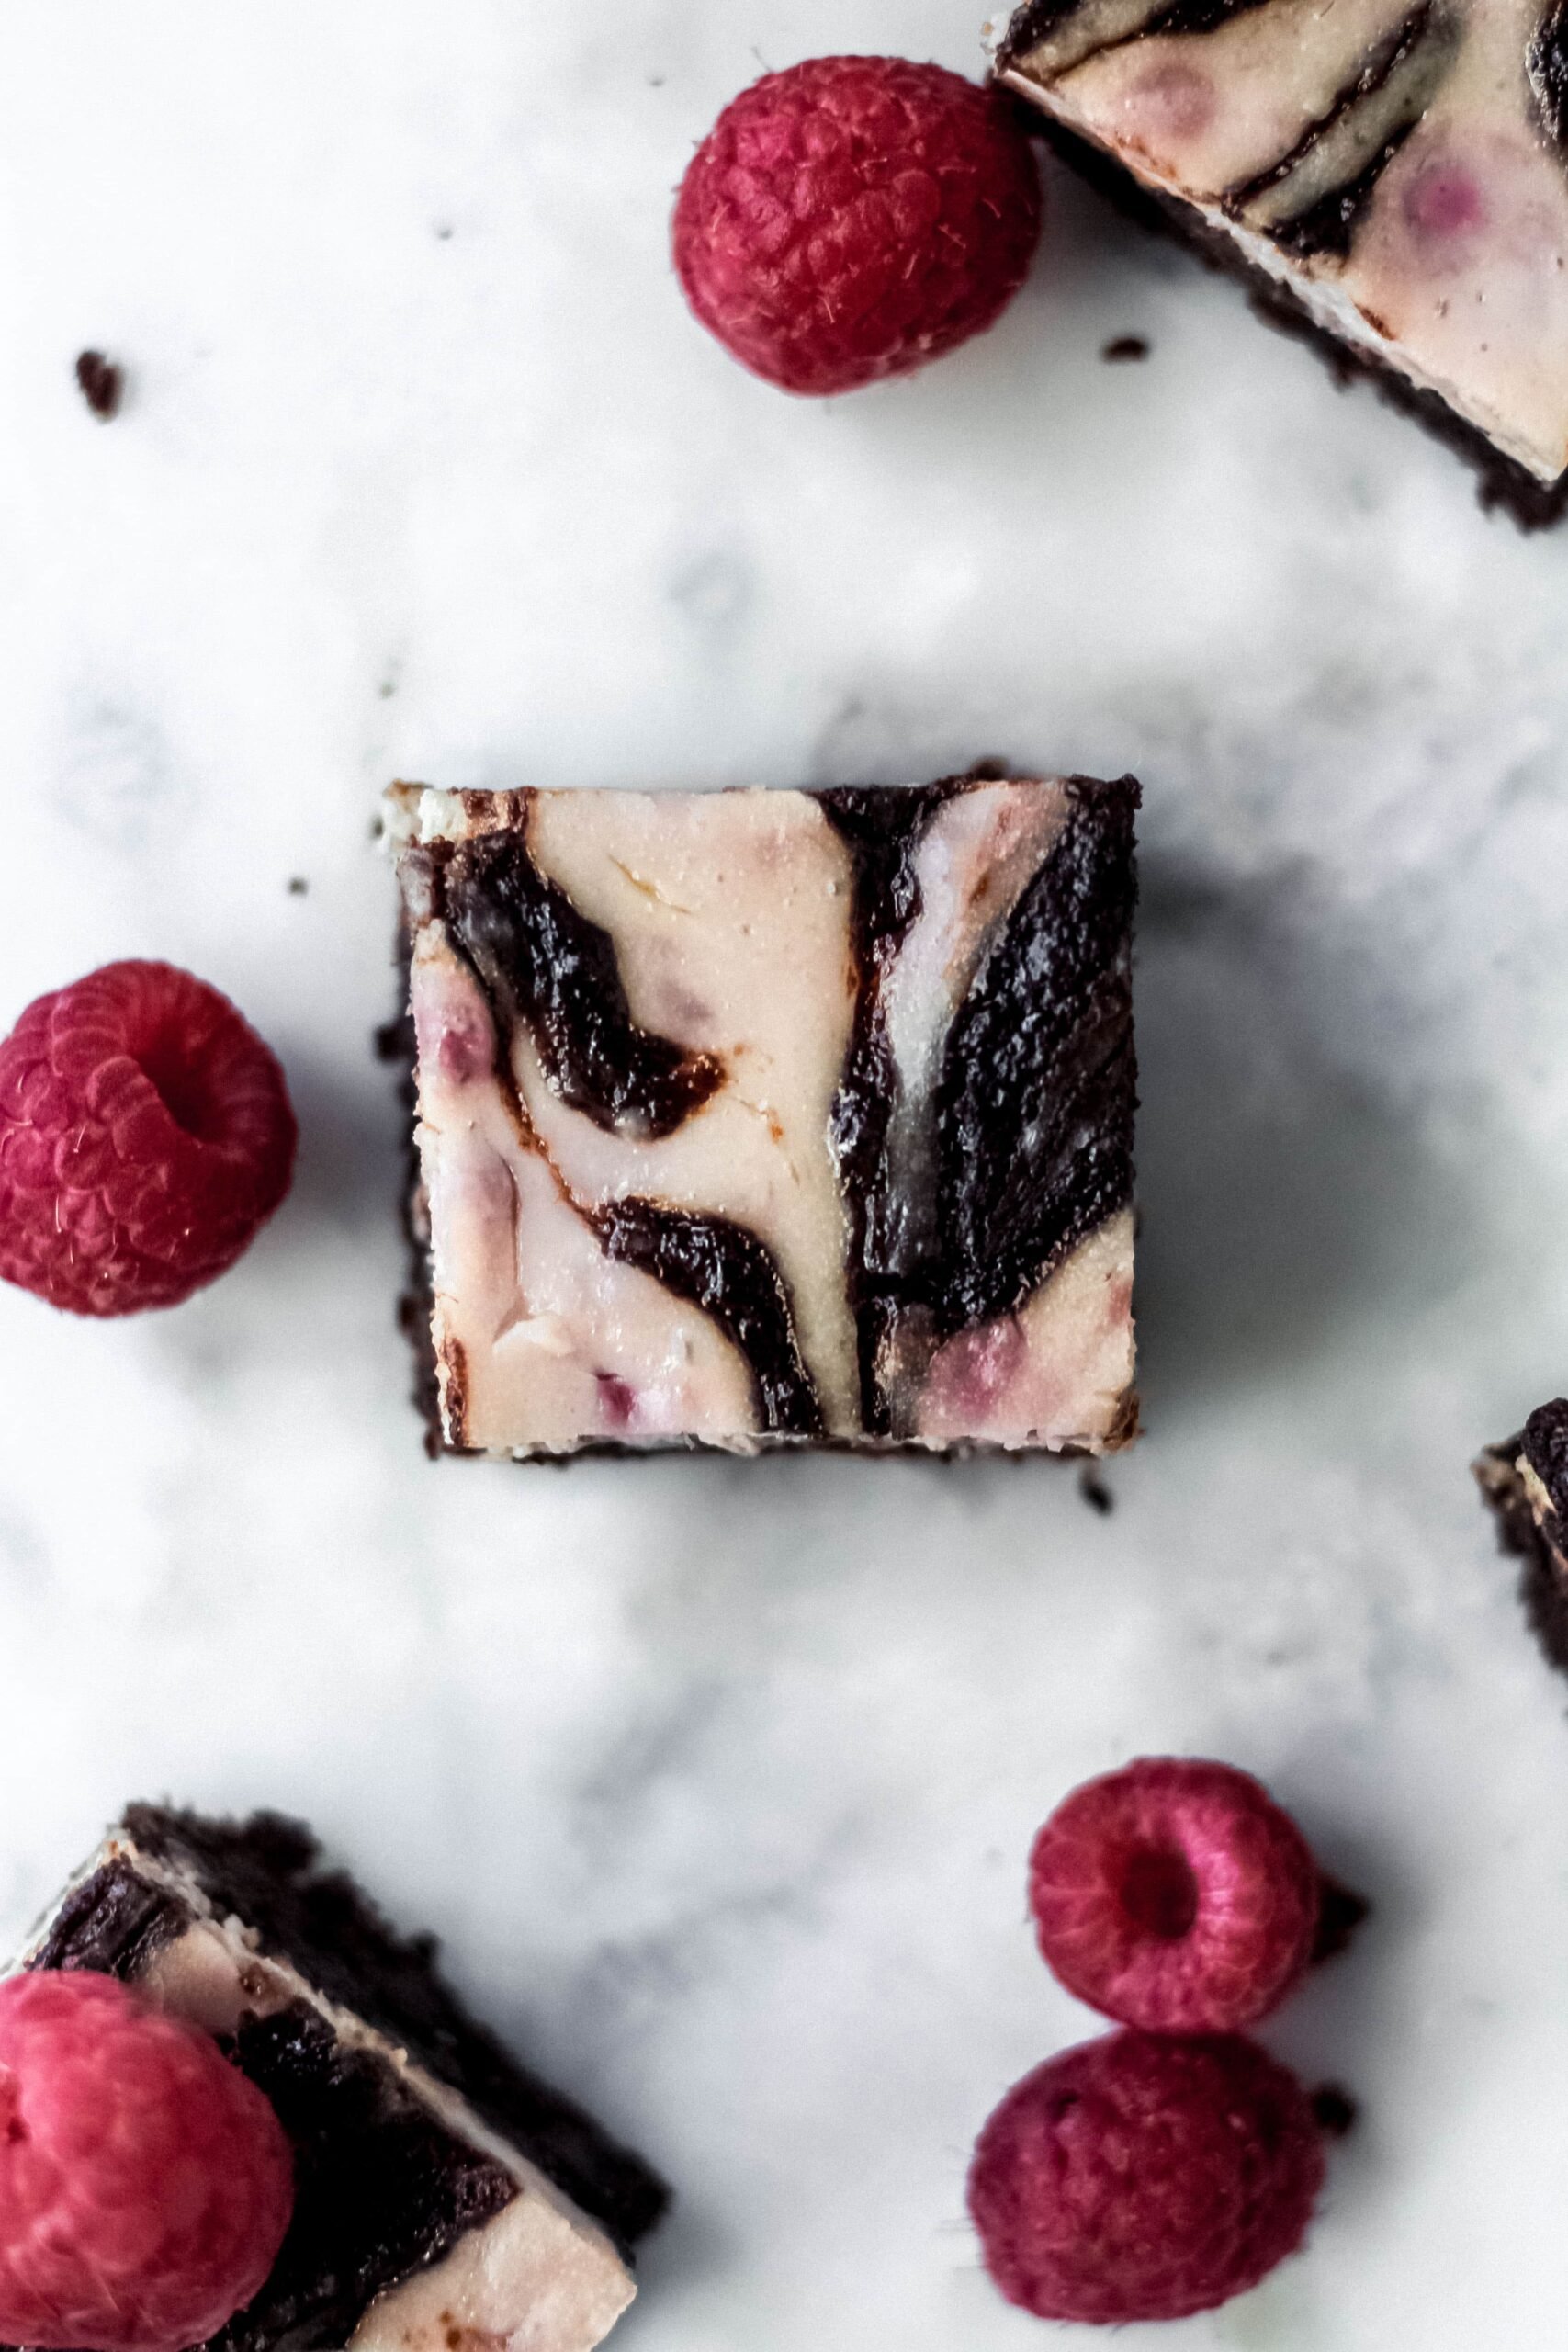
Absolutely delicious! I added in half a cup (ish) of frozen raspberries. Could not fault.
Hi, I notice you have the nutrition information without the serving size. I’m imagining a serving is one brownie square? Thanks.
These brownies are the best! Perfect recipe and sooo easy to prepare.
Thank you 😋😋
These were incredible! When I make them again I will likely omit the extra chocolate chips because they came out a little too sweet for me personally. Or I may just lessen the amount of sugar used in the batter…. Either way my kids loved them as-written. I did too, but have to stop after a small slice 🙂
Loved the texture. I baked it for 38 minutes, as my oven often overcooks cakes. Although next time I might either get the oven 25 degrees lower or reduce the cooking time as I prefer my brownies on the gooey side.
still liquidy after 45 mins so trying again for another 25 as stated.
Best banana brownie
You listed all ingredients in grams but not common measurements.
Hi Randy there’s a toggle that lets you convert to “common measurements”
Banana choc brownie is FAB!!
Scaled this up for ~50 servings at a co-op. Big hit. Thanks!
Where do I even begin? I used dark chocolate as recommended and the flavor and texture are out of this world. So moist, rich, chocolatey, and the bananas bring it to the perfect level of sweetness. This is my new favorite use for overripe bananas.
Texture of the brownies was very nice, just a bit too sweet for my taste. I will make again but halve the sugar content.
i dont know if it was the altitude (colorado baker) or what, but i had to bake these an extra 25 mins. after that time, they were absolutely delish!!! will make again!!
The brownies look like they are going to be delicious, but I do not recommend the feature for doubling or tripling the recipe. I wanted to make enough for an 8.5 x11” baking pan and doubling or tripling the recipe kept calling for one 8” square pan. I knew that couldn’t be right, so I had additional pans ready when I was putting the batter into the pan. Sure enough, it needed three 8” pans. I’m hoping they’ll come out all right, but it was disappointing to find that I could have used the larger pan after all.
I wouldn’t recommend using a larger pan as the brownies will not cook evenly. The sides would have been overcooked and the centre undercooked.