

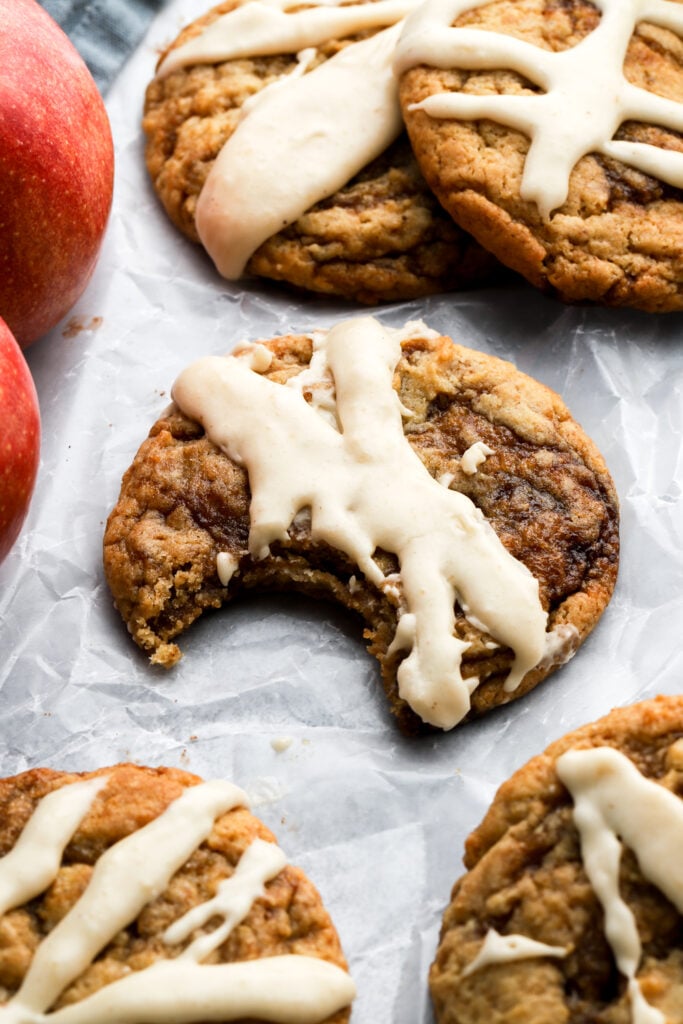
Apple Butter Cookies
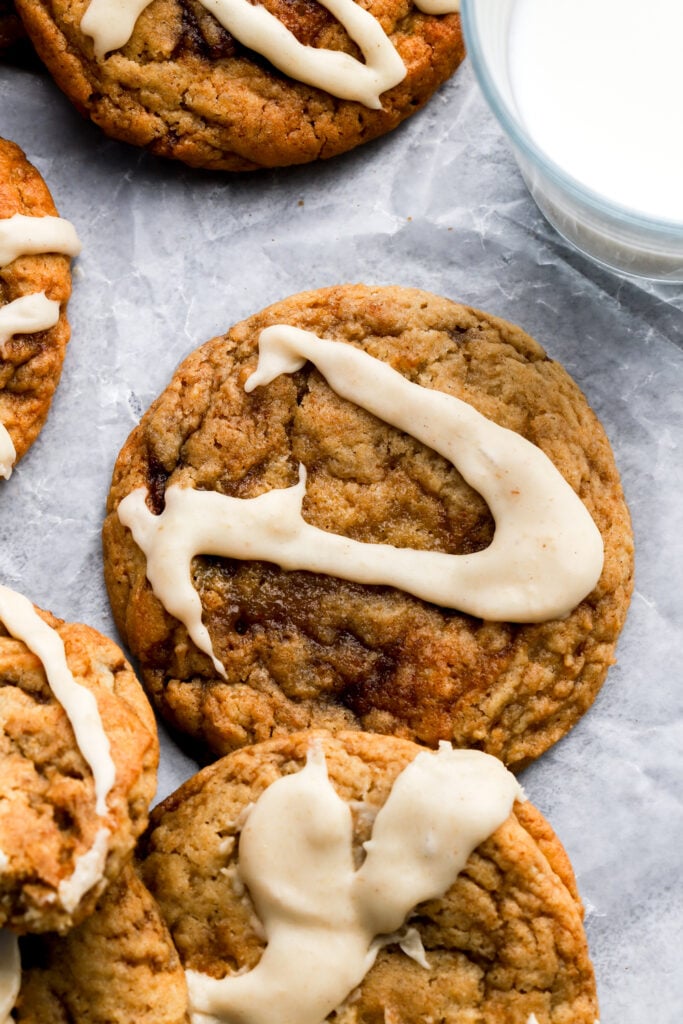
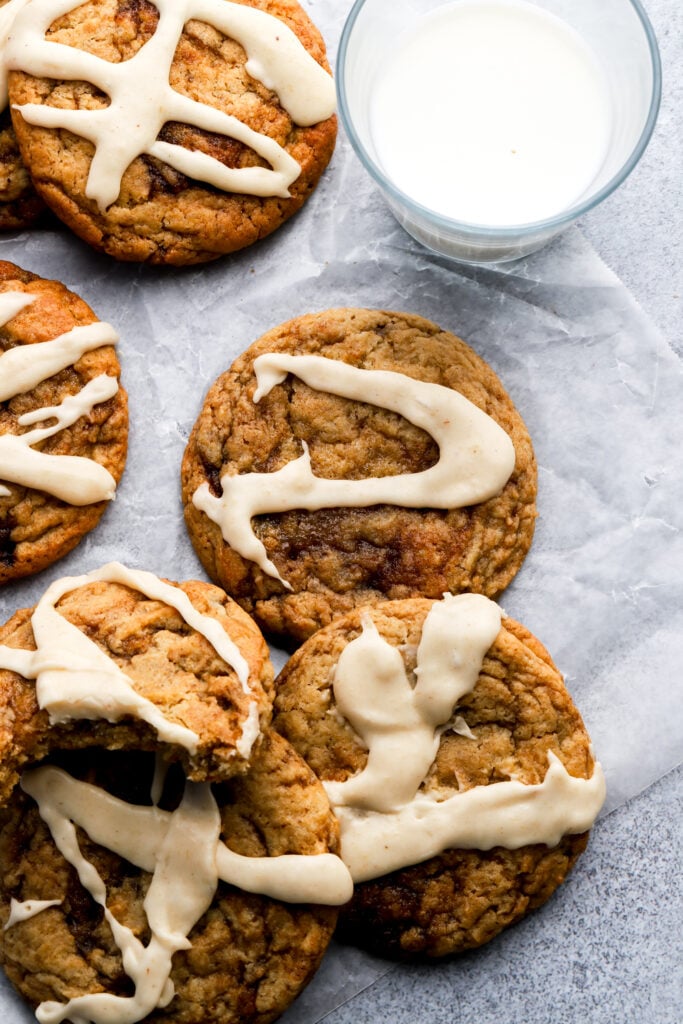
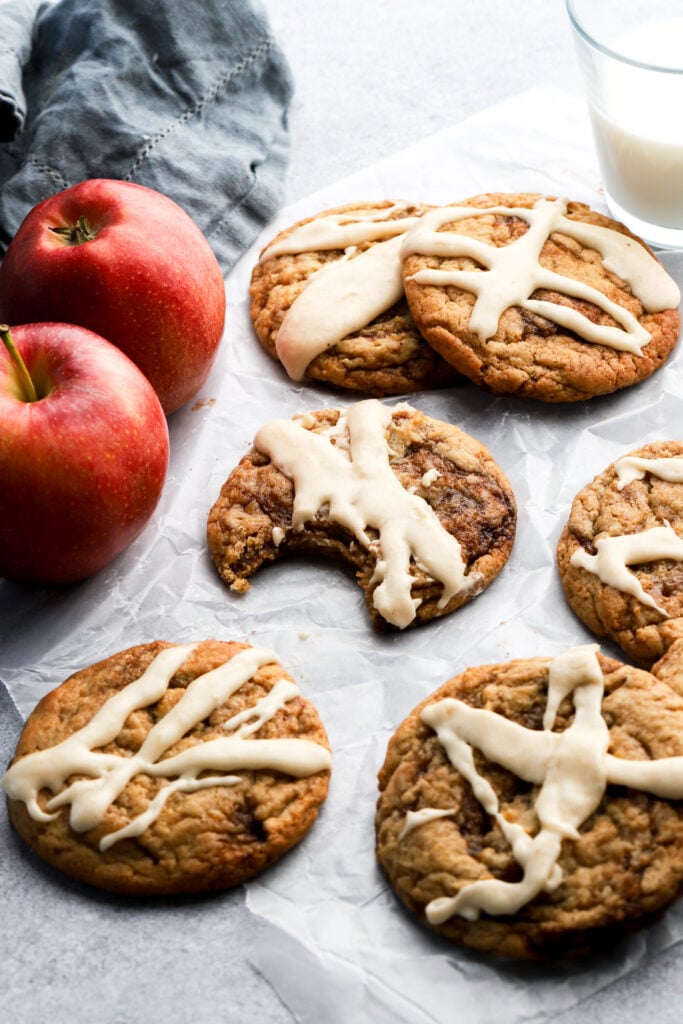
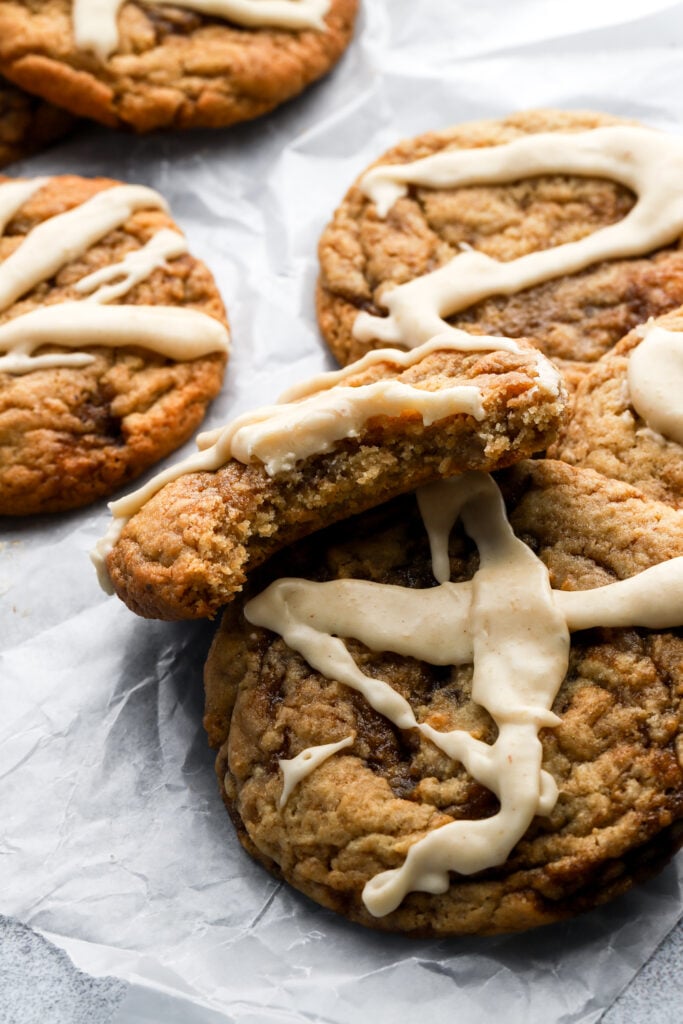
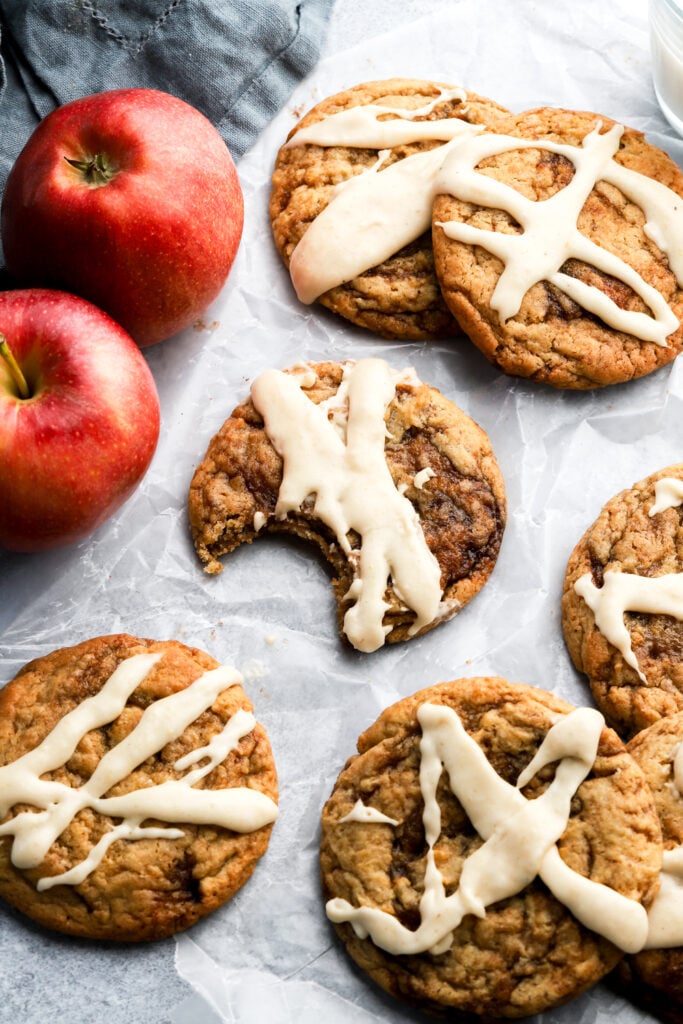
Soft and chewy apple butter cookies with an apple butter cinnamon sugar swirl throughout and an apple butter icing on top.
Why You’ll Love These Cookies
- These cookies might require a little extra effort but it’s worth the effort. They do need a little time in the fridge but other than that, they’re not too complicated.
- They are soft and chewy, with some caramelized apple butter bits swirled throughout.
- The perfect seasonal cookie recipe that doesn’t include pumpkin lol.
It’s almost fall and I am here for it. I love making apple flavored desserts this time of year because it’s not as bold and seasonal as pumpkin but it gets the fall feels going.
My favorite way to incorporate apple flavor is by using fresh apples or apple butter. I use it in my Apple Butter Cinnamon Rolls, White Chocolate Apple Butter Muffins and my Apple Pop Tarts. Also, one of my FAVORITE drinks is Iced Apple Crisp Macchiato!
For cookie lovers I’ve got some other fall flavors like Chai White Chocolate Chip Cookies, S’mores Cookies or my toasty Chocolate Chip Pecan Cookies (coming soon).
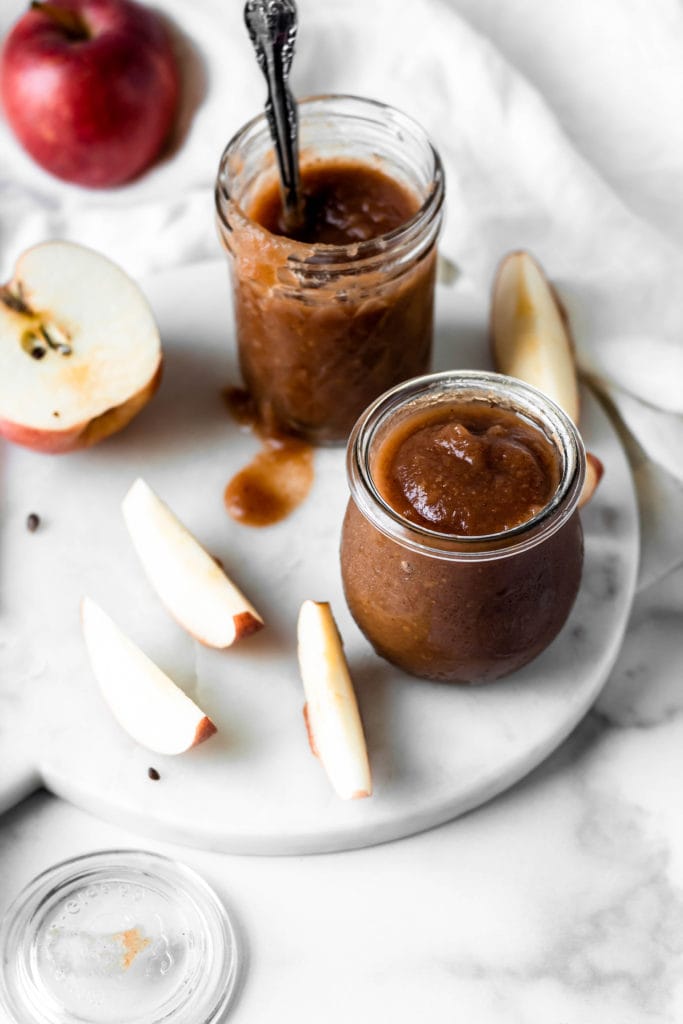
What Is Apple Butter?
If you love apples or anything fall flavored you’ll love apple butter. It’s similar to applesauce except that applesauce generally has a thinner consistency, resulting in a quicker cooking time. Apple butter also has a longer shelf life, you can refrigerate it for a couple of weeks or freeze it for longer.
Apple butter requires longer cooking time so more of the water cooks out, making it a thicker consistency. This normally takes 8-10 hours on the stove or in a slow cooker, but it only takes about 30 minutes to pressure cook!
You can make it at home yourself or you can buy it at the store. I always have some on hand during fall season. 🙂
Flavor-wise, apple butter caramelizes as it’s cooking, making it sweeter. Most people also generally add fall spices so, unlike apple sauce, apple butter is just a magical combination of caramelized sweet apples, cinnamon sticks and nutmeg.
Ingredients:
- Flour: I just used all-purpose flour for this recipe however, I HIGHLY recommend using a digital scale, as over-measuring the flour is the most common baking mistake and may result in dry cookies.
- Sugar: I used dark brown sugar for the swirl, light brown sugar for the cookies, and powdered sugar for the icing. I used the dark brown sugar in the swirl to give it a contrast in color but you could do just light brown sugar if you don’t have any dark brown on hand.
- Reducing the amount will alter the texture of the cookies so I don’t recommend reducing the sugar.
- Butter: I LOVE using salted butter in cookies! It really balances the sweetness of cookies better and just has a better flavor.
- Egg: I used 1 large egg in this recipe – it can be cold or room temperature.
- Vanilla: Don’t underestimate the power of vanilla extract in a cookie recipe. I stopped putting vanilla in EVERYTHING I make, but for cookies it’s essential.
- Baking Powder: just baking powder, no baking soda.
- Salt: I like sea salt but any salt works.
- Spices: I just used ground cinnamon – you could also add a pinch of nutmeg if you’re feeling it.
- Apple Butter: I just bought some this time, any brand should be fine as long as it’s not super runny.
- Heavy Whipping Cream: I used this to make the apple butter icing on top – you can also use milk for this (or dairy free) but the amount you need might vary slightly, just go based off the consistency of the glaze.
Step-By-Step Instructions
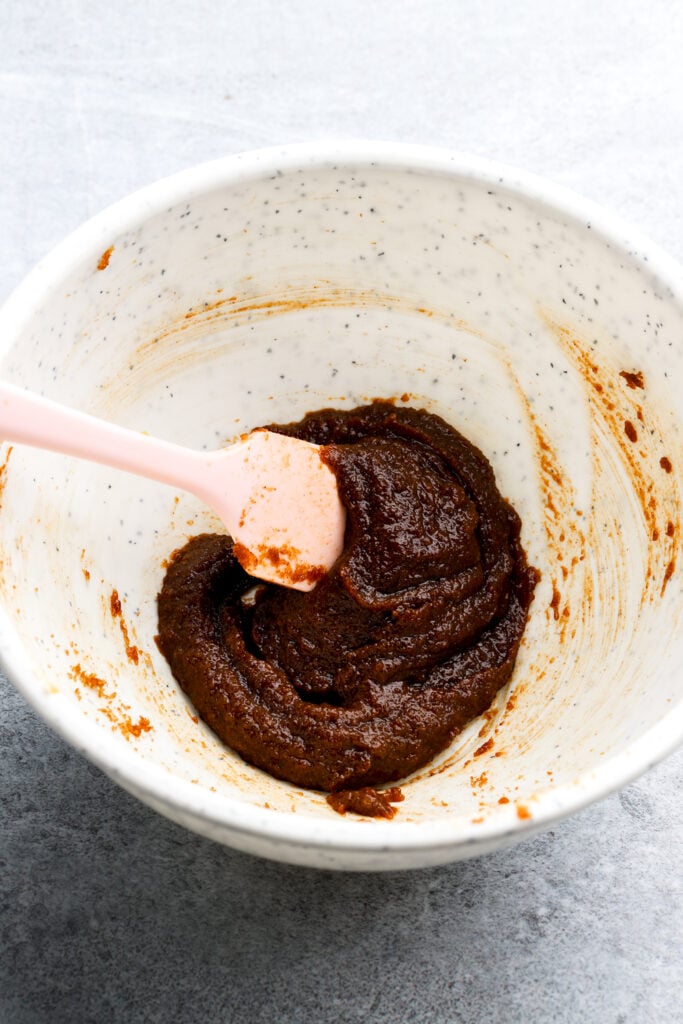
Cinnamon Swirl
Step 1: Combine melted butter with apple butter, dark brown sugar and cinnamon, until it’s well combined and looks like a paste. Cover it and freeze for about 15-20 minutes. You want it to be firm but malleable when you press on it.
Apple Butter Cookies
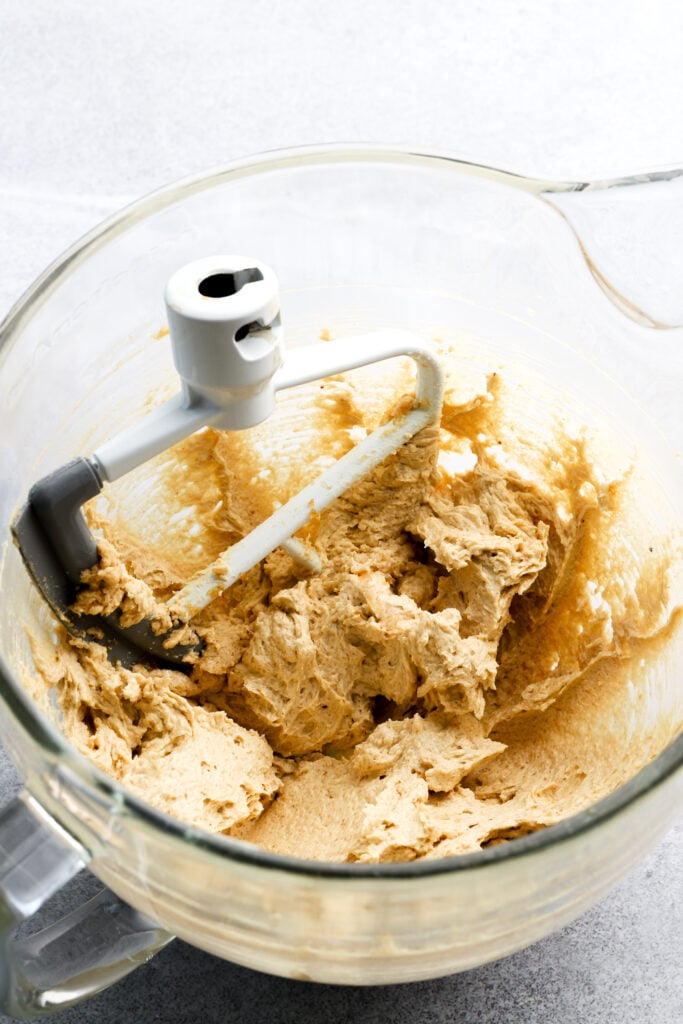
Step 1: Mix room temperature butter with apple butter and light brown sugar using a mixer for about 2 minutes.
Step 2: Scrape the edge of the bowl and then add the egg and the vanilla mixing for another 2 minutes.
Step 3: Scrape the edge of the bowl again and then add the flour, baking powder and salt mixing until just until the last streak of flour is combined.

Step 4: Add the apple butter swirl and mix on low speed allowing them to slightly marble together.
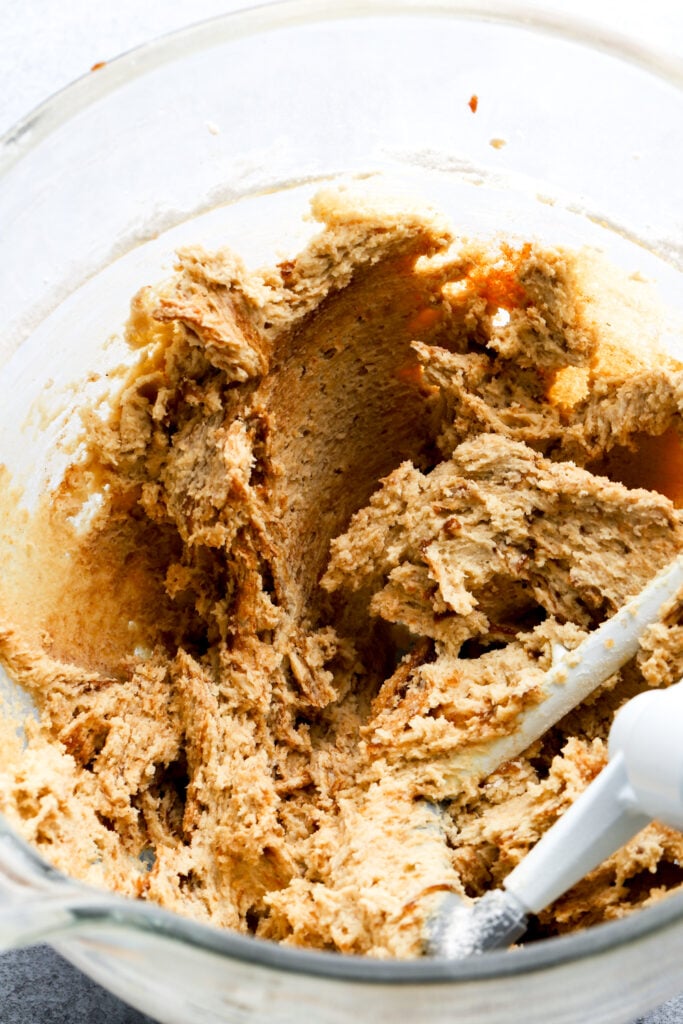
Step 5: Refrigerate the marbled cookie dough for 30-60 minutes, until it’s scoopable and holds its shape well. .
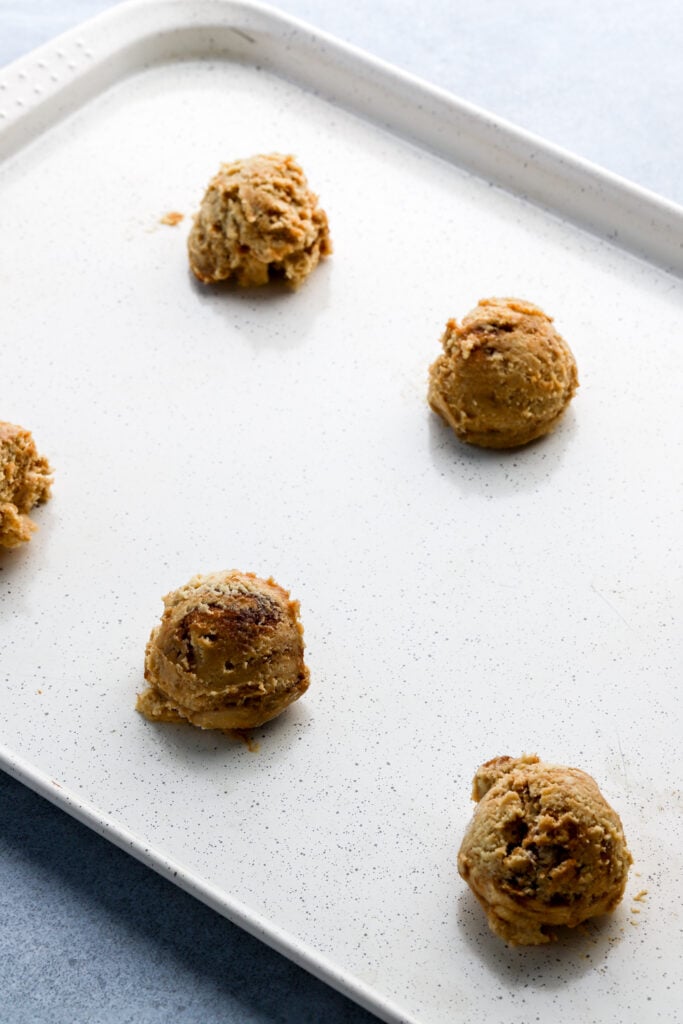
Step 6: Scoop 2.5 ounces of cookie dough onto two baking sheets (5-6 cookies per sheet), and bake for about 14-16 minutes.
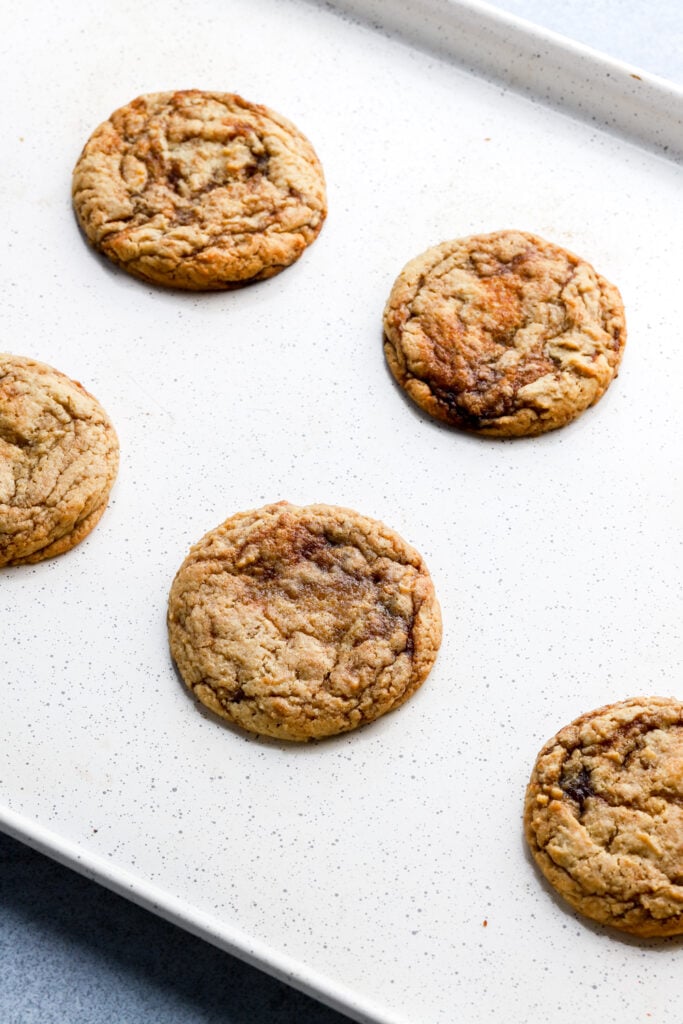
Step 7: Remove from the oven bang them on the counter and use a biscuit cutter to scoot or a utensil to press the sides in to make the cookies round (if needed).
Apple Butter Icing
Step 1: Combine the powdered sugar with the apple butter and heavy whipping cream until it’s completely smooth.
Step 2: Drizzle on top of the cooled cookies and serve. Allow the icing to set before storing.
How To Bake These Cookies (Convection And Conventional)?
I always bake in a convection (fan) oven but when I took some polls on instagram, most of you said you either don’t have one or you don’t know how to use your convection oven. So since I developed ALL my recipes in a 350F convection oven, I decided to experiment with a conventional.
If you don’t know the difference, a convection oven has a fan that circulates the heat more evenly. This usually results in a quicker bake, so always do less time if you’re unsure and it also gives a more even browning. If you’re not used to it, the change can be frustrating.
Most convection ovens will automatically reduce the temperature of the oven by 25F. So if I set my oven to 350F convection, my oven thermometer will read 325F. So when I bake the same thing in a conventional oven, I reduce the temperature to 325F and my oven thermometer still reads 325F.
Baking with a convection oven (fan)
Bake 2.5 oz cookies at 350F (177C) for total 14-16 minutes
Baking with a conventional oven (no fan)
Bake 2.5 oz cookies at 325F (163C) for 16-18 minutes
How To Get Perfectly Round Cookies
Most cookies bake a little bit uneven around the edges, especially if the dough is soft and not refrigerated before baking. To get your cookies perfectly round, as soon as you remove them from the oven, use anything round like a biscuit cutter/cup/mug, etc. to scoot the cookies around within the circle.
Be gentle so you don’t break the soft cookie but you have to be quick and do it as soon as the cookie comes out of the oven, before the edges set.
Frequently Asked Questions
The cookie dough is pretty soft so you’ll want to refrigerate the cookie dough for 30-60 minutes, until it’s scoopable. Then scoop it out and refrigerate the cookie dough balls on a plate or tray until they’re firm.
Now place them in a ziplock bag and freeze. Remove them a few hours in advance, bring them back to room temperature and bake like you would fresh.
I haven’t tested egg free cookies but you can make these cookies with dairy free butter and dairy free milk or cream for the glaze.
I have tested my base cookie dough recipes with 1:1 substitute for King Arthur and Bob’s Red Mill Gluten-Free Flour Blends. The cookies turnout perfectly, they just have a traditional gluten-free flour flavor which is a little earthy/nuttier which might be masked by the cinnamon anyway.
Of course! Especially if you’re in a pinch and you want to save time.
How To Store Apple Butter Cookies
Easy! Just place them in a ziplock bag and keep them at room temperature for a few days. They obviously will dry out a little more the longer you leave them but I just pop them in the microwave for like 5-10 seconds before eating.
Thanks so much for reading today’s post, if you have any questions just comment down below.
If you make these apple butter cookies, I would love it if you left a star rating for it in the recipe card.
As always, have a blessed day and happy baking!
Love, B


Cookies came out delicious! I refrigerated the dough overnight and baked them at 350 (non convection) for 15-17 minutes. Allowed them to sit on the pan for an extra 10 then transferred to a cooling rack. My husband really enjoyed them!
Literally threw them away. Followed the recipe to a T but they came out dry and cakey. Terrible.
I’ve followed this recipe to the T and the cookie DO NOT come out like the anything I the photos
These taste amazing! My only issue was that the cookies were still totally raw after 16 minutes at 325. I ended up increasing the temperature to 350 and they baked close to 30 minutes before the middles were just done enough. So, not surprisingly, the edges got a bit too crunchy. We are at a slightly higher altitude (4800 ft), so maybe that’s a factor, but usually I just have to give cookies a couple of extra minutes in the oven.
Followed the recipe exactly but baked them at 350 for just over 10 minutes. They turned out great but as another person mentioned do not look anything like the photos – mine were more rounded/puffed
I followed this exactly as written and i also ended up with puffy cookies. They are more cake like than cookie like. Taste good but not what I was hoping for.