How to Make Chocolate Ganache (Ratios for Dark, Milk & White Chocolate)
Chocolate ganache is one of the simplest recipes because it’s made with just two ingredients: chocolate and cream.
But if you’ve ever followed different recipes, you’ve probably noticed that the amounts aren’t always the same—especially across different types of chocolate—and sometimes the ganache turns out too runny or too firm once it cools.
That’s because there isn’t just a single recipe for ganache.
Ganache is ratio-based, and the amount of chocolate to cream is adjusted depending on how you plan to use it—but also based on the type of chocolate you’re using.
Dark, milk, and white chocolate all behave differently, which means they each require different amounts of cream to achieve the same consistency.
Once you understand these ratios, ganache becomes predictable and versatile instead of something you’re just hoping sets correctly.
What Is Chocolate Ganache?
Chocolate ganache is an emulsion made from chocolate and cream. Its texture is controlled by the balance of fat, liquid, and solids in the recipe.
Ganache can be used in place of frosting or buttercream, but it behaves differently. It contains no added sugar beyond what’s in the chocolate and sets as it cools rather than relying on air from whipping for structure—although it can be whipped after cooling to create a lighter, frosting-like texture.
Ratios Control Texture
Ganache isn’t meant to be a single recipe.
Once you understand the ratio of chocolate to cream, you can adjust the texture/consistency intentionally.
- More cream → softer ganache
- More chocolate → firmer ganache
The method stays the same — only the proportions change.
Because different chocolates contain different amounts of fat and sugar, the exact ratio will vary slightly between dark, milk, and white chocolate to achieve the same consistency.
Chocolate Ganache Ratios (By Weight)
I separated these into two categories based on consistency: thin and thick. Both versions will thicken significantly as they cool, so choose your ratio based on the texture you want once the ganache has set.
Disclaimer: The ratios only work in weight. You cannot convert this to cup measurements and adjust them or the ratio will be off. I very highly recommend using a digital scale for this (and all baking lol).
* If you look back at a lot of my recipes, I did convert them to cup measurements for convenience but those aren’t meant to be scaled up and down. This method will give you the most consistent results.
Thin consistency
- Fully fluid when warm and pours easily.
- Thickens to a smooth, spreadable texture (similar to soft peanut butter) as it cools.
- Perfect for drips, topping cheesecakes, spreading on cake layers, or serving as a sauce.
Thick Consistency
- Dense and spoonable when warm
- Holds its shape as it cools, making it pipe-able
- Ideal for homemade truffles, piped decorations, or cake/dessert layers that need structure.
You can adjust these ratios to create an even thinner ganache if needed, but I rarely find that necessary in practice. The thinner ratio here is already fluid enough for glazing and spreading, while still setting to a smooth, usable consistency. Likewise, the thicker ratio is included for applications that require more structure, although I personally reach for it less often.
The ratio is different for dark, milk, and white chocolate because of the fat content within each type of chocolate. Even the percentage of cocoa solids will slightly shift the texture in dark chocolate as well but that’s a lot less noticeable so I don’t generally take that into account.
Tip: White chocolate ganache thickens much more quickly than dark or milk chocolate, so plan to use it slightly warmer for glazing or spreading. Milk chocolate thickens much slower than dark and white so plan to give it more time to set.
| Chocolate Type | Thin (Chocolate:Cream) | Thick (Chocolate:Cream) |
|---|---|---|
| Dark | 1:1 (200g:200g) | 2:1 (200g:100g) |
| Milk | 2:1 (200g:100g) | 3:1 (200g:67g) |
| White | 3:1 (200g:67g) | 4:1 (200g:50g) |
If you’ve been here a while, you may have seen my Caramelized White Chocolate Ganache Recipe. That ganache uses a 2:1 ratio instead of 3:1 because roasting the white chocolate changes its structure and makes it thicker, so it needs more cream to emulsify smoothly.
How Much Ganache Does This Make?
Ganache yield is determined by the amount of chocolate you start with. Because this is a ratio-based recipe, you can scale it to make as much or as little as you need.
As a general guide:
- 100 g chocolate makes enough ganache to lightly glaze about 10 cookies or cupcakes.
- 200 g chocolate makes enough ganache to generously glaze the top of an 8-inch cake or fill a thin layer or generously frost 12 cupcakes.
- 300–400 g chocolate is typically enough to fill and frost a 6-inch layer cake.
- 500-600 g chocolate or more is enough to fill and frost an 8-inch layer cake or multiple desserts.
If you’re unsure, it’s better to make slightly more. Ganache keeps well and can be rewarmed if needed.
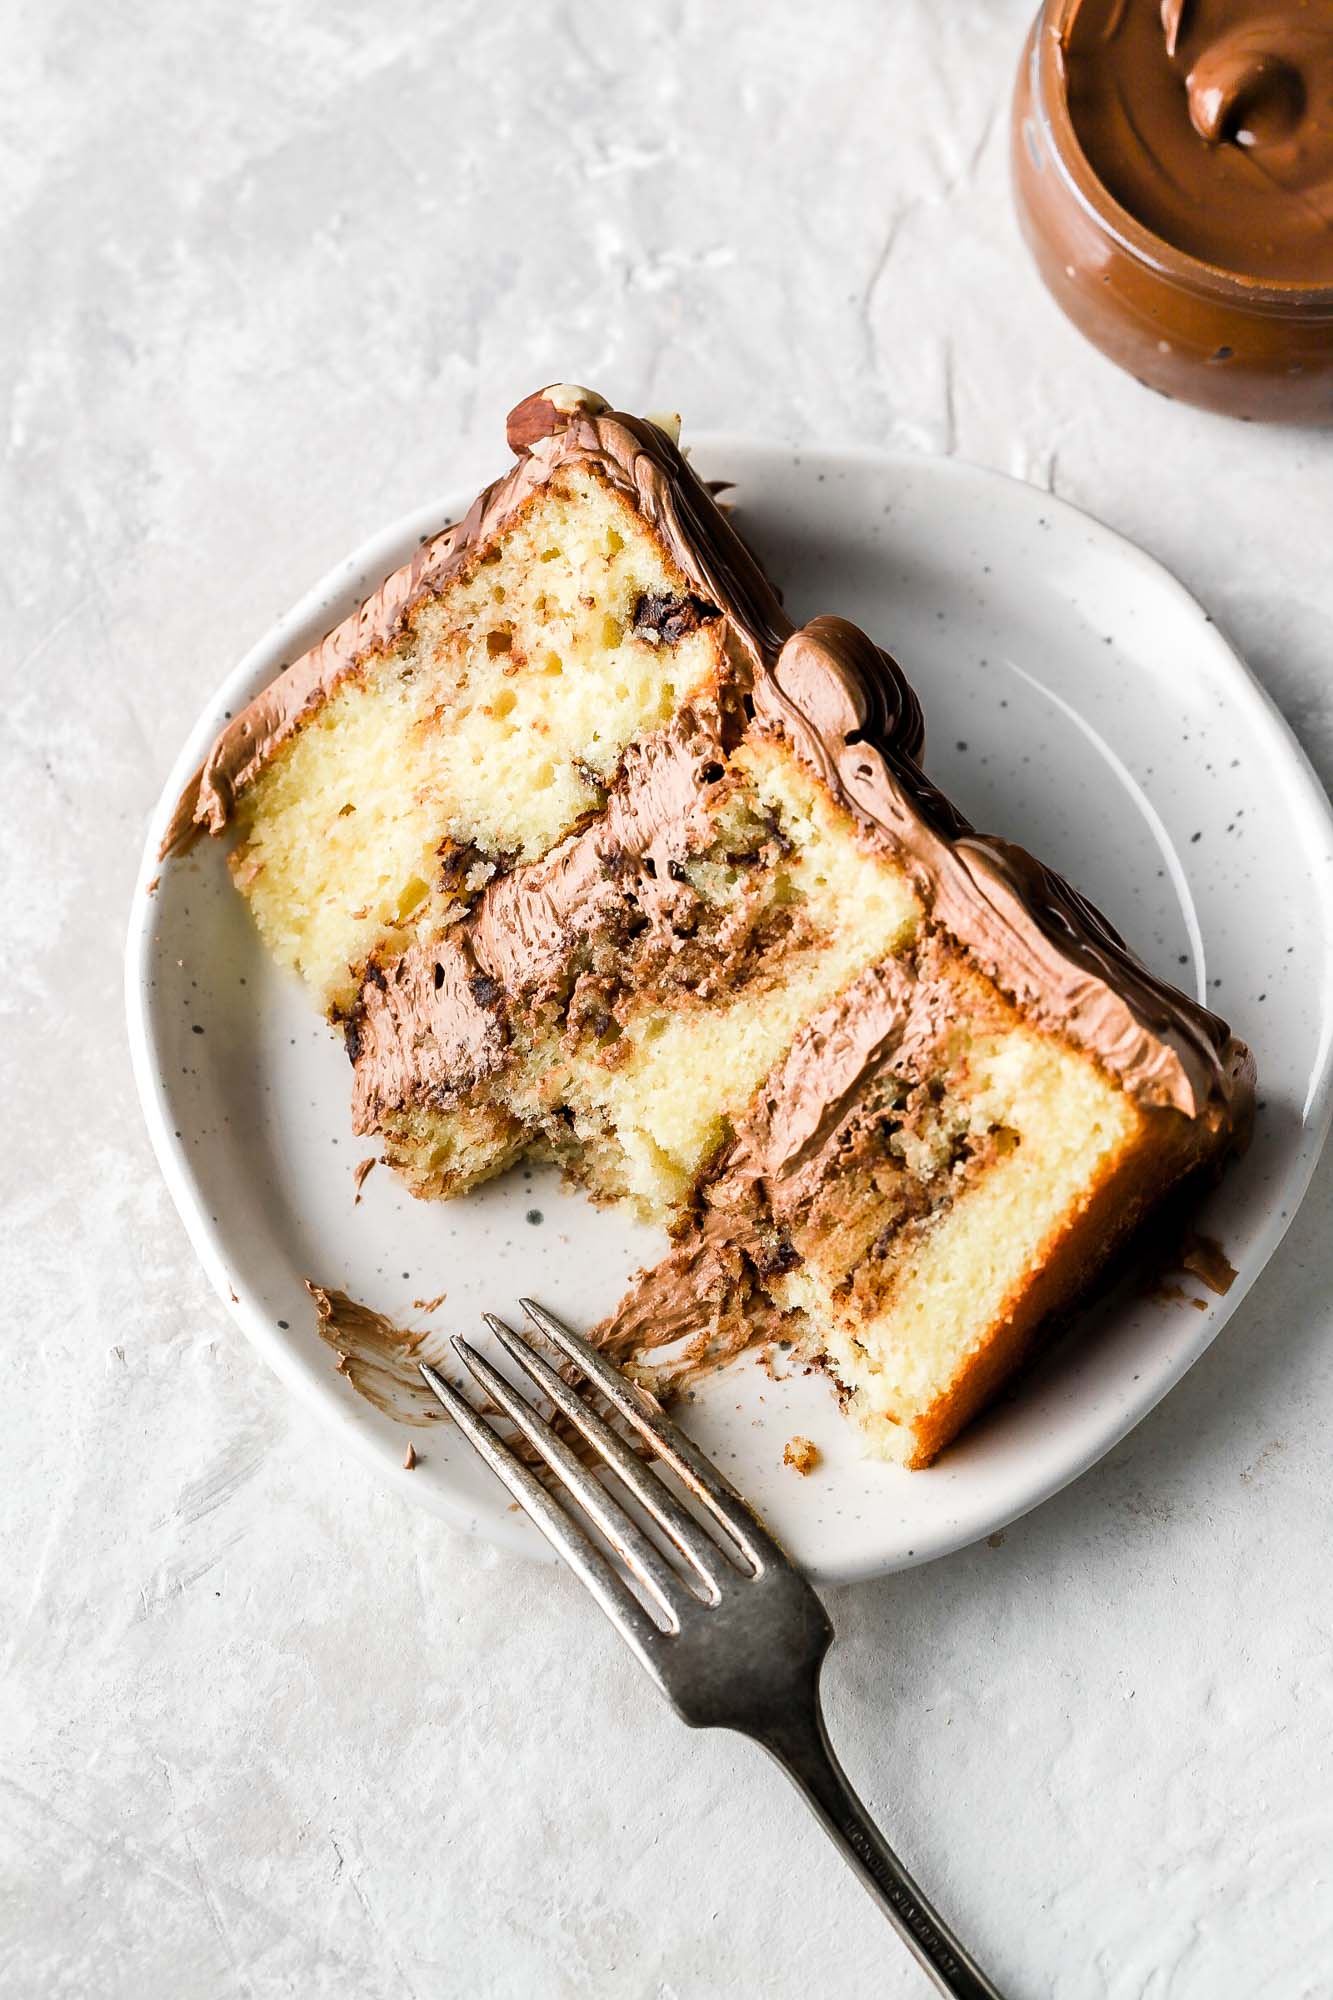
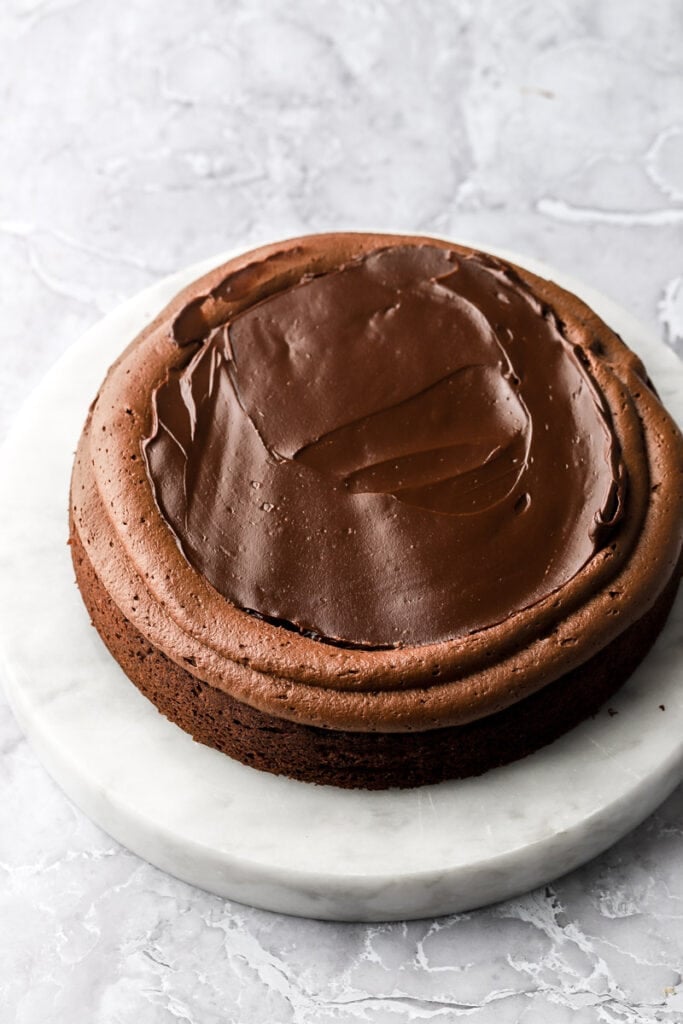
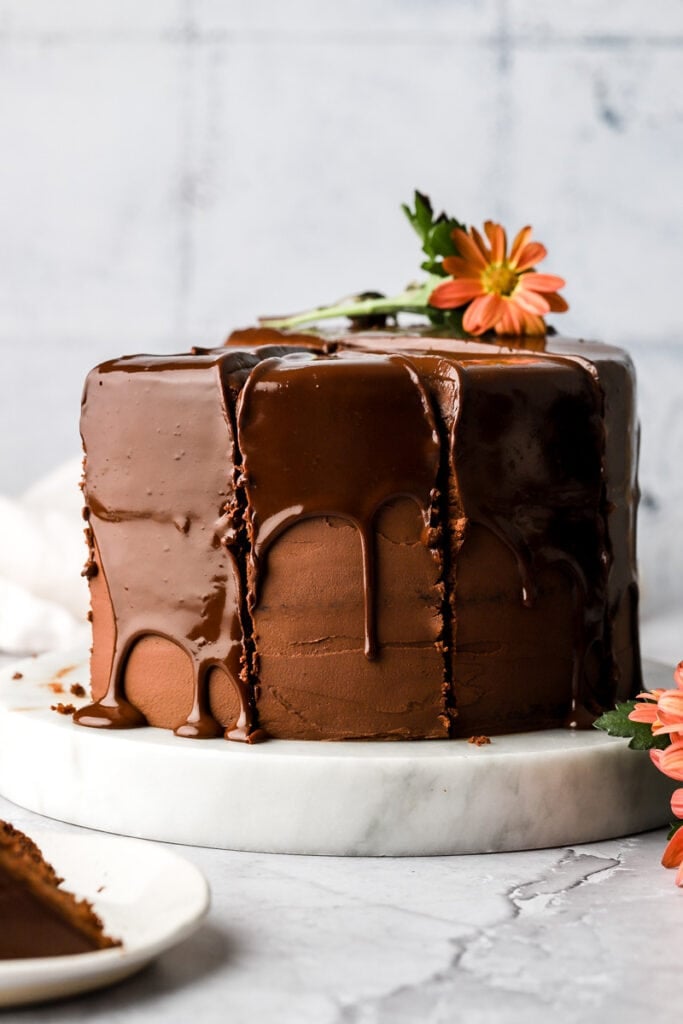
In my Chocolate Ganache Cake below, I used a 1:1 ratio of dark chocolate ganache for the cake filling (set but not whipped), the frosting on the outside (whipped) and the drip on top (warmed).
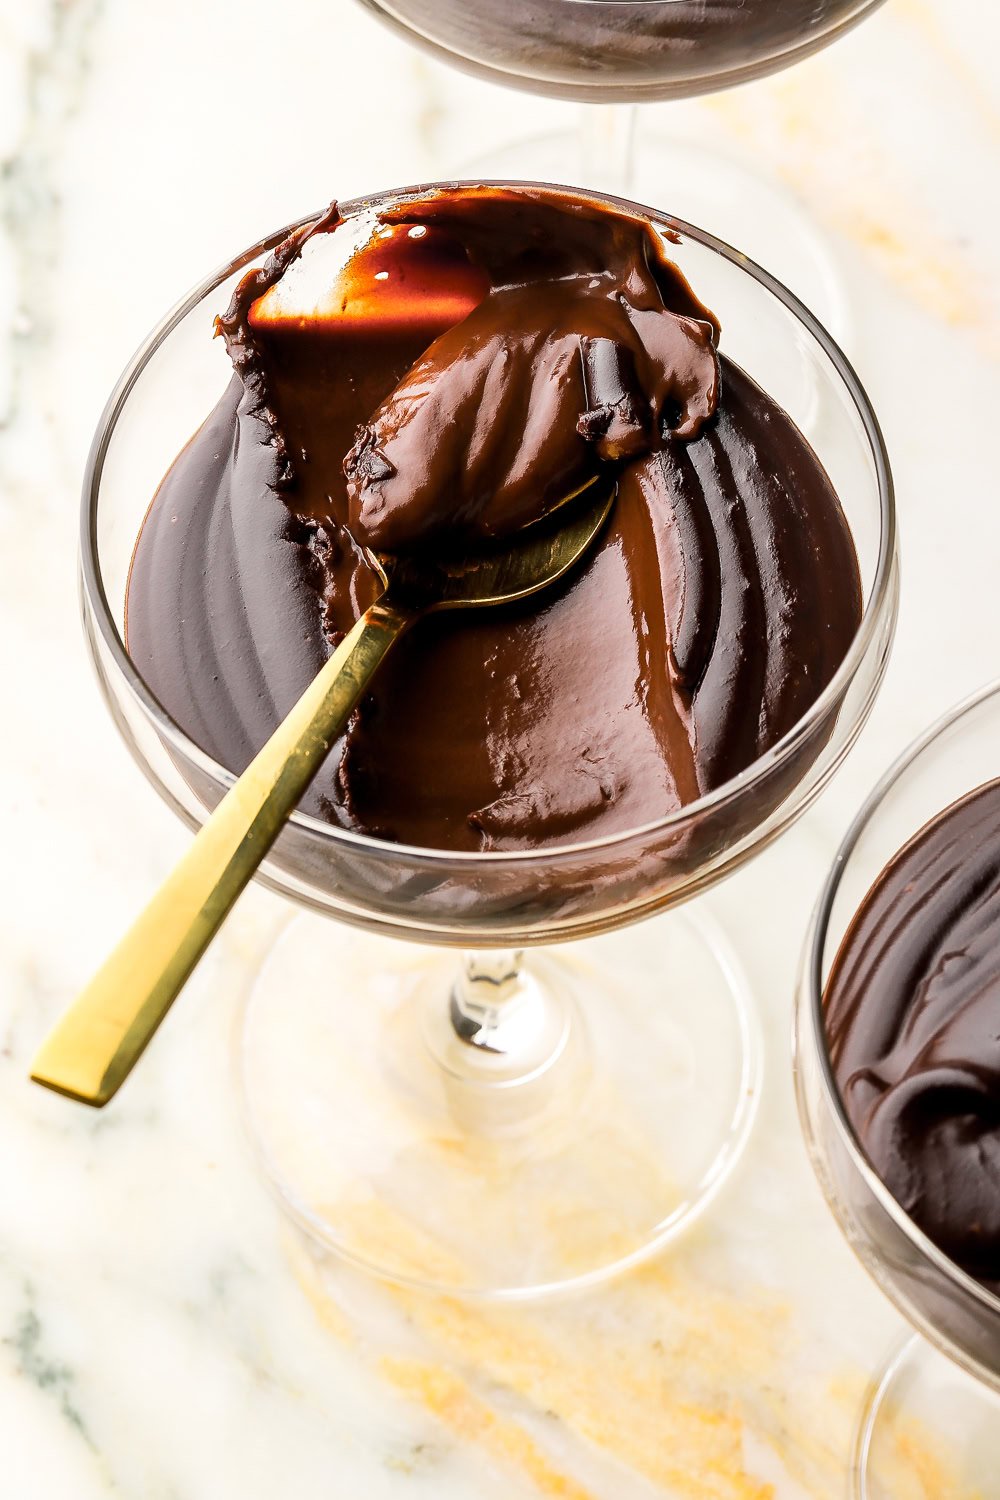
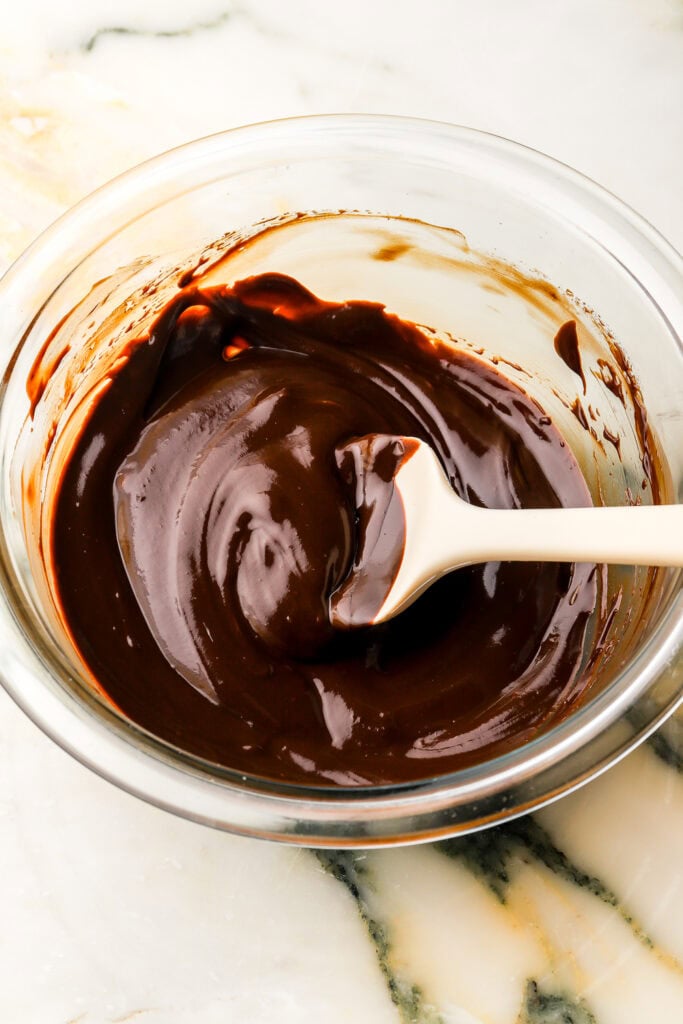
How to Make Ganache, Step-by-Step
Regardless of the ratio for the ganache, it’s all prepared the same way.
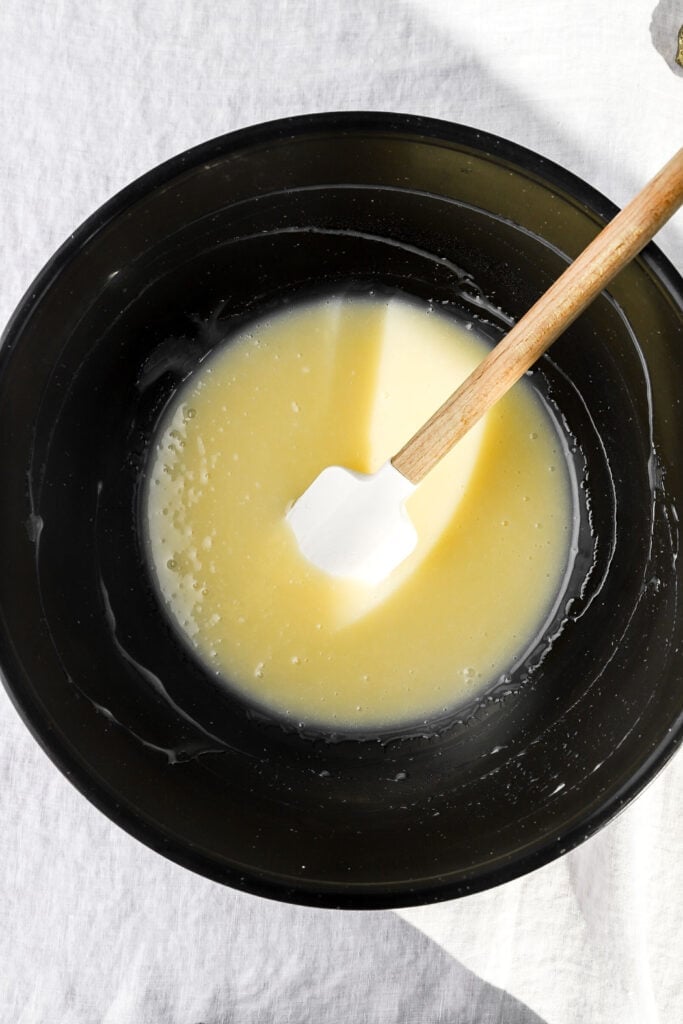
- Heat cream until it’s steaming (not boiling). You can do this in a saucepan or in the microwave.
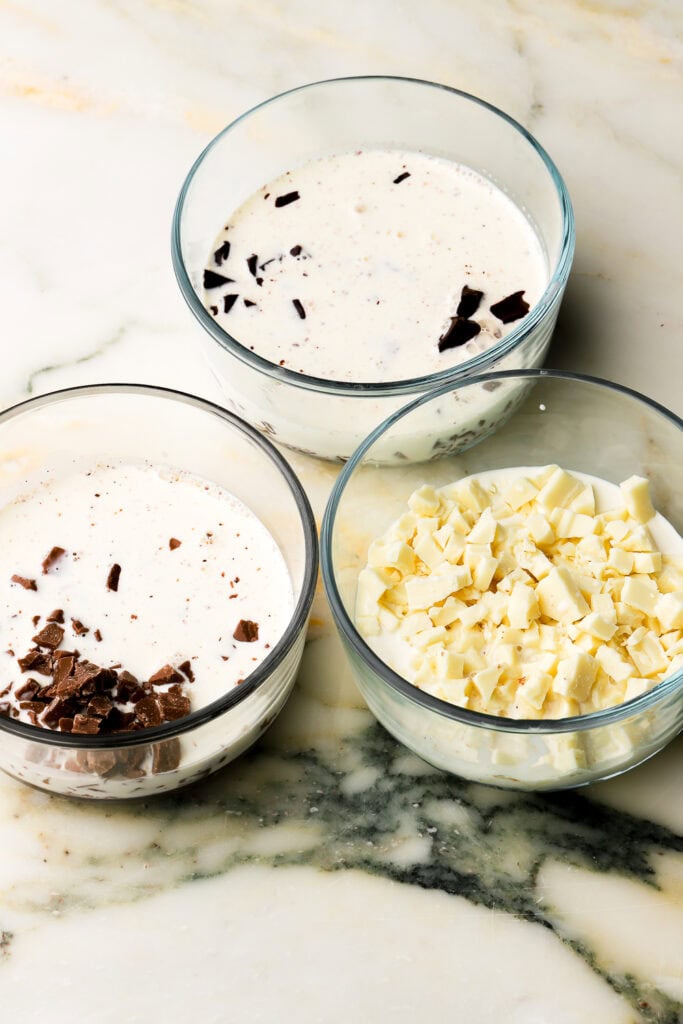
- Pour the cream over the chocolate.
- Cover the bowl (this traps the heat in) and let it sit for 1–2 minutes.
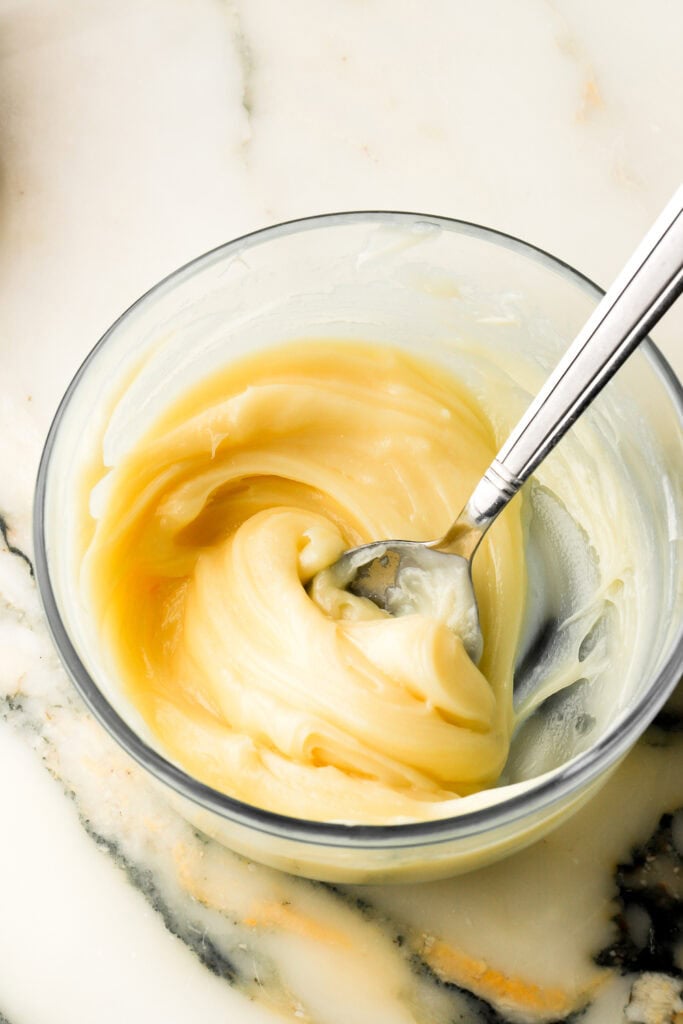
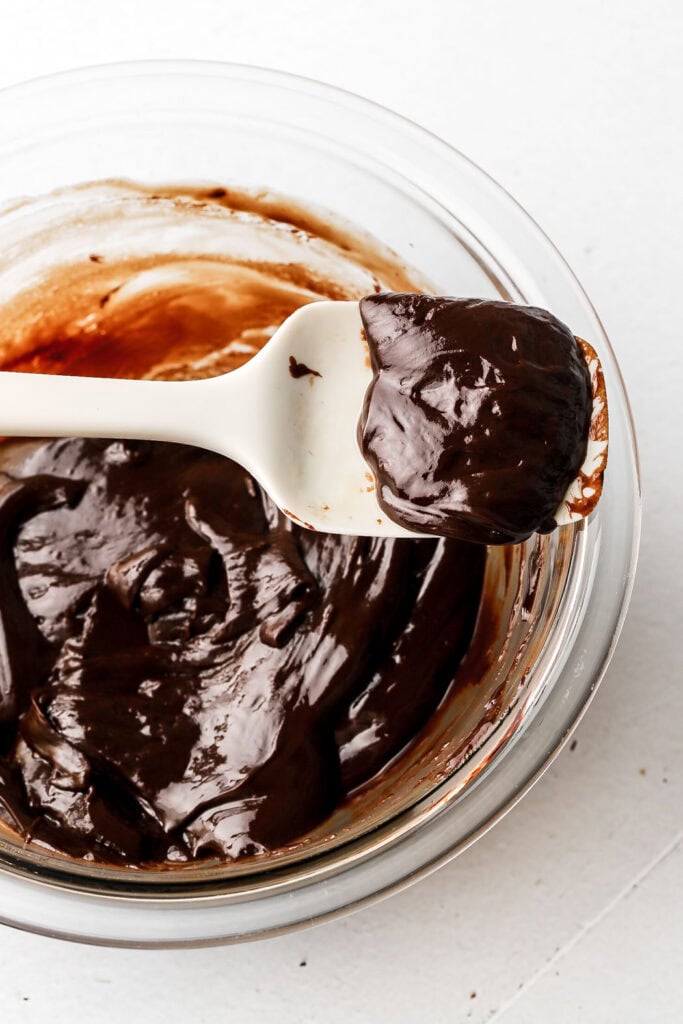
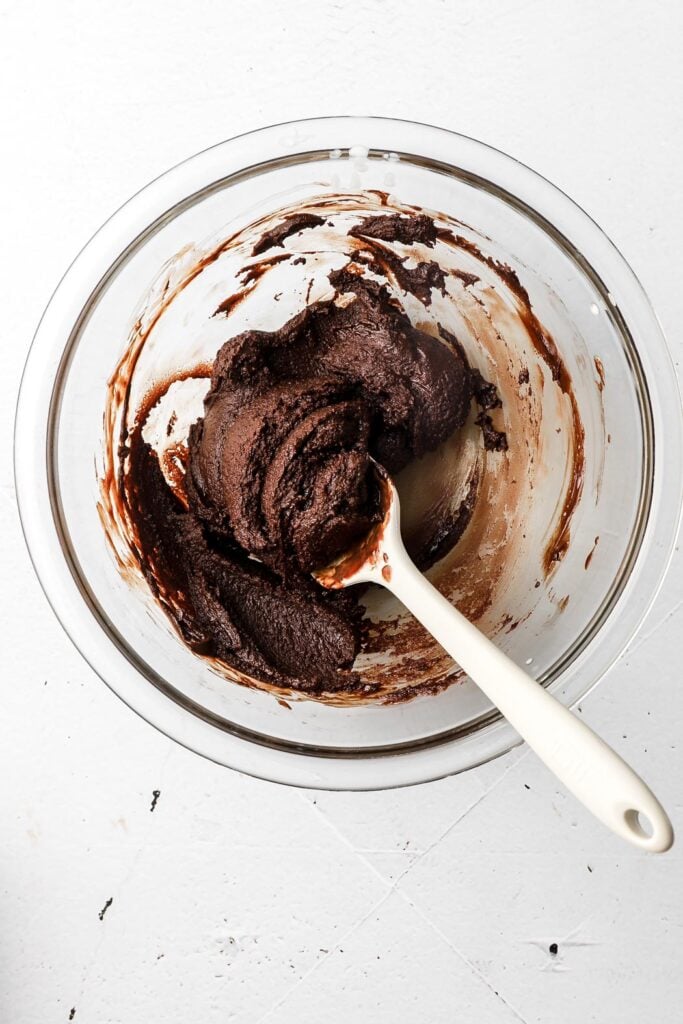
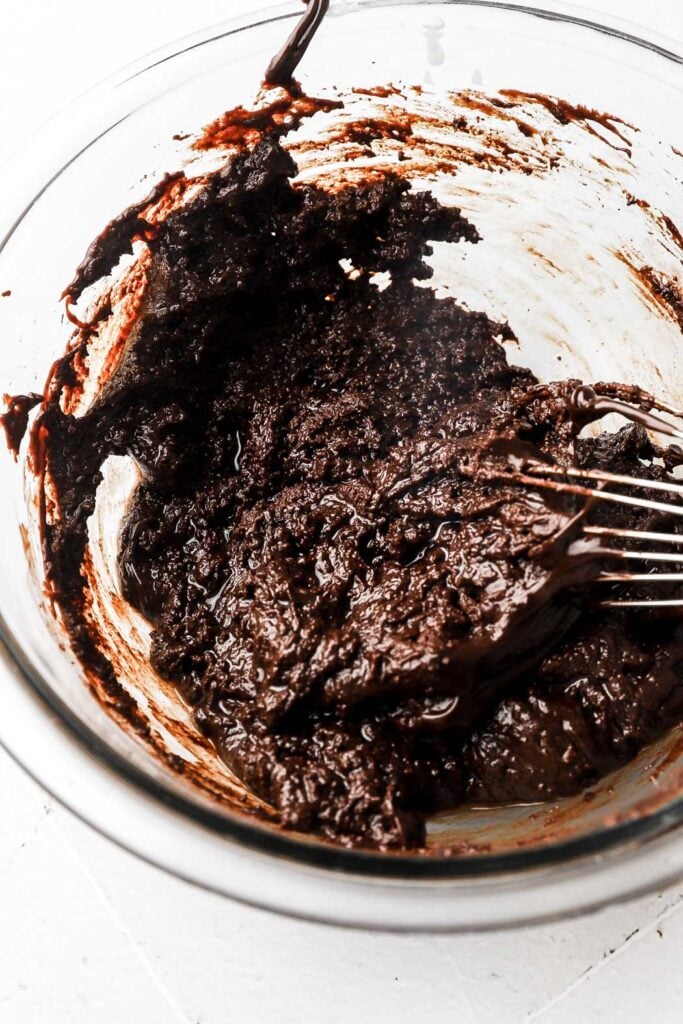
- Stir slowly from the center outward until the mixture becomes smooth and glossy. This gradual mixing creates a stable emulsion without incorporating excess air.
- If needed, emulsify until smooth with an immersion blender at low speed (generally only needed for larger quantities).
Tip: Don’t whisk aggressively — that breaks the emulsion and the ganache can end up grainy.
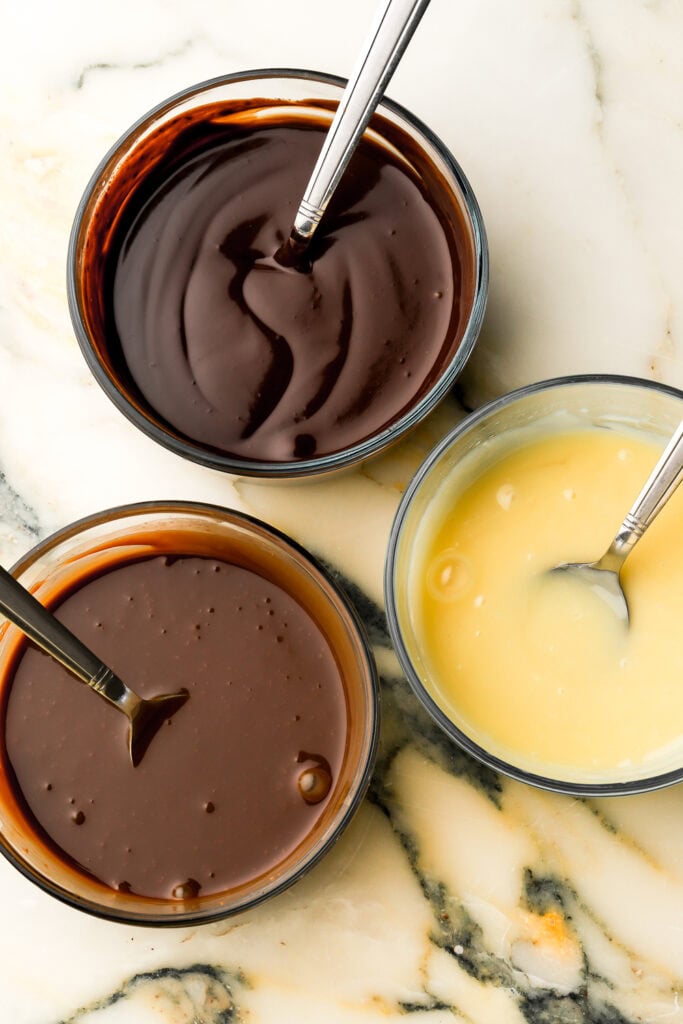
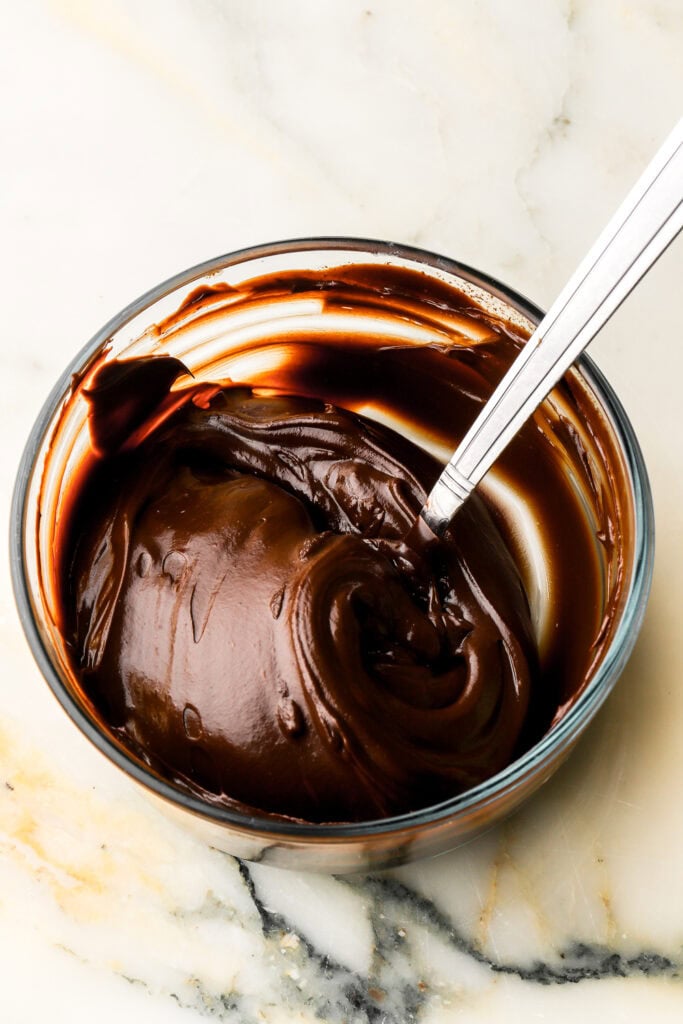
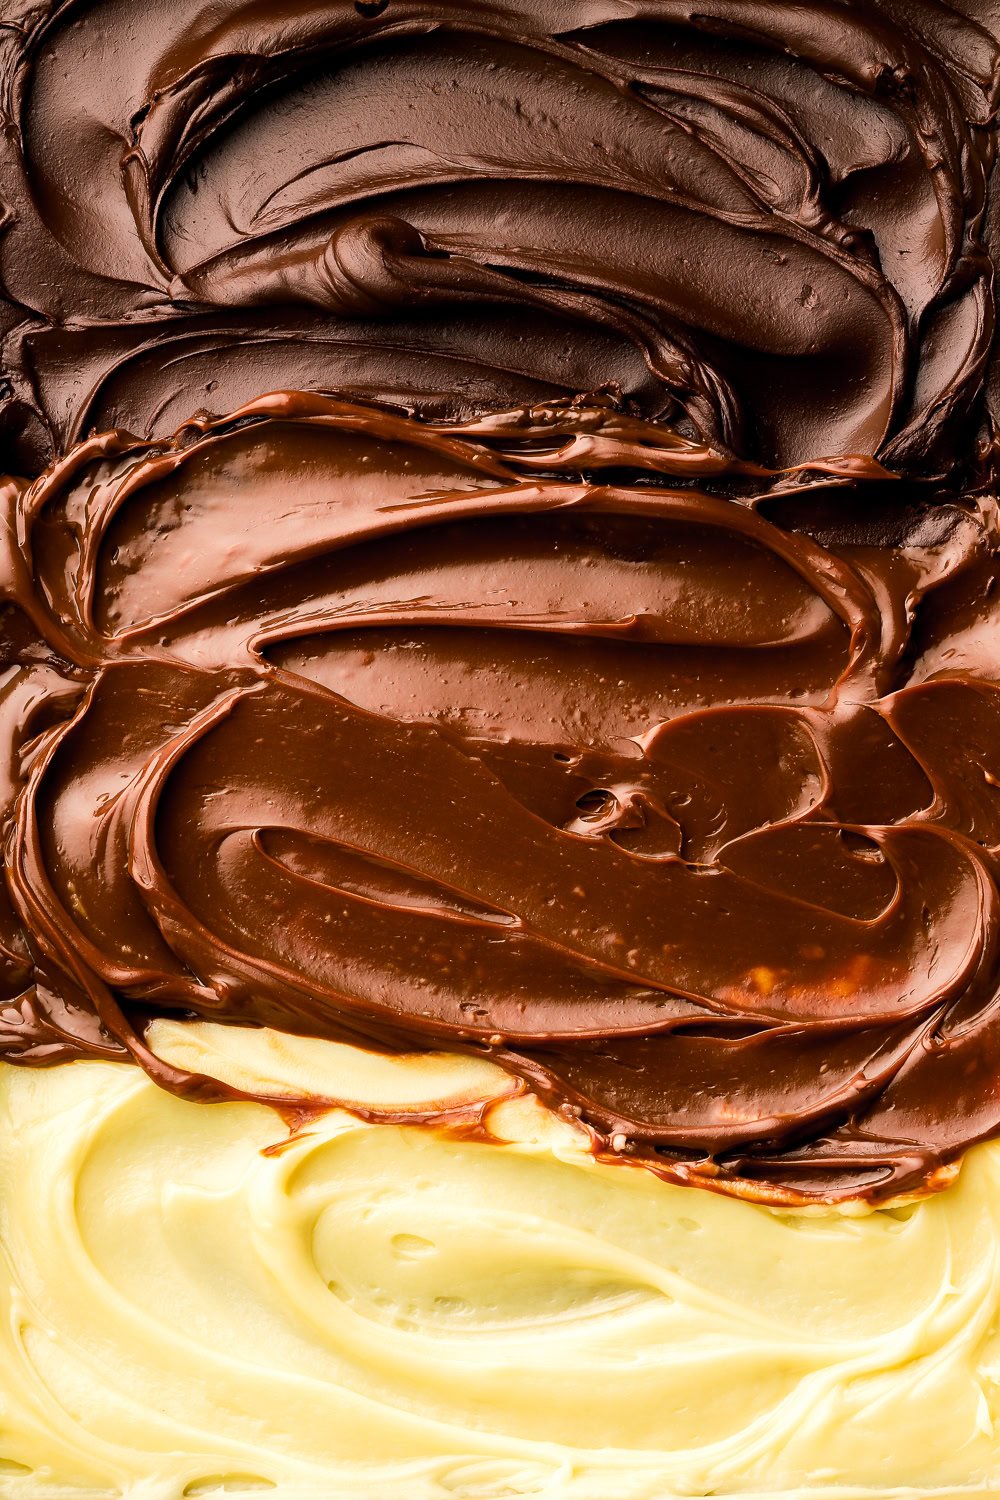
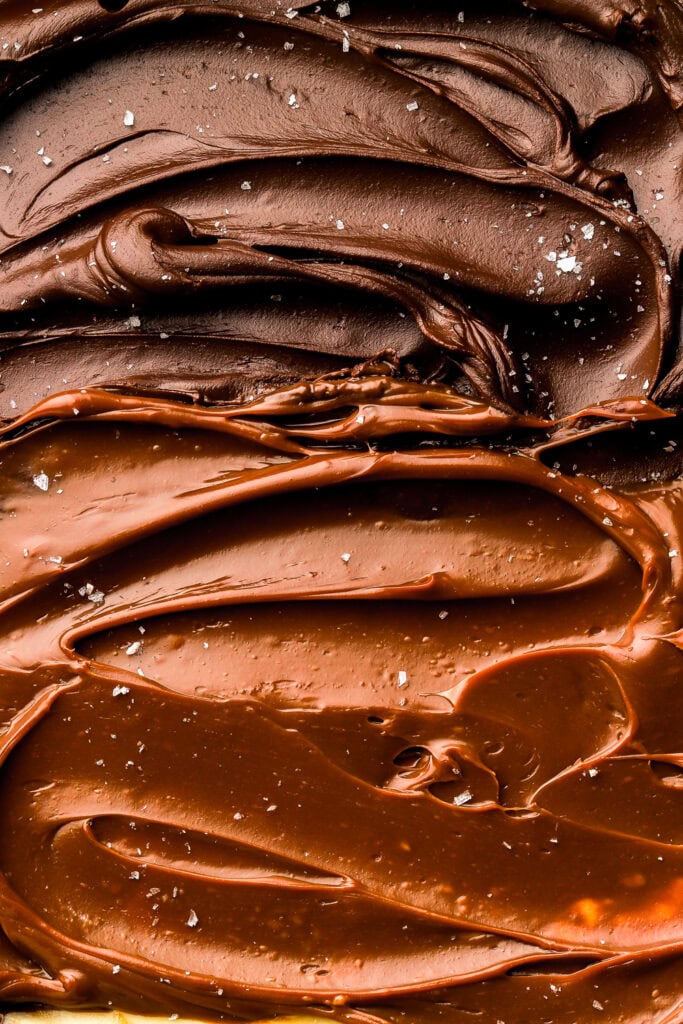
*The milk chocolate ganache took so much longer to thicken/set that I forgot to get a picture but you can see all three together in the top image with the swirls
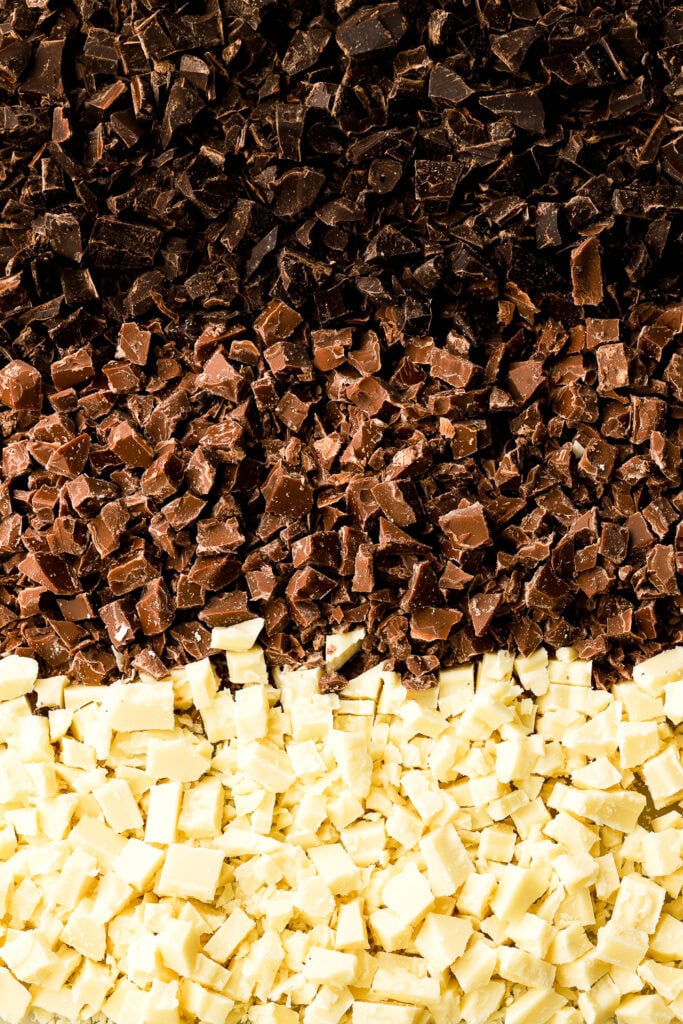
Choosing the Right Chocolate
The type of chocolate you use directly affects both the texture and flavor of your ganache.
As shown in the ratio chart, dark, milk, and white chocolate require different amounts of cream. This is because their compositions vary. Milk and white chocolate contain added milk solids and higher sugar content, which makes them softer when melted. To achieve the same firmness as dark chocolate ganache, they require less cream.
White chocolate, in particular, contains the highest amount of fat and sugar and no cocoa solids, which is why it needs the least cream and produces the sweetest ganache. Dark chocolate will yield a less sweet, more structured result.
The cocoa percentage of dark chocolate also plays a role. A higher cocoa percentage (for example, 70% vs. 60%) will produce a slightly firmer ganache with a deeper flavor, although the textural difference is subtle compared to adjusting the cream ratio.
For the smoothest texture and best flavor, use a high-quality chocolate bar and chop it finely before pouring over the cream. Chocolate chips can be used, but they contain stabilizers designed to help them hold their shape during baking, which can make the ganache slightly thicker and less smooth.
Why Temperature Matters
Temperature plays a major role in how ganache comes together and how it sets.
Chocolate is sensitive to heat, so if the cream is boiling when it’s poured over the chocolate, it can overheat the cocoa butter and cause the mixture to seize or separate. The cream should be hot and steaming, but not at a full boil.
After pouring the cream over the chocolate, let it sit for a minute or two before stirring. This allows the chocolate to melt gently and helps create a smooth emulsion.
Once emulsified, ganache should be allowed to cool gradually at room temperature. Chilling too quickly can cause it to firm up unevenly. If you do need to refrigerate it to speed things up, stir it gently every so often to keep the texture smooth.
Ganache that is too warm will be loose and run off instead of setting properly. As it cools, the cocoa butter begins to crystallize, giving ganache its structure. At a moderate room temperature (around 70–75°F / 21–24°C), it will be smooth, glossy, and spreadable.
Ganache Troubleshooting Guide
| Problem | Likely Cause | How to Fix It |
|---|---|---|
| Too Runny | Too much cream or not enough time to cool | Allow to cool and if it doesn’t thicken, add more MELTED chocolate in small increments (don’t add them unmelted) – make sure the temperature of the melted chocolate and melted ganache are close so it doesn’t split. |
| Too Thick/Sets Too firm | Too much chocolate (or higher cocoa percentage on dark chocolate) | Gently re-warm the ganache and stir in small amount (1-2 tsp) of WARM cream. |
| Grainy and Dull | Overheated chocolate and/or broken emulsion | Add 1–2 Tbsp WARM cream and stir gently from center outward (changes ratio slightly but restores emulsion – worth the compromise to me). |
| Oily/Separated | Emulsion broke (usually from aggressive stirring or overheating) | Add a small splash (like 1 tsp at a time) of WARM cream and stir slowly until smooth (changes ratio slightly but restores emulsion). If your ganache is still separated, try whisking in a small amount of warm corn syrup or honey (about 1 tsp per 100 g chocolate) to help re-emulsify. |
| Not Smooth/Bits of Solid Chocolate | Chocolate not chopped small enough, chocolate chips are poor quality or cream not heated enough | Place bowl over a double boiler and gently heat again until melted completely. Can try a microwave in small 5-10 second bursts but this could over-heat and seize the chocolate quickly. Can also strain out chocolate bits while it’s still warm and fluid. |
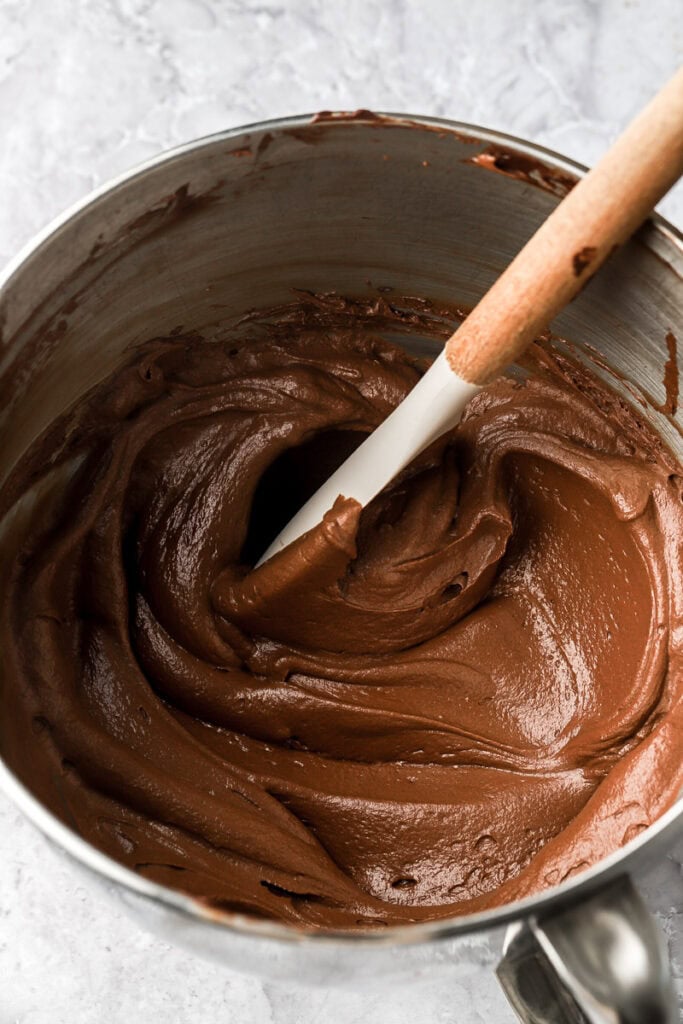
Whipped Ganache
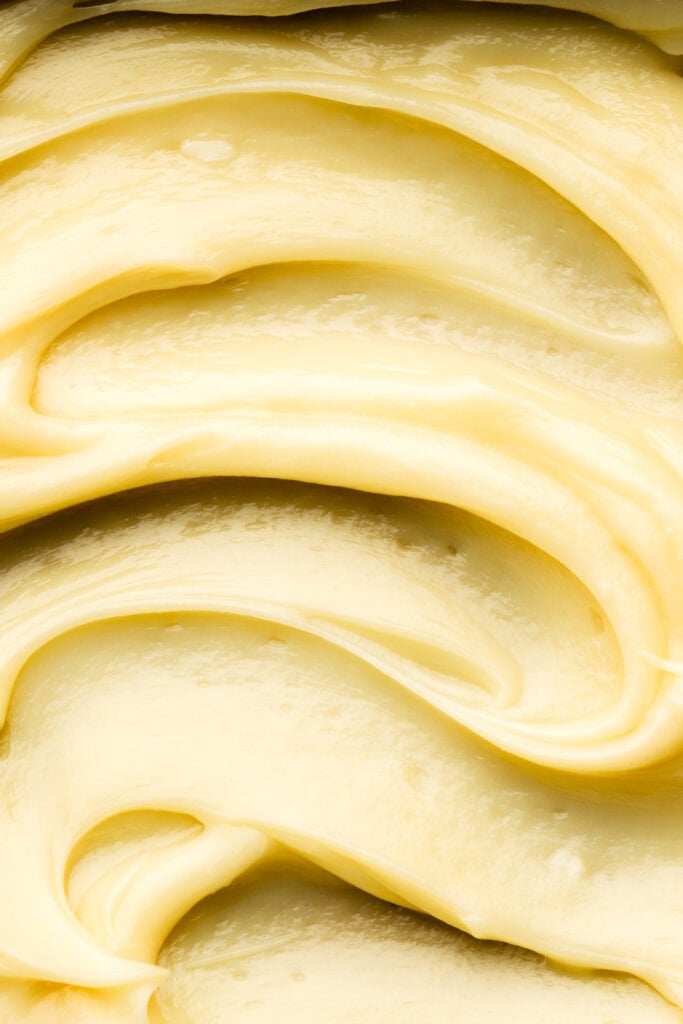
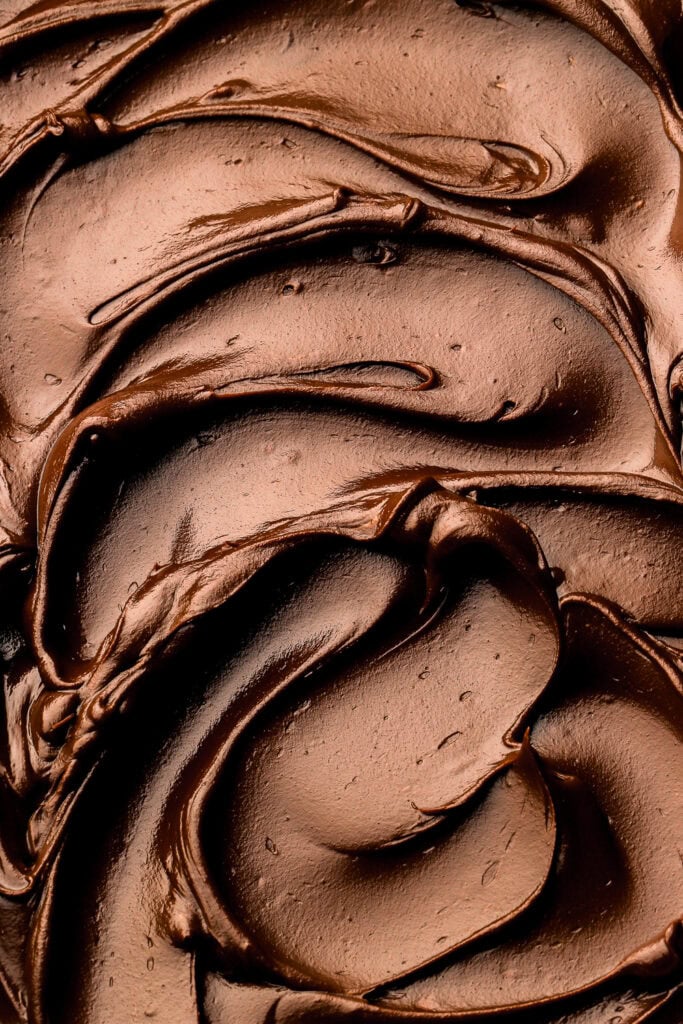
Ganache can also be whipped to create a lighter, frosting-like texture. This works best with a thin ganache ratio, which is soft enough to incorporate air once cooled. You can see how I used whipped dark and white chocolate ganache in my Tuxedo Cake Recipe.
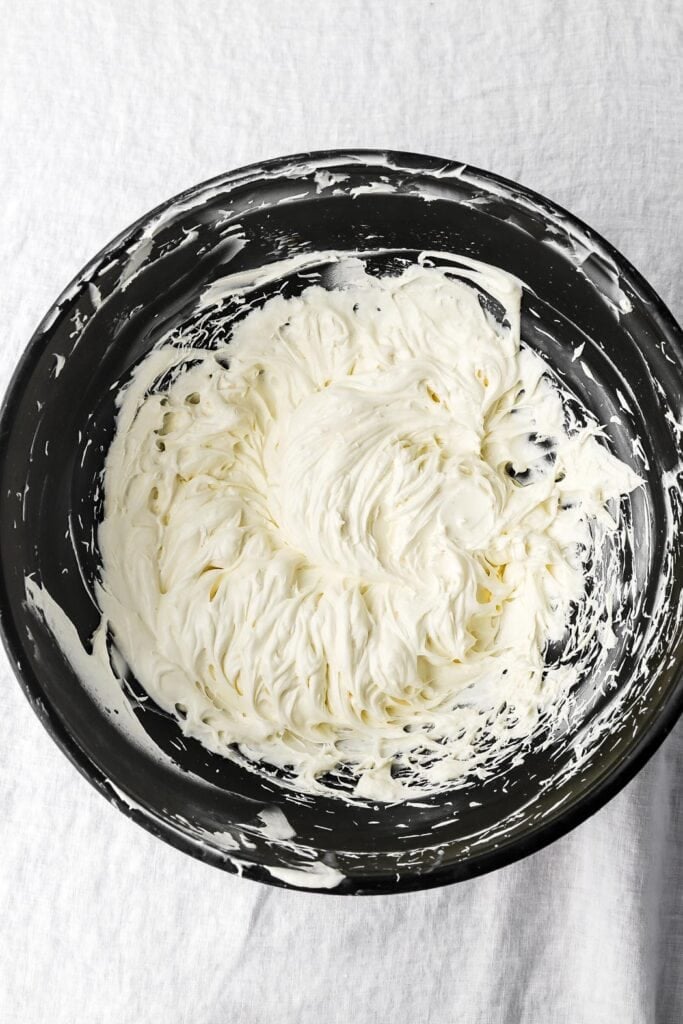
Allow the ganache to cool completely at room temperature until it is set but still pliable. It should feel similar to peanut butter, not warm or fluid. Using a mixer, beat the ganache on medium speed until it lightens in color and becomes fluffy.
Whipping introduces air into the ganache, creating a texture that is less dense than un-whipped ganache but still rich and smooth. The texture/stiffness is much closer to frosting which makes it ideal for frosting cakes or using as a soft filling. You can see how I frosted my Chocolate Chip Banana Cupcakes with un-whipped ganache here vs. oh I frosted my Chocolate Caramel Cupcakes with whipped ganache.
Avoid whipping ganache while it is still warm, as it will not hold structure. It’s better for it to be SLIGHTLY chilled rather than a little too warm. Over-whipping can also cause it to become grainy, so stop once it has thickened and holds its shape.
Whipped ganache is best used as soon as it’s whipped. If you make the ganache ahead of time, whip it right before you use it.
Storage & Make-Ahead
Chocolate ganache keeps well because of its high fat content and low moisture.
At room temperature:
Store covered for up to 1 day if your kitchen is cool (about 68–72°F / 20–22°C).
Refrigerator:
Store in an airtight container for up to 5 days.
The ganache will firm up as it chills.
To reuse:
Let it come to room temperature or warm gently in short bursts, stirring frequently, until smooth and spreadable again.
To make ahead:
Ganache can be made several days in advance. Re-warm or re-whip as needed depending on how you plan to use it.
If you have additional questions about ganache, leave them in the comments below.
As always, have a blessed day and happy baking!