
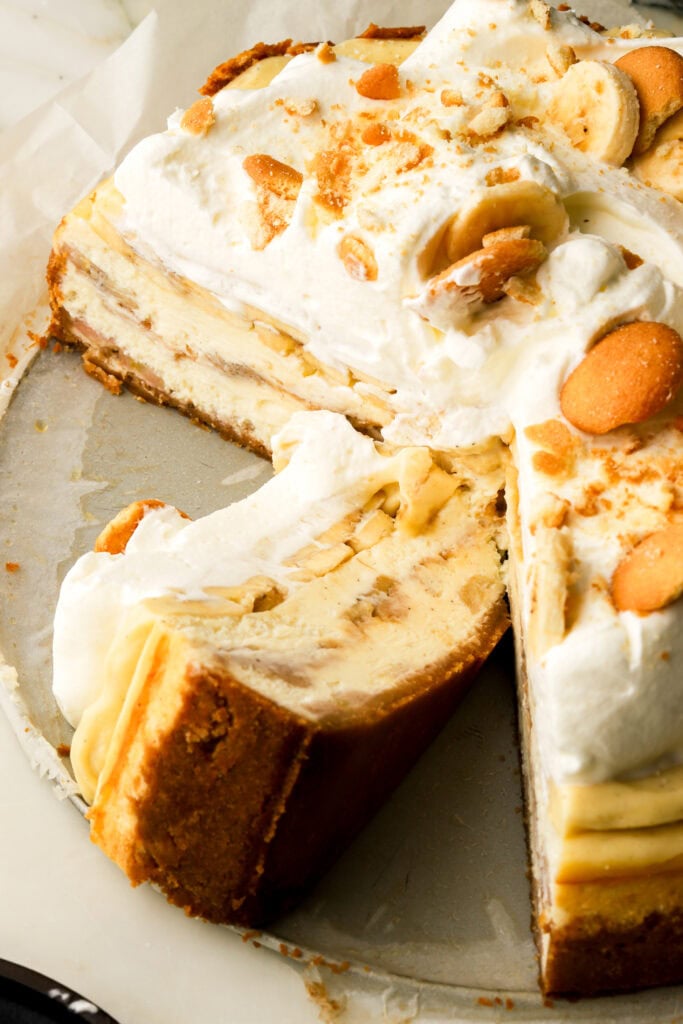
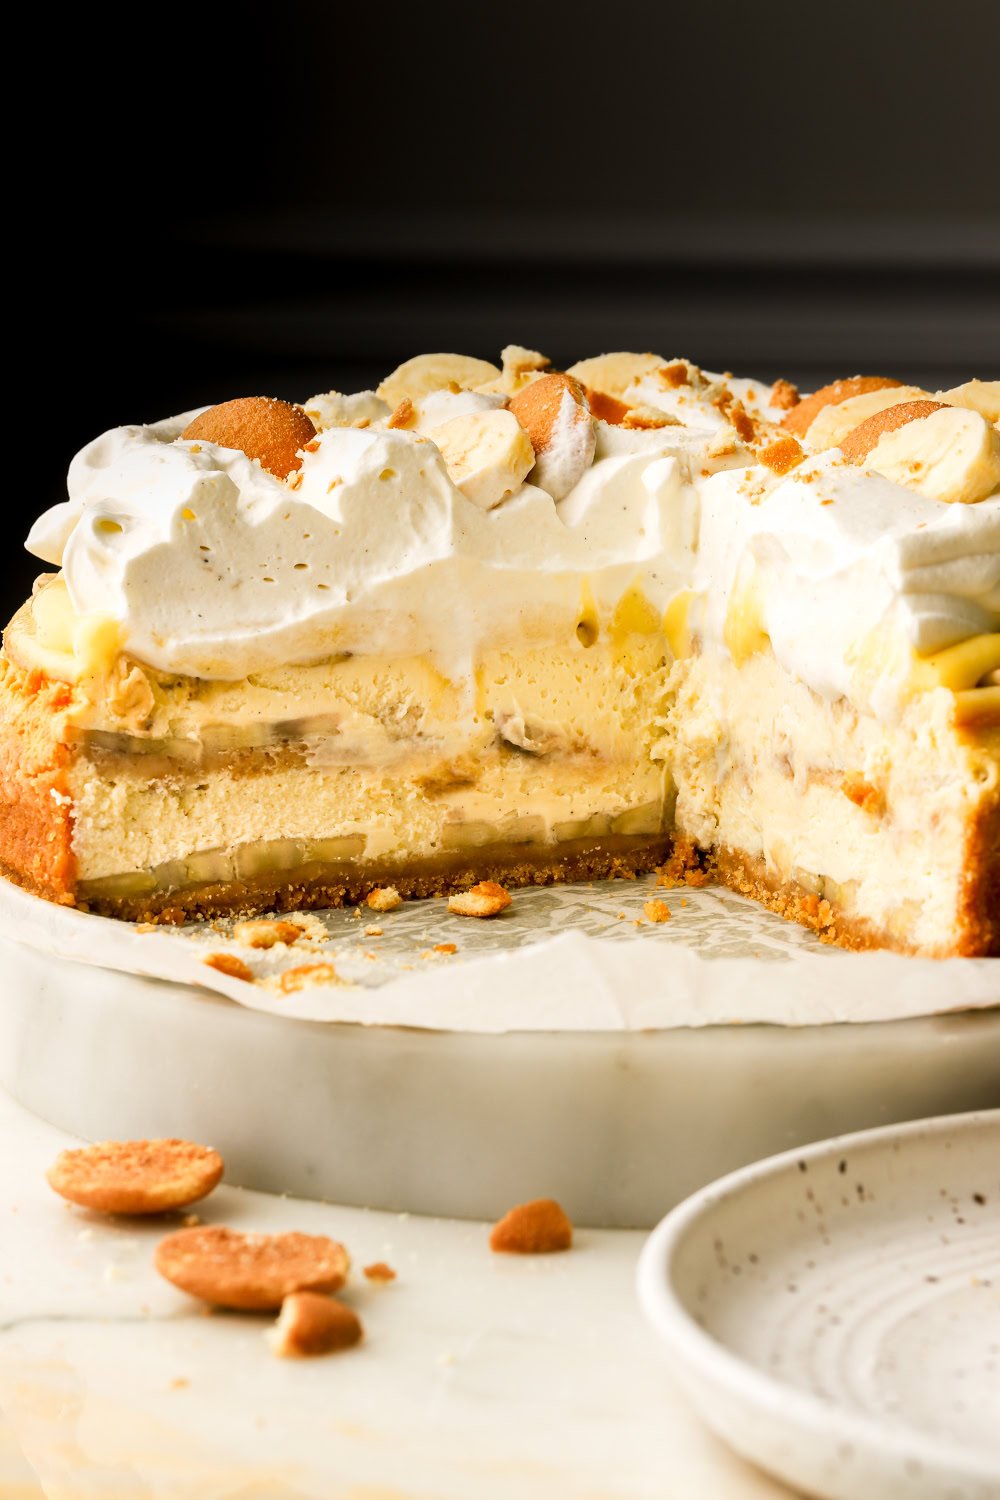
Banana Pudding Cheesecake
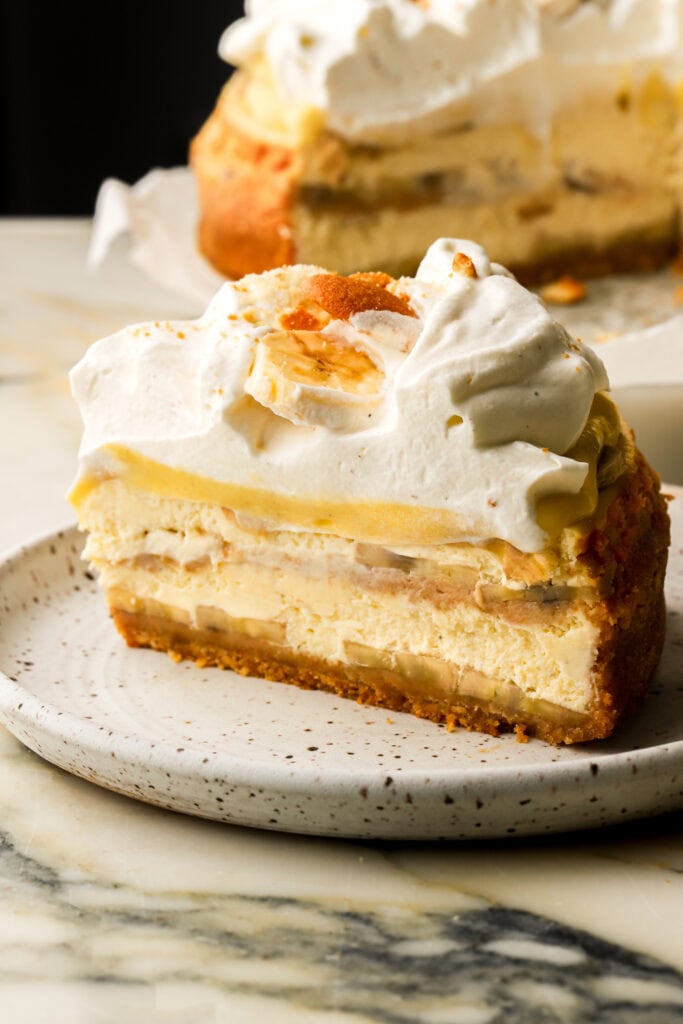
The creamiest vanilla cheesecake baked on top of a vanilla wafer crust and layered with banana slices, more vanilla wafers, homemade vanilla pastry cream and fresh whipped cream.

I’ve said this before and I’ll say it again, I love bananas. It’s my absolute favorite fruit to bake with. I’ve literally never had a banana dessert turn out bad lol.
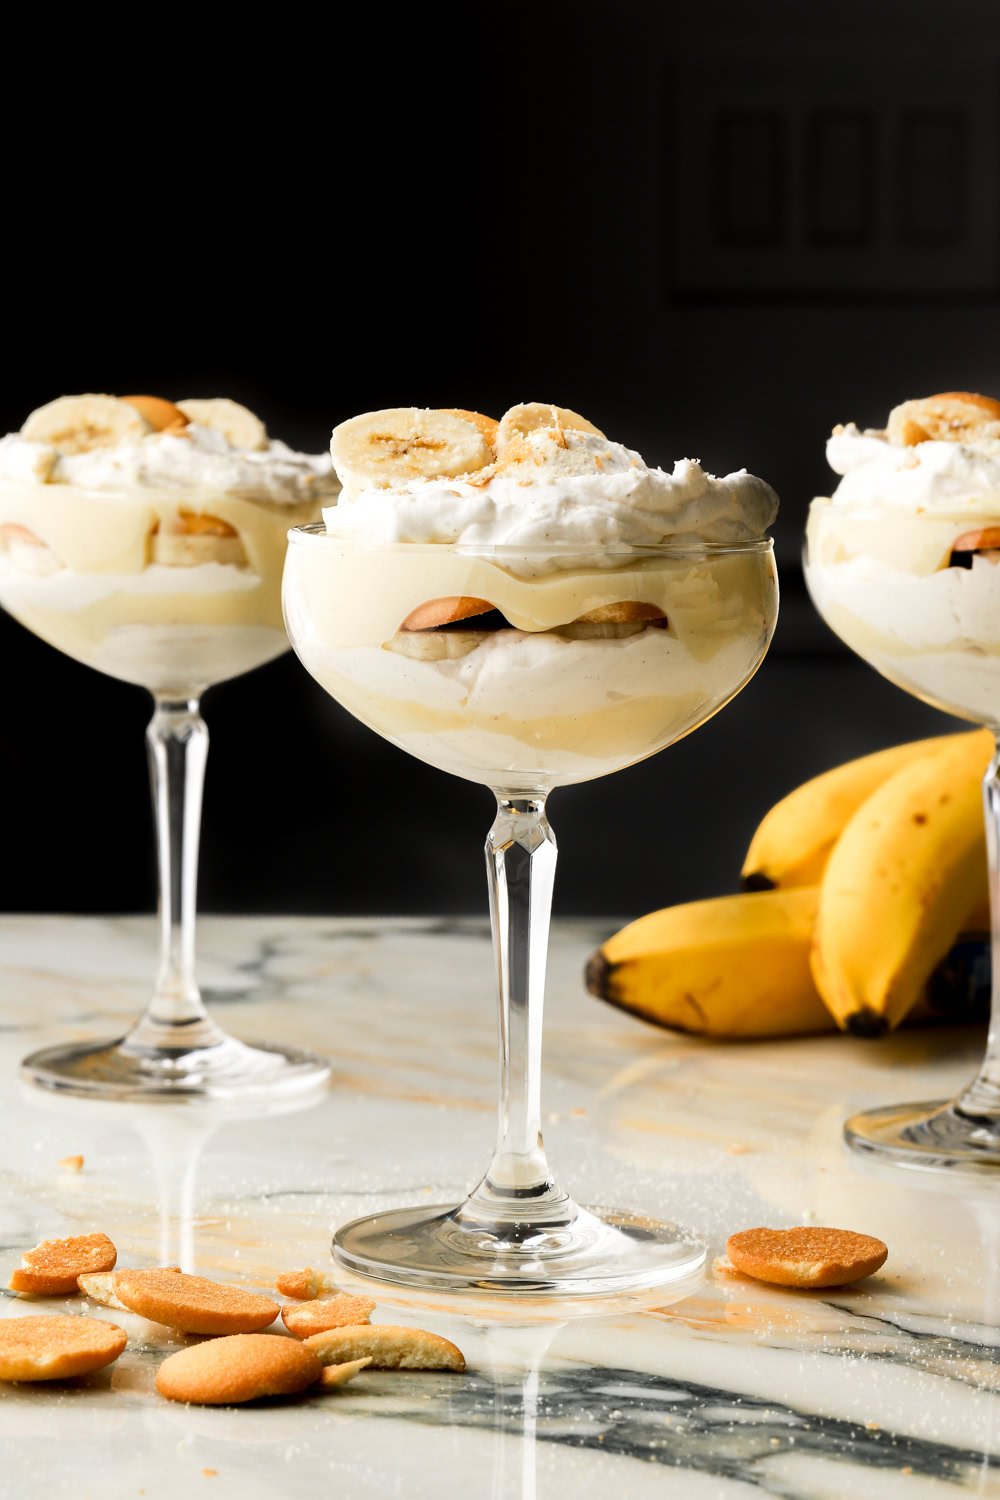
One of my favorite recipes I posted this year is my Banana Pudding Cups. Of course, I have the classic version too but there’s something so much better about it being served in cute little cups. Anyway, now I’m on a mission to make as many different types of banana pudding desserts as I can because I’ll probably never get sick of it.
How To Make Banana Pudding Cheesecake
I used my base Vanilla Cheesecake recipe for this but I scaled it up to the 10 inch springform pan (so it can also be scaled down if you want!). I baked it on a ‘Nilla wafer crust and layered it with banana slices, vanilla pastry cream and fresh whipped cream.

Ingredients & substitutions
- Cream Cheese: make sure to use the full-fat brick cream cheese. I prefer the Philadelphia brand.
- Sugar: I used granulated sugar and I don’t recommend swapping it. If you prefer a tangier cheesecake, you could reduce the amount slightly. I don’t recommend reducing the sugar in the pastry cream though – it’s really not sweet. & the whipped cream, well, I guess you could but the higher sugar gives it a ‘fuller’ feel/texture.
- Sour Cream: I’ve tested this recipe with equal amounts of sour cream and greek yogurt several times and have never noticed a difference. Plain yogurt also works fine, just make sure it’s unsweetened.
- Eggs: Use large, room temperature eggs. If you’re in a pinch, place them in hot water for 5-10 minutes. You’ll be left with leftover egg whites from the pastry cream (unless you prefer to make my whole egg version you can do that but it gives slightly less flavor) so save them for meringue recipes or egg white cookies (you can freeze the egg whites too).
- Vanilla: I recommend vanilla bean paste or actual vanilla beans. If you’re in a pinch, pure vanilla extract works well too.
- Bananas: This is where it gets a little tricky, bananas are generally *perfectly* ripe for 1-3 days – you need these ripe bananas. Not under-ripe, not over-ripe. You want them edible. Over-ripe bananas will be brownish and brown more once you layer it and they’ll be flimsy and under-ripe bananas are too starchy and flavorless.
- Heavy Whipping Cream: I recommend a 36-40% cream and make sure it’s cold when you whip it.
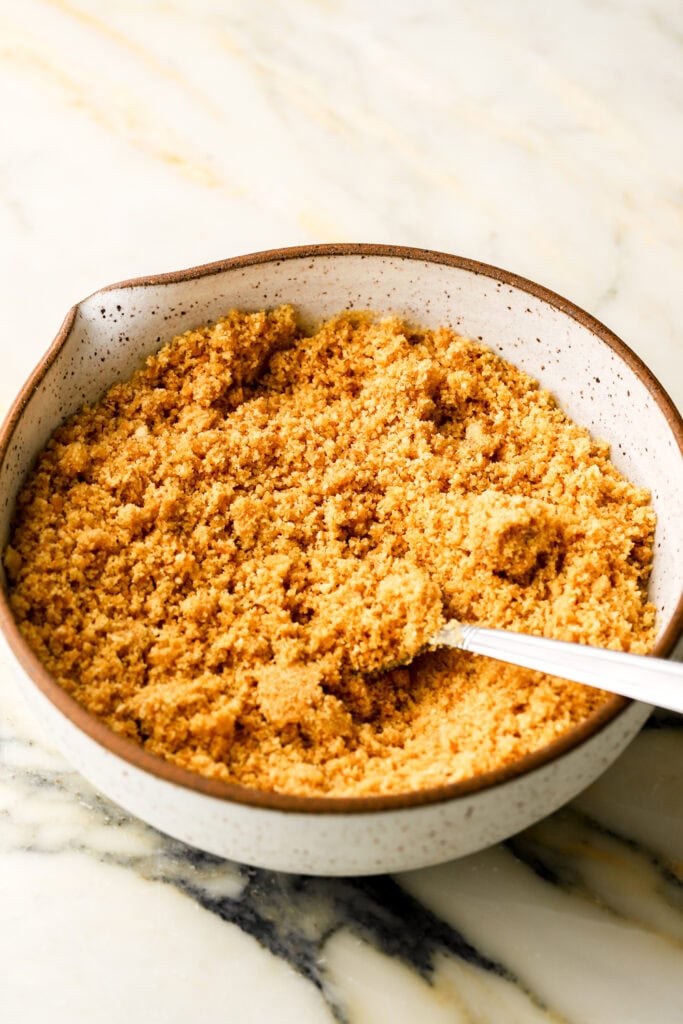
- Crust: I used brand name Nilla Wafers because the flavor is actually very superior to generic store brands (those taste like cardboard lol). Then grind them up and mix with melted butter. You want it to be sandy but stick together when you press on it. You don’t want it to feel like wet sand cuz then it will be greasy and leak out of the spring form pan so don’t add more butter to the crust!
- Cornstarch: this thickens the pastry cream – I don’t recommend swapping or reducing.
- Butter: just a little salted butter in the pastry cream and the crust – unsalted is fine too.
Step-by-Step Instructions
Nilla Wafer Crust
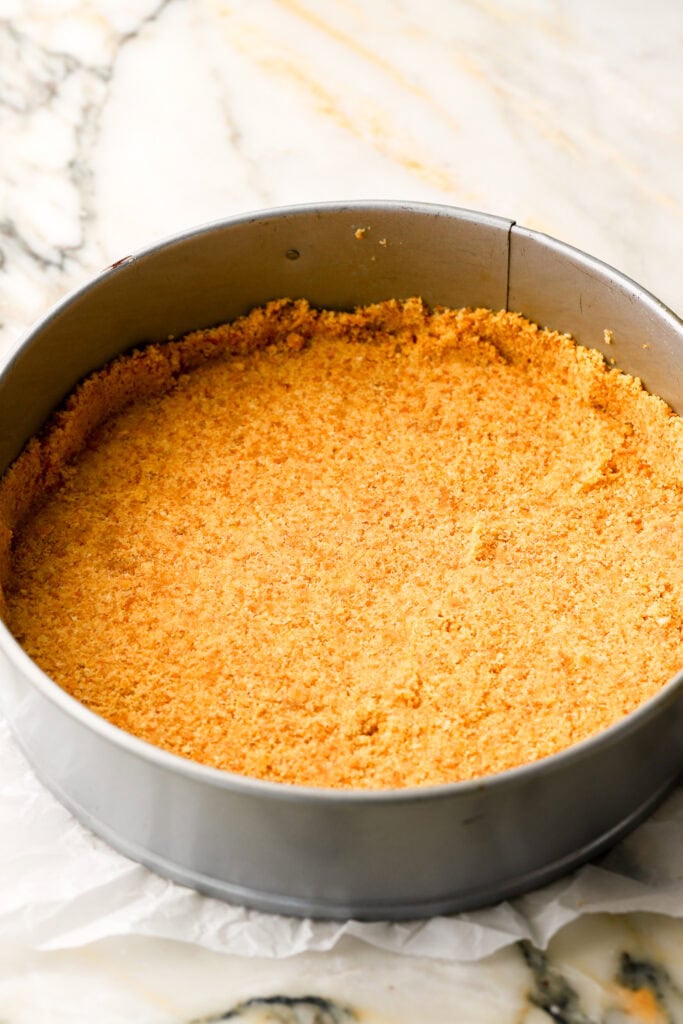
- Prepare a 10” pan by removing the edge of the springform pan. Place a sheet of parchment paper onto the bottom of the pan so that it hangs off the edge. Then attach the side of the springform pan back to the bottom, so the parchment paper should be secure between the two pieces. Lightly spray the sides of the pan with baking spray.
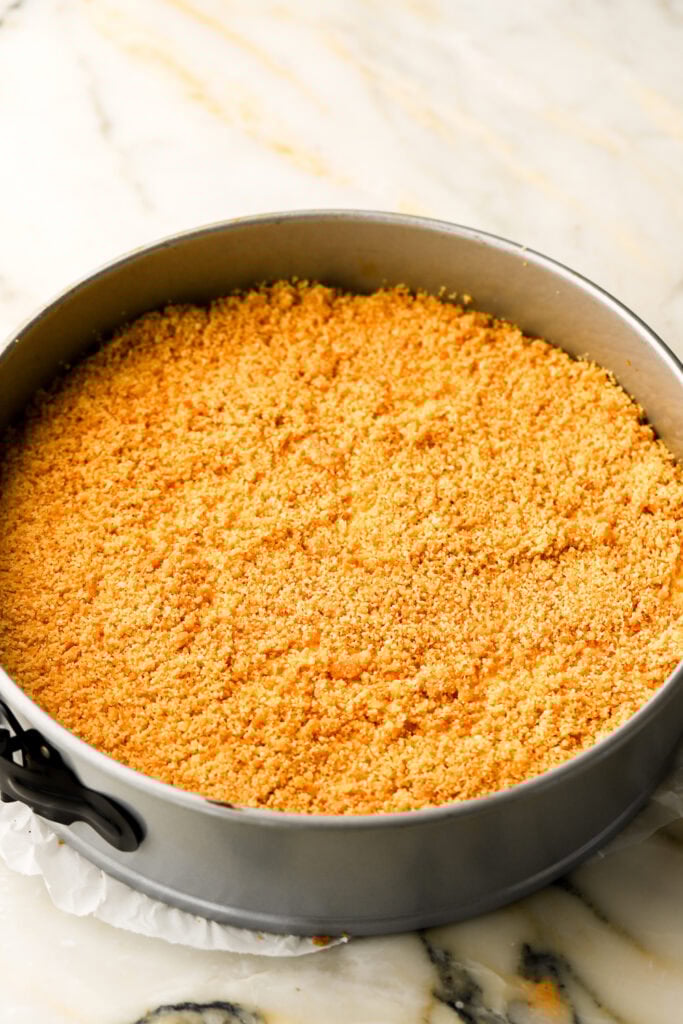
- Make the crust by placing the Nilla wafers in a food processor and pulsing until you have fine crumbs. Add the melted butter and pulse until it’s evenly distributed. Spread ¾ of the crust into the prepared pan, coming just about halfway up the sides. Use a ½ cup measuring cup to make the bottom smooth and the corners sharp. Freeze the crust while you make the filling.
Cheesecake
- Make the filling by creaming the room temperature cream cheese with the sugar, until it’s smooth, creamy and glossy. Make sure there are no chunks of cream cheese left.
- Add the sour cream and vanilla and mix until it’s completely smooth.
- Then add the eggs, one at a time, mixing on low speed, just until each one is combined.
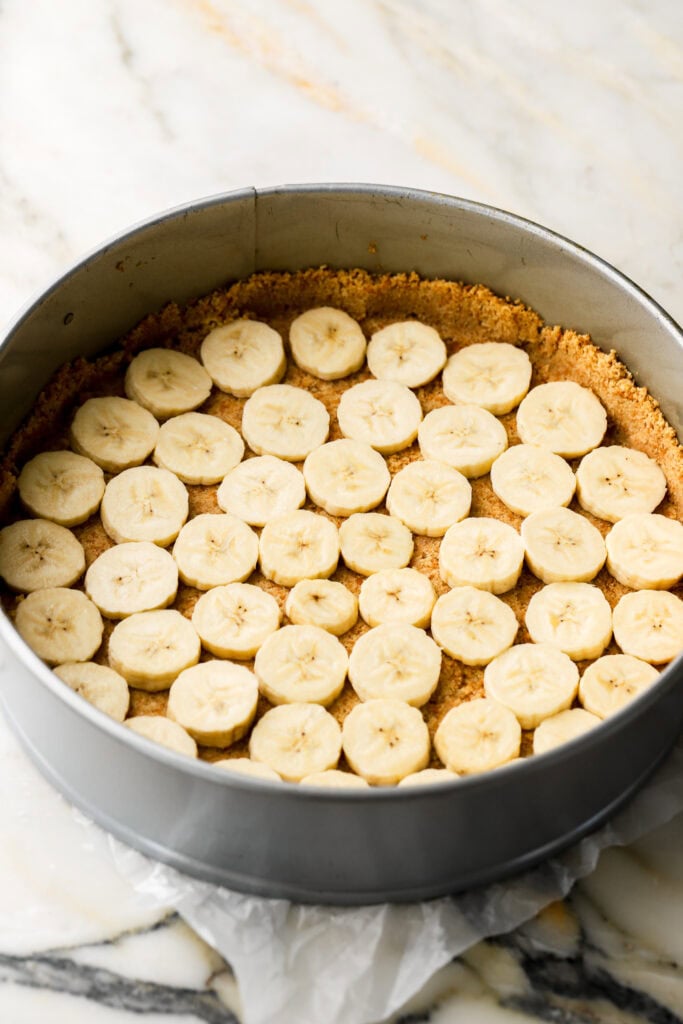
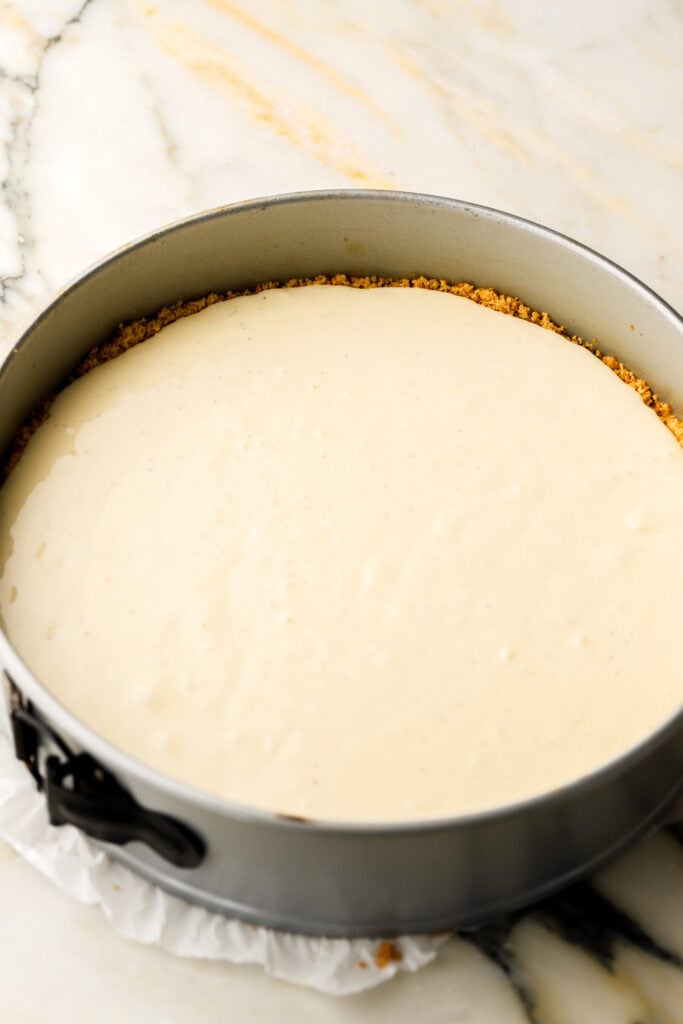
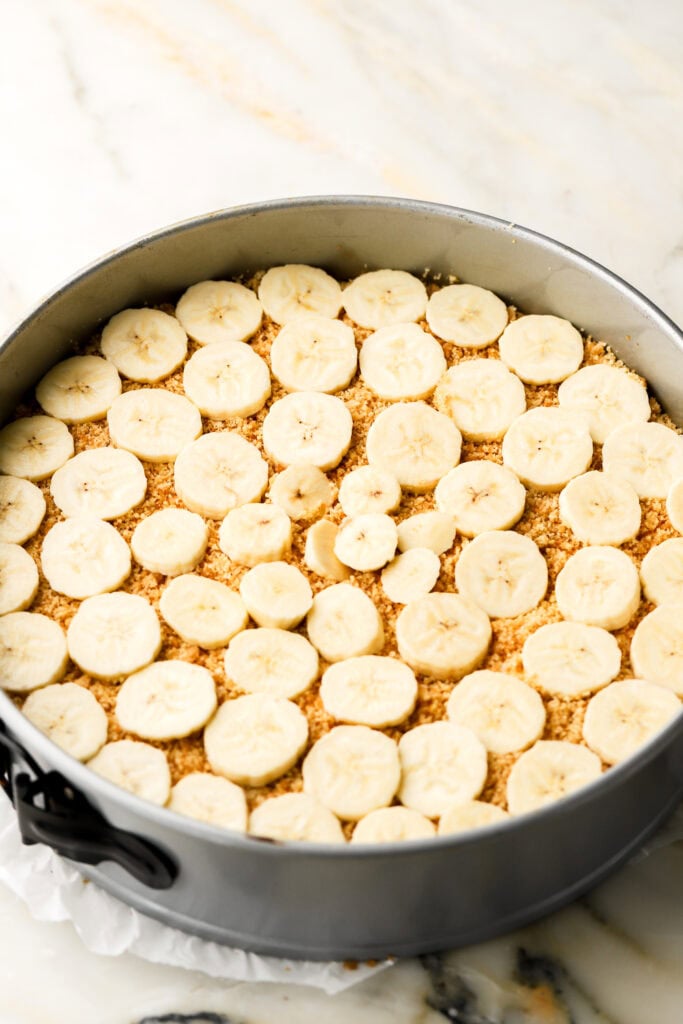
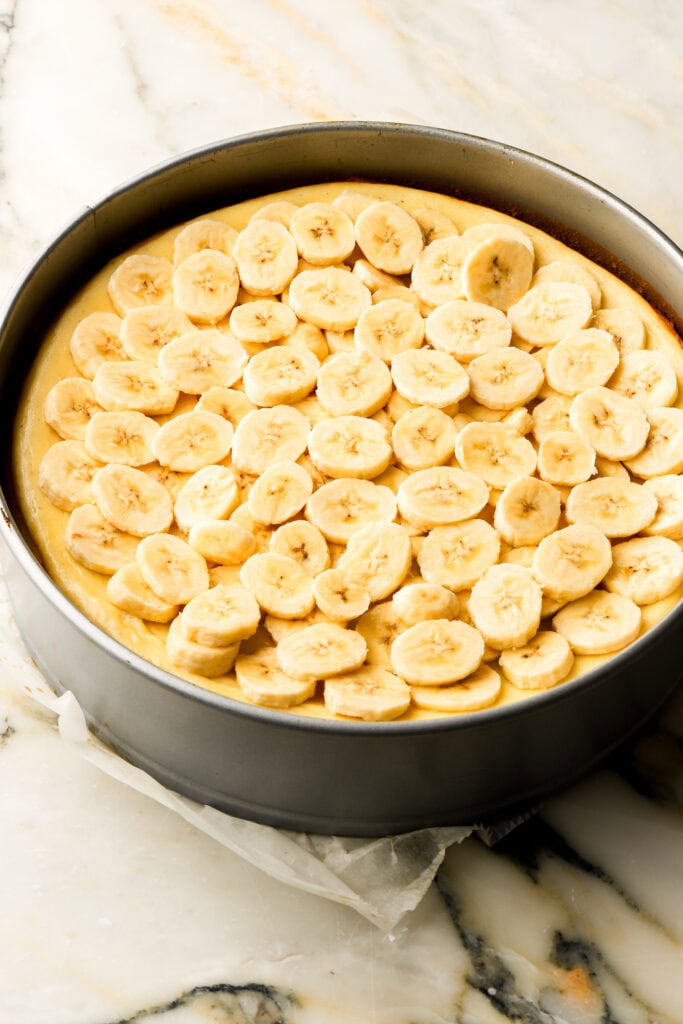
- Slice the bananas into ⅛”-¼” thick slices and layer them on the bottom of the crust. Pour about half the batter on top of the bananas and then spread a layer of the leftover crust on top of the batter, followed by another layer of sliced bananas.
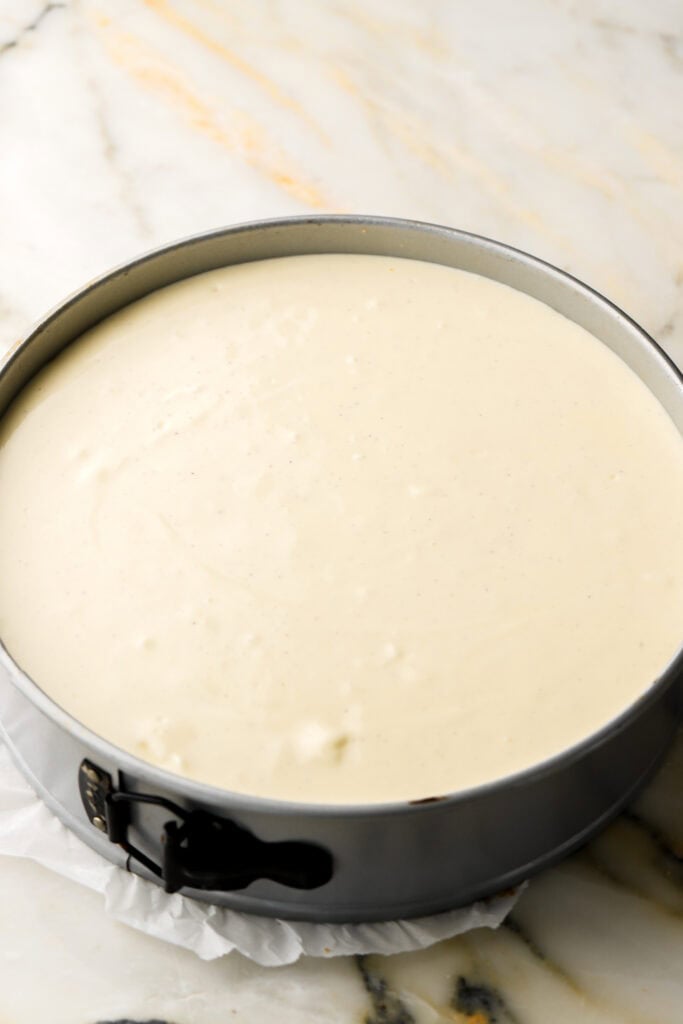
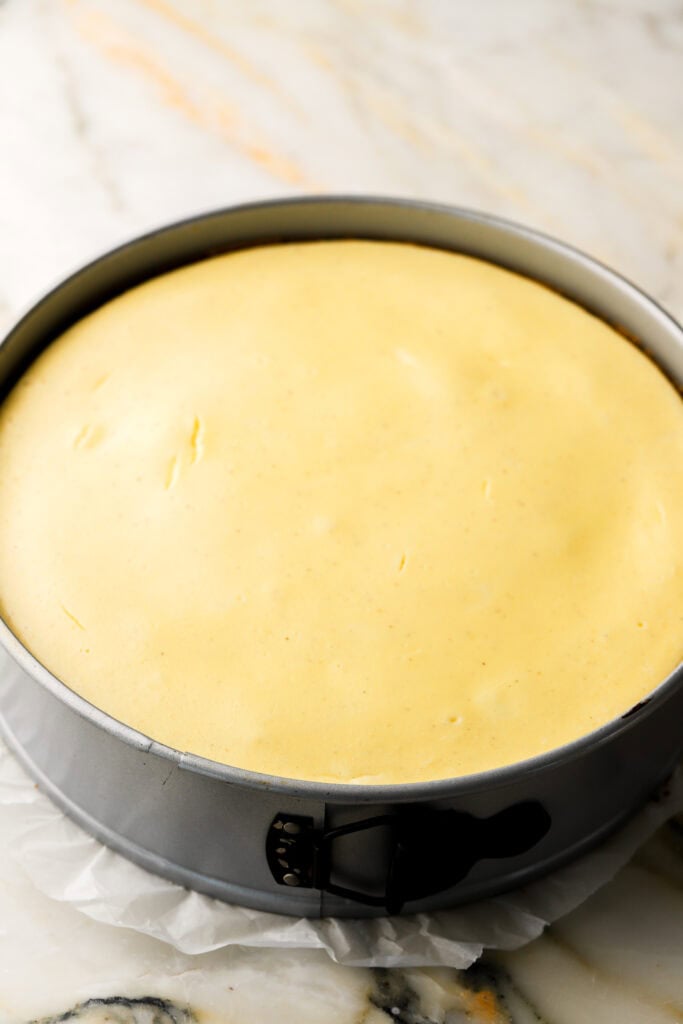
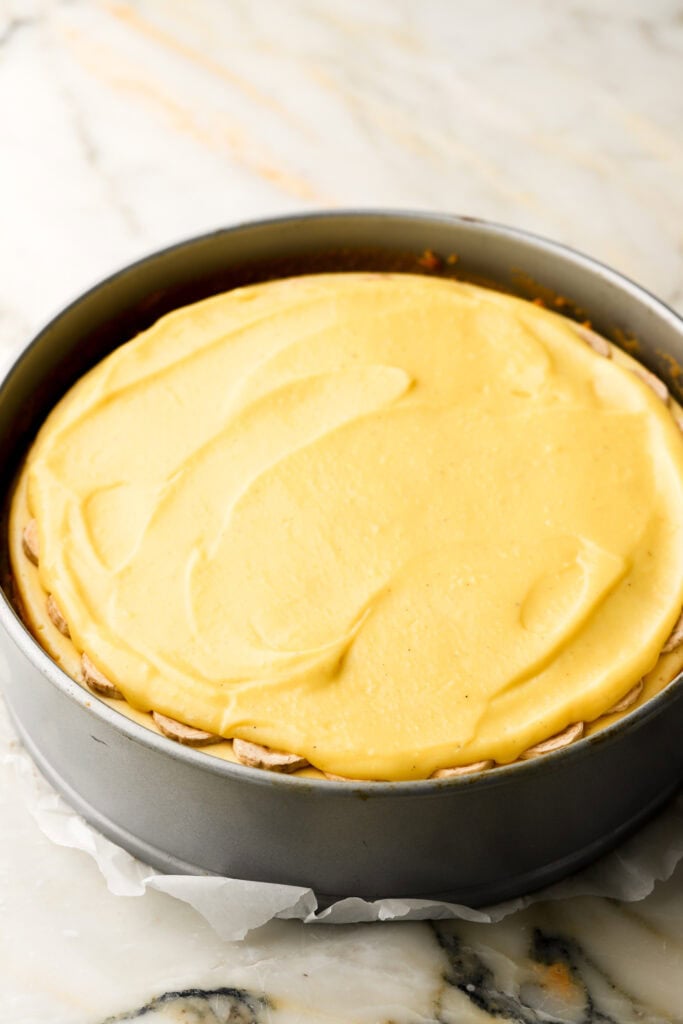
- Pour the rest of the batter on top of the banana slices and bake at 300F (148C) for 55ish minutes. Then turn the oven off and use a knife to release the cheesecake from the edge of the pan. Let the cheesecake rest for 15ish minutes in the oven with the door open.
- Cheesecake should still have jiggle in the center, let it cool on the counter for a few hours before transferring to the fridge for at least 6 hours or overnight.


Vanilla Pastry Cream
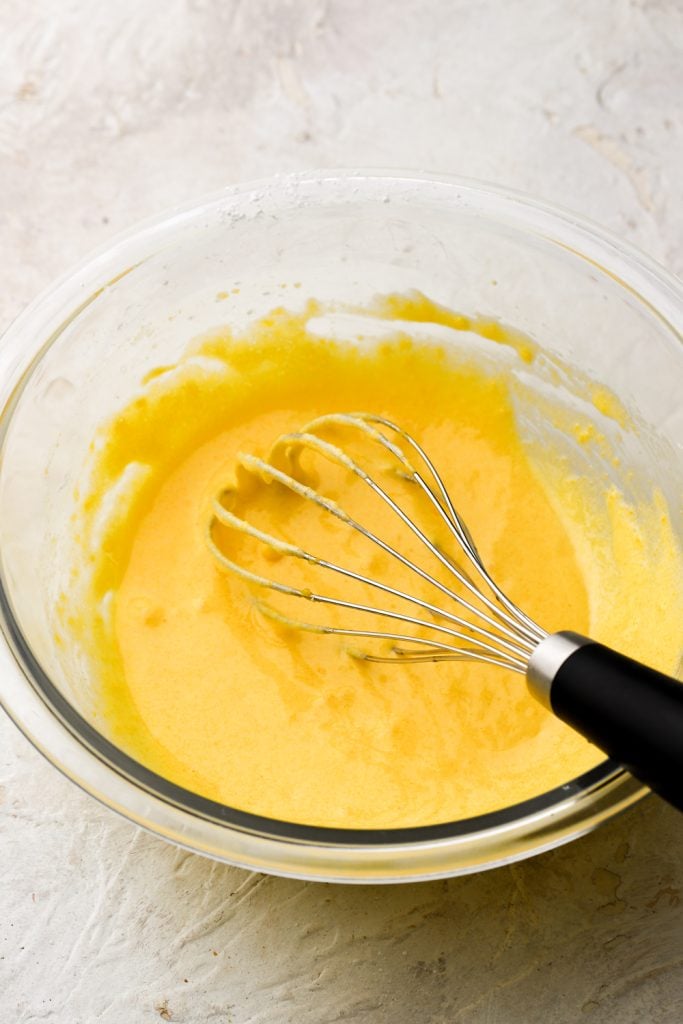
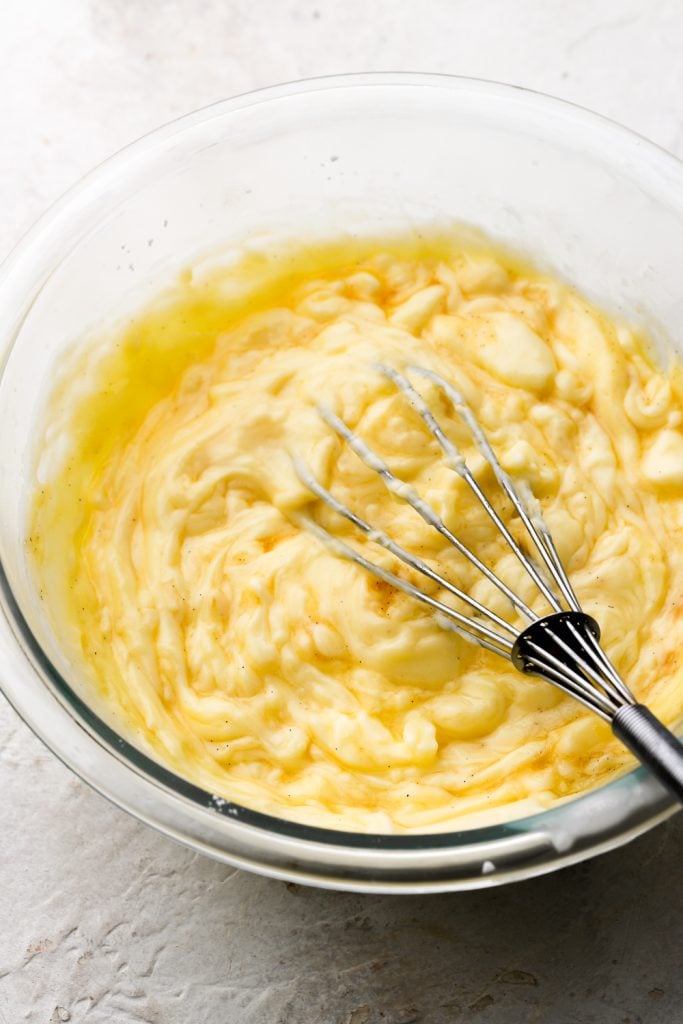
- Meanwhile, make the pastry cream by whisking together the egg, sugar, cornstarch and salt until they’re smooth.
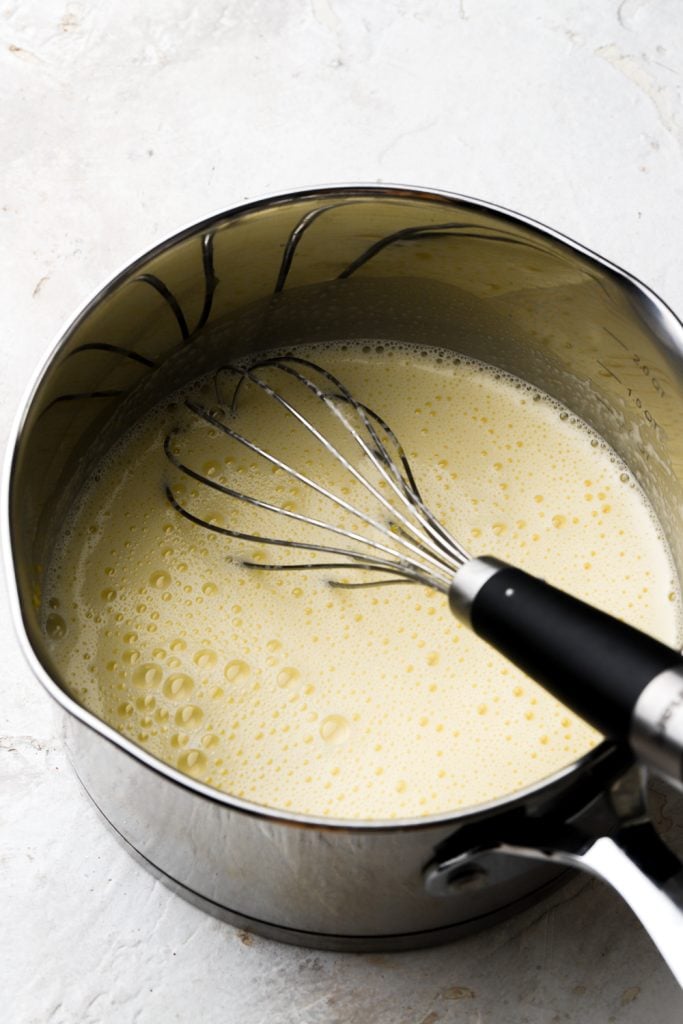
- Heat the milk and then use it to temper the eggs. Then return the whole mixture to the pot.
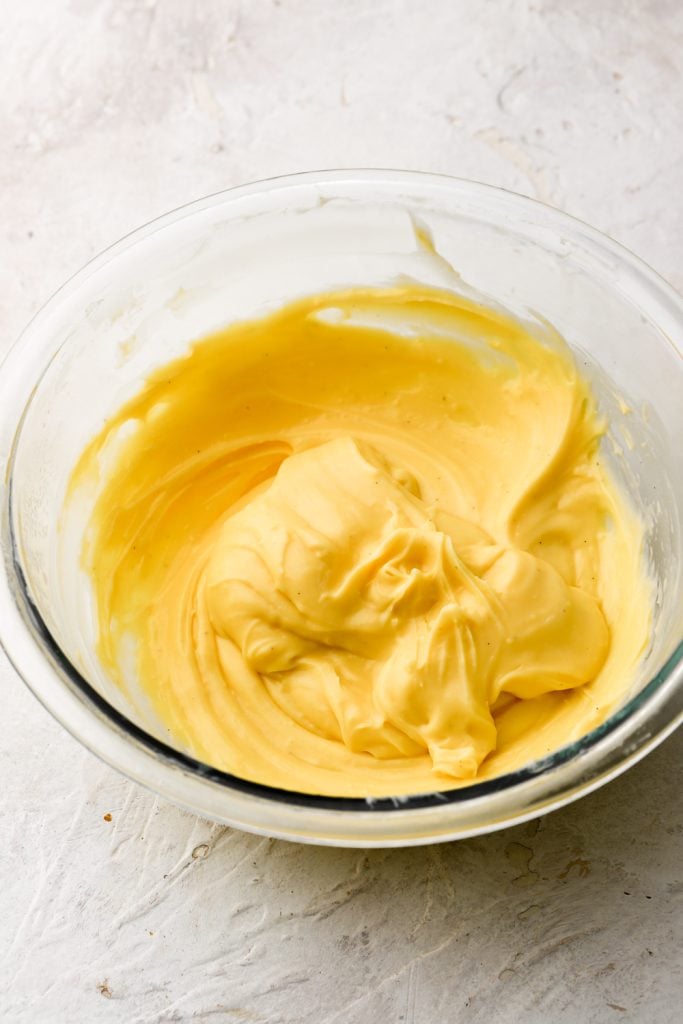
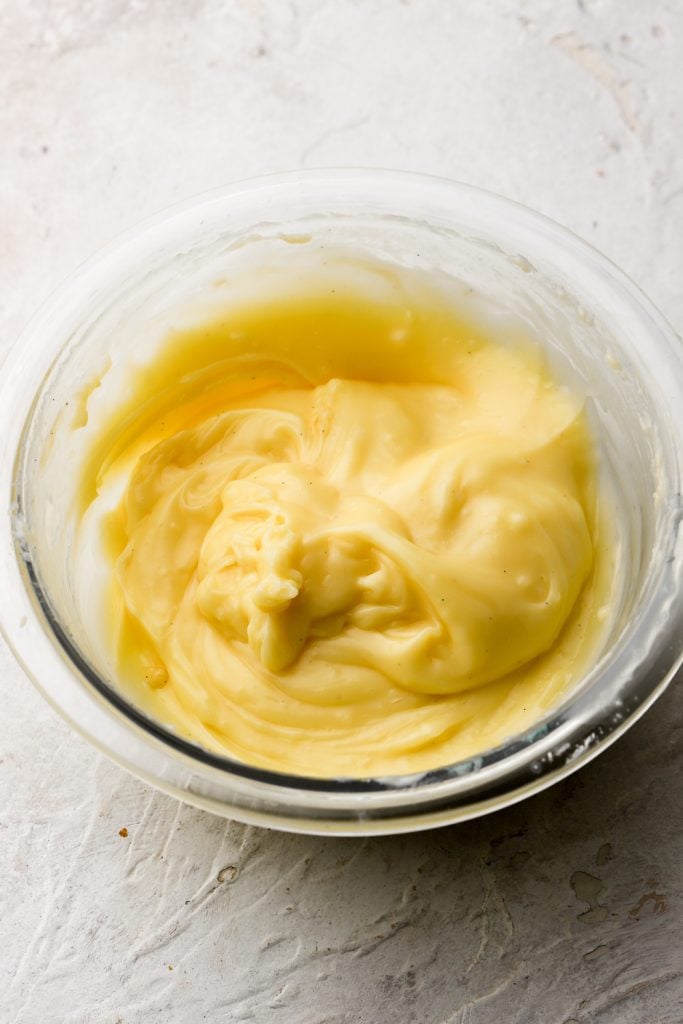
- Cook the pastry cream for just a couple of minutes, until it starts to thicken, whisking aggressively and then pour it into a bowl with the butter and vanilla – it should be stiff, not runny.
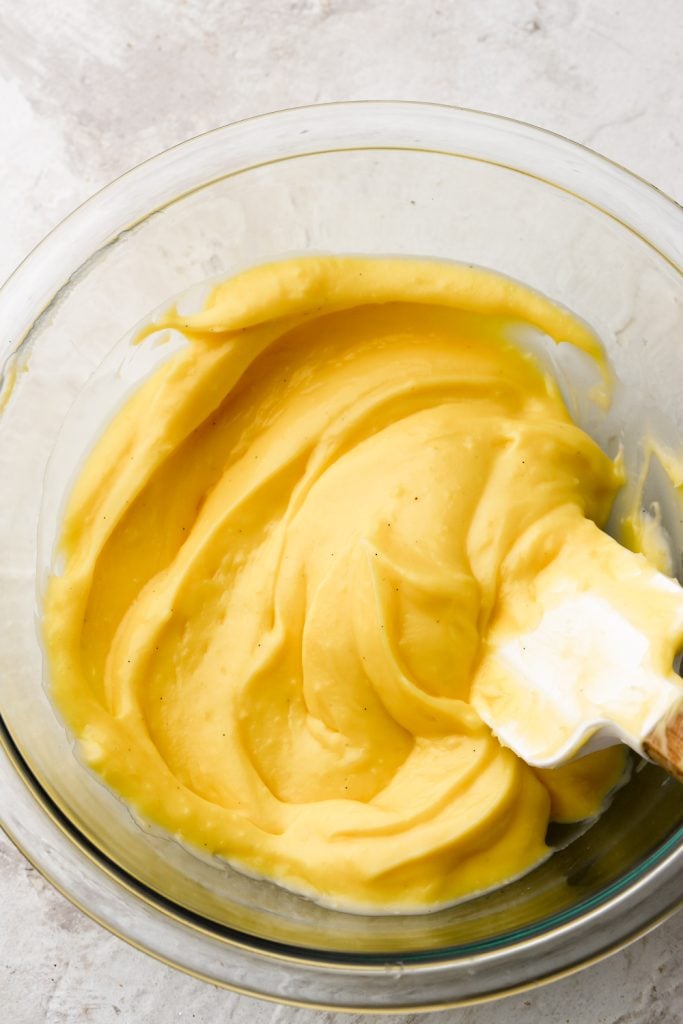
- It’ll split at first but as you whisk, the butter and pastry cream will come back together and be smooth and silky.
- Cover the top of the pastry cream with plastic wrap and place in the refrigerator to chill.
Whipped Cream
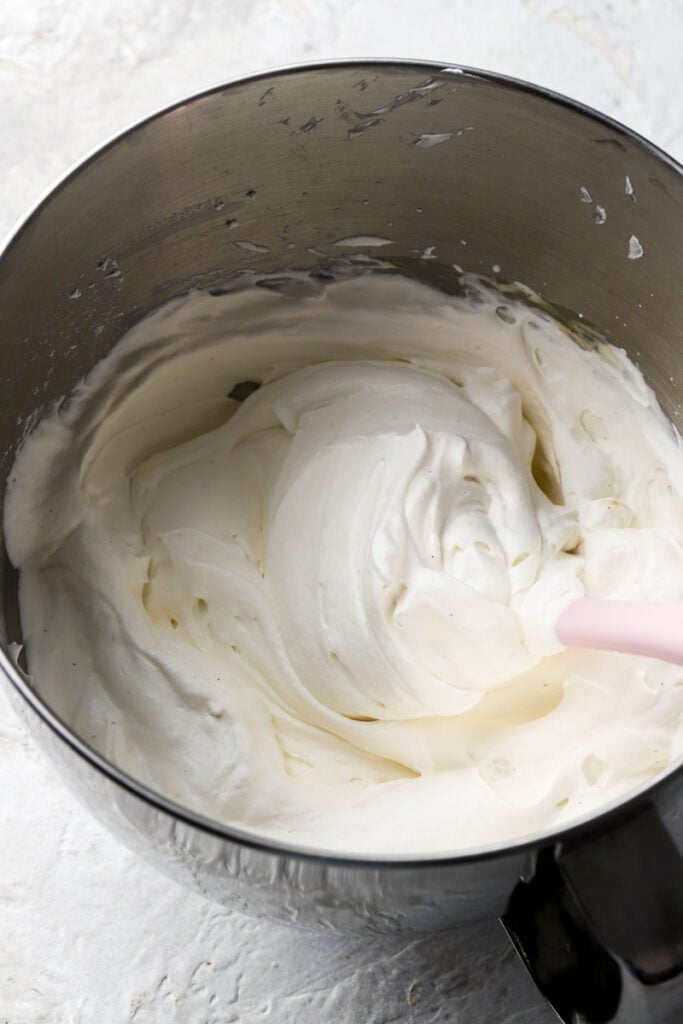
- Place the sugar, vanilla and salt in a large bowl.
- Stream in the heavy whipping cream with the mixer on low, until it starts to thicken.
- Increase the mixer and beat just until whipped cream starts to hold peaks.
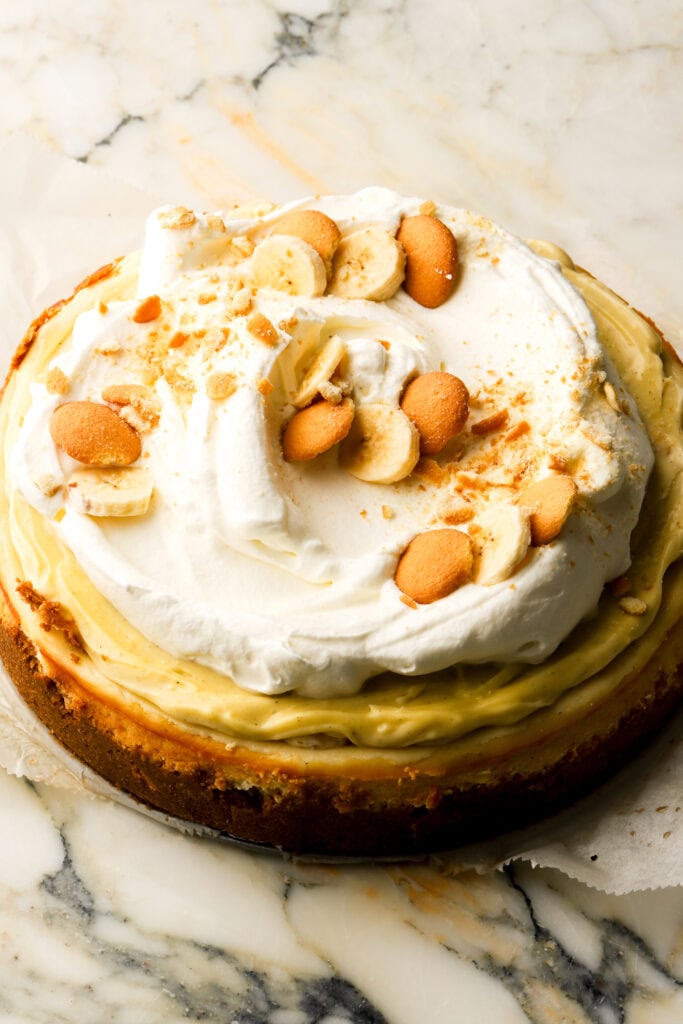
- Place another hefty layer of sliced bananas on top of the chilled cheesecake (I do two layers here so you can really taste the bananas) and then spread the pastry cream on top of the bananas.
- Spread the whipped cream on top of the pastry cream and decorate with a few more banana slices and Nilla Wafers.
Baking Tips:
- Bake cheesecakes at a lower temperature than normal (I do 300F/148C) to get a nice flat top.
- Under-bake slightly to get a nice creamy interior – it’ll be jiggly but it will set as it cools.
- Cool slowly to prevent cracking (this cheesecake specifically may be more keen to crack because of the layers of bananas inside but it’s ok because it has a topping!).
How to bake this cheesecake in different size pans
I tested my base cheesecake recipe in 4 different sizes. It’s pretty straightforward to adjust to whatever pan size you need. My traditional Vanilla Cheesecake uses 2 bricks of cream cheese and is baked in an 8 inch pan but the featured photos for this banana pudding cheesecake use 4 bricks of cream cheese and is baked in a 10 inch pan.
You can adjust the quantity needed by what size pan you have.
I’ll list out the amount of cream cheese needed and you can just adjust the rest of the ingredients accordingly.
The amount of cheesecake batter you’ll need for each size pan (bake time is a rough estimate – just make sure the edges are set and the center is slightly jiggly):
- 10 inch pan: 4 bricks of cream cheese – bake for 55-65 minutes, rest in the oven for 15 minutes.
- 9 inch pan: 3 bricks of cream cheese – bake for 40-55 minutes, rest in the oven for 10 minutes.
- 8 inch pan: 2 bricks of cheesecake – bake for 30-40 minutes, rest in the oven for 10 minutes.
- 6 inch pan: 1 brick of cream cheese – bake for 20-25 minutes, rest in the oven for 10 minutes.
How to store cheesecake
To refrigerate, cover the cheesecake with foil or plastic wrap and refrigerate it for up to a week. Serve cold or bring closer to room temperature 1 hour before serving if you like it softer.
To freeze the whole cheesecake, wrap it in plastic wrap and then wrap it twice in aluminum foil (or place it in an airtight container big enough).
To freeze slices, place them tightly in an airtight container and then place the container in a freezer bag, squeezing out all the excess air. Bring them back to room temperature by thawing at room temperature for a few hours before serving.

Thanks so much for reading today’s post, if you have any questions just comment down below.
If you make this banana pudding cheesecake recipe and you love it, I’d love it if you left a 5-star rating for me or a review!
As always, have a blessed day and happy baking!
Love, B


In a word AMAZING!!
So glad you liked it 🤍