Banana Pudding Cake
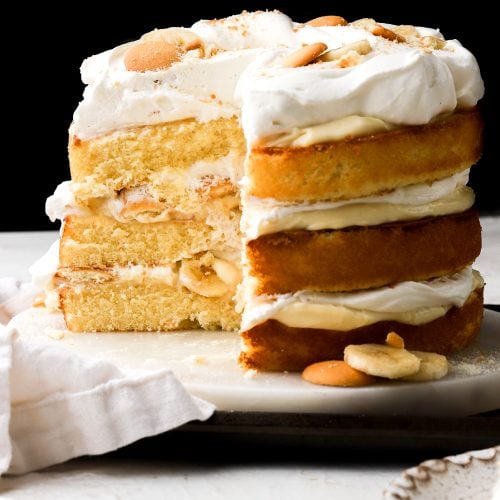
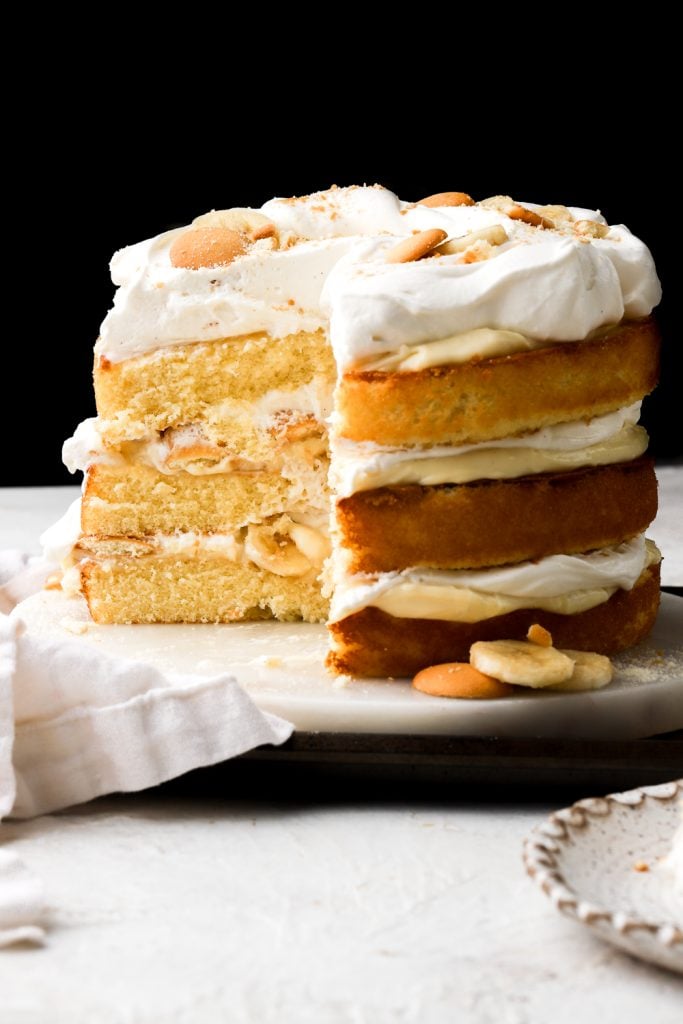
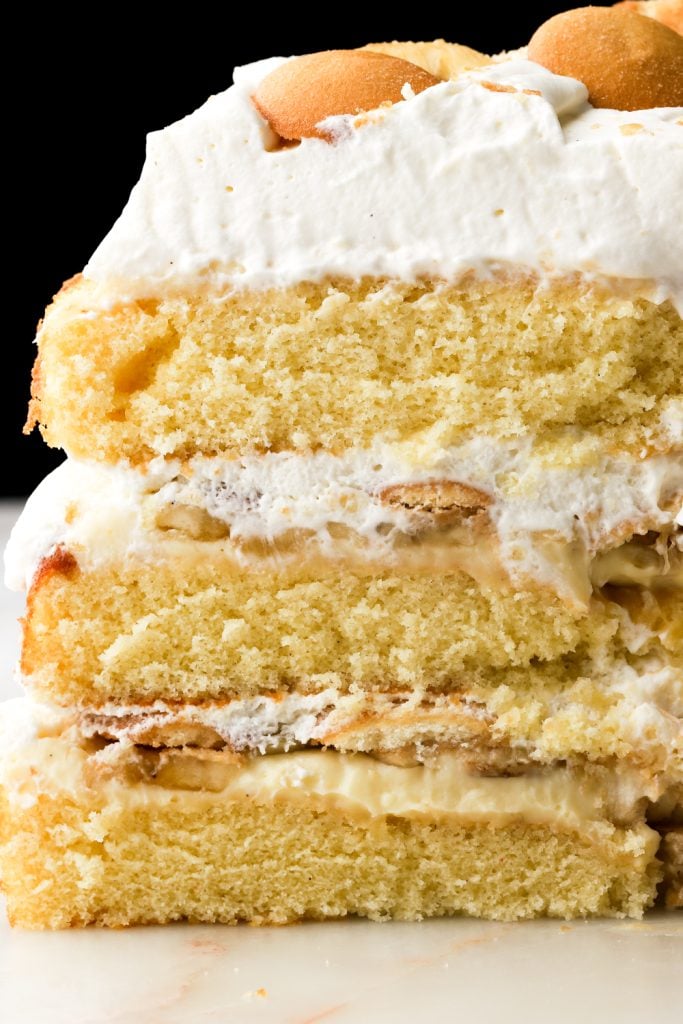
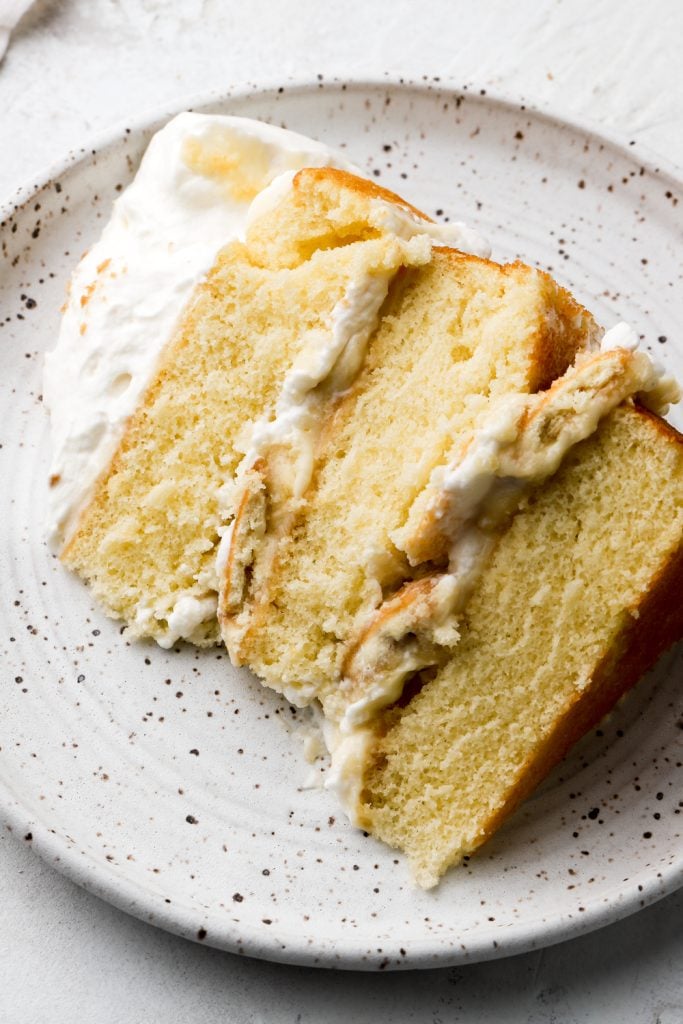
This banana pudding cake is everything. The fluffy hot milk sponge cake pairs PERFECTLY with the vanilla pastry cream, fresh banana slices, vanilla wafer cookies and fresh whipped cream.
Why you’ll love this cake
- Hot milk sponge is my FAVORITE type of sponge. It’s fluffy but also so flavorful and less eggy then other sponge cakes. The hot milk really gives it a good flavor.
- The cake and the creams both serve well chilled.
- The whipped cream (chantilly cream) is quite literally the easiest cream on the planet to make.
- The pastry cream is actually quite simple and can be made with just egg yolks or a whole egg.
If you’re into light and fluffy types of cakes I have several for you! I think you’ll love my Lemon Curd Cake, Chantilly Cake and my beloved Tiramisu Cake!
If you’re here for bananas, I actually have a ton of banana recipes but my favorites are fluffernutter banana cake, banoffee cake and chocolate peanut butter banana cake.
What is banana pudding
Banana pudding is an American dessert, more popular in the south, that consists of layering vanilla custard, banana slices, vanilla wafers or ladyfingers and whipped cream. It’s commonly made with store-bought vanilla pudding, sweetened condensed milk, ‘Nilla wafers and Cool whip.
I made every component of this cake from scratch besides the wafer cookies. I felt like there was no replicating those and they’re very nostalgic in this recipe. I also tested a million and one versions of pastry cream and chantilly cream so this cake was the perfect opportunity to use those up too.
Ingredients
- Flour: I use all-purpose flour for this cake and it’s quite delicate so I don’t recommend changing it but I do sift it before adding it to the eggs (it doesn’t matter whether you sift it before or after measuring if you use a digital scale).
- I HIGHLY recommend using a digital scale, as flour is so often over measured.
- Sugar: I use granulated sugar in both the cake and the pastry cream and powdered sugar in the whipped cream. Granulated sugar can also be used in the whipped cream as a 1:1 ratio in weight. Read my post on chantilly cream for more info on that swap.
- Eggs: I always use large eggs for all my baking and make sure they’re at room temperature for the best results.
- If they’re cold, just place them in hot water for 5-10 minutes.
- Milk: I like to use whole milk for the pastry cream and the cake. 2% or dairy free also works well though.
- Butter: I use salted butter in the cake and the pastry cream but unsalted butter also works fine. I would add a little extra pinch of sea salt though.
- Heavy Cream: You’ll need heavy whipping cream (or double cream) to make the whipped cream.
- Make sure to use something between 35%-45% fat. I haven’t tried a dairy free cream but if you have a dairy free heavy cream or whipped topping you like, feel free to use that instead.
- This can be replaced with a tub of Cool Whip if you want.
- Vanilla: The main flavor here is vanilla so I like to use vanilla bean paste in the pastry cream and whipped cream. Vanilla extract and vanilla beans also work, the higher the quality the better the flavor.
- Bananas: I used fresh ripe bananas that are good for eating, not too green and not too brown. After slicing, I toss them in a little bit of lemon juice so they don’t brown in the cake.
- Wafer cookies: I used mini vanilla wafers because they were easy to layer without cutting. You can also use the full size ones and chop them smaller, as needed.
Step-by-Step Instructions
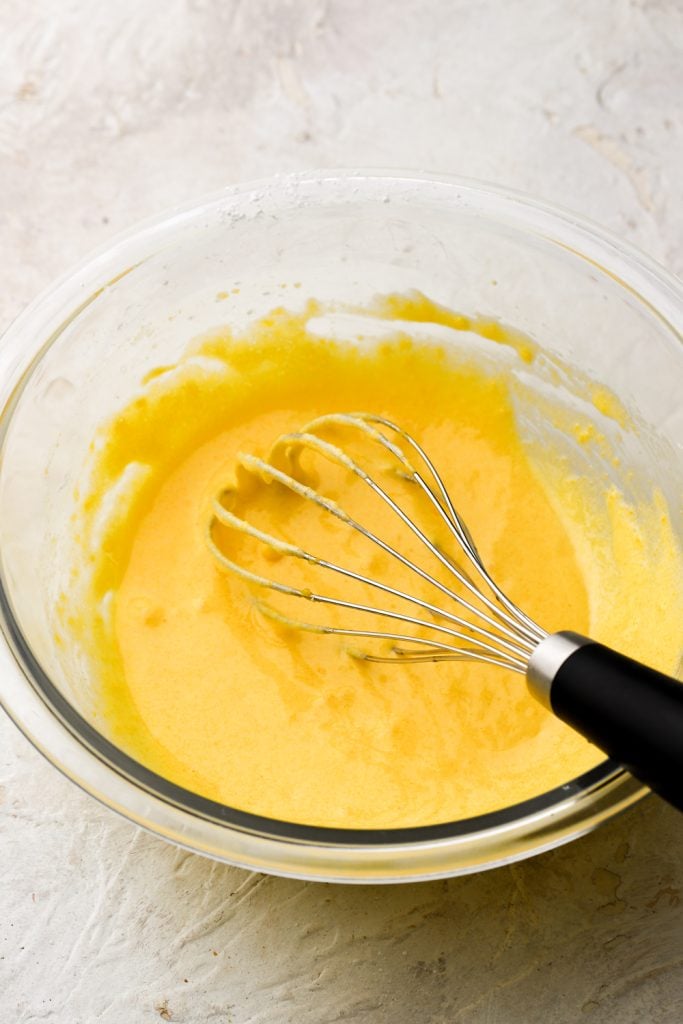
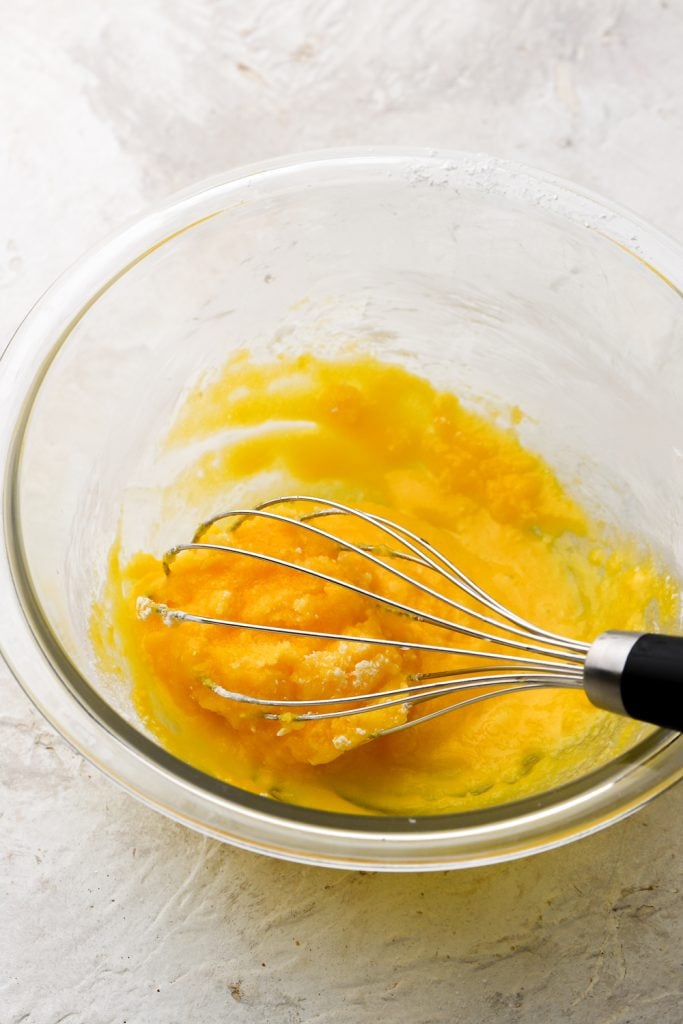
Step 1: Start making the pastry cream by whisking together the egg, sugar, cornstarch and salt until they’re smooth.
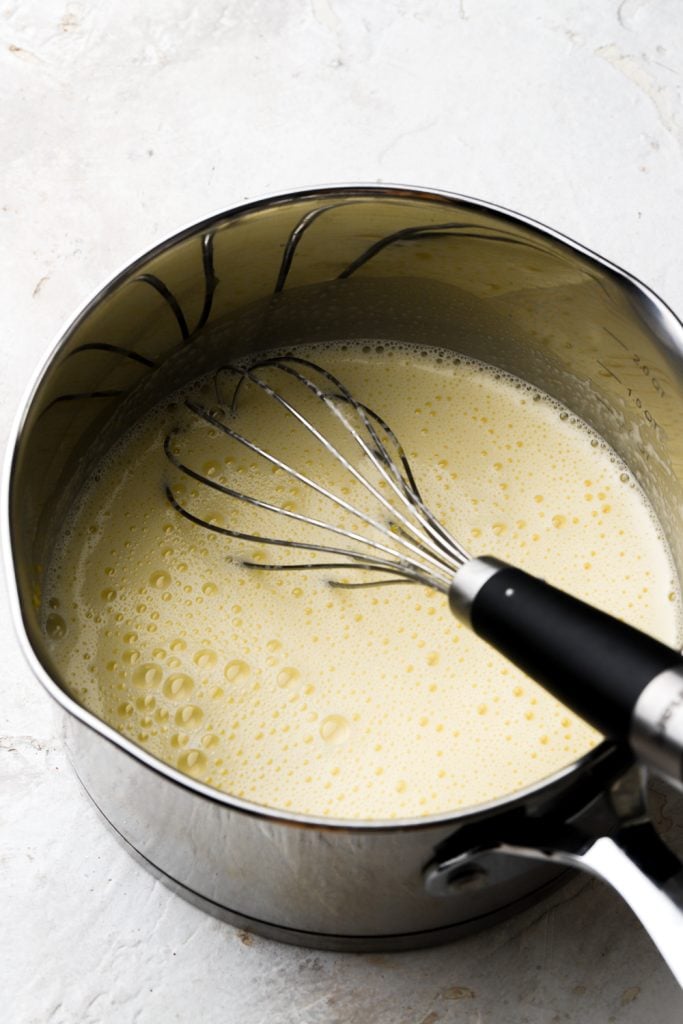
Step 2: Heat the milk and then use it to temper the eggs. Then return the whole mixture to the pot.
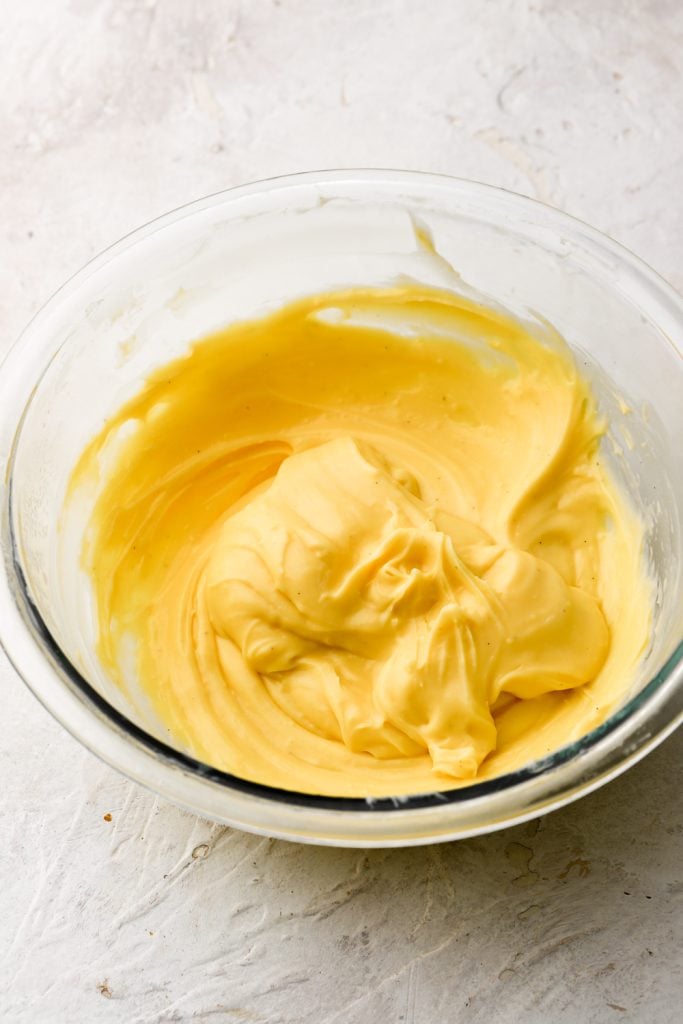
Step 3: Cook the pastry cream for just a couple of minutes, until it starts to thicken, whisking aggressively and then pour it into a bowl with the butter and vanilla.
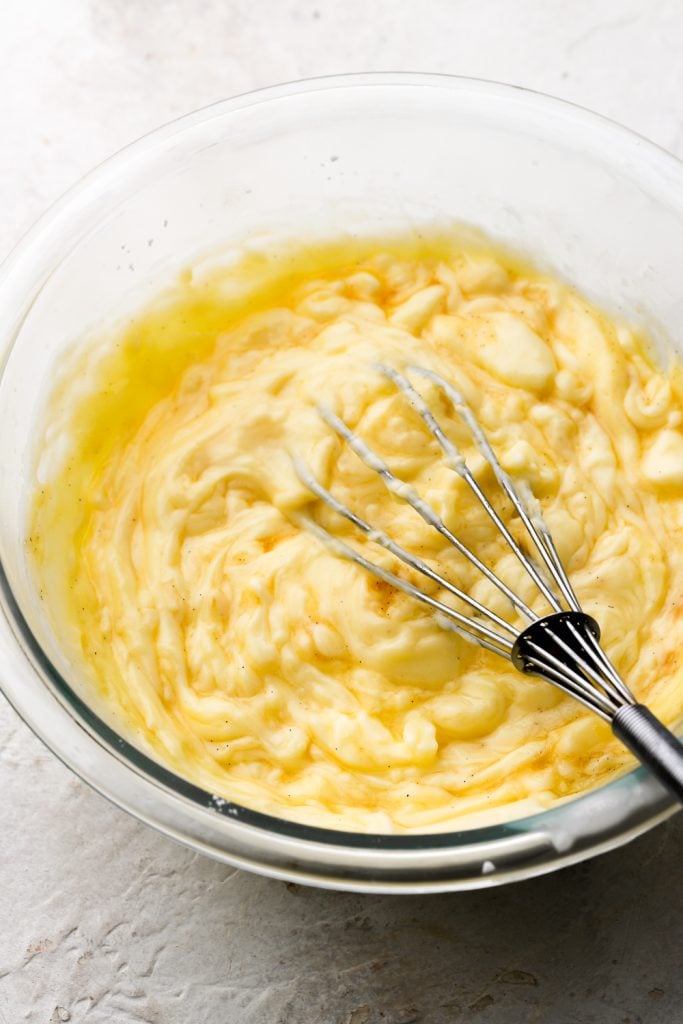
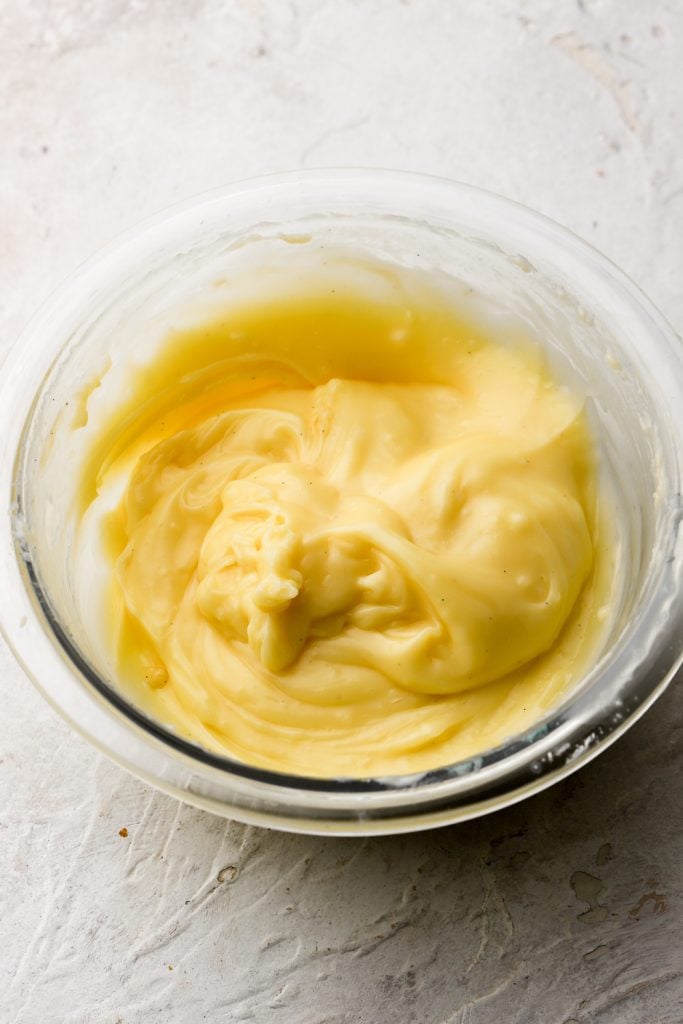
Step 4: It’ll split at first but as you whisk, the butter and pastry cream will come back together and be smooth and silky.
Step 5: Cover the top of the pastry cream with plastic wrap and place in the refrigerator to chill.
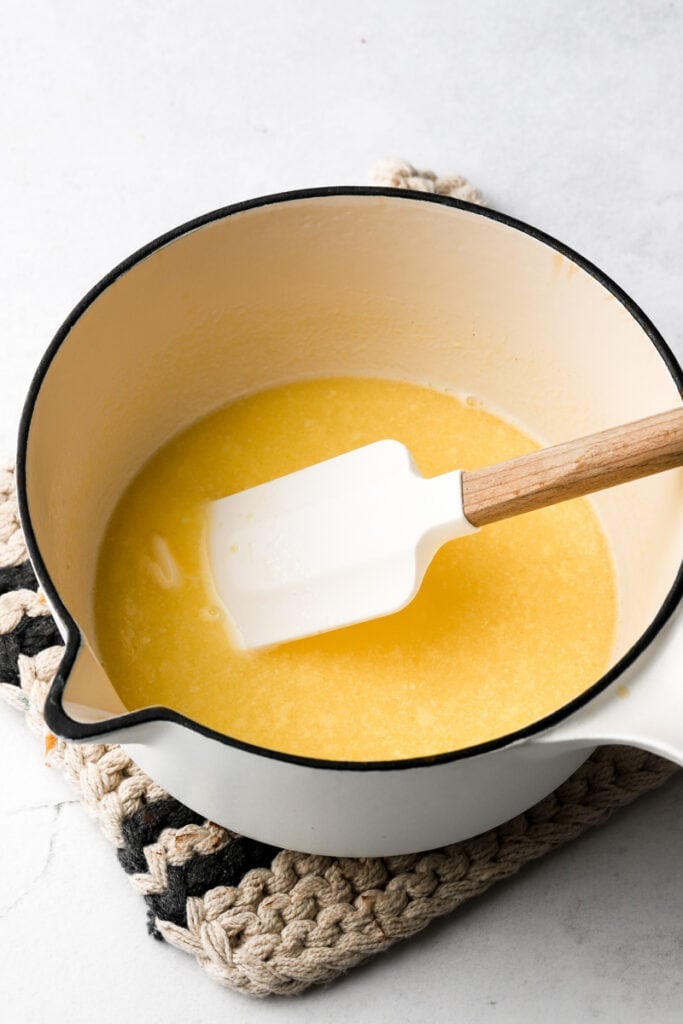
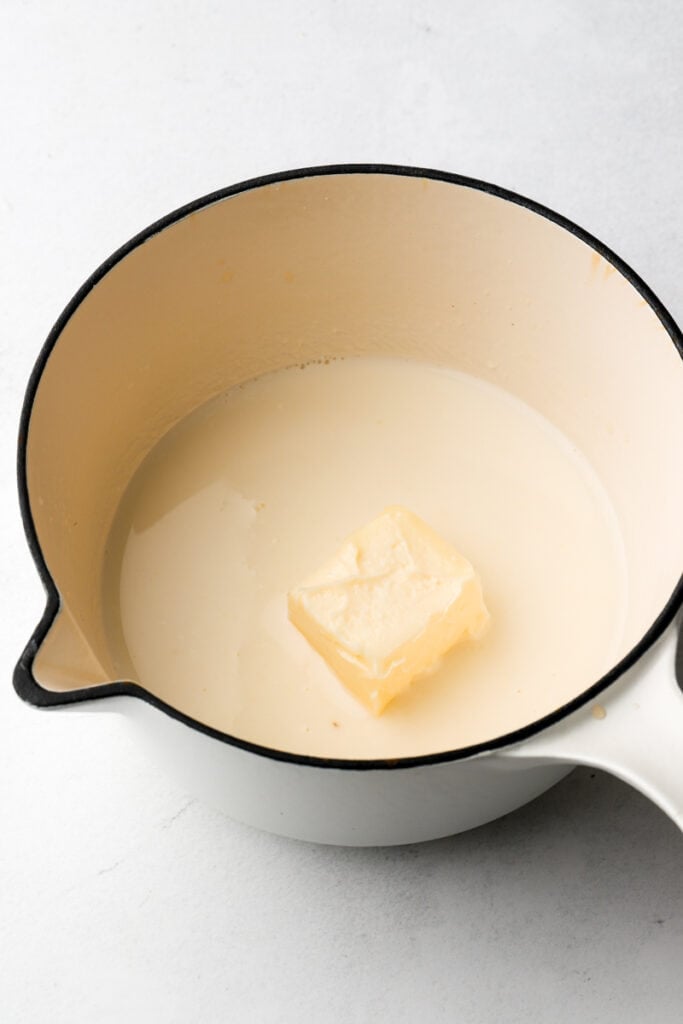
Step 6: Make the cake by heating the milk and butter until it’s hot but not simmering. Set aside.
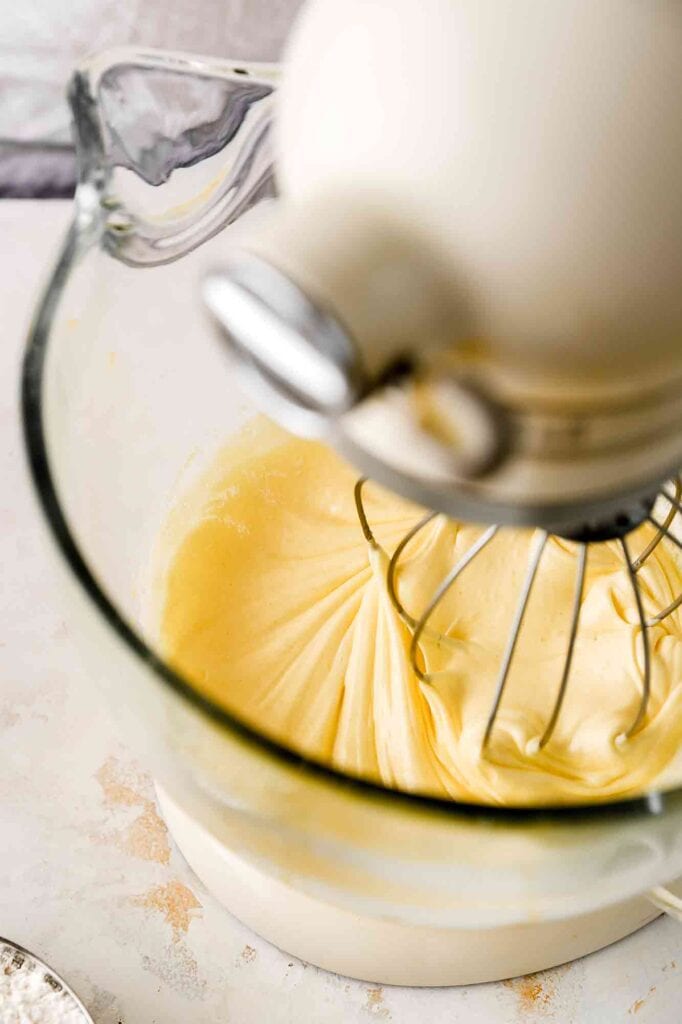
Step 7: Meanwhile, beat the eggs and sugar until it’s pale and fluffy.
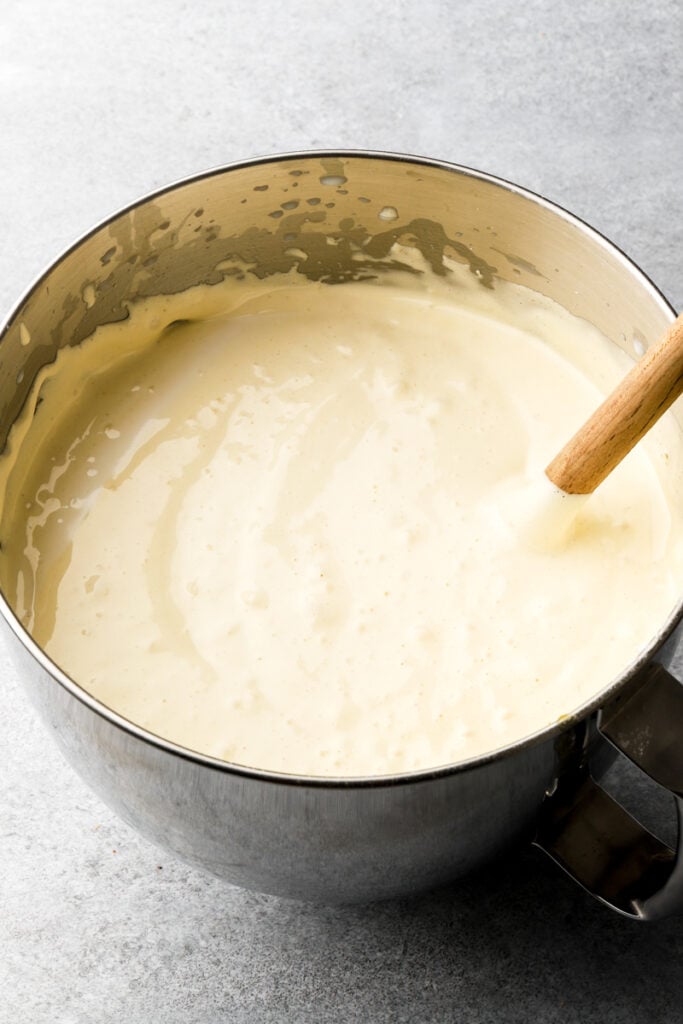
Step 8: Sift the dry ingredients over the eggs and stream the hot milk in with the mixer on low speed. Mix just until the last streak of flour is combined.
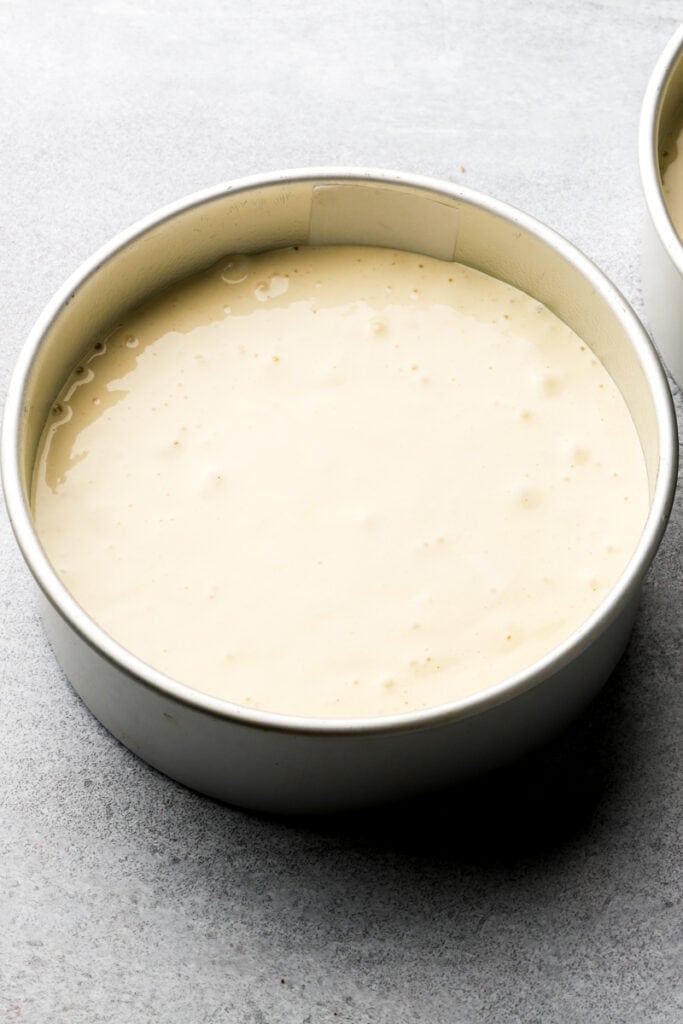
Step 9: Distribute the batter evenly among three pans, about 15-16 oz in each, and bake for about 20 minutes.
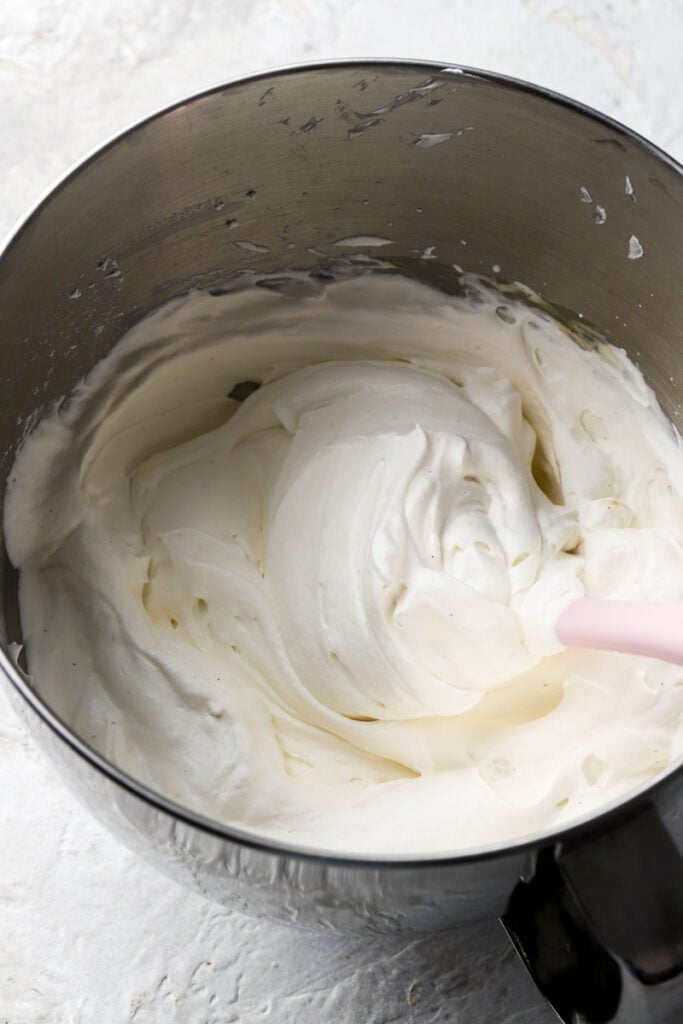
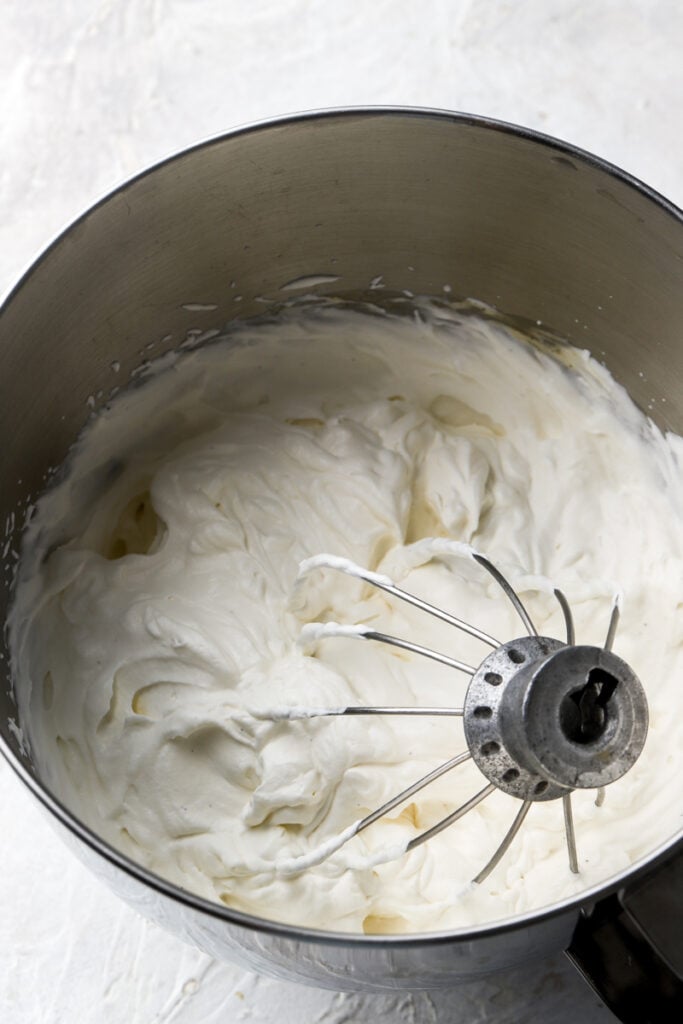
Step 10: Whip the heavy cream with the powdered sugar and vanilla, once the cakes and the pastry cream have cooled completely.
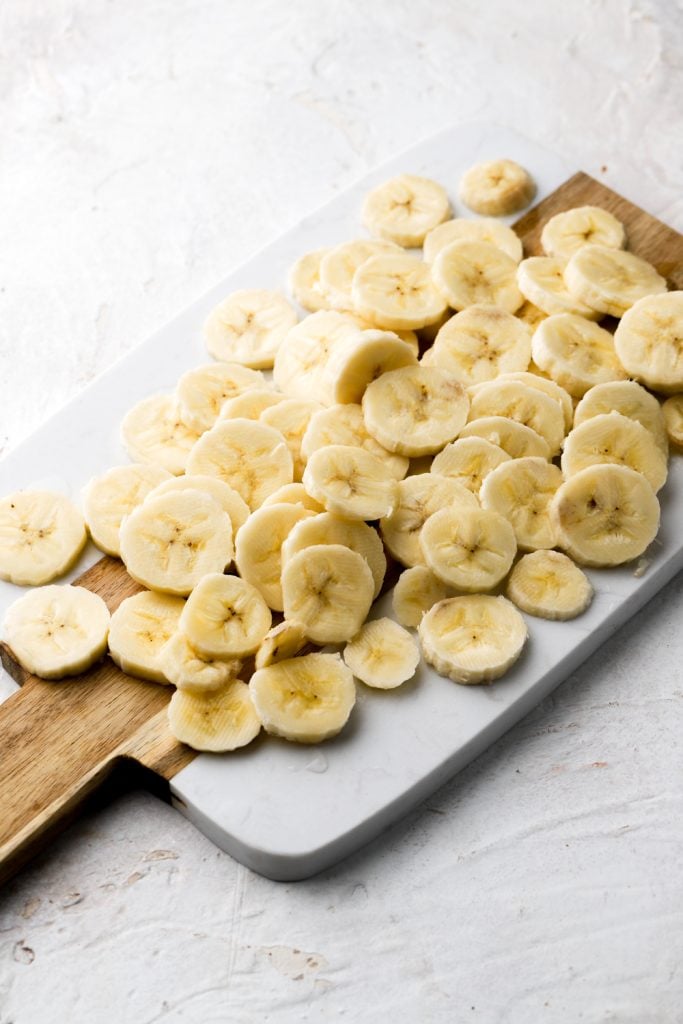
Step 11: Slice the bananas and toss them with a little lemon juice to prevent them from browning in the cake.
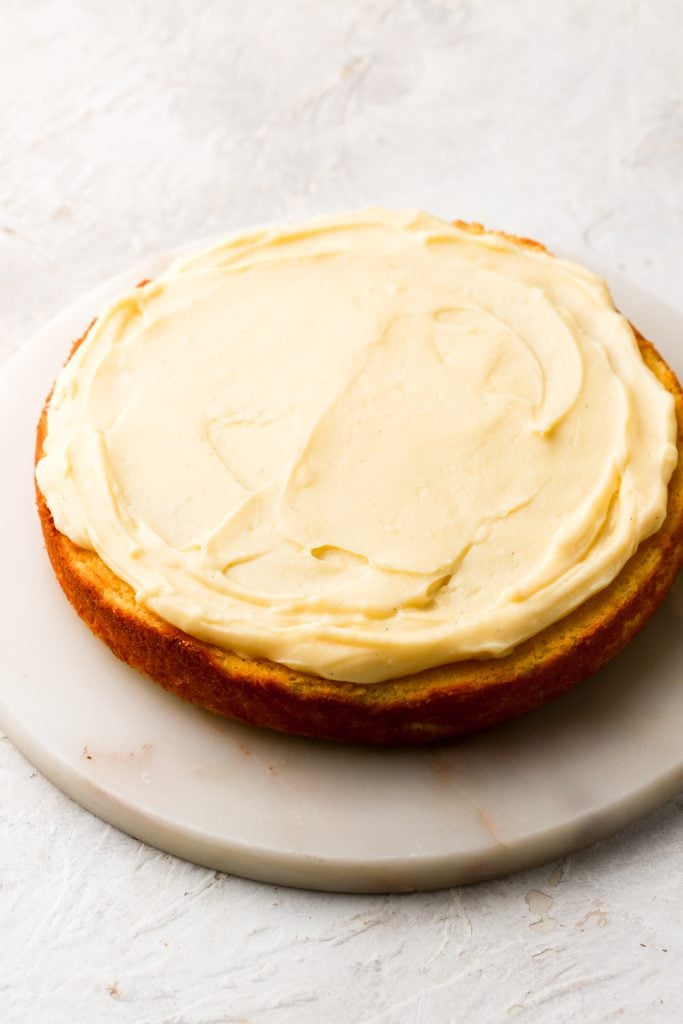
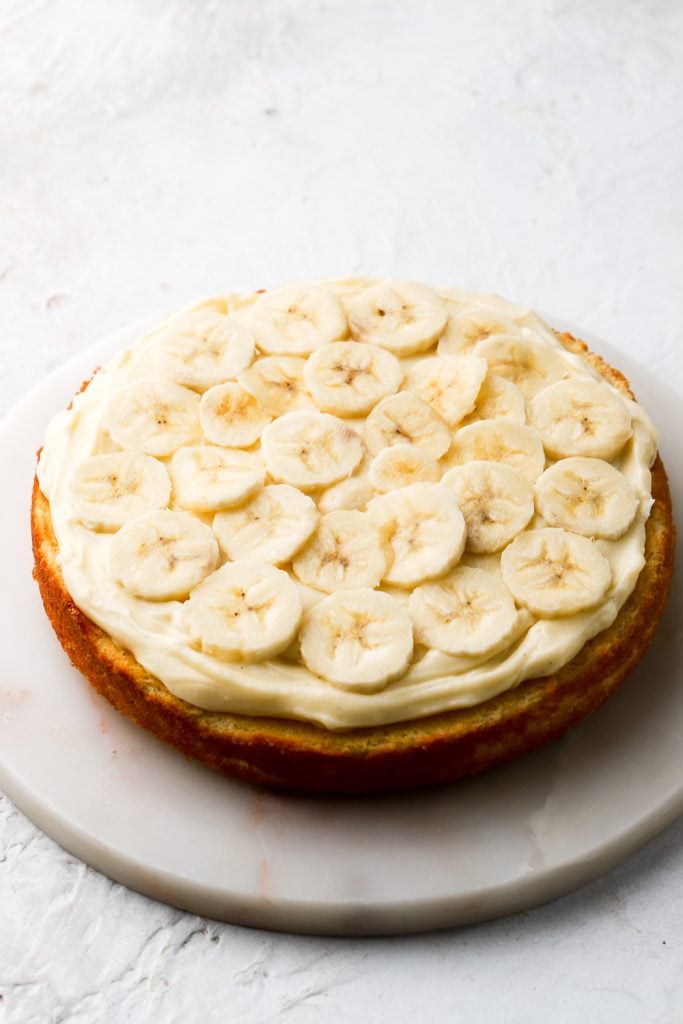
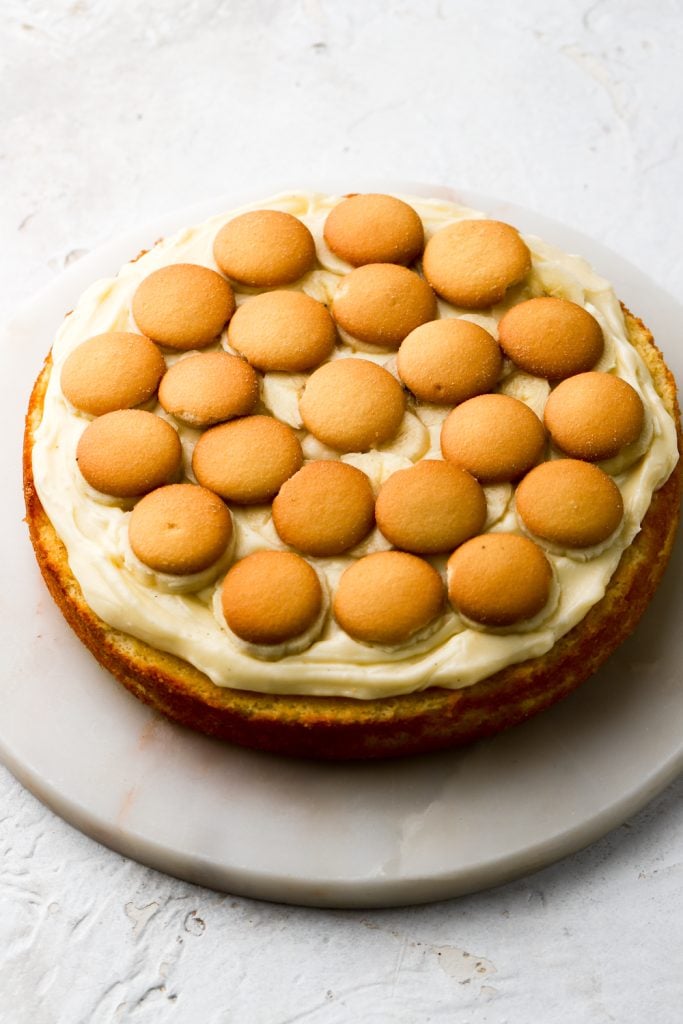
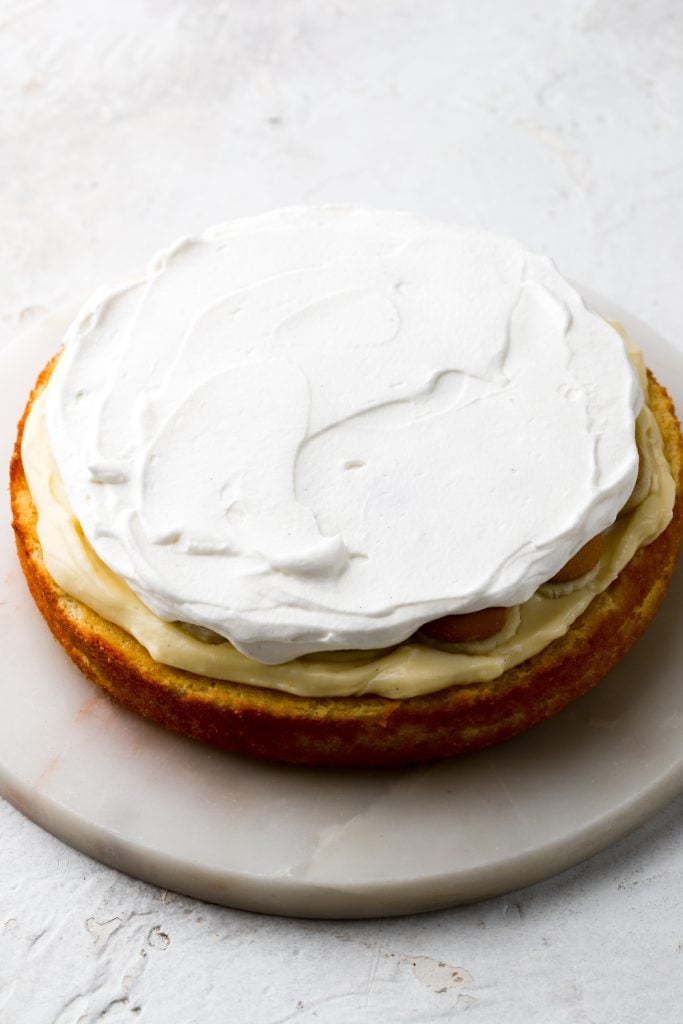
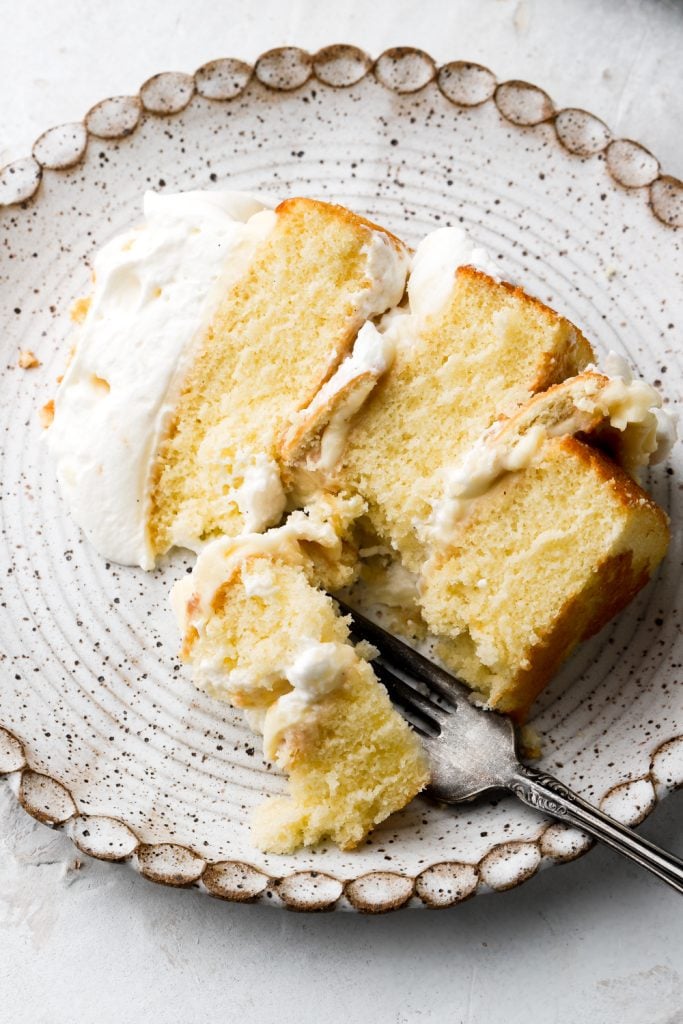
Step 12: Place the first layer of cake onto a flat surface. Top with a generous layer of pastry cream, followed by a single layer of banana slices and a single layer of vanilla wafers. Cover with a layer of whipped cream.
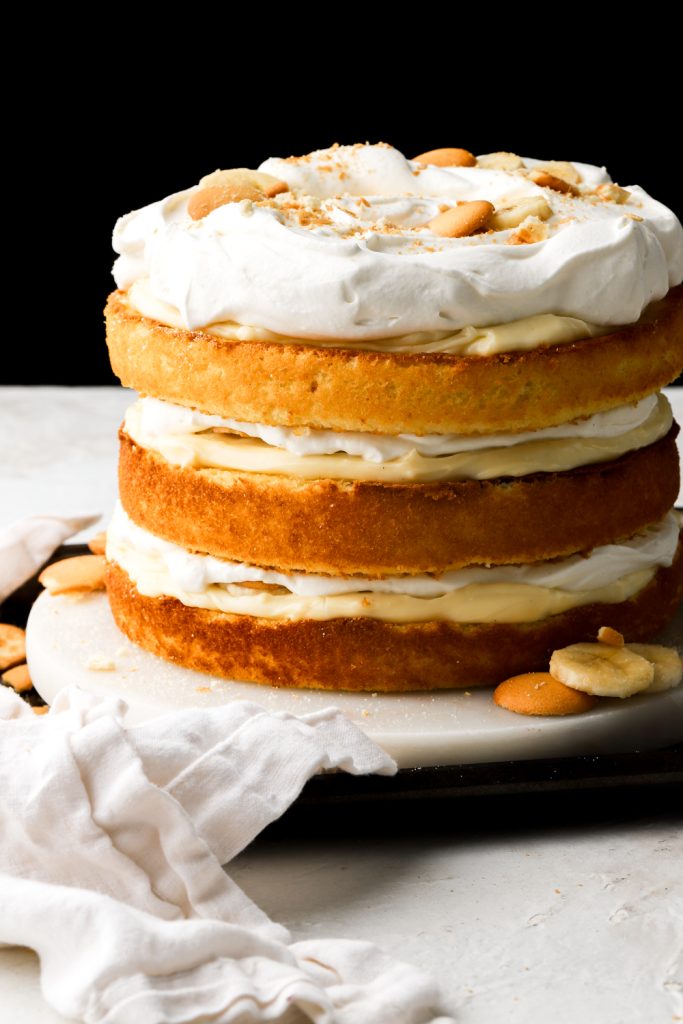
Step 13: Place the second layer of cake on top and repeat with the next layers. Swirl the rest of the whipped cream on the top layer and top with more bananas and vanilla wafers. Refrigerate the cake for at least an hour to set.
How to frost/decorate this banana pudding cake
If you want to cover the outside with the whipped cream too, it may be a little difficult since the cake is so light and the cream is so soft. You can lightly cover it after refrigerating (or freezing) it for a little until it’s more sturdy.
If you want to actually frost it nice and decorate the outside of this cake you’ll have to pipe a border of buttercream around the edge of the first layer of cake and then use the pastry cream, banana slices, vanilla wafer and whipped cream as the filling. You can see how I did that for my cranberry orange cake.
I recommend a Swiss Meringue buttercream for decorating but American buttercream also works fine.
The reason I didn’t do that for this cake is because you get more filling this way and that’s basically what makes this a banana pudding cake. The buttercream around the edge is a little overpowering if you do it that way.
Make sure to check out my cookbook Frosted for a million frosting options and how to use them!
What can I make ahead of time?
The whipped cream must be made fresh when using it.
The bananas can be sliced a few hours before assembling but make sure to toss them in lemon juice right away.
The pastry cream can be made 1-2 days in advance – keep it covered in the refrigerator until ready to assemble.
The cakes can be made in advance. If it’s 1 day, wrap them in plastic wrap as soon as they’ve cooled and leave them at room temperature. If it’s longer, freeze the cakes for up to a few weeks. Remove them from the freezer 1-2 hours before assembling.
Expert tips on getting the perfect results
- Don’t swap ingredients unless I mentioned them in the ingredient section above.
- Don’t over-mix the cake or the creams at any stage.
- Don’t reduce the sugar in the cake or the creams (I promise it’s not overly sweet).
- Weigh the ingredients with a digital scale.
- Don’t skip sifting the sugar and flour.
- Weigh the batter for each cake to make them even (15-16 ounces each).
- Use a light colored stainless steel cake pan for the pastry cream (non stick also works but avoid aluminum).
Frequently Asked Questions
Just like all the rest of my cakes, I test if it’s done baking by pressing gently on the tallest part of the cake. The cake will spring back if it’s done baking. If it stays indented, give it a few minutes in the oven, before testing again.
I haven’t tested gluten-free flours with sponge cakes but I really don’t see why it wouldn’t work with a 1:1 substitute. It works for all the rest of my cake recipes.
Dairy free butter works in the whole recipe, along with dairy free milk. The whipped cream can be replaced with coconut whipped cream but I haven’t tested any other whipped cream replacements.
I baked these cakes in three 8 inch cake pans.
You can also bake the cake:
– four 6 inch cake pans (going to be way too tall though so I don’t recommend).
– three 7 or 9 inch cake pans (+/- 5 minute bake time)
How to store a banana pudding cake
Cover the cake with foil, a cake dome or a cake carrier and refrigerate for up to a week.
If it’s any longer, feel free to freeze the cake. Slice it and place the slices in an airtight container and freeze for a few weeks. The bananas might get mushy when thawing though so freezing is not ideal.
Thanks so much for reading today’s post, if you have any questions just comment down below.
If you make this banana pudding cake, I’d love it if you left a star rating for me. If it’s less than five stars, please leave a comment with the rating so I know why! 🙂
As always, have a blessed day and happy baking!
Love, B
It was sooo good! I added in extra bananas and wafers!
Definitely the right call 😜 lol
Was told “It’s rated 10/10, second best thing you’ve ever made me.” From a baking standpoint it was pretty easy, definitely a good cake to make with little ones (if you have them). Making again, I’ll probably add additional bananas and pudding mixture since the pudding was a little thin (or smaller cake sizes). Could also use more bananas since it wasn’t banana enough for me, but that’s just personal preference. Good easy recipe
Hi David thank you so much! I agree I like extra pudding and bananas too lol it just gets hard to stack when there’s more
I would like to make this but as a 6in cake, what adjustments would you recommend? Thank you! I can’t wait to try it!
Hi Patty! I haven’t tried it but I would probably just cut the recipe in half. It might be a little bit shorter but that’ll probably make it easier to stack 🙂
Hey
I was wondering if I could use paillete feuilletine in place of the wafers? I believe it will stay crisp in the layers…
I bought a bag of it ages ago and have not found a use for it yet…what do you think?
Looks delicious can’t wait to make it!
Cheers
D
Hey! I don’t see why not, it should work fine 🙂