
Savoiardi Biscuits (Homemade Lady Fingers)
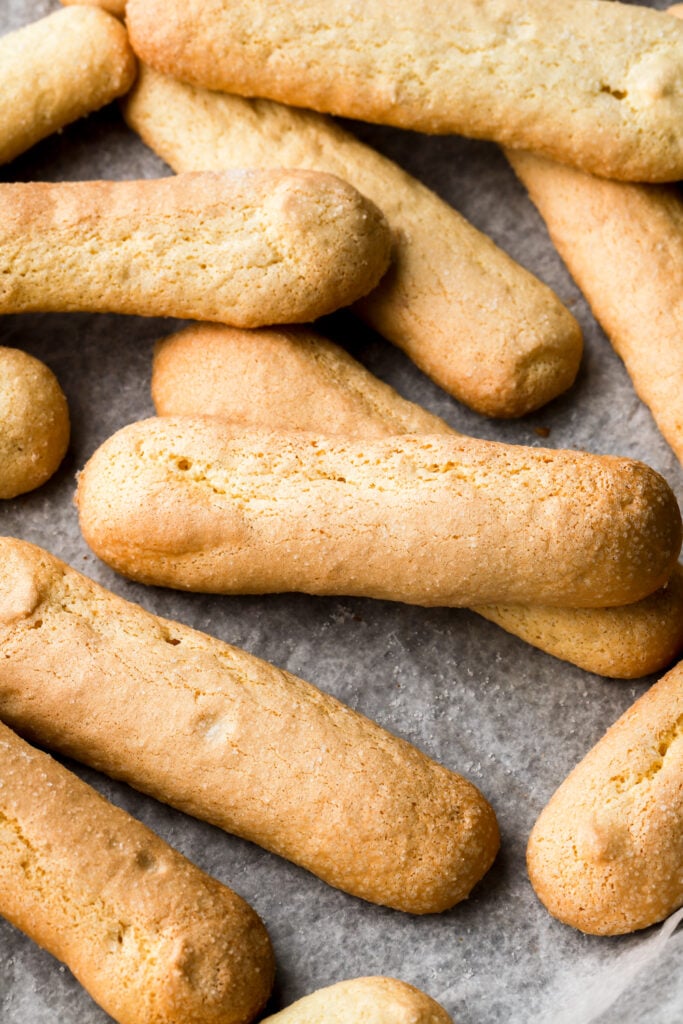
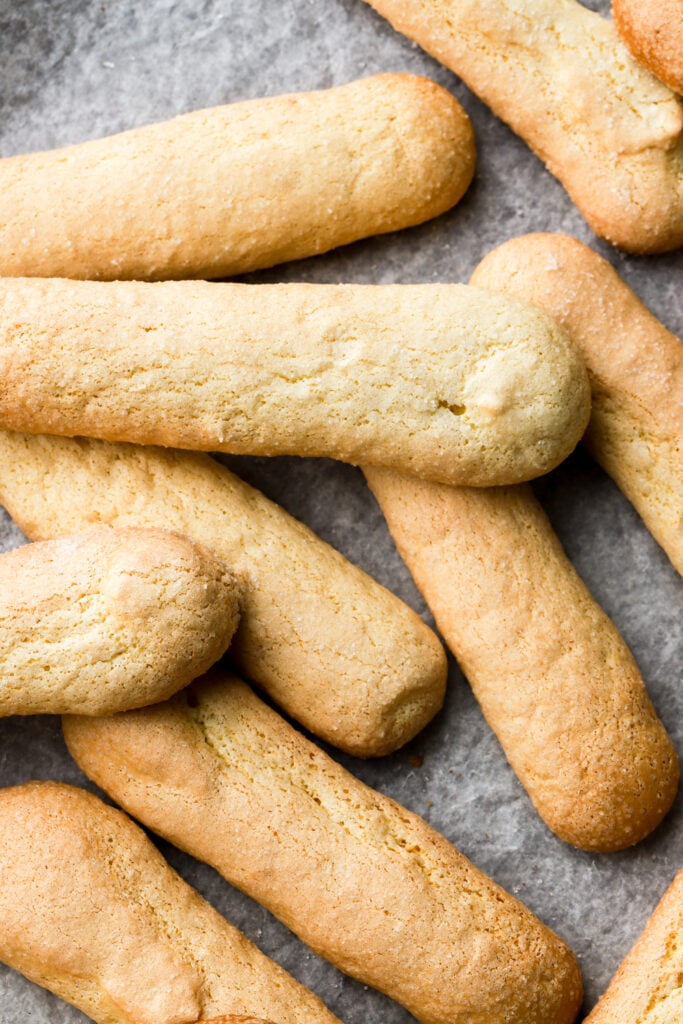
Savoiardi biscuits, also known as Lady Fingers are a popular Italian Meringue Cookie. They use three main ingredients and are super simple to make. Lady Fingers can be eaten alone, as is, or used in various desserts like Trifles, Tiramisu or Charlotte Cake.
Why you’ll love this recipe
- There’s only 3 ingredients! Ok well 3 main ingredients (vanilla and salt are pretty optional).
- They’re super light and fluffy, but sweet and crisp on the exterior.
- Can be baked to whatever size you need, just keep an eye on color in the oven.
- Can be used as the base to various recipes.
- Recipe is customizable and naturally dairy free.
What are Savoiardi Biscuits/Lady Finger?
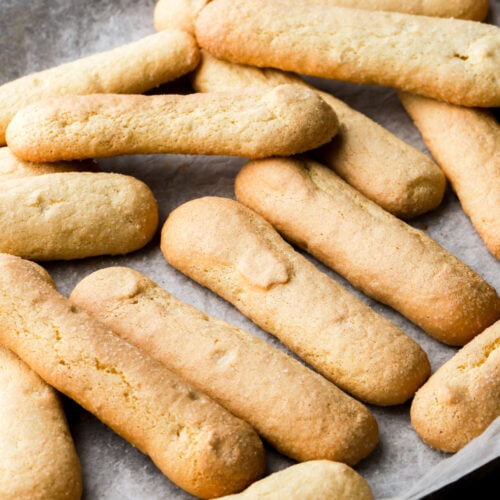
Lady Fingers are a popular Italian meringue cookie, also known as Savoiardi biscuits. They get their name from looking like fingers lol.
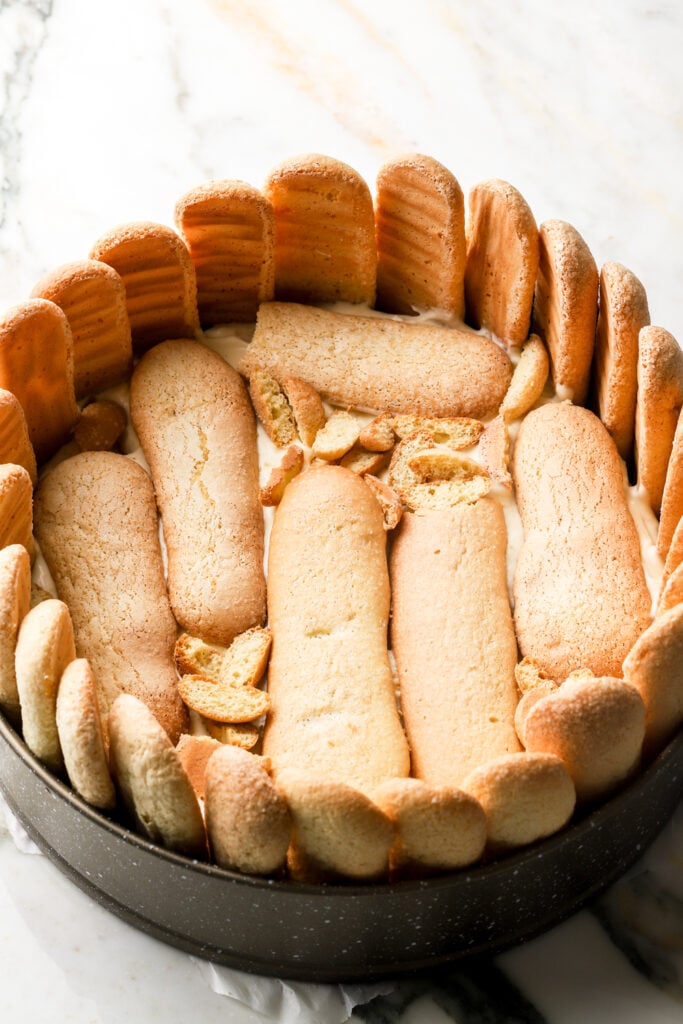
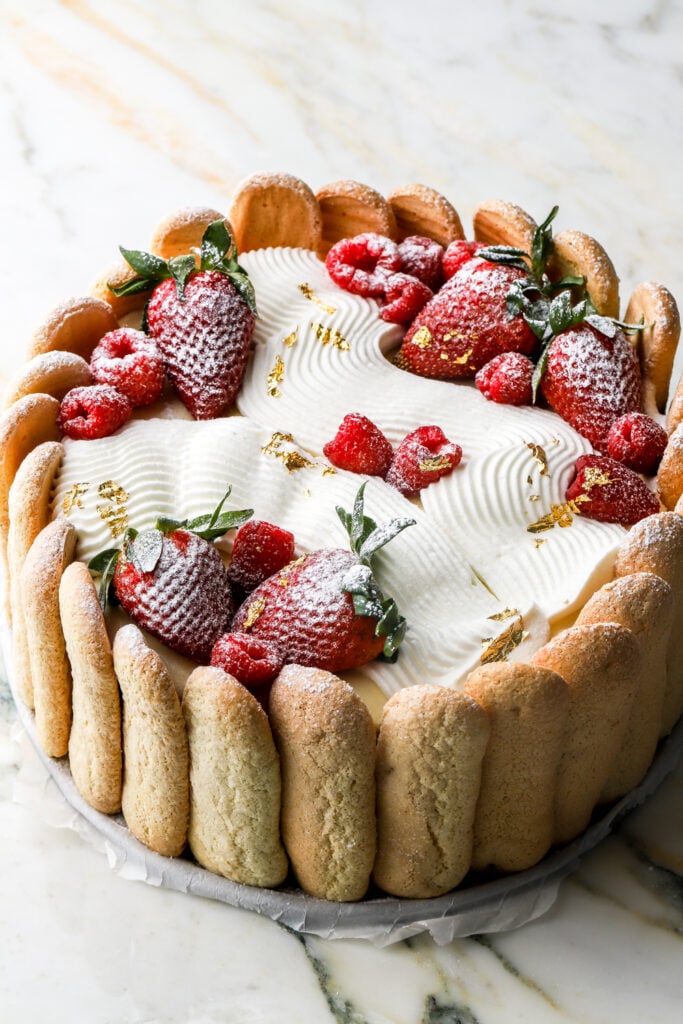
They’re most commonly known as the cookie base to Tiramisu but they’re also often used in trifles and in layer cakes like a Strawberry Charlotte Cake.
The batter for these little cookies is super simple. It’s actually the same batter as a Pan di Spagna (Italian Biscuit Sponge). I’ve seen various recipes actually use the exact same batter for both the cake version and the cookie version but that will result in a much more spongy cookie, similar to the sponge cake.
I can’t remember where I learned that a traditional Lady Finger should have double the flour as a Pan di Spagna so that’s what I did and I never looked back because they were perfect. I got exactly what I was looking for. The cookies are light and airy but crisp on the outside. I definitely recommend this version with the increased flour because it helps them hold their shape better so they’re not quite as flat as I’ve seen some other homemade versions turn out.
For more classic base recipes, make sure to check out my baking basics page.
How to ensure a good rise without chemical leaveners
Meringues are known for using whipped egg whites as the leavening agent and not using a chemical leavener like baking soda or baking powder. Unfortunately it’s quite easy to deflate the eggs when mixing in the rest of the ingredients and without baking soda or baking powder, you’ll end up with a flat dense cake/cookie if that happens.
So there’s two ways to stabilize the meringue and ensure that it doesn’t deflate completely when adding in the butter and flour.
- The first way is to gently cook the eggs and the sugar over a bain marie (double boiler), whisking until the sugar is fully dissolved. Then beat it until it’s super thick and the mixture ribbons off the whisk. This can take at least 15-20 minutes.
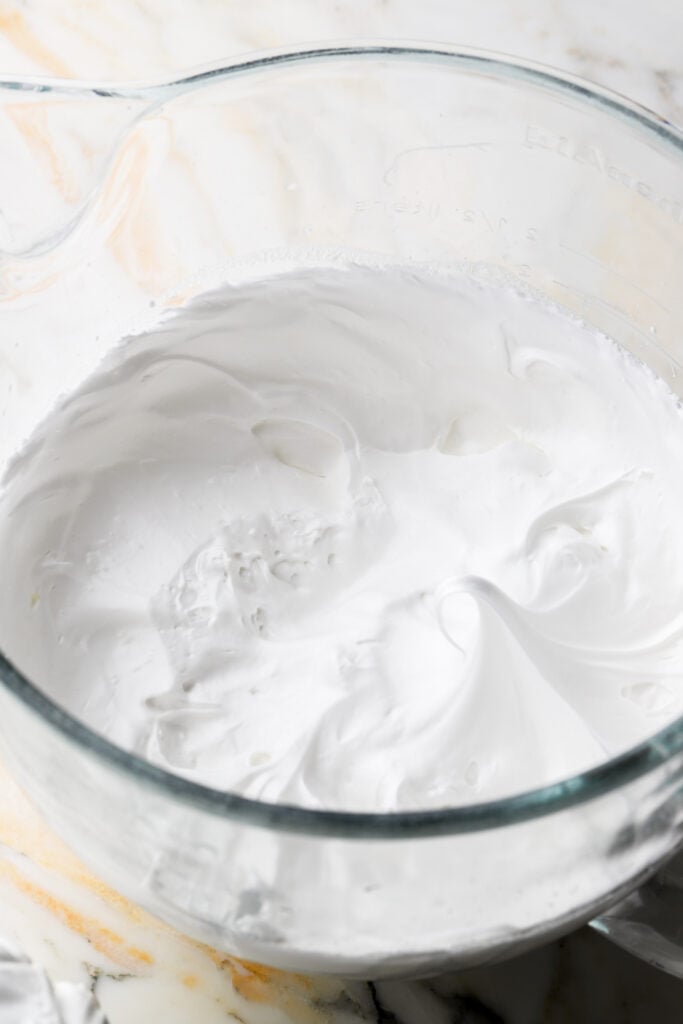
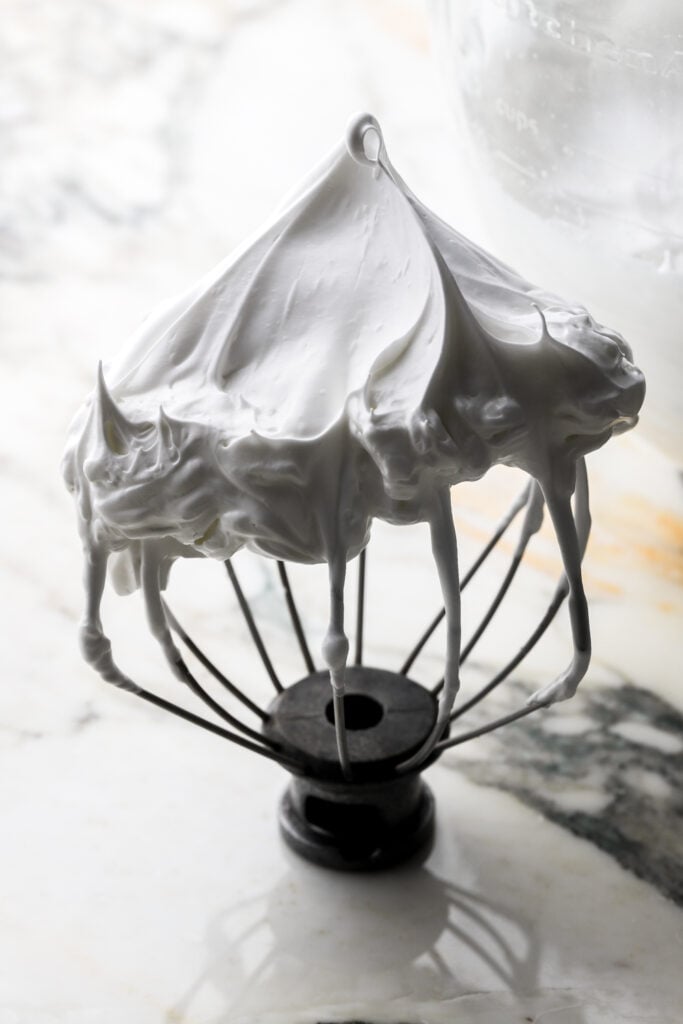
- The second way, my preferred way, is to beat the egg whites with the sugar separately, until it forms a super fluffy meringue with stiff peaks. This generally takes less than 5 minutes for me. Then when adding the rest of the ingredients, I continue with the mixer instead of folding by hand. I find that using the mixer with the whisk attachment doesn’t deflate the meringue as quickly and mixes in the flour more evenly.
- You’ll see most other recipes beat the egg yolks and sugar first, then add the flour and then fold in the whipped egg whites. This is technically the traditional way to make any type of sponge cake/meringue batter but I just don’t think all those extra steps help at all. My way is simpler and keeps more air (in my experience)!
Ingredients & Substitutions
- Flour: I use all purpose flour in most of my recipes and I HIGHLY recommend using a digital scale, as flour is so often over measured. Cake flour also works well in this recipe.
- Sugar: I use granulated sugar for these cookies. I have not tested it with any other type of sugar but I assume a more “wet” sugar would compromise the structure slightly. I don’t recommend reducing the sugar in the batter at all, as they’re not even very sweet at the sugar adds to the texture.
- Eggs: these cookies are egg based so I don’t recommend any substitutes. Make sure to use room temperature, large eggs, about 55-60g each.
- Place them in hot water for a few minutes if they’re cold – this will allow the egg whites to whip up easier and quicker.
- Unfortunately I have not made these cookies without eggs but I know some people have had success with using aquafaba for sponge cakes so try looking up a vegan lady finger recipe.
- Vanilla: I usually just use a simple vanilla extract in cake batters.
- Salt: I like to add a little pinch of sea salt but any salt works fine.
Step-by-Step Instructions
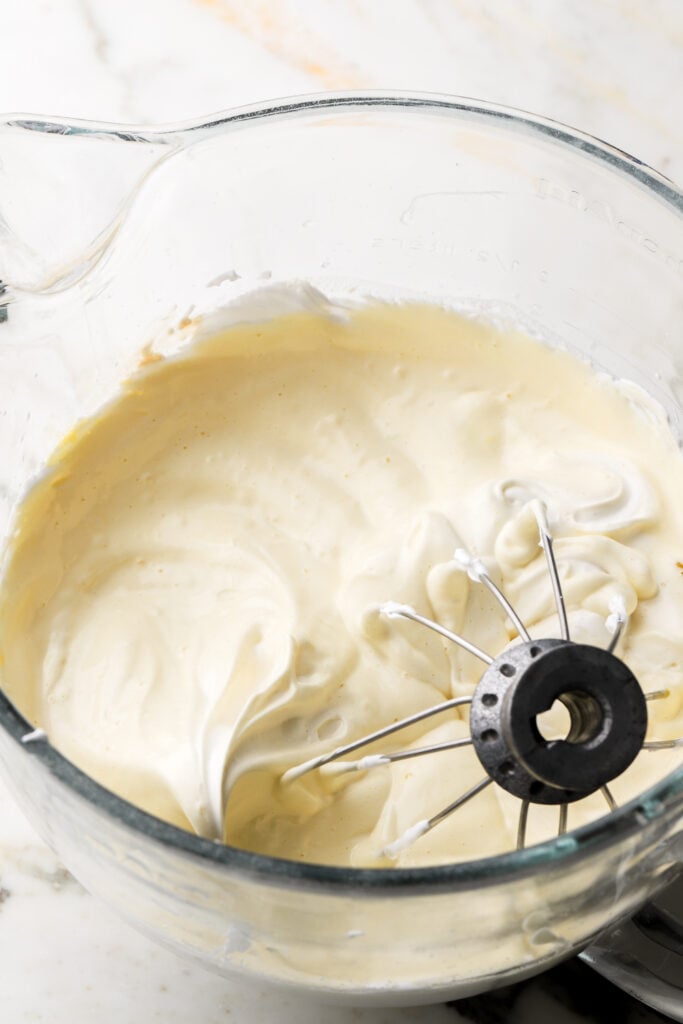
Step 1: Start by separating the egg yolks from the whites. Beat the egg whites with the sugar until it’s super thick and fluffy and holds stiff peaks, this can be between 3-5 minutes.
Step 2: Add the egg yolks and vanilla and beat at medium-high speed until it’s combined, just a few seconds.
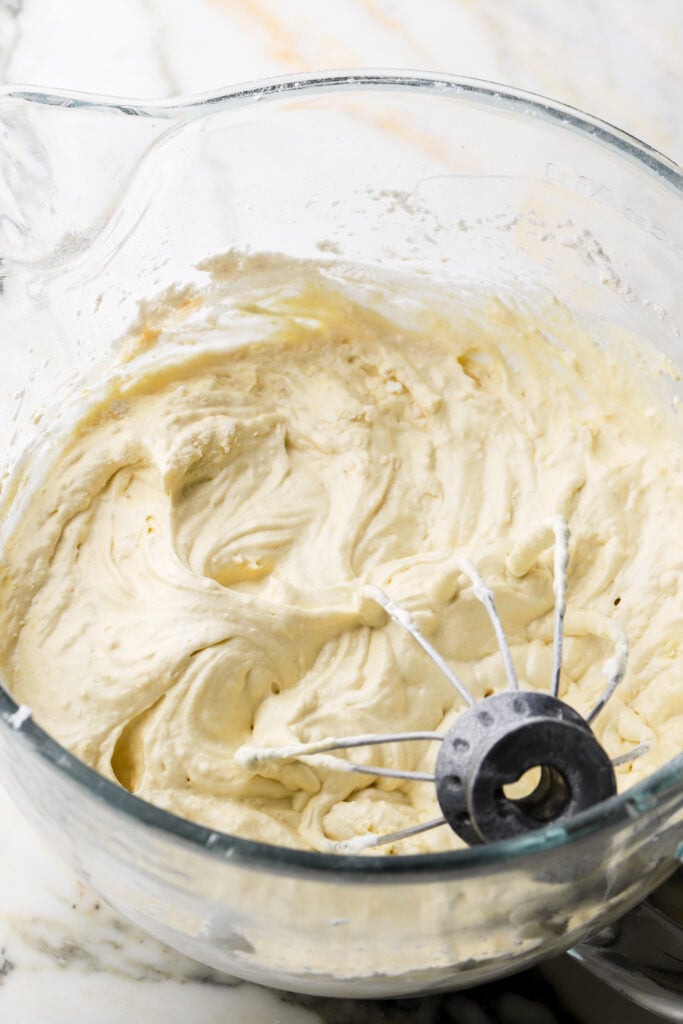
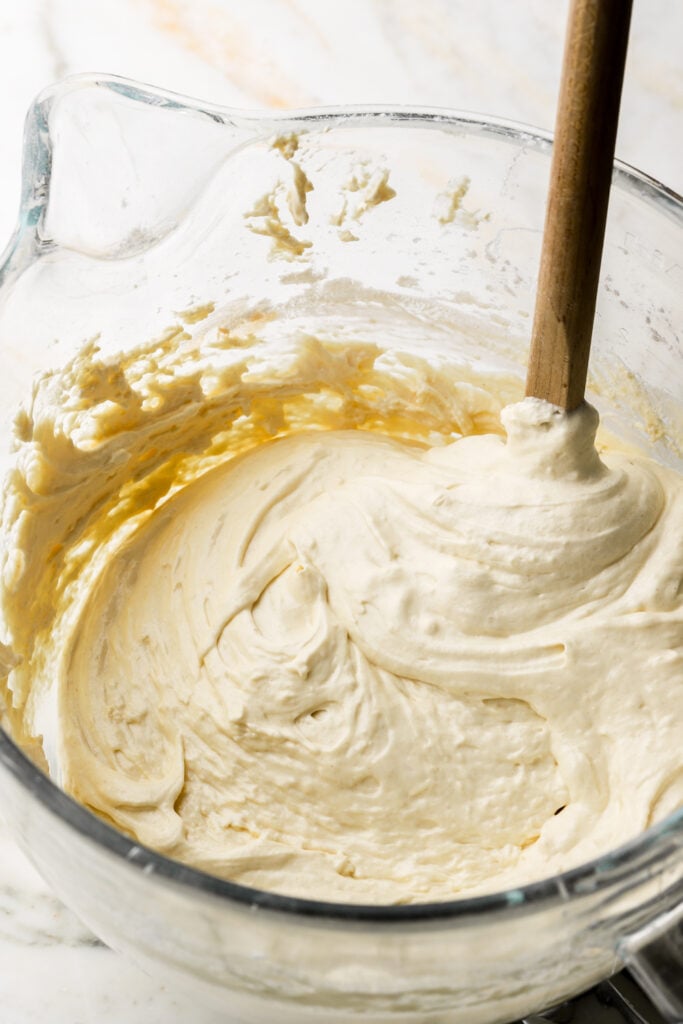
Step 3: Sift in the flour and salt and beat at medium-low speed, just until the flour is mixed in. Use a rubber spatula to fold the mixture a couple of times to scrape the bottom and edge of the bowl.
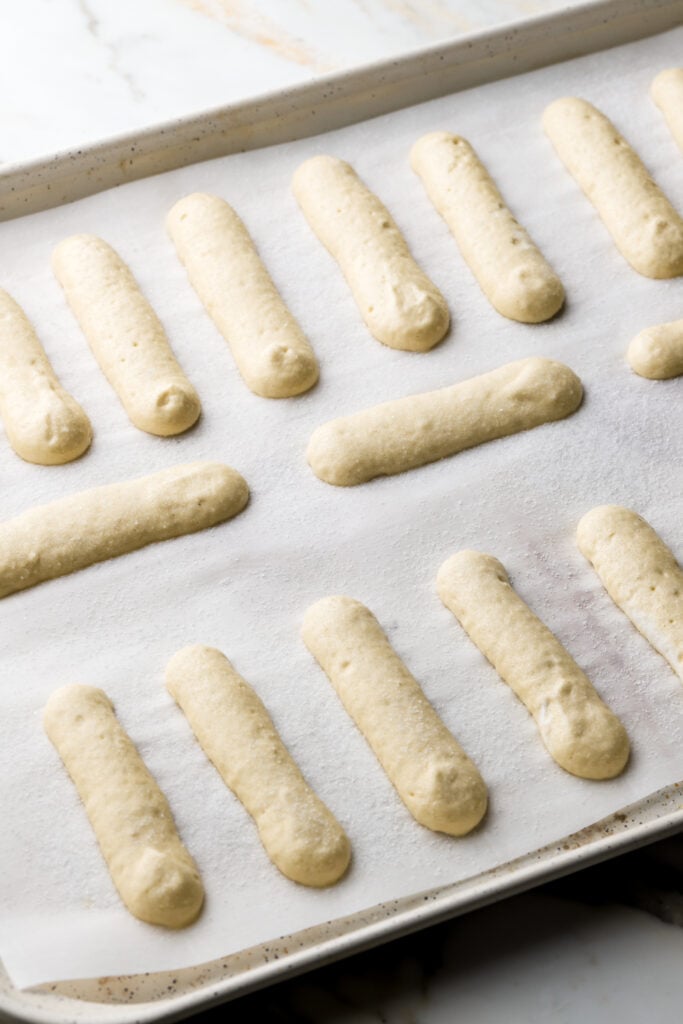
Step 4: Place the batter in a piping bag fit with a large round tip and gently pipe very even lines of batter (like eclairs) on a baking sheet, about 1-2 inches apart, depending on how large you make them.
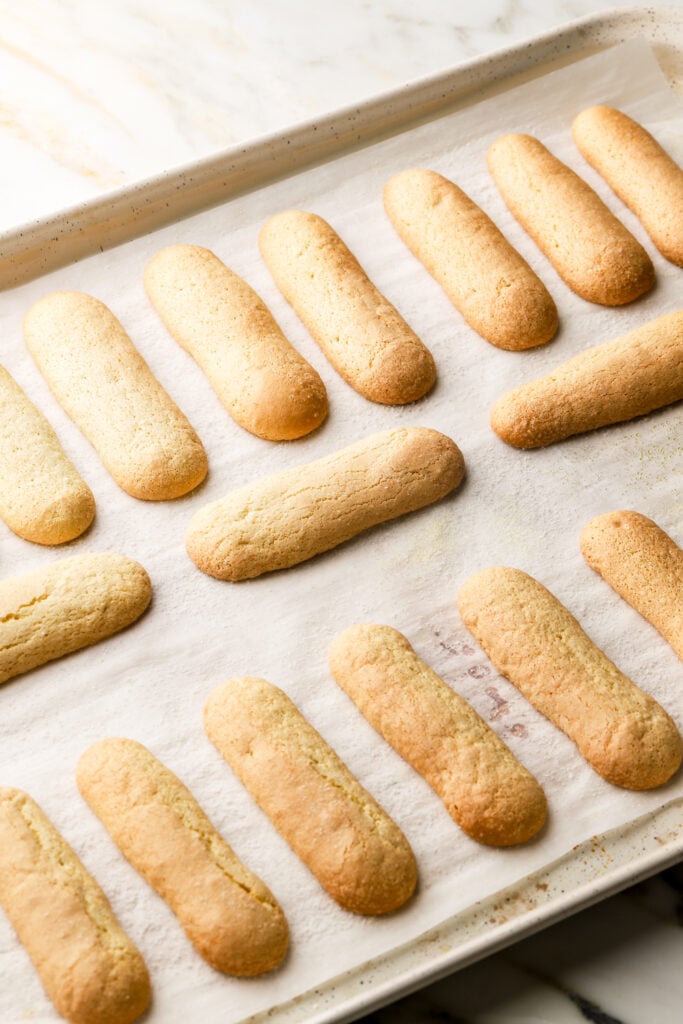
Step 5: Sprinkle the tops of each cookie with granulated sugar and bake for about 10-12 minutes, until they’re starting to look golden.
Pro Tips for Perfect Lady Fingers
- Don’t substitute any ingredients if they’re not mentioned above.
- Don’t skip any steps, like sifting the flour, etc.
- Be very gently and delicate when handling the finished batter, and certainly don’t overmix it once the flour is all mixed in. The more you handle it the more air you lose from the batter and the cookies risk spreading more and baking flatter.
- I always HIGHLY recommend weighing your ingredients, especially the flour, using a digital scale.
How To Use Lady Fingers
Lady fingers are used in many French and Italian desserts. Some popular ones are Tiramisu, Charlotte Cakes and Trifles. They can basically be used as any biscuit/crisp cookie is used (like icebox cakes) or served plain with some coffee or tea.
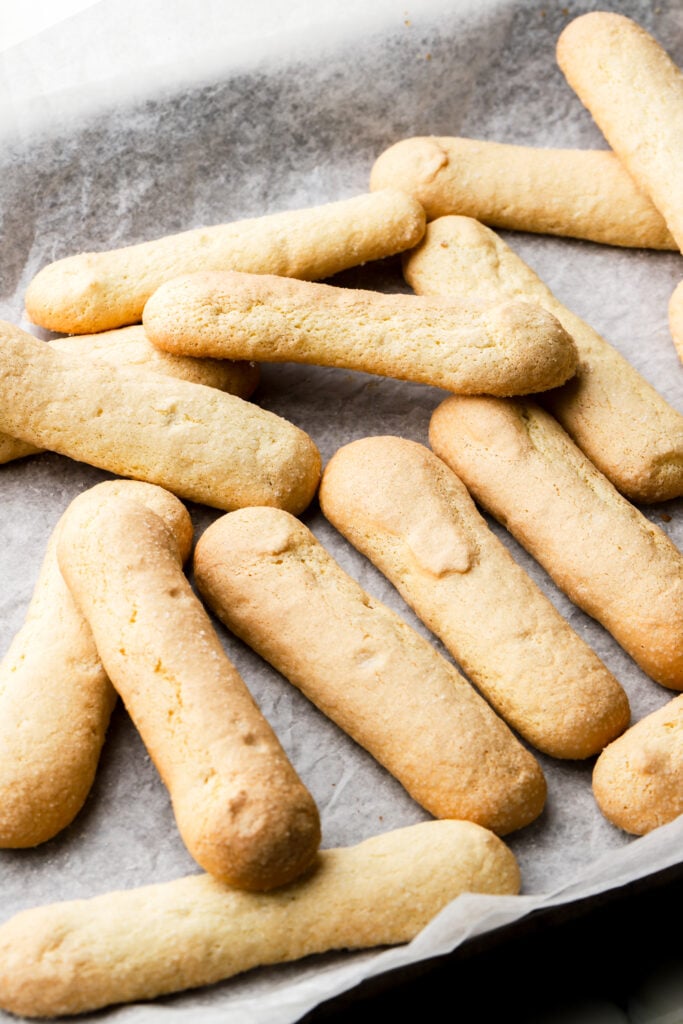
Lady Fingers are somewhat soft and edible when they’re freshly baked and if stored in an airtight container, however if you want them to harden like store bought lady fingers, just leave them out to dry at room temperature overnight.
Some thing to keep in mind is that when they’re dry, they’ll soak up more liquid. So if you’re making a tiramisu and dipping fresh lady fingers in the coffee, they won’t absorb as much coffee as a dry lady finger so you’ll need to soak it for longer if you want more of a coffee flavor.
Frequently Asked Questions
Savoiardi biscuits don’t use any dairy so that’s good to go but I have not made these without eggs. I would look up a plant based/vegan lady finger recipe that uses aquafaba.
All my cake recipes work well with a 1:1 gluten-free flour like Bob’s Red Mill and King Arthur Flour HOWEVER, I have not tested this with Lady fingers however I do know some people have had success making my pan di spagna sponge with gluten-free flour so I don’t see why it wouldn’t work here.
You don’t want to mess too much with the batter itself because it’s quite delicate. You can certainly remove 2 Tbsp of flour and replace it with unsweetened cocoa powder or add 1-2 tsp of any kind of extract or spice (after the eggs are whipped).
That’s about as far as I would take it. I don’t recommend even using any citrus zest because it prevents the eggs from whipping up properly and lowers the pH of the batter, inhibiting its rise and browning.
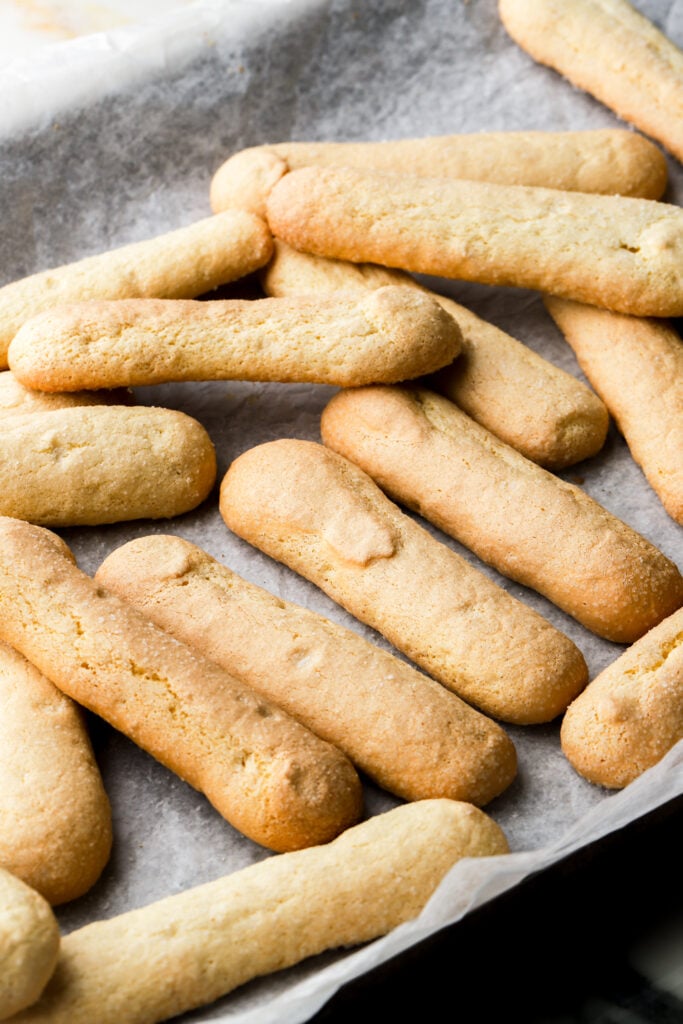
The Lady Fingers will no longer look wet, they’ll have a light golden color, not a dark golden brown color. Then gently press your finger into it and it should be firm. If it springs back or your fingerprint stays indented, leave it a few more minutes.
Try not to open the oven until it’s close to being done though.
How to make ahead and store Lady Fingers
Lady Fingers can be made ahead of time. If you want to keep them softer, store them in an airtight container or bag. If you want them to get dry and crisp like the store bought ones, you can leave them out on the counter overnight.
To freeze, place them in an airtight container or plastic bag and thaw at room temperature with the lid removed or the bag open. Freeze for up to 1-2 months.
Thanks so much for reading today’s post, if you have any questions just comment down below.
If you make these Lady Fingers, I’d love it if you left a star rating for me or a review letting me know how you liked it!
As always, have a blessed day and happy baking!
Love, B

On OTG what will be temperature and it will be baked on lower rod or both rod ?
Would you mind to share with us the oven temperature?
It’s in the recipe card!
What’s the best way to store these?
If you want them to dry out like the store bought ones, leave them on the counter uncovered. If you want to keep them softer, keep them in an airtight container. They should be fine for a few days.
I love this recipe and use it every week for my tiramisu that I bring to the farmer’s market!
If I were to bake this as a thin sheet, how would the baking time change? Thank you!
Hi Shayna, so glad you like it! I would just keep an eye on it and once it no longer looks wet, press on it and should bounce back. For sheet cakes I would use this recipe though and it’s very similar and I haven’t tested the biscuit version as a sheet cake.
https://baranbakery.com/pan-di-spagna-biscuit-sponge/
I am not sure if all purpose flour is plain flour or self raising flour. Please help as I would love to try this recipe for a friend’s special birthday. thank you
Plain flour
These are sooooo good! Definitely the best ladyfingers I’ve ever had.
Thank you so much! So glad you liked them 🙂