
How To Brown Butter
Ok. So I know there’s like a million tutorials on how to brown butter but since I use it in so many recipes, I thought I should dedicate a whole post to browning butter so we can always refer back to it!
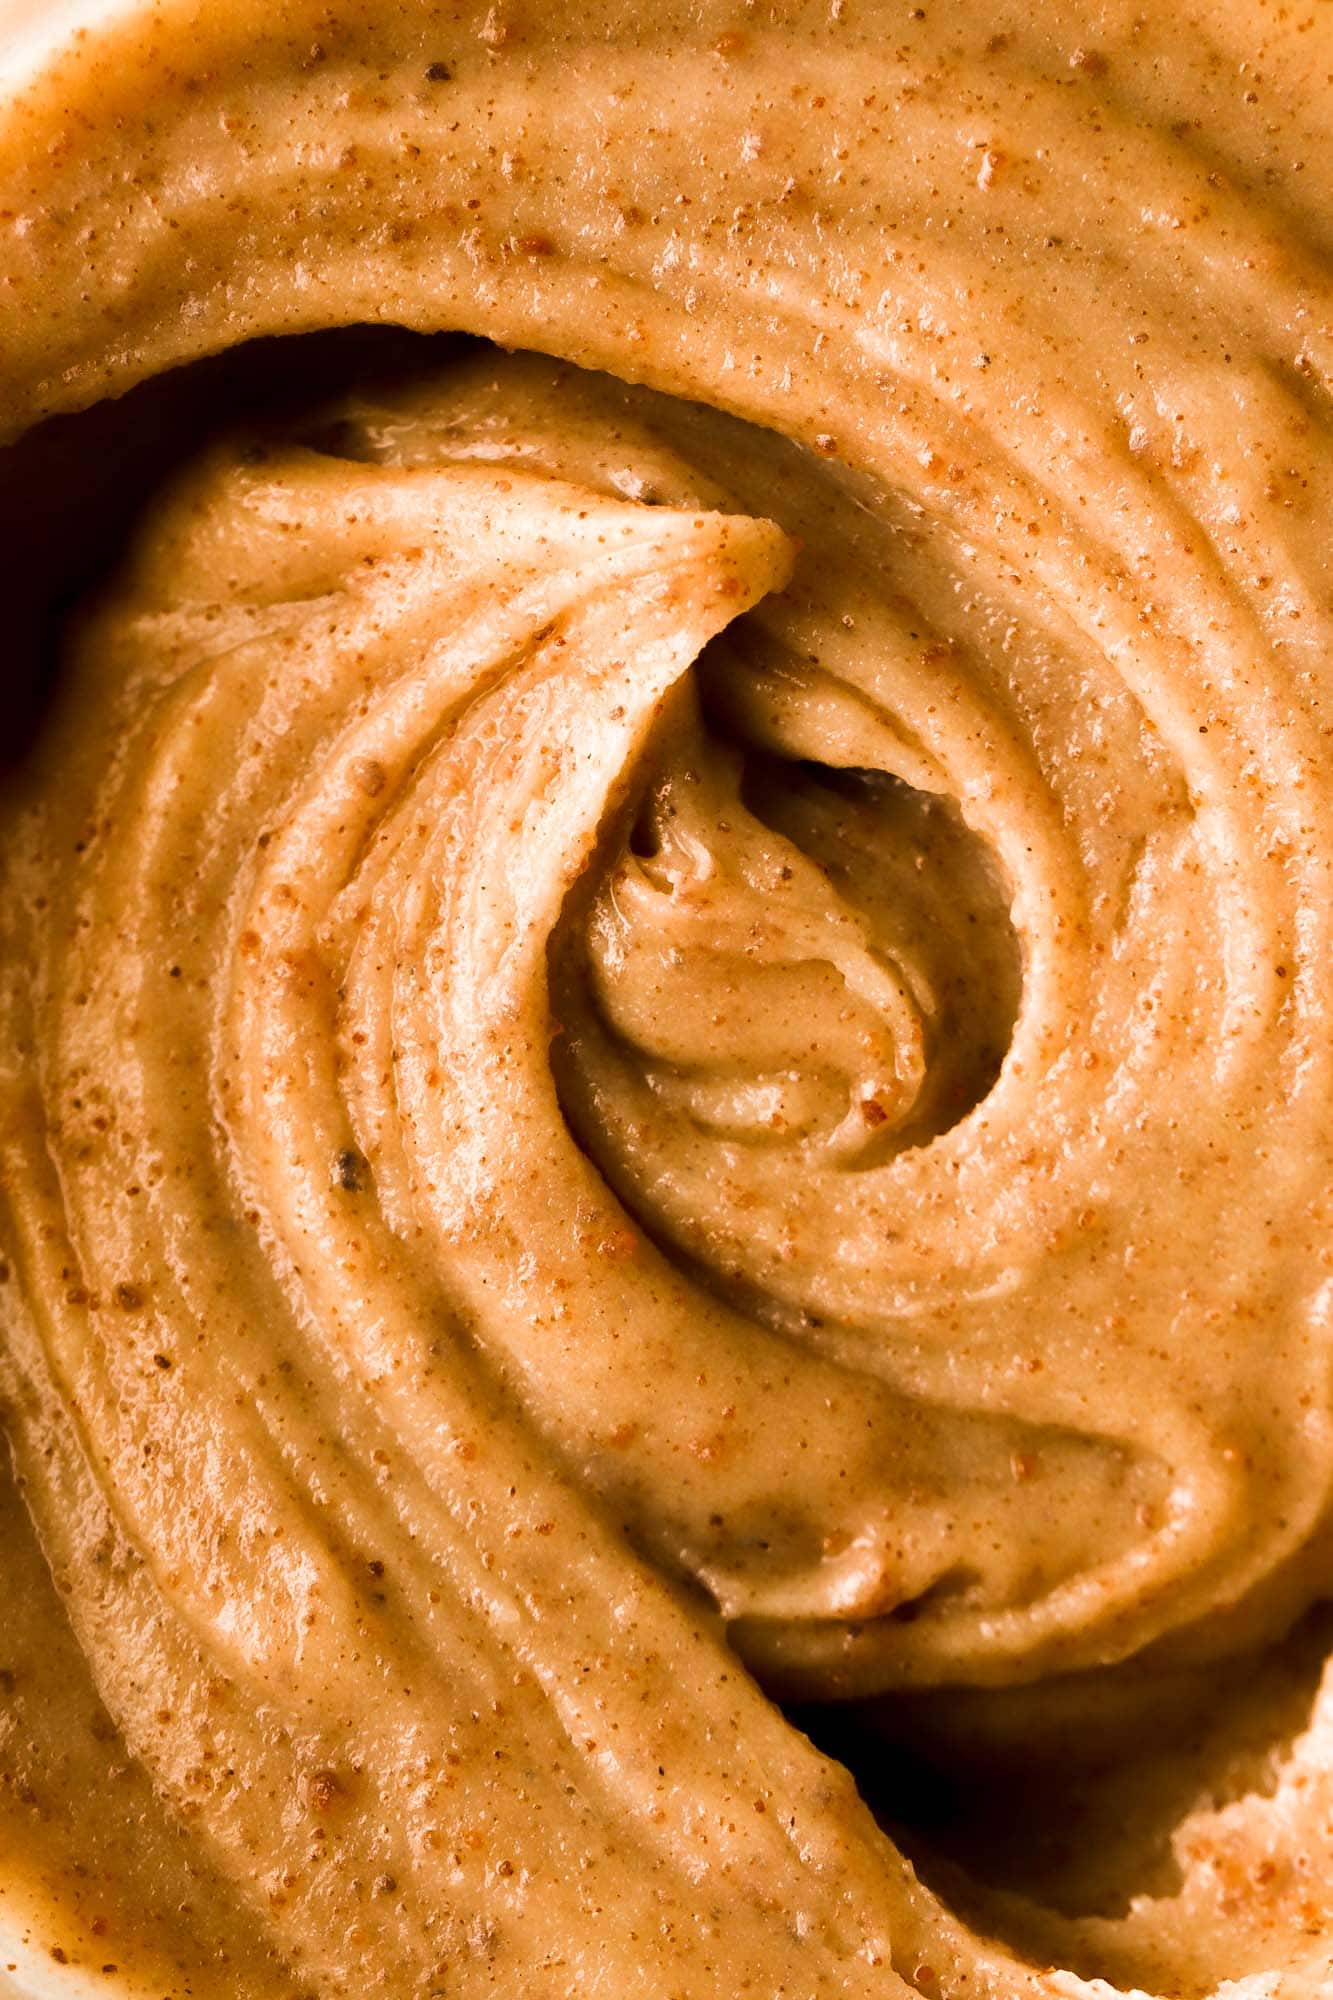
Browning butter elevates just about any recipe with a toasted and slightly nutty flavor and those gorgeous brown speckles. I have step-by-step instructions and photos on how to do it below along with a bunch of my recipes that use it!
What is Brown Butter
Butter is a dairy product made from churning milk or cream. It’s made up of protein, fat and water. When butter is heated, the fat crystals melt releasing the water from the fat emulsion. Then the water begins to evaporate and the proteins and sugars (lactose) react and brown. The browning is called the Maillard reaction and it happens every time you cook something and it ‘browns’.
How Does Brown Butter Taste
Before you even taste it it, brown butter smells AMAZING! It creates this incredible caramelized nutty aroma when the milk solids begin to toast. The flavor is just like the smell, it’s like a caramelized nutty butter flavor that just tastes so much more pronounced and rich in every dish, sweet or savory.
How To Brown Butter
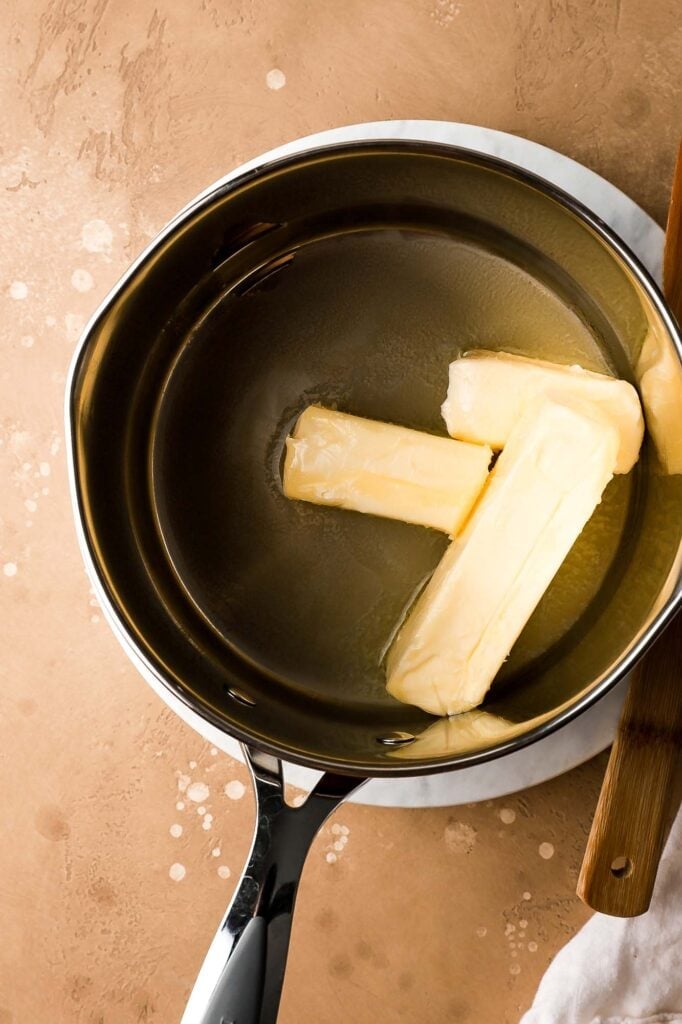
There are essentially four stages to browning butter. Each stage is easily recognized visually so you won’t need a thermometer or anything.
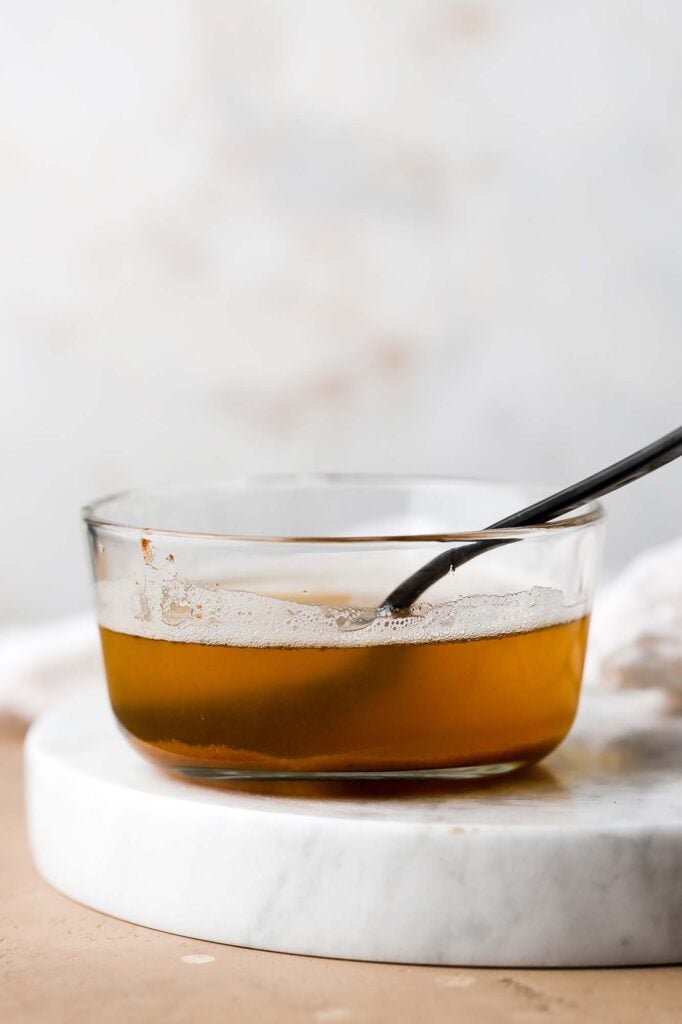
- Melting – first the butter has to melt into a liquid state. This happens somewhere between 82F and 97F. The time that this takes, depends on how cold the butter was to start with, how much you’re browning and how big or small your pot is. If the butter is cold, it’s best to cut it into small cubes and melt it at a low temperature so that it cooks more evenly.
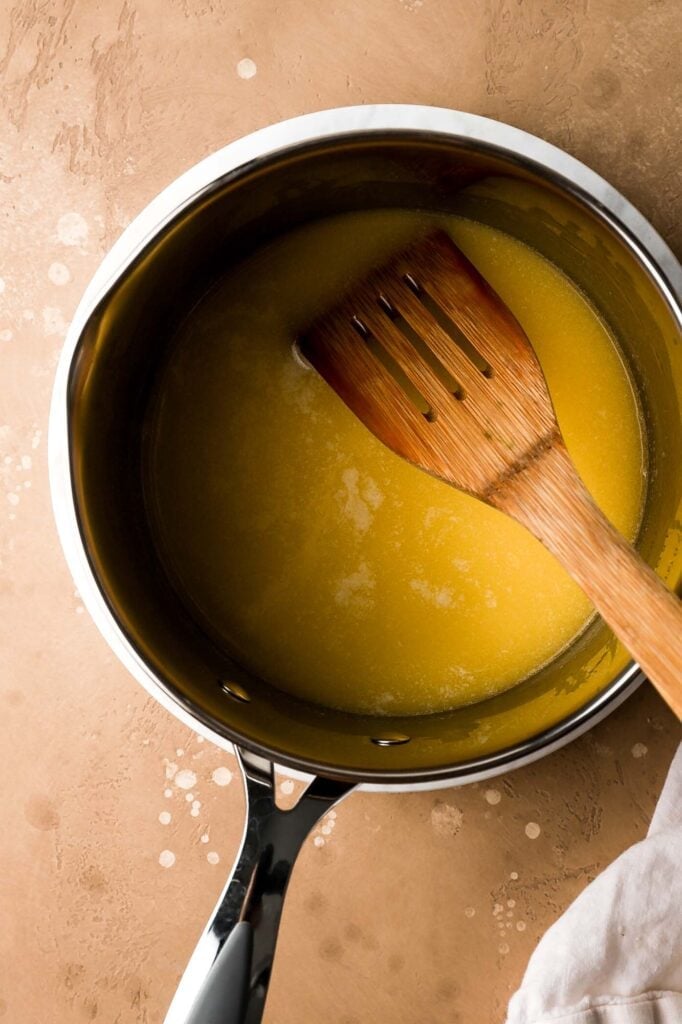
- Bubbling – after the butter is fully melted, it will begin to boil. The butter will become a little brighter in color and start making crackling noises and will bubble. This is when the water is beginning to evaporate.
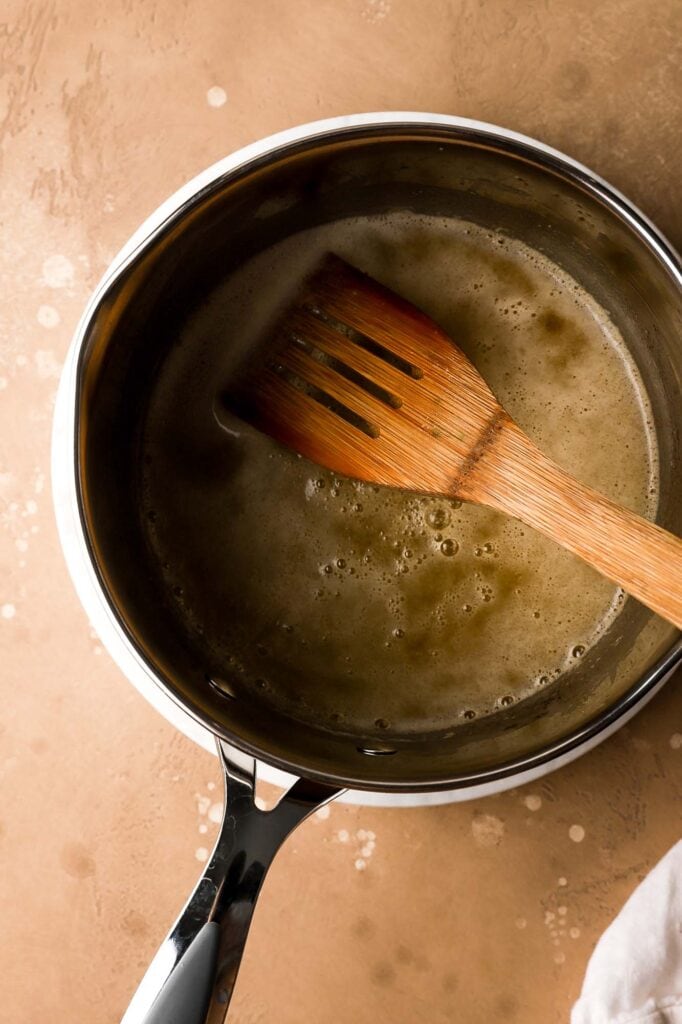
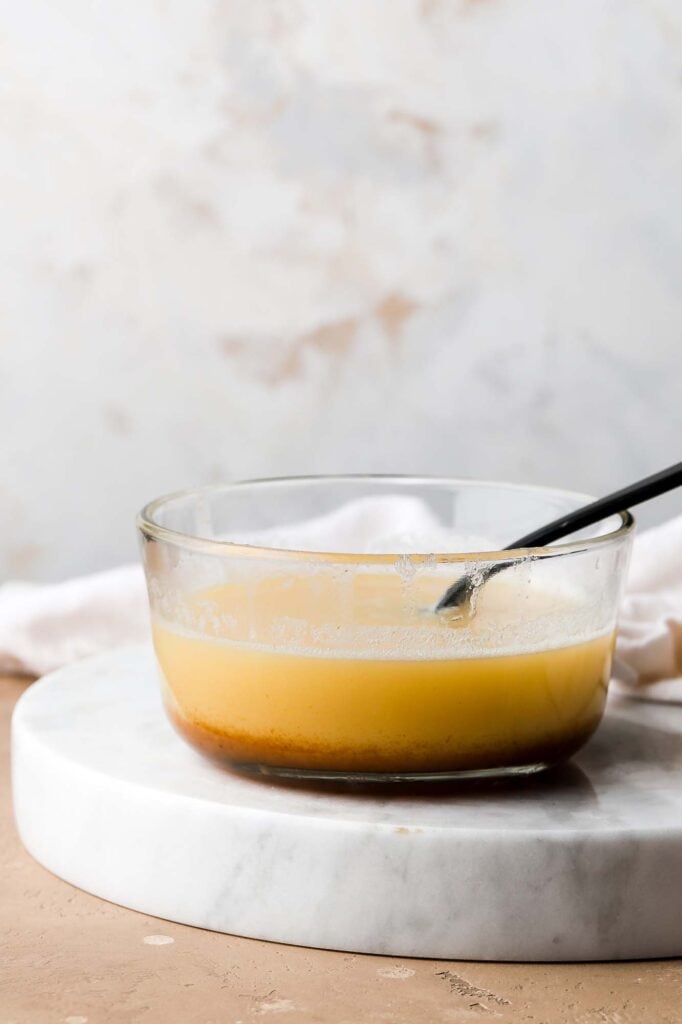
- Foaming – The bubbles will begin to multiply and create a layer of foam on top. This happens because the proteins coagulate when the water is evaporating from the fat. Water evaporating means you’re losing some volume and moisture from the butter. At this point, you’ll want to whisk continuously because the milk solids will stick to the bottom of the pan and you can’t really see past the foam without mixing.
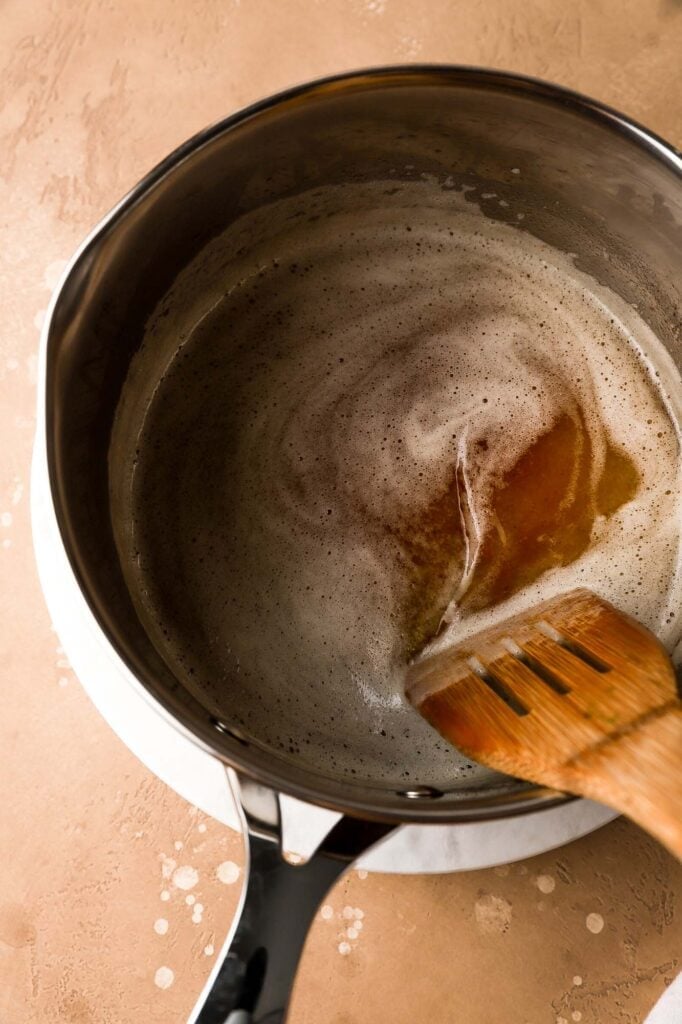
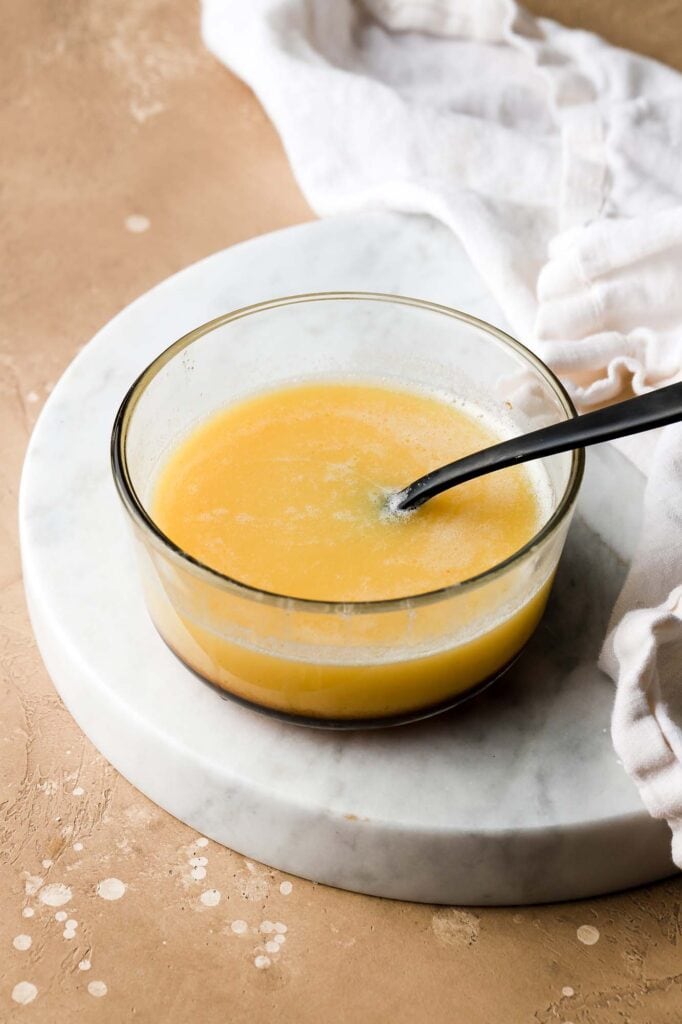
- Browning – as you’re whisking, the milk solids are slowly toasting away, creating those gorgeous brown butter speckles. Keeping the heat on low and whisking continuously will slowly brown more of the butter. If the heat is too high and/or you’re not whisking, the milk solids sticking to the bottom of the pan will burn.
Loss of volume and moisture in brown butter
So if you read stage 3, foaming, I touched on the water evaporating from the butter. This means you are losing water out of your butter so now the 1 cup, or 227g, of butter you put in the pan, is no longer that amount, it’s going to be just slightly less, around 186 grams. Characteristic wise, you lost some moisture because now the ratio of solid to liquid is going to be higher.
How to make up for loss of volume/moisture
If a recipe is developed using brown butter than just follow the recipe directly because obviously the moisture loss was already taken into account during recipe development.
However, if you’re wanting to change a recipe to include brown butter, the best way to make up for this moisture loss is to weigh how much butter you start with and how much you have left after browning. Whatever that difference is, you can make up for it with extra liquid in the recipe.
So for example if my recipe calls for 227 grams of butter and I want to use browned butter but my 227 grams turned into 186 grams of butter then I would add an extra 41 grams of liquid to my recipe. This might feel a little overwhelming so I do the other option.
The other option is to brown more butter than you need and that way you can measure the exact amount. So sometimes I will just brown 2 cups of butter and when I need some, I’ll weigh out exactly how much a recipe calls for. The ratio of fat to water will still be a little off but the change in the recipe is usually pretty insignificant.
For example in my Brown Butter Cookie Butter Cake, I just browned more butter than I needed and measured out exactly the amount I want. This may seem annoying or wasteful, but it’s sooo easy to use up the rest of the butter. In the recipe notes, I even mention that I just pop the leftover brown butter into the frosting for extra flavor. It doesn’t make any significant change to the frosting but at least we’re not wasting it.
How To Use Brown Butter in Baking
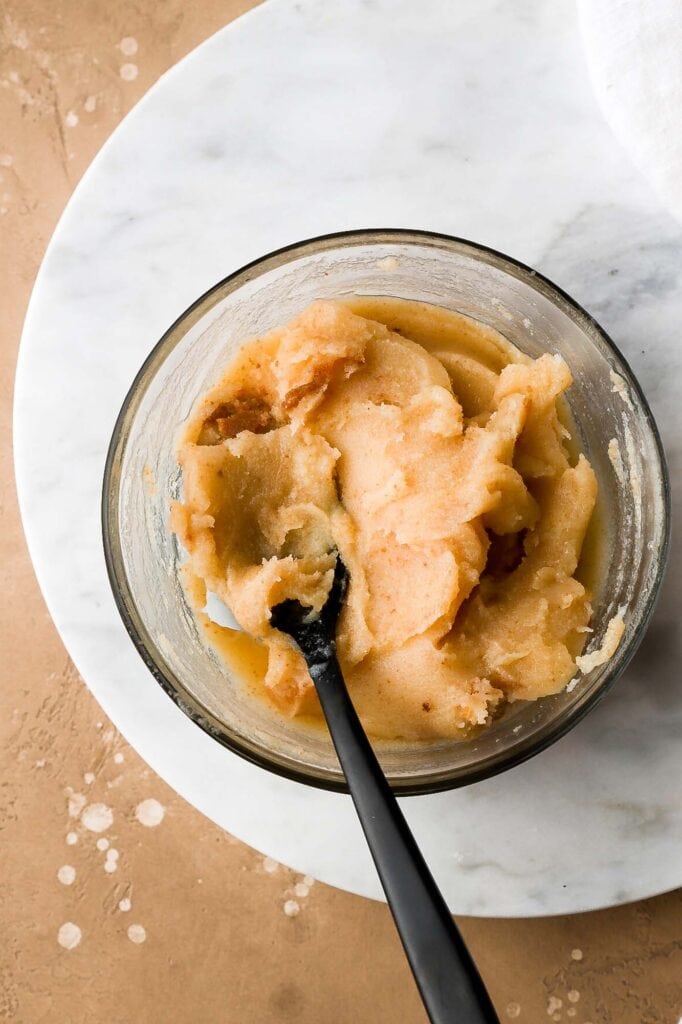
Brown butter is going to act just like regular butter so you can replace it in almost any recipe. If a recipe calls for melted butter, use melted brown butter. When a recipe calls for cold or room temperature butter, you’ll have to re-solidify the butter.
To re-solidify the butter, I let it cool to room temperature, then stir it to combine the brown speckles throughout and then refrigerate it. Once it’s refrigerated, I stir it every 15 minutes so that it chills evenly. If you don’t mix and it re-solidifies, then all the brown speckles (milk solids) will settle at the bottom of the bowl and fat will rise to the top so you’ll sort of have an imbalance (this only matters if you’re not using the whole amount and are just scooping a portion of it).
One thing to keep in mind is that the brown speckles in the butter are now solid and more pronounced so if you’re making a buttercream with it or any recipes that calls for a smooth texture, you’ll have tiny little brown beads in it. If this bothers you, you can strain out the milk solids when the butter is liquid, keeping in mind that you may lose a little bit of the caramelized nutty flavor (the best part!!).
I have used it in American Buttercream, Swiss Meringue Buttercream and Cream Cheese Frosting and I personally love the texture and flavor it gives. You can see it in my Carrot Cake Cupcakes and my Chai Cake.
Recipes that use brown butter:
I have sooooo many recipes that use brown butter, I don’t even know how to pick which ones to link.
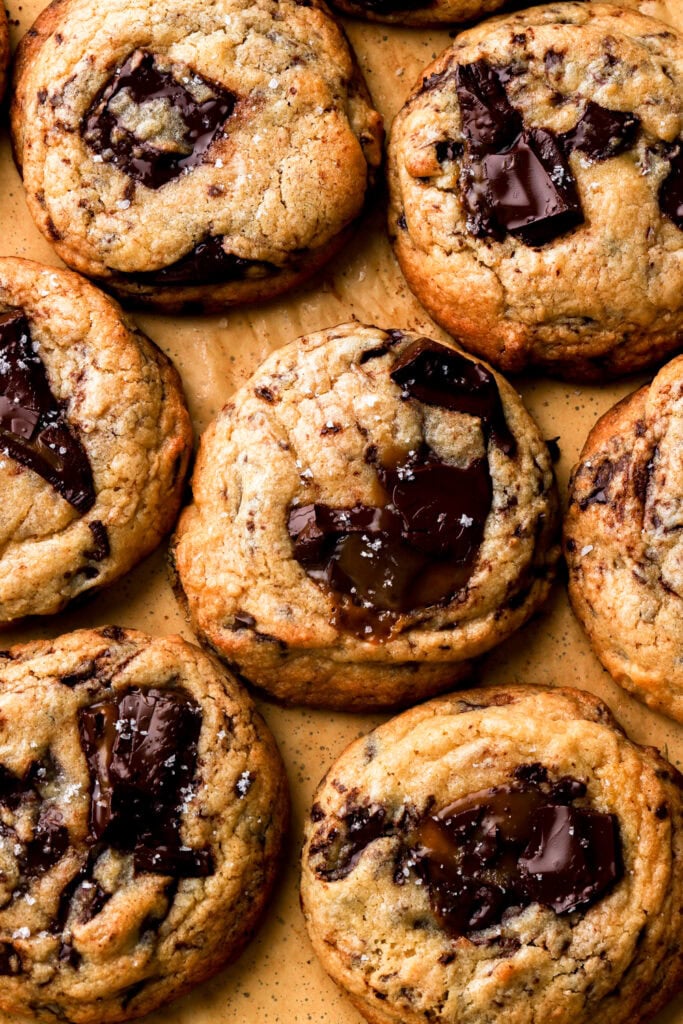
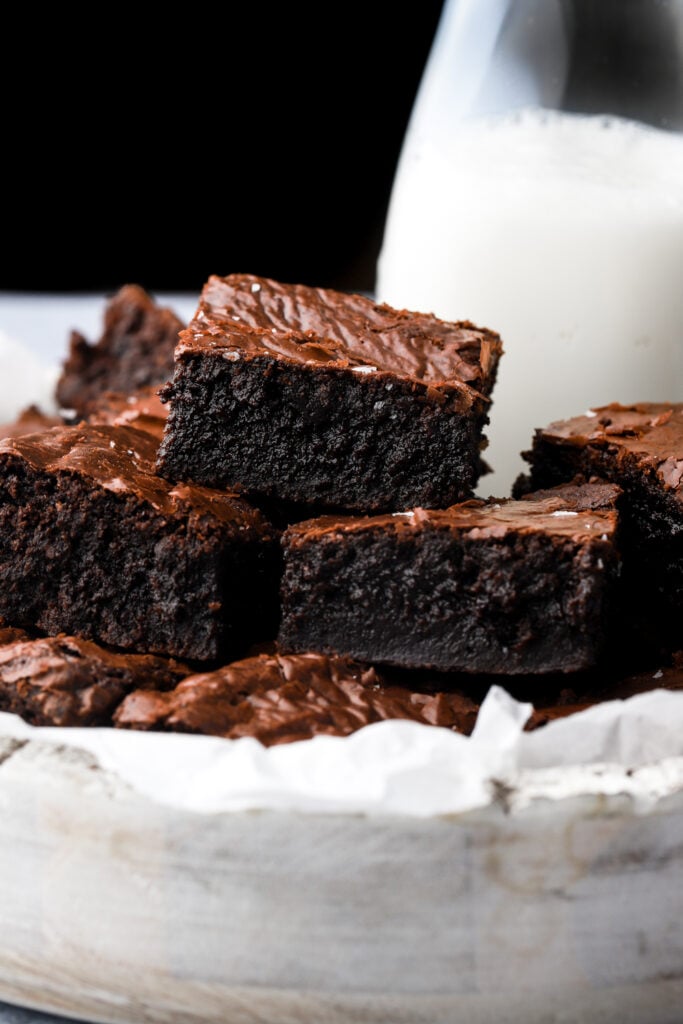
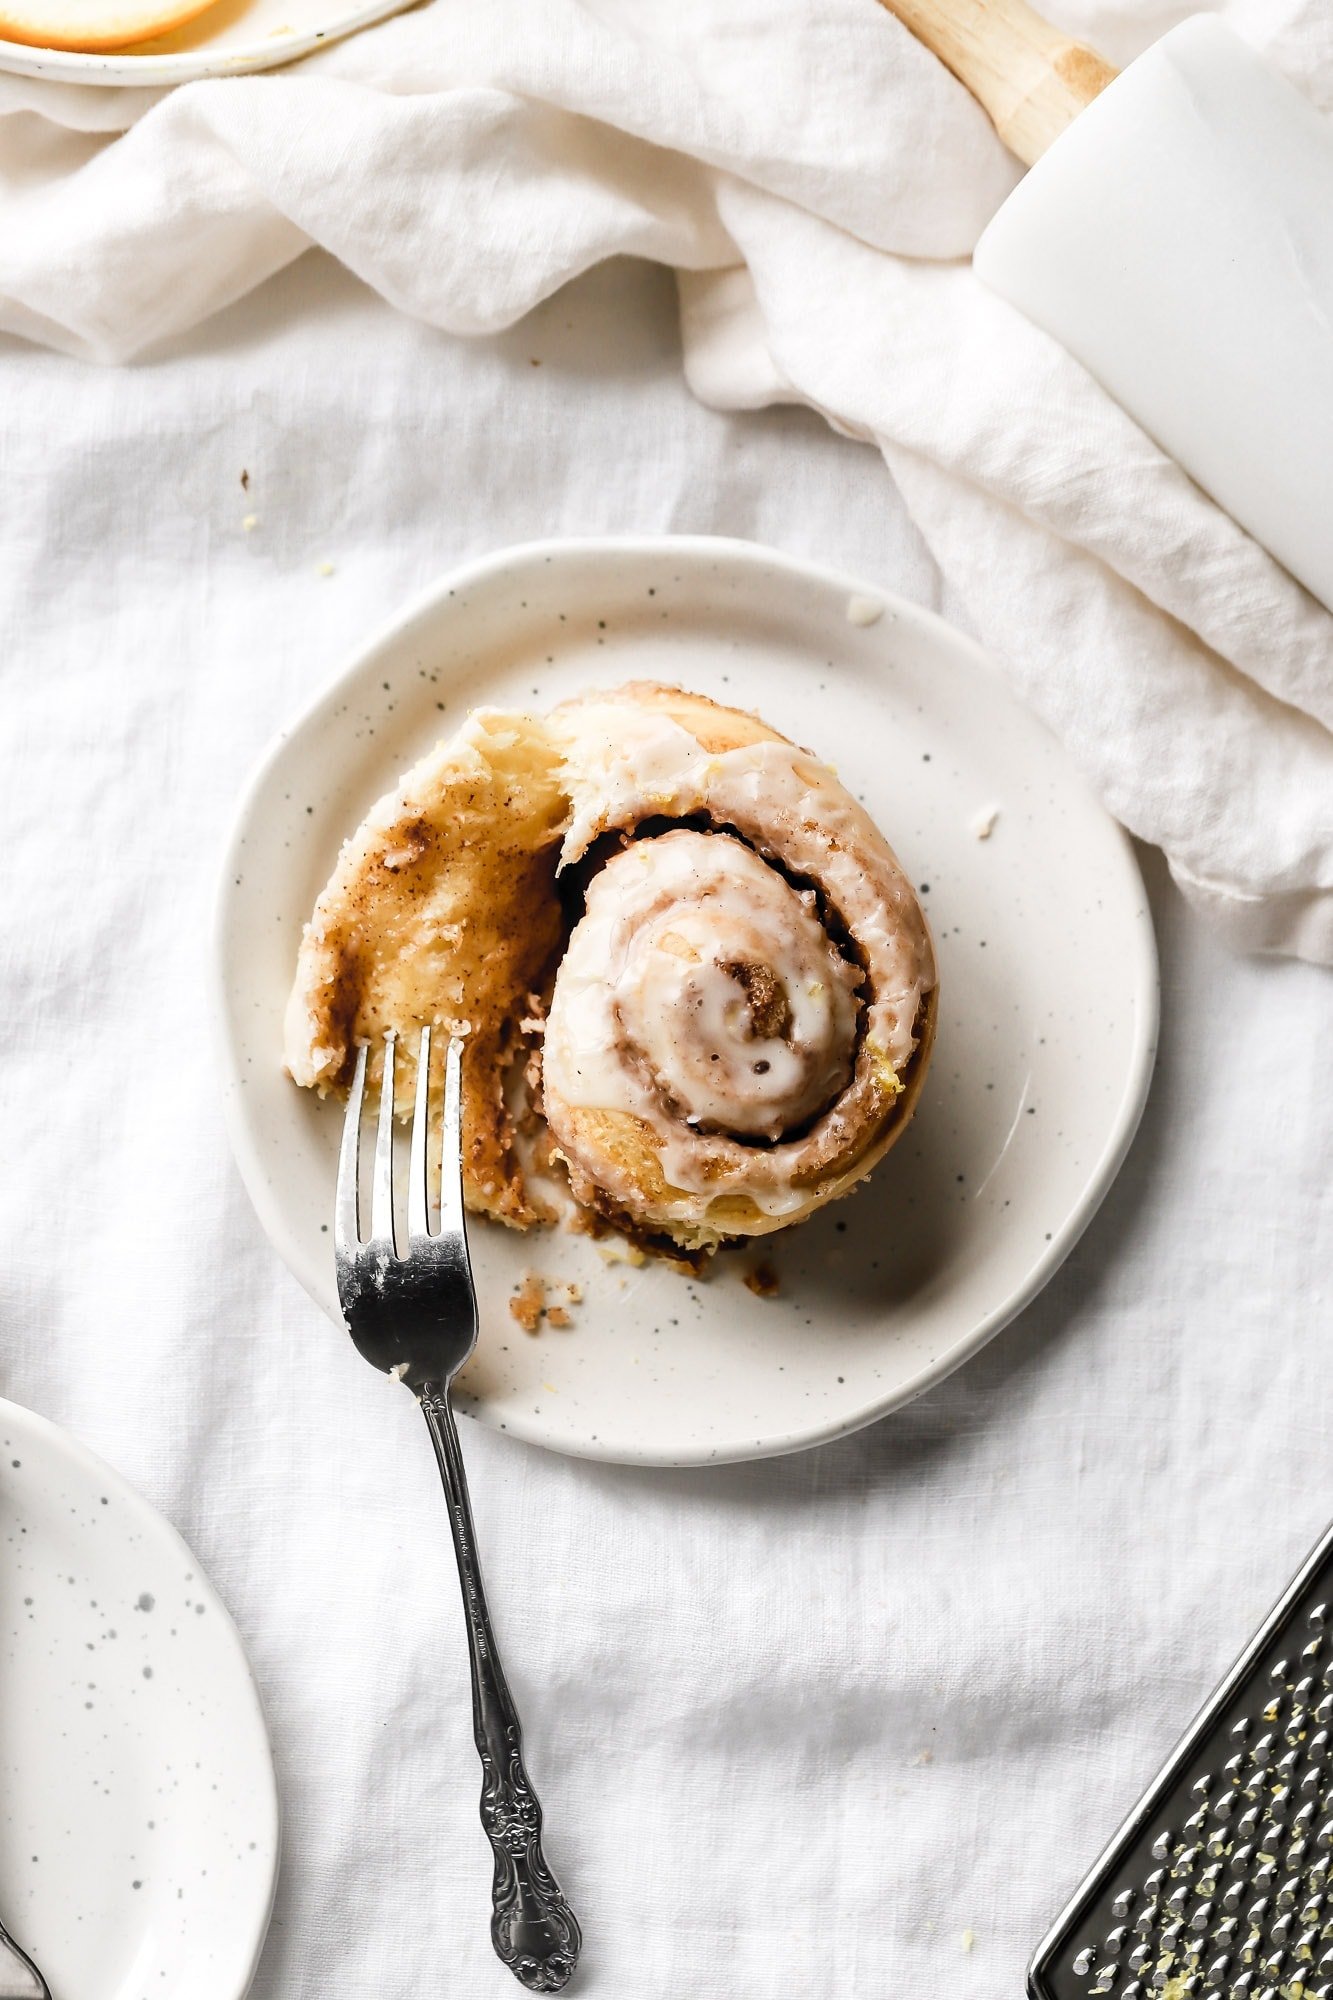
It’s probably my favorite easy way to elevate every type of recipe. From Cookies to Brownies to Cinnamon Rolls, Cake and even Ice Cream.


How to store brown butter
Brown butter can be stored just like regular butter. I keep mine at room temperature for a couple of days but then I refrigerate it if I don’t use it up. It’ll stay refrigerated for at least a month, possibly even longer.
If you strained out the milk solids from the brown butter and you just have butterfat or clarified butter, it will last even longer. It should be ok for up to a few weeks even at room temperature.
Thanks so much for reading today’s post , if you have any questions just comment down below, i’m happy to answer!
If you found this post helpful, I would really appreciate a 5 star rating or a review, if not, let me know in the comments.
As always, have a blessed day and happy baking!
Love, B


I forget to rate your page
I like your recipes and I’m going to try them all or however many I can do.
Hi Phyllis, thank you so much, you are so kind! <3