
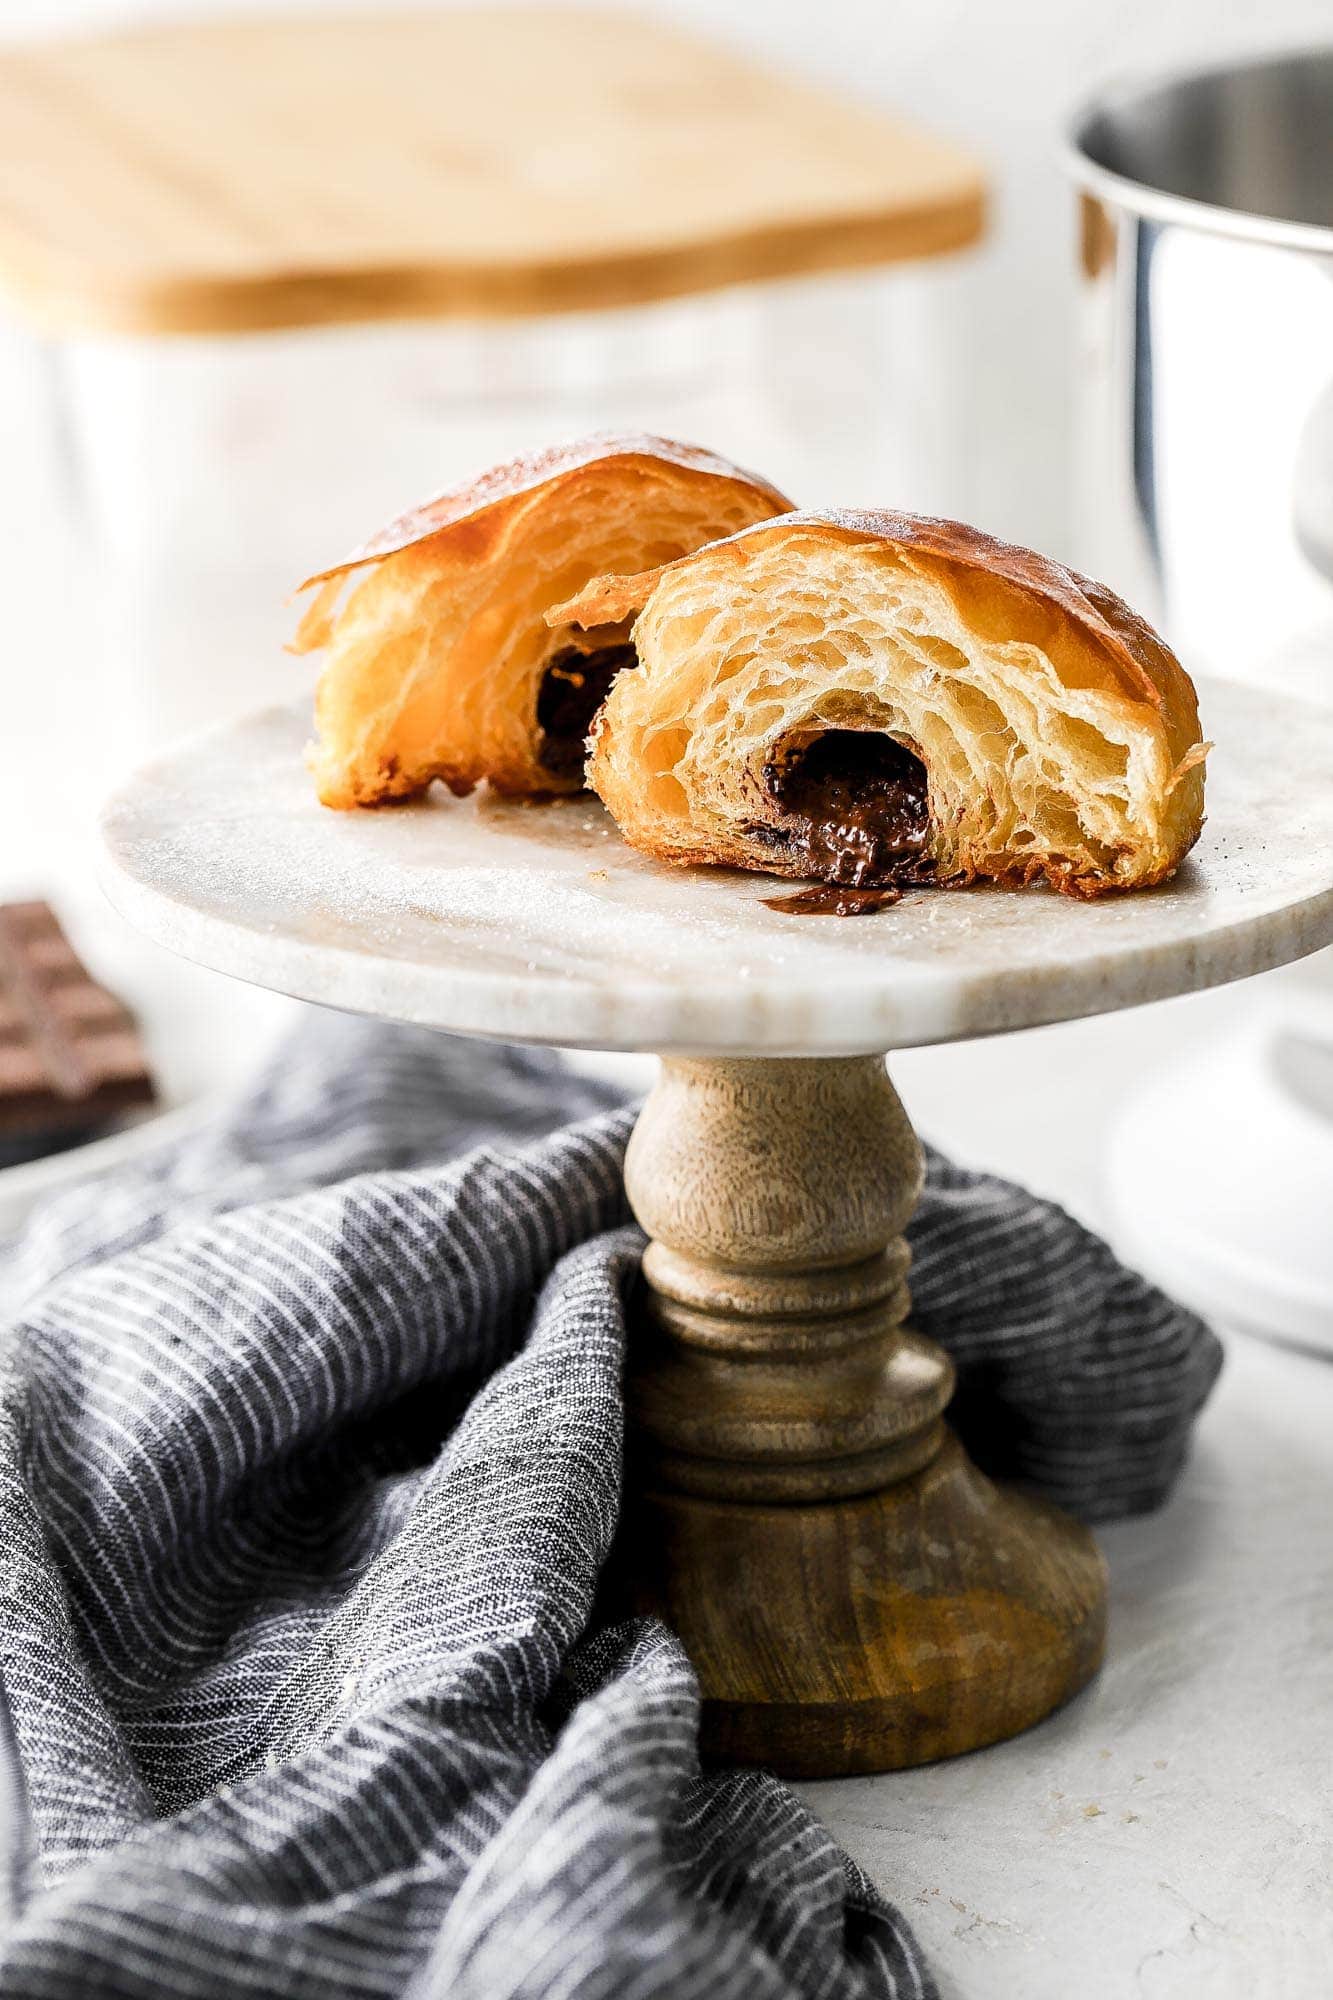
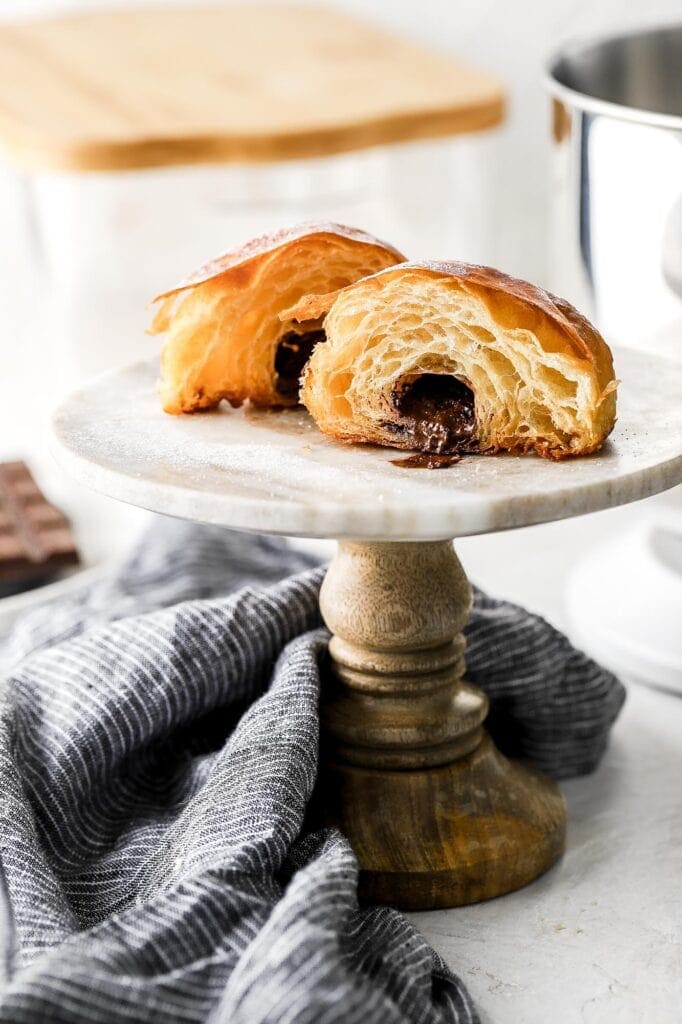
Chocolate Croissants (Pain au Chocolat)
Nothing says Valentine’s Day like croissants, and even more, homemade chocolate croissants (pain au chocolat)!

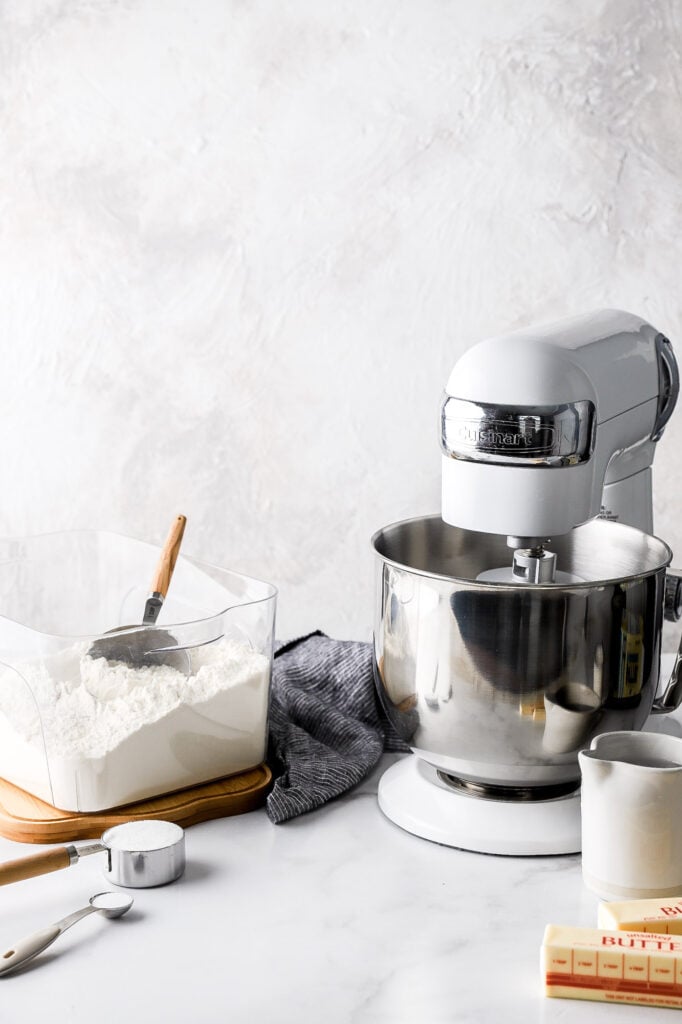
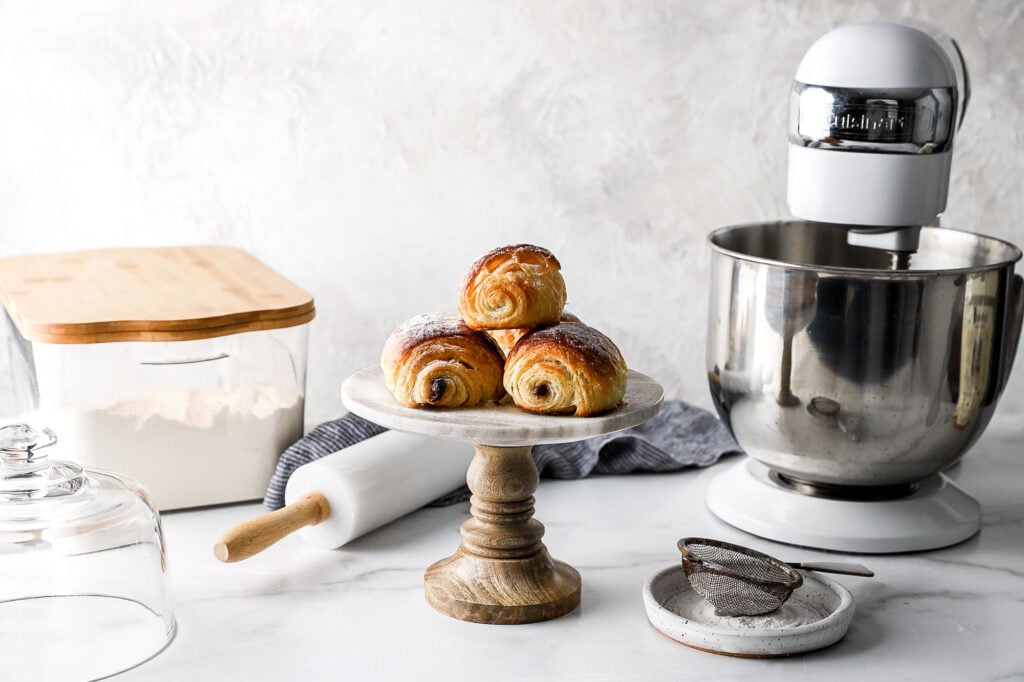
Croissants have been on my baking bucket list for like 2-3 years now and I’ve finally done it. I partnered with my friends over at Cuisinart to use their Precision Master 5.5-Quart Stand Mixer to make these beauties. They’re truly a labor of love but well worth it!
The best part is that the stand mixer does all the work in making the dough and kneading it so all we have left is laminating and shaping. If I’m being totally honest, it sounds much more intimidating than it actually is but I’ll take you step by step.
How to make croissant dough
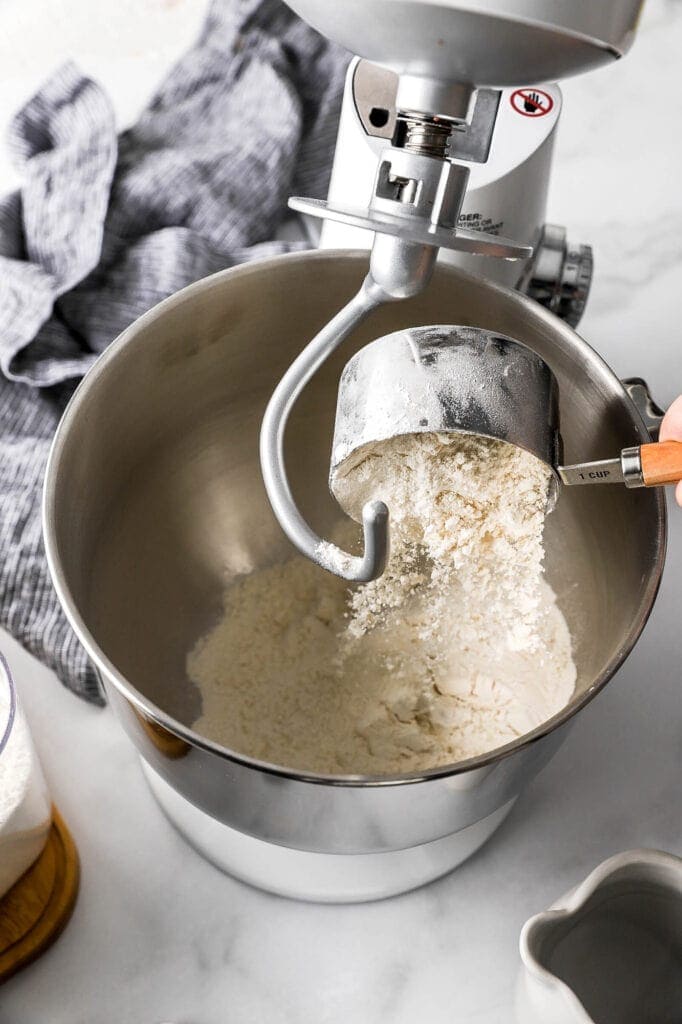
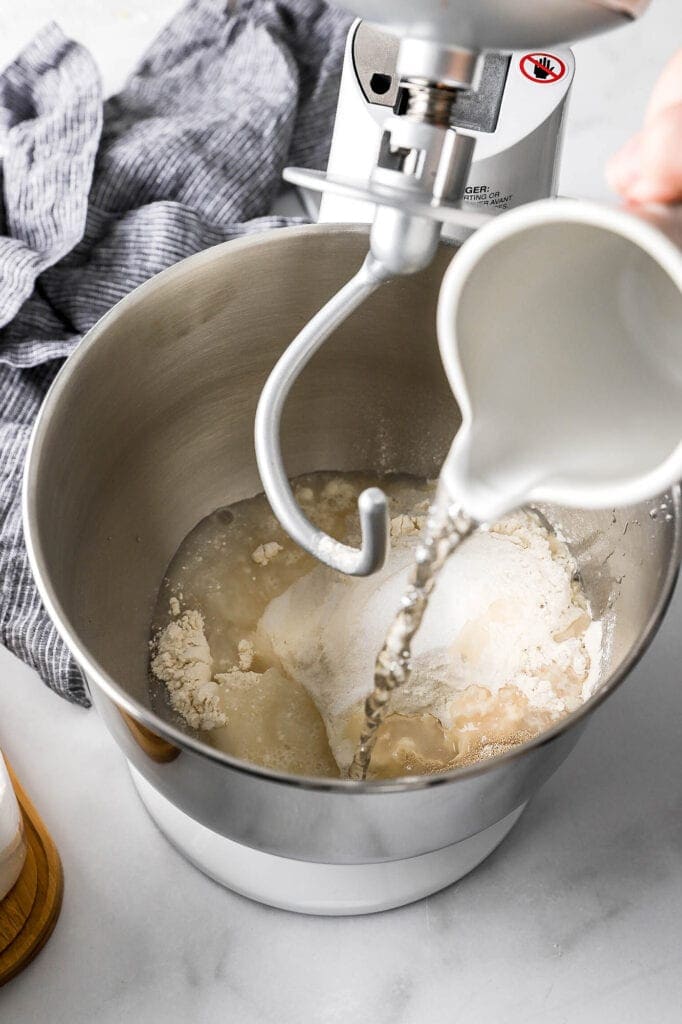
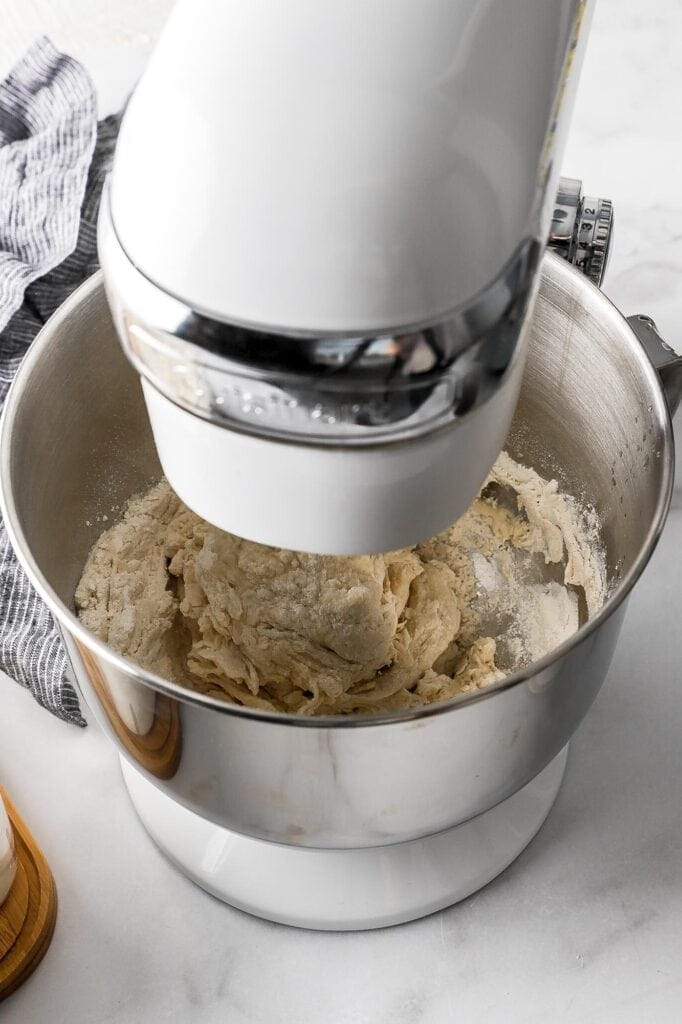
This is literally the easiest dough to make. The dry ingredients get combined in the bowl of the Cuisinart Precision Master 5.5-Quart Stand Mixer and then with the hook attachment, on low speed, the water gets added in.
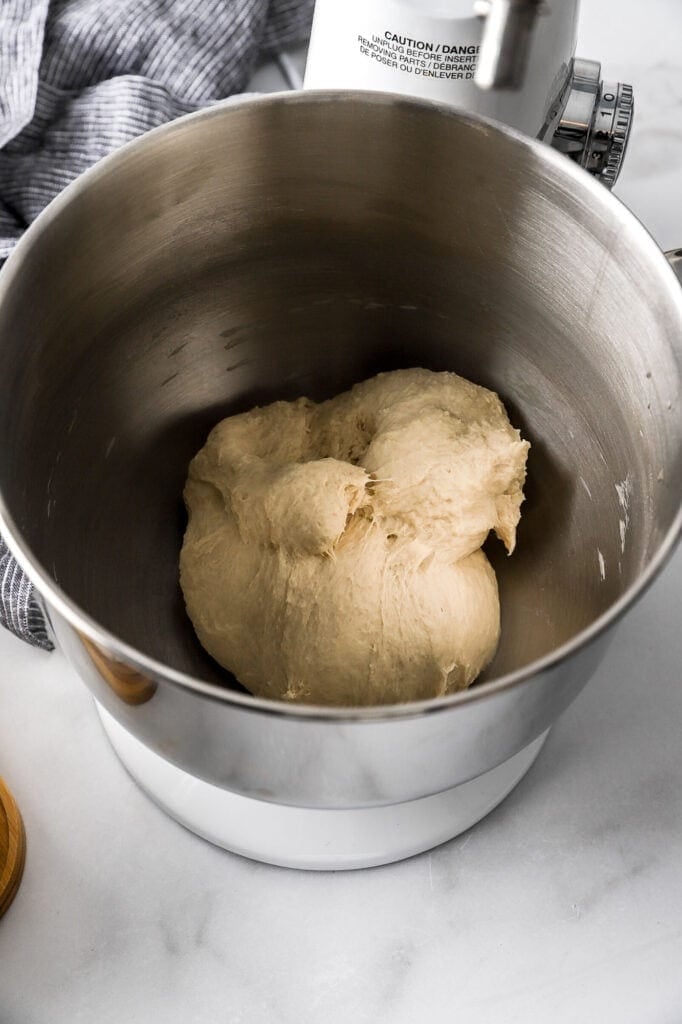
Allow the mixer to knead the dough until the gluten develops enough to peel itself away from the edge of the bowl. At this point, the dough will feel a little tacky but should not be too sticky to work with.
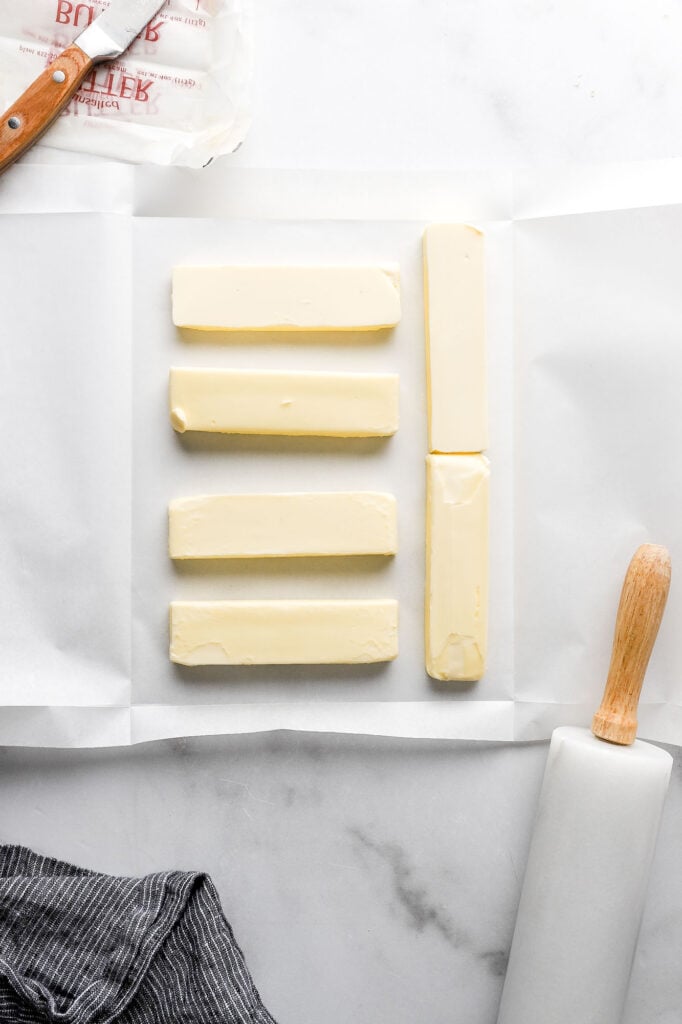
How to shape the butter for laminating
There are so many ways to shape butter for laminating and this was just my preferred method. It really doesn’t matter how you choose to do it as long as the butter is the right shape and temperature when you begin laminating.
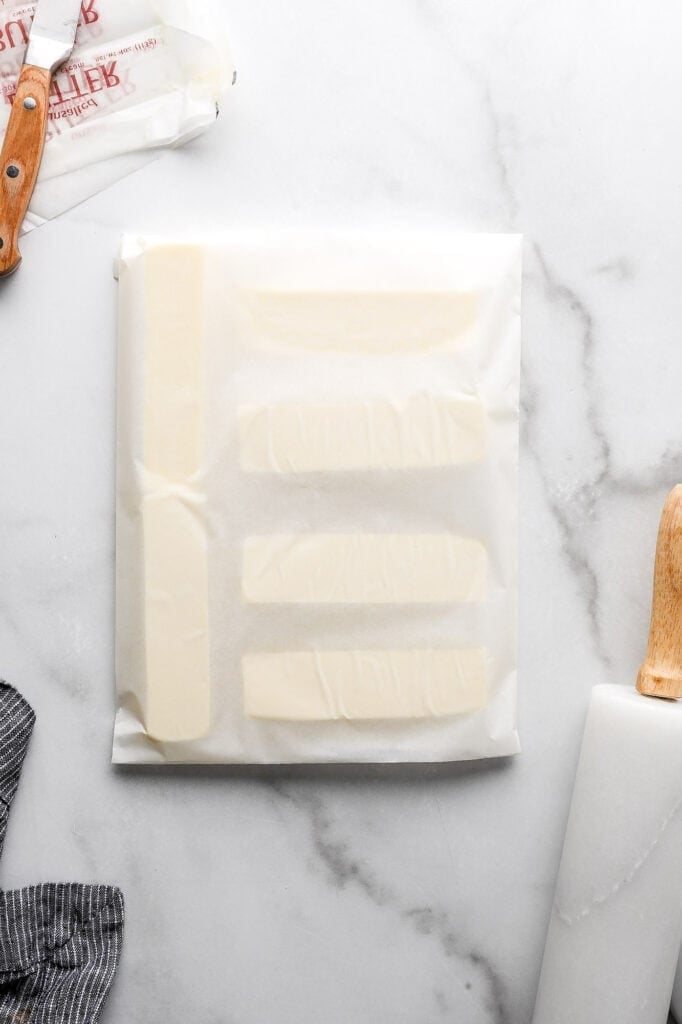
To shape the butter, I folded a large piece of parchment paper into an 8×10” rectangle. Then I placed the slightly chilled butter (not fresh out of the fridge but not quite room temperature soft either) in the parchment paper and used a rolling pin to smush it into the size of the rectangle.


Why do I have to refrigerate and rest the dough
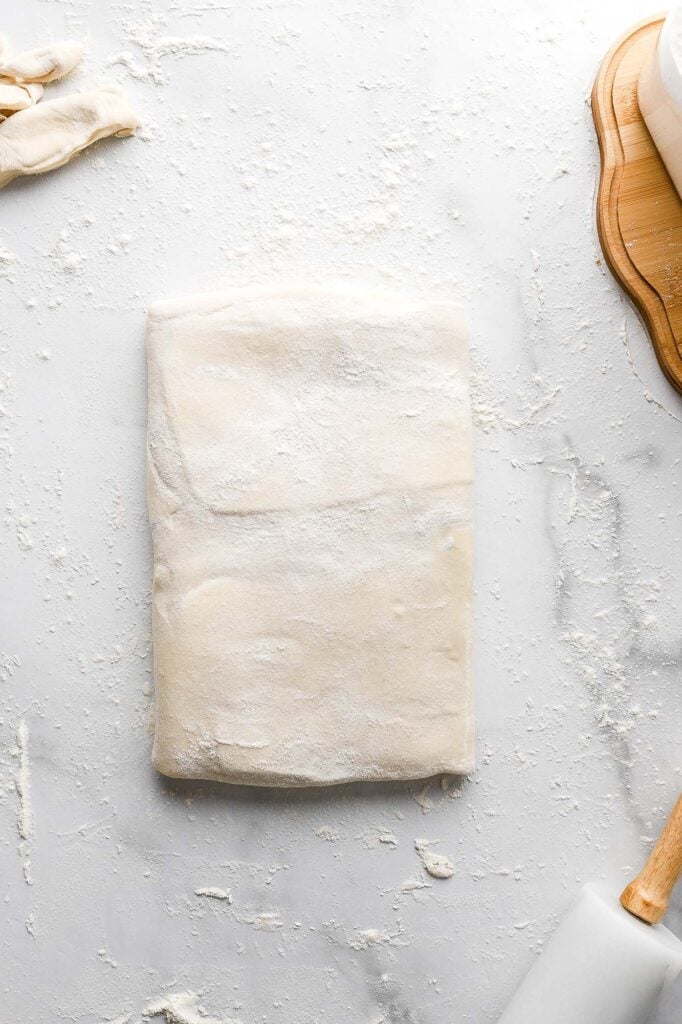
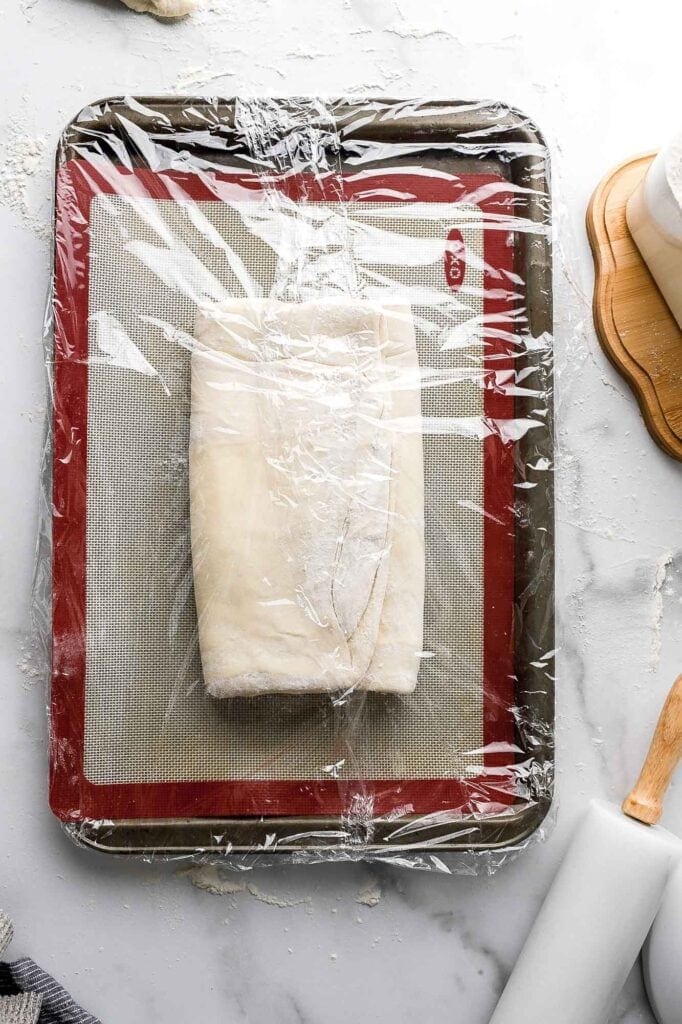
Before laminating, the dough needs to rest in the fridge for at least 4 hours or up to overnight. Refrigerating because we want the dough cold so that the butter laminates in layers and doesn’t melt into the dough.
Resting happens twice, the first 4+ hours after the dough is made and then again before shaping. This is because after developing the gluten, it becomes too tough to roll out to the desired shape and letting it rest for a while will allow the gluten to relax.
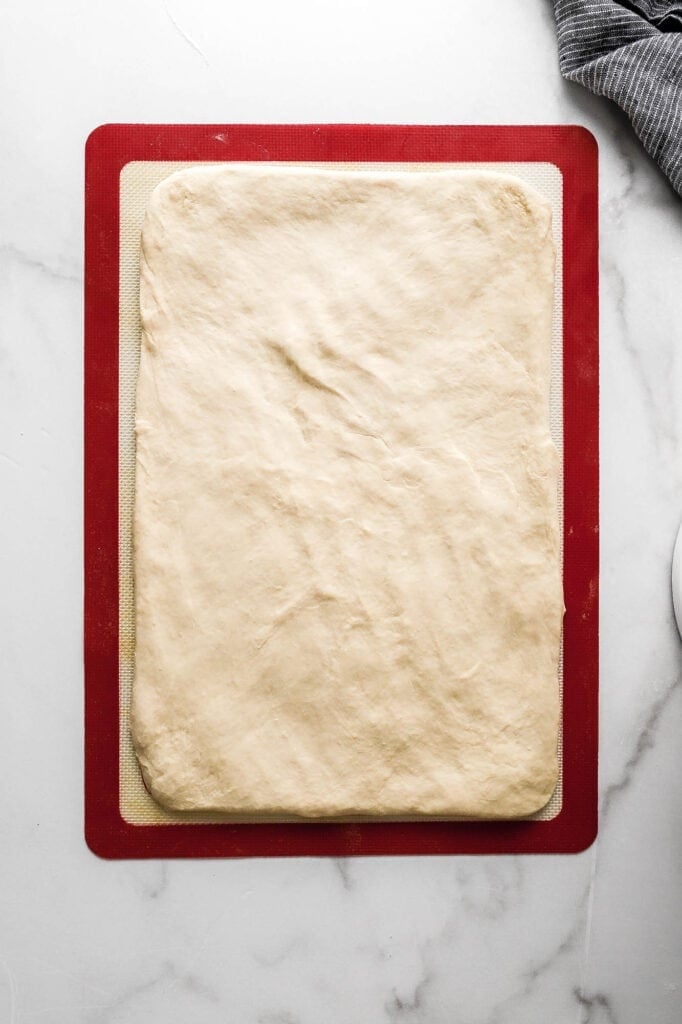
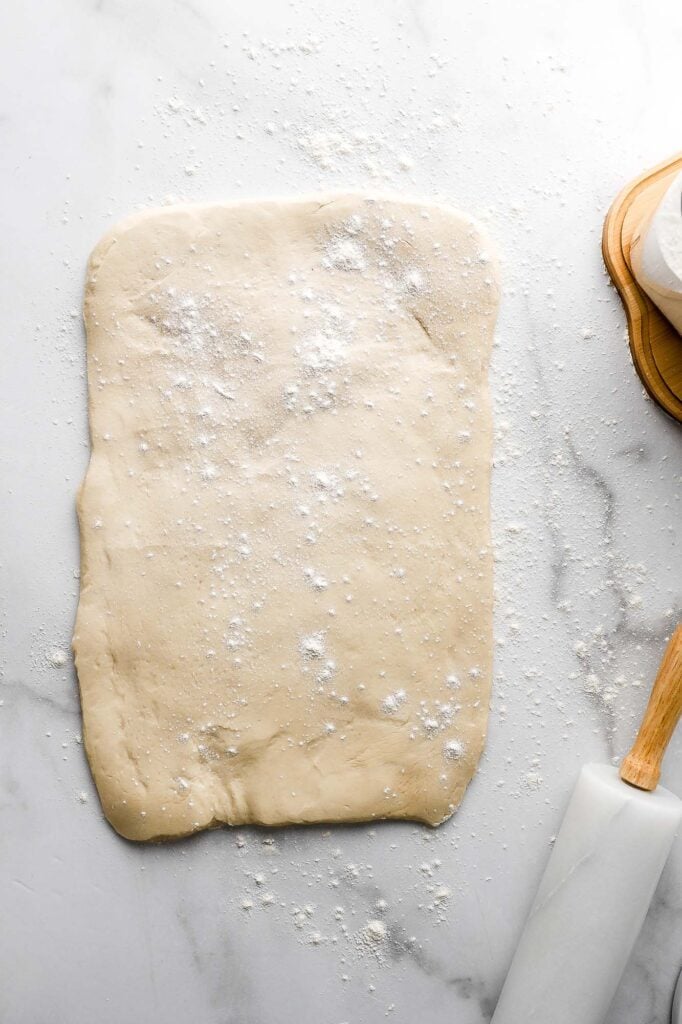
You’ll really notice this when you’re shaping the croissant dough. If you try to roll the dough out to 12×24” without resting it, the dough will just spring back to the shape/size it wants to stay at.
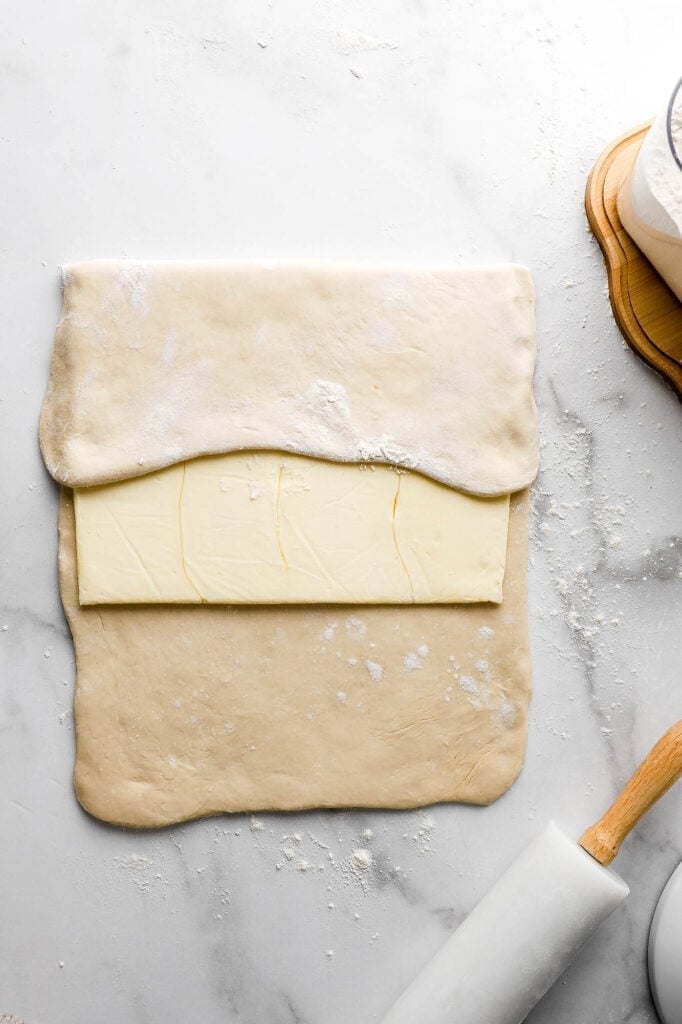
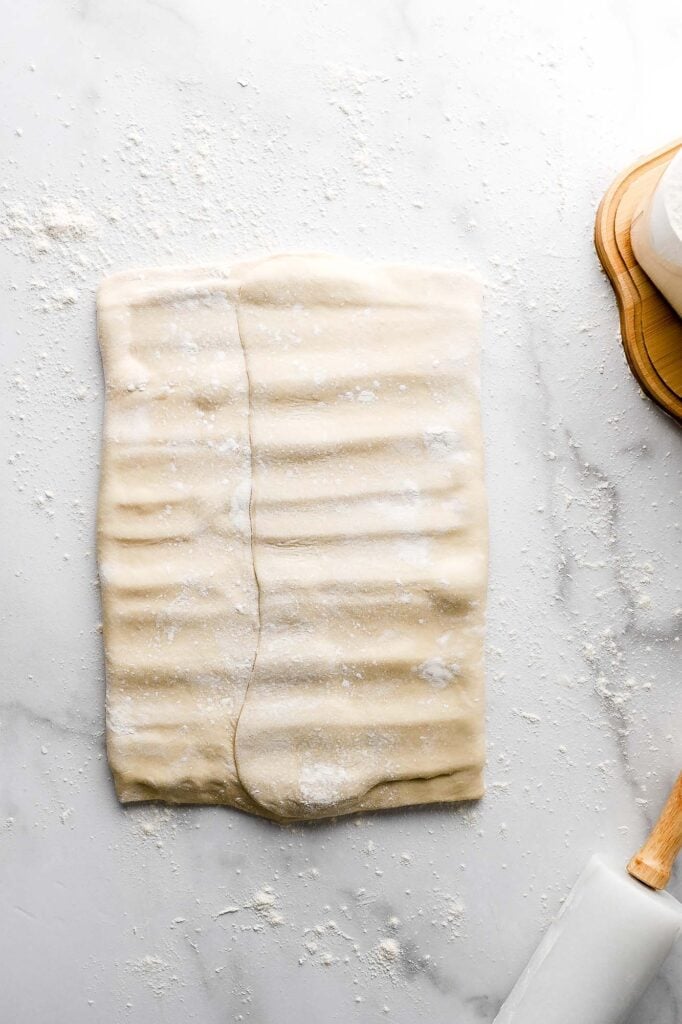
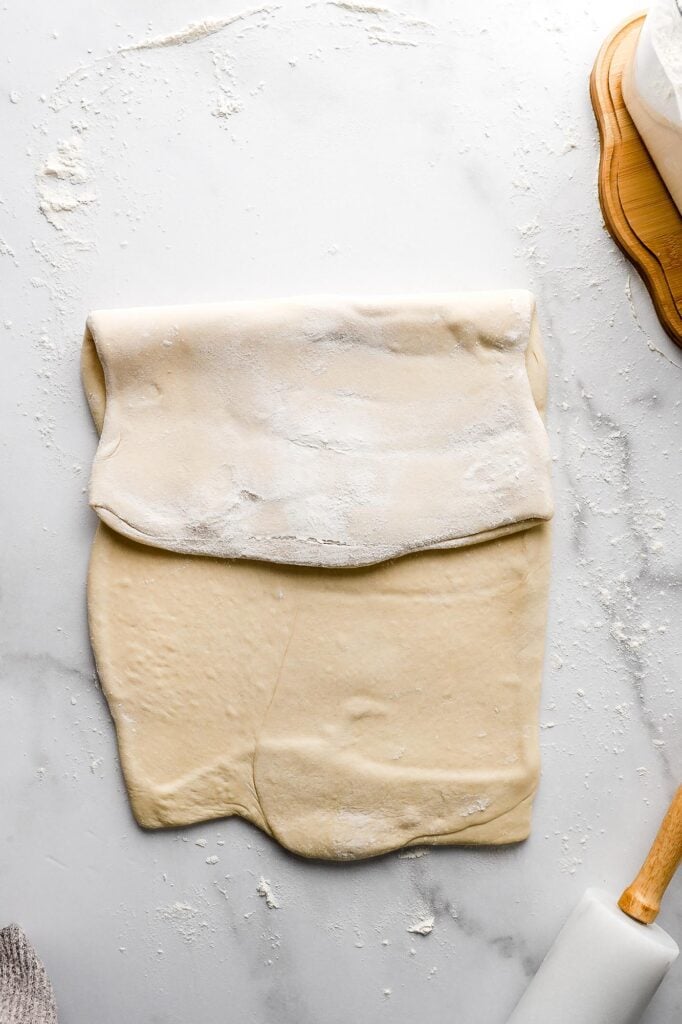
How to laminate dough
The most important thing in laminating dough is the temperature of both the dough and the butter. You want the dough to be cold and you want the butter to be malleable but not greasy. In order for the butter to create the layers in the dough, it has to be soft enough to bend without breaking but cold enough to not melt into the dough while rolling. Make sure the butter is flexible but not greasy.
How to shape chocolate croissants
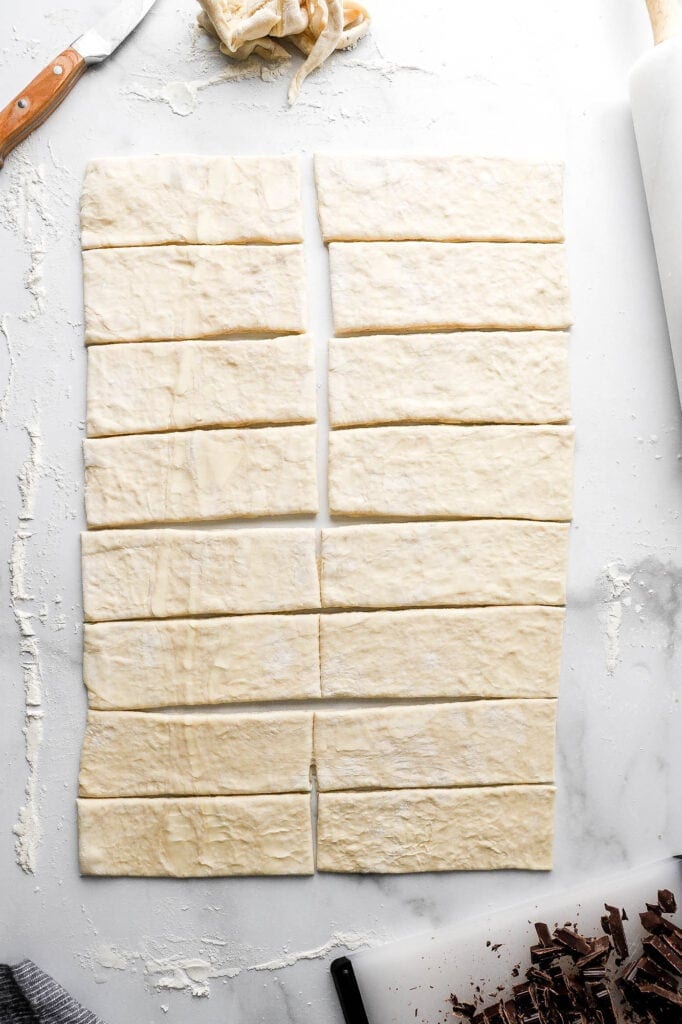
Chocolate croissants don’t have that classic crescent shape. They’re usually a rectangle rolled around a bar of chocolate. Once you roll the dough out nice and thin, I like to trim the edges and then you’ll have perfect rectangles.
Keep in mind the croissants grow A LOT in the oven so don’t make them too big. I usually get 16 fairly large croissants out of this amount of dough but you can certainly make them smaller to get more.
If you do make them smaller, try to roll the dough out a little larger as they’ll be easier to shape if the dough is thinner. Make sure to flour the surface as needed so the dough doesn’t stick.

What kind of chocolate to use
I like to use a semi-sweet or bittersweet baking chocolate bar that I chop but you can certainly use chocolate chips as well. If it’s difficult to roll with chocolate chips, you can try melting the chocolate chips and then letting it solidify again and cut it into bars.
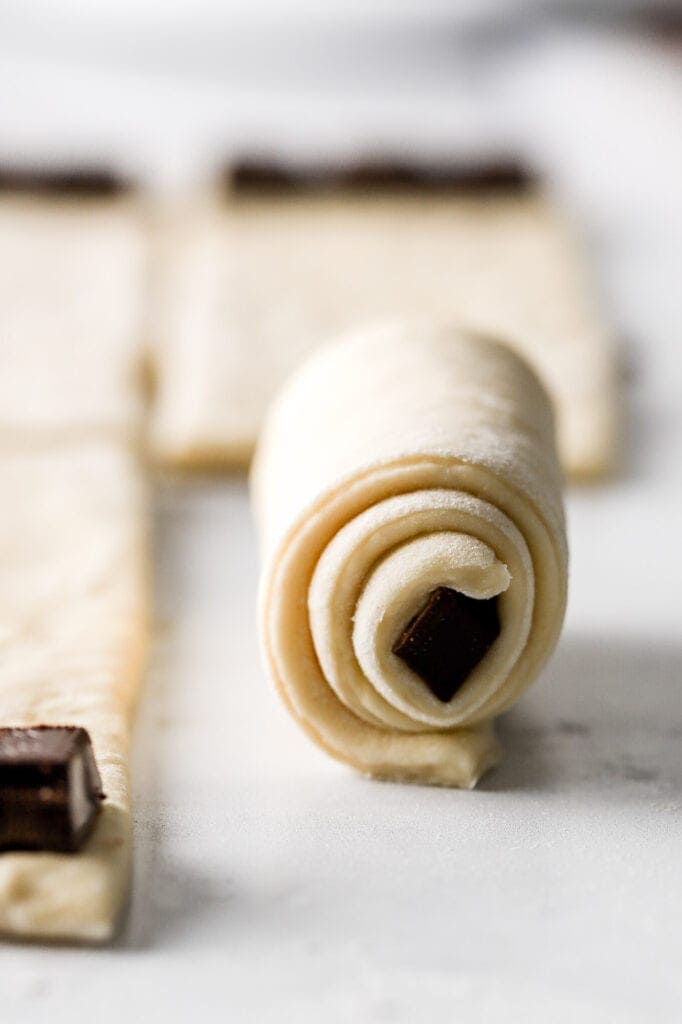
Can I use more chocolate?
Yes! You can actually use up to twice as much chocolate for each slice for a richer croissant. Place the chocolate on the end like I did, then fold the dough over the piece of chocolate and place another piece of chocolate and continue rolling.
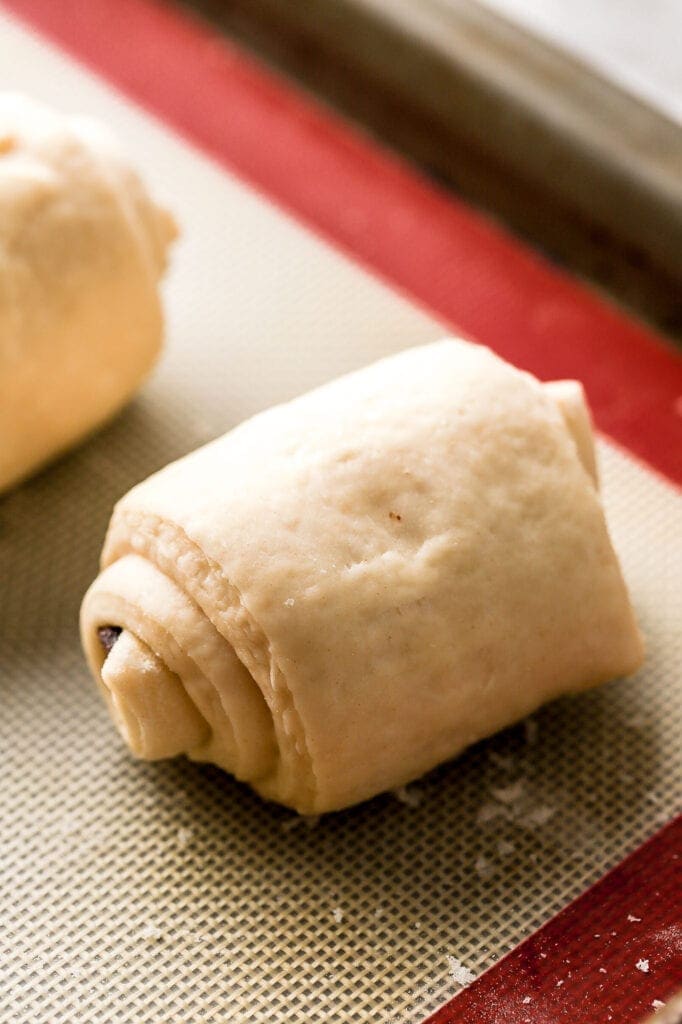
Proofing chocolate croissants
Proofing the croissants is important because if they’re not proofed enough, the butter can leak out. This hasn’t been a huge deal for me, they still taste great even if the butter leaks a little but if they’re severely underproofed and all the butter leaks out then they risk not rising and creating layers.
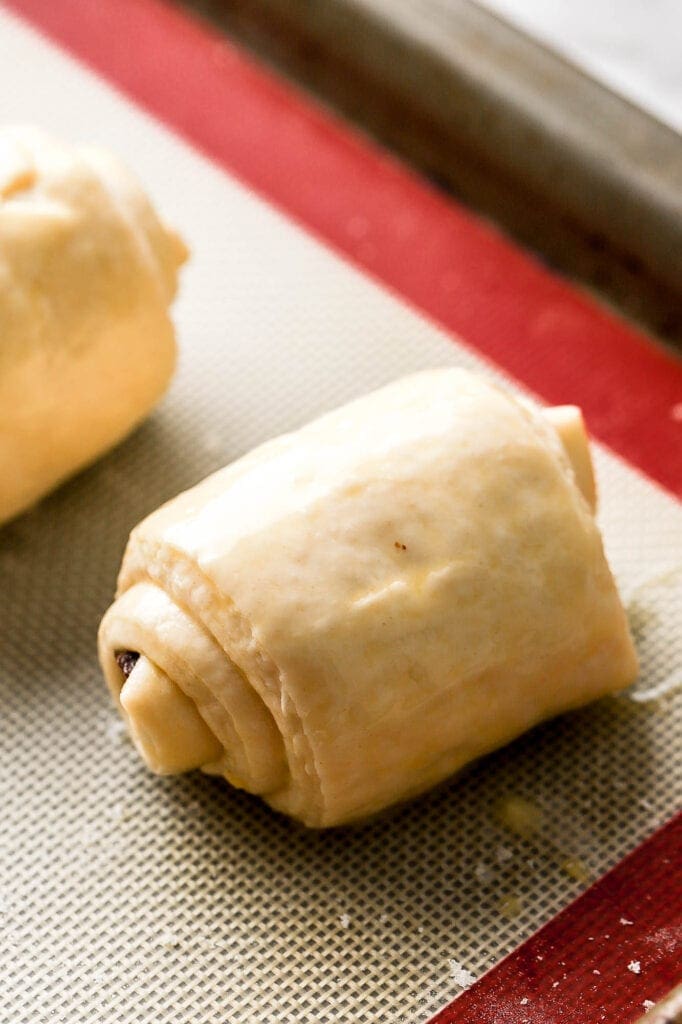
To know when they’re done proofing, gently press your finger into the dough and if it leaves an indent, it should be done. Fully proofed croissants will also wobble if you gently shake the pan.
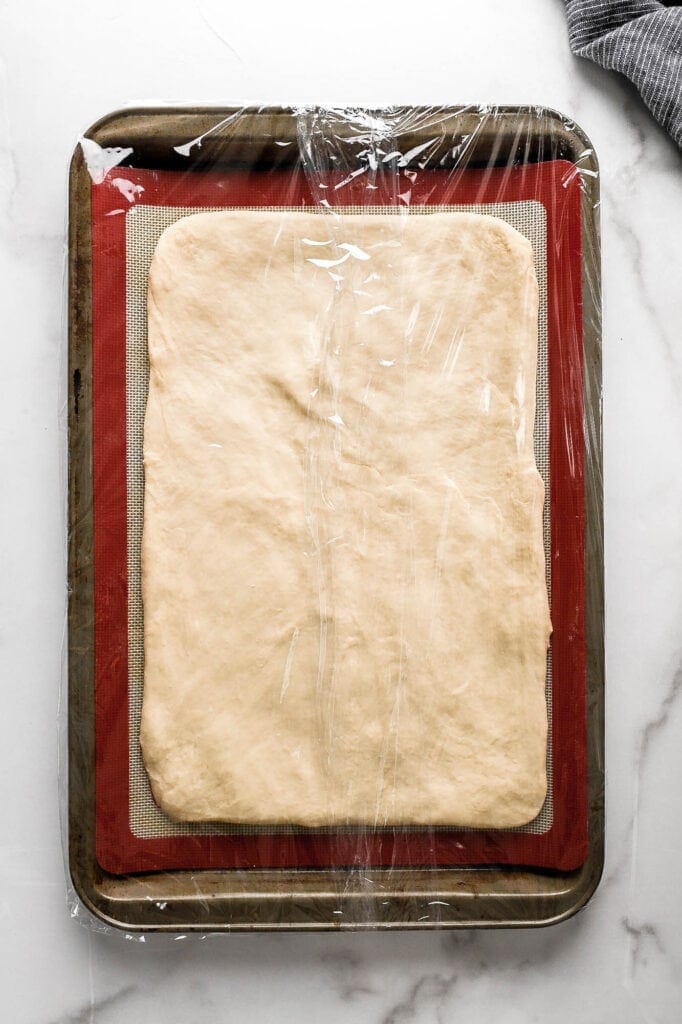
I like to proof my croissants at room temperature (NOT in a warm environment) so that the laminated butter doesn’t melt. My room temperature is usually about 70F. Make sure to fully cover the dough with plastic wrap so that the dough doesn’t dry out.
Egg wash the croissants when they’re done proofing, while the oven is preheating.
How to store chocolate croissants
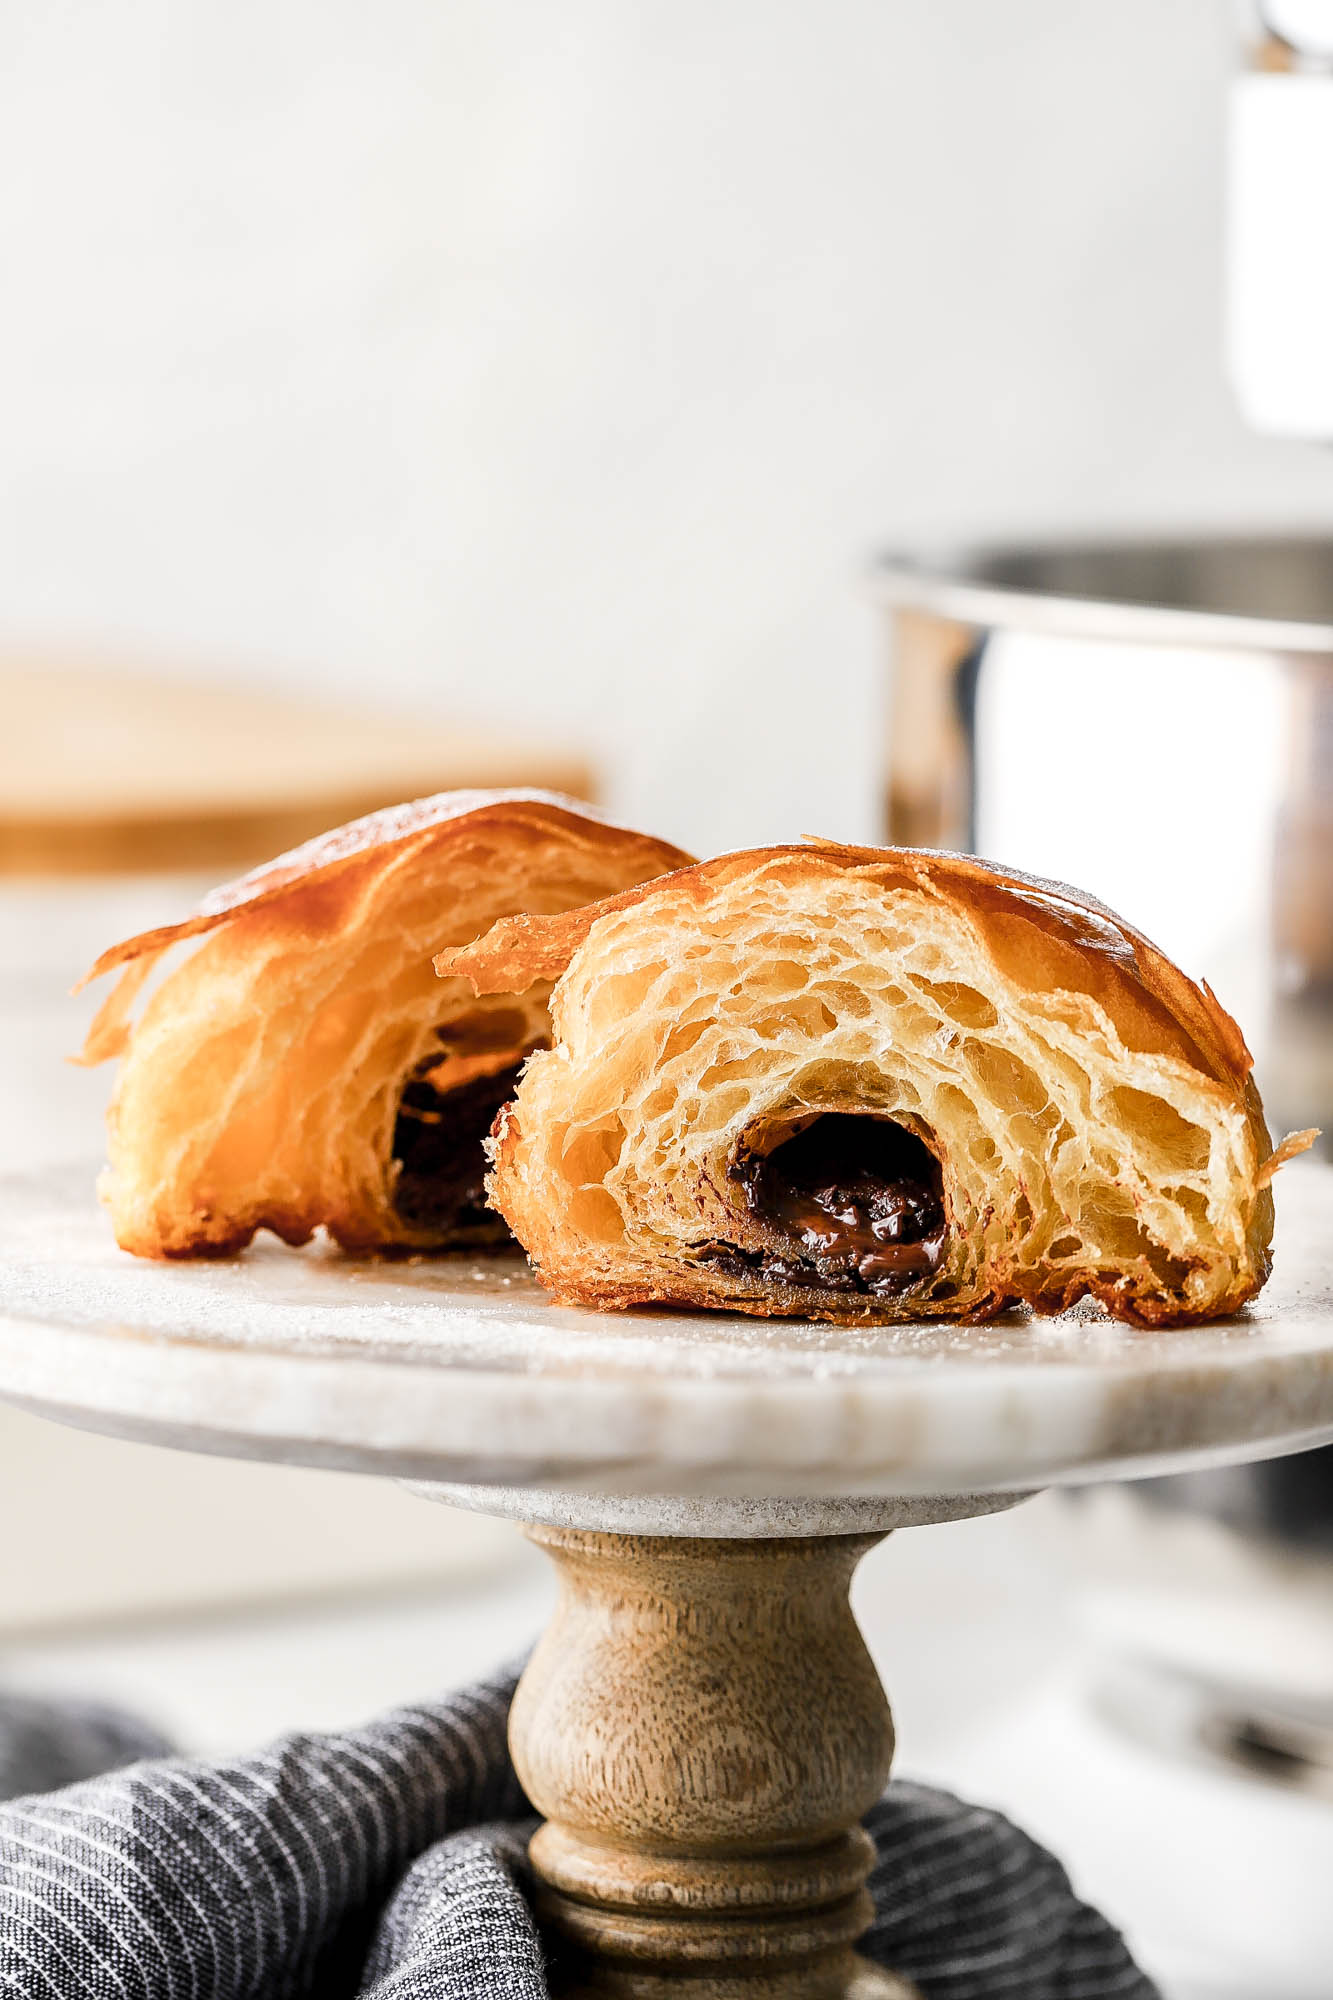
Croissants are best served after they’ve cooled, the same day they were baked. The outside is crispy and they’re soft and airy inside.
Store them at room temperature in an airtight container or bag for 2-3 days or refrigerate for up to a week.
To freeze them, place them in an airtight freezer bag and defrost them on the counter overnight.

Classic croissants usually take at least two days to make but I made this croissant recipe in less than 12 hours so you’re welcome!! I hope you guys have success with these and enjoy these lovely chocolate croissants.
If you have any questions, leave a comment down below and make sure to tag me @baranbakery on instagram if you make them. As always have a blessed day and happy baking!
Love, B
“This corresponding Instagram post was sponsored by Cuisinart, all thoughts and opinions are my own. Thank you for supporting the brands that support Baran Bakery!”


I made these yesterday, and they are truly superb. However, they are definitely labor intensive. A few comments:
– I used an electric mixer as the recipe suggested (Kitchen Aid, sorry), but I was disappointed with the feel of the result. I could have done a better job by hand. That said, the final product was still quite good.
– The recipe and the initial photo-supported step-by-step guide are quite helpful, but need a bit of an editorial review. They’re not entirely aligned with each other, and leave out some timely key information (e.g., rolled out dough size, anticipated rest times, etc.).
– I would love to see a few possible shortcuts to reduce the overall time to presentation. I know a few, but a reference in the article would be useful.
That aside, the croissants were (and are) great. Thank you for the opportunity.