
Cheese Bread Rolls
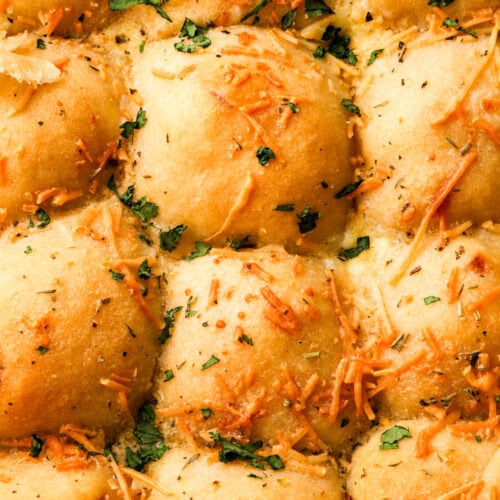
These cheese bread rolls are made with fluffy brioche dough, stuffed with your favorite cheese and baked in a pool of cream and topped with herby garlic butter. The perfect accompaniment to any cozy fall and winter dinner.

If you know me, you know bread is my weakness…add cheese to it and I don’t need anything else lol.
These cheese bread rolls are basically a savory version of my Stuffed Monkey Bread with the same base recipe, but obviously not sweet. If you love bread like me check out my homemade Italian Bread, Sandwich Bread, or Croissants.

Ingredients:
- Flour: I’ve made this dough with both bread flour and all purpose flour with no noticeable difference in the dough.
- I HIGHLY recommend using a digital scale, as flour is so often over measured.
- Yeast: I used 1 package (7g or 2 1/4 tsp) of active dry yeast. That can also be subbed with instant yeast, just skip the activation step and mix it in with the rest of the ingredients. I still do both proofs with instant yeast, it may just rise quicker.
- If you store your yeast in a jar instead of individual packages you can use a scant tablespoon of yeast. Also make sure to store the yeast in the fridge if it’s an open jar.
- Sugar: I use a tiny bit of granulated sugar for the dough…you can also just use a tablespoon of honey instead.
- Water: this may seem weird since most people make brioche with milk. I have tested this SO MANY times both with milk and water and I found that water makes a much softer dough for me.
- Butter: I like to use salted butter but you can also use unsalted butter as well, just add an extra pinch of salt. Dairy free butter also works well.
- I’ve also used oil but maybe just a smidge less than what the recipe calls for butter.
- Salt: I like fine sea salt for the dough and salt flakes for the garlic herb butter.
- Eggs: I use a large egg, room temperature or cold is fine.
- Cheese: You can use any type of string cheese stick. Shredded cheese also works but just make sure there is a really good seal on each dough ball so it doesn’t leak out.
- I also added some shredded parmesan cheese on top, but it’s optional.
- Heavy Cream: I use this on top before baking, it makes the bread fluffier.
Step-By-Step Instructions
Dough
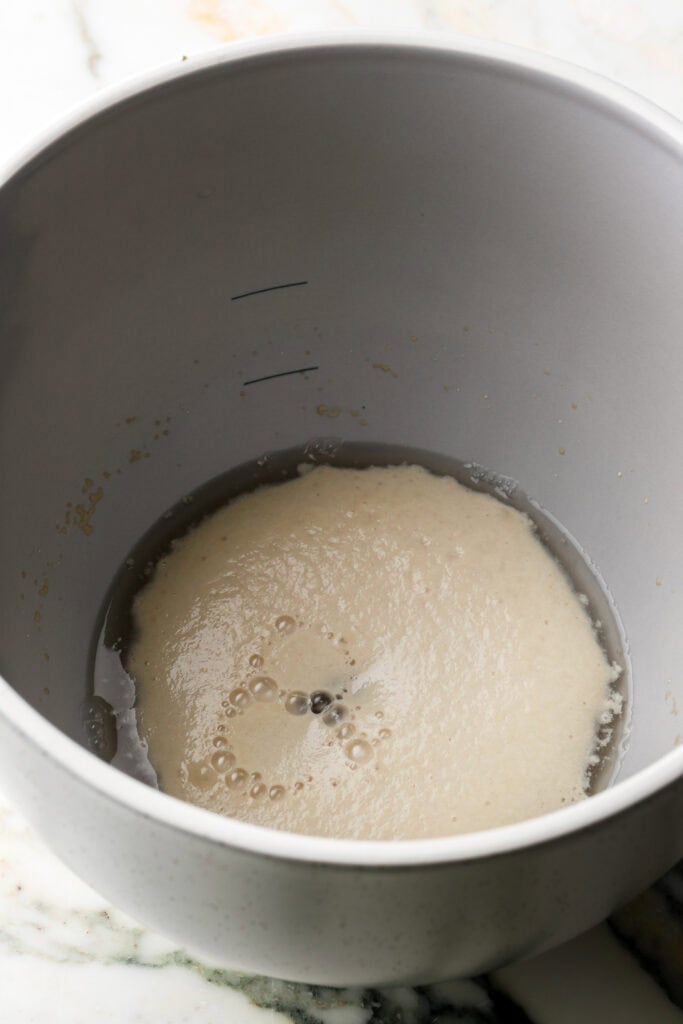
Step 1: Place the yeast with the sugar and the warm water in the bowl of a stand mixer. Mix and allow it to rest for 5-10 minutes, until the yeast starts to foam (SKIP IF USING INSTANT YEAST).
Step 2: Add the melted butter, and egg, mixing until combined.
Step 3: Add the flour and salt and mix until it comes together.
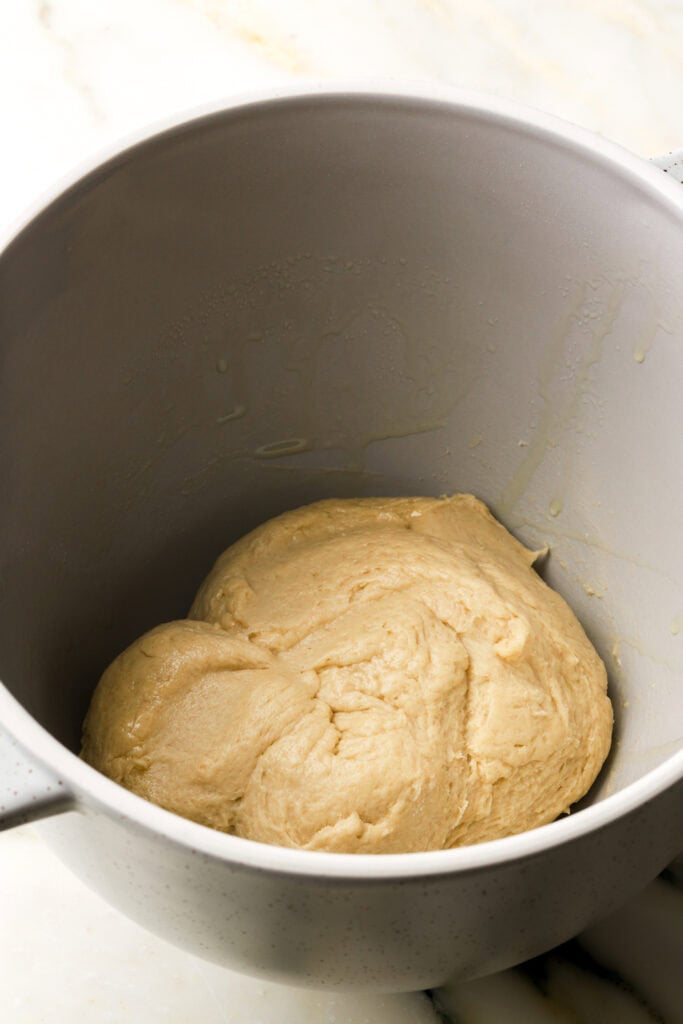
Step 4: Use the hook attachment to knead the dough for about 10 minutes, the dough should be soft but strong enough to stick to itself, not the bowl or your hand.
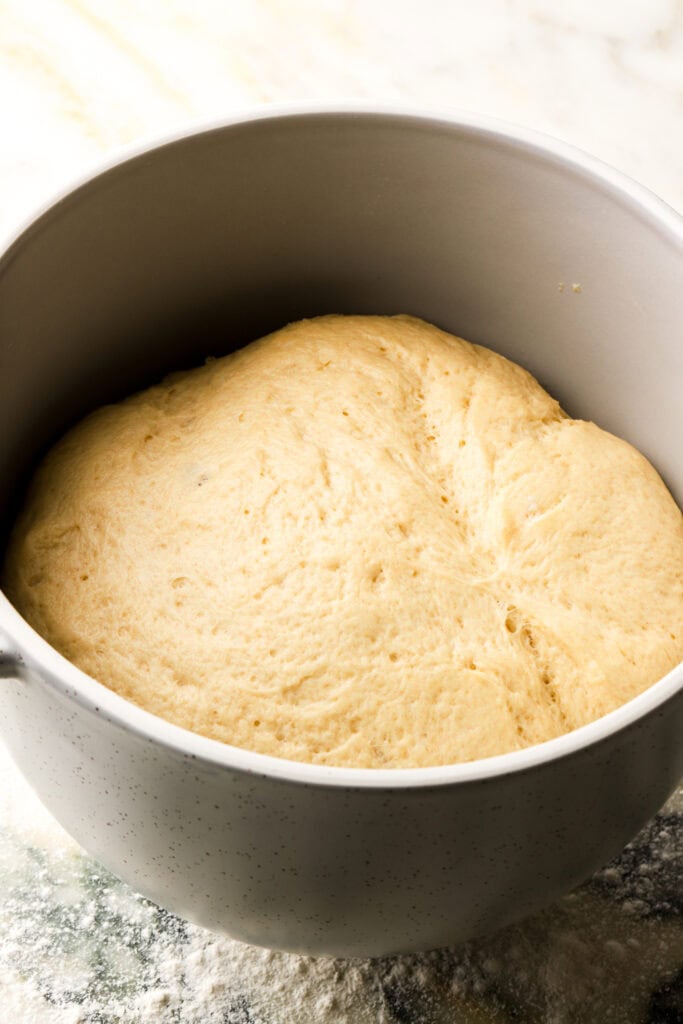
Step 5: Cover and let it proof for about 60 minutes in a warm environment (could be less time, especially if using instant yeast).
Cheese Filling and Assemble
Step 1: Slice the cheese sticks into thirds so you have 24 pieces, set aside.
Step 2: When the dough has doubled in size, grease your pan or skillet.
Step 3: Punch down the air of the dough and place the dough onto a floured surface. Gently stretch it out into a rectangle with your hands then use a rolling pin to make it into a 8 12 inch rectangle (doesn’t have to be perfect or exact).
Step 4: Slice the rectangle with a knife or pizza cutter into 6 strips one way and 4 strips the opposite way, so you have 24 squares.
- You can also make 12 or 16 larger dinner rolls but I like the size of the smaller ones better
Step 5: Place a third of a cheese stick on top of each square and then pinch all the edges of the dough together, enclosing the filling. Place it on the counter and hover your hand over it while moving in a circular motion to smooth out the seams (see video below).
Step 6: Place the rolls in the prepared baking pan with a little space between them. Cover and allow them to proof for another 45-60 minutes, until they’ve doubled in size.
Step 7: Once the rolls are ready to go in the oven, pour the heavy cream on top of the rolls, top with the parmesan and bake for 25ish minutes until they’re golden brown.


Garlic Herb Butter
Step 1: Microwave the butter just until it’s soft or melted.
Step 2: Add the salt, garlic and the herbs and mix until it’s well combined.
- You can use other flavors here such as cajun, hot honey, sesame seeds etc.
Step 3: Brush the dinner rolls with the garlic herb butter after they’re done baking and serve warm.


What Kind Of Yeast To Use For Brioche Dough
I wanted to do a whole separate section on this to explain how to use both active dry yeast and instant yeast in this recipe. I’ve made this recipe many many times with both types and both of them turn out amazing.
The recipe is written using active dry yeast because that’s what most people use. But if you want to substitute it for instant/rapid rise yeast, just skip the activation.
Active Dry Yeast
Active dry yeast needs to be activated. To do this, combine the warm water with the yeast and a little sugar in a large cup. Mix it and let it rest for 10 minutes. The water should develop a thick layer of foam on top (see photo above).
If the yeast mixture doesn’t foam after at least 10-15 minutes, then the water was either too hot and killed the yeast or the yeast has expired. To be safe, make sure the water is lower than 120 °F (50 °C).
After the mixture has foamed, combine it with the rest of the ingredients and proceed to kneading.
Instant Yeast
If using instant yeast, skip activation.
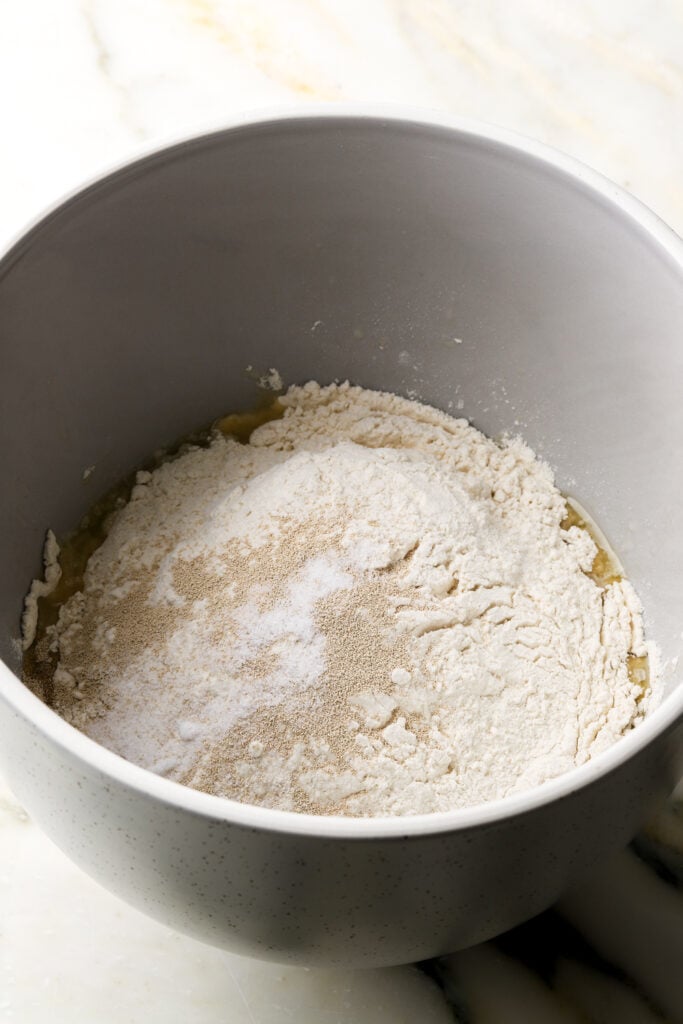
Combine all the wet ingredients with the sugar in the bowl of the stand mixer, then add the flour, yeast and salt on top and mix until it comes together. Proceed the same way with the kneading.
How Long To Knead Brioche Dough
Kneading brioche can take anywhere from 5-15 minutes with a stand mixer or double/triple that by hand.
I like to use my Kitchen aid 5qt stand mixer with a hook attachment on speed 2. You can see in the images below how the dough looks when it first comes together vs. when I’m done kneading. It generally takes me about 10-12 minutes.
There’s a few markers I use to know when the dough is done kneading.
- The dough should form a ball around the hook attachment on the stand mixer and not stick to the sides of the bowl anymore. It may still stick to the bottom of the bowl a little but not all over the sides.
- The dough should also pass the windowpane test. The windowpane test is when you stretch a piece of the dough between your fingers until it’s thin enough to see light through before the dough tears.
If your dough is not passing any of these but is fairly close, that’s ok, just move on after kneading for 10-15 minutes.
If your dough is still really sticky and you can’t even touch it without it sticking to everything, add 2 more tablespoons of flour at a time, until your dough is able to be handled without sticking to your hand.

What Temperature To Proof Dough At?
You want to make sure your dough is proofing at a comfortable temperature. Generally, room temperature is fine but if it’s slightly warmer, you’ll get a much quicker rise.
Yeast dies at around 120F (50C) so make sure the temperature is lower than that. I recommend anywhere between 75F (24C) to 100F (38C).
The dough can also be proofed in the refrigerator. This is called a retarding proof because it really slows down the process. The Benefit of this is that you can just pop the dough in the fridge overnight and the dough will develop a stronger flavor if it proofs for longer.
You can refrigerate the dough overnight for the first proof or the second proof, just bring it back to room temperature before proceeding with the recipe.
How To Know When Dough Is Done Rising/Proofing
Rising and proofing are typically used interchangeably but the initial ‘resting time’ is actually the rising and the second ‘resting time’ is the proofing. The time needed for rising/proofing is dependent on the recipe and the environment.
Typically with instant yeast, you’re “allowed” to skip the first rise and just let the dough relax for just 10 minutes instead before shaping the dough. I prefer to still let it rise. It works both ways but I get a fluffier dough from letting it proof twice.
A general guideline is that the dough should double in size each time. It should also slowly spring back when you press on it, but also leave a small indent.
If the dough springs back quickly, then it needs more time to rise. If it doesn’t spring back at all, it may be over proofed and result in a flat, deflated bread.
What Pan To Bake The Cheese Bread Rolls In
I prefer a cast iron skillet but a metal pan will do as well. Ceramic and glass pans are ok too but they usually heat more unevenly and brown less.
For the 24 small rolls, I used my 10×12 inch round pan or you can use a 9×13 inch pan or cast iron.
How To Make Cheese Bread Rolls Overnight
The cheese bread rolls can easily be prepped the night before and baked in the morning. After the dough is rolled and sliced and placed in the prepared pan, cover it tightly with plastic wrap and place it in the fridge or freezer. Refrigerate overnight or freeze for a couple of weeks and then bring to room temperature before baking.
From the fridge, it may take 1-2 hours to bring to room temperature (again, don’t want to overproof so don’t leave it out too long).
From the freezer it may take several hours, feel free to thaw it in the fridge overnight so it’s quicker.
Proceed with normal baking instructions (heavy cream goes in right before baking).

How To Store Cheese Bread Rolls
Cheese bread Rolls are best served fresh and warm. The rolls can stay in an airtight container refrigerated for up to a week. When serving, reheat them in the microwave or the oven just until they’re warm and serve.
Thanks so much for reading today’s post, if you have any questions just comment down below.
If you make these cheese bread rolls, I would love it if you left a star rating for it in the recipe card.
As always, have a blessed day and happy baking!
Love, B

Love the look of these! I only try making bread using a Thermomix, would you have the method to make it in there perhaps?
Hi, unfortunately I have absolutely no experience with a thermomix