Black Cocoa Cut Out Sugar Cookies
Soft & fluffy sugar cookies made with black cocoa for the ultimate sweet treat. You can make these for any occasion and cut out any shape you like and they can be frosted with any style of frosting!

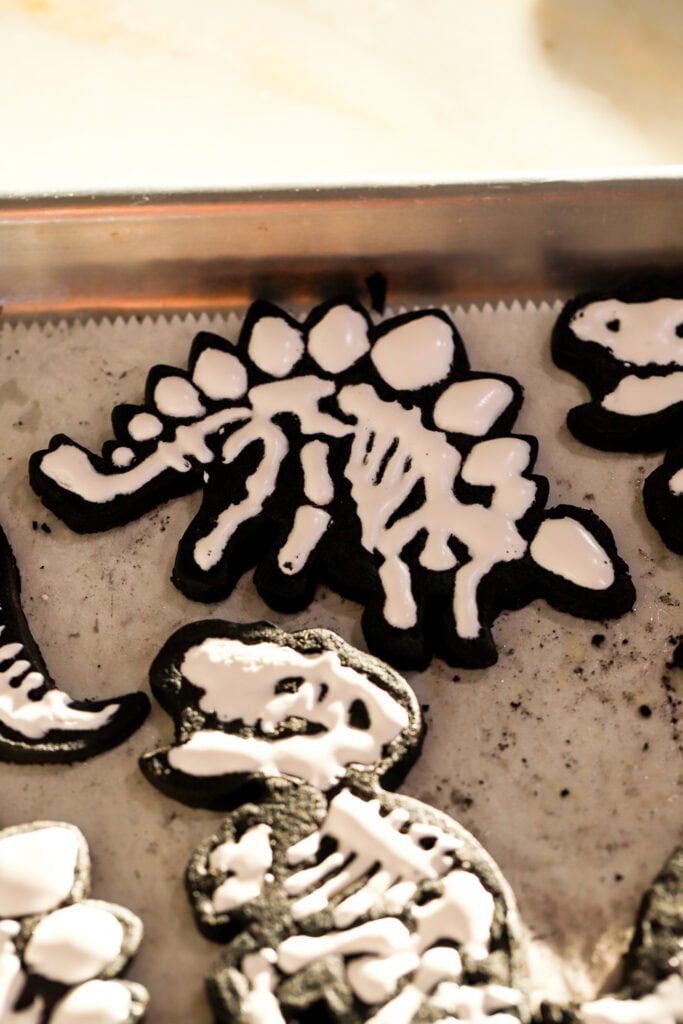
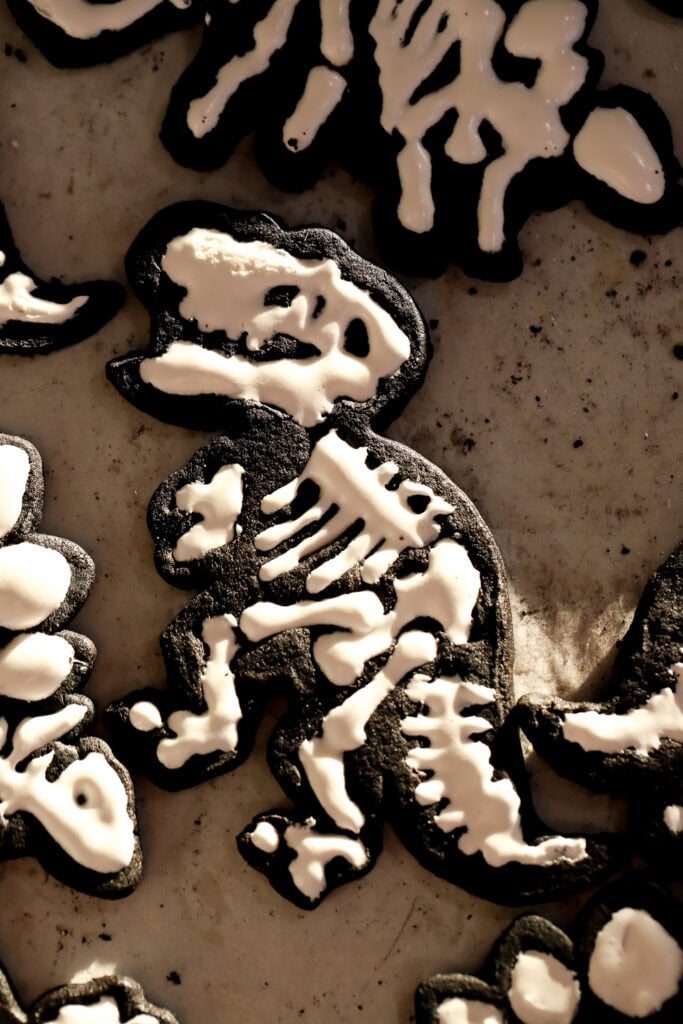
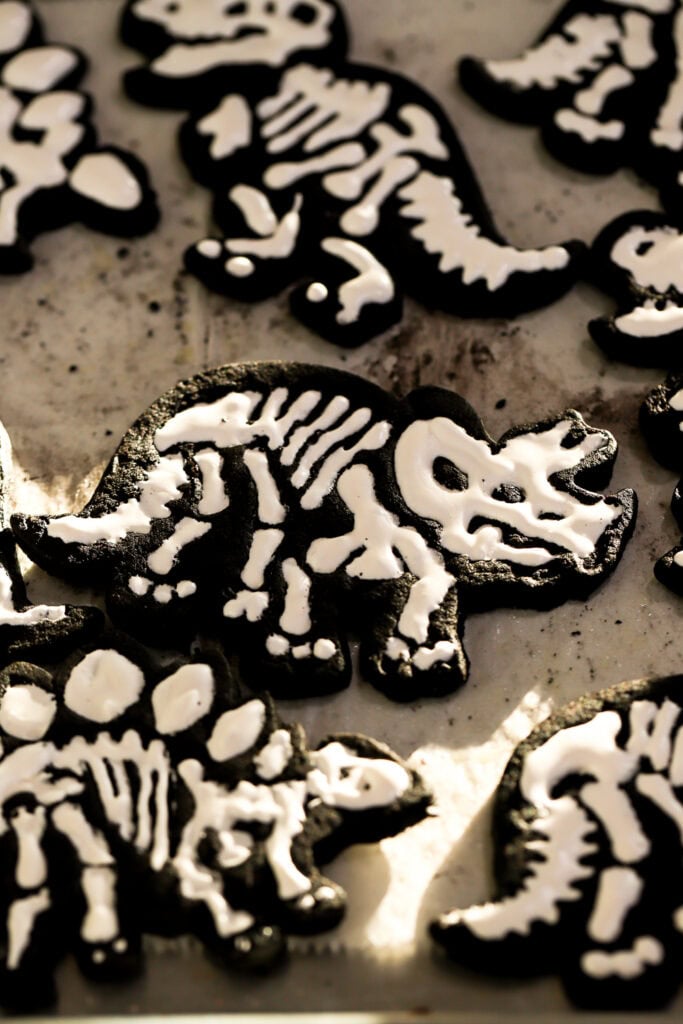
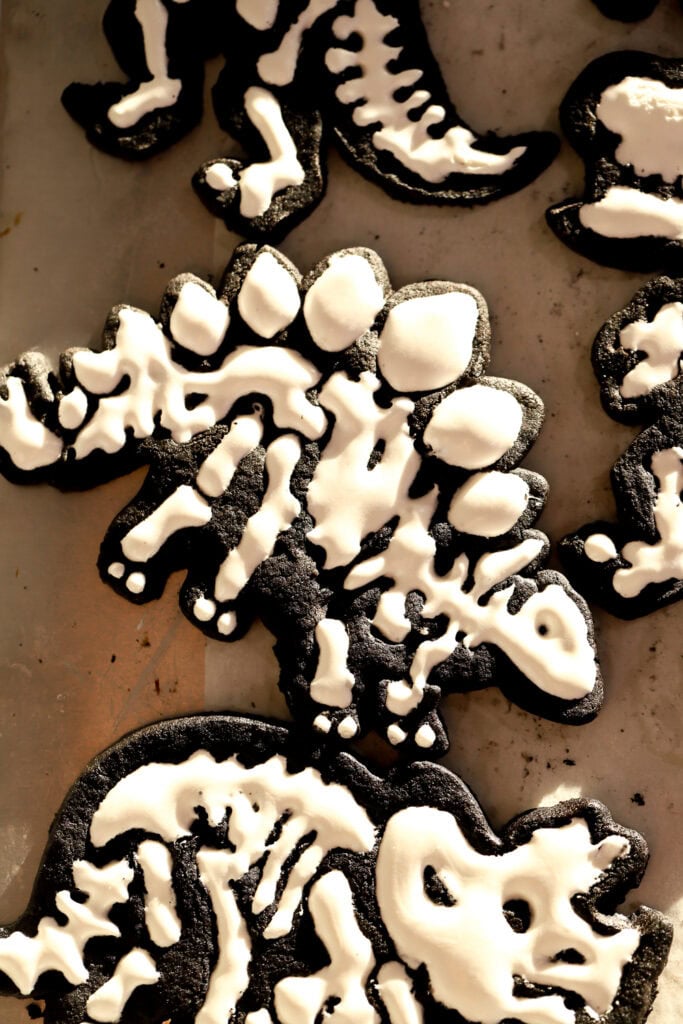
Dinosaurs aren’t really my thing but I made these for my son to take to school on his birthday (I’m sure I made him so popular, I know lol). He is as obsessed with my Black Cocoa Cake as I am and he’s equally as obsessed with dinosaurs so ofc I made him black cocoa dinosaurs.
I spent SO MUCH TIME testing these and my base Sugar Cookie Recipe, so obviously I needed to share both of the recipes with you all.
Also they do look pretty cool, if I do say so myself.
However, I can’t take all the credit, the dinosaur cookie cutters did most of the work. And before you get intimidated and think that you couldn’t possibly make these, I promise they were so much easier than I expected!! I used to HATE making cut out cookies and frosting them because it’s so much work and I was always left with a subpar result but this was less work and I think they look pretty cool lol.

How To Make Black Cocoa Cut Out Cookies
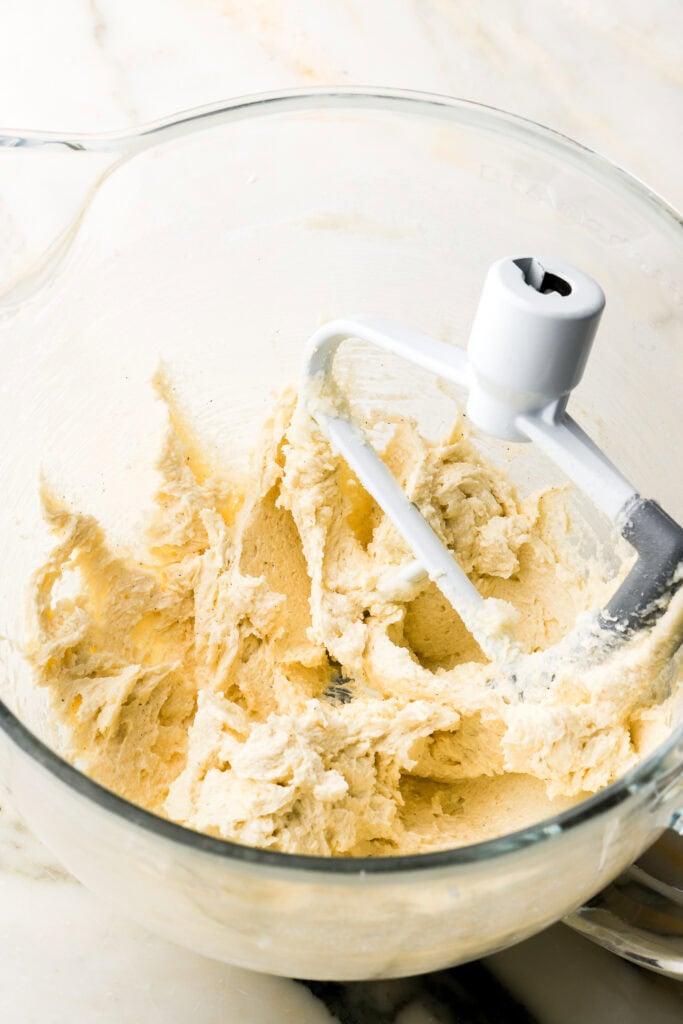
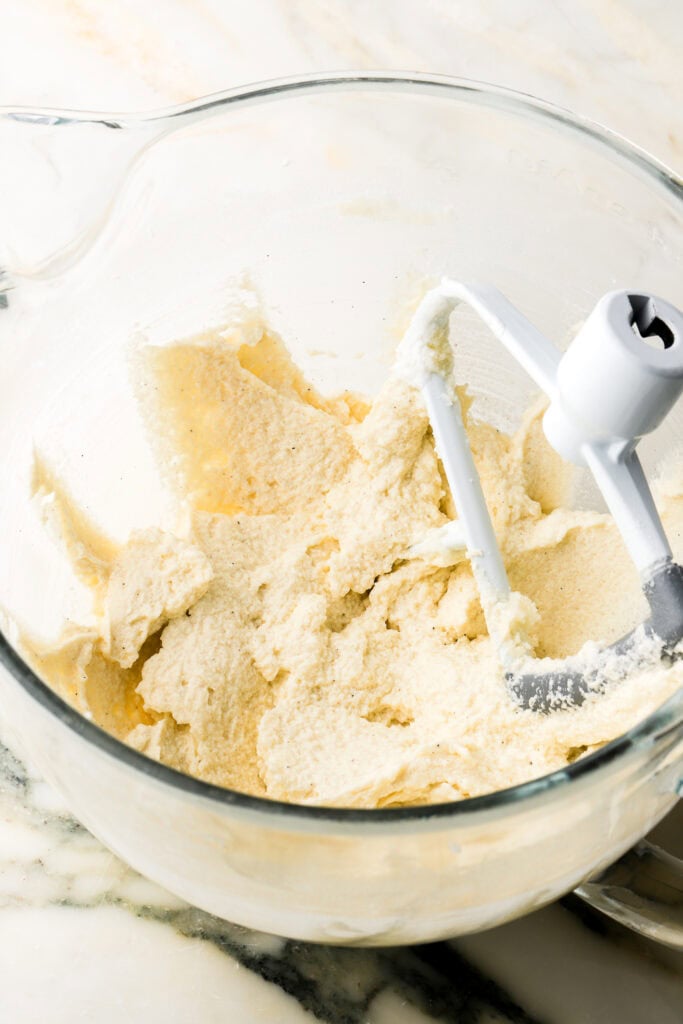
Just like my plain sugar cookie base, the room temperature butter gets creamed with the sugar, followed by the eggs, flavors and then the dry ingredients. The dough ends up similar to a pie crust texture where it’s too soft and sticky to work with a room temperature but turns firm once it’s chilled.
Ingredients:
- Butter: I like to use salted butter for cookies because I think it has more flavor but unsalted works fine as well. Dairy free butter also works fine.
- Sugar: I used granulated sugar in the cookie dough and haven’t tested this recipe with any other types. I also don’t recommend reducing the amount of sugar.
- I use powdered sugar for the icing.
- Egg: I use one large egg, preferably at room temperature.
- Yogurt: this is not traditional in sugar cookies but it makes them really soft and fluffy and balances the sweetness well. I use plain greek yogurt but plain yogurt or sour cream also work fine.
- Flavors: I use a lot of vanilla and a little almond extract. You can use any extracts you want though!
- Flour: I used cake flour because I really wanted these to be extra tender! The recipe also works fine with all-purpose flour though.
- As always, I HIGHLY recommend using a digital scale to measure at least the dry ingredients.
- Cocoa Powder: I used black cocoa powder, hence the name, but also dutch-processed should work just as well. My favorite brand of black cocoa powder is The Cocoa Trader.
- Baking Powder: I use baking powder and I don’t recommend swapping it for baking soda. Baking soda can cause more spreading and browning.
- Salt: I always add in a little extra fine sea salt.
- Meringue Powder: this is used to make royal icing for decorating. I got mine at a local Michaels Store but you can also get it online.
Step-by-Step Photos
Sugar Cookies
- Cream the butter and sugar together first.
- Add in the egg, beating until well combined.
- Add in the yogurt and vanilla, beating until they’re well combined. The batter may split here, that’s ok.
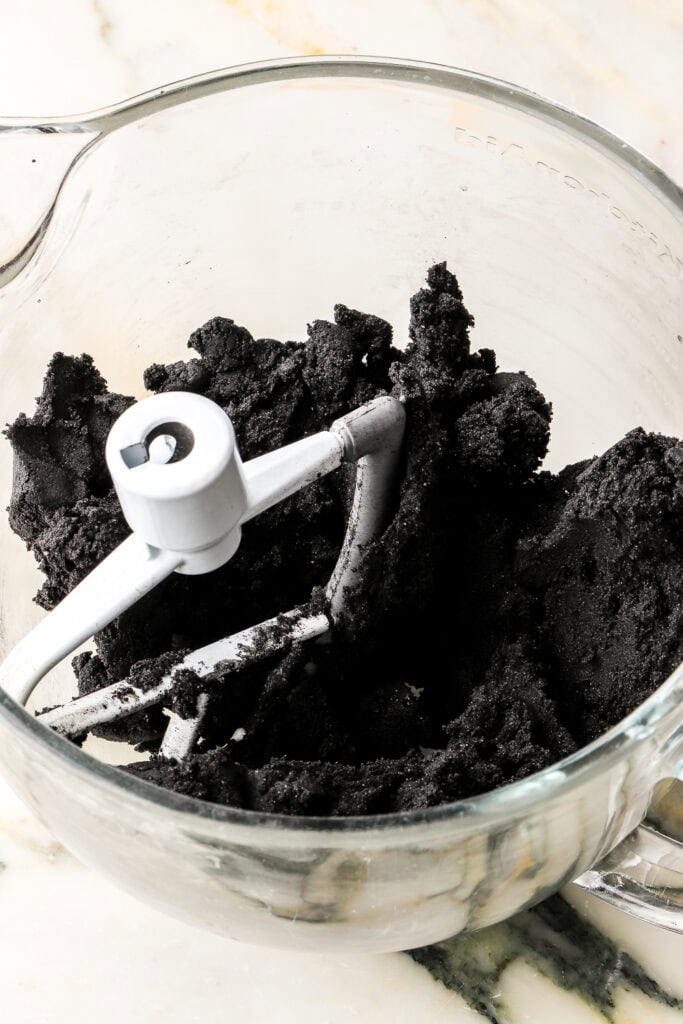
- Mix in all the dry ingredients, just until the last streak of flour is combined.
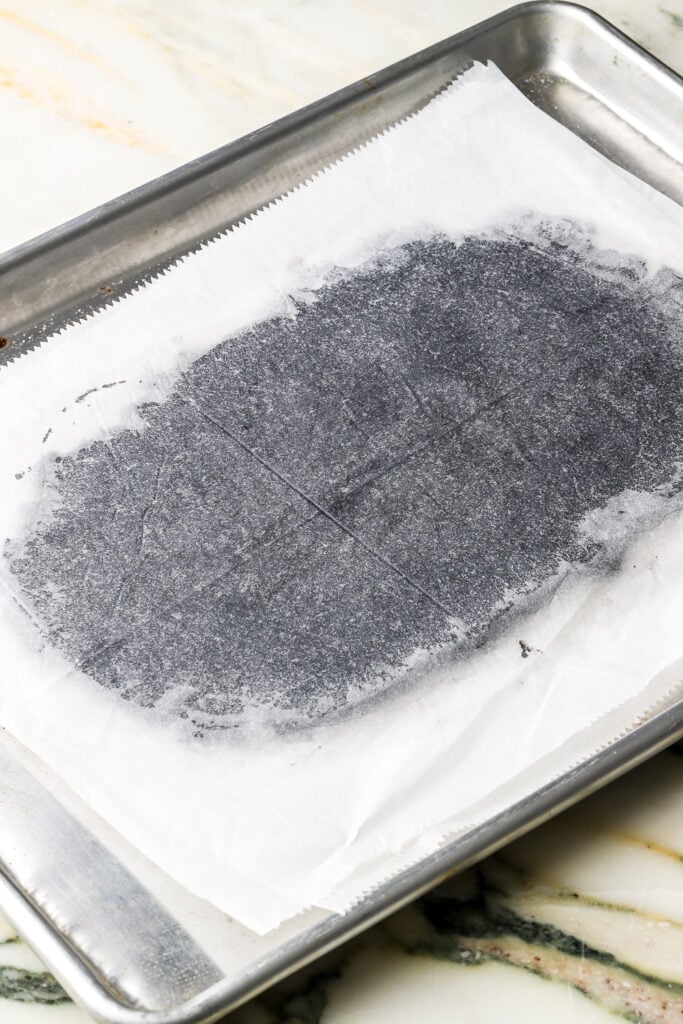
- Split the dough in half and place each half on a sheet of wax or parchment paper.
- Place another sheet on top of the cookie dough and then use a rolling pin to roll each half to ¼” thick.
- Chill the dough for at least 30 minutes or until firm.
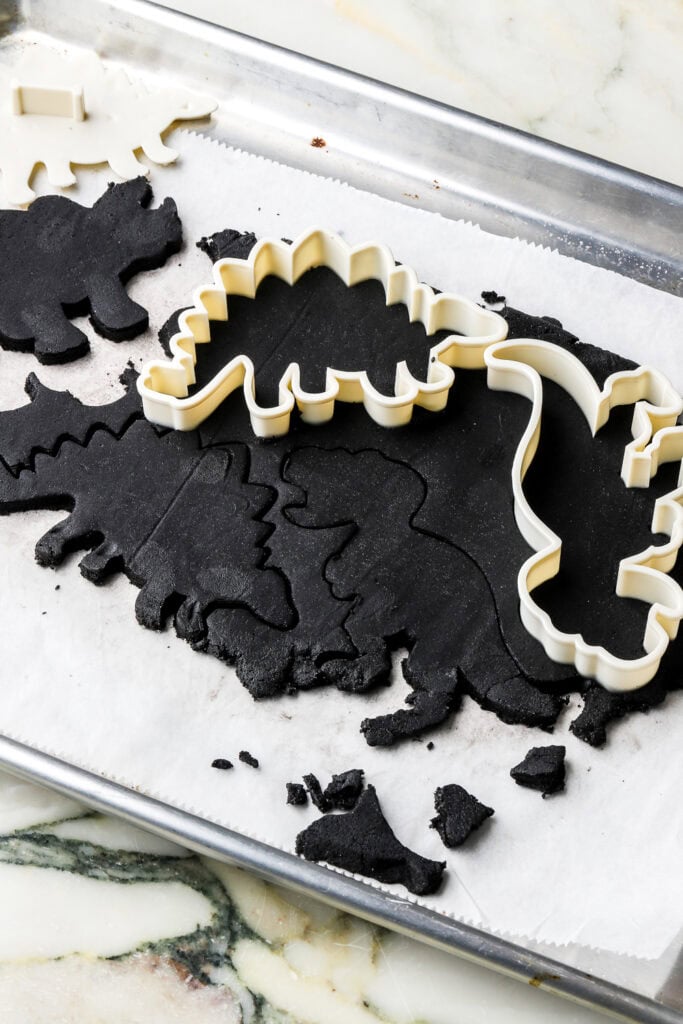
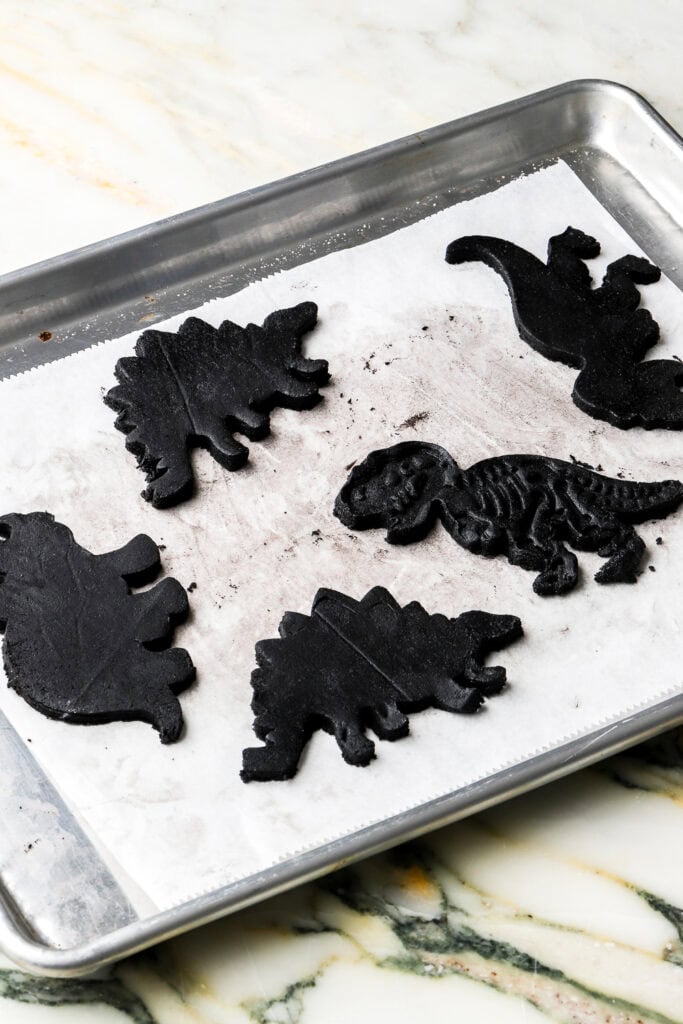
- Cut out shapes (the dinosaur shapes are plastic and has lots of curves so it can be a little tedious but normal, metal cookie cutters should go smoothly) and then chill the shaped cookie dough again while the oven is preheating.
- Bake for 8-10 minutes (really depends on the size and shape of your cookies), just until the top of the cookies no longer look wet.
- *If you’re making the dinosaur cookies, use the interior bone mold to press and indent into the BAKED cookie for the bones while the cookie is still hot – like as soon as you take them out of the oven, and just press gently. I do this after baking because it’s so much easier than having the dough stick into all the little crevices of the mold before baking.
- Cool on the pan for 10 minutes and then allow to cool completely on a wire rack.


Royal Icing
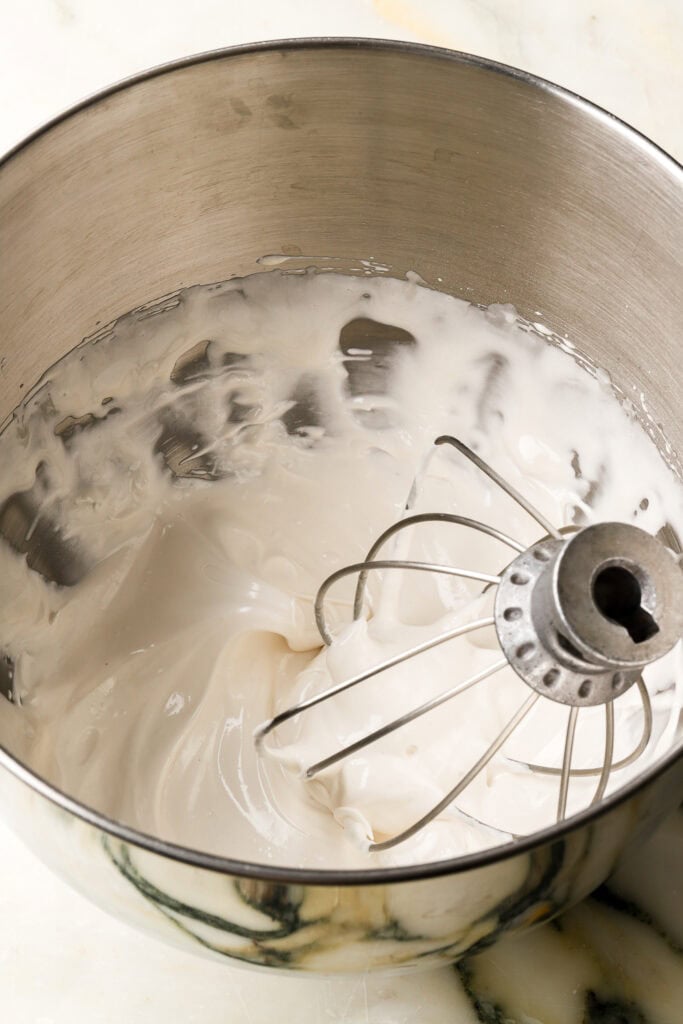
- Whisk together the powdered sugar and meringue powder in the squeaky CLEAN bowl of a stand mixer.
- With the mixer on low, add in the water and vanilla, just until it comes together.
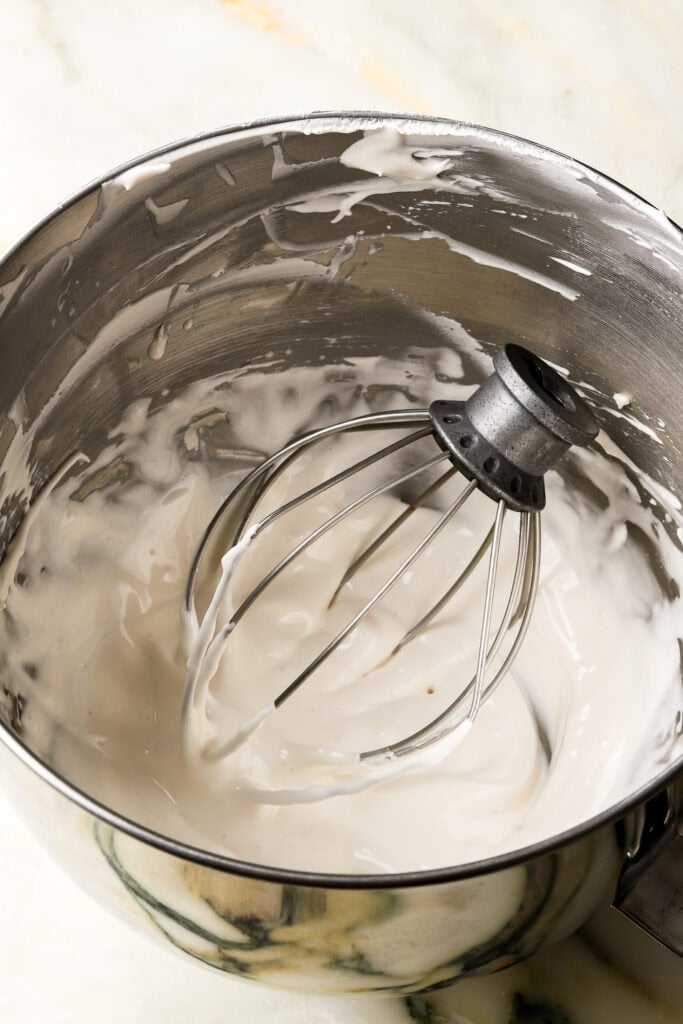
- Turn the mixer up to full speed for 5-10 minutes, until the icing holds soft peaks.
- Use a piping bag to pipe the borders on your cookie.
- Then add 1 tsp of water at a time to the royal icing to get a more runny consistency to “flood” the cookies. You want this consistency to flow, filling in the space between the borders you piped but not too runny that it’ll flow past the border.
- Add sprinkles if desired and let them set for several hours, preferably overnight.
*If you’re making the dinosaur cookies and you’re filling in the bones, I would say you need a consistency that’s close to “flooding” consistency. You need it to flow a little to fill in the grooves but not too much that it spills over.
What Kind of Icing To Use On Cut Out Cookies
Traditional cut out cookies are frosted with (or better yet, decorated) with Royal Icing. Royal icing sounds more intimidating than it actually is. You just need to get some meringue powder and make sure your bowl is super clean, and it’s super simple to whip up.
However, some other options for frosting cut out cookies are:
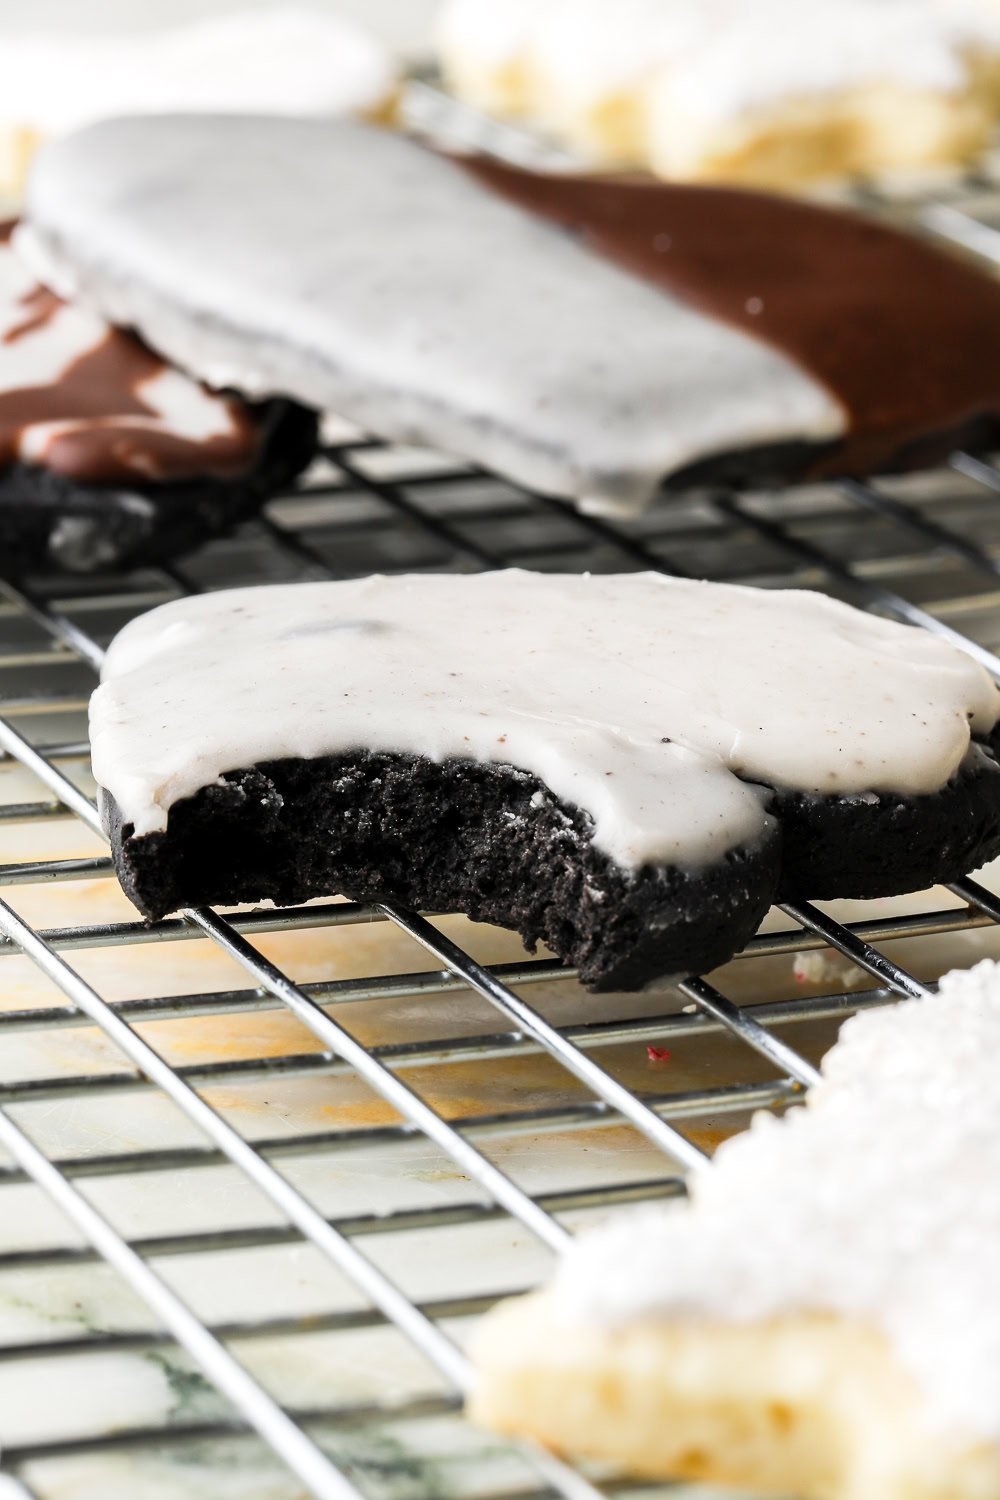
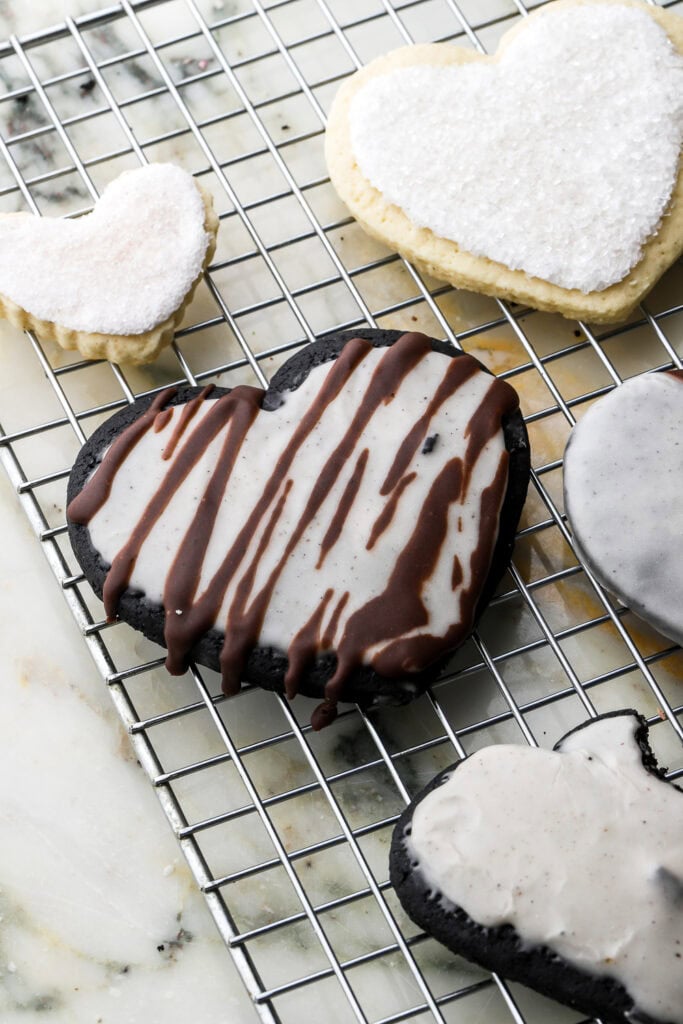
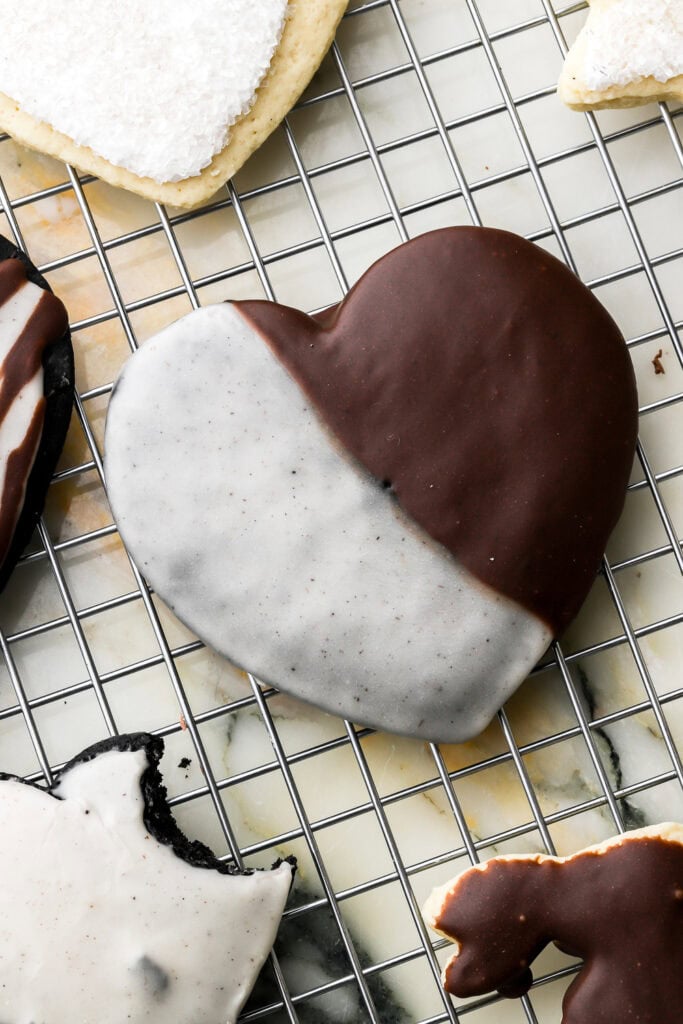
- Simple Powdered Sugar Glaze – just mix powdered sugar with water, milk or juice and whatever extract you want. A rough estimate is about 1 cup of powdered sugar to 1-2 Tbsp of liquid – add more or less sugar depending on the consistency you need. This icing was used on the heart shaped cookies (below) and I just added a spoon or so of cocoa powder to the icing after I was done with the vanilla.
- American buttercream – just a traditional butter, powdered sugar situation. I would do ½ cup of butter, 2 cups of powdered sugar, 2 tbsp of heavy cream and whatever extract you are using.
- Cream Cheese Frosting – same as above but swap half the butter for cream cheese. I don’t prefer this option because the cookies will need to be refrigerated then and they won’t be as soft.
- Ganache – I would probably do equal parts cream and dark chocolate
- Melted Chocolate – you can just melt some chocolate chips and dip the cookies into it and let the chocolate set.
With any of the frostings, I would add in a tiny pinch of salt, some extract or even swap out a little of the powdered sugar for cocoa powder to make chocolate icing.
How To Store Cookies
If the sugar cookies are unfrosted or frosted with anything EXCEPT cream cheese frosting, you can store them at room temperature. If the frosting is not yet set, just leave them uncovered to dry out.
If the frosting is set, you can place them in a tray/box and keep them airtight at room temperature for a few days or refrigerated for up to a week.
You can also freeze them (airtight) for a couple of months.
I hope you guys like my black cocoa version of cut out cookies as much as we did. If you do, please consider leaving a 5-star rating or a review below. If you have any questions at all, please those down below as well.
As always, thank you for being here and happy baking!
Have a blessed day<3
Love, B