Ingredients
- 113 grams salted butter, room temperature
- 200 grams granulated sugar
- 1 large egg, room temperature
- 113 grams greek yogurt*, or sour cream or butter
- 2 tsp vanilla bean paste, or vanilla extract
- 300 grams all-purpose or cake flour, spooned and leveled
- 60 grams black cocoa powder, spooned and leveled
- 1 tsp baking powder
- 1/4 tsp fine sea salt
- 90 grams powdered sugar
- 1 Tbsp meringue powder
- 1 tsp vanilla bean paste, or vanilla extract
- 60 mL water
Method
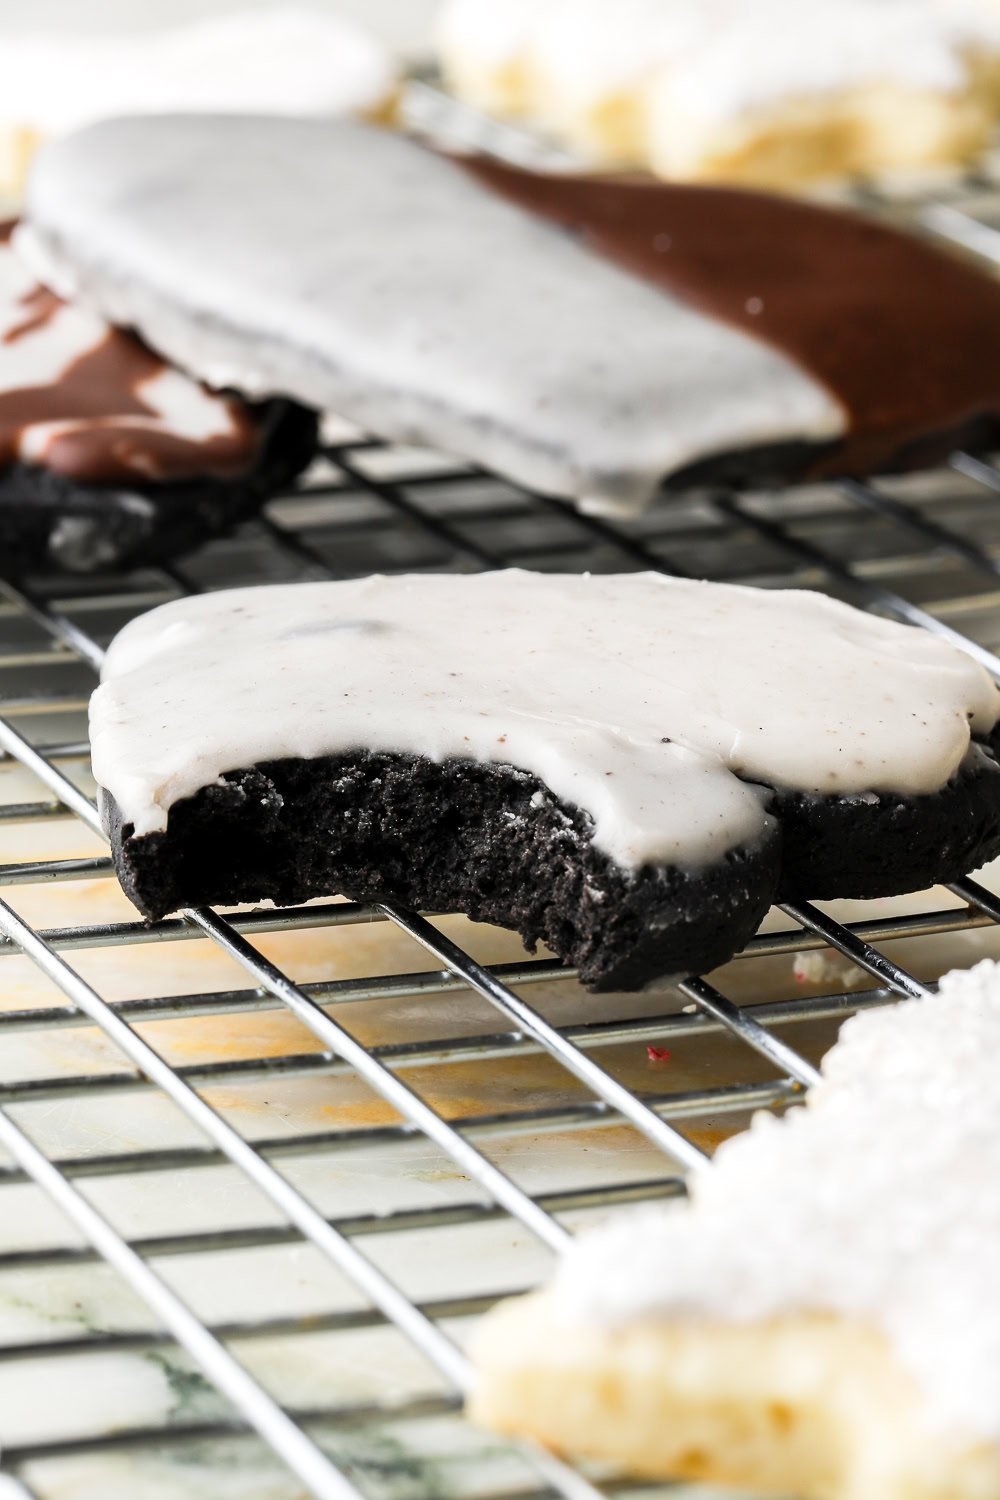
Black Cocoa Cookies
- Place the butter and sugar in the bowl of a stand mixer (or large bowl with a hand mixer).113 grams salted butter room temperature, 200 grams granulated sugar
- Use a flat beater to beat the butter with the sugar they’re super pale and fluffy.
- Add in the egg, beating until it’s well combined.1 large egg room temperature
- Add in the yogurt and vanilla, mixing until they’re well combined. The batter may split here, that’s ok.113 grams greek yogurt* or sour cream or butter, 2 tsp vanilla bean paste or vanilla extract
- Mix all dry ingredients together & then add them into wet mixture. Beating until fully combined.300 grams all-purpose or cake flour spooned and leveled, 1 tsp baking powder, 1/4 tsp fine sea salt, 60 grams black cocoa powder spooned and leveled
- Split dough in half, place each half between two sheets of wax/parchment paper. Roll them both out evenly to about 1/4" in thickness.
- Chill for at least 30 minutes (I use the freezer but you can refrigerate for longer), or until the dough feels firm and you’re able to cut out shapes.
- Remove from wax paper & cut out shapes for cookies, work quickly so that the dough doesn’t soften before you’re done.
- Place the cut out cookies on a lined cookie sheet and chill again while the oven preheats. Preheat oven to 350F.
- Refold scraps of dough to make more (chill again after rolling it out - I only refold scraps once or the dough will get overworked and the cookies will be too tough).
- Cookies should feel firm, not squishy, before going in to the oven. Bake for 8-10 minutes, just until the tops no longer look wet and the edges feel BARELY set. They will seem slightly underbaked at this time but they’ll be perfect once they’ve cooled.
- *If you’re making the dinosaur cookies, use the mold to press and indent into the BAKED cookie for the bones while the cookie is still hot - like as soon as you take them out of the oven, and just press gently. I do this after baking because it’s so much easier than having the dough stick into all the little crevices of the mold before baking.
- Let them cool on pan for a couple minutes, until you can move them to a wire rack without them falling apart. Cool completely before decorating.
Royal Icing
- Clean mixing bowl & all utensils with a little vinegar/lemon (don't skip this friends).
- Using the whisk attachment, combine powdered sugar & meringue powder in the mixing bowl.90 grams powdered sugar, 1 Tbsp meringue powder
- With mixer on low speed, add in the vanilla and the water, a little at a time, just until it's your icing is fully wet & silky.1 tsp vanilla bean paste or vanilla extract, 60 mL water
- Beat for 10 minutes on low speed, until the mixture holds a soft peak (if it’s too soft, add more sugar).
- Use a piping bag with a tiny round tip to pipe all the borders on your cookies. It should be thin enough to pipe smoothly but thick enough not too run off the edge of your cookie.
- After you’ve piped all your borders onto the cookies, add a little more water, 1 tsp at a time, until the consistency is soft & runny for ‘flooding’ your cookies.
- *If you're making the dinosaur cookies, I used close to a flooding consistency to pipe the bones. You want it to flow into the tiny crevices so just use a tiny piping tip.
- Use a small spoon or another piping bag to fill the centers of your cookies. You want the icing to be thin enough to spread throughout the cookie but not run past your border.
- Dip them in sprinkles or sprinkle some one top if you want. Let them set for a few hours (preferably overnight) before stacking. Store in airtight container.
Notes
* I wanted a very soft and delicious sugar cookie which I believe is hard to come by. Using yogurt or sour cream balances the sweetness so well and makes the cookies so nice and soft. That said, they do hold their shape but it's not a "sharp" shape, they do puff up a little. If you're wanting them to be a little more firm and hold a sharper shape (and be slightly easier to work with the dough) then you can sub that 1/2 cup of yogurt/sour cream for an additional half cup of butter. Just use double the butter in the first step and skip adding in the yogurt/sour cream.
Nutrition
Calories: 124kcalCarbohydrates: 19gProtein: 3gFat: 5gSaturated Fat: 3gPolyunsaturated Fat: 0.3gMonounsaturated Fat: 1gTrans Fat: 0.2gCholesterol: 17mgSodium: 77mgPotassium: 61mgFiber: 1gSugar: 9gVitamin A: 128IUCalcium: 22mgIron: 1mg