
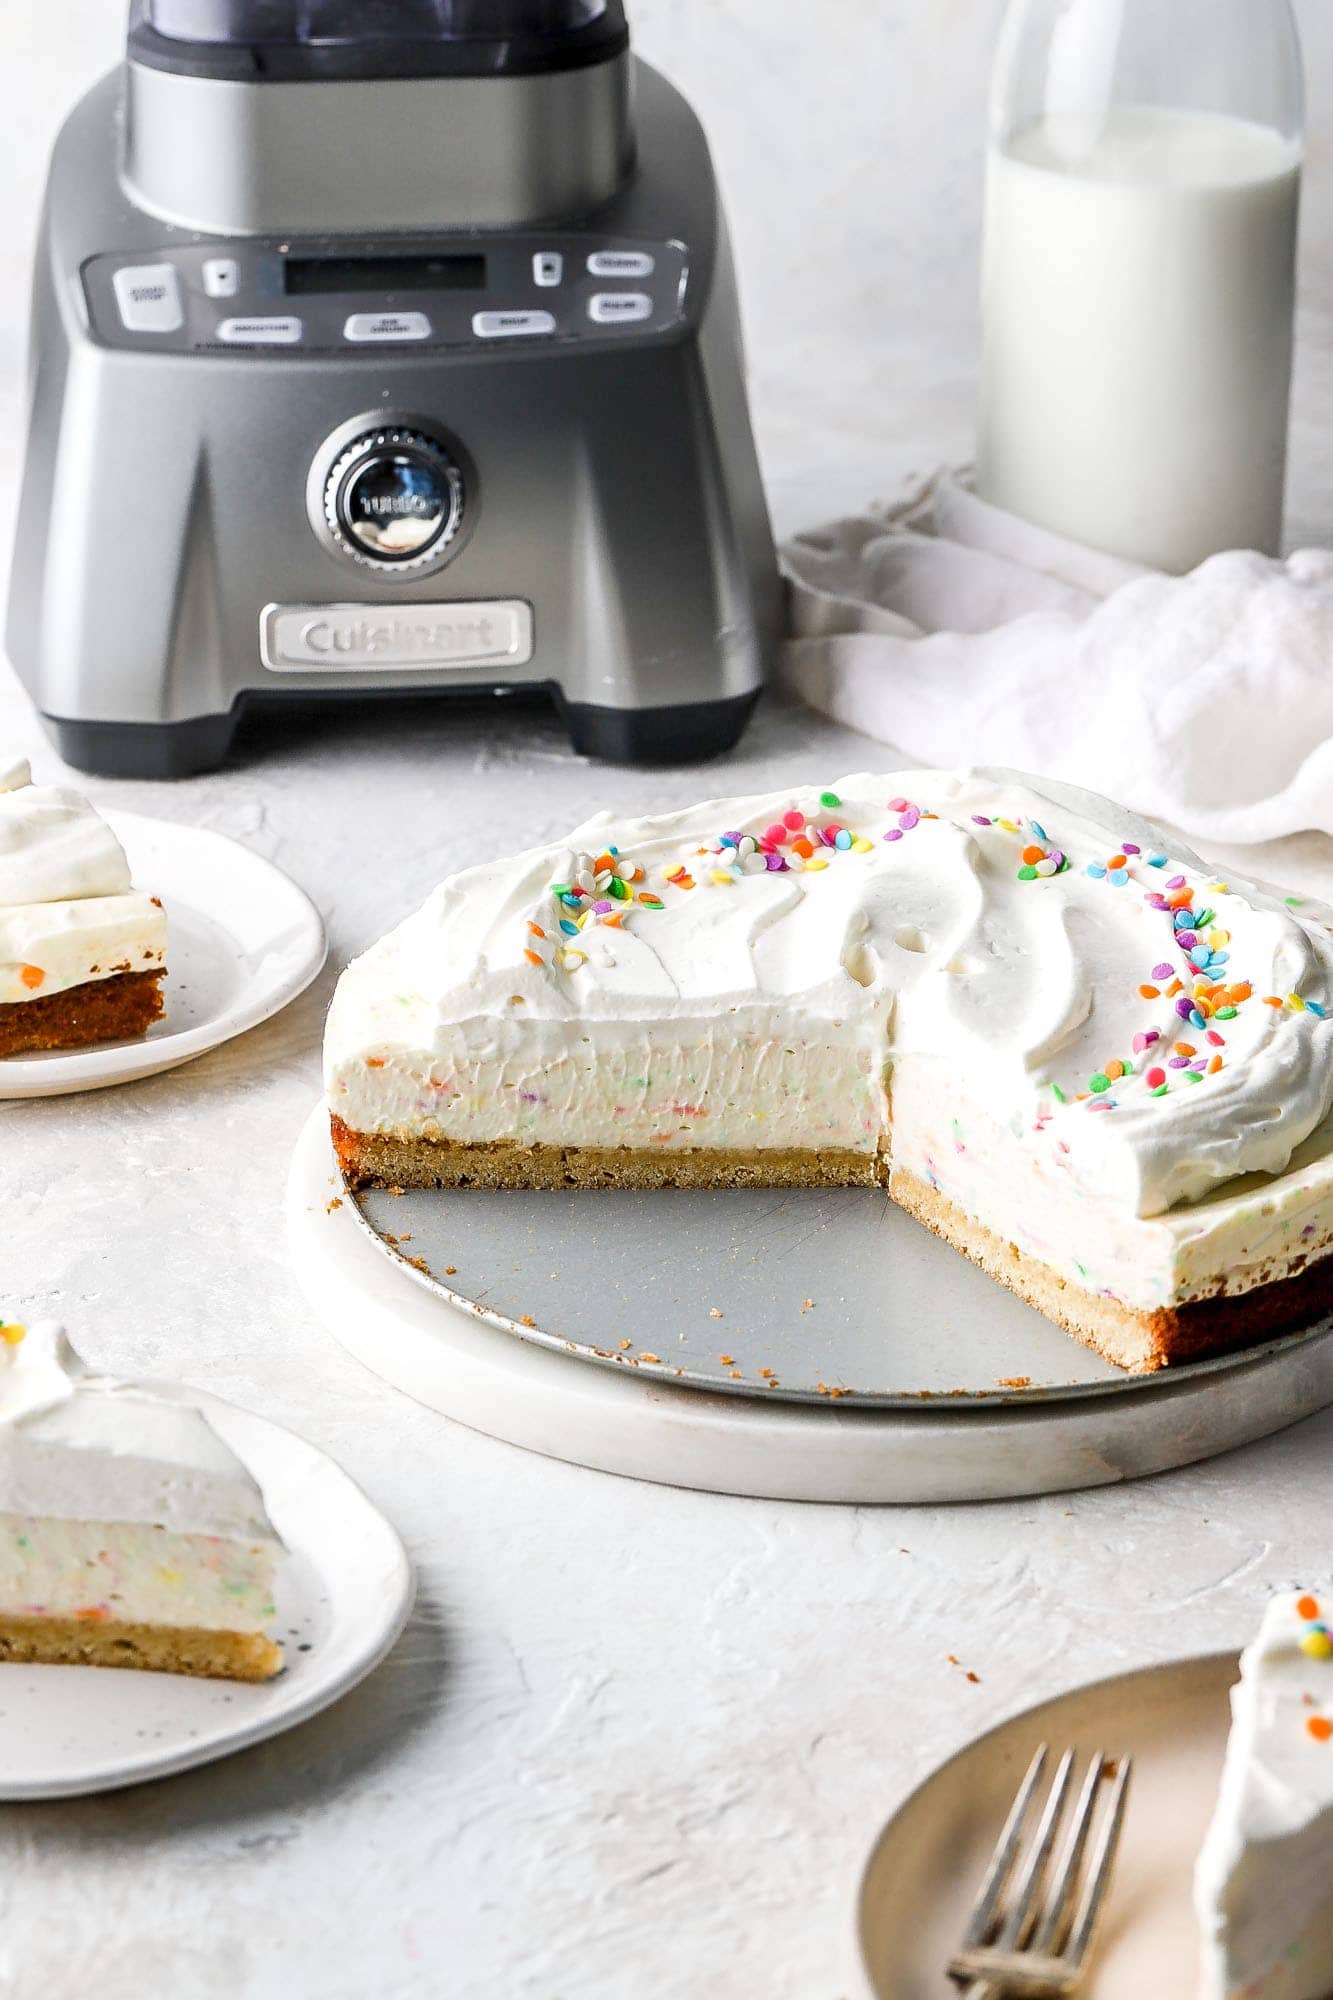
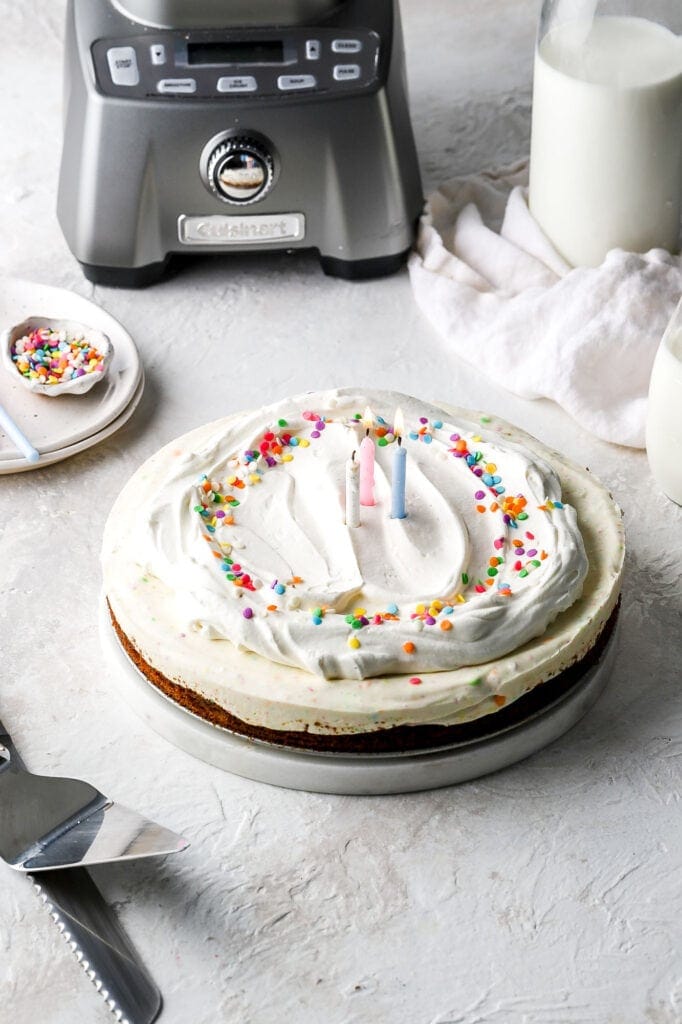
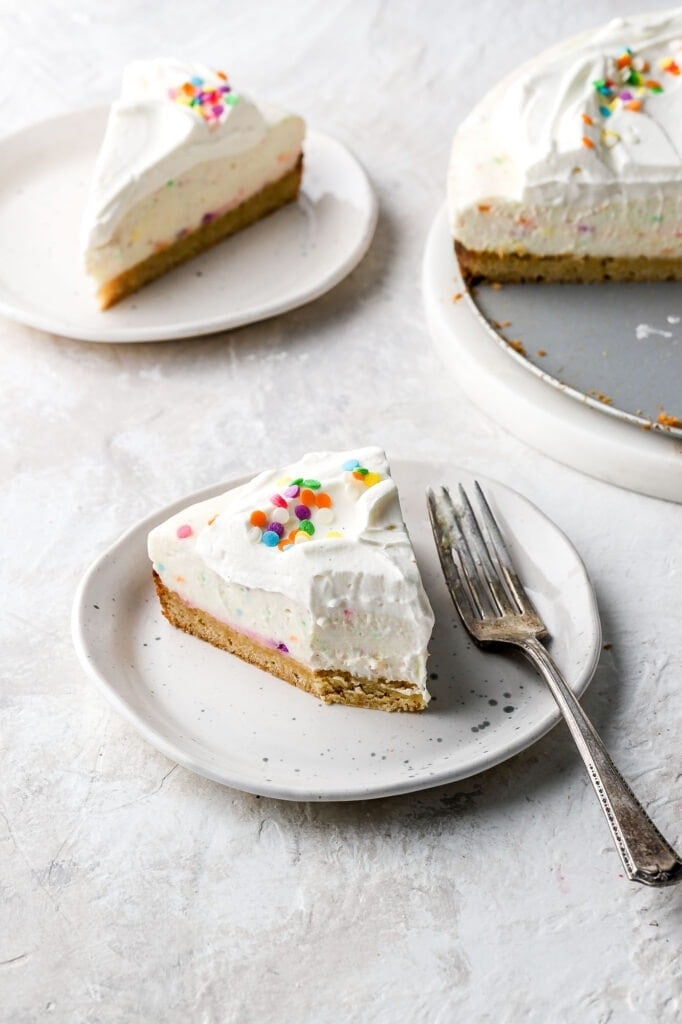
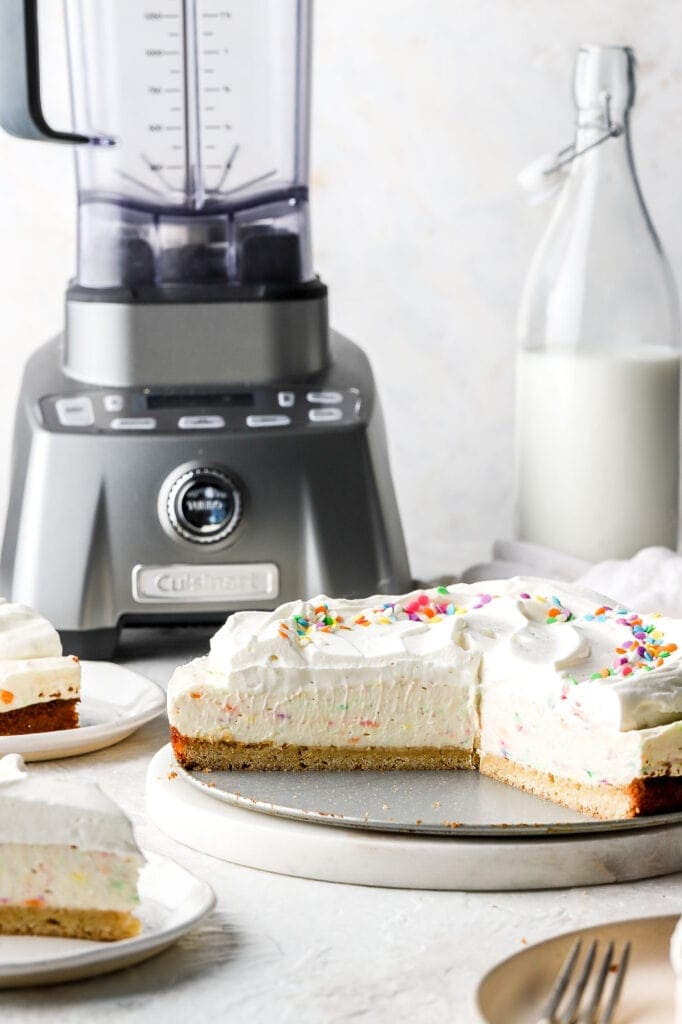
Birthday Cake Cheesecake with Blondie Crust
Blondie bottom topped with a no-bake birthday cake cheesecake filling, all the sprinkles and fresh whipped cream topping. What more can you ask for on your birthday?!

Hello friends! It’s not my birthday but I mean, after the year we’ve had, do we really need a reason to celebrate with birthday cake cheesecake? Didn’t think so. So I partnered with my favs over at Cuisinart to bring you this super simple, almost no-bake birthday cake cheesecake!
What’s in this birthday cake cheesecake
No-bake cheesecakes are one of the best desserts. They’re so light, creamy and refreshing but they don’t give you the headache of a regular cheesecake. I mean no two hour baking times, water baths, cracking, etc.
For this birthday cake cheesecake, I wanted something a little different than a graham cracker crust so I opted for a blondie on the bottom. Although, if you chose to do a brownie on the bottom instead, I’m all for it!
Then there’s a cheesecake filling with all the sprinkles and of course, a whipped cream topping and candles!
How to make the blondie crust
The blondie is super easy to make. Melted butter combined with sugar, add the eggs and fold in the dry ingredients. Bake the blondie just until it feels set, you don’t want it too firm because once it cools and sits in the refrigerator it’ll get harder.
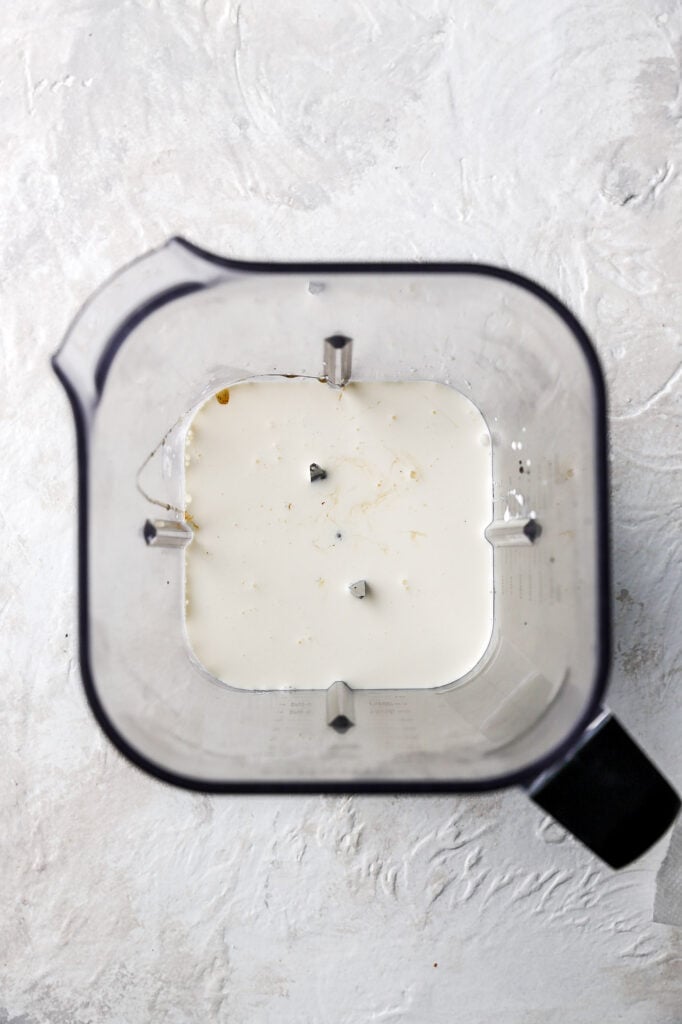
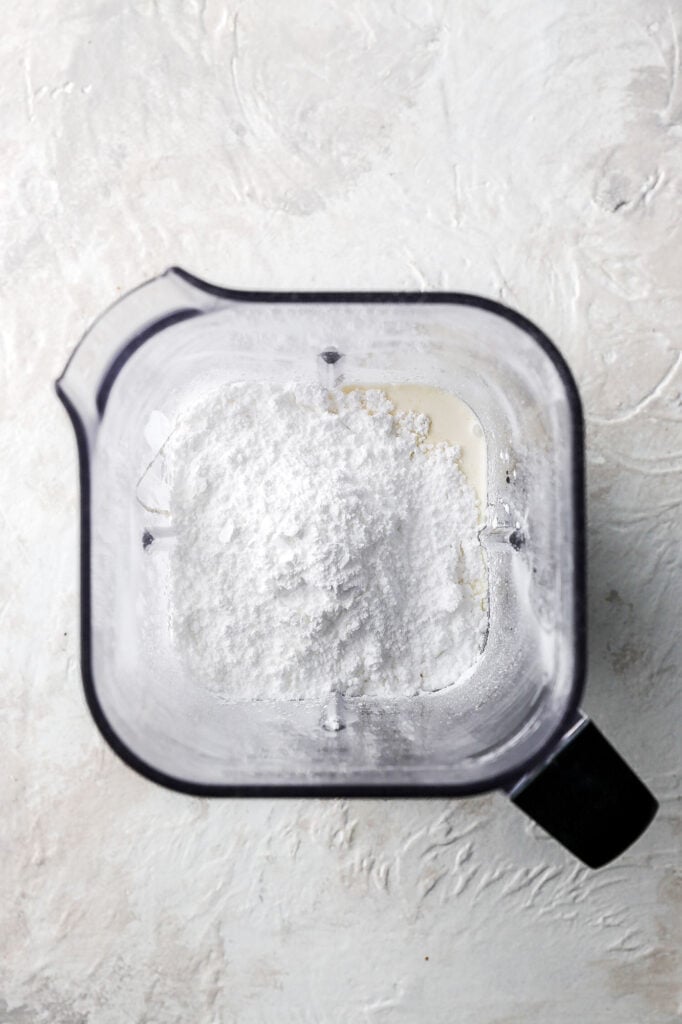
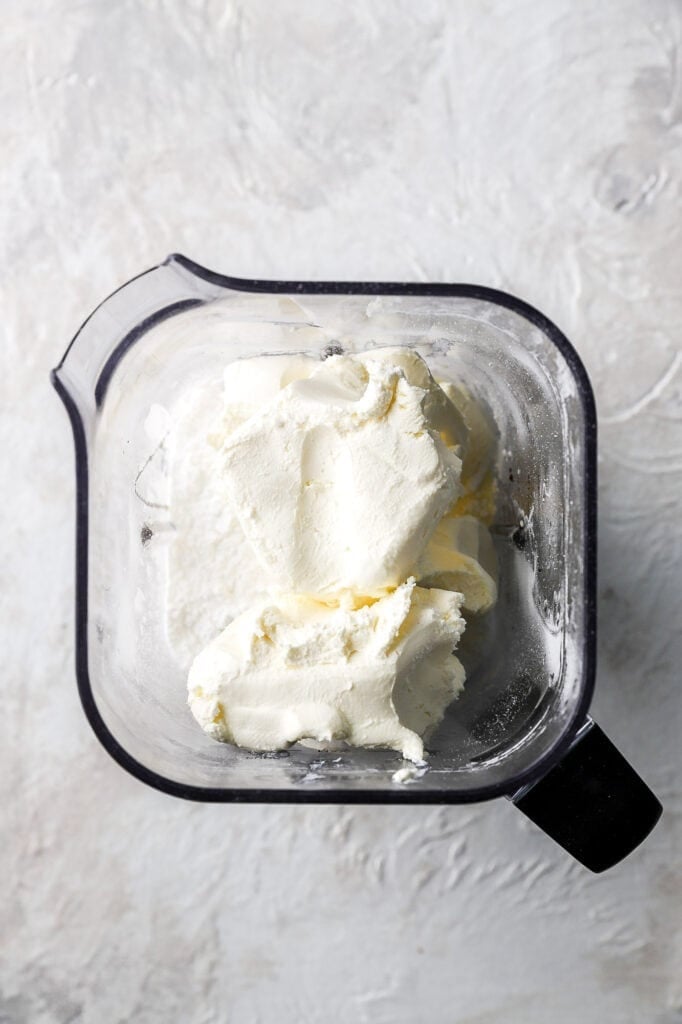
How to make cheesecake filling
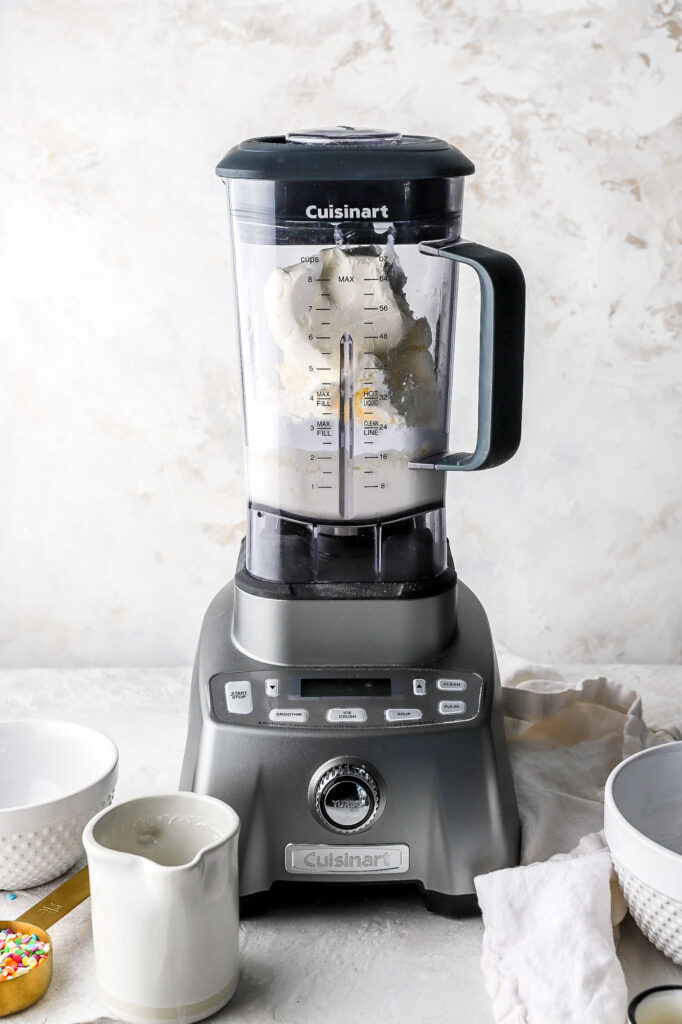
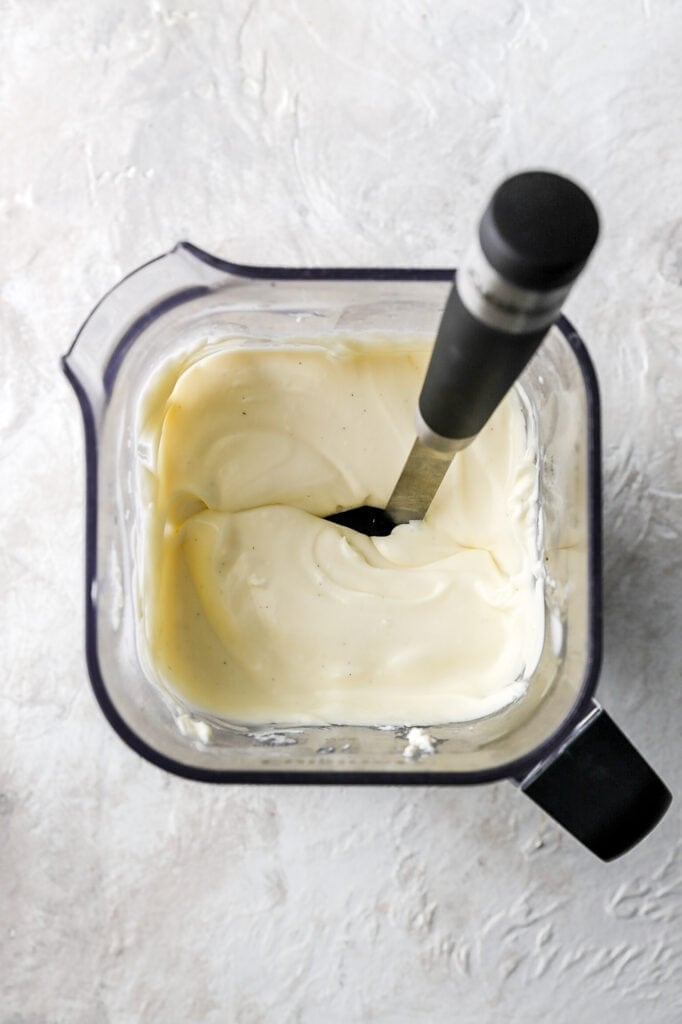
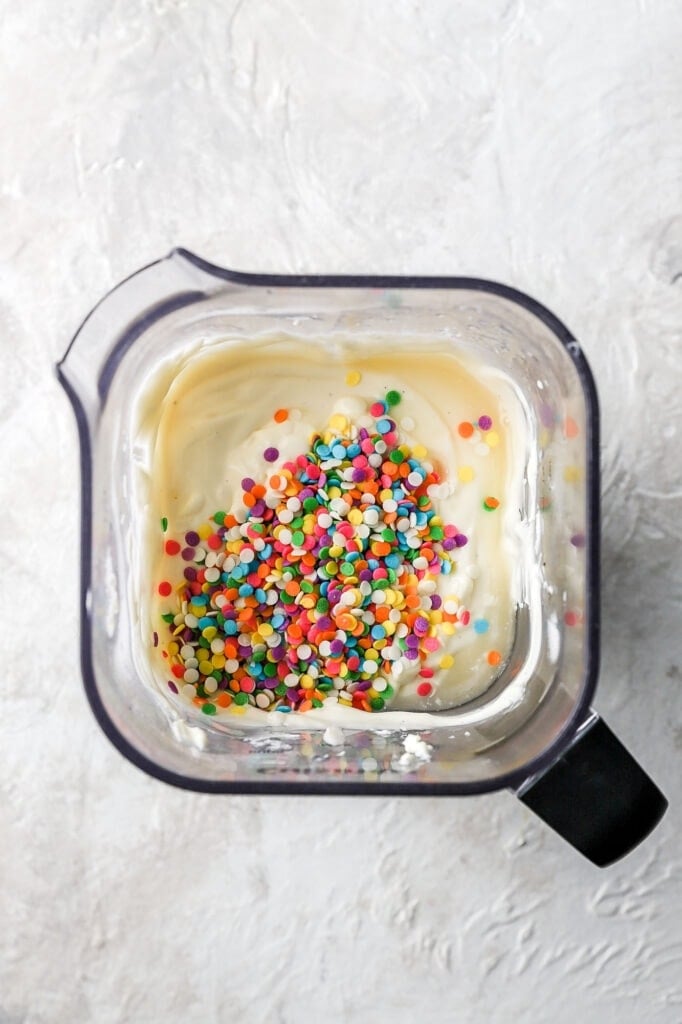
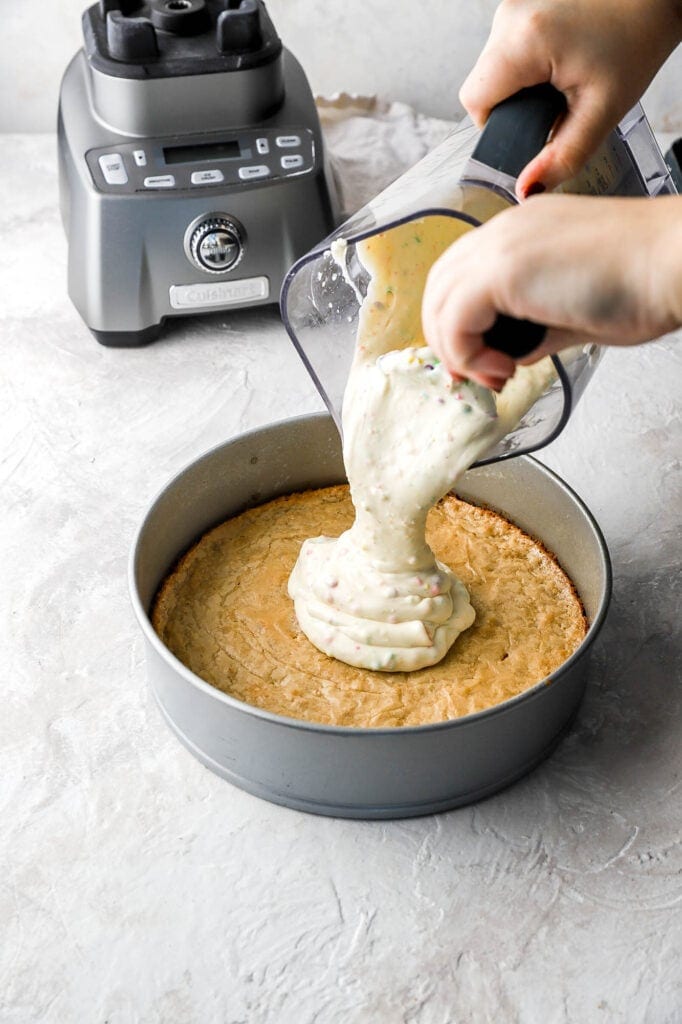
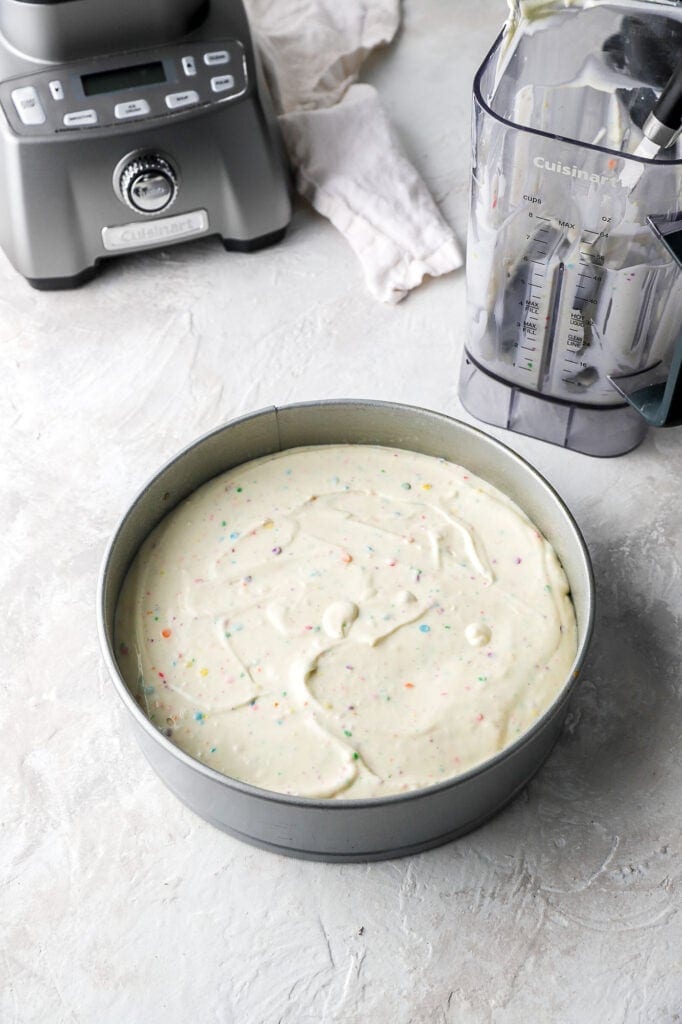
The birthday cake cheesecake filling is just as simple. Pop all the ingredients in the Cuisinart Hurricane Pro 3.5 Peak HP Blender, starting with the heavy whipping cream and ending with the sprinkles. You’ll have to pause the blender here and there to scrape the edges and make sure the mixture is getting evenly combined. Then spread it over the cooled blondie crust and refrigerate it until it’s set.
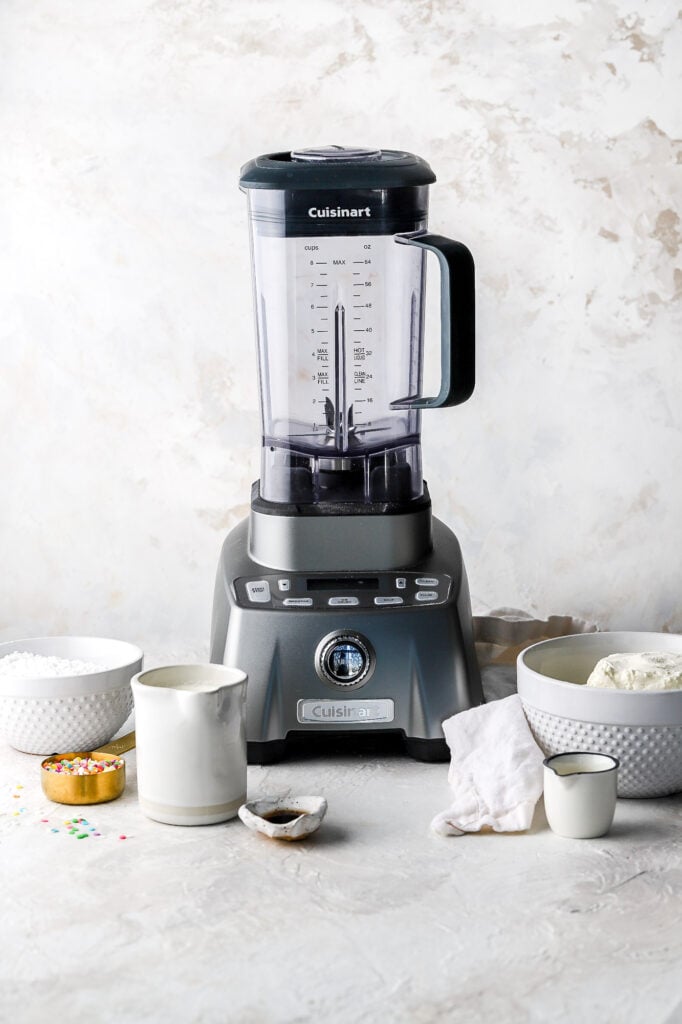
Why I love the Cuisinart Hurricane Pro 3.5 Peak HP Blender
I’ve been on the hunt for a good blender for a while now so when I had the opportunity to try out the Cuisinart Hurricane Pro 3.5 Peak HP Blender, I knew I had to.
Not only is it stunning (like everything by Cuisinart) but I love the variable speed control as well. It lets you tell the blender what it’s blending so that it can adjust to the proper speed. Aka, when you’re crushing ice or making smoothies/soups, and obviously cheesecake!
The best part, the blender even has a clean function and memory function. If you make something regularly, you can save the settings for it.
How to store birthday cheesecake
While the cheesecake is chilling, leave it in the springform pan and cover it with foil. Once the cheesecake is sliced, store any leftovers in an airtight container or fully covered, in the refrigerator. You don’t want it to catch any other flavors from the fridge.
To freeze the cheesecake, place the slices in an airtight container and then place the container in a freezer bag, squeezing out all of the excess air.
Thanks so much for stopping by today and I hope you guys enjoy this birthday cake cheesecake. If you have any questions, make sure to comment down below and tag me @baranbakery and @cuisinart on instagram! As always, have a blessed day and happy baking!
Love, B

Birthday Cake Cheesecake Recipe
For similar recipes, check out:
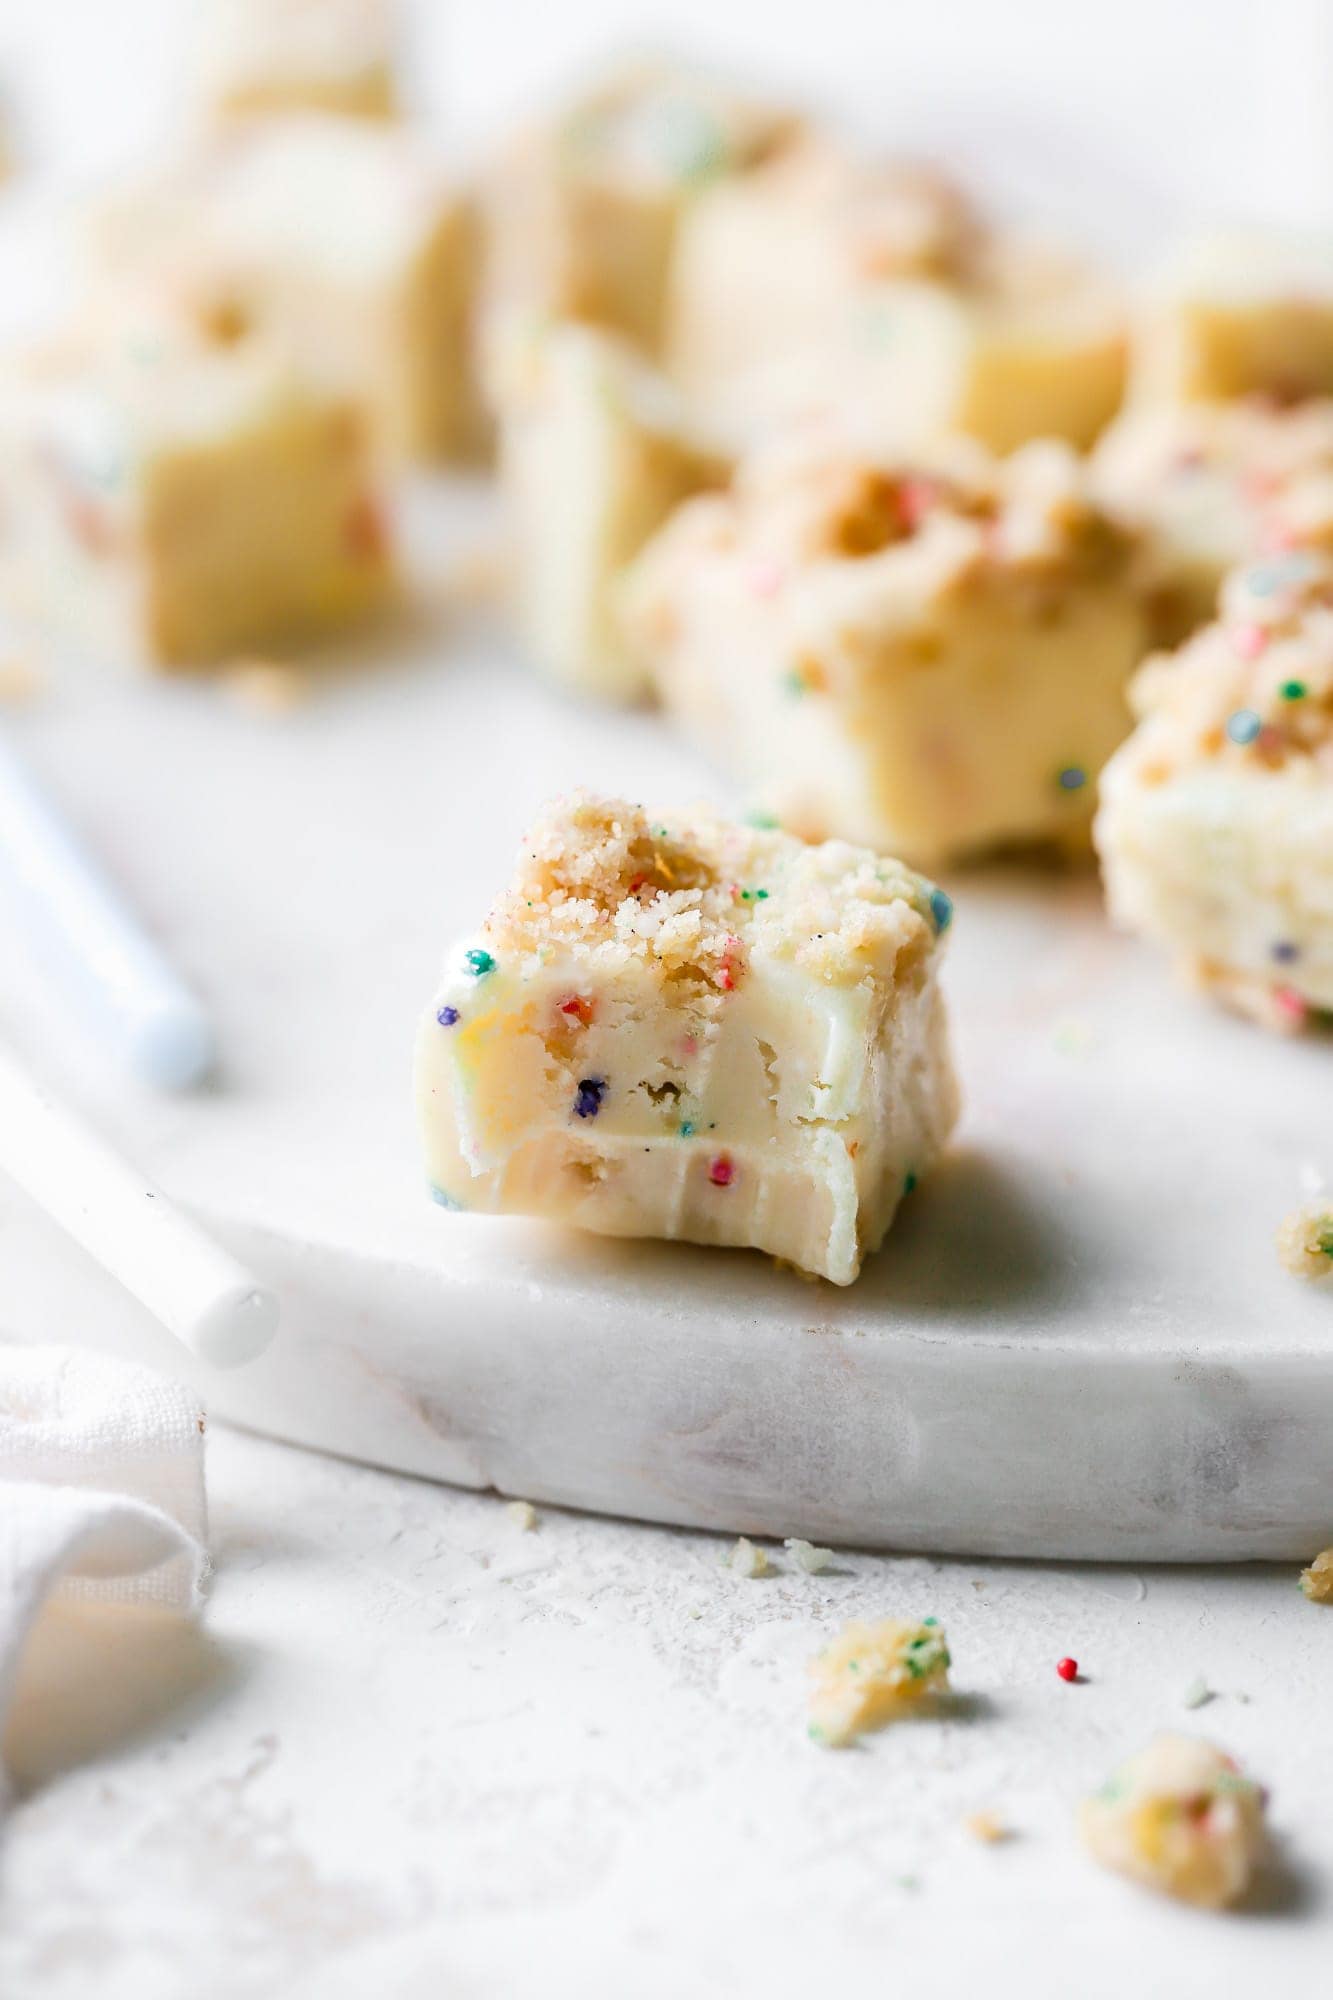
- WHITE CHOCOLATE BIRTHDAY CAKE FUDGE
- COOKIE CHEESECAKE CUPS
- FUNFETTI CAKE WITH PAINT SPLATTER DECORATION
This corresponding Instagram post was sponsored by Cuisinart, all thoughts and opinions are my own. Thank you for supporting the brands that support Baran Bakery!


I made this for my birthday and it was amazing! My family loved it and the texture turned out perfectly creamy with such a fun, nostalgic flavor.
It is a great dessert for warm weather when you do not want to turn on the oven. I will definitely be making this again. Thank you for the recipe!