

Photography Boards DIY

Hi loves!
As you read in the title, today will be all about my photography boards.
I just recently discovered how important it is to have exceptional food photography as a blogger. Truth is, although we’d like to think people don’t judge books by their covers, let’s just be honest, we totally do.
& no one wants to bake an ugly cake. #truth…no offense, lol.
With that said, I still have a long ways to go! I did just finish Broma Bakery’s online foodtography course like this week to help me with my photos. It has helped SOOO MUCH! Highly recommend if you are pursuing anything related to food photography/styling/branding/marketing! It’s pretty basic level so start it as soon as you can!
To improve my photography I needed some backgrounds. I was just using white foam boards before but they get pretty dirty so instead of buying more of those I figured I’d try something new. The foam boards I had were also a bit glossy so the highlights show up super bright in photos & give a little reflection/glare. I know people love the erickson surfaces but I don’t feel like I’m at a point to spend that much on them. I also LOVE crafts so I figured I’d make my own & now I’ll show you just how I did it.
- The first thing I got was a $4 marble tile from Home Depot. It’s 12″x24″ which works for some of my photos but it is a little bit narrow so sometimes I need a larger board. So for the custom boards I bought a 5mm plywood that was 2’x8′ & had them cut it into two 2’x3′ pieces & two 2’x1′ so I ended up four separate pieces. You may not find the exact measurements you want but Home Depot cuts them free of charge! I would say 2’x2′ is too small for me & 4’x4′ is too large. Ideally I wanted 3’x3′ but I didn’t find that & this works pretty well for me now.
- I only painted the larger pieces (front & back to give me four uses instead of two) & I will probably do the smaller pieces as well in the near future. Haven’t decided on a color yet, lol.
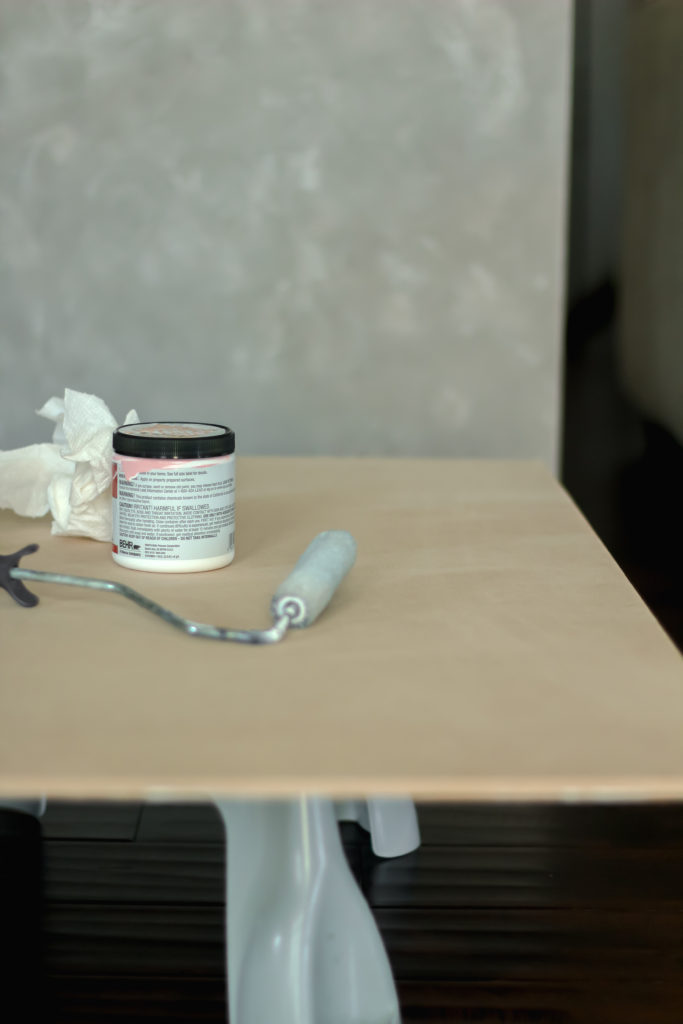
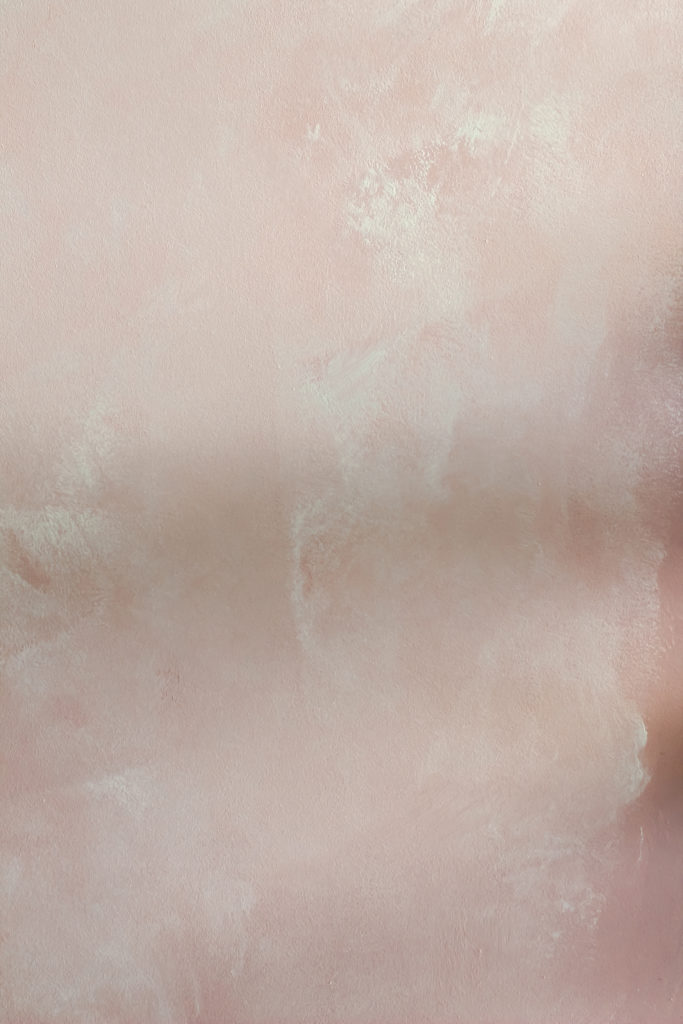
- If you want added texture, I bought this patch ‘n’ paint – lightweight spackling & spread it out UNEVENLY throughout your board. I have a video highlight on my instagram page for this if you want a visual for reference. Let that dry for a couple hours or so & then you can paint over it. I only did this with the white board to give it some texture. I didn’t apply to the pink & grey boards because I was too eager to paint & the color combinations itself gives these boards texture. Obviously, you can apply it to all your boards if you want.
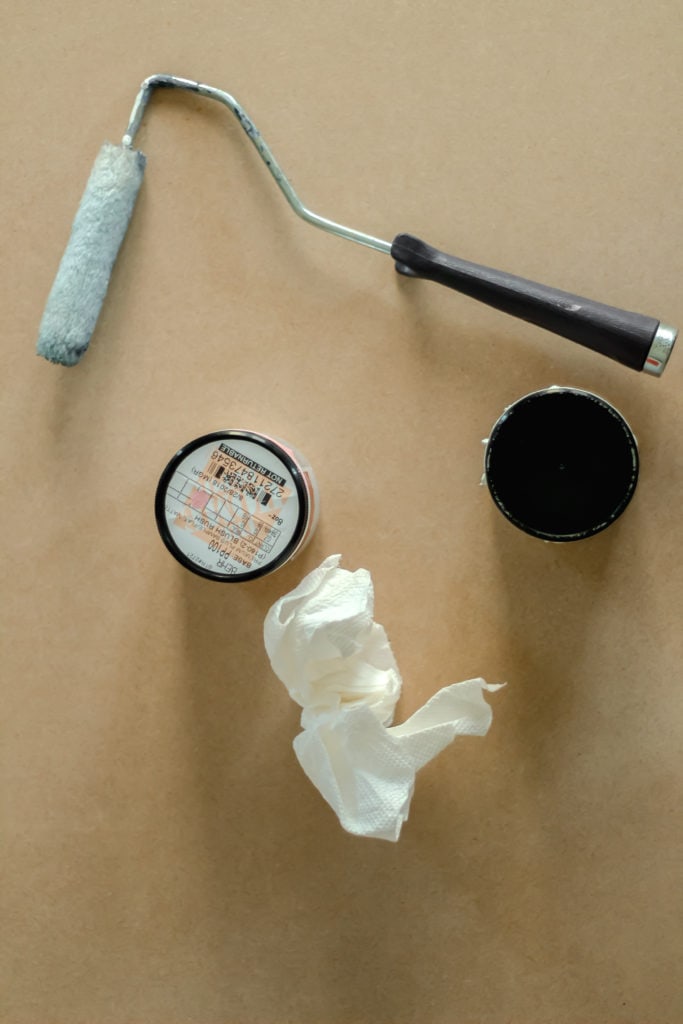
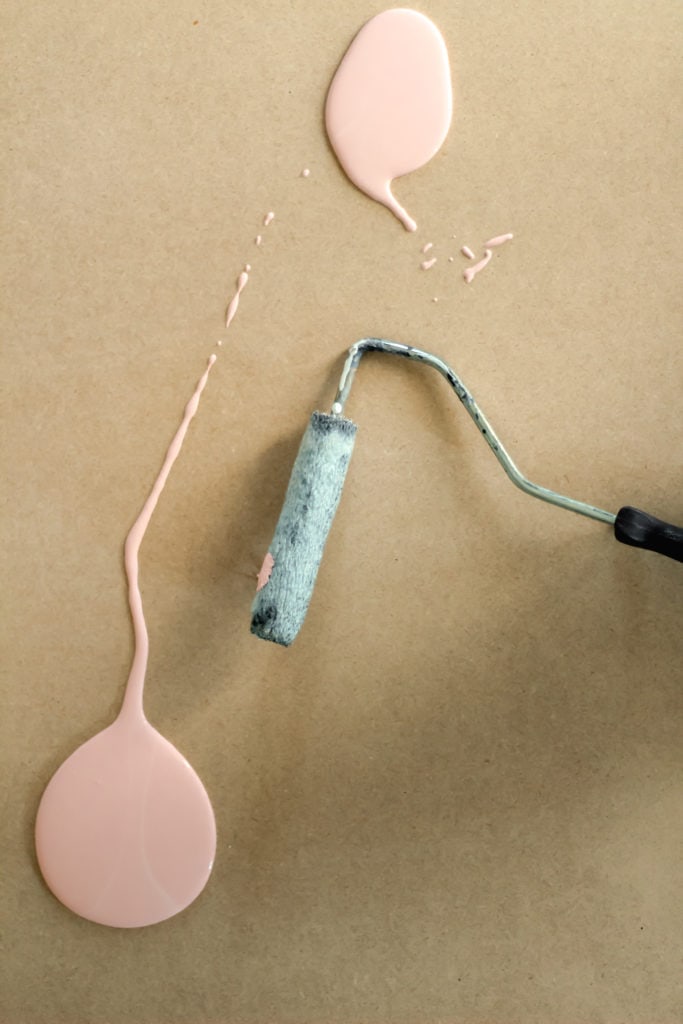
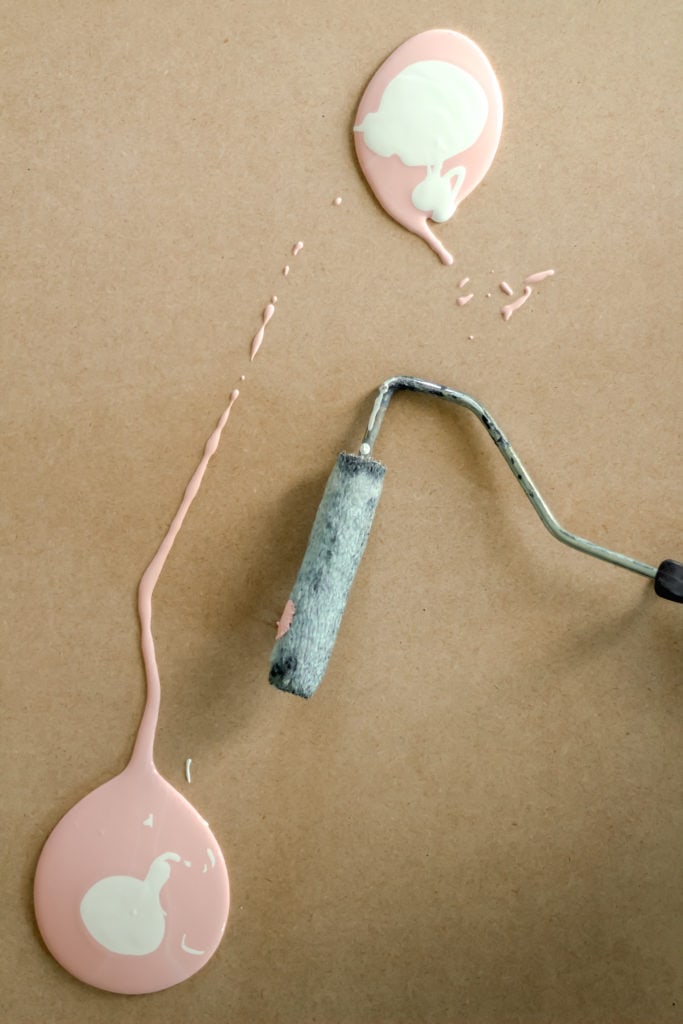
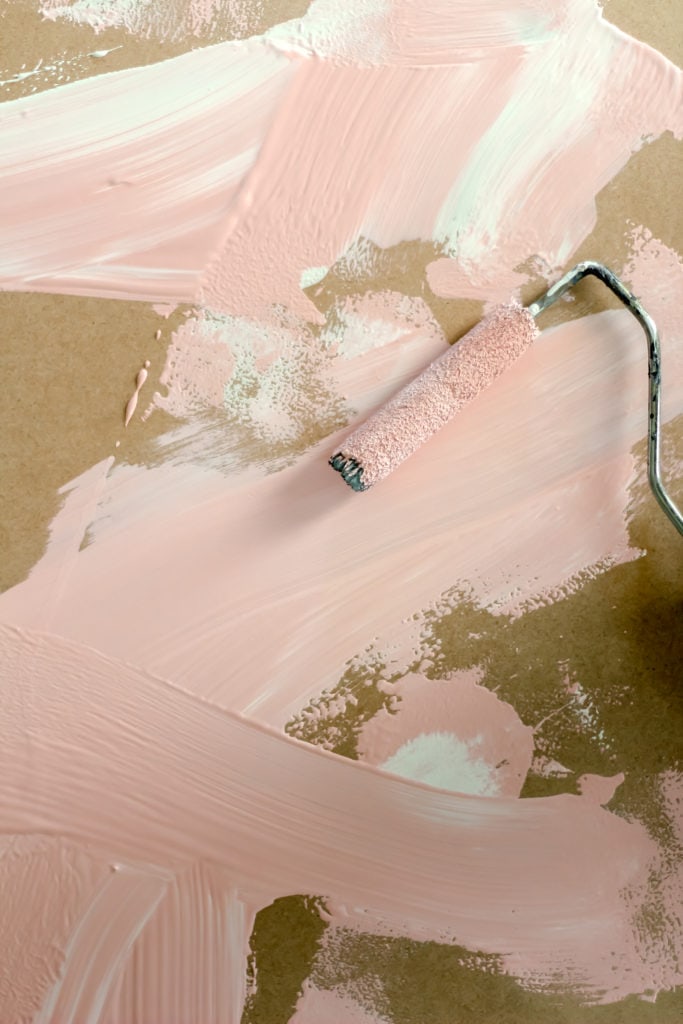
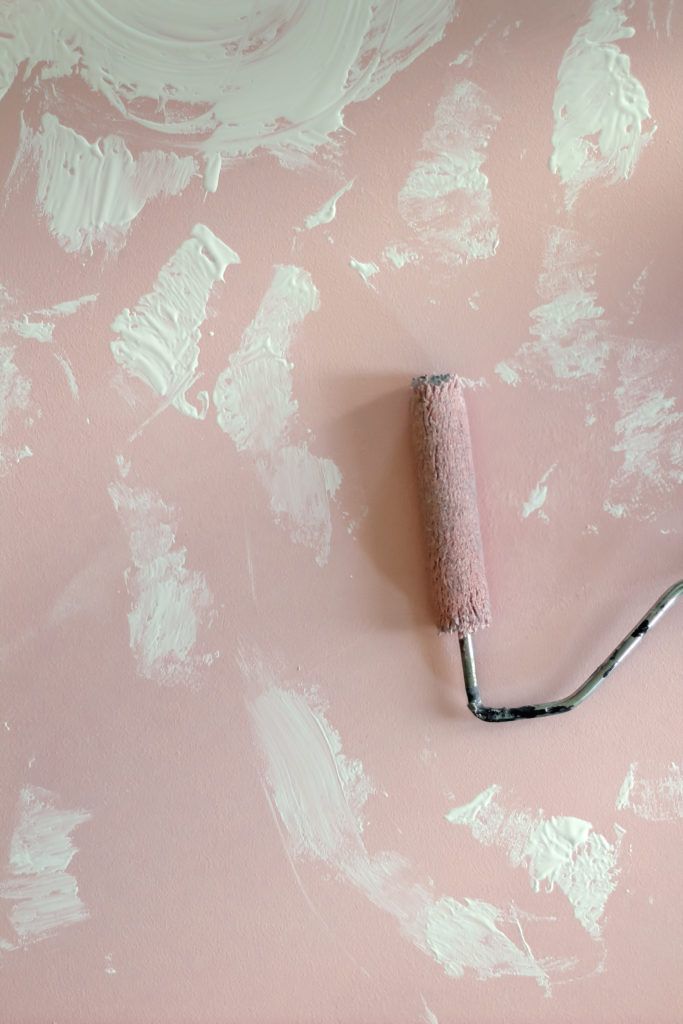
- For paint, I just got the sample paints by Behr. I got two whites, a grey & pink. I went a little darker than I actually wanted because I wanted to mix some with the white to create more contrast/textures. So basically all I did was pour some pink (or grey) on my board & I rolled it out with a mini roller. They have different options of roughness, obviously, buy a rougher one if you want more texture. I used an old one I had at home that was already in pretty rough shape.
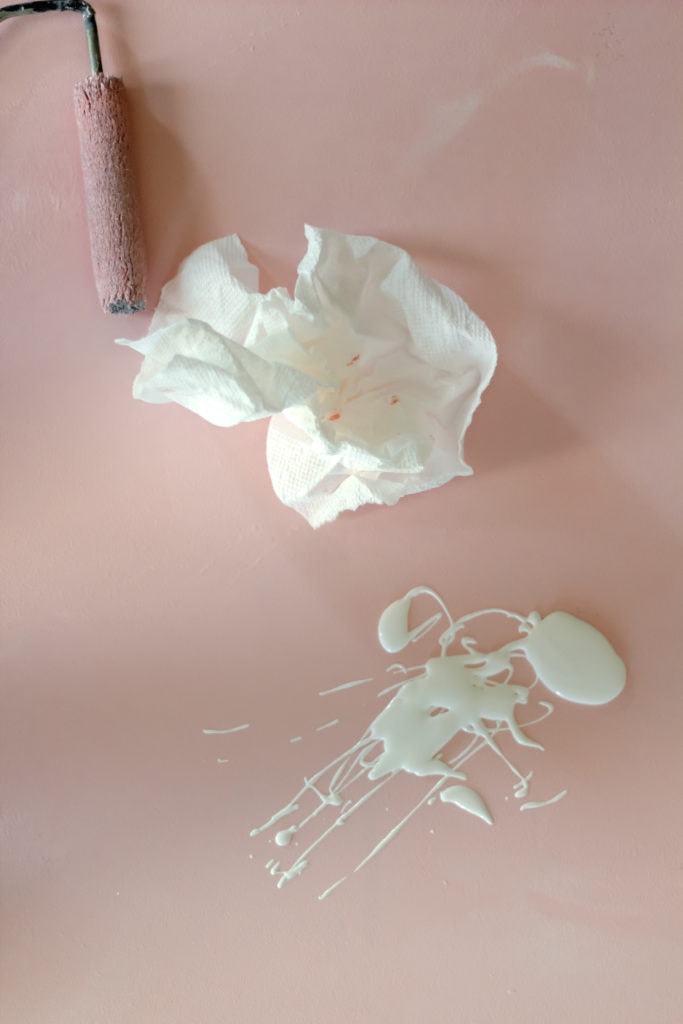
- Once you covered your board in desired paint color, while it’s STILL WET, drop some white paint drops throughout the board. Use a cloth/sponge/paper towel to dab the white around & if it’s too patchy for your liking you can LIGHTLY go over it again with the roller. You can redo this like 100 times if you don’t like how it turns out. Again, there’s a video highlight on my instagram for better reference.
- If you want to add some layers feel free to get a different color spray paint & lightly spray it on top or in different spots.
- Then let them dry completely & spray with a MATTE finisher. You don’t want any gloss/reflection on your background for food photography.’
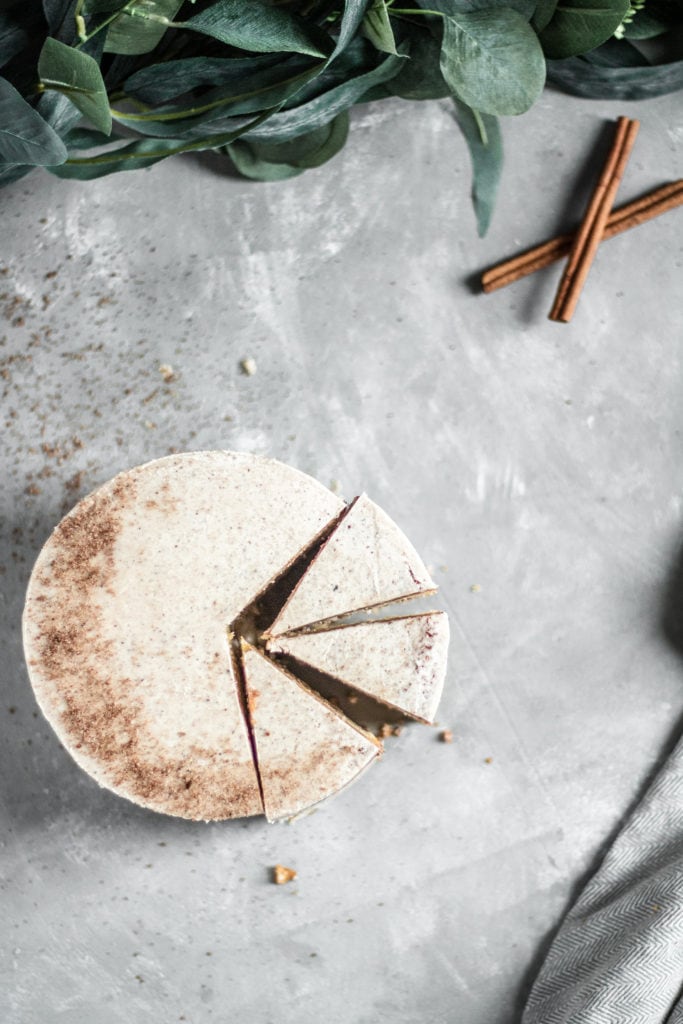
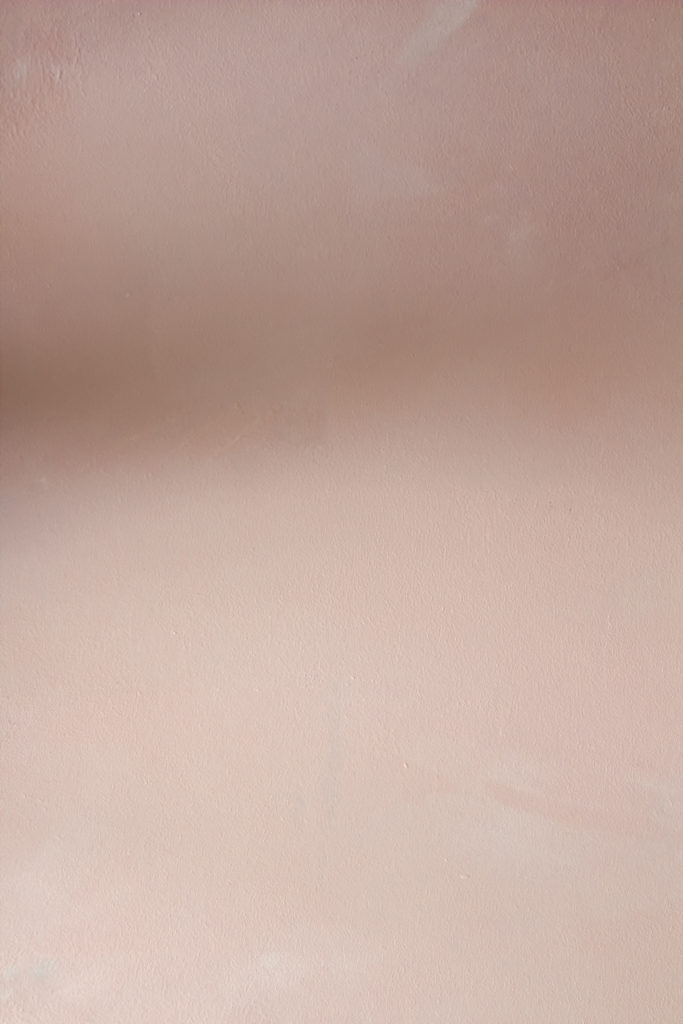
You can see the results in the two photos above. The unicorn cake has the white board (with the patch ‘n’ paint) as the background & the pink board as a surface & the chai cake has the grey board as a surface.
Words of Wisdom: When you take food photos, because you’re always focused on the food & not the background, the background will appear more subtle than it actually is. So when you think you’re done, always add a little more, whether it’s contast, texture, color, etc.
& you have it, your very own custom food photography boards for less than $50 (for like 5 of them)! I hope you guys enjoyed this post, if you have any questions you can comment own below & I’ll get back to ya. As always,
Love, B
Hi Kristina,
So glad you like it, and yes I just used white and medium grey !
I LOVE this! Thank you! For your grey backdrop did you just use grey and white paint?