
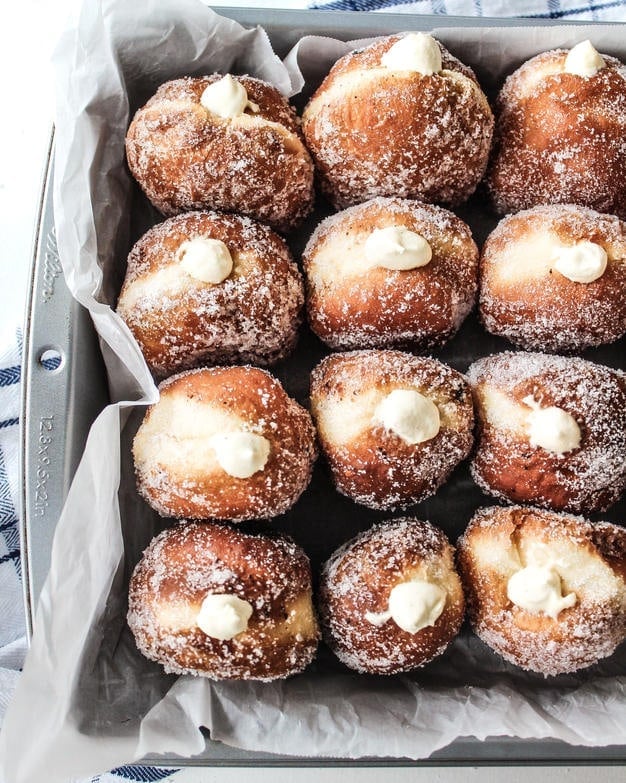
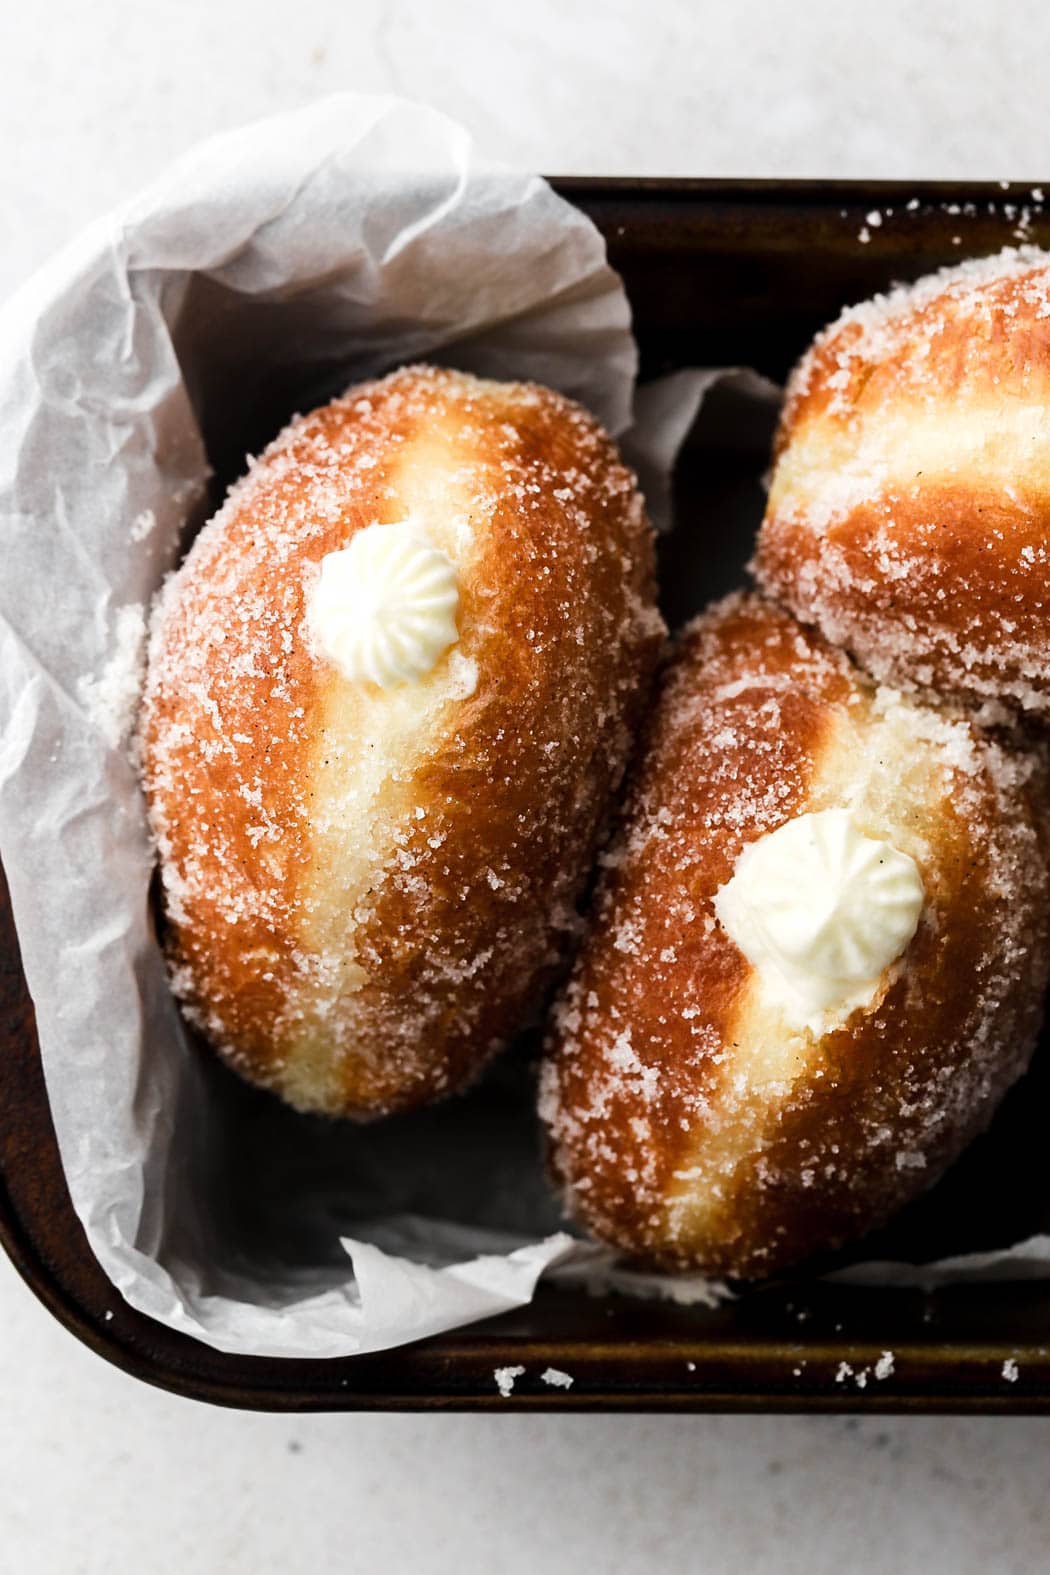
Vanilla Brioche Donut
 Hellllllooooo lovieesss!
Soooo excited to share these beauties with you!
I’ve been wanting to make them FOREVERRR but honestly…I was intimidated. I feel like every culture has their own way of making these so you can call them whatever you’d like but I think in the English langguaaagee they’re called “Brioche Doughnuts”.Growing up, my mom made “gogosi”, which were very similar to these but she filled then with apricot jam before frying them. Deeelisshhhh!
I’ve been seeing these everywhere on social media. Everyone posting pictures of these from Mr. Holmes Bakehouse or Paderia Bakery was making me a little jealy so I decided to make them myself, finally.
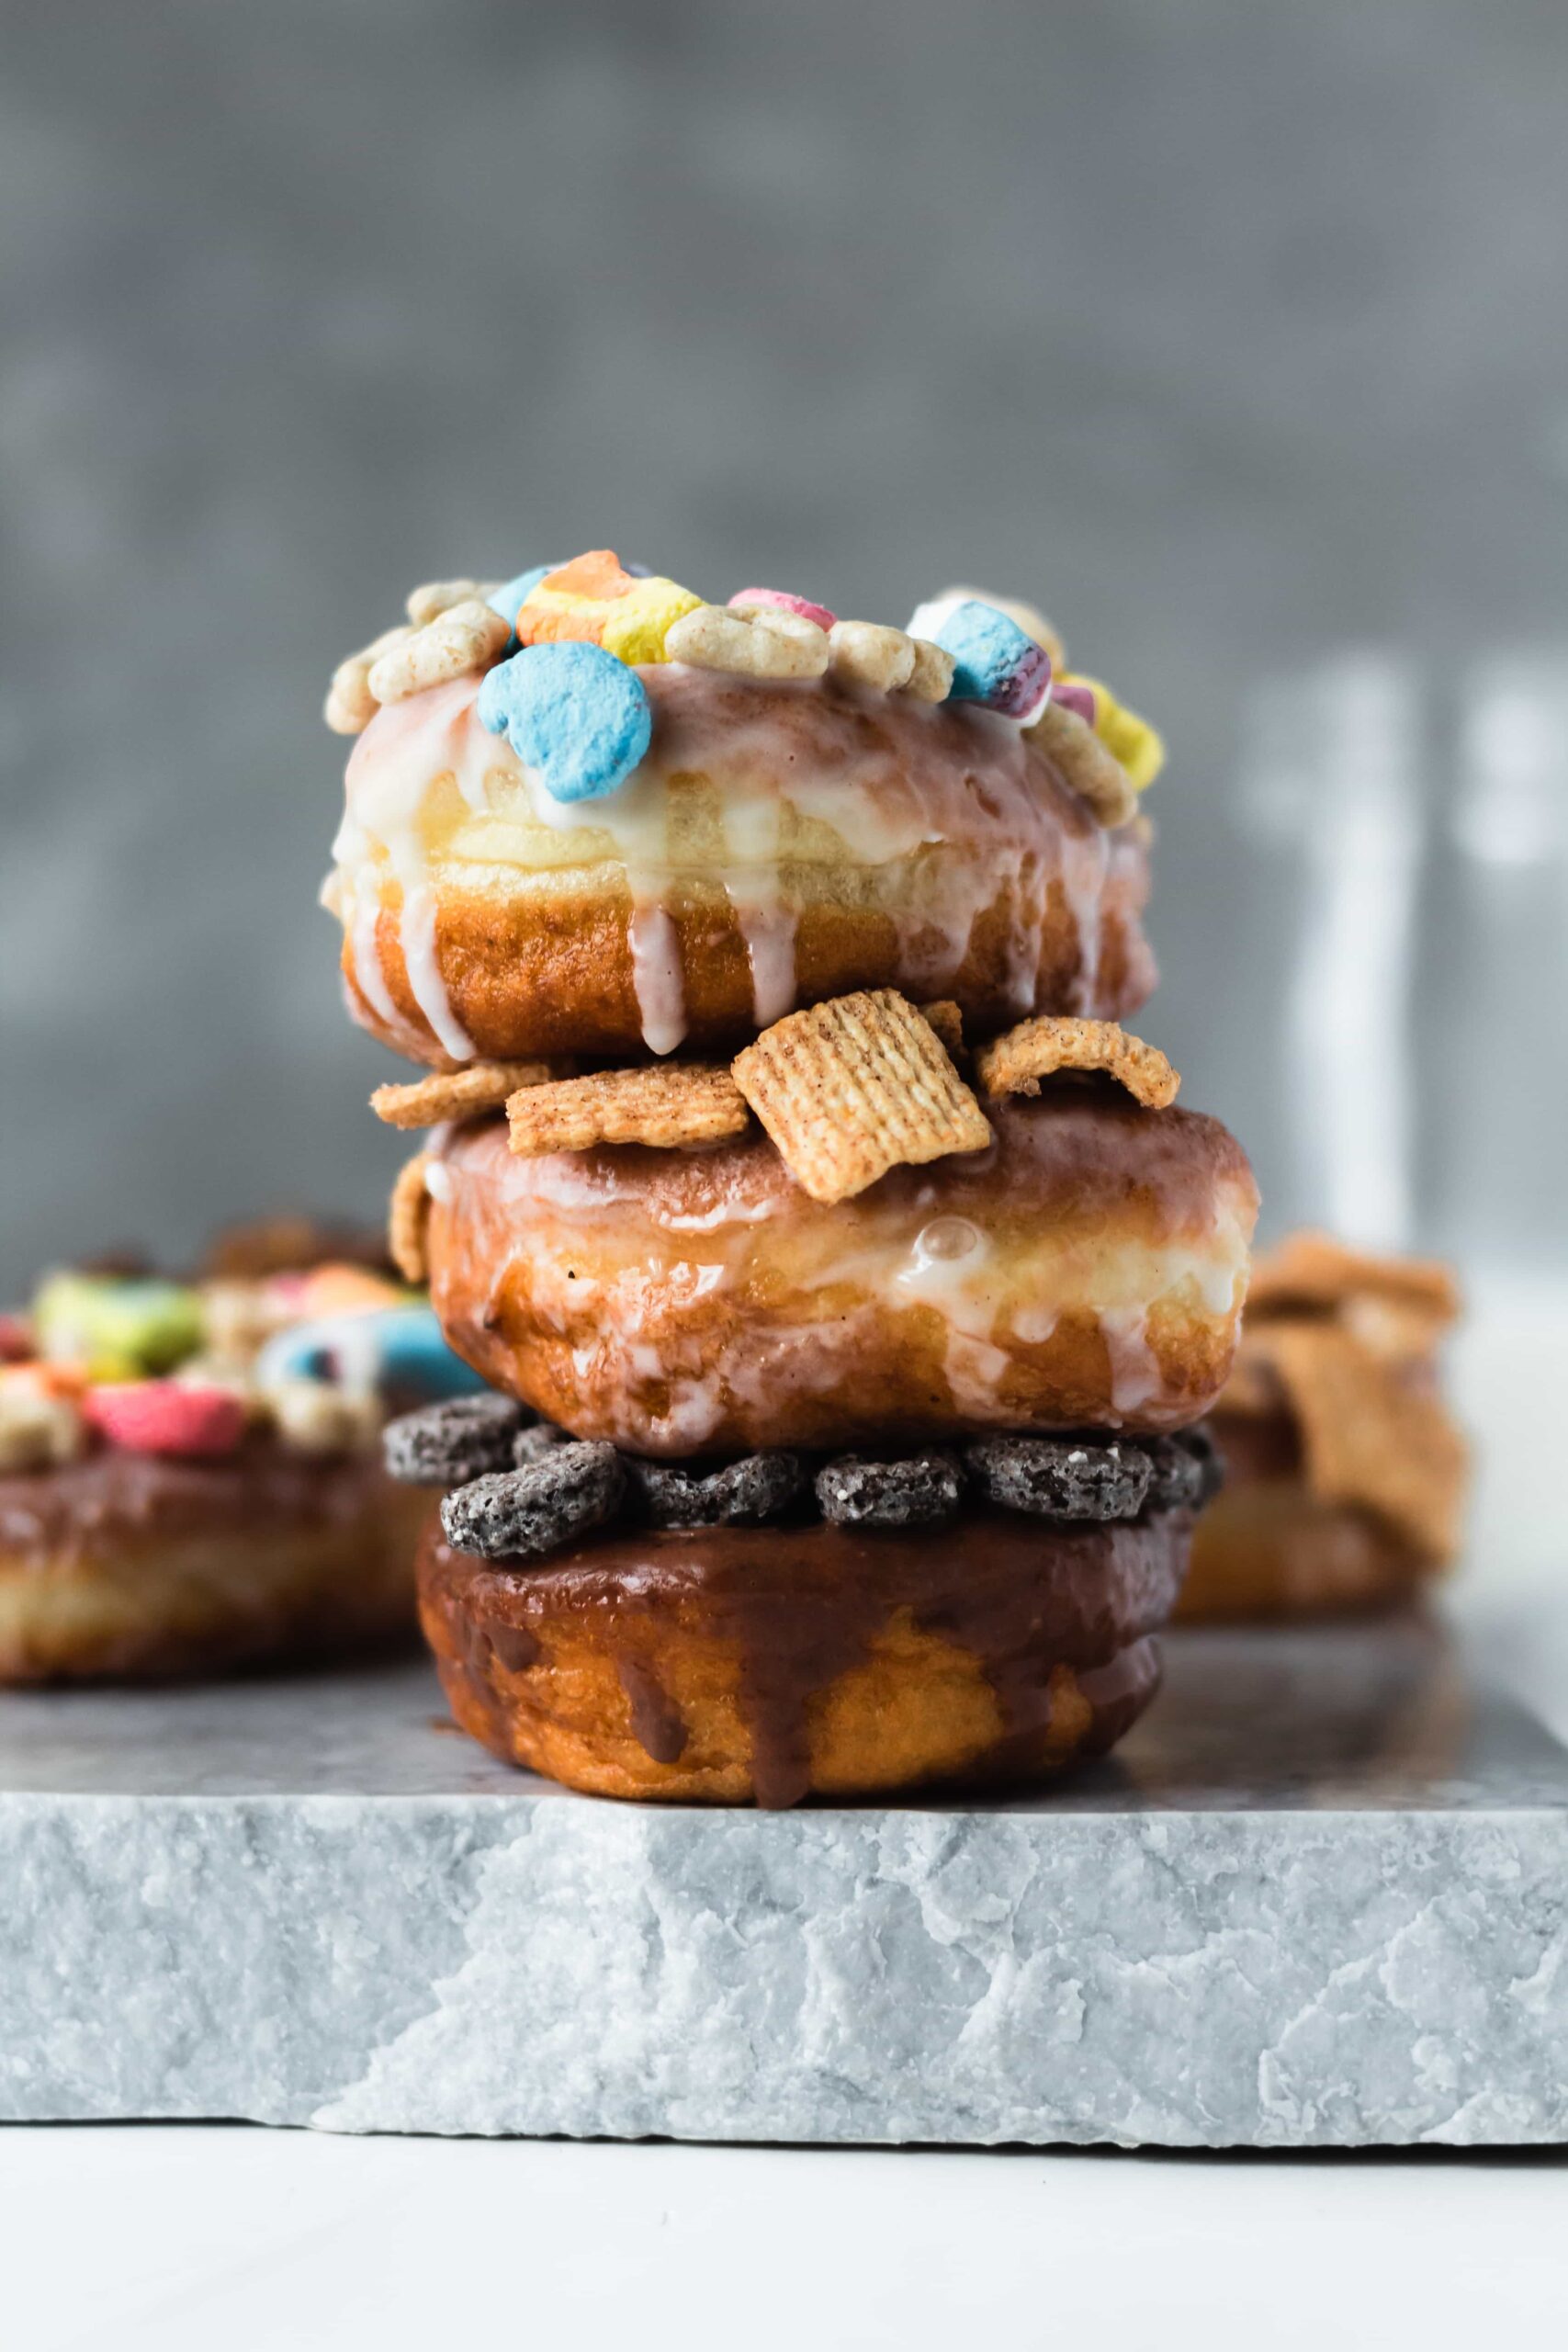
Maybe I should start a copycat series, where I just make all these beautiful looking treats that everyone is posting, from around the world, in my kitchen?! Now, I don’t always know how they taste but I think I can envision most of their deliciousness. What do you guys think?! Let me know down below if you would like to see something like this!
Back to the topic. I wanted these doughnuts to feel like little pillows, so I looked up a million different recipes and compared them all to my mom’s gogosi and created this beautiful concoction of pillow-soft, custard-filled, brioche doughnuts.
You‘re Welcome.  Doughnuts or donuts?! doughnuts seem fancier… we’ll go with doughnuts.


 BRIOCHE DOUGHNUTS
Yields ~ 50 doughnuts | Prep Time: 25 minutes + overnight | Cook Time: ~20 minutes | Total Time: Forever
INGREDIENTS:
Doughnuts
- 5 ½ cups flour + flour for dusting
- 3 eggs, room temp.
- 1 package (2 ¼ tsp) active dry yeast
- ¼ cup sugar + 1 cup for coating
- ½ cup butter, softened and cubed
- 1 ¾ cups warm milk
- 1 tsp salt
- 1 tsp vanilla
Custard
- 2 egg yolks
- 1 tsp. vanilla bean paste
- 2 tsp. corn starch
- 2 tbsp. sugar
- 1 cup milk
- 3 oz. cool whip *optional
DIRECTIONS:Doughnuts
- Warm up milk for about a minute in the microwave (or until ~110f).
- Pour yeast into milk let it sit for a few minutes while combining flour, sugar and salt in the bowl of a mixer stand mixer.
- Pour in milk, vanilla and eggs over dry ingredients and mix with hook attachment.
- Slowly add in cubes of butter and let it knead for about five minutes.
- Dough may be pretty soft and sticky.
- Cover and let proof in a warm environment for 2-3 hours, until doubled in size.
- Press down a little and cover with lid or plastic wrap and refrigerate overnight. Dough will become more sturdy and easier to work with.
- Dough will be pretty sticky but not as soft after refrigerating so make sure to flour your surface well.
- Roll out dough until it’s about 1/2 an inch thick and cut out ~3″ circles.
- Allow circles of dough to proof for another ~30 minutes.
- Heat up oil in large pot.
- Place 3-4 circles of dough on oil, they should float.
- Once browned (~1 min), flip over.
- Remove and place on towel to get excess oil off
- While still hot, coat in sugar or cinnamon sugar.
- Cut slits into top of doughnuts and use baking pipe to pipe in custard.
Custard
- Combine eggs, cornstarch, vanilla, and sugar in bowl, whisk together.
- Bring milk to a boil in saucepan, whisking constantly.
- Temper eggs by slowly adding in milk into mixture.
- Pour all of mixture back into saucepan and bring to a boil, while whisking.
- Remove from heat and pour into bowl.
- Cover with plastic wrap down to the custard, leaving no air between custard and plastic, to prevent skin from forming.
- Refrigerate overnight.
- If you want it lighter and fluffier, add some cool whip and use a baking pipe to pump into doughnut.
LOVE NOTES
- I’m sure you can do this by hand but I’ve only done them in a stand mixer.
- I proof my dough in front of the fireplace.
- I used a mason jar with about a 2 1/2 -3 inch opening to cut my circles and they grew perfectly.
- When cutting circles, place them on a towel or on something that isn’t as cold as the counter.
- Make sure to have a good amount of oil when frying, you don’t want them being too close to the bottom.
- Once oil is hot, keep it on medium heat so you don’t risk burning the outside and having raw dough in the center.
- You can use any sort of filling for these, I actually preferred them without filling, just dipped in cinnamon-sugar.
- Best eaten fresh but store in an airtight container to maintain softness.
- Custard should be refrigerated so if possible, fill doughnuts on day of serving.
 Guys. If you’re not going to enjoy these doughnuts then at least you enjoyed these photos of them…I hope…Anywayyyyy, if anyone is interested in this ‘copycat’ idea of recreating fabulous desserts at home, let me know! If notttt, then I guess I’ll just do it for my own pleasure. Feel free to send me any ideas/requests, and if you have any questions, comment down below! As always, have a blessed day!
Love, B


These look amazing. Is it possible to freeze unused dough for later? Apologize if this is in the article.
Hi Marissa, I haven’t tried it but generally that works with most recipes if freeze it before proofing the second time. Then bring back to room temp and finish the proofing.