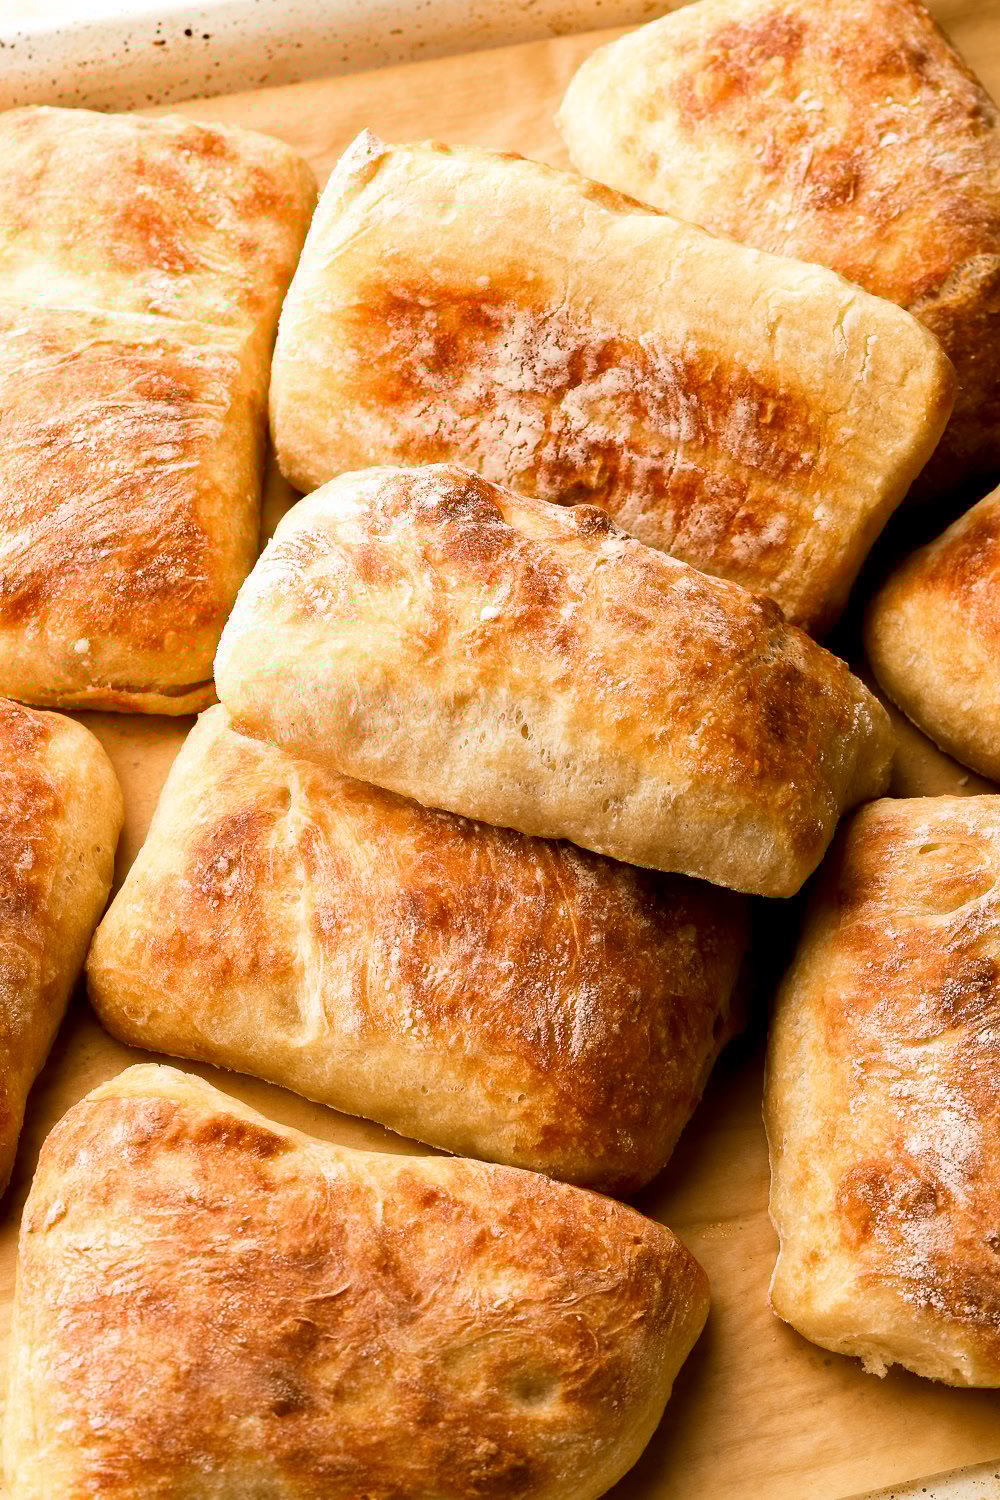
Homemade Pizza Dough
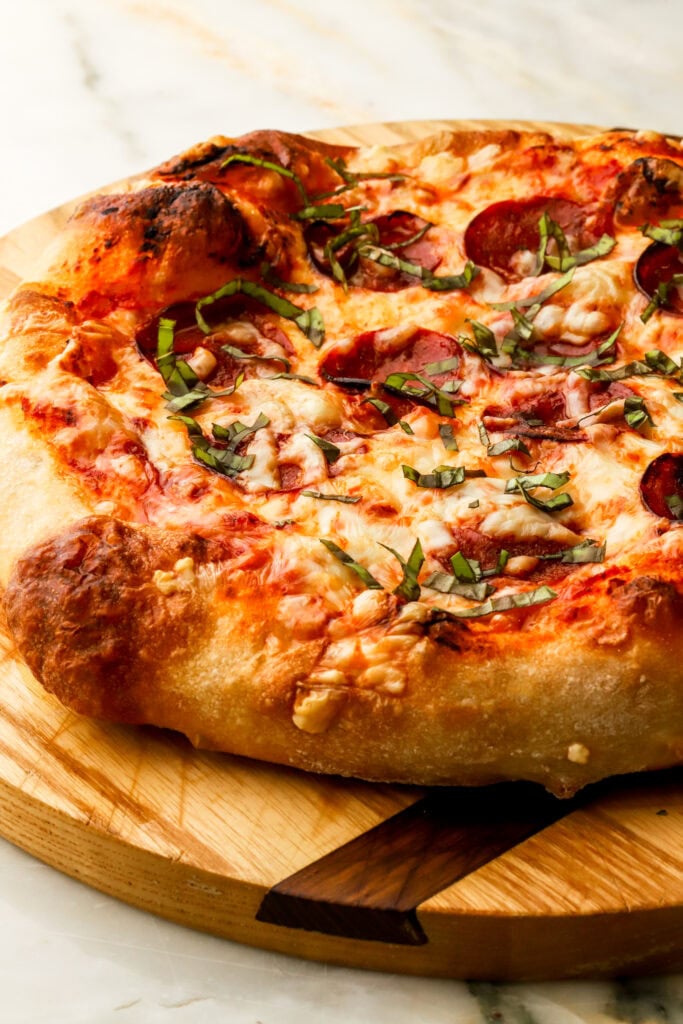
This easy homemade pizza dough produces an airy, chewy crust with a crisp bottom and works with nearly any pizza-baking method.
Stretch it into a traditional pizza, proof it in a cast-iron skillet or use it to make a thick, focaccia-style pan pizza.
It can be made the same day or left in the fridge overnight for an extra airy crust.
Ingredients & Substitutions
*The full recipe is in the recipe card at the bottom!
- Flour – I use bread flour, but I’ve also made this with all-purpose flour and it works well. Bread flour produces a slightly stronger dough, making it easier to handle and giving the crust a little more chew.
- Yeast – Both active dry and instant yeast work well, and I don’t activate either one unless I’m worried it may be expired.
- Salt – I use fine sea salt, but table salt also works.
- Water – Weigh the water too. Even a small difference can noticeably affect how sticky the dough is and how easy it is to handle. This is a 72% hydration dough, meaning the water weighs 72% as much as the flour. For example, if you want to scale the recipe up or down – for 750 grams of flour, you’ll need 540 grams of water.
Make The Dough
This is the easy part friends.
- Mix all the ingredients together until a dough forms – I don’t like touching the dough before it comes together so I use my stand mixer with the hook attachment, just until the dough forms, then cover it and allow it to rest for 15-30 minutes.
- After resting, wet your hand with cold water and perform one series of stretch and folds – grab the dough and stretch it up as far as you can without it ripping, then fold it over itself. Turn the bowl 90 degrees and repeat for a total of four times.
- Allow the dough to rest for another 25-30 minutes and repeat with another round of stretch of folds.
- Choose your rising method:
- For same-day pizza: Cover the dough and let it rise at room temperature until doubled in size. With the smaller amount of yeast, this will generally take 3–6 hours, depending on the temperature of your kitchen. A warm kitchen will move things along faster, so use the size of the dough—not the clock—as your main guide.
- For overnight pizza—my preferred method: Cover the dough and refrigerate it overnight. The next day, remove it from the refrigerator and let it rise at room temperature until at least doubled in size. This can take several hours, again anywhere from 3-6 depending on the temperature of the room. The overnight dough is easier to handle and produces an especially airy crust, so this is my favorite method when I plan ahead.
Choose Your Bake Method
Shaping the dough depends on how you prefer to bake it so we’ll talk about that first.
Hand-Stretched
I typically make hand-stretched pizza when I want that puffy, pizzeria-style crust. Gently stretching the dough by hand preserves the air bubbles around the edge. Baking it on a very hot, preheated surface helps the crust rise quickly which results in an airy, chewy crust with a crisp bottom.
Pan Pizza
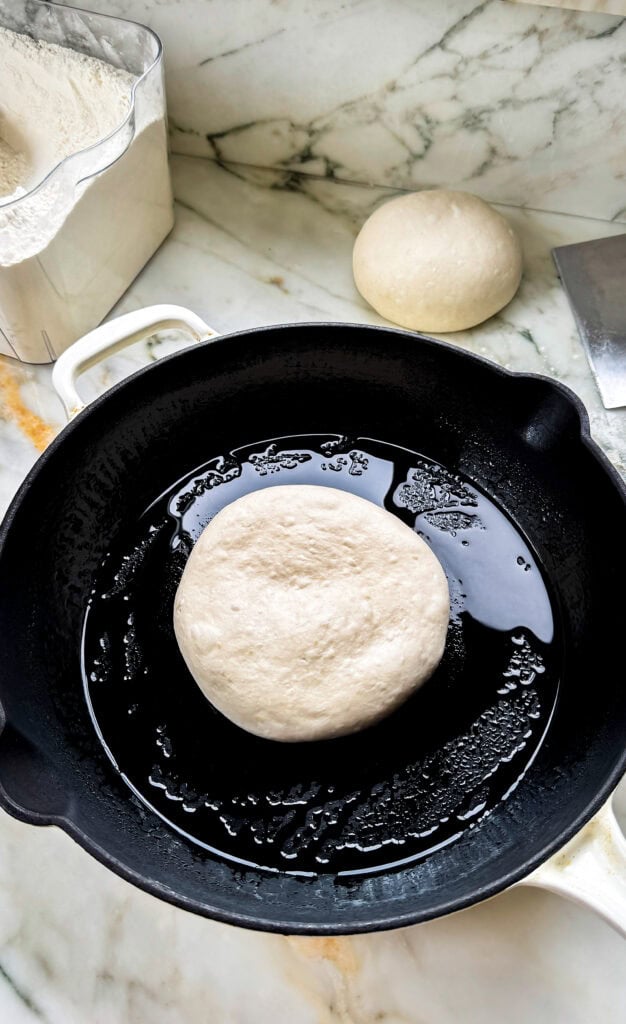
This is where the dough’s second proof is in the pan that it will be baking in. I typically use a 10” round cast iron like this one or a 9×13” baking pan.
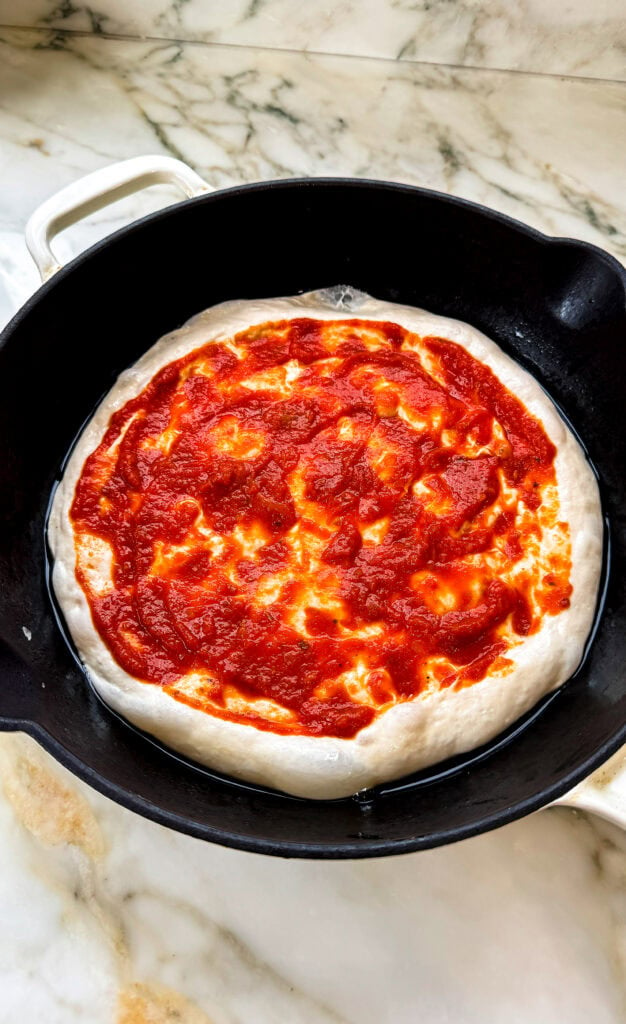
This creates more of a thick, pan-pizza situation and reminds me a lot of Domino’s Pan Pizza or Jet’s Deep Dish Pizza. Neither has much of a distinct outer crust – that’s up to you, if you want to take the sauce and cheese all the way to the end or leave a thicker crust.
Divide The Dough
This recipe makes about 840 grams of dough. How you divide it depends on the size and style of pizza you want to make—use the chart below as a guide.
I generally double the recipe and mix and match the sizes depending on what I’m making. A doubled batch makes about 1,680 grams of dough, which can be divided into two 420-gram portions, one 560-gram portion and one 280-gram portion.
Any dough you don’t need right away can be refrigerated or frozen for later.
Pizza Size & Baking Guide
These amounts are just starting points. The dough weights are a guide—a little more or less won’t make or break the pizza. You can also adjust the sauce and cheese depending on your toppings and how saucy or cheesy you like your pizza.
I bake all of my pizzas at 500°F (260°C) in a conventional oven – NO FAN!
| Pizza Style | Dough | Pan/Size | Sauce | Cheese | Bake Time |
| Small hand-stretched | 280g | About 9–10 inches | ¼ cup | 3–4 oz | 10 minutes |
| Medium hand-stretched | 420g | About 12–13 inches | ⅓–½ cup | 4–6 oz | About 12 minutes |
| Small pan pizza | 280g | 8–9-inch pan | ¼ cup | 3–4 oz | 12–15 minutes |
| Thicker pan pizza | 420g | 10-inch pan | ⅓ cup | 4–5 oz | 12–15 minutes |
| Medium pan pizza | 420g | 13-inch pan | ½ cup | About 6 oz | About 12-15 minutes |
| Large pan pizza | 560g | 9×13-inch or 13-inch pan | ½–⅔ cup | 6–8 oz | 16-18 minutes |
Shape And Proof The Dough
Once divided, shape the dough according to your chosen baking method.
For Hand-Stretched Pizza
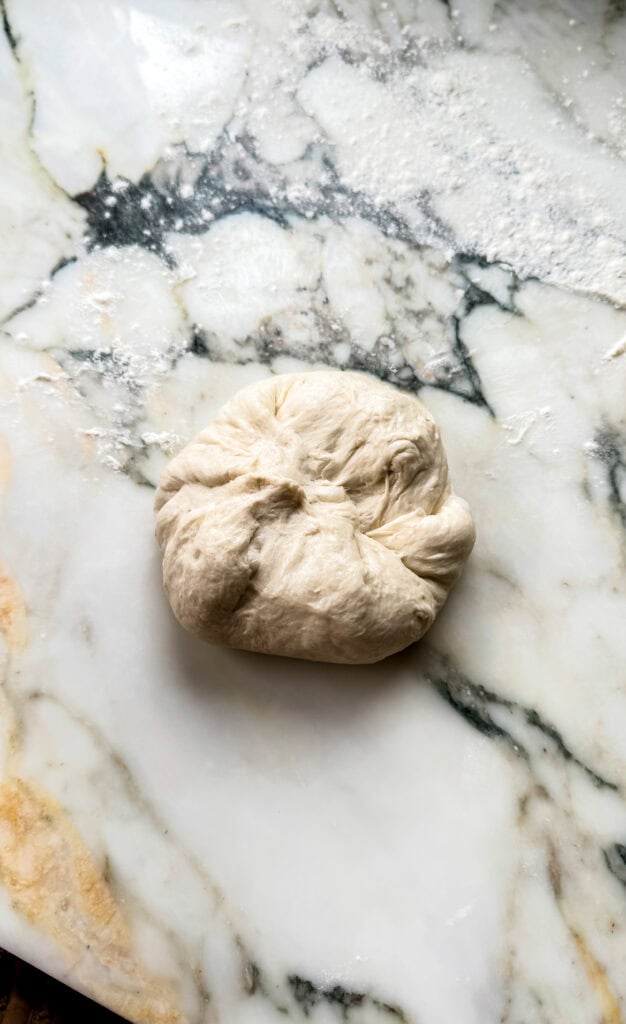
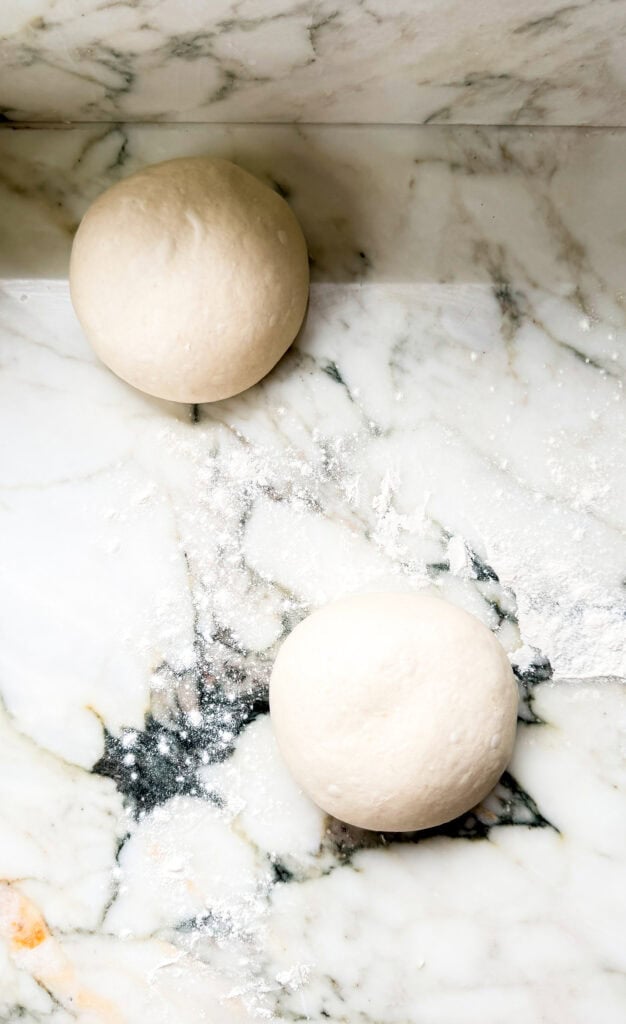
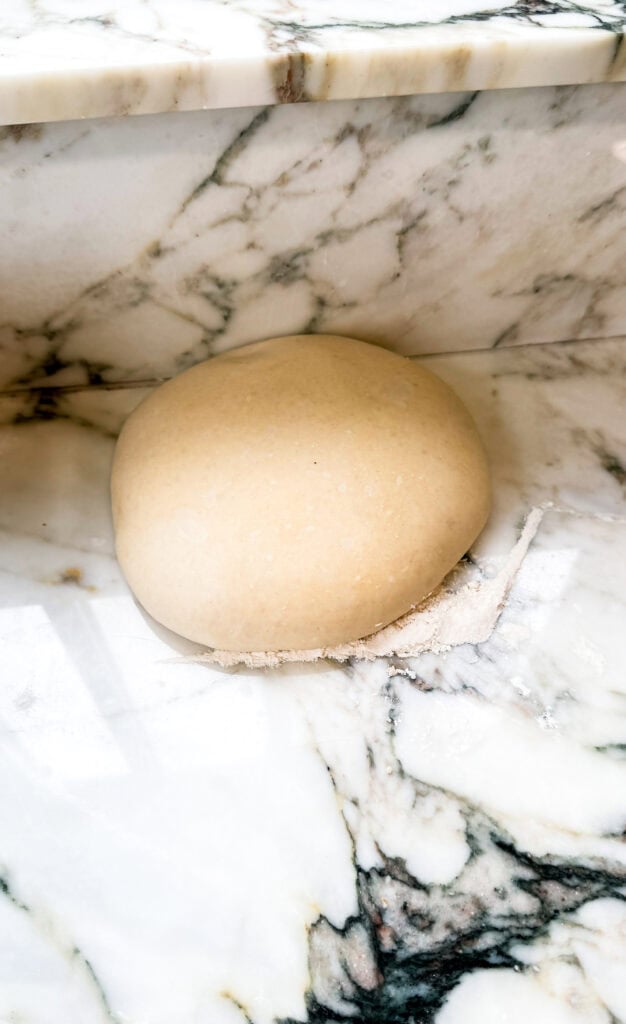
Shape each portion into a tight ball by pulling the edges underneath itself until the top is smooth. Place it on a lightly floured surface, cover and let it rest at room temperature for 1–2 hours. The dough should look puffy, feel relaxed and stretch easily without springing back.
Meanwhile, place a pizza steel or stone on the lowest oven rack and preheat the oven to 500°F (260°C) for at least 30 minutes.
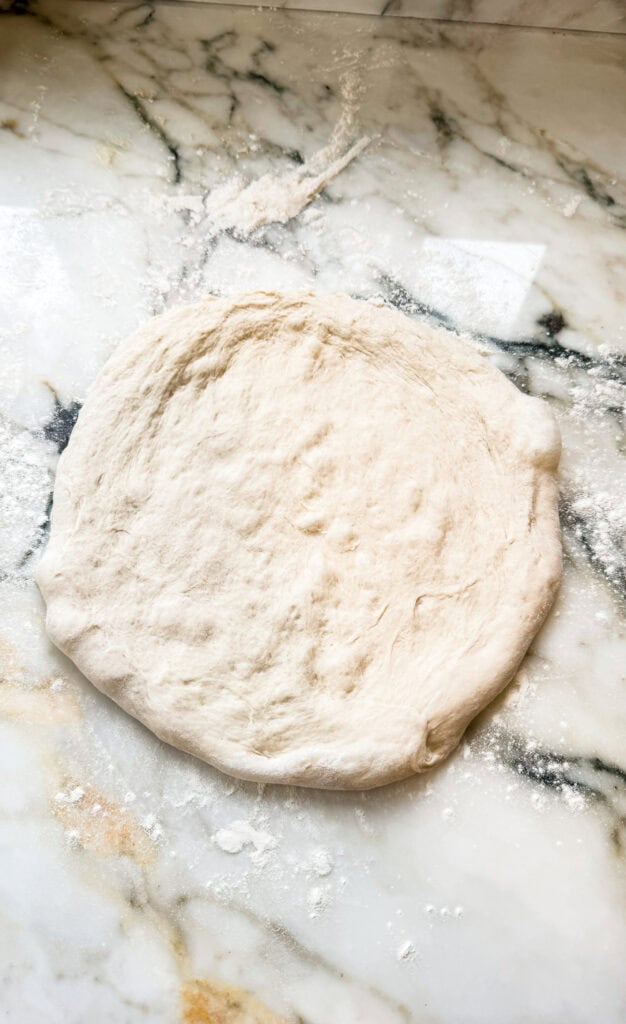
Lightly flour your work surface and hands. Gently press the dough outward from the center, leaving about a 1-inch border untouched for the crust. Lift the dough and carefully stretch it over your knuckles until it reaches your desired size. Avoid using more flour than necessary because excess flour can make the bottom crust dry or tough.
Transfer the stretched dough to a pizza peel or a sheet of parchment paper.
For Pan Pizza
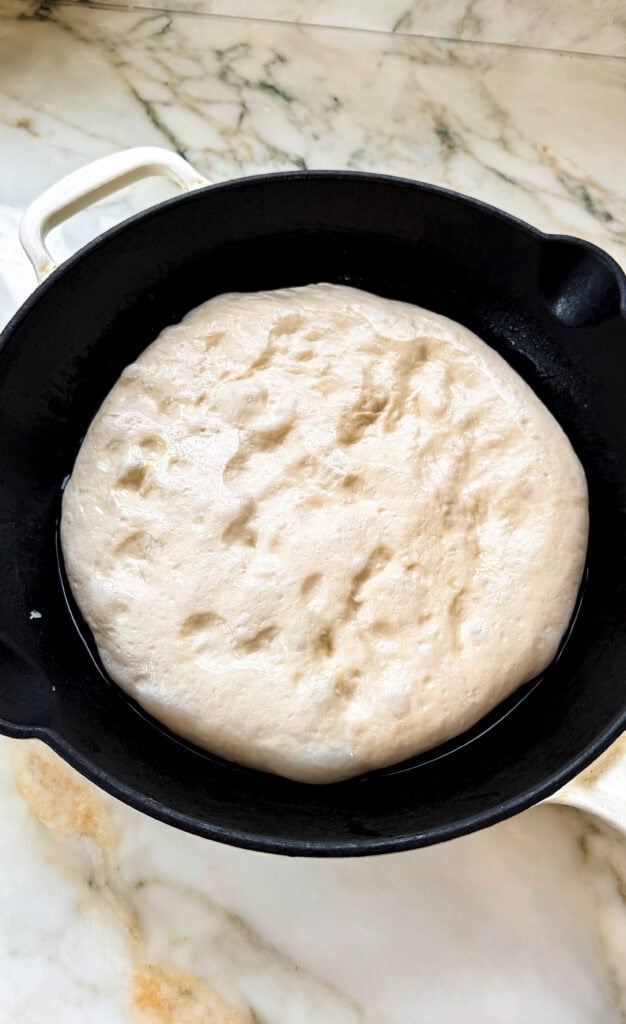
Coat the bottom and sides of your pan with a thin layer of olive oil. Shape the dough into a ball for a round pan or a short log for a rectangular pan, then place it into the prepared pan and turn it over once to lightly coat both sides in oil.
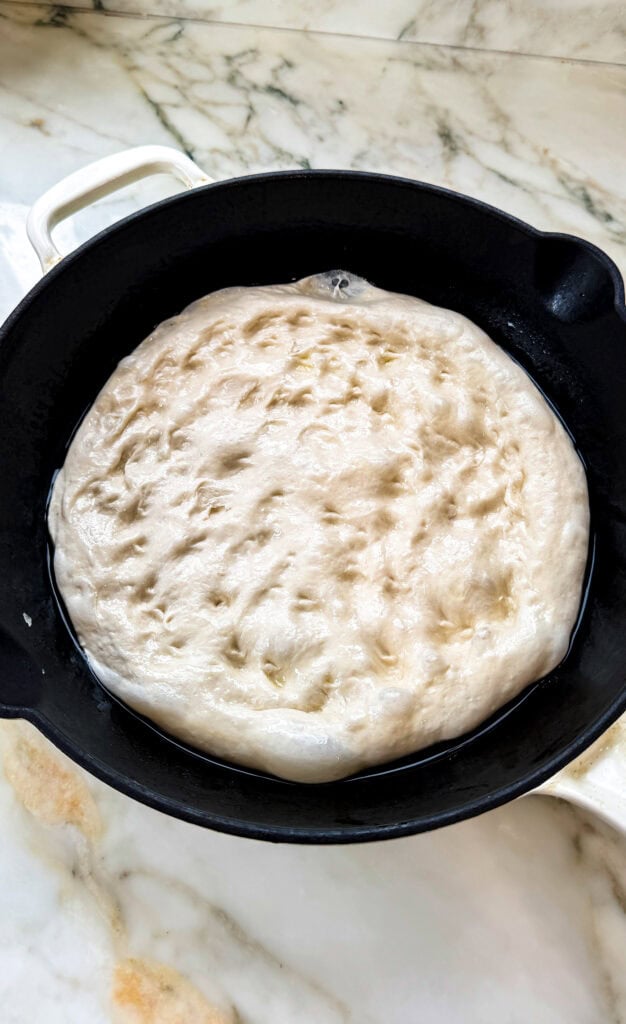
Cover the pan and let the dough proof at room temperature for 1–2 hours, until it looks puffy and relaxed.
Use your fingertips to gently dimple and stretch the dough toward the edges of the pan. If it springs back or won’t reach the edges, let it rest for another 10–15 minutes before stretching it again.
Have the oven preheating to 500°F (260°C).
Let’s Talk Cheese
I tested fresh mozzarella, pre-shredded mozzarella and freshly shredded, low-moisture mozzarella. Freshly shredded from a block is the clear winner—it melts well without making the pizza soggy or browning before the crust is baked.
Fresh mozzarella releases too much water and can make the center soggy. So I recommend using it sparingly on the pizza and/or draining and blotting it before adding to the pizza.
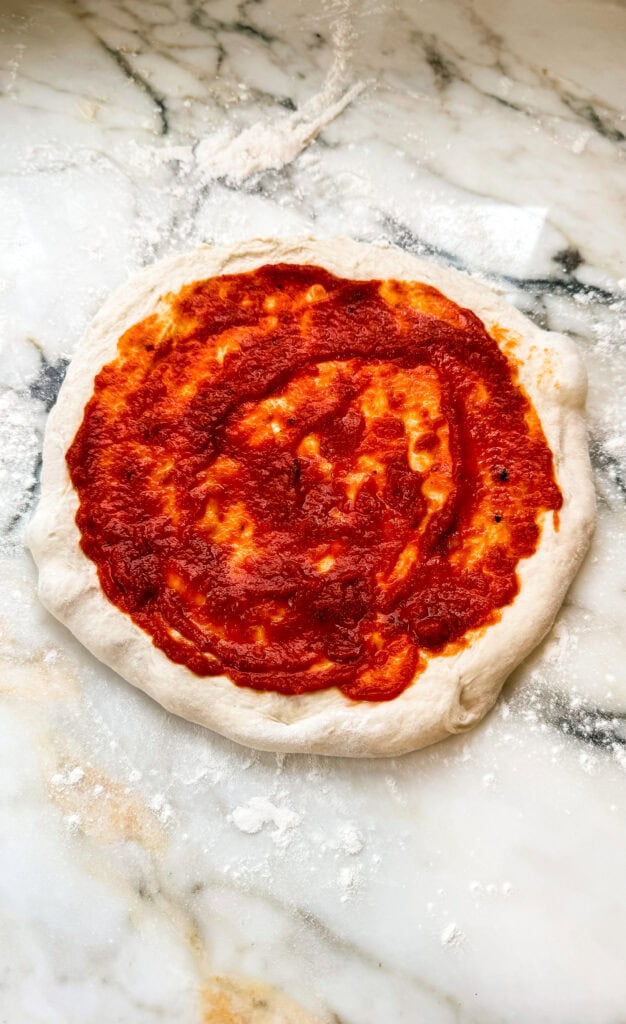
Pre-shredded mozzarella can work fine but it browns too quickly – it’ll be black before the pizza is baked so I recommend adding it about halfway through the bake. I simply prep my dough like usual, add the sauce and lightly dock the center by poking it a few times with a fork so it doesn’t puff up as much in the center of the pizza and bake it for 5-7 minutes. Then add the cheese and bake for another 5-7 minutes.
In terms of measurement, I did measure just to give you numbers (in the chart) but this is something you should measure with your heart lol.
Sauces & Toppings
Pizza is personal, so use whatever sauce and toppings your heart desires.
For sauces, I try to keep the consistency similar to marinara. For example, I make a Caesar-inspired white sauce with cottage cheese, but thin it with water until it reaches the consistency of marinara. I do the same with pesto—otherwise it’s too thick and it’s harder to spread over the raw dough and the pizza can feel a little dry.
I’ve included rough amounts in the chart for each pizza size.
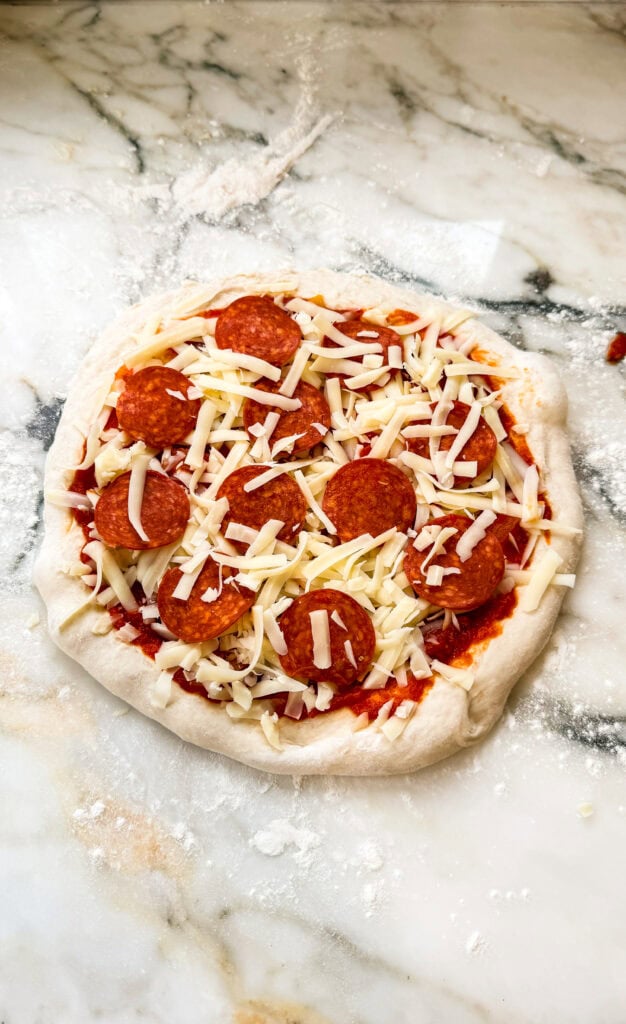
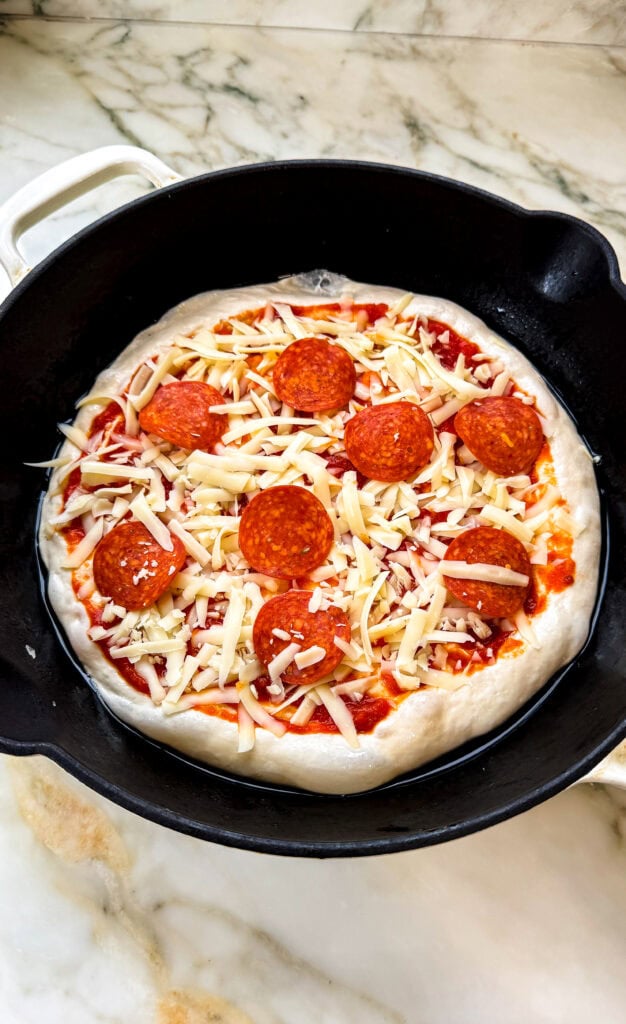
My general rule for toppings is to tuck anything that’s already cooked or likely to burn underneath or into the cheese.
- Layer pepperoni into the cheese so the edges don’t burn.
- Tuck thinly sliced onions underneath the cheese.
- Cook bacon first, then layer it underneath the cheese or add it on top after baking.
- Ground beef and chicken should also be fully cooked before going on the pizza. I layer them underneath the cheese so they don’t dry out while the crust bakes.
Don’t overload the pizza, especially in the center, or the dough may have trouble baking through. For hefty toppings like brussel sprouts, chicken, etc. I just add to the pizza after baking or for the last couple minutes of bake time.
Bake The Pizza
I bake all of my pizzas at 500°F (260°C) in a conventional oven. Just make sure your pan is rated for that temperature—cast iron and most uncoated metal pans are fine, but some nonstick pans are only rated to 450°F.
Every oven bakes a little differently. I’ve used ovens that burned the bottom before the top was browned and others that did the exact opposite. In my current oven, the bottom rack works best. Dark pans and convection ovens may brown the pizza faster, so keep an eye on it and adjust the rack placement or baking time as needed. It may take more than one attempt to get it just right in your oven.
I also don’t bake pizzas on two separate racks at once. If I bake two together, they need to fit side by side on the same rack.
Hand-Stretched Pizza
Slide a pizza peel underneath the dough. I like that one specifically because you can kind of shake off the excess flour through the slits. Then slide the pizza onto the preheated steel or stone.
If you shape it on parchment, you can bake it directly on the paper or slide the parchment out once the crust has set (if possible – quite difficult).
Bake until the crust is deeply golden, the cheese is melted and the bottom is crisp and browned – about 10–12 minutes, depending on the size of the pizza—see the chart.
Remove the pizza from the oven and transfer it to a cooling rack for a few minutes. This allows steam to escape so the bottom stays crisp instead of becoming soggy on a cutting board.
Pan Pizza
Bake for 12–18 minutes, depending on the size and thickness of the pizza—see the chart above for a more specific times.
To check the bottom crust, I usually slide a spatula underneath the pizza and carefully lift it—the bottom should be fully baked and golden brown. For a thicker pan pizza, you can also insert a digital thermometer into the center of the crust from the side. It should register at least 195°F (91°C) when fully baked.
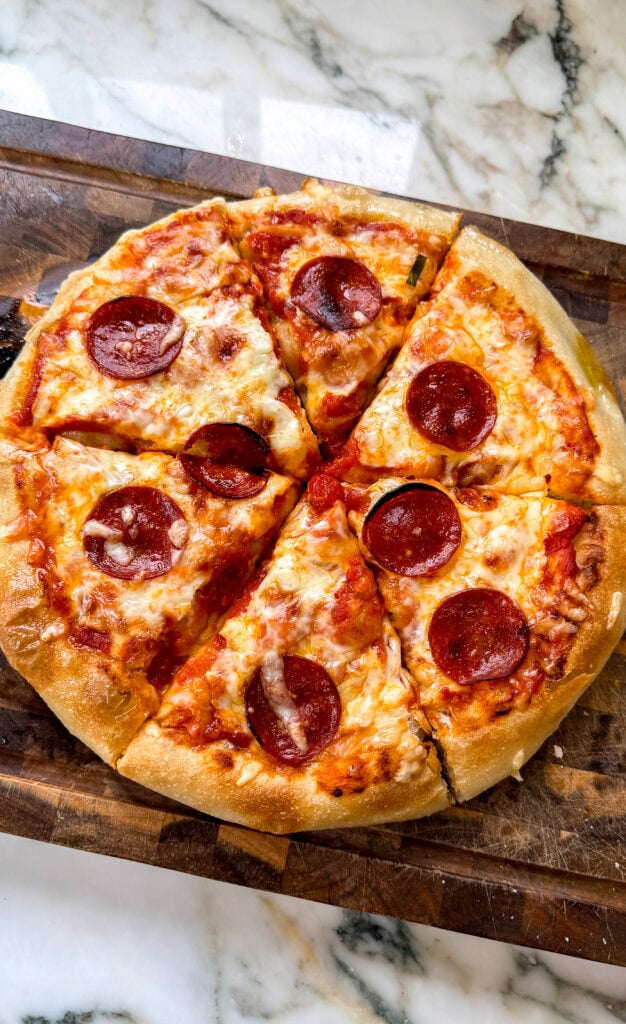
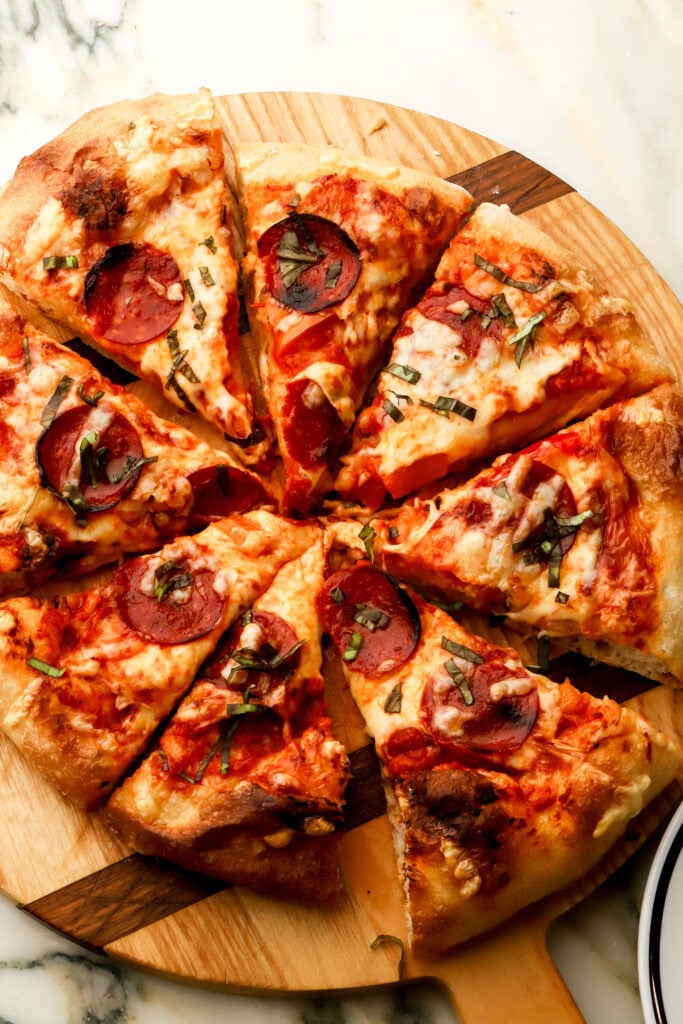
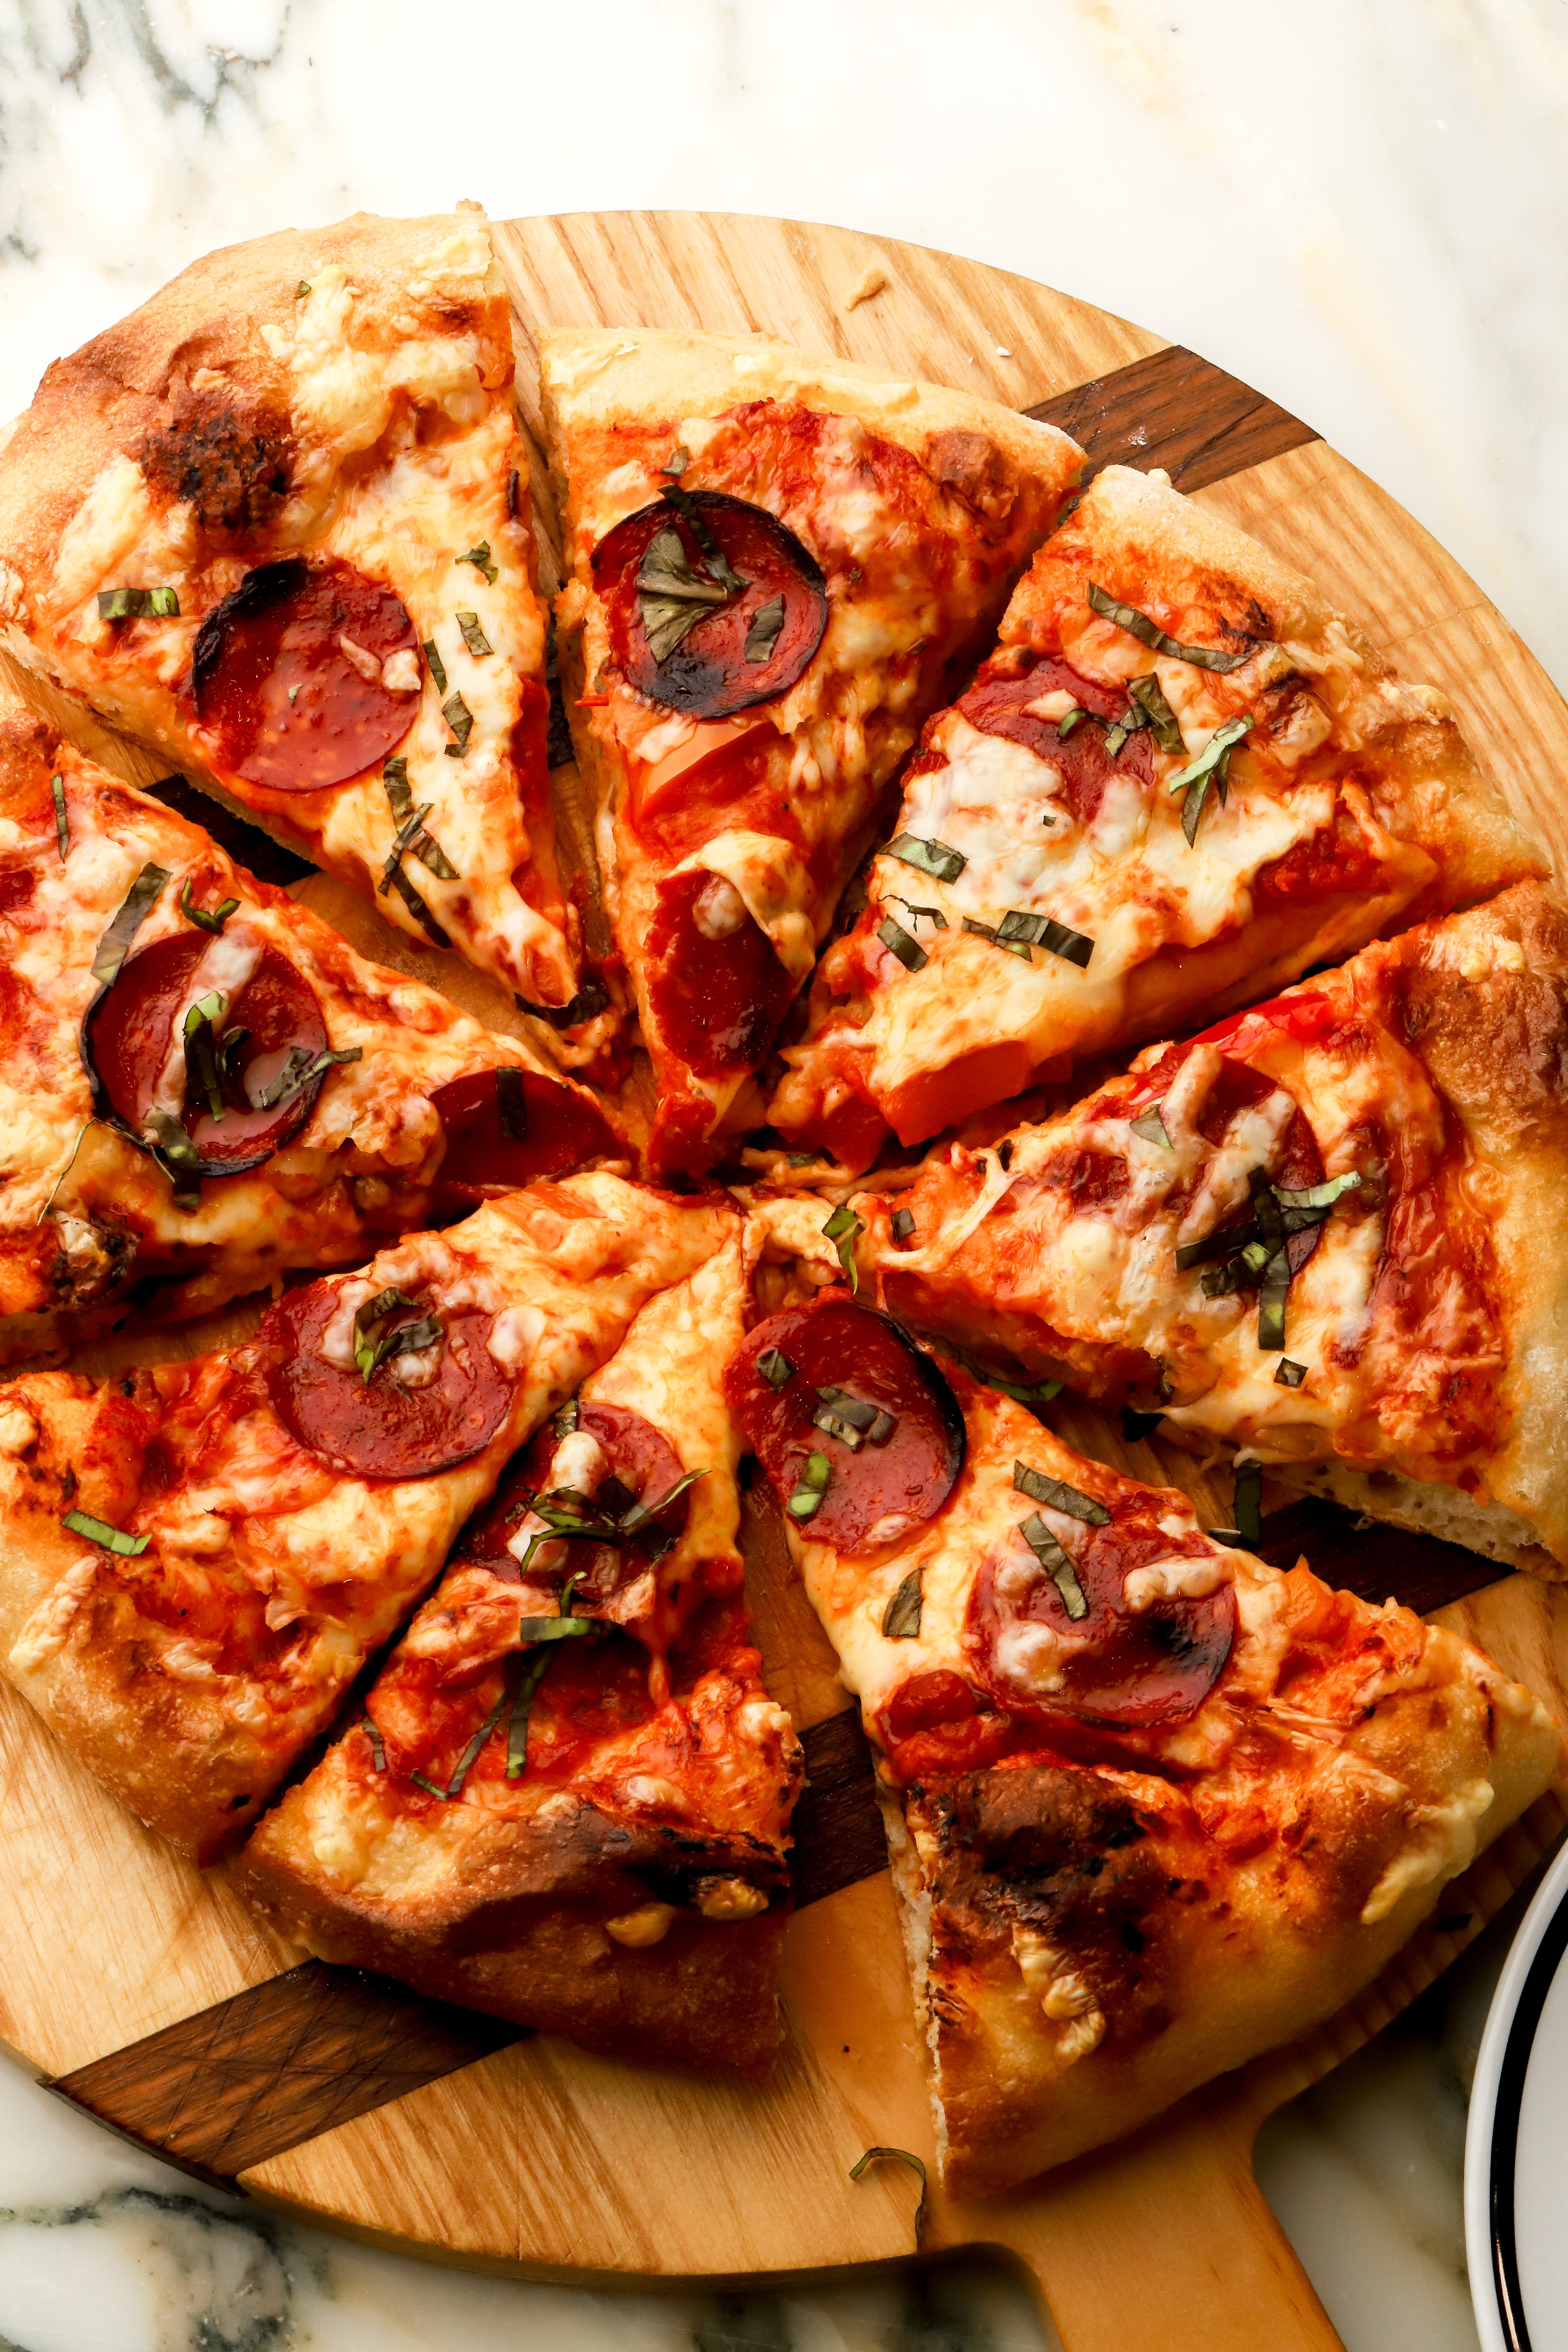
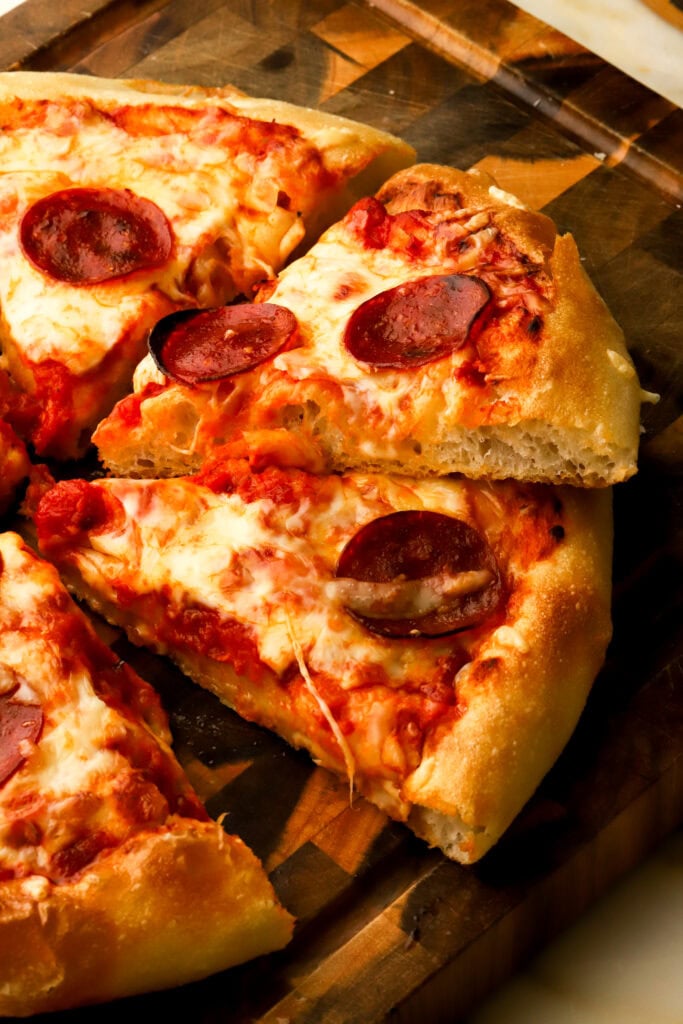
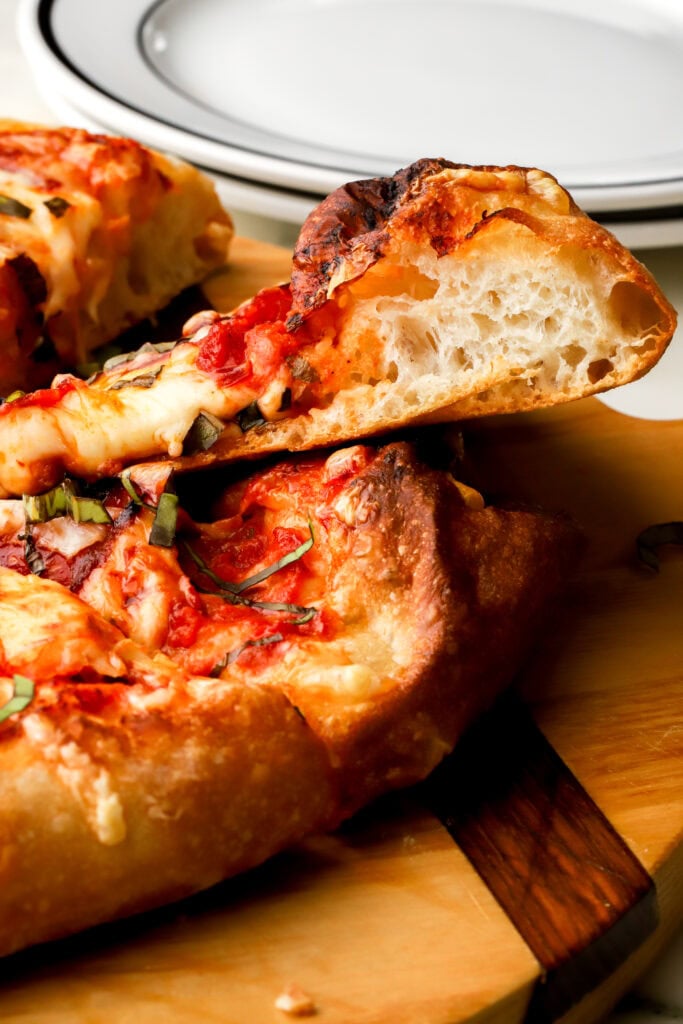
Looking at these photos above, they look much more similar than they are lol. The pan pizza produces a significantly softer crust which my kids prefer. The hand-stretched is crispy and bubbly similar to a brick-oven pizza.
Make Ahead & Storing Leftovers
This dough is pretty flexible and can be refrigerated at different stages depending on your schedule.
- After the first proof: Divide and shape the dough, refrigerate what you don’t use (airtight). The next day, let it sit at room temperature for a few hours, until it looks puffy and relaxed. Stretch it by hand or dimple it to the edges of the pan before topping and baking.
- After the second proof: I’ve also frozen the dough after its second proof when I realized I wasn’t going to use it. Freeze it in an airtight container, then thaw it at room temperature until it’s soft and relaxed before shaping and baking.
My favorite way to reheat the hand-stretched pizza is in the air-fryer/toaster oven for a few minutes at 400F (204C) because it makes the crust crispy again. The pan pizza is also good like that but my kids like it microwaved because it stays softer.
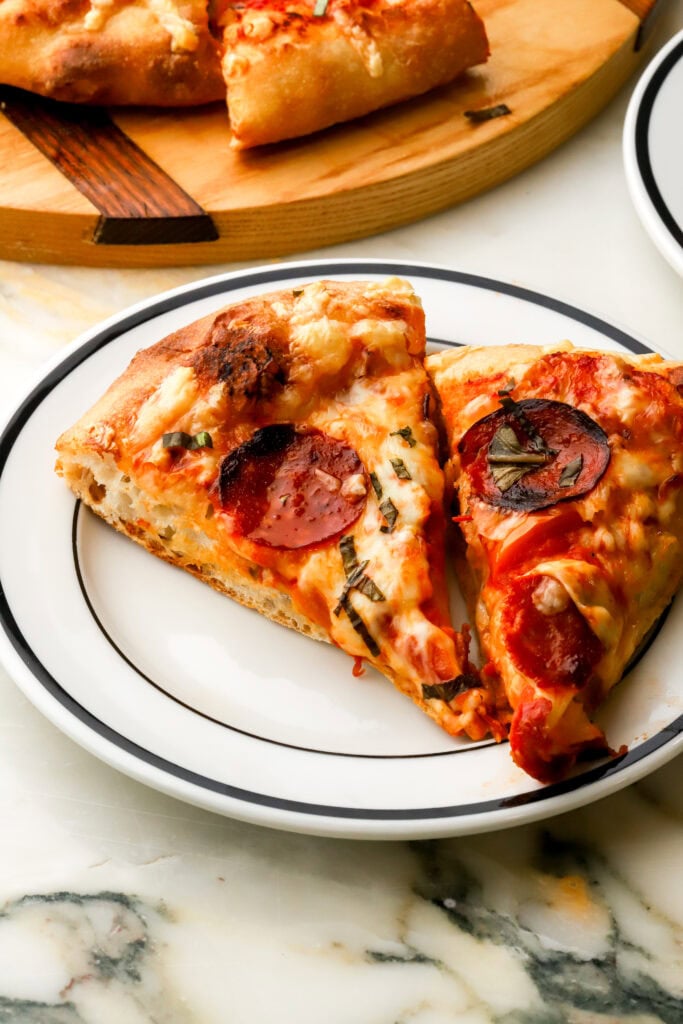
Making pizza dough is very simple but the more difficult part is making sure that it bakes correctly and unfortunately that can vary with every oven. It took me a long time to get my technique right but it’s so worth it.
If you have any questions, please comment down below, I’d love to help you.
As always, have a blessed day and happy baking!
Love, B