

Buttermilk Pie Crust
Easy and quick homemade buttermilk pie crust for all of your pastry needs. Used for traditional pies, galettes, hand-pies and more!
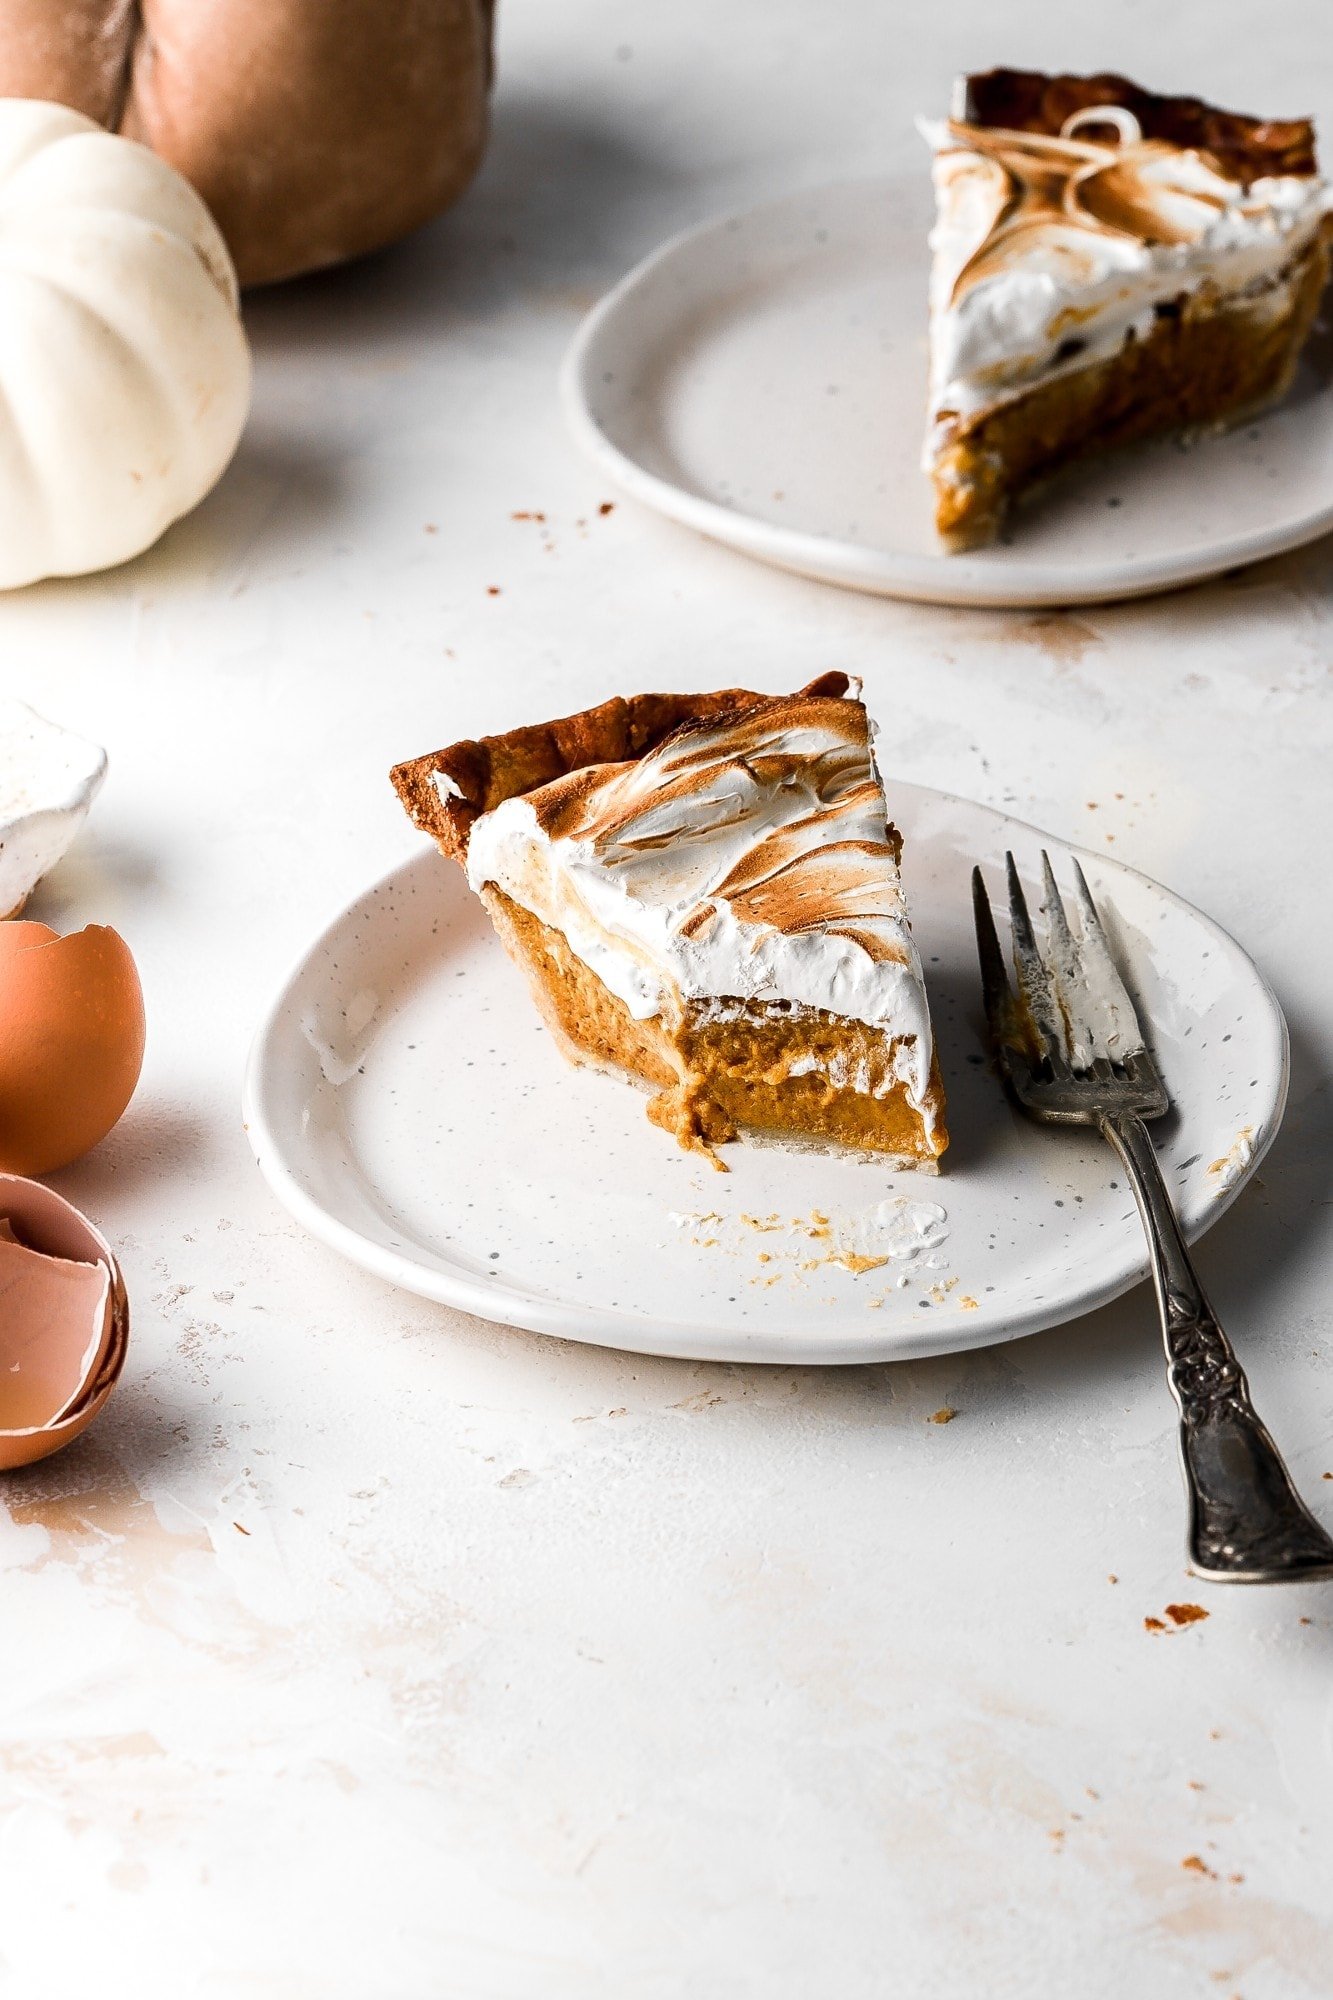
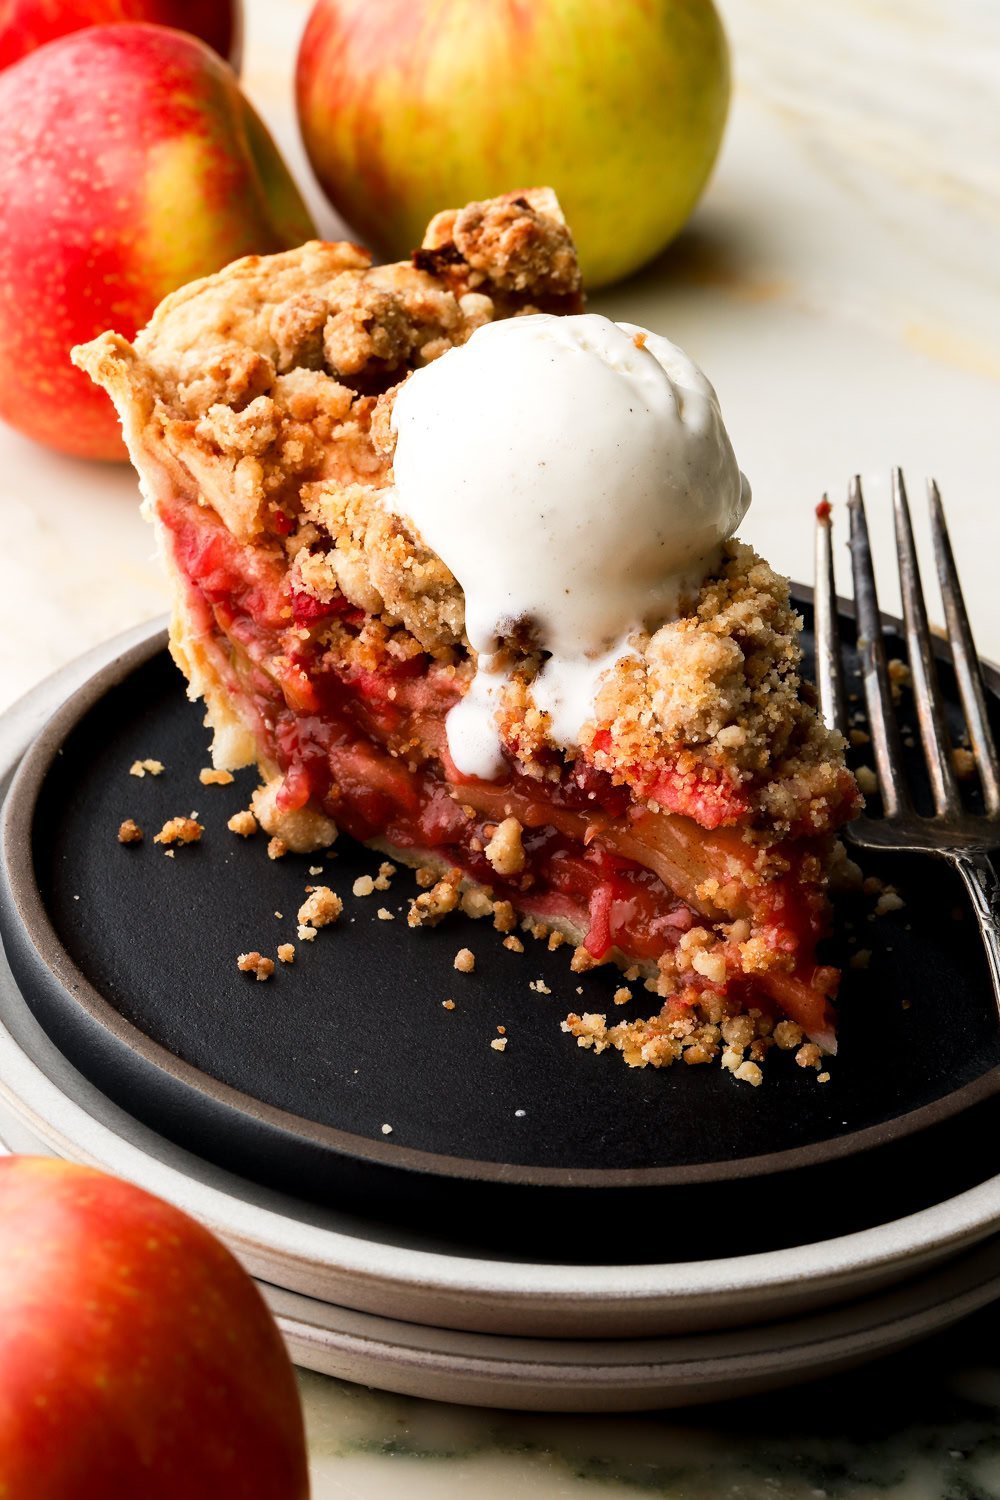
Pies, pies, pies. I think some people consider summer as pie season??? but for me, it’s always been fall. I’m ALL OVER the pumpkin pie, apple pie & pecan pie train so I’m going to help you get prepared for the greatest pie season with the easiest buttermilk pie crust!
Basics of Pie Dough
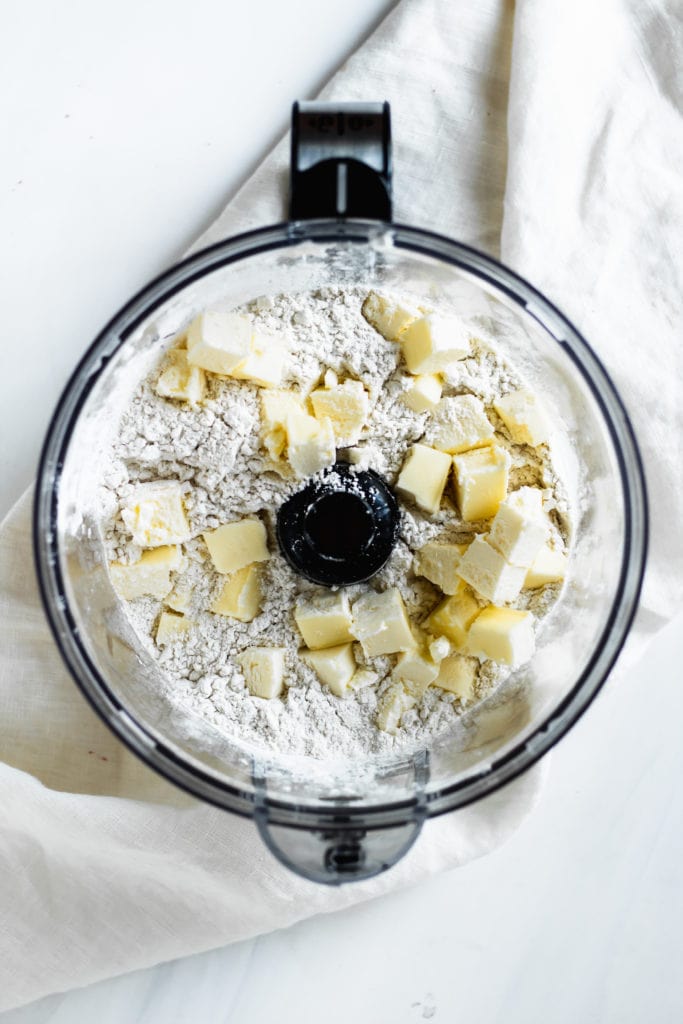
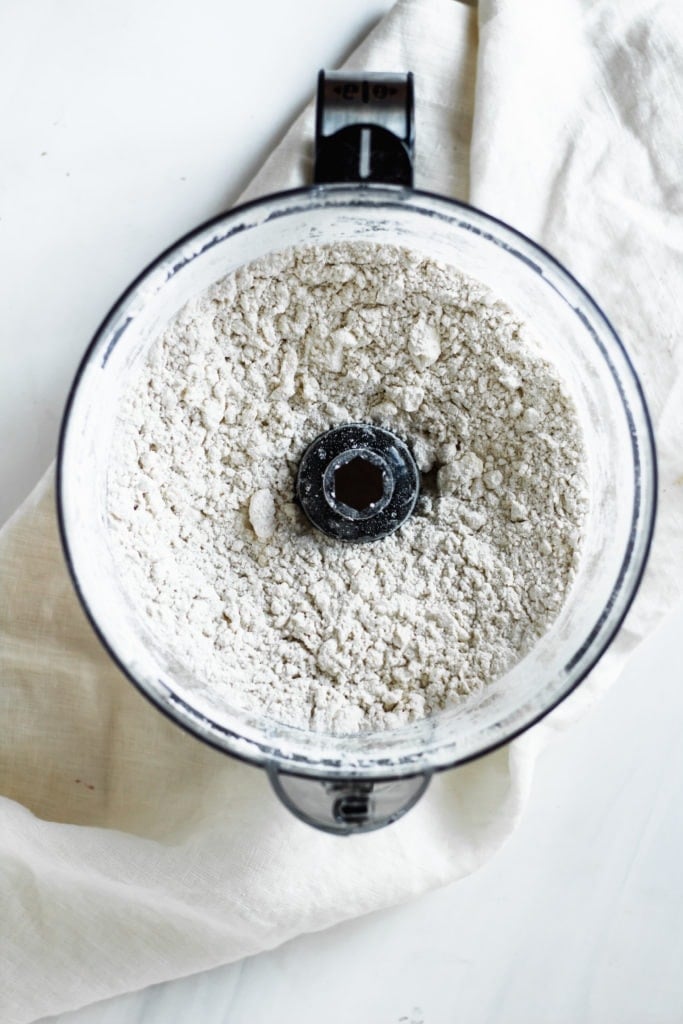
Classic pie dough is what’s known as pate brisee, which essentially means ‘broken dough’. It’s a flakey shortcrust pastry that’s made with COLD butter. To get get that flaky texture, the fat from the cold butter melts away, creating air pockets and the water from the butter releases as steam, expanding the air pockets and creating a very ‘airy’/flaky texture.
How to use pie dough
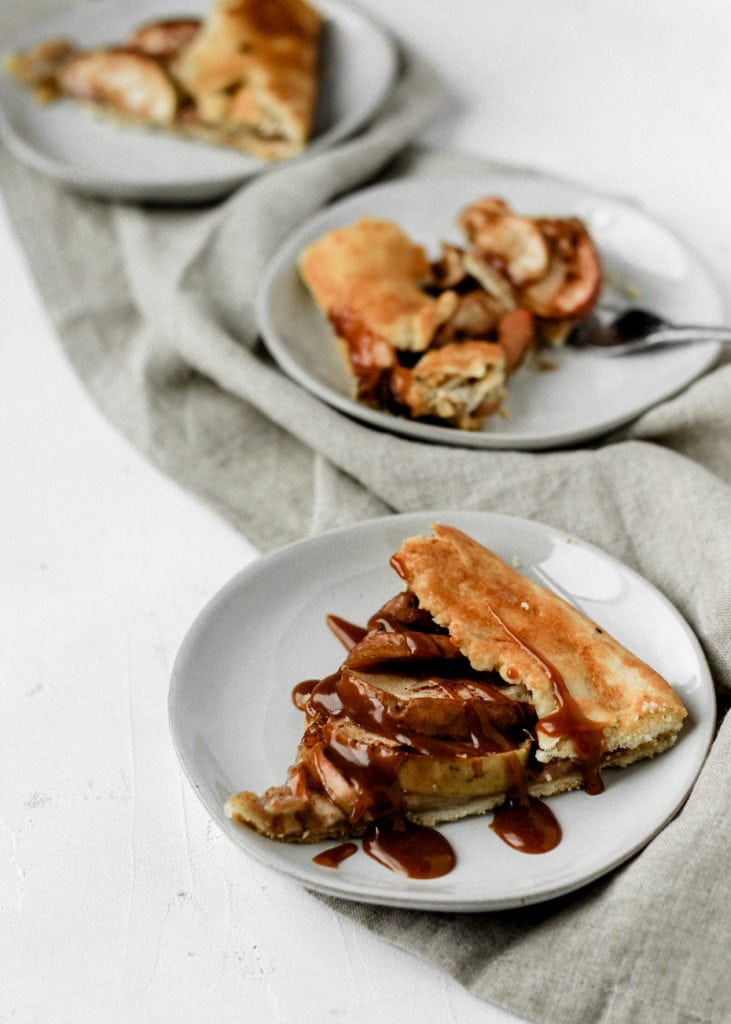
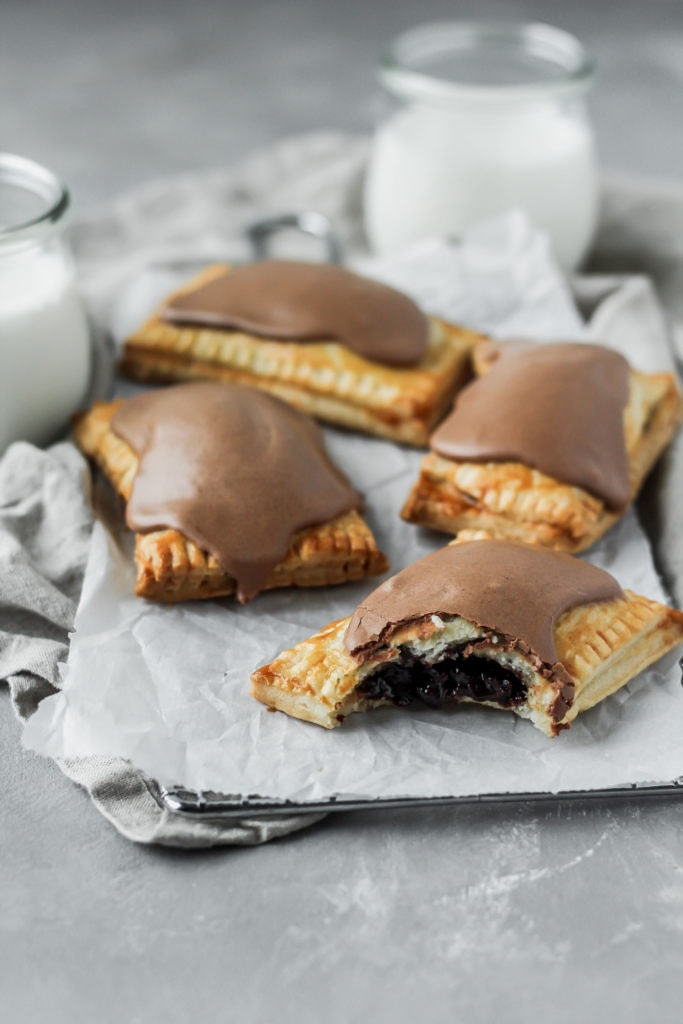
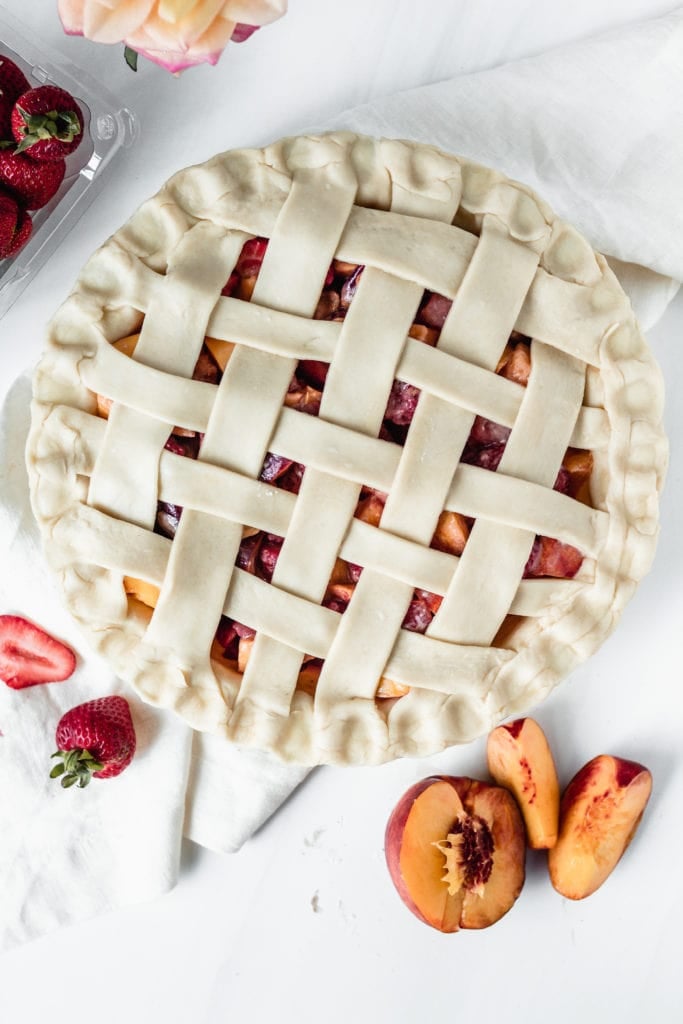
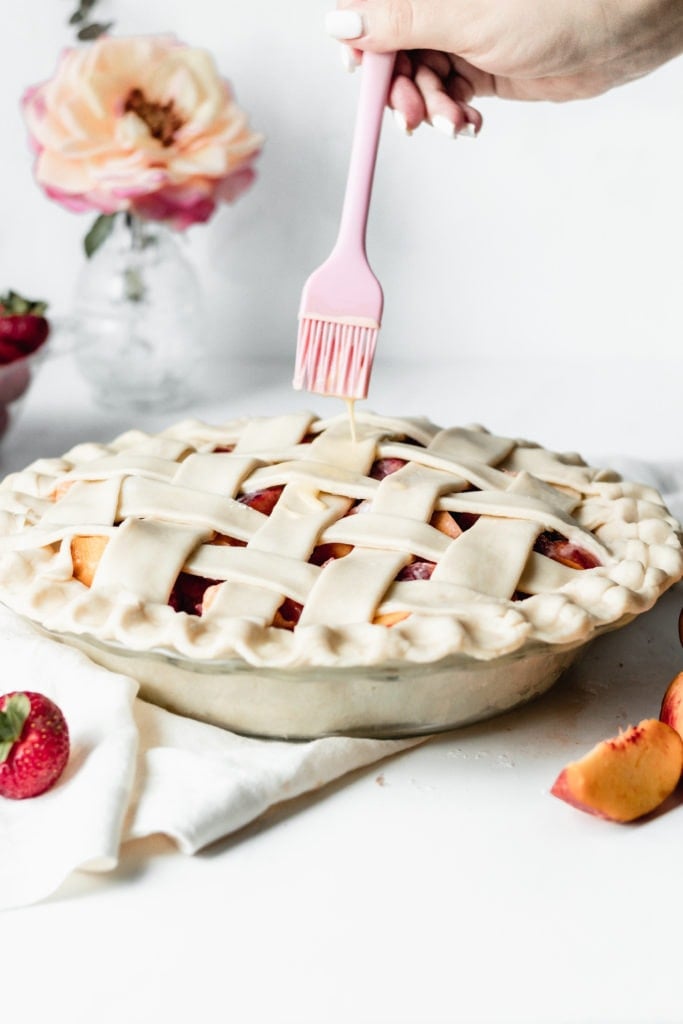
This dough can be used for traditional pies, hand pies or pop tarts, galettes, tarts, turnovers (sweet or savory), pigs in a blanket, flaky cinnamon rolls, etc.
One thing you should keep in mind though is that if your dough is at room temperature when it’s going into the oven, it will shrivel while baking. If you can, it’s best to refrigerate your pastry until the dough is solid after shaping and before baking.
For example, I just made pop tarts with this dough & I rolled it out, cut squares, filled them, refrigerate for about an hour, then egg wash & bake. I tested some without refrigerating & the dough shrunk awkwardly so they turned out all lopsided.
Sticky Dough
Something that most people struggle with when making pie dough, is stickiness. No one wants a sticky mess; half your pie dough stuck to the counter after you roll it out. Then you try to re-roll it and now you’re increasing the gluten formation, making your texture tough instead of tender. No thanks.
Tips to prevent sticky pie dough
- Observe your surrounding temperature/humidity. If it’s hot/humid out, turn that AC up while you’re working with the dough.
- Use butter & buttermilk straight from the fridge (pre-measure & put it back in the fridge until you need it).
- Sometimes I refrigerate my flour while I’m cubing my butter.
- Preheat your oven after you’re done working with the dough & it’s in the fridge.
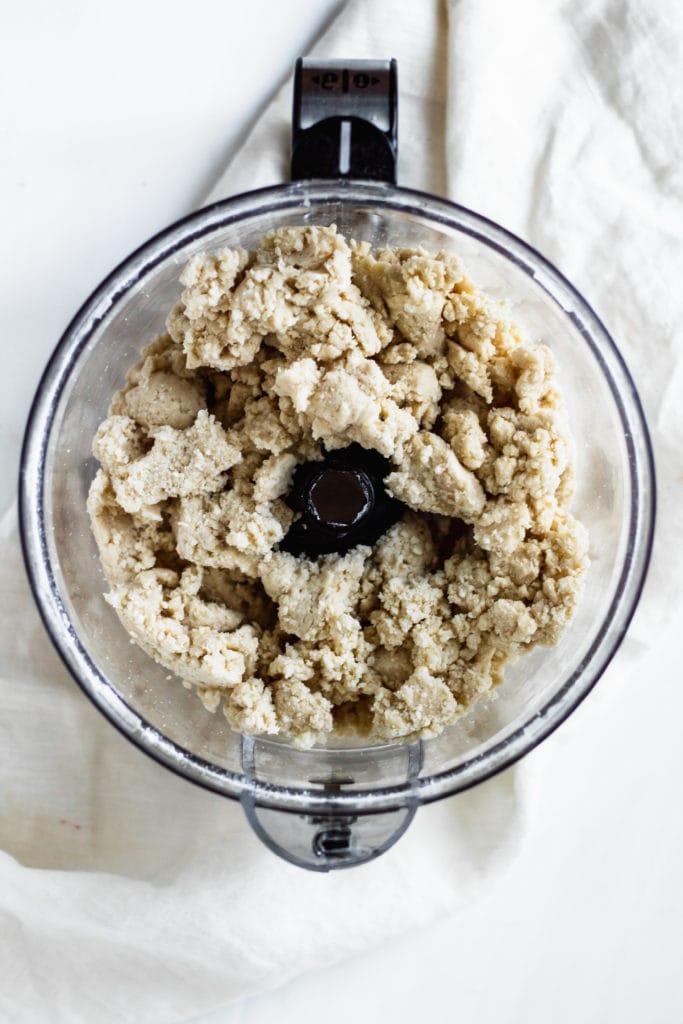
- When your dough is coming together, it may still look a little crumbly, but don’t add more liquid, just remove it from the food processor & combine it with your hands, just until it comes together.
- Refrigerate for 30-60 minutes right after it’s come together, before shaping the dough.
I hope this post was helpful for all your pie lovers out there. I think most people have a love/hate relationship with pie (tastes good, tedious to make) but this recipe has never failed me! If you make something with it, I’d love to see, make sure to tag me @baranbakery on instagram! As always,
Love, B


Have you ever tried this with a gluten free flour (ex. Bob’s Red Mill 1-for-1)?
I haven’t sam but I feel like it shouldn’t make too much of a difference. I’ve baked other things with bobs 1:1 gf flour and always kept the recipes the same as with regular flour.