
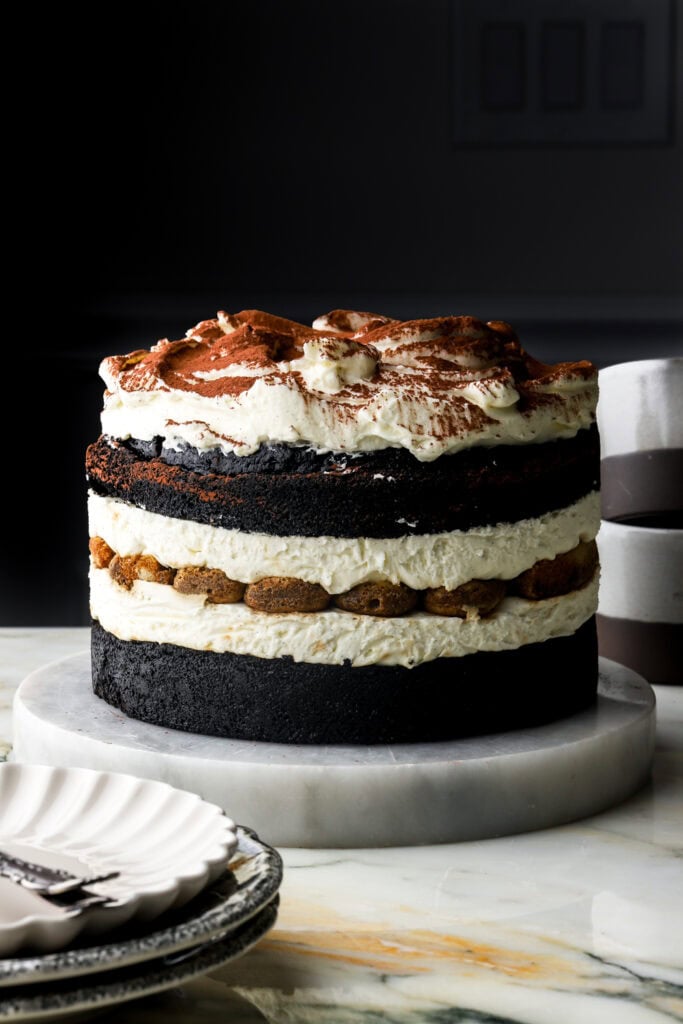
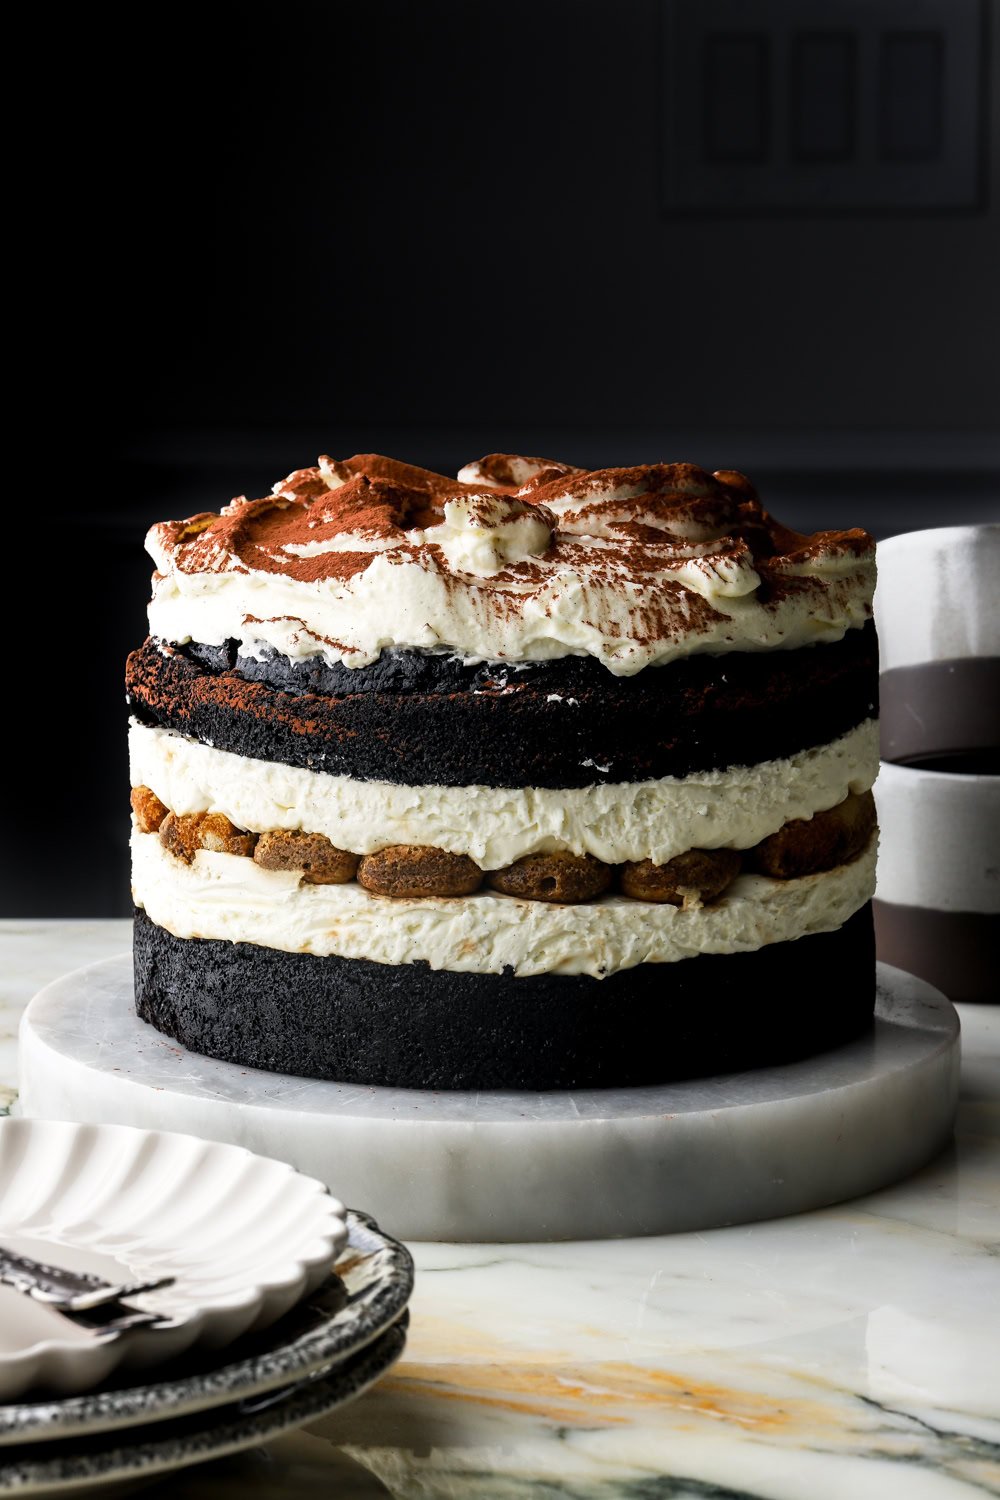
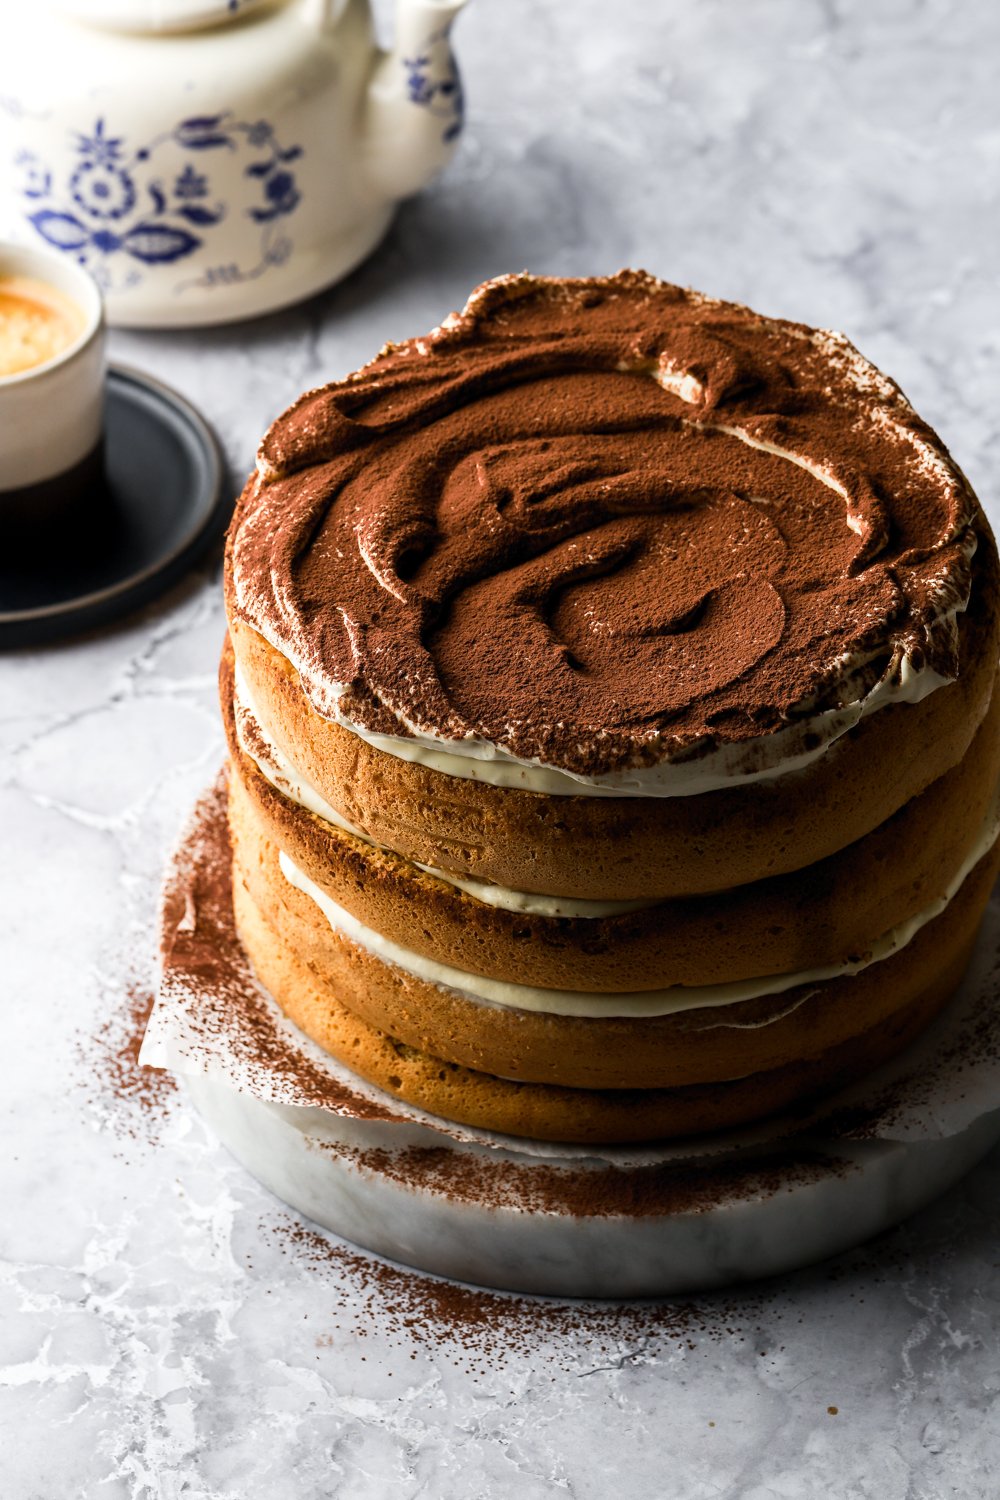
6 Layer Naked Chocolate Tiramisu Cake
Since ya’ll loved my tiramisu cake, I made a chocolate version but this time.
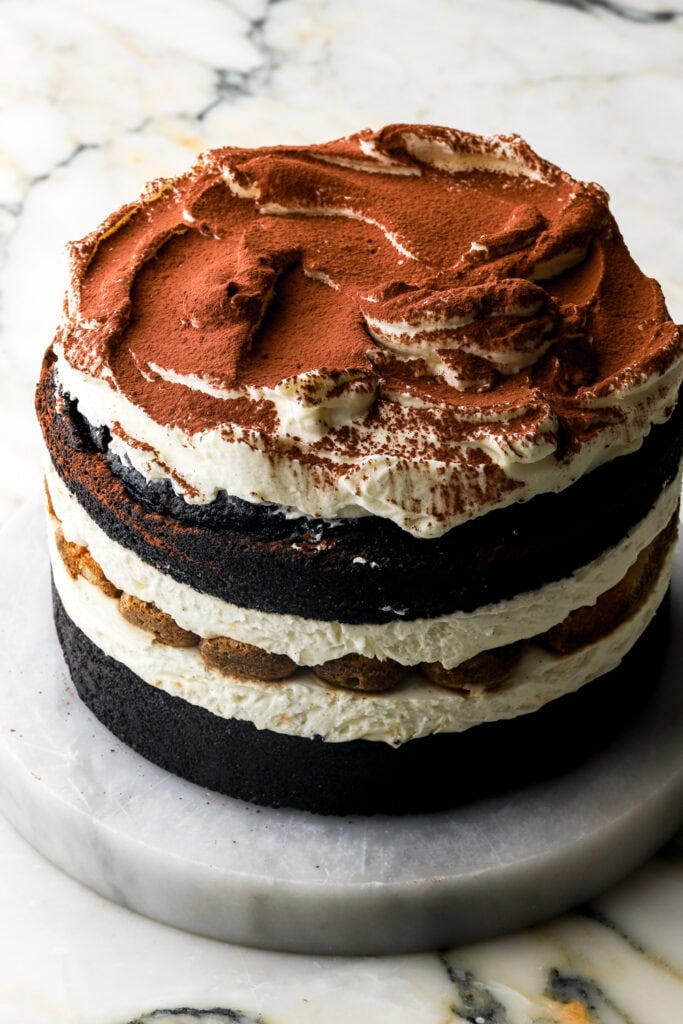
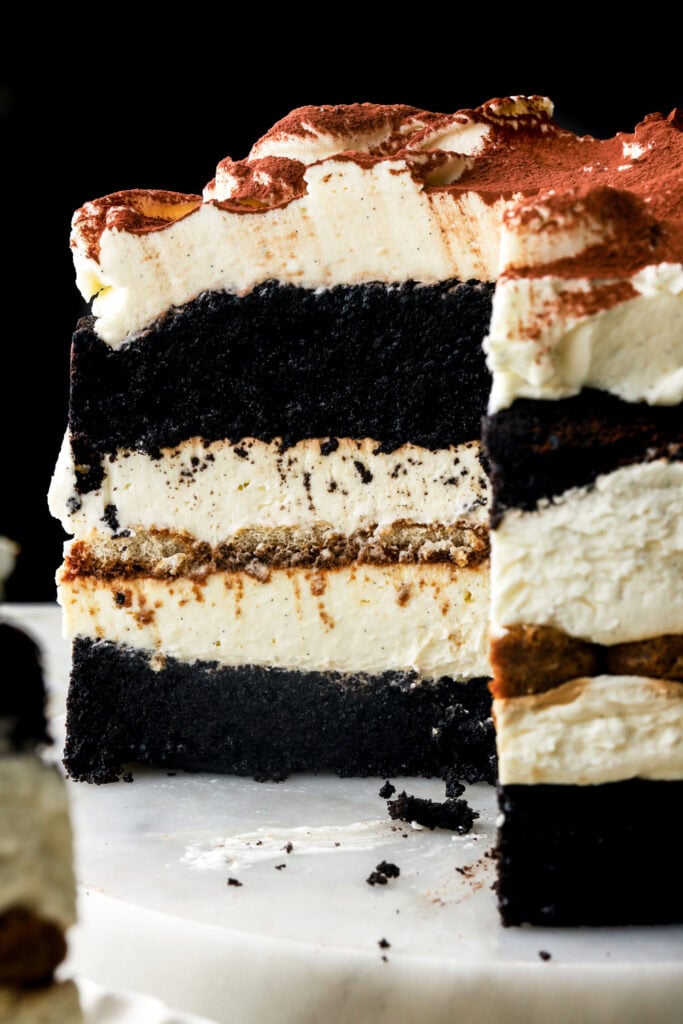
It combines two of my favorite desserts – chocolate cake and tiramisu. I used my favorite Black Cocoa Cake and then I pretty much built a Tiramisu in the middle of two cake layers.
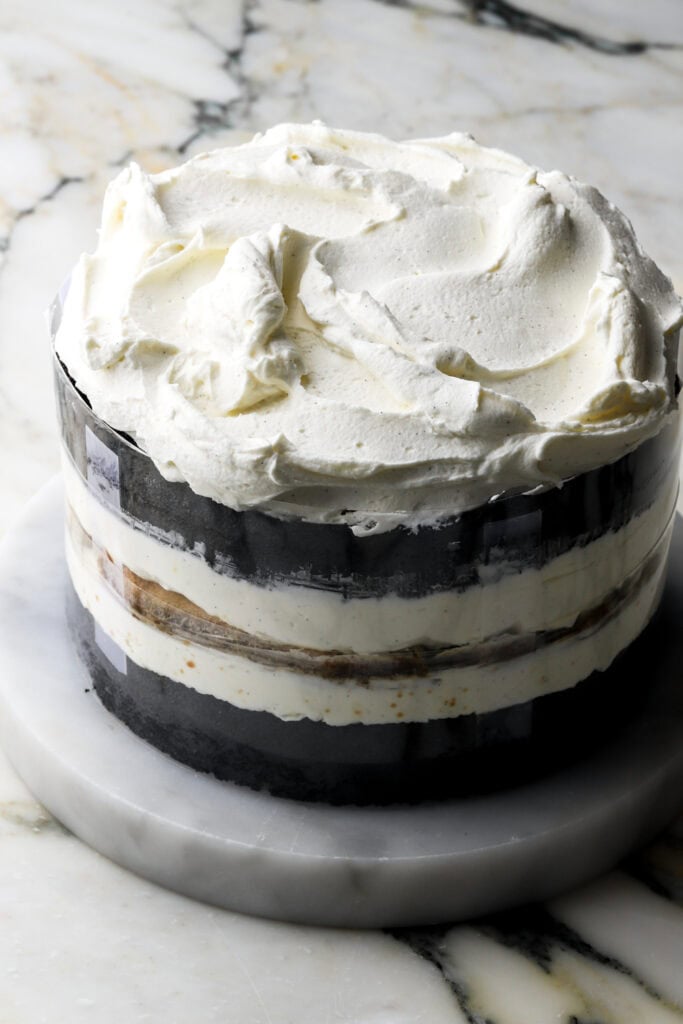
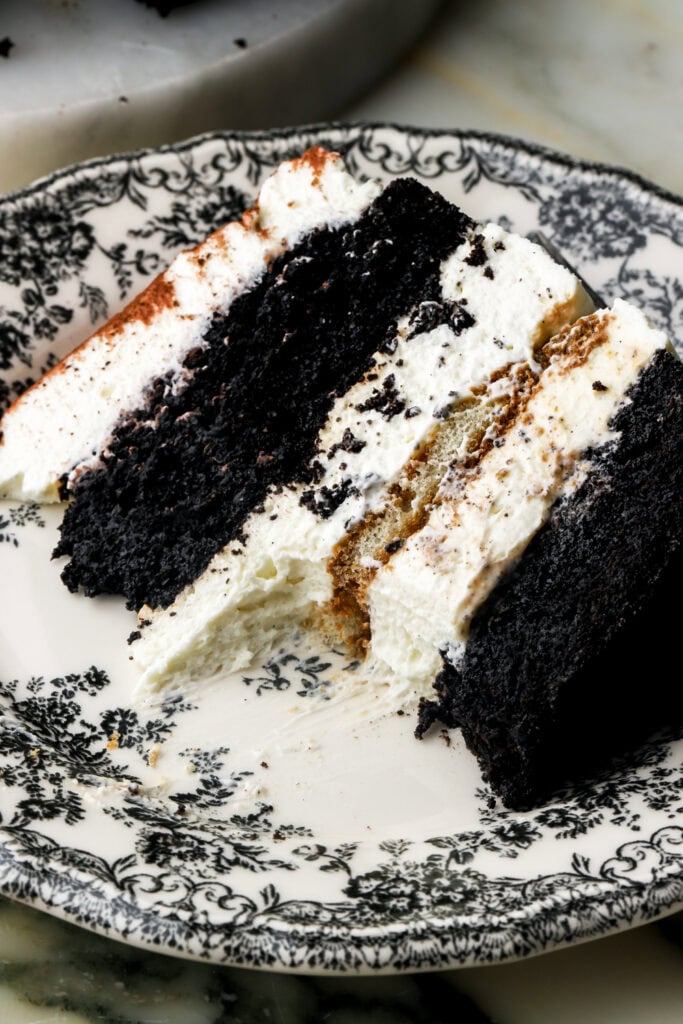
It looked so beautiful, I decided to leave it naked to show all of the gorgeous layers.
Instead of the traditional tiramisu cream, I use my mascarpone cream in layer cakes because it’s not as soft and runny and holds the cake up well.
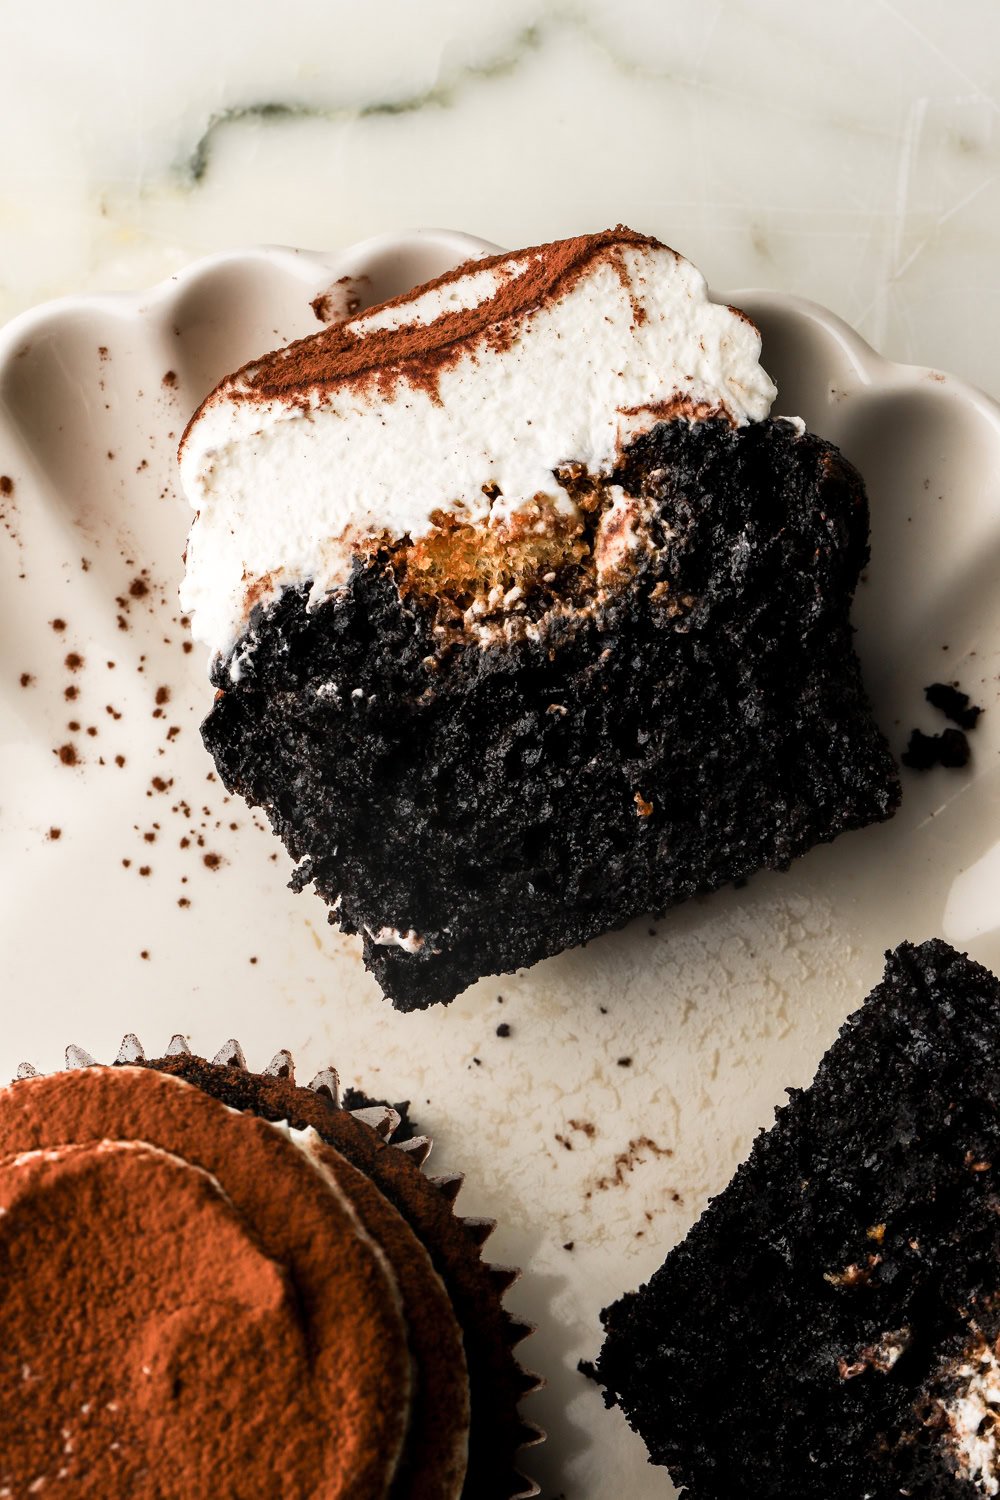
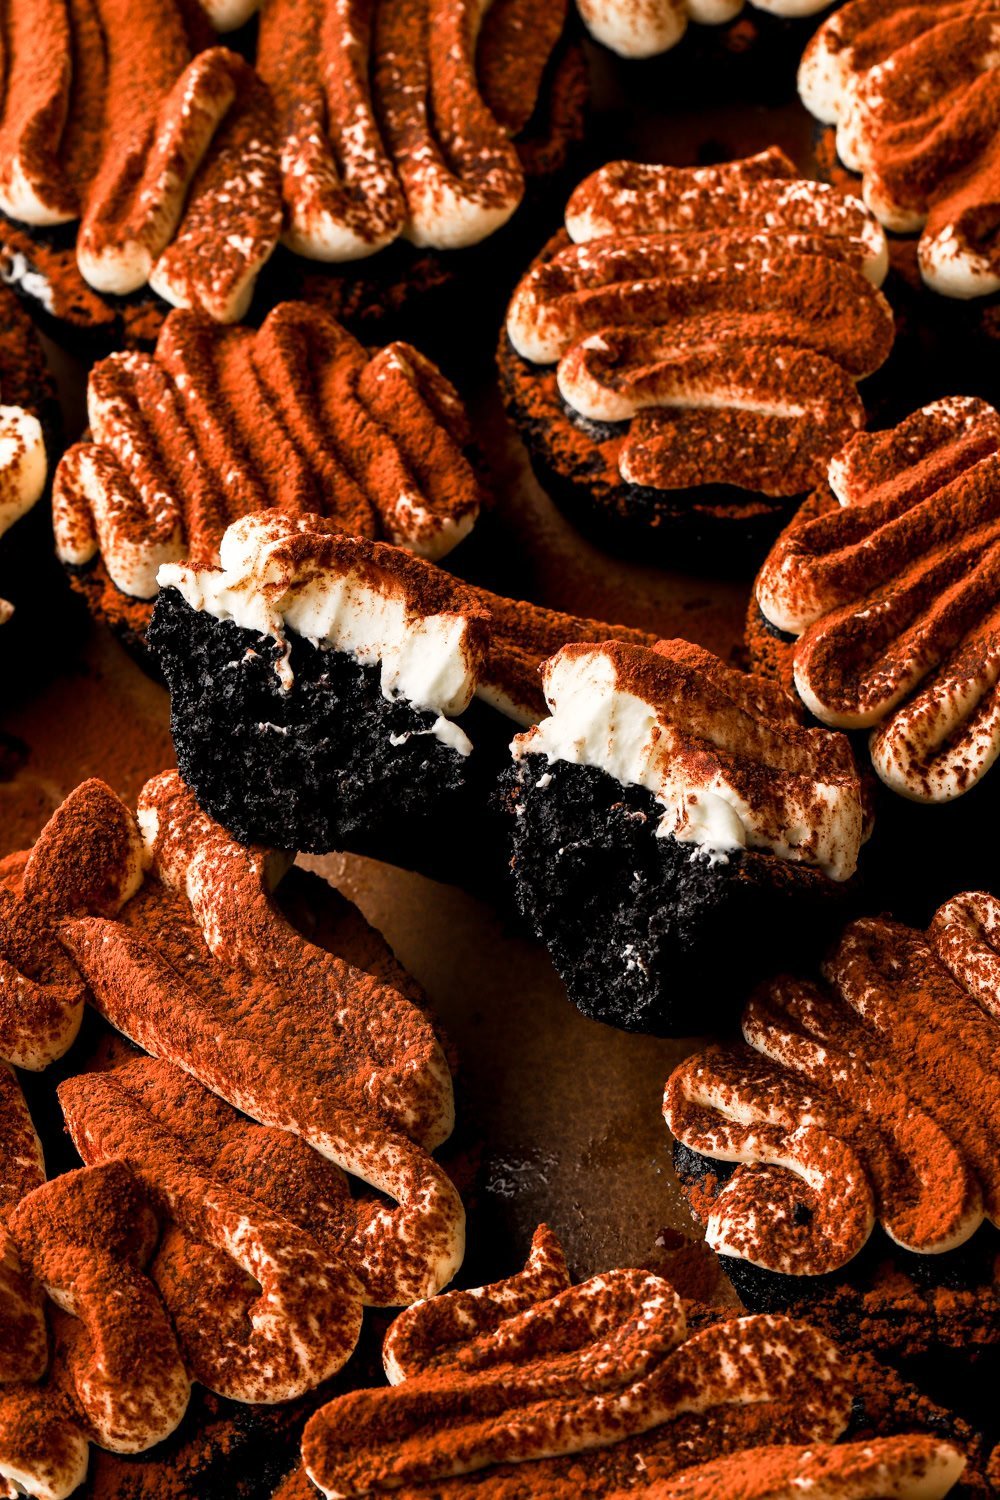
If tiramisu makes your mouth water, then make sure to try my OG Tiramisu Cake, it’s a family favorite! I also have an Oreo Tiramisu recipe you will love and a cupcake version of this cake!
Step-by-Step Photo Instructions
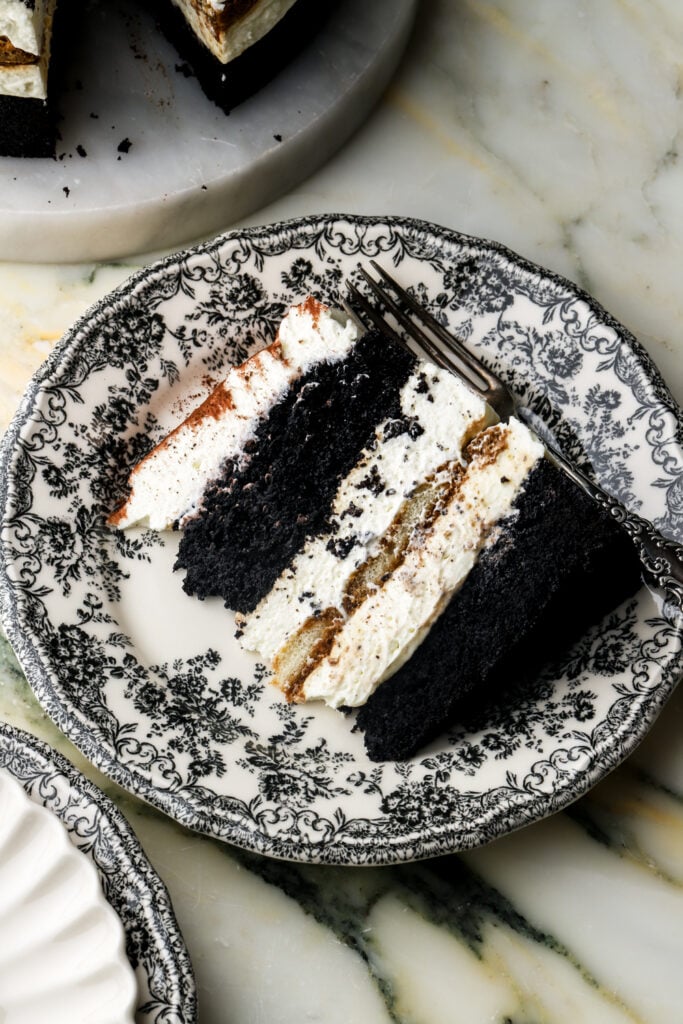
I love a cake that has at least three parts to it because it’s so much more interesting in terms of flavor and texture.
This cake has:
- The Chocolate Cake – I used my black cocoa cake; if you’re new here, she’s my pride and joy, if you’re not then you already know about my love for her.
- Espresso Soaked Lady Fingers – I LOVE strong coffee in my desserts so I recommend fresh brewed espresso but any strong coffee works or espresso powder if you prefer.
- The Mascarpone Cream – this has become my latest favorite cream for cakes. It’s light and fluffy but strong enough to hold up a cake.
Chocolate Cake
In case you were wondering what black cocoa powder tastes like, it’s still a cocoa powder so obviously like chocolate but it just has that distinct flavor that you find in Oreos. It’s slightly more bitter and earthy but in a good way? Idk, I love it though.
I’ve tried several brands, they were all fine but I use the The Cocoa Trader Brand most often as it’s my favorite and it’s one of the more ‘black’ in terms of color.
As always, I HIGHLY recommend using a digital scale to measure dry ingredients because they are almost always over measured.
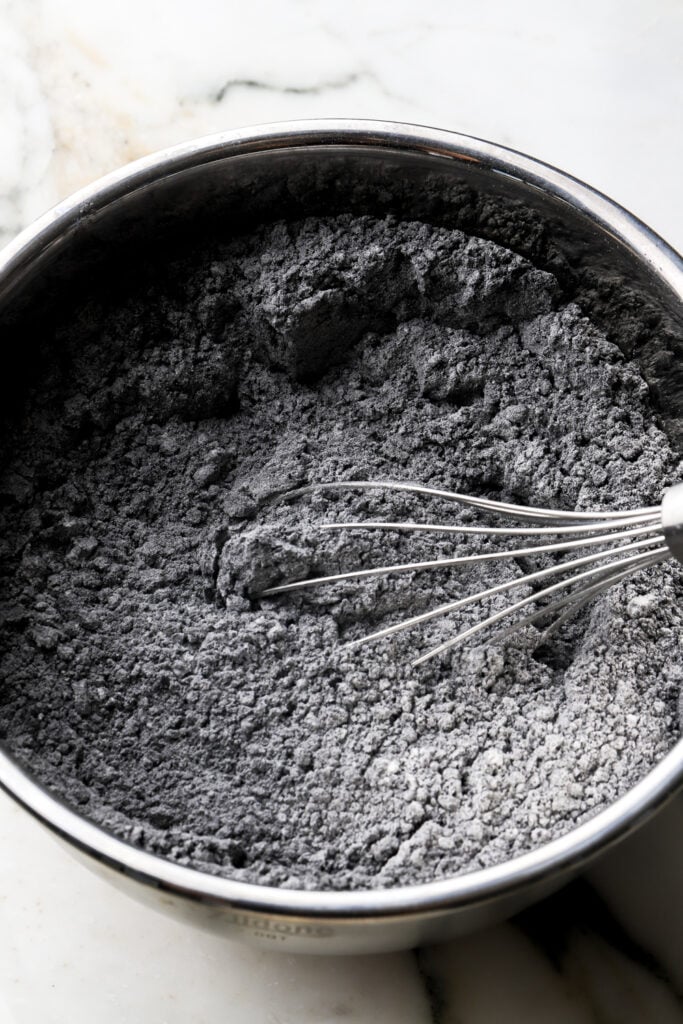
- Whisk together the flour, cocoa powder, baking powder and salt until they’re evenly distributed.
- In a separate bowl, whisk the oil, sugar, eggs and sour cream until they’re well combined and smooth.
- Sift the dry ingredients over the wet and whisk just a little – about halfway.
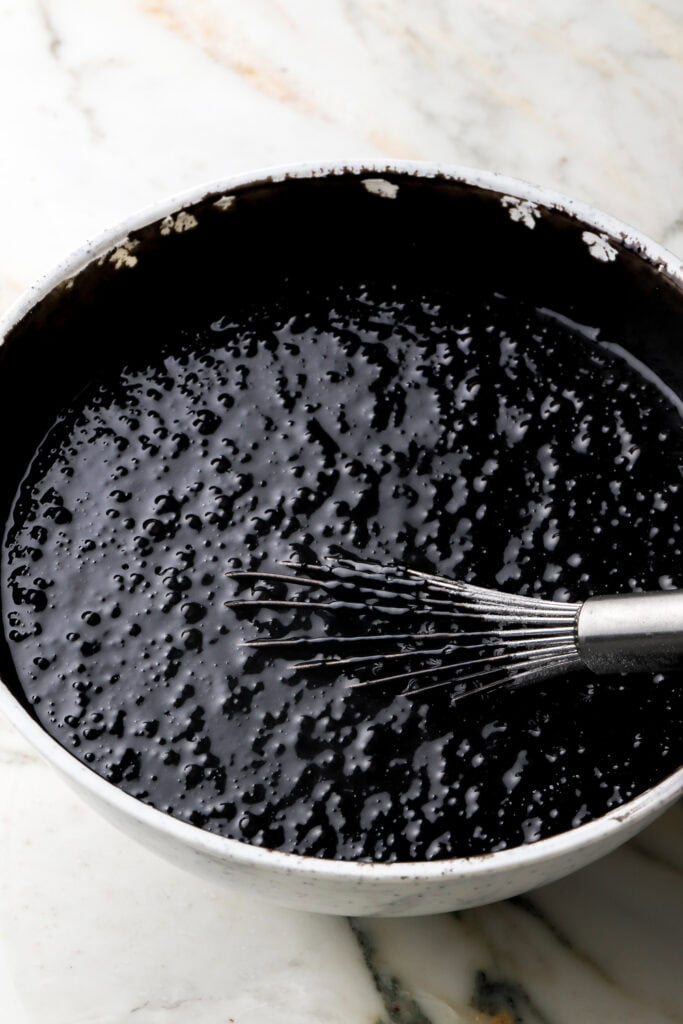
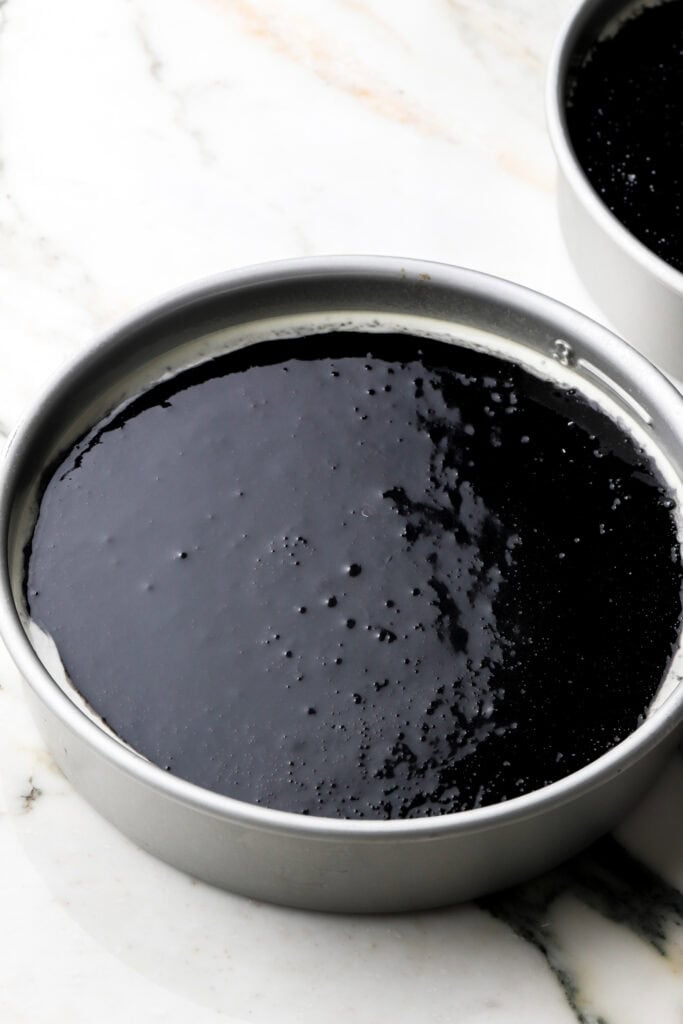
- Pour in the hot coffee and whisk until the batter is completely smooth.
- Scrape the edge of the bowl and give it a good mix. Pour into prepared cake tin(s).
- Back until the tallest part of the cake springs back when you press on it. If you’re hesitant, give it another minute or so.
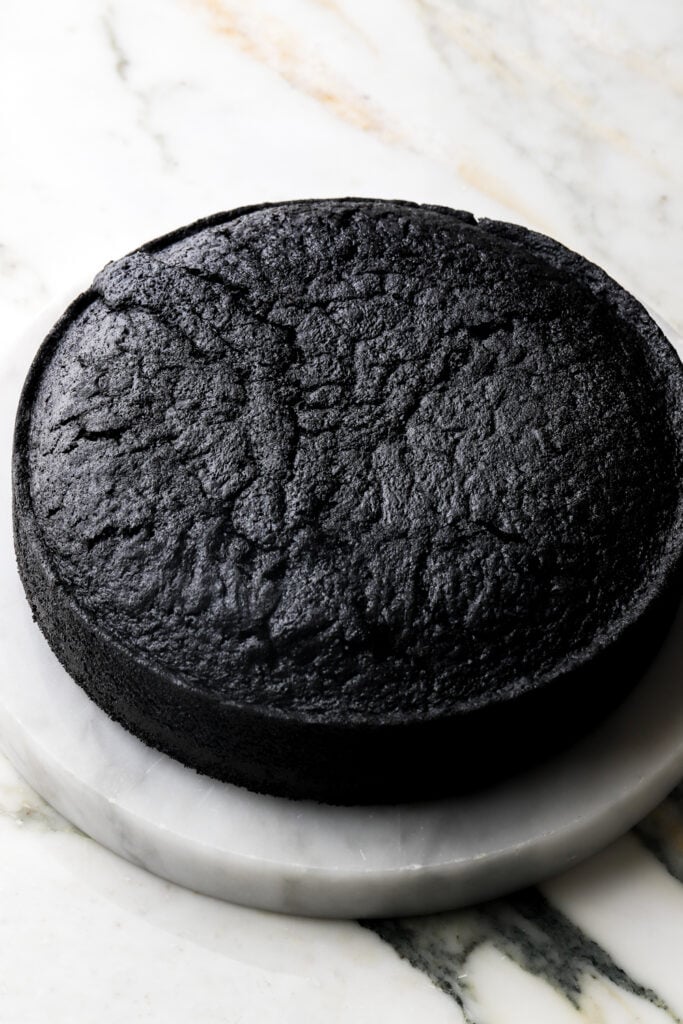
- Let the cake rest for 10 minutes in the pan, then flip over onto a tea towel.
- Let the cake cool upside down for 30 minutes or so and then flip back over.
- Once it’s cooled, slice the cake into two halves so you have a two layer cake. If you have a huge dome, feel free to trim some of it off – I left mine.
- *brew the espresso for the soak so it has time to cool.
I always recommend an oven thermometer just because oven’s can vary.


Mascarpone Cream
I tested this with different brands of mascarpone, they all worked however, some of the mascarpone’s held a little more water than others. My favorite was BelGioioso Mascarpone but if you find something with an even higher fat content, use that.
The cheese should be smooth and creamy (not wet and certainly not like cottage cheese or ricotta).
If you use another brand and you see water in it (usually at the bottom) , drain the cheese to avoid adding extra liquid to the cream but I recommend just finding a mascarpone with a thicker consistency.
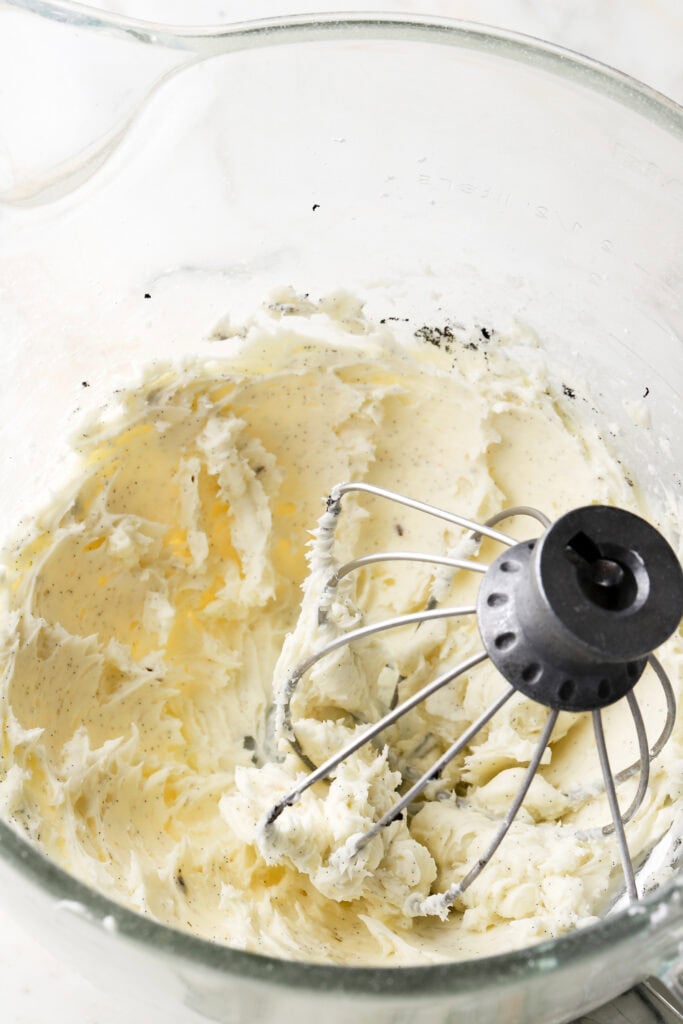
- Beat together the cold mascarpone with the powdered sugar and salt until it’s completely mixed and smooth. Starting at lower and moving to higher speeds.
- Add the vanilla bean paste and turn the mixer to medium speed. Stream in the cold heavy whipping cream in 3-4 increments, stopping to scrape the edge of the bowl each time.
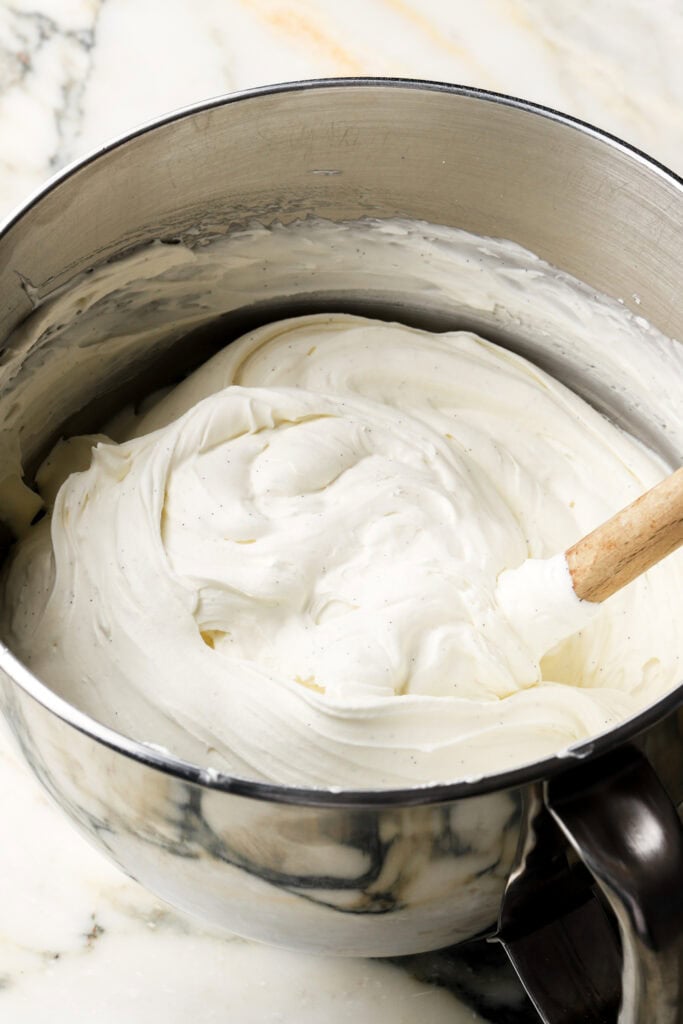
- Once all the heavy whipping cream is added, it may seem soft so turn the mixer up to full speed and it should thicken and hold peaks within a couple of minutes. Don’t over-beat once you’ve reached this stage.
Assemble
- Brew the espresso (do this earlier) and mix it with the granulated sugar and cool it in the fridge.
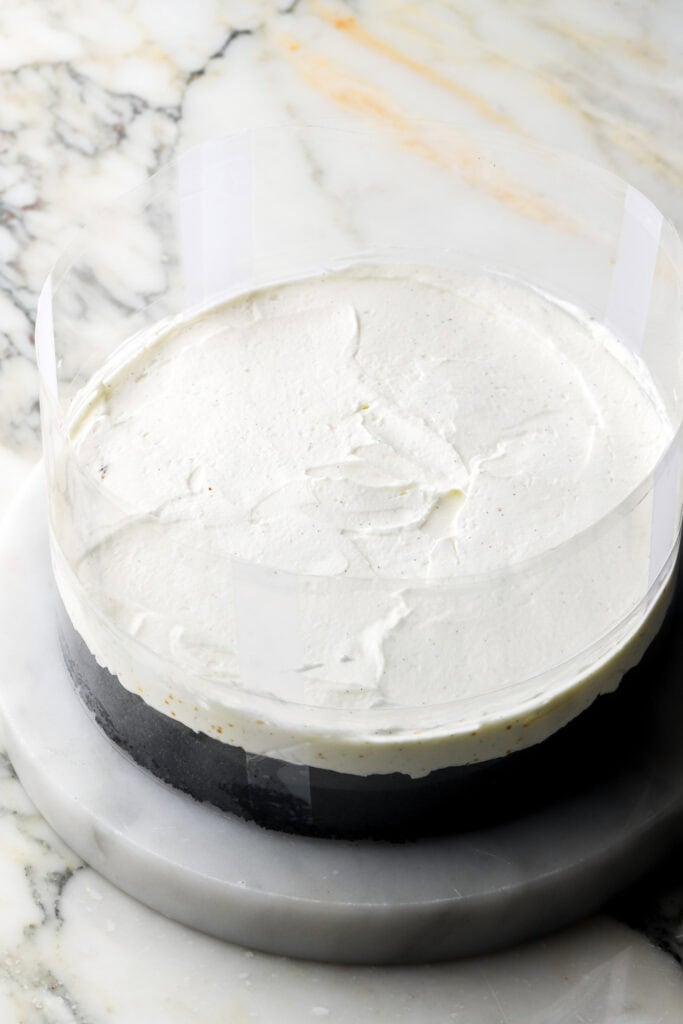
- Place the first layer of cake onto a flat surface and cut some acetate to go around the cake. (I had to cut two strips and tape them together to get it tall enough). Wrap it around the cake as tight as you can and tape it on the outside so it sticks. Then you’ll layer all your ingredients inside the acetate and remove it after it’s chilled.
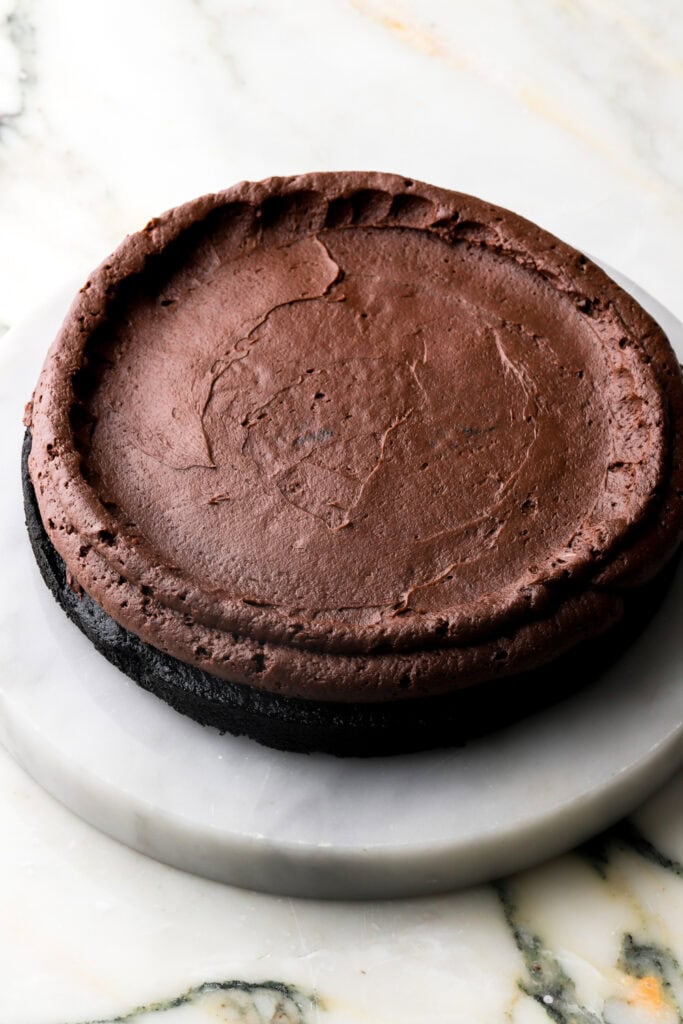
- Spread about 3 tablespoons of espresso on top of the cake. Then spread about ⅓ of the mascarpone cream on top.
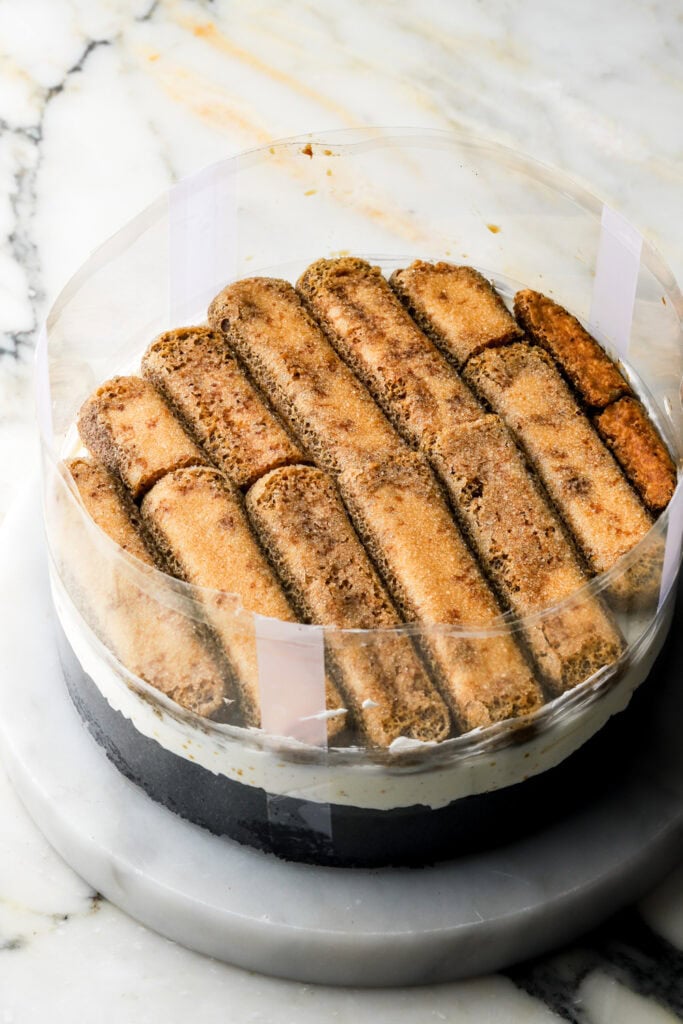
- Dip the lady fingers in the espresso for 1-2 seconds on each side and place them flat on the cream. Then top them with another third of the mascarpone cream.
- You may have to trim some of them to make them fit well.
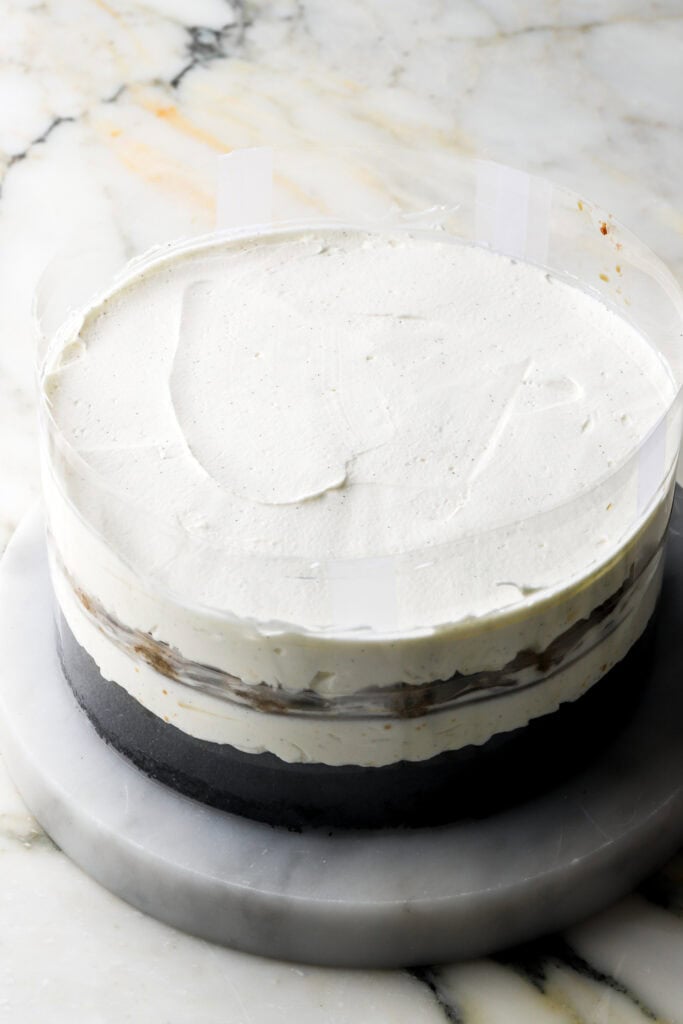
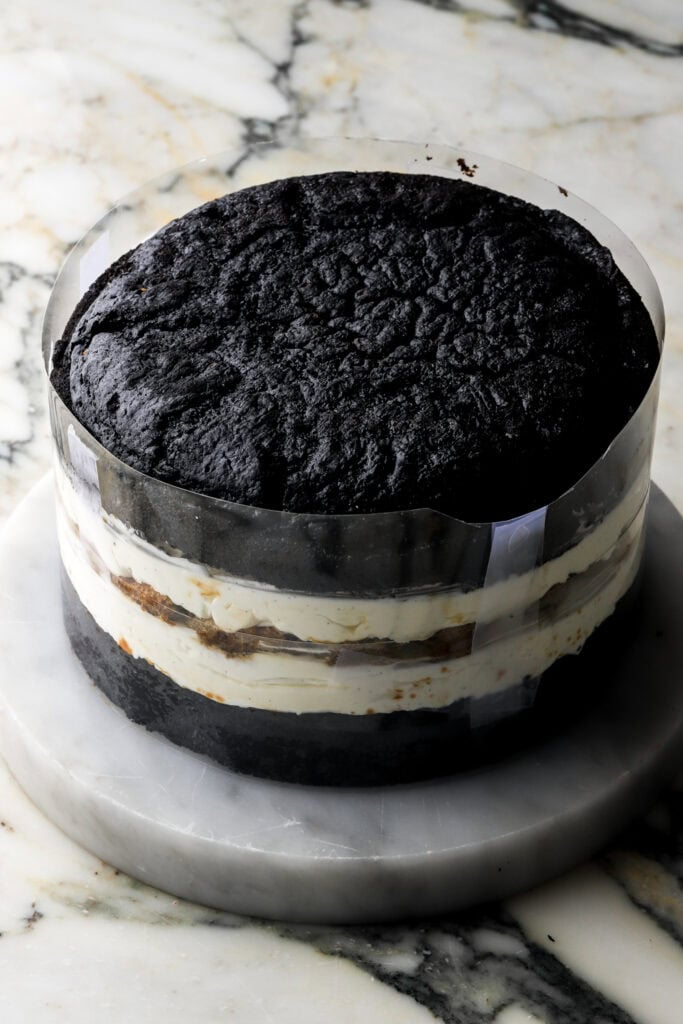
- Spread another 3 tablespoons of espresso onto the final layer of cake (on the sliced side) and then flip it over, placing it sliced side down onto the cream.
- Spread the rest of the mascarpone cream on top, swirling it for some texture then refrigerate for at least 8 hours.
- Top with a dusting of cocoa powder and remove the acetate around the edge of the cake before slicing and serving.
Equipment Needed
So this cake is a little particular in the sense that you can’t just stack it and expect it to stay. The main thing you’ll need is a cake collar roll/acetate sheets. Sometimes I use a cake mold ring to make it a little easier and more sturdy but you can do it without if you just wrap the acetate around the bottom layer and be gentle when assembling.
You can also do it with a springform pan if you have that but it would need to be the perfect fit. I suggest baking the cake in the springform pan in that case so that it’s the perfect size. I baked this cake in an 8 inch pan but since mine was so tall I do recommend a 9 inch pan instead. You could probably even get away with a 10 inch pan but the layers would be much thinner.
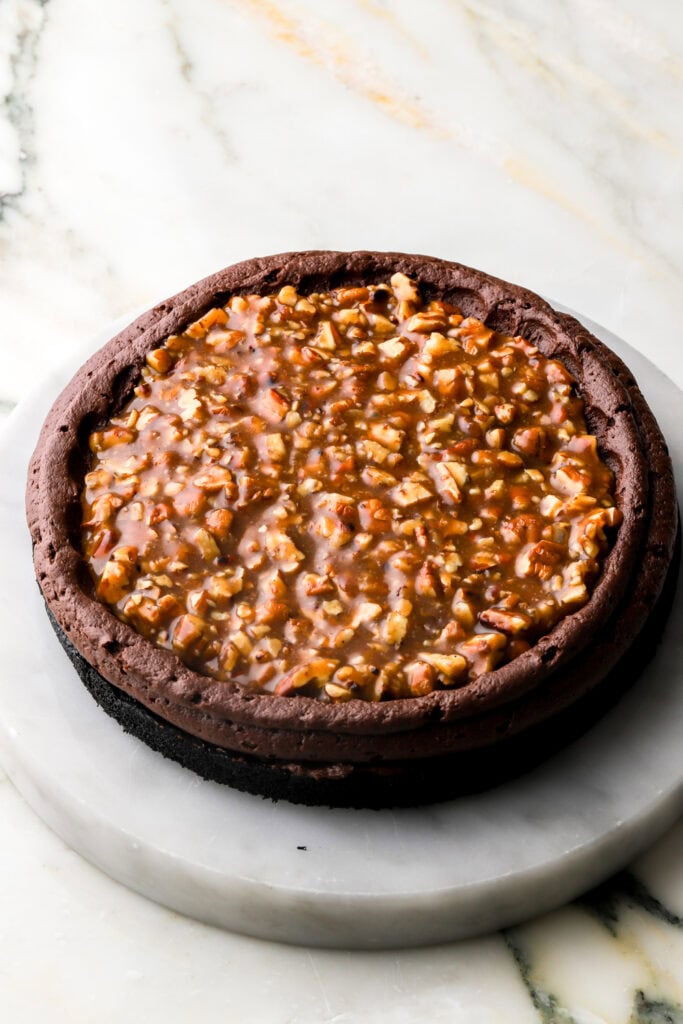
If you don’t want to purchase any special equipment, you can make this cake with a few changes. Just pipe a border of mascarpone cream around the edge of where the lady fingers would go, similar to my turtle cake (see photos below) and then freeze the cake for about an hour or so to make sure the cream is solid before placing the lady fingers inside the border. Then you’d finish the cake the same way.
Make sure to be very gentle if you’re doing it this way. If it feels soft/unsteady at any point, refrigerate it or freeze it for 20-60 minutes or so and then proceed with the next step.
A Note On The Size Of This Cake
Make sure to read my Black Cocoa Cake post for more details on how to adjust the cake to the different sizes but I just wanted to give you a quick tip.
I baked this whole cake batter in an 8 inch pan and then I sliced it in half and built the tiramisu between the two cake layers. It made for a pretty tall cake which is stunning, however I would prefer to bake it in a 9 inch pan if I made it again.
The 9 inch cake would be much easier to slice and serve and the proportions would just be better overall. You could possibly get away with a 10 inch cake but the layers would be much thinner and you’ll need a little more coffee because you’ll be using a few more lady fingers then.
When baking, generally a thinner layer will get 20-25 minutes of baking and a thicker cake layer will get 30-45 minutes. Once it no longer looks wet, press on the center of the cake gently and it will spring back when it’s done baking. If it doesn’t spring back, give it another few minutes.
Serving and Storing a Naked Cake with Mascarpone Cream
Naked Cakes tend to dry out quicker because they’re not covered in frosting so I recommend keeping it airtight.
The cake does need to be refrigerated because of the mascarpone cream. The cake part does serve well cold or at room temperature so you can serve it straight from the fridge or let it come to room temperature for an hour if you prefer.
Thanks so much for reading today’s post, if you have any questions just comment down below.
If you make this fabulous cake, I would very much appreciate a 5-star rating or review as well.
As always, have a blessed day and happy baking!
Love, B

This cake is amazing. I made it for my husband’s birthday and he was SO happy. The textures are incredible together and everyone who ate it loved it.
Ahh yayy so happy to hear that, thank you for sharing 🙂
Hi! How tall would the total assembled cake be with the 8in vs the 9in pans? TiA!
Hi Carrissa, I didn’t measure the cake once it was assembled so I can’t say for sure but it was too tall for me to slice thin slices so I had to slice them thicker and then slice each one in half (height wise). The ratio definitely felt better for me in a 9 inch pan 🙂
I made this for my son’s birthday cake and it was AMAZING! Everyone raved about how beautiful the cake was. It is so delicious, moist and the flavor profiles are perfectly balanced. Thank you so much for sharing this recipe! This is one of the best cakes I’ve ever made – definitely a keeper!
So glad you all liked the cake, it’s one of my favs! Thank you for the review <3
I made this for my birthday cake and oh my GOODNESS it was spectacular! I’ve never used black cocoa before and it gave the cake such a deep rich flavor compared to normal sugary chocolate cake. I will be saving this recipe for sure.
Also I used a 9inch pan and couldn’t find acetate so I stacked mine in a taller springform pan and it held up great!
Hi Shannon, thanks so much for sharing, I’m so glad you liked the recipe! I do think a 9 inch cake is def easier to work with lol
This looks amazing. I saw this on YT I’m going to make it this weekend!!!